
How to Make a Bow Headband

This post may contain affiliate links.
Learn how to make a bow headband with knit fabric. This beginner sewing project makes a great gift and it’s so cute and useful!
I use a headband when I wash my face, when I go running, when I put my hair in a shower cap, when I do yard work, and when I clean the house. Honestly, I use headbands all the time.
I’ve made several different kinds, but I wanted to make a cute one with a bow. I’m sharing the exact measurements of all the pattern pieces so you can make your own!
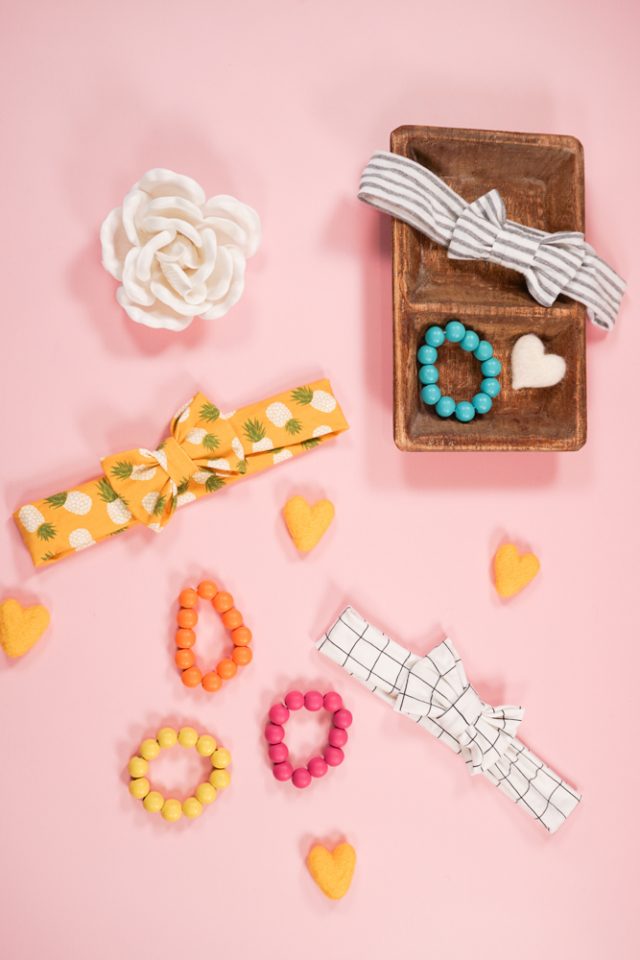
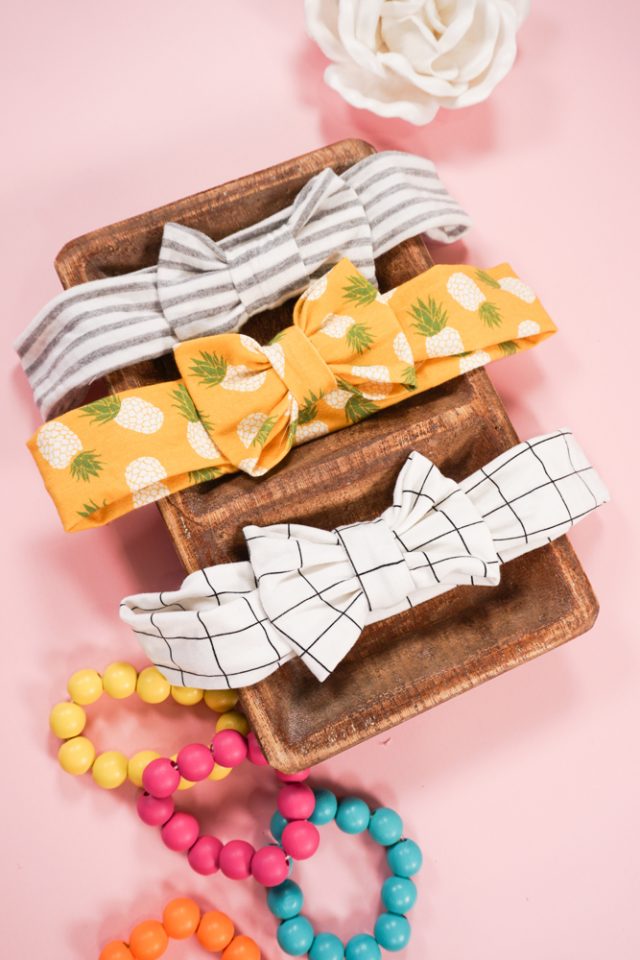
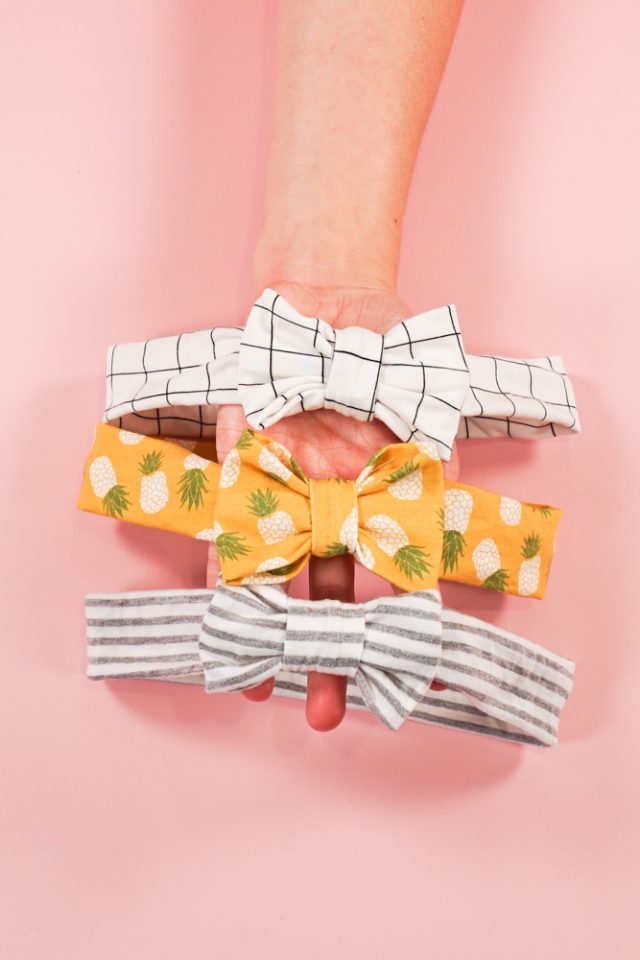
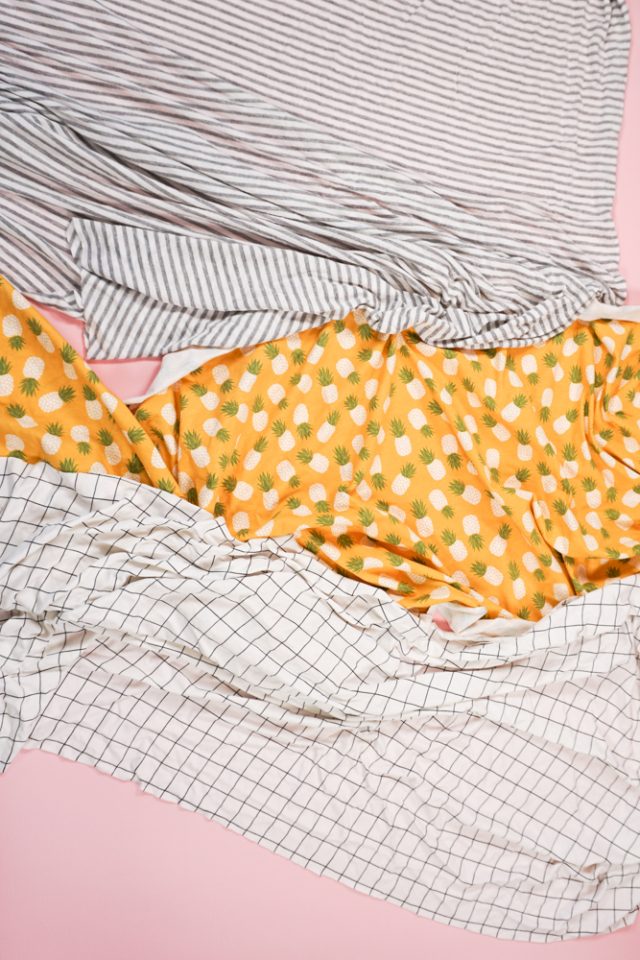
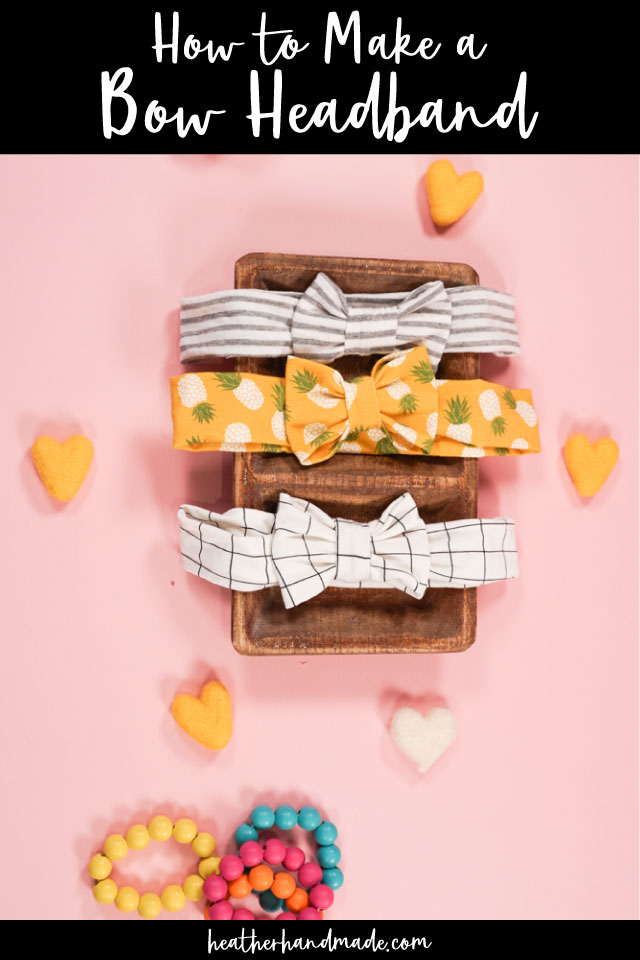
I tried three different fabrics: cotton spandex jersey (pineapples), rayon spandex jersey (windowpane), and cotton jersey (striped). I found all the fabrics worked, but I liked the cotton spandex jersey the best.
The cotton spandex jersey was easy to sew, stretchy and comfortable, and it was stiff enough to give shape to the bow. The other two fabrics were also easy to sew, stretchy and comfortable, but the fabric was too lightweight to hold the shape well. The bow turned out a little more floppy.
Do you love to sew? Try one of these fun sewing projects:
- DIY turban headband to sew
- How to sew a twisted headband
- DIY sweater headband
- DIY knit headband tutorial
- Simple baby headband tutorial
- How to sew knit fabric
- How to sew knit fabric with just a sewing machine
- DIY Hair Towel Wrap
- Jersey knit sewing projects
How to Make a Bow Headband
supplies
- 1/4 yard ‘cotton spandex jersey – tips for sewing jersey knit fabric
- Sewing tools
- Sewing machine
- Want the free printable PDF headband pattern? Get it here
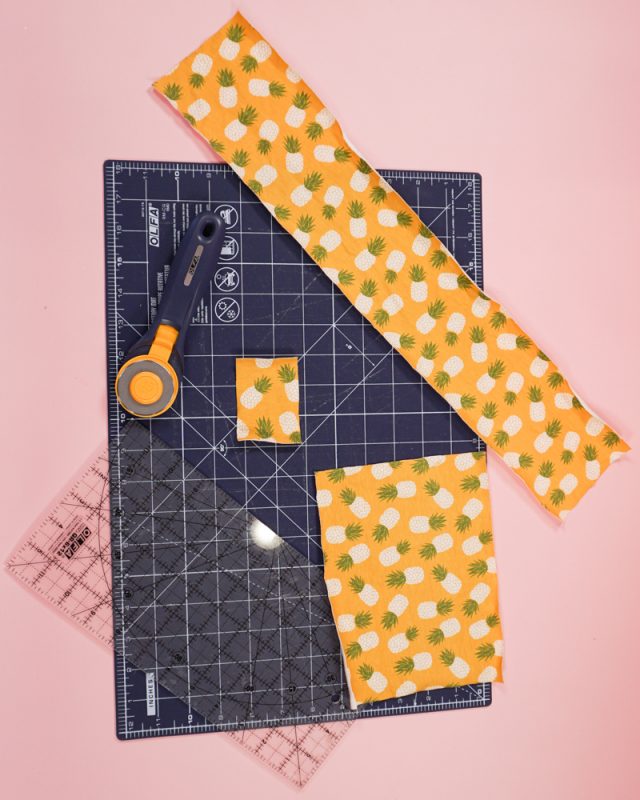
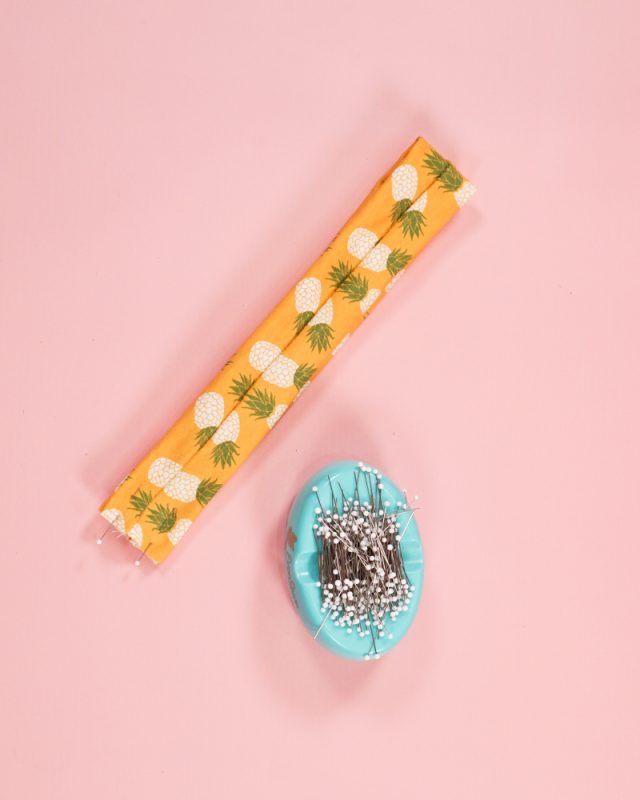
Cut three rectangles. One that is 4 inches tall and 20 inches wide (the band), one that is 8 inches wide and 6 inches tall (the bow), and one that is 3 inches tall and 2 inches wide (the center).
Fold each rectangle matching up the long edges and pin.
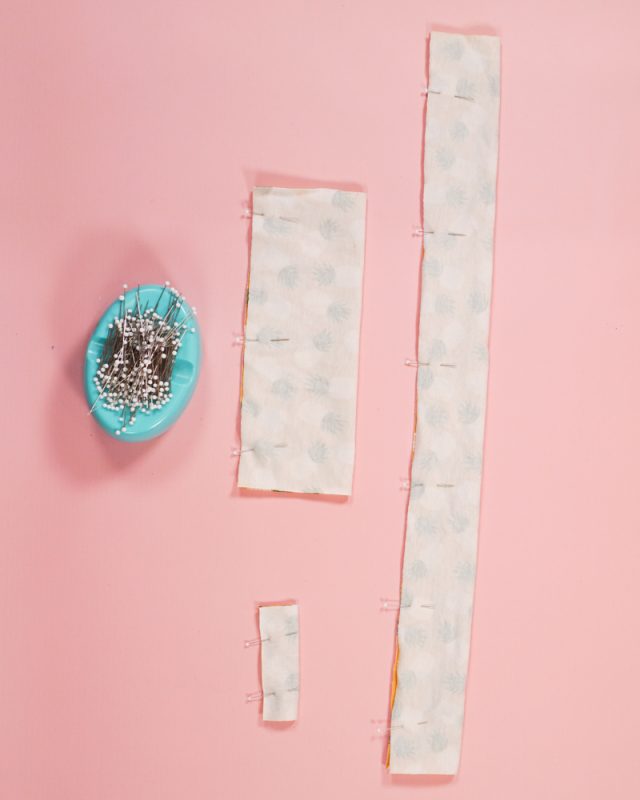
Sew each long edge with a zigzag stitch. Backstitch when you start and when you stop.
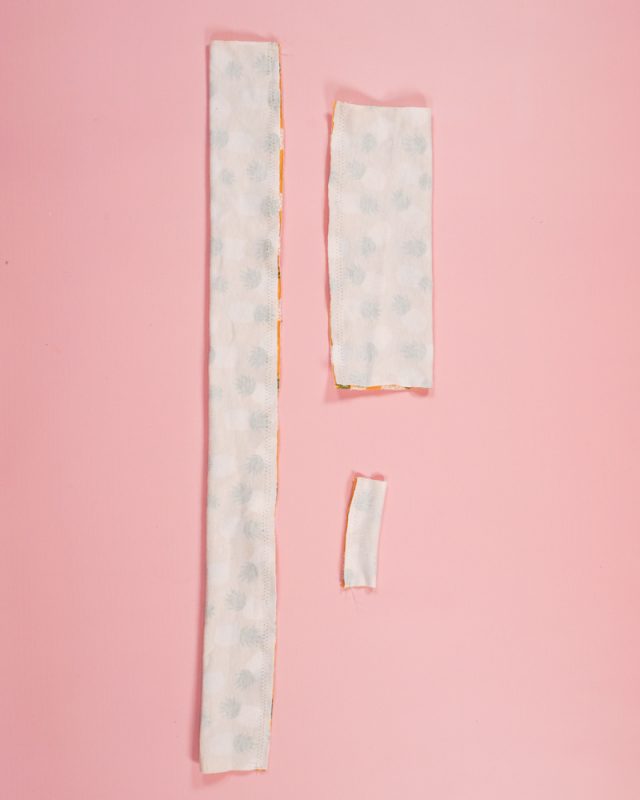
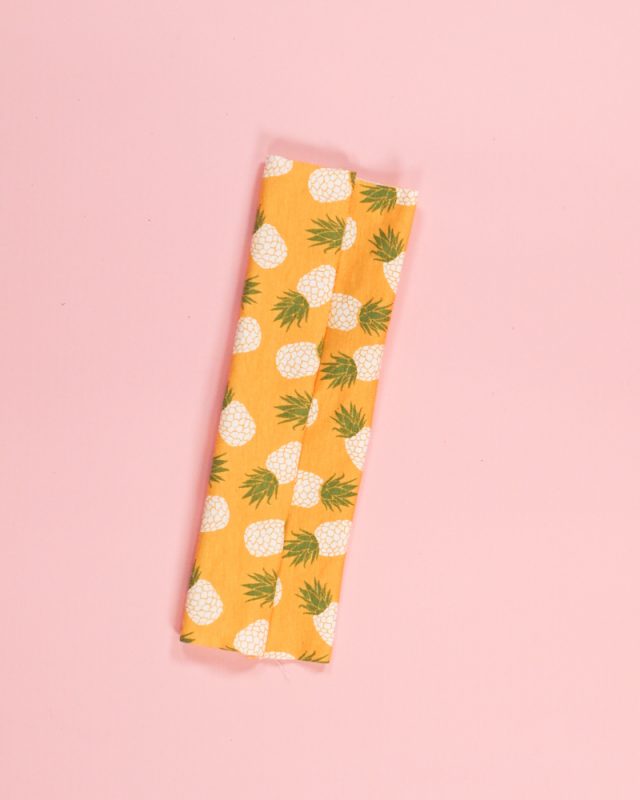
Turn the band right side out. Roll the tube so that the seam is on the center back of one side.
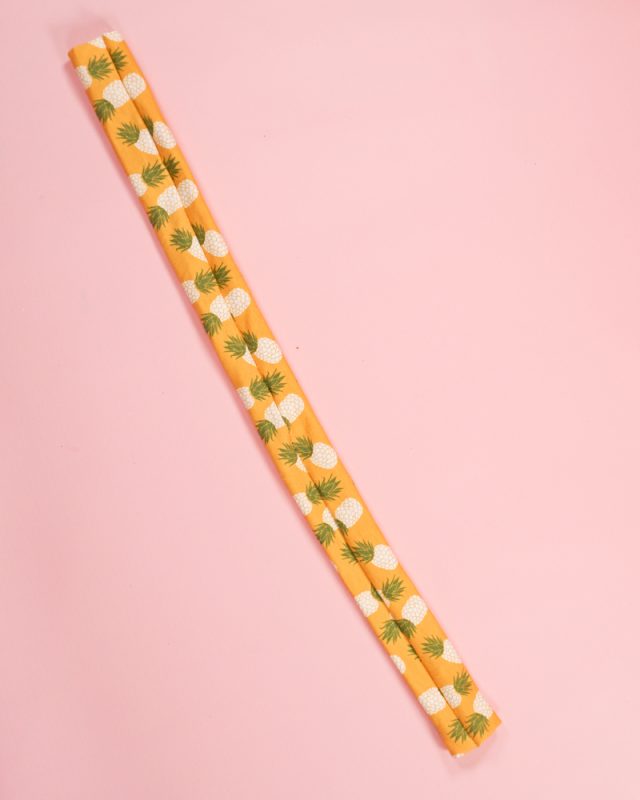
Fold the band right sides together matching up the short edges. Pin and sew with a zigzag stitch. Backstitch when you start and stop.
Turn the bow right side out. Roll the tube so that the seam is on the center back of one side.
Fold the bow right sides together matching up the short edges. Pin and sew with a zigzag stitch. Backstitch when you start and stop.
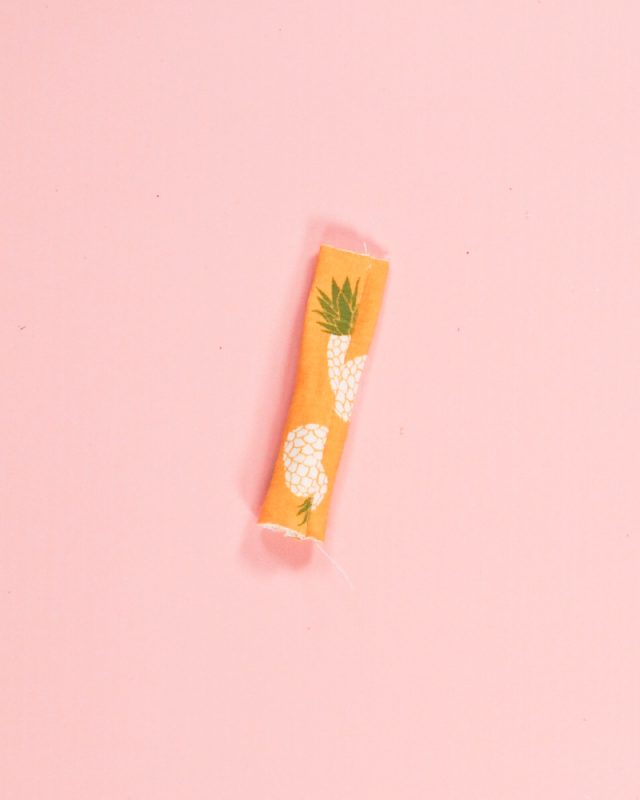
Turn the center right side out. Roll the tube so that the seam is on the center back of one side.
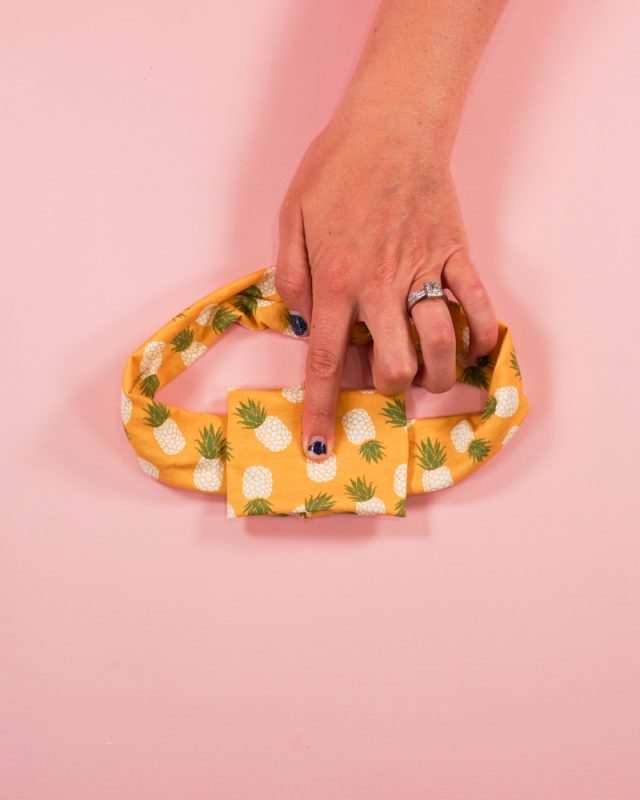
Place the bow on the band right over the band’s seam. Make sure the seam of the bow is facing the band. Sew a couple of stitches in the center to keep all the layers together.
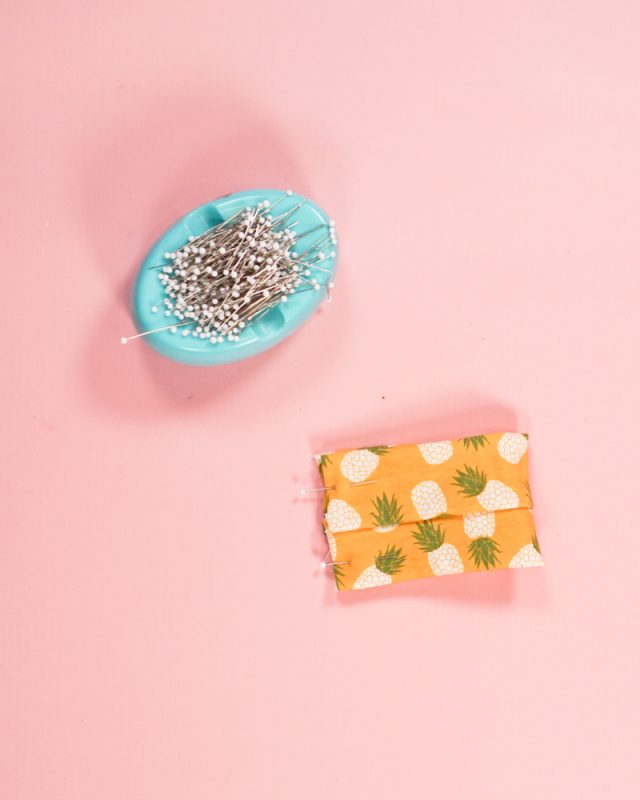
Fold the center around the band with right sides together. Match the short ends and pin.
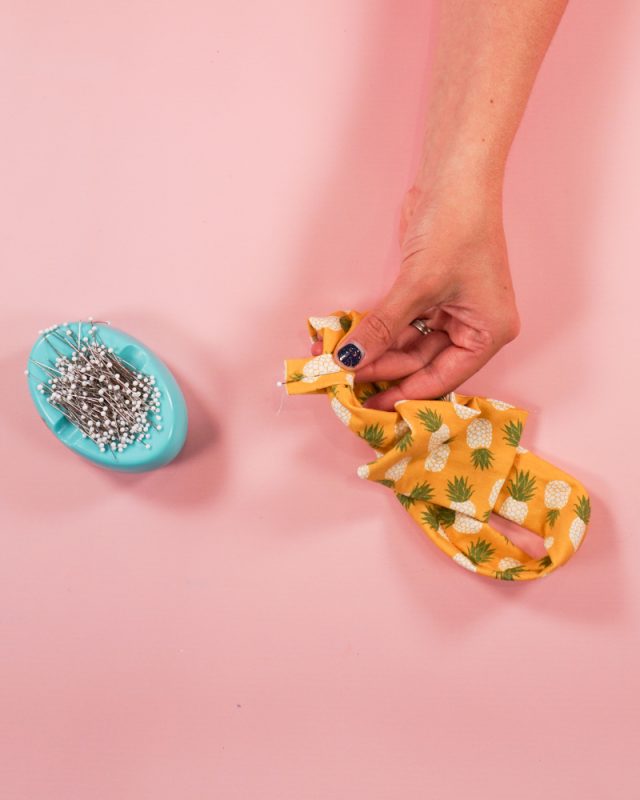
Sew with a zigzag stitch and backstitch when you start and stop. Turn the center right side out.

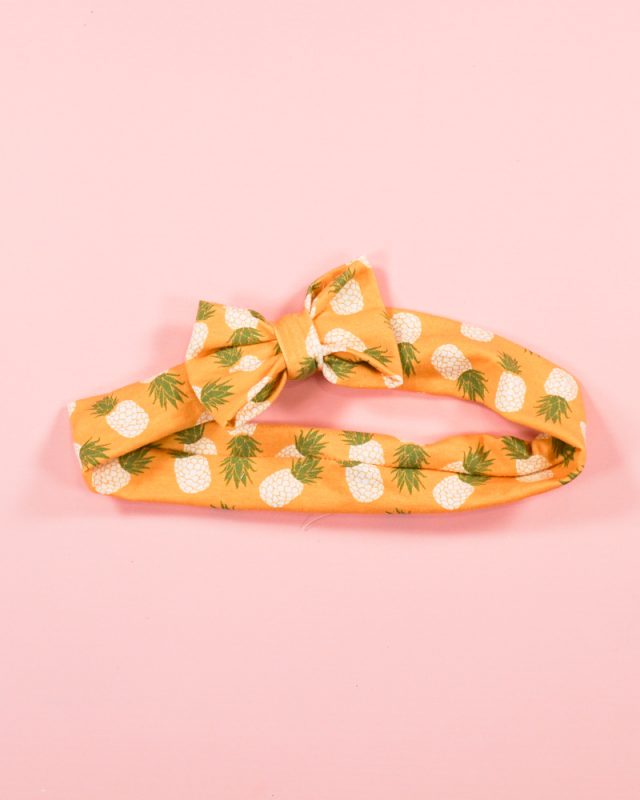
Slide the center over the bow. Cover the seams of the bow and the headband with the center piece.
If you are worried about the center moving around you can hand stitch it in place. You finished!
If you make something using this sewing project, I’d love to see! Please share it on social media with the hashtag #heatherhandmade and tag me!

I believe small sewing moments can create great joy. Find your own “right” way to sew. -Heather
What size would I make for a young girl (3 yrs)
I would make everything the same but shorten the band to about 16 inches.