Free Headband Sewing Patterns

This post may contain affiliate links.
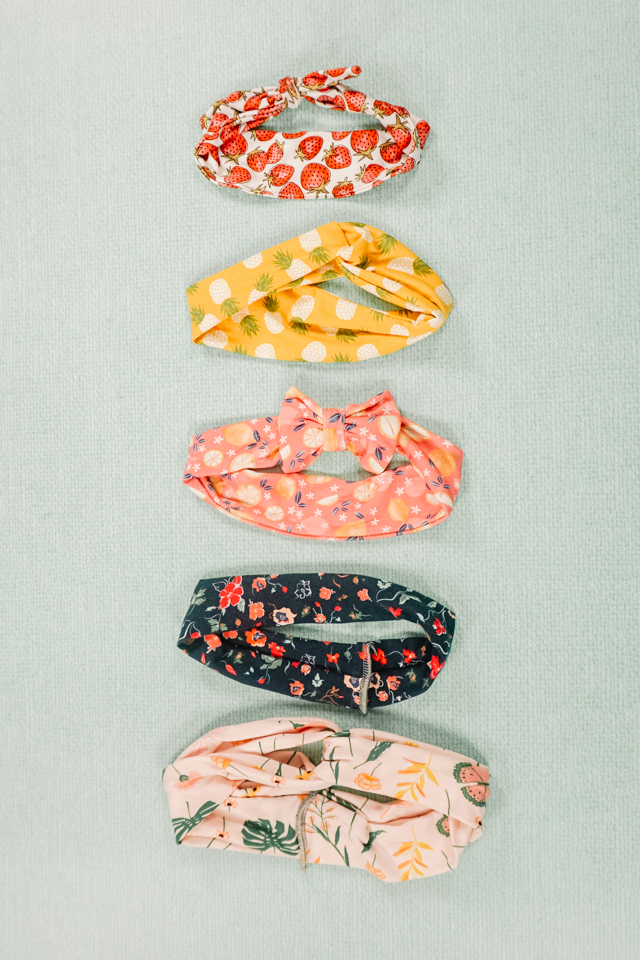
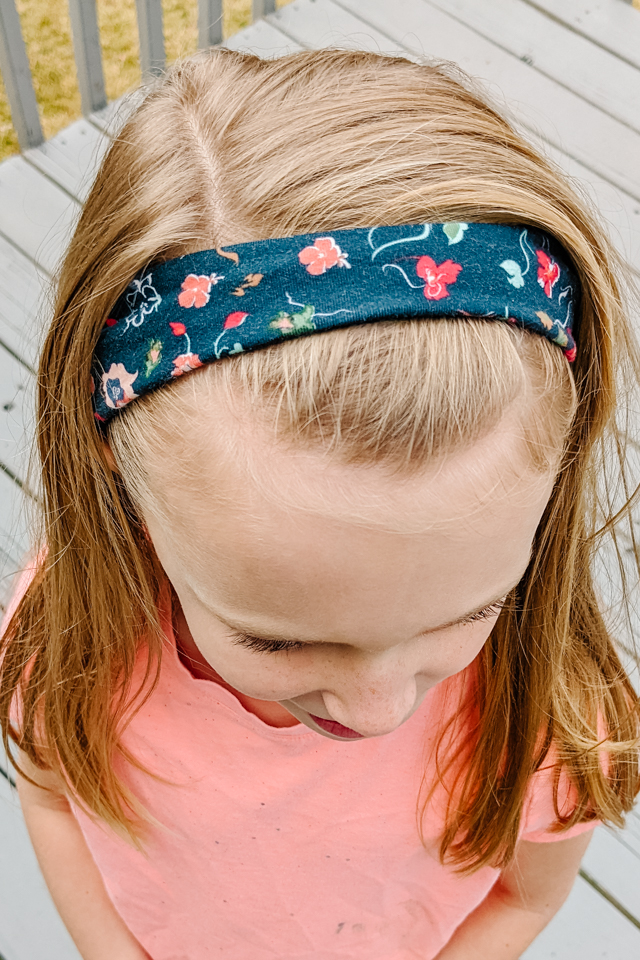
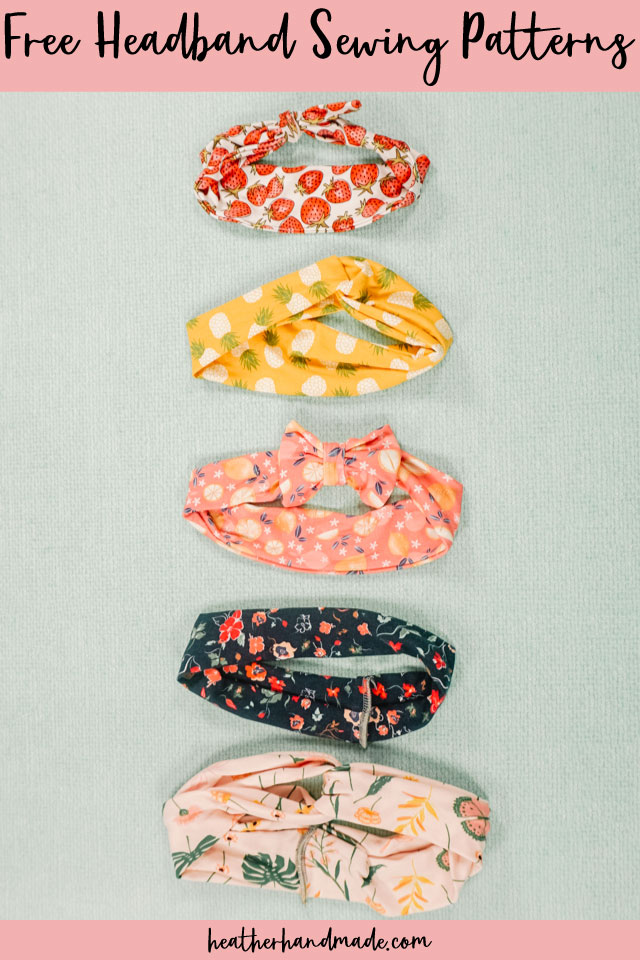
Learn how to make a headband with one of these free headband PDF sewing patterns. This beginner sewing project comes in five styles and five sizes!
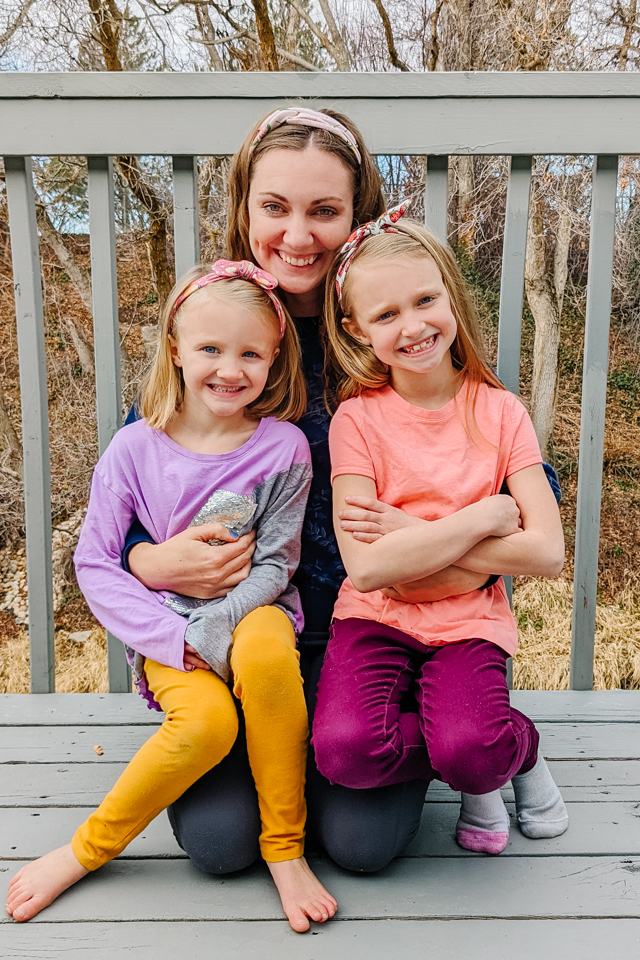
Make one of these fun headbands in all the sizes: baby, toddler, child, teen, and adult. I love making headbands for gifts like for babies and girls.
There are also five styles: regular, bow, tied, twisted, and double loop. Which one is your favorite?
What fabric works best for a headband?
The best fabric to use for a knit headband is cotton spandex jersey or double brushed poly jersey. They come in so many different colors and prints which make the headbands so fun. You really are looking for a stretch fabric that has a good amount of stretch so that it’s comfortable to wear.

What is a PDF sewing pattern?
A PDF pattern is a sewing pattern designed on the computer and organized so that it can be printed on several letter or A4 size pieces of paper.
I love using PDF sewing patterns because if the pattern gets ruined or if my children or I changed sizes, I can always print it again. It’ll never be destroyed since I have a digital version!
How do you use a PDF sewing pattern?
Open the PDF on a computer and click print. When printing make sure that the scaling is set to 100% or no scaling so that the pattern prints at the correct size. Learn how to use PDF sewing patterns.
Do you love to sew? Try one of these fun sewing projects:
- Beginner sewing projects
- Fabric scrap sewing projects
- Jersey knit sewing projects
- Sewing gifts with knit fabric
- 30 minute sewing projects
- Accessory sewing projects
- Sewing projects for teens
- Small sewing projects
How to Sew a Headband with Free Headband Sewing Patterns
Supplies
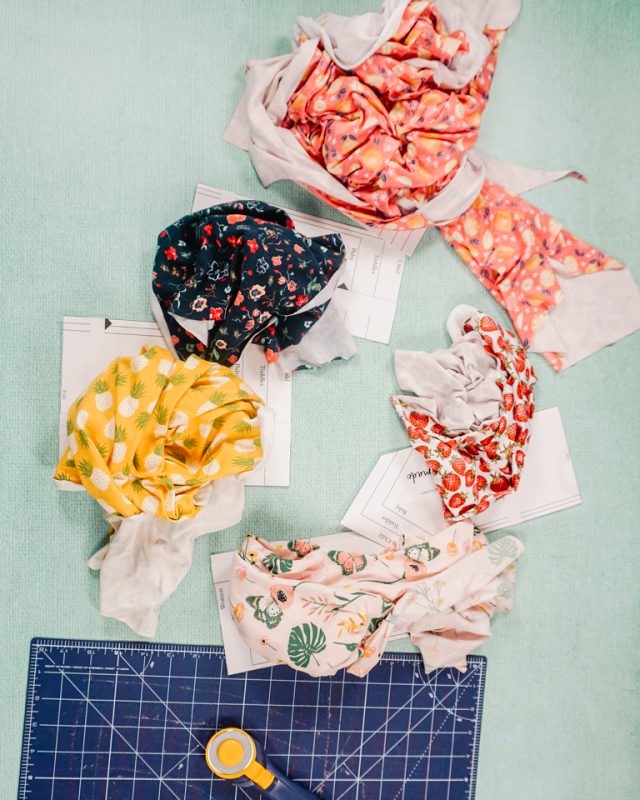
- Scraps of knit fabric like cotton spandex jersey or double brushed poly jersey
- Sewing tools
- Sewing machine
- Free headband sewing patterns – get them at the end of the post
Do you just want the pattern and tutorial as a PDF? Get the pattern and photo tutorial for just $5. You won’t need to access the internet every time you want to make it.
Simple Headband
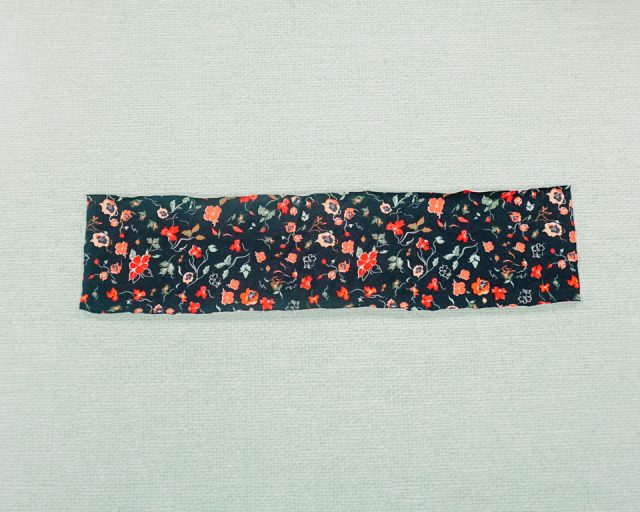
Cut out one rectangle of fabric on the fold. The long edge should go with the greatest degree of stretch.
Fold the rectangle to match up the long edges with right sides together. Sew the long edges at 3/8 inch seam allowance with either a serger or a zigzag.
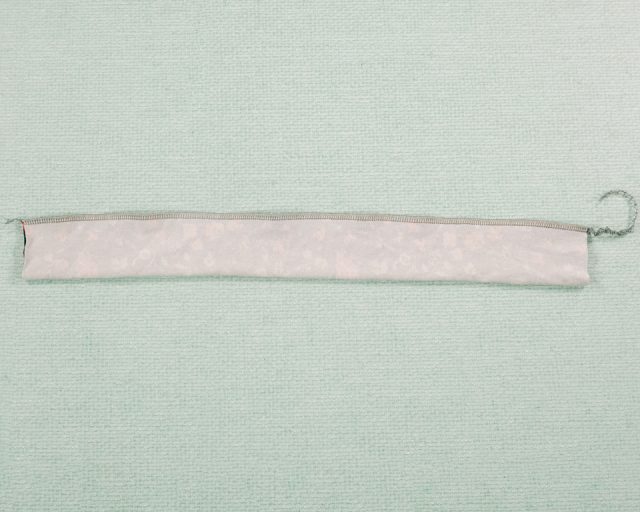
Turn the tube right side out.
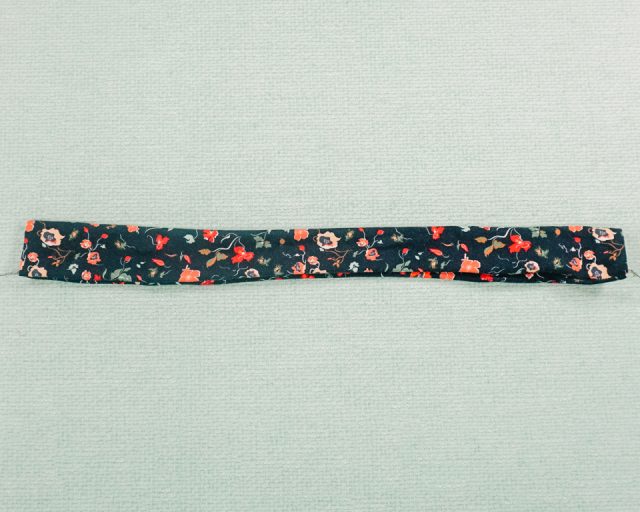
Match up the short ends with right sides together. Sew the seam with 3/8 inch seam allowance with either a serger or a zigzag stitch.
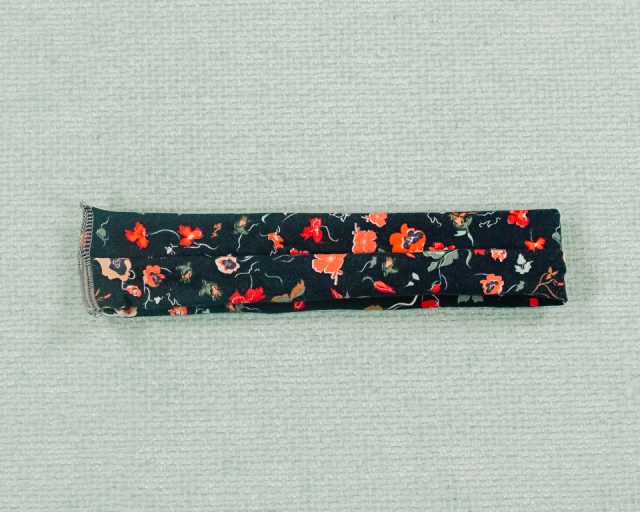
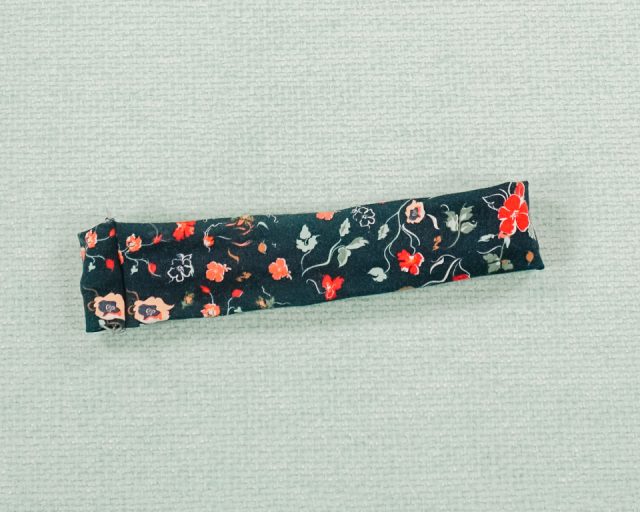
Turn the headband right side out. You finished!
Tied Headband
Cut out one piece of fabric with the stretch going with the long edges.
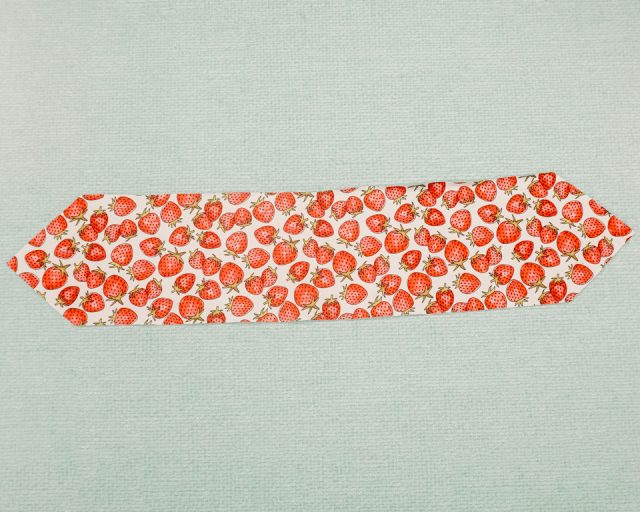
Sew starting from the corner and then out to the straight edge. Stop in the middle and leave a 2 inch hole. Start again on the other side to the corner.
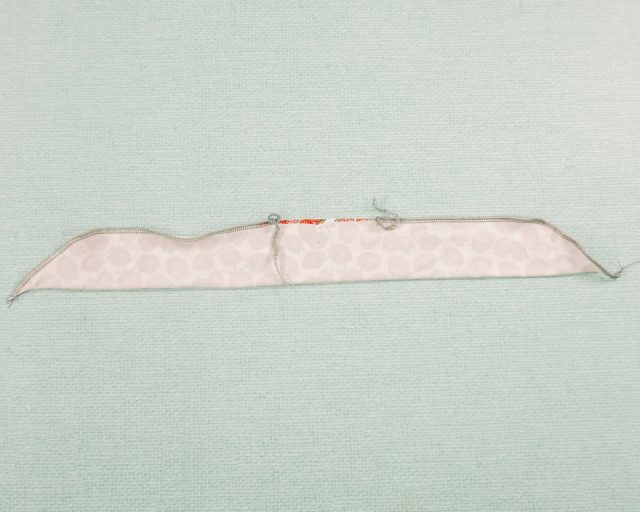
Turn the headbands right side out. Use a point turner to poke out the corners.
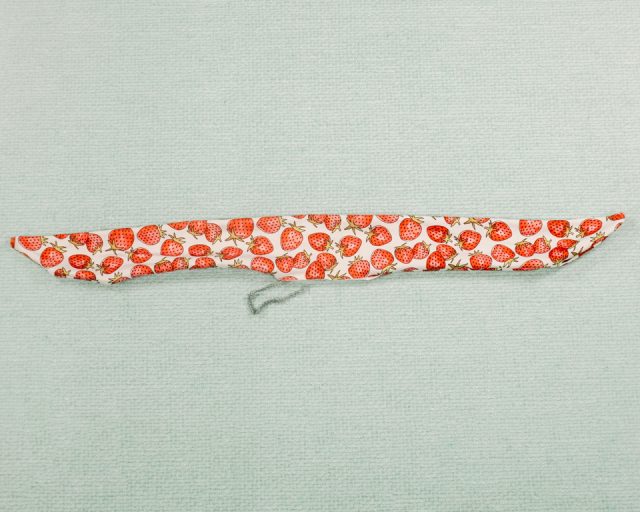
Pin the hole closed with the seam allowance inside. Topstitch the hole closed with matching thread.
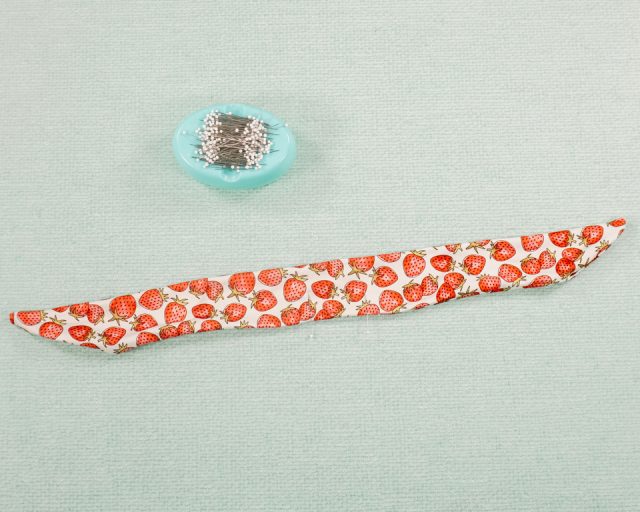
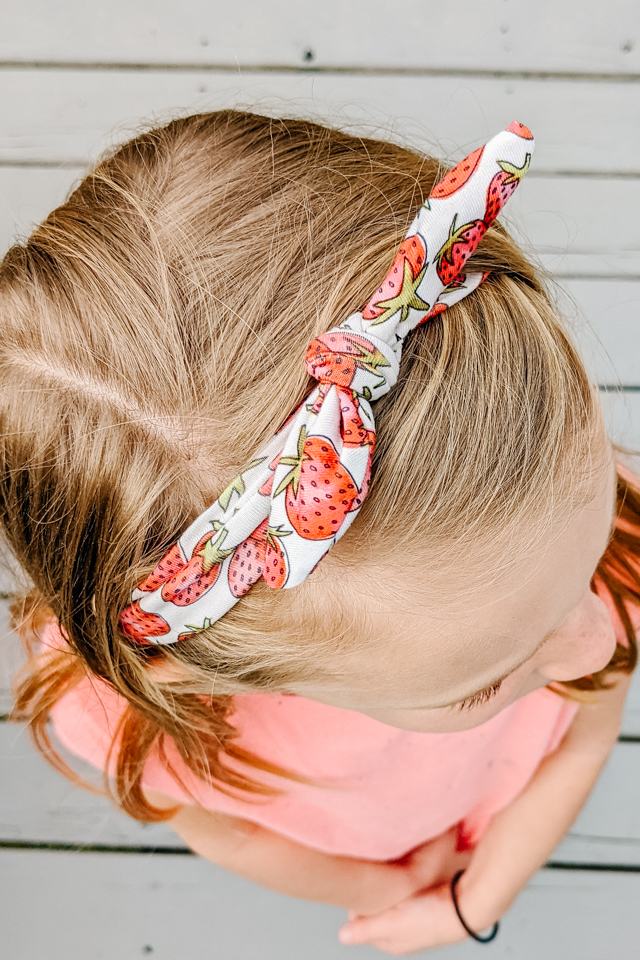
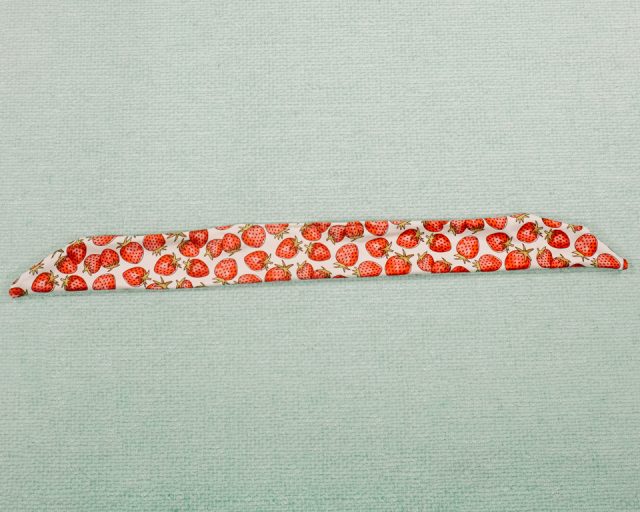
Tie the ends of the headband in a square knot to finish it up. You finished!
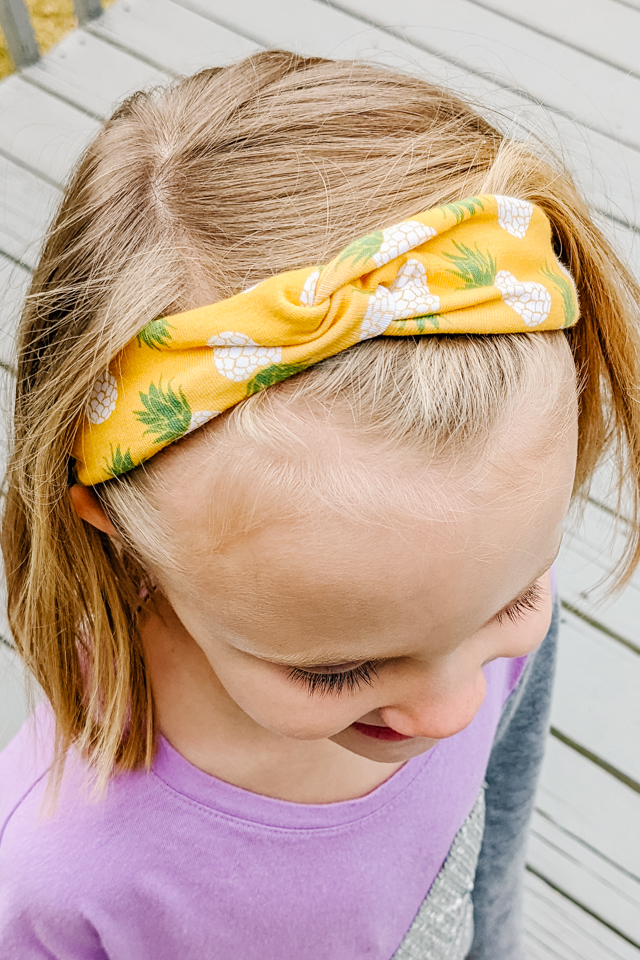
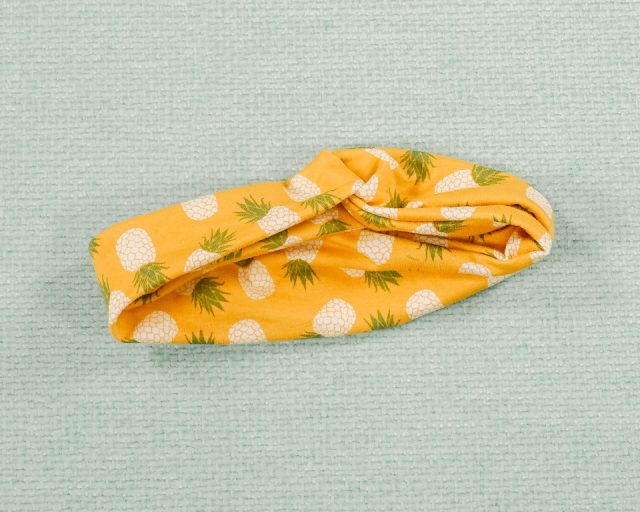
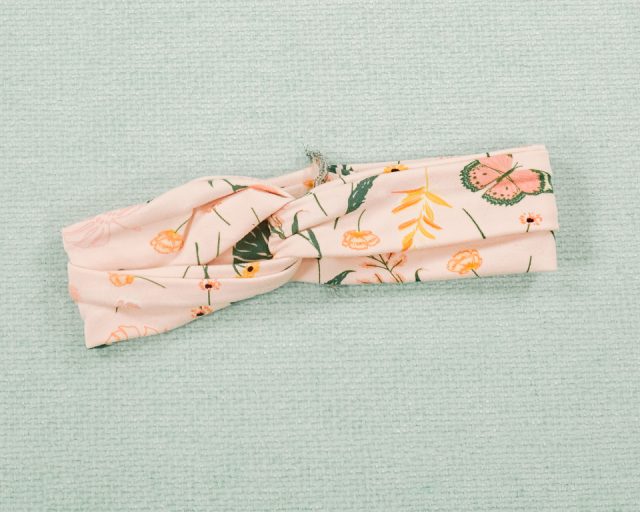
Twisted Headband

Cut out a rectangle with the stretch going with the longest side using the pattern piece.
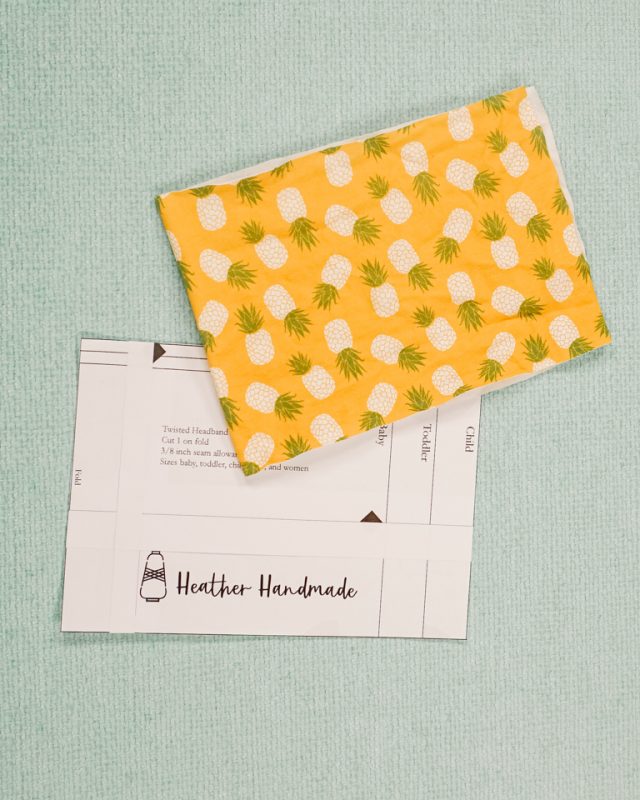
Fold the rectangle along the long edge and match up the long edges right sides together. Sew with a zigzag stitch or serger at 3/8 inch seam allowance.
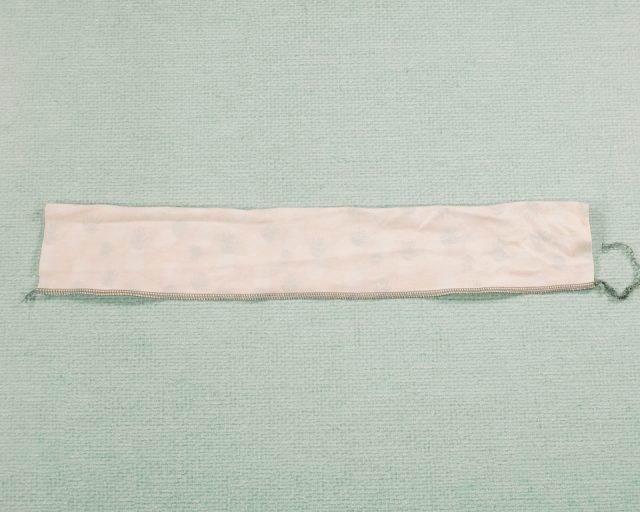
Turn the headband right side out. Push the seam to the fold.
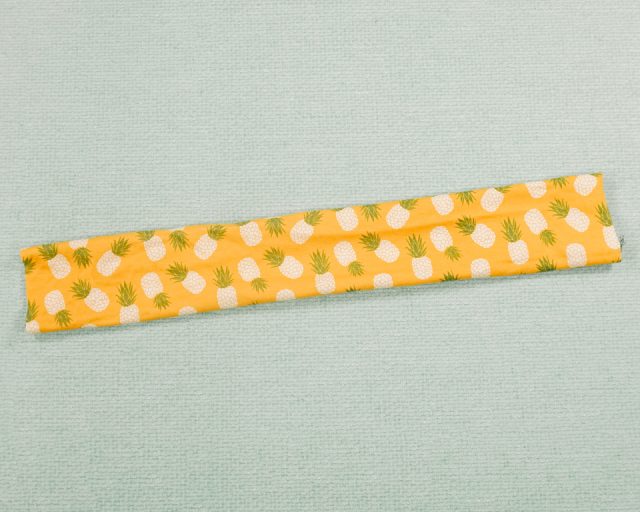
Fold the headband in half and match up the short ends. Shift one layer down halfway.
Fold one side around the other side. Bring the last edge fold down around. It’s like two “U’s” holding on to each other. Pin the layers together.
Sew the seam with a zigzag stitch or a serger.
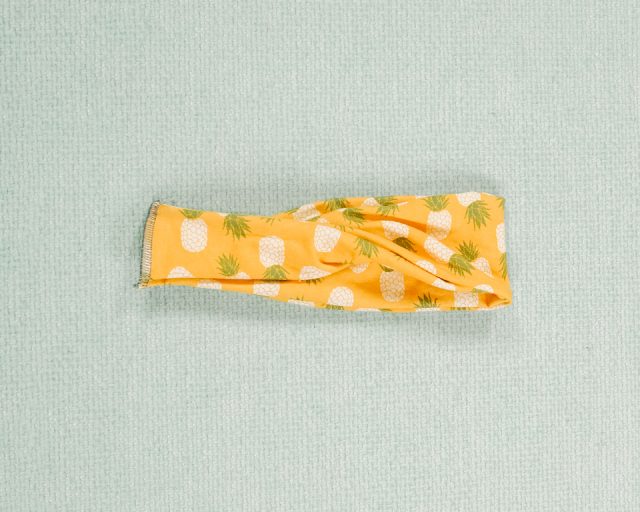
Pull the seam open and the seam allowance will be pulled inside the twist. You finished!
Double Loop Headband
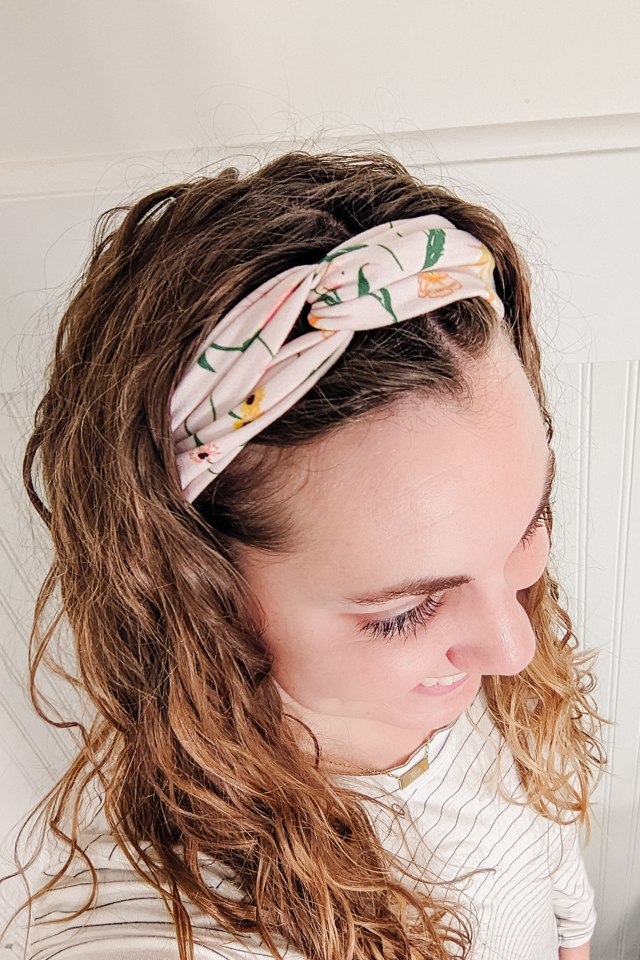
Cut out two rectangles with the stretch going with the long edges.
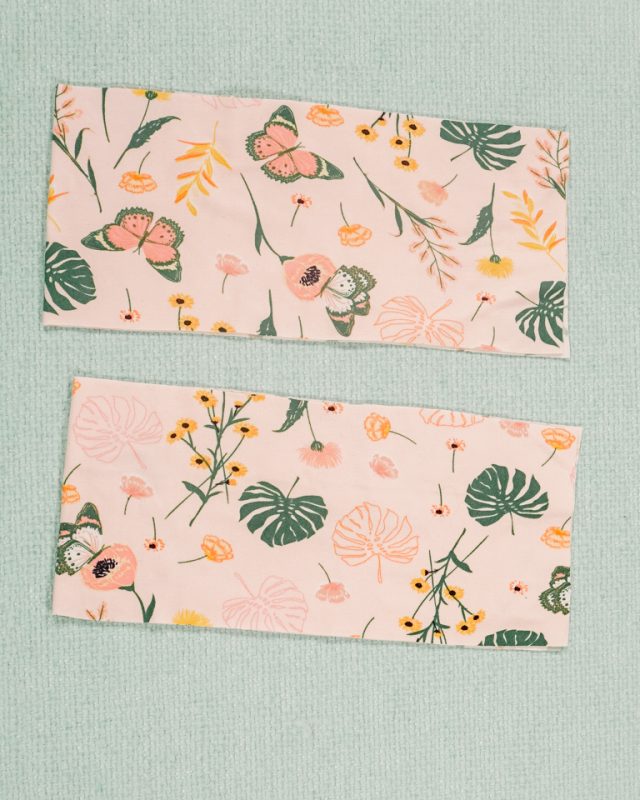
Fold and pin the long edges of the rectangles right sides together.
Sew with a zigzag or serge the long sides together.
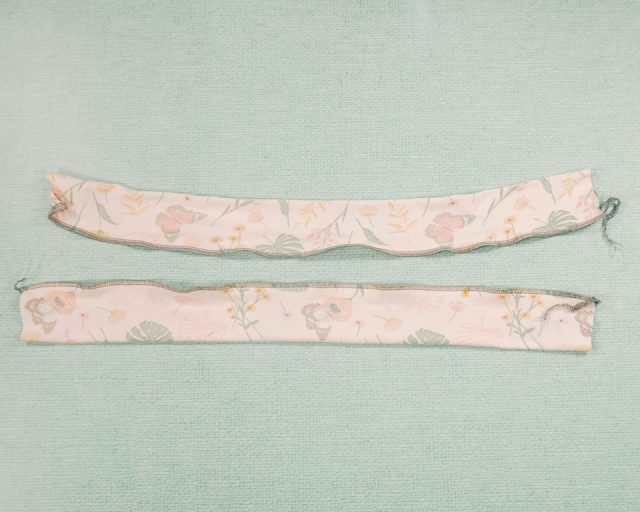
Turn both tubes right side out.

Take the two pieces and lay them out in two opposing curves.
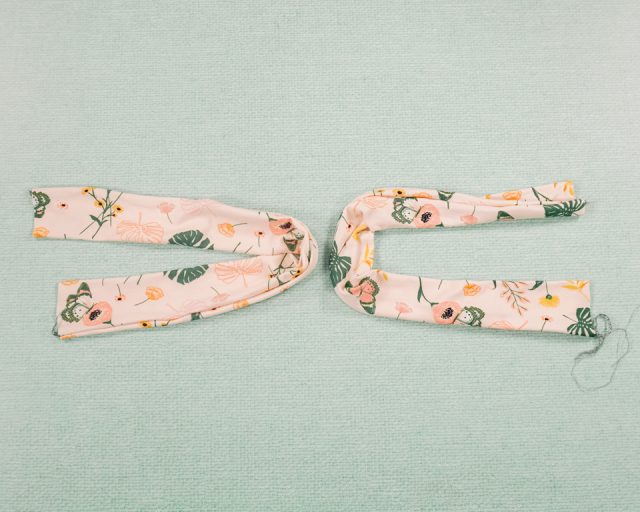
Take the straight tube and hook it around the curve of the other tube. Essentially you are crossing the two curves over each other in the middle.
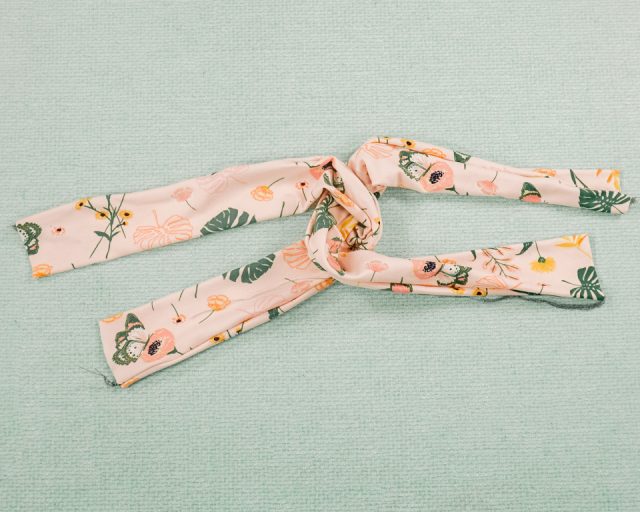
Pull the four ends to tighten the crossed loop in the middle.
One each side bring the two ends together on top of each other matching the short ends.
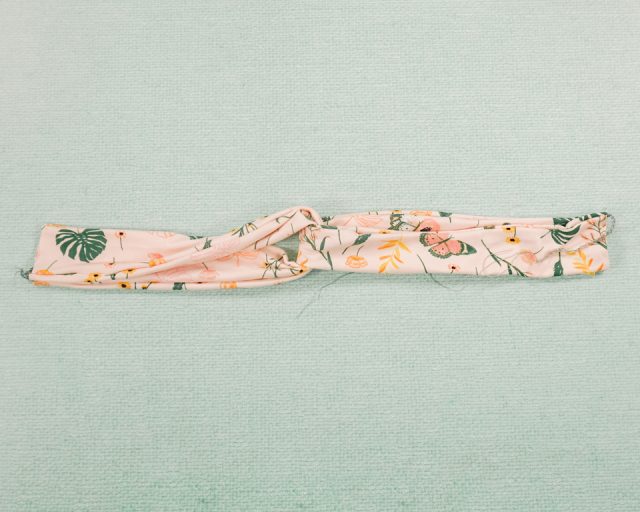
Bring all four ends together and match up the four short ends. Pin the layers together.
Sew with a zigzag stitch or serger at 3/8 inch.
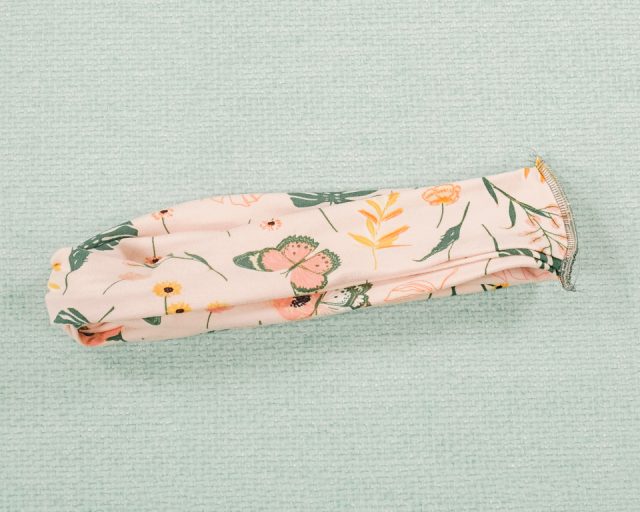
Turn right side out and pull into a loop. You finished!
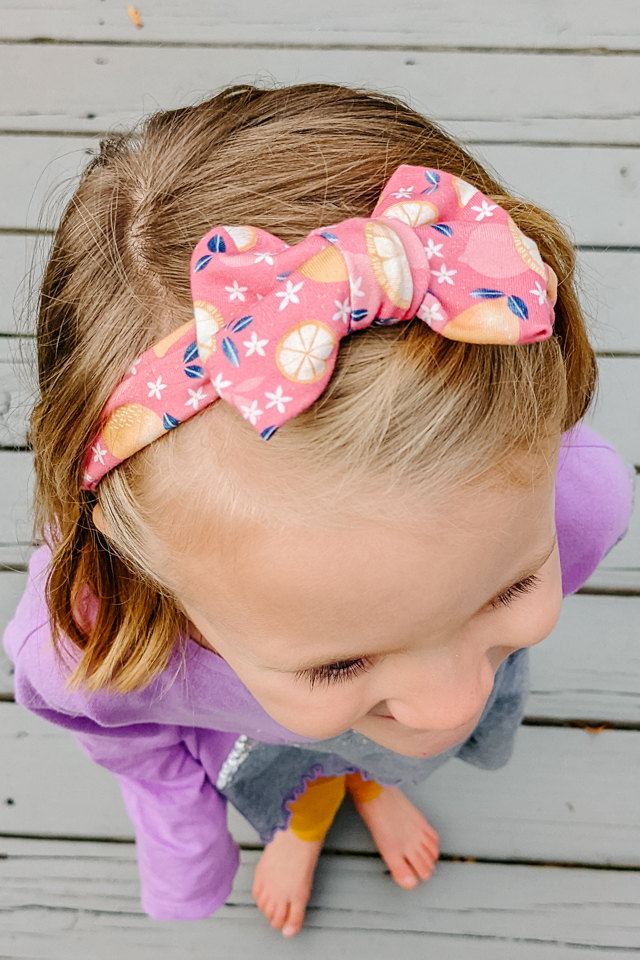
Bow Headband
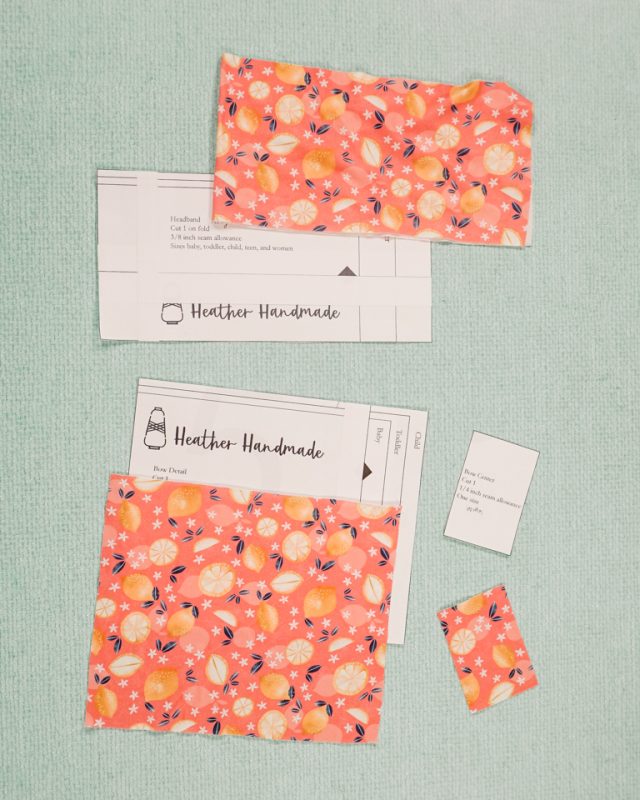
Cut three rectangles using the pattern pieces.
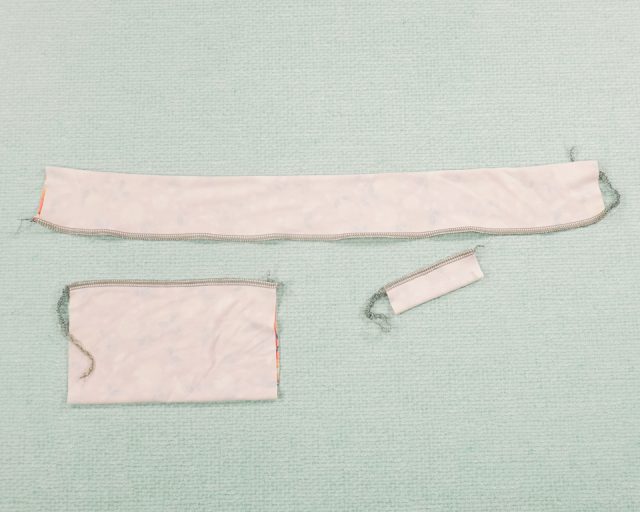
Fold each rectangle matching up the long edges and pin.
Sew each long edge with a zigzag stitch or serger. Backstitch when you start and when you stop.
Turn the band right side out. Roll the tube so that the seam is on the center back of one side.
Turn the bow right side out. Roll the tube so that the seam is on the center back of one side.
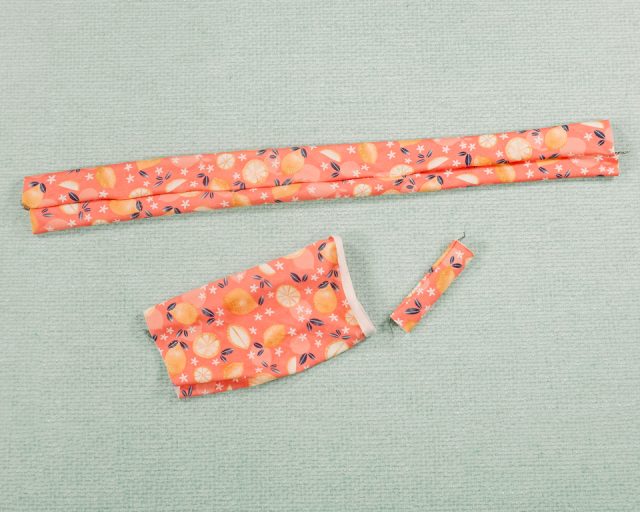
Fold the headband right sides together matching up the short edges. Pin and sew with a zigzag stitch or serger.
Match up the short ends of the bow and sew at 3/8 inch seam allowance.
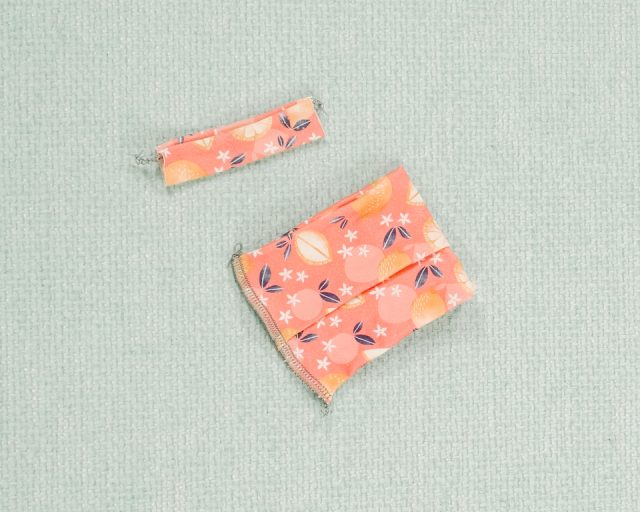
Place the bow on the band right over the band’s seam. Make sure the seam of the bow is facing the band. Sew a couple of stitches in the center to keep all the layers together.
Wrap the center bow around the headband with right sides together. Sew the center with a zigzag stitch at 1/4 inch seam allowance. Turn the center right side out.
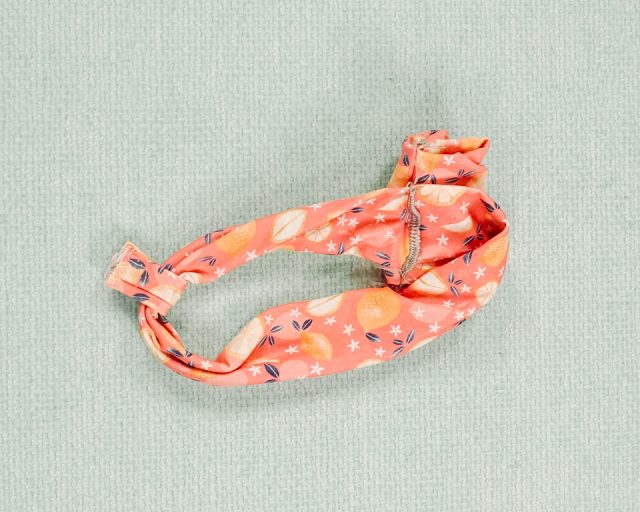
Slide the center over the bow. Cover the seams of the bow and the headband with the center piece.
If you are worried about the center moving around you can hand stitch it in place. You finished!
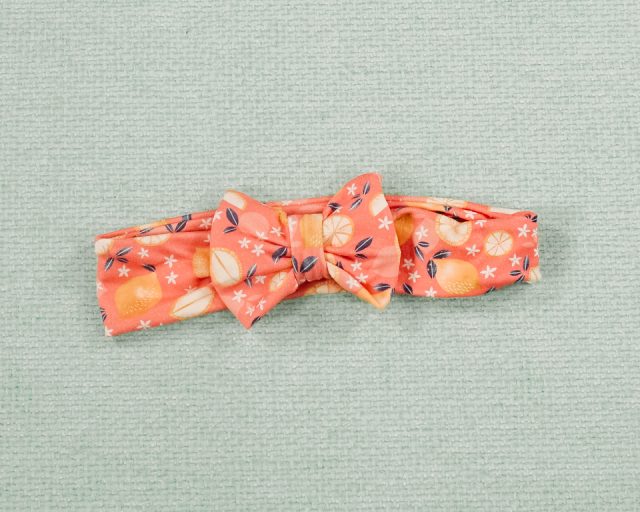
Get the Free Sewing Pattern here!
If you make something using this sewing project, I’d love to see! Please share it on social media with the hashtag #heatherhandmade and tag me!

I believe small sewing moments can create great joy. Find your own “right” way to sew. -Heather
