How to Sew a Twisted Headband: Two Ways

This post may contain affiliate links.
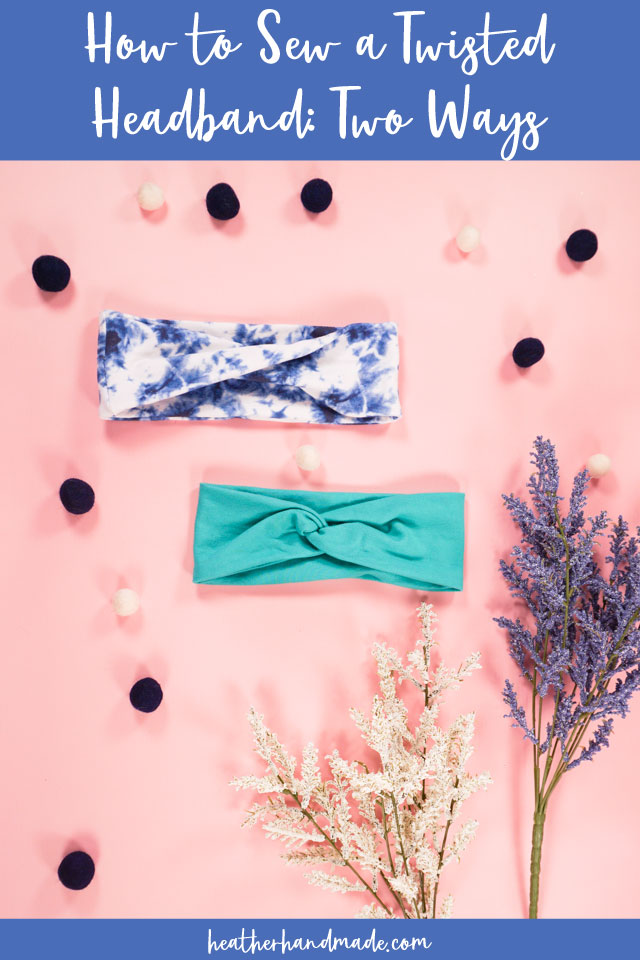
Learn how to sew a twisted headband two different ways. Use knit fabric for a quick and easy sewing project that makes a great gift!
It’s great having a headband to keep your hair out of your face and the cuter the better. I’ve made a simle knit headband with a little knot that I use daily, but I wanted to try making one with a different detail.
These wider ones have a beautiful twist detail and the width make it great to use as an ear warmer if needed.

These twisted headbands are so quick and easy to sew. You can make so many headbands quickly.
They would make great gifts to make for friends or family. Make matching ones for a girls sport team or your group of workout buddies.
What fabric should I use for a twisted headband?
You need to use a knit fabric for a twisted headband. Three knit fabrics that I love to use for a twisted headband are cotton spandex jersey, double brushed poly, or French terry with spandex in the blend.
These knit fabrics are all easy knit fabrics to sew and are easier to find. They come in lots of fun prints and colors.

What is a PDF sewing pattern?
A PDF pattern is a sewing pattern designed on the computer and organized so that it can be printed on several letter or A4 size pieces of paper.
I love using PDF sewing patterns because if the pattern gets ruined or if my children or I changed sizes, I can always print it again. It’ll never be destroyed since I have a digital version!
How do you use a PDF sewing pattern?
Open the PDF on a computer and click print. When printing make sure that the scaling is set to 100% or no scaling so that the pattern prints at the correct size.
Once the pattern is printed it can be taped together to get the full size. Then the pattern can be cut for each pattern piece size or individual sizes can be traced so that the pattern can be used again and again. Learn how to use PDF sewing patterns.

Do you love to sew? Try one of these sewing projects:
- Beginner sewing projects
- Scrap fabric projects
- Easy gifts to sew
- How to sew knit fabric
- Sew gifts with knit fabric
- Small sewing projects
- Jersey knit sewing projects

How to Sew a Twisted Headband
How to Sew a Twisted Headband with a hidden seam
Supplies
- Cotton spandex fabric – tips for sewing jersey fabric
- Sewing tools
- Sewing machine
- Want the free printable PDF headband pattern? Get it here
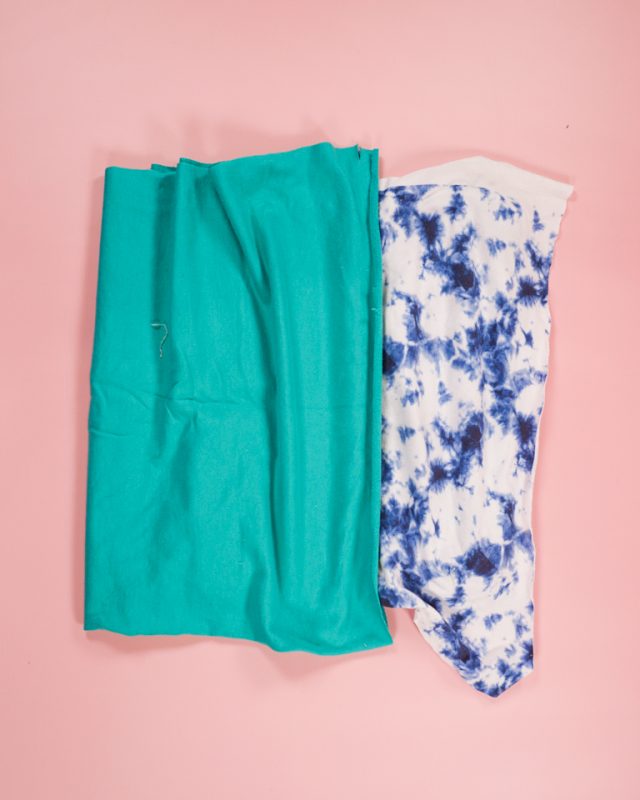
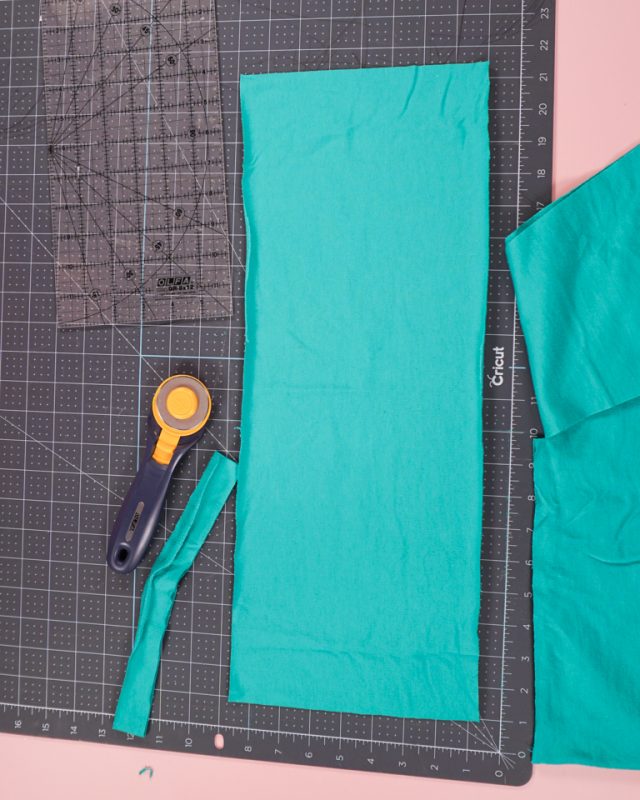
Cut a rectangle that is 8 inches tall and 20 inches wide. The 20 inches should go with the direction of the stretch.
Fold the rectangle along the long edge and match up the long edges right sides together. Sew with a zigzag stitch.
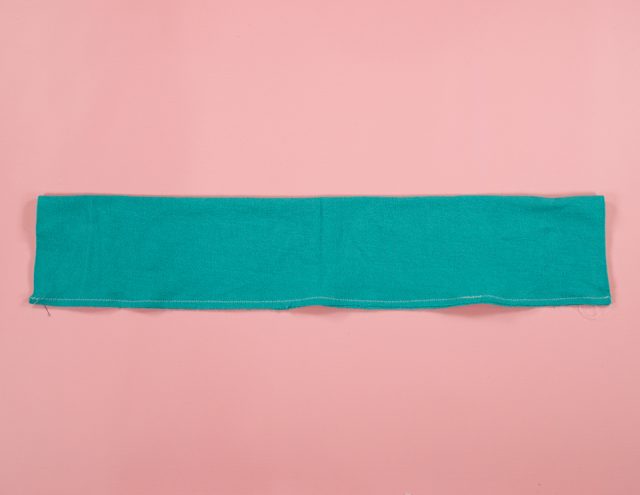
Turn the headband right side out. Push the seam to the fold.
Fold the headband in half and match up the short ends.
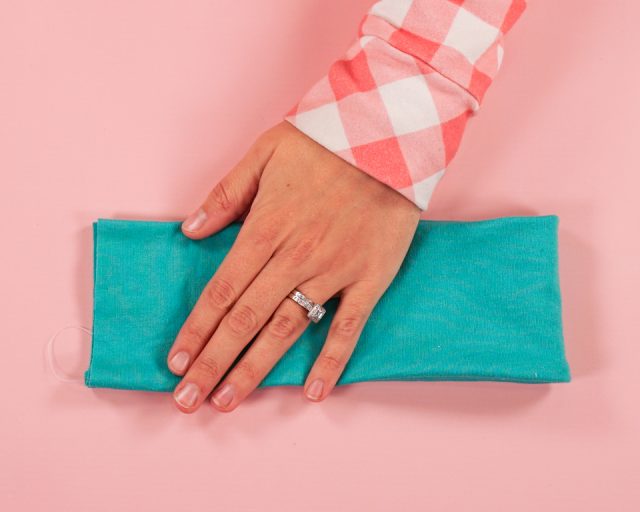
Shift one layer down halfway.
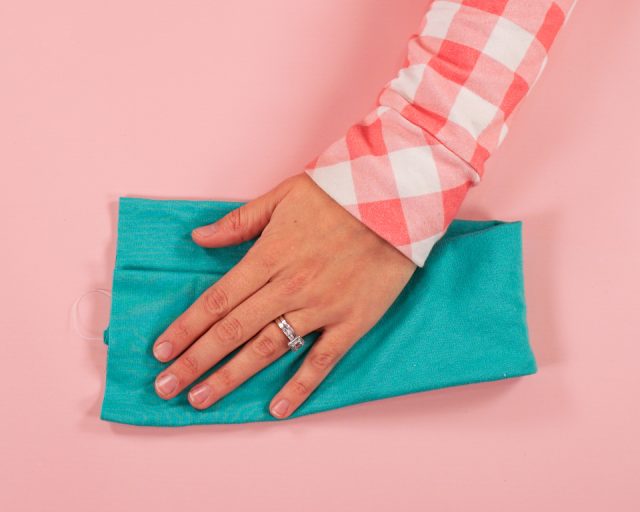
Fold one side around the other side.
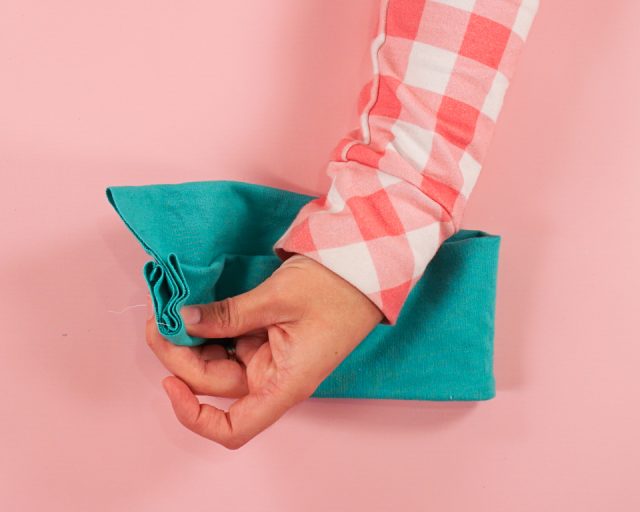
Bring the last edg fold down around. It’s like two “U’s” holding on to each other. Pin the layers together.
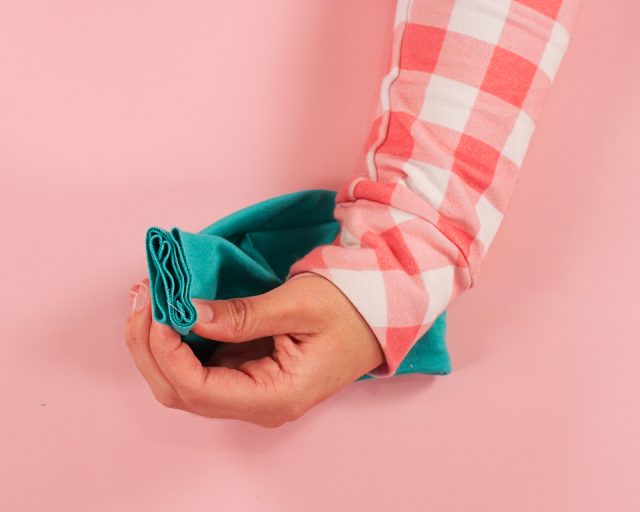
Sew the seam with a zigzag stitch.
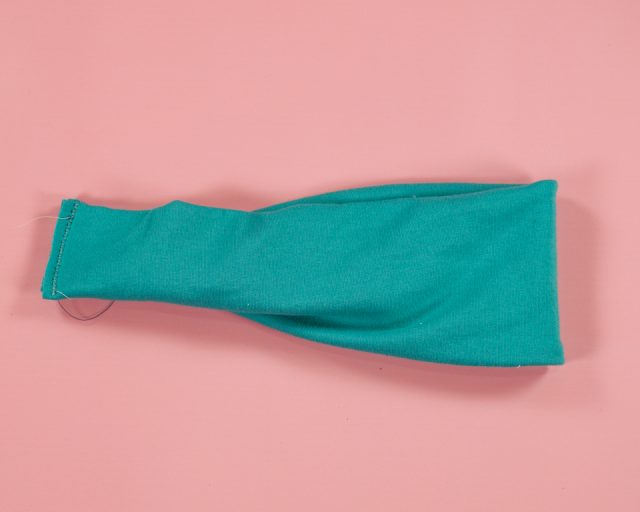
Pull the seam open and the seam allowance will be pulled inside the twist. You finished!
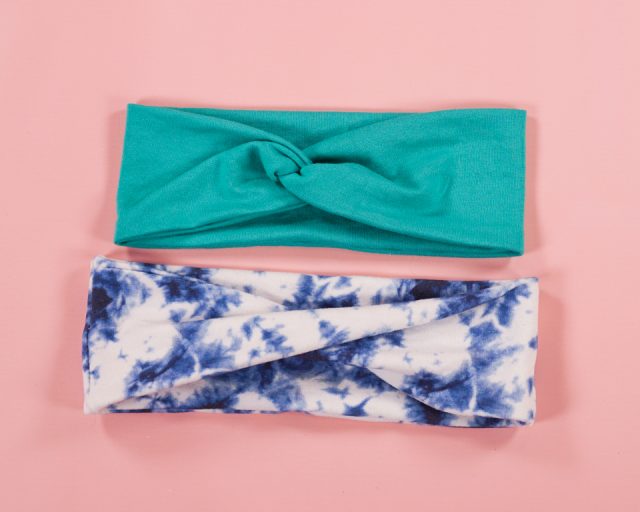
How to Sew a Twisted Headband with two seams
supplies
- Cotton spandex fabric
- Sewing tools
- Sewing machine

Cut a two rectangles that are 8 inches tall and 10 inches wide. The 10 inches should go with the direction of the stretch.
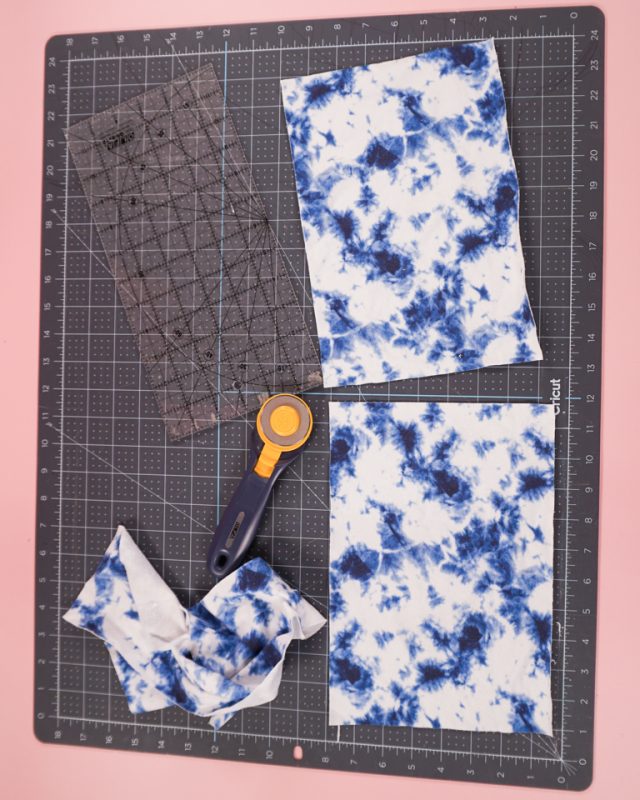
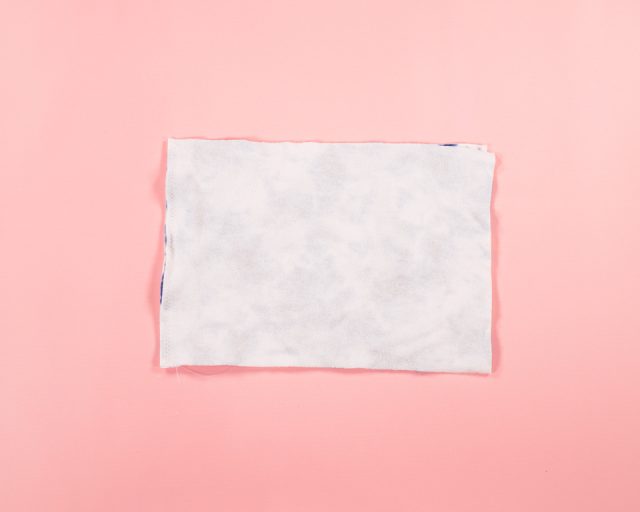
Place the short edges of the rectangle with right sides together. Pin together and zigzag.
Open the rectangle up all the way. Fold the rectangle along the long edge and match up the long edges right sides together. Sew with a zigzag stitch.
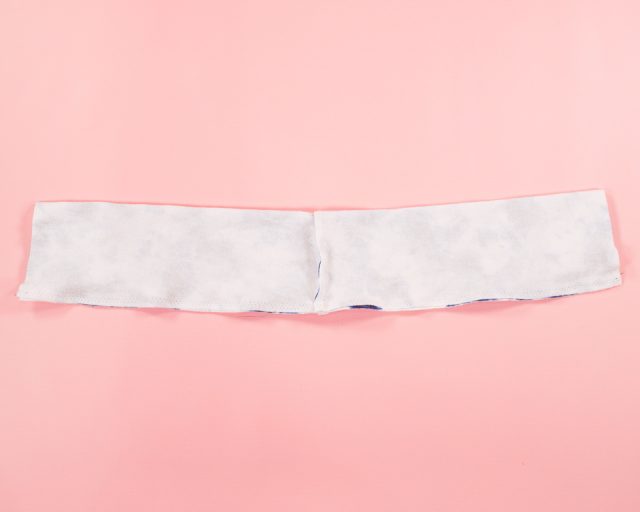
Turn the headband right side out.
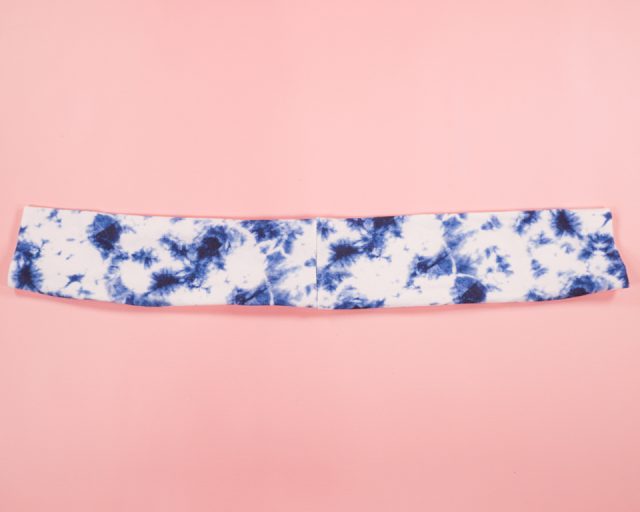
Push the seam to the edge along the fold.
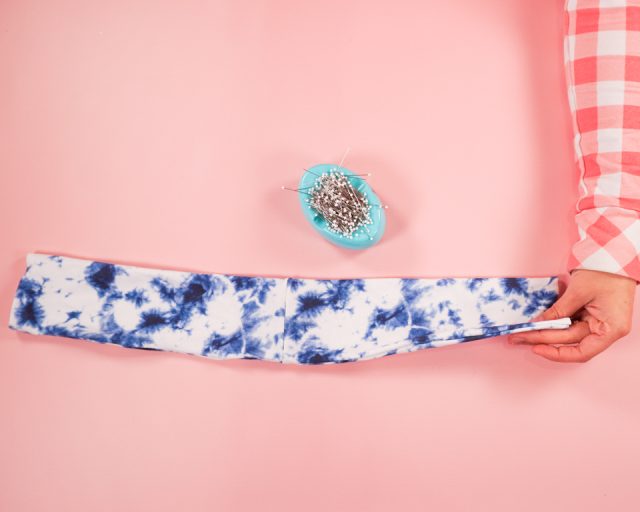
Fold the headband in half and match up the short ends.
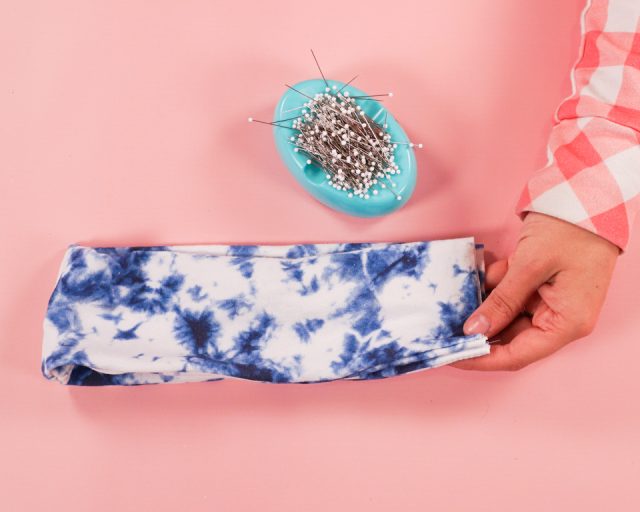
Twist the top layer once and match the short ends.
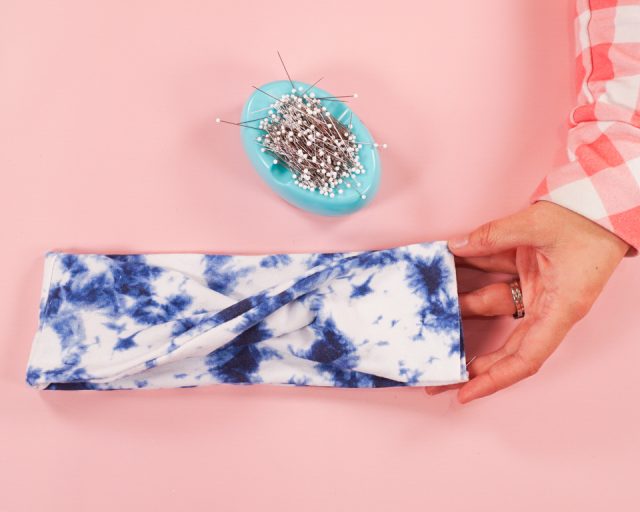
Just like an infinity scarf, match up the right sides of fabric but only two layers (not four). Pin them together as far as possible.
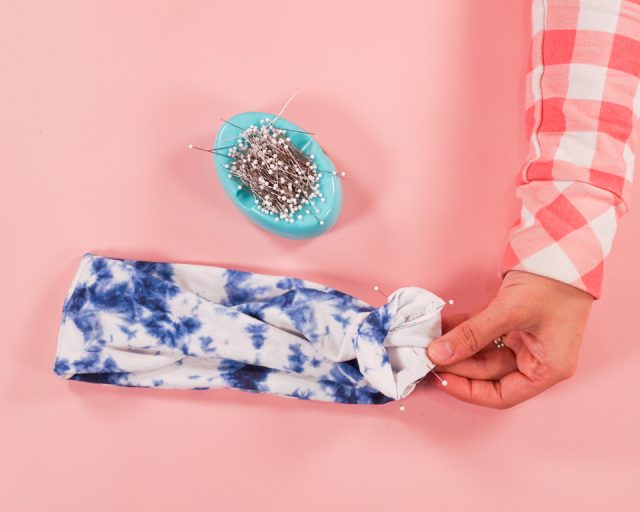
Sew the seam with a zigzag as much as posslbe. You won’t be able to sew the whole seam.
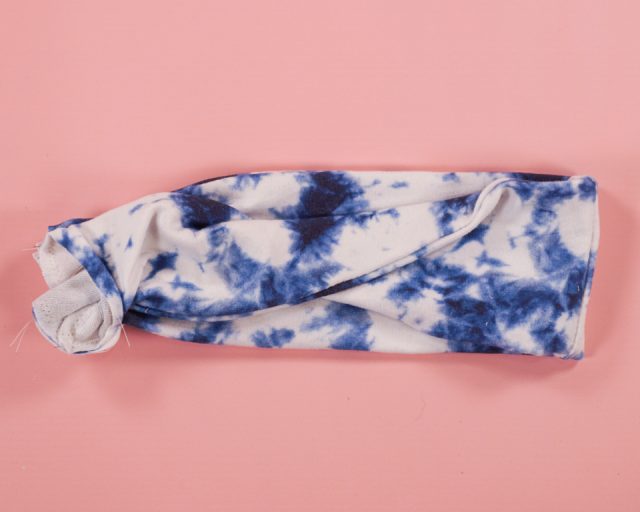
Pull the seam allowance inside through the hole. Pinch the hole closed and edgestitch it closed with a straight stitch.
See how there are multiple folds across the twist?
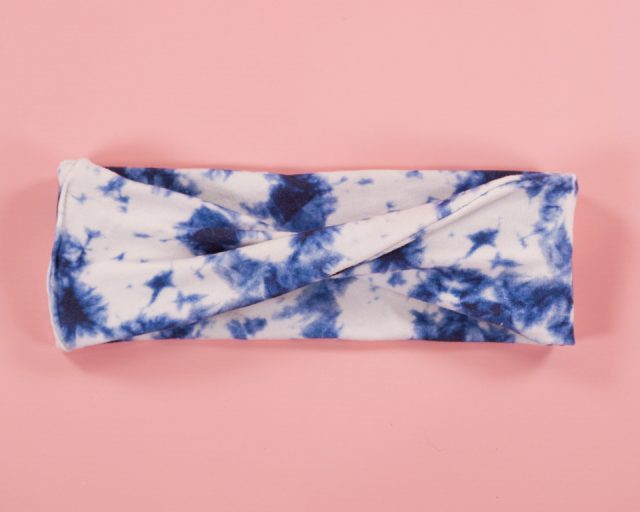
Lift the top fold to see multiple layers and folds underneath. Pin the fabric layers underneath.
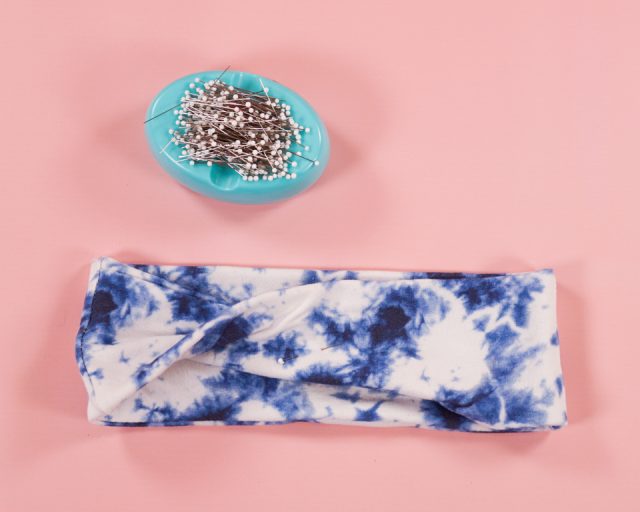
Tack the layers in place with a straight stitch and a couple of stitches. Drop the fold back in place to hide the stitches.
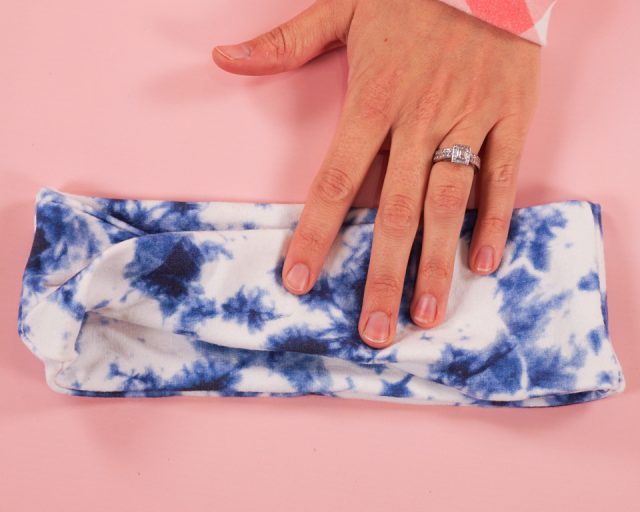
You finished!

If you make something using this sewing project, I’d love to see! Please share it on social media with the hashtag #heatherhandmade and tag me!

I believe small sewing moments can create great joy. Find your own “right” way to sew. -Heather

Do you know the measurements I’d use on a infant headband?
Hi there,
on the second tutorial for the twist headband, is there any type of video that you could provide? I am new to seeing and cannot figure out the last few steps
There is a youtube video near the beginning of this post and it will walk you through the steps. (The video was having a problem loading so I fixed it and it’s showing up now!)
I love this tutorial. Thank you!