
DIY Knit Headband Tutorial

This post may contain affiliate links.
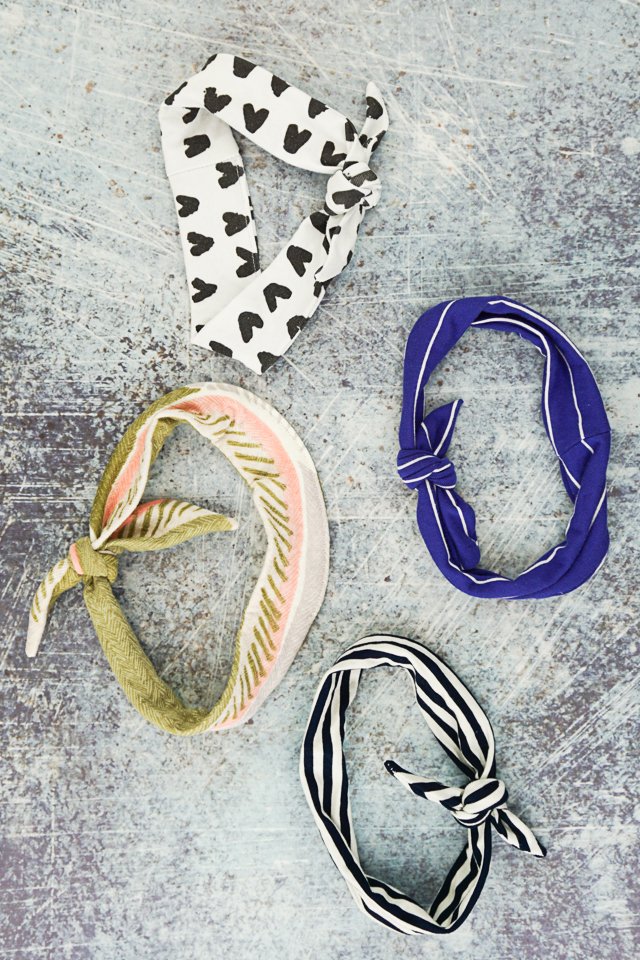
Learn how to make a DIY knit headband with scraps of knit fabric! It’s a great beginner sewing project that makes a really cute handmade accessory!
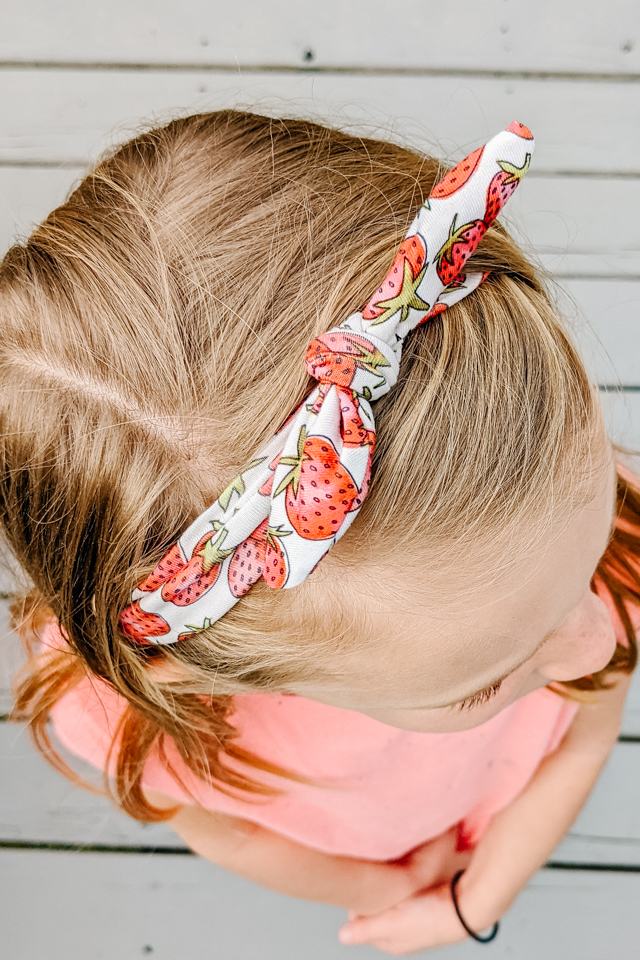
When I workout or clean the house, it’s easier if I keep my hair out of my face. I love having a cute knit headband to put on that is soft on my hair and my head.
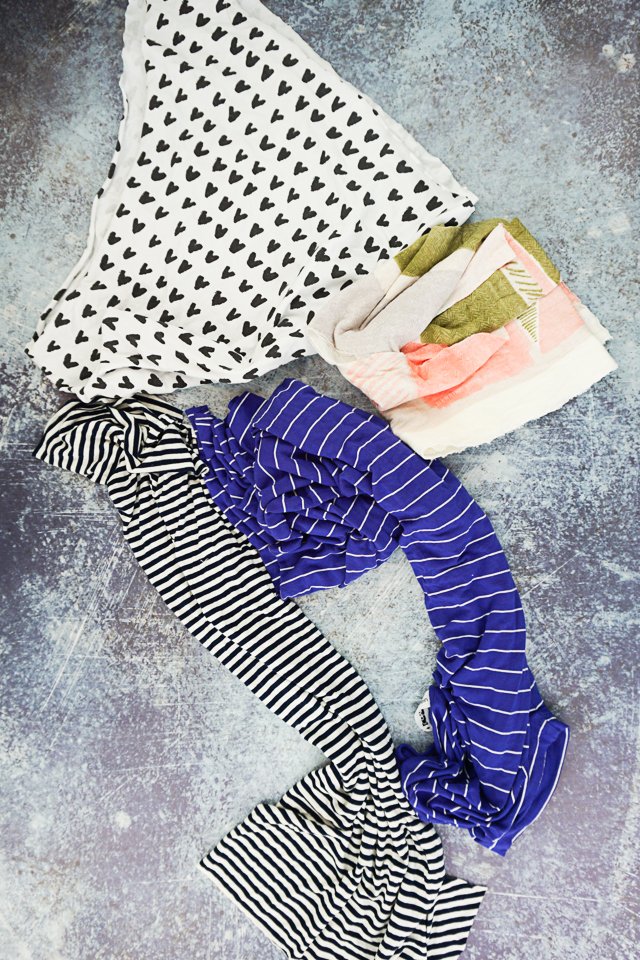
This sewing project is a great way to use up knit fabric scraps or to upcyle t-shirts or knit dresses. You can make tons of DIY knit headbands in a short amount of time.
If you need an easy sewing project that you can teach your kids, then this is a great place to start. I started with wovens and hated it, but I really fell in love with sewing when I started working with knit fabric.
You will take your own measurements to get the right size of headband. It’ll give you a custom fit that is perfect for your head and preferences.

The best types of knit fabric to use for this project are anything with spandex like cotton spandex jersey or rayon spandex jersey. You can use new fabric or fabric scraps. You can also use any garment made from knit fabric as long as it has good stretch and good recovery.
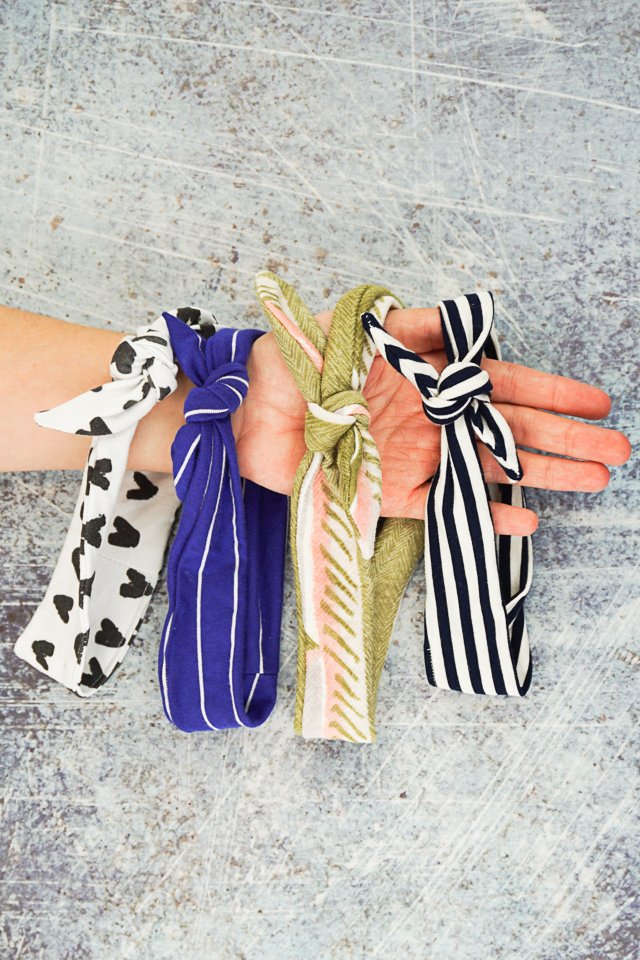
The great thing about this project is that you can make lots and lots in a short amount of time. You could make it for you daughter and all her friends.
Do you love to sew? Try one of these fun sewing projects:
- Gift ideas to sew
- Beginner sewing projects
- Scrap fabric projects
- Free ear warmer sewing pattern
- Make a twisted headband
- How to make a bow headband
- Sew knit fabric
- Sew gifts with knit fabric
- Jersey knit sewing projects
DIY Knit Headband
Supplies
- Knit fabric scraps, knit fabric, t-shirt, or knit dress – tips for sewing jersey fabric
- measuring tape
- sewing tools
- sewing machine
- optional: serger
- Want the free printable PDF headband pattern? Get it here
Measure your head with a measuring tape from the base of the skull up around the top of the head. Add 4 inches.
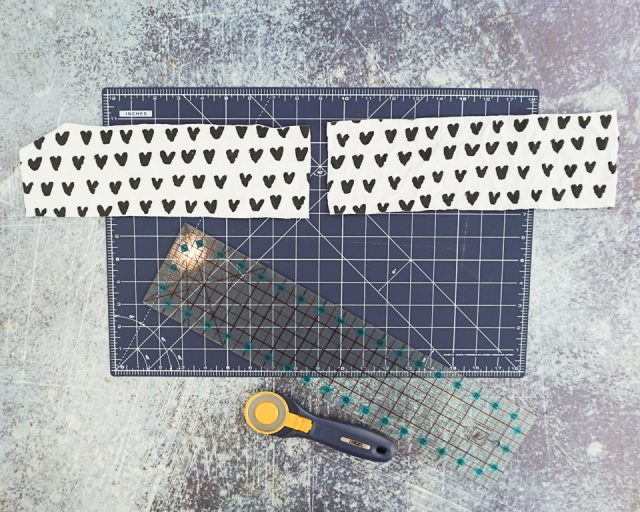
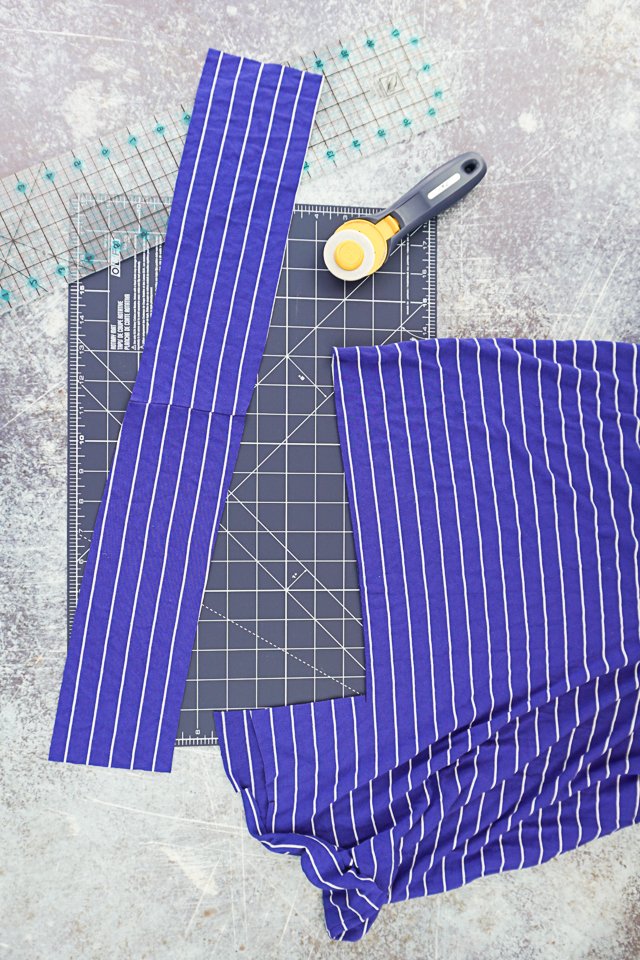
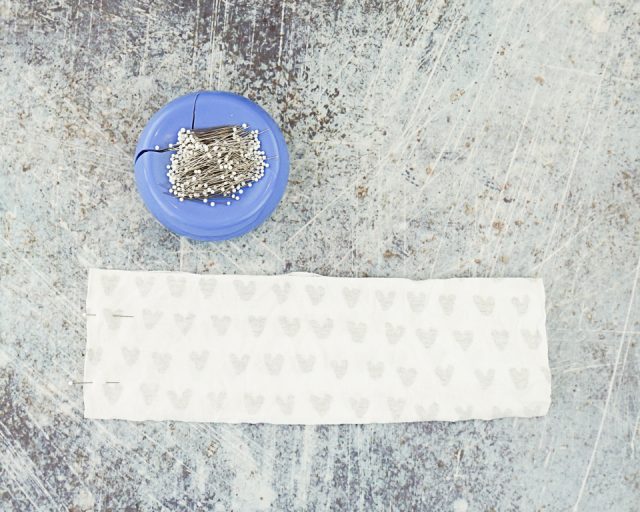
Cut a rectangle that is length of the measurement by 4 inches tall.
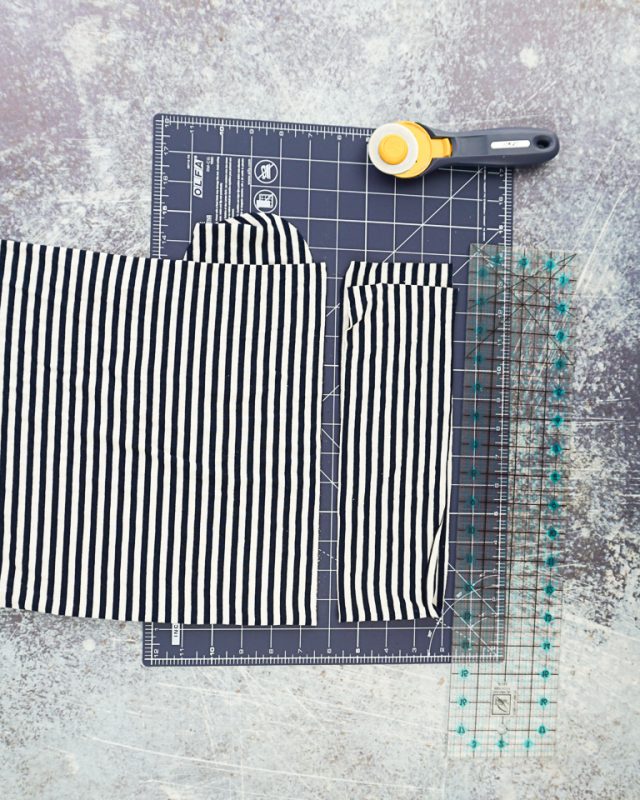
If your scraps of knit fabric are small you can cut two rectangles with an extra 1 inch added for seam allowance.
If you use a t-shirt or a dress is okay to cut through a seam. Just make sure the seam is in the middle so that it’ll be on the back of the headband.
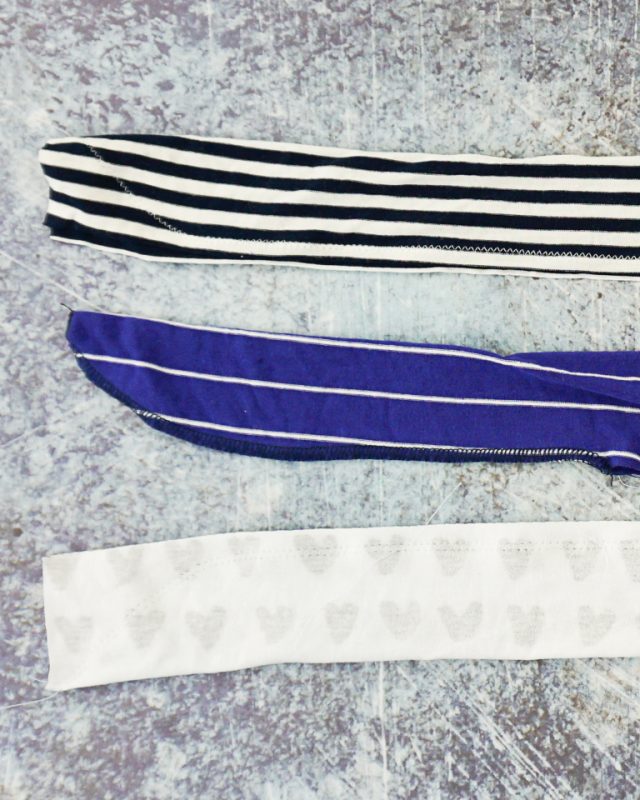
Fold the headband in half lengthwise with right sides together. Pin in place.
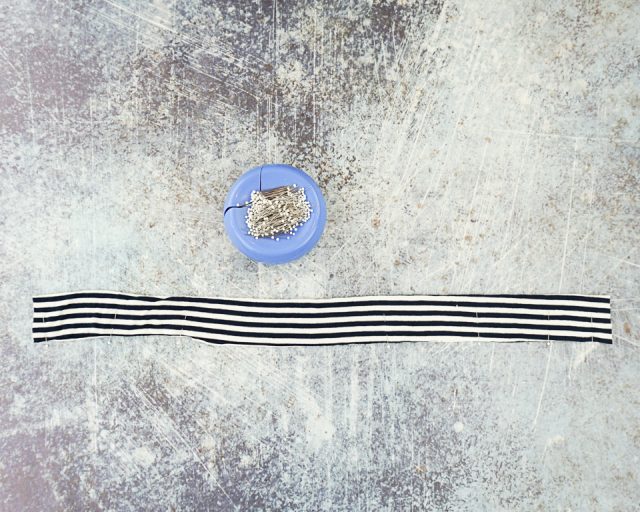
If you are using a scrap of fabric you need to pin and sew the short edges together first. Use a zigzag or a serger.
Sew starting from the corner and then out to the straight edge.
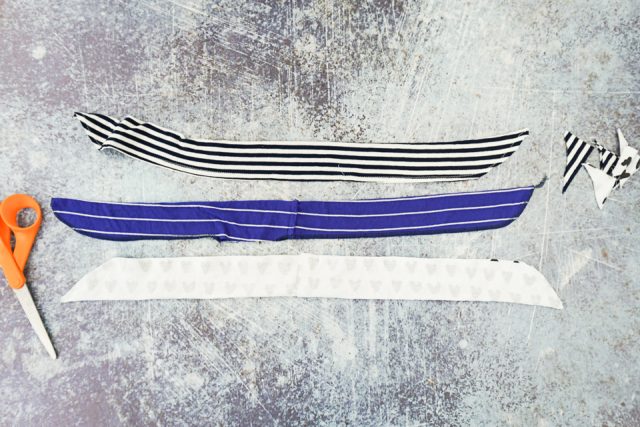
Stop in the middle and backstitch. Leave a 2 inch hole. Start again on the other side by backstitching and sew to the other side in a point.
Trim the corners off.
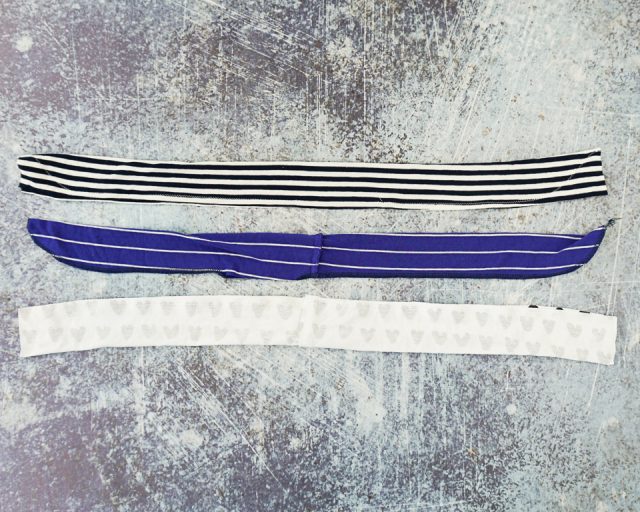
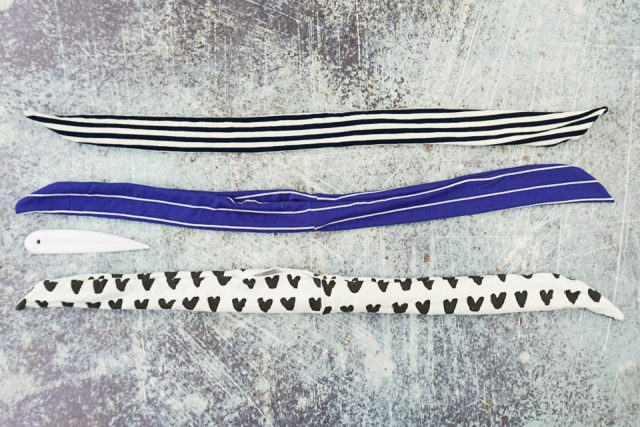
Turn the headbands right side out. Use a point turner to poke out the corners.
Pin the hole closed with the seam allowance inside. Topstitch the hole closed with matching thread.

Tie the ends of the headband in a square knot to finish it up. I like to put the headband and check the fit to tighten or loosen the knot if needed.
Make lots for yourself and your family!
If you make something using this sewing project, I’d love to see! Please share it on social media with the hashtag #heatherhandmade and tag me!


I believe small sewing moments can create great joy. Find your own “right” way to sew. -Heather
So easy, and I love that you can make these to match your home-sewn outfits!
They are lovely, I have a few old t shirts I’ve kept just knowing they would come in for something and now I know what! I don’t have to clean the house or workout when I’m wearing one though do I?!! 😀
ha ha no they are just cute to wear too!