
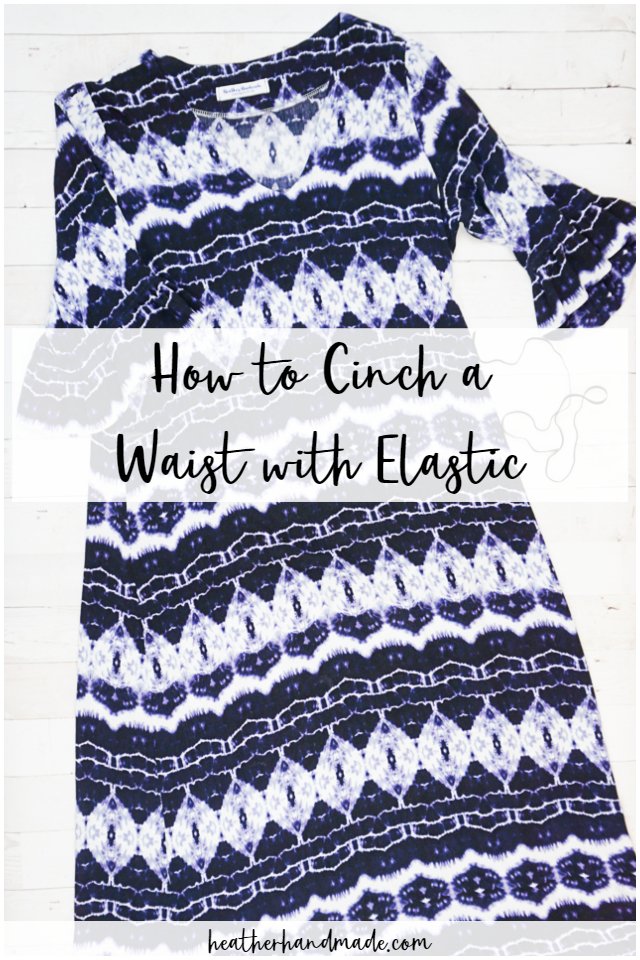
How to Cinch a Waist with Elastic

This post may contain affiliate links.
Learn how to cinch a waist of a dress or a shirt with elastic. It’s the quickest and easiest way to bring in the waist and make it more flattering.
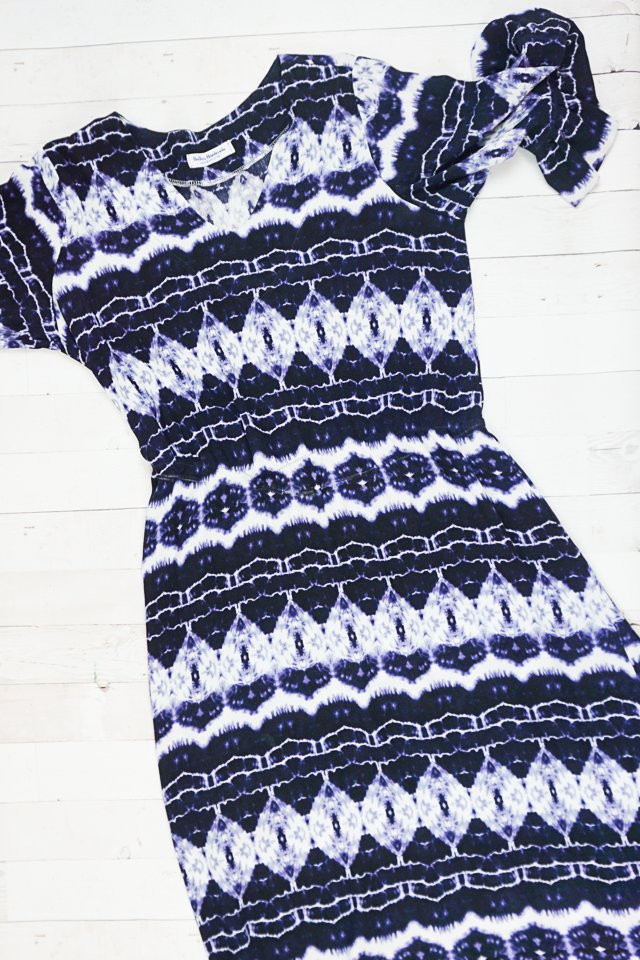
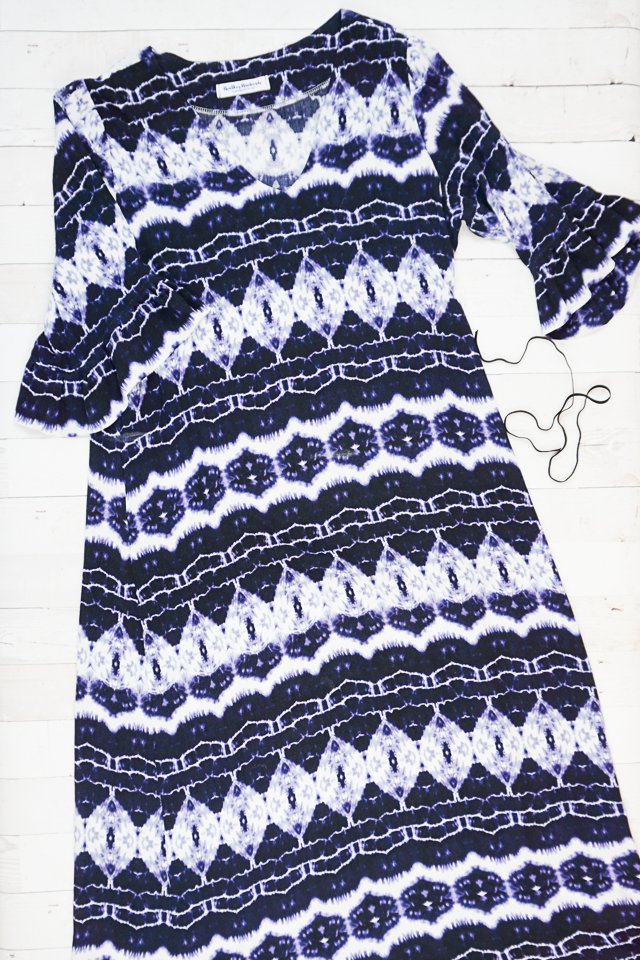
I made this dress last fall and have loved wearing it. It’s a beautiful print, and I think it works well for Fall, Winter, or Spring. I designed it to be worn with a belt to cinch in the waist since I lengthened a bodice pattern to be a dress.
After wearing it for all of these months I decided to add some elastic to cinch a waist. Then I could wear it with or without a belt. I’m showing how to do it with a dress, but the same technique can work for a shirt too!

The best part about sewing handmade clothing is that you get to design your wardrobe to fit your life. You get to sew clothing you’ll love! And if you want to alter or change an item of clothing after it’s done, you can also do that so it’s works harder for you.
This look works well for a casual bohemian vibe (which I love), but if you want to do something a little more tailored you can add back darts to bring in the waist. It really depends on the look you are going for!
Learn some ways to fix or alter the waist to make it fit better:
- How to add back darts
- How to add darts to a dress
- How to take the waist of pants
- How to take in the waist of jeans with elastic

How to Cinch a Waist with Elastic
Supplies
- A dress or shirt that is loose around the waist
- 1 yard 1/4 inch elastic – here are some ideas for finding elastic to reuse
- Sewing tools
- Sewing machine
Put the dress or shirt on. Use a marking tool to mark your waist on both sides and on the front and the back. (There are two chalk marks on the fabric below if you look closely.)
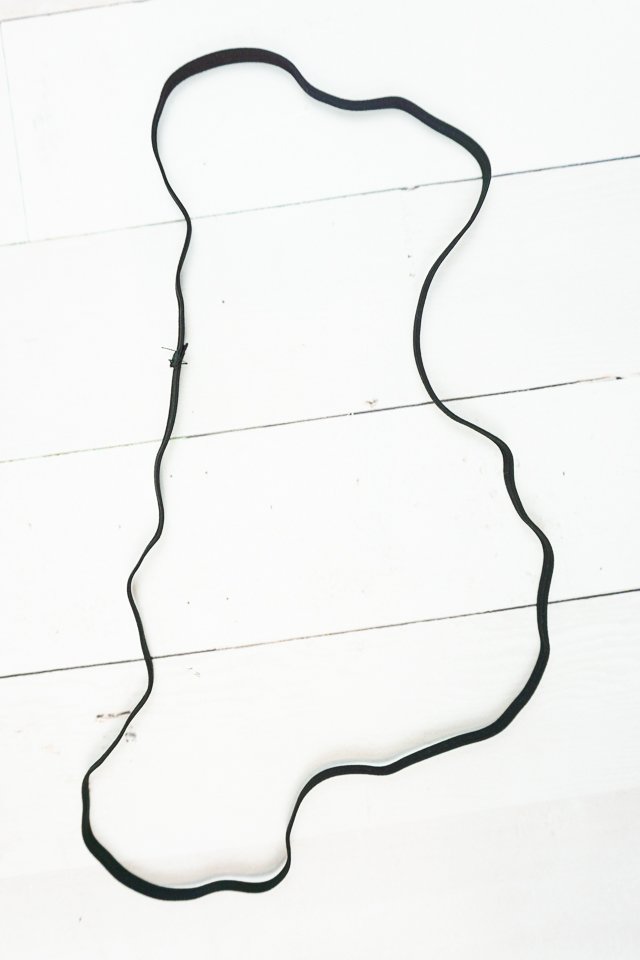
Put the elastic around your waist and pull it until it’s snug. Cut your elastic to this length.
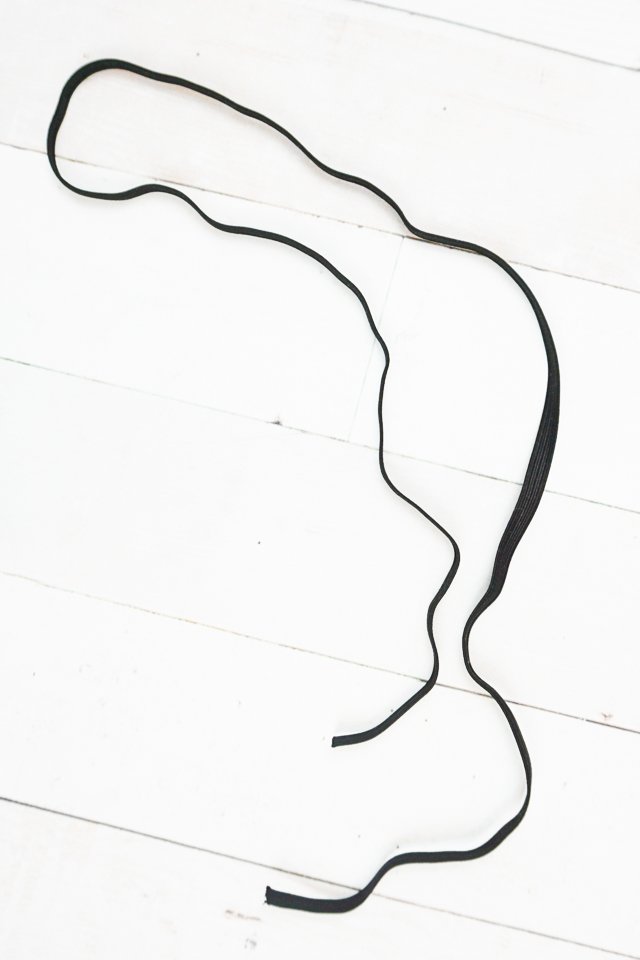
Overlap the ends of the elastic 1/2 inch and sew with a zigzag.
Transfer your waist marks into the inside of your dress or shirt.
Divide the elastic into four sections. Divide the dress or shirt into four sections at the waist. Pin each section of the elastic onto each section of the waist.
I put the pins pointing towards the way the elastic will be fed into the seing machine.

Looking at the dress or shirt from the inside, pull the elastic so that it stretches to fit the waist. Sew the elastic to the dress or shirt with a zigzag stitch.
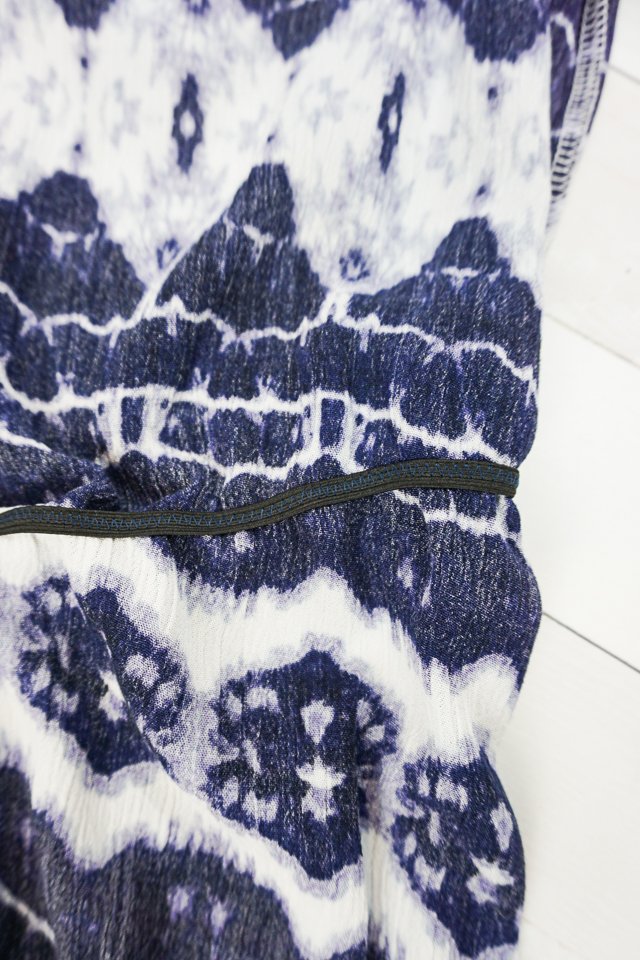
Sew the elastic all the way around the waist and backstitch.
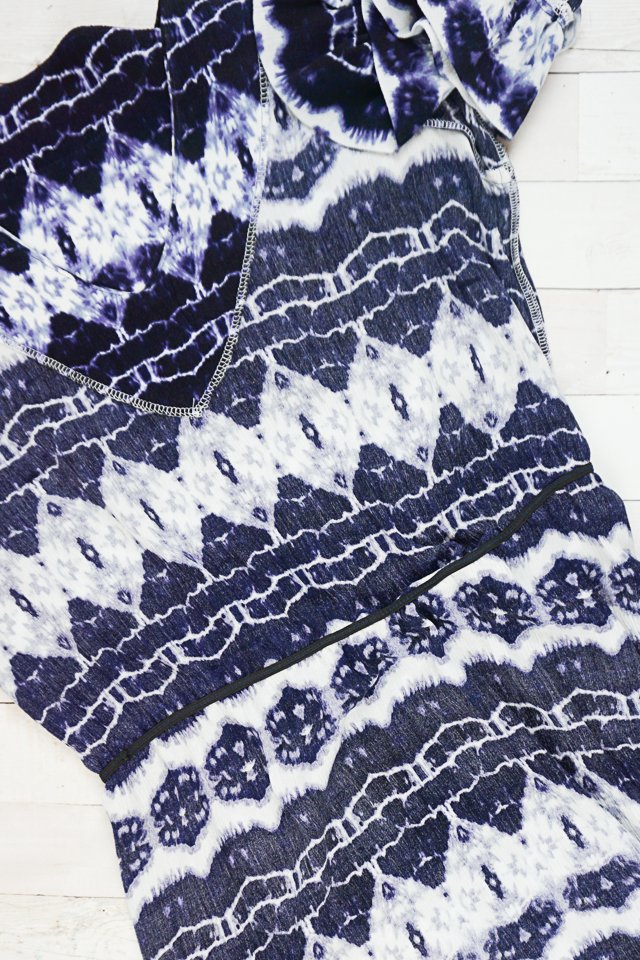
Give your dress a good press (or wash) to remove the markings. You finished!
If you cinch a waist using this tutorial, I’d love to see! Please share it on social media with the hashtag #heatherhandmade and tag me!

I believe small sewing moments can create great joy. Find your own “right” way to sew. -Heather
Hello! Great tutorial! I’d like to ask why you weren’t worried that your place to add the elastic didn’t follow the pattern of the fabric? That would drive me nuts… 🤪
The pattern of the fabric is so busy you can’t really tell. You can kind of see in pictures because you are zoomed in and I’ve fixed the lighting, but its not noticable in person.
You are lovely and your ideas are smart and inspiring!
Thank you!