
How to Lengthen a Pattern To Make a Dress

This post may contain affiliate links.
Start with a basic shirt pattern that you have fitted to your body, and then can learn how to lengthen a pattern to make a dress!
I remember learning about how to alter a flat pattern in college, and it was like the world opened up to me. I realized that you can alter or hack any pattern into something that you’ll love. It’s so amazing what you can make with just a simple pattern if you are will to do a little work!
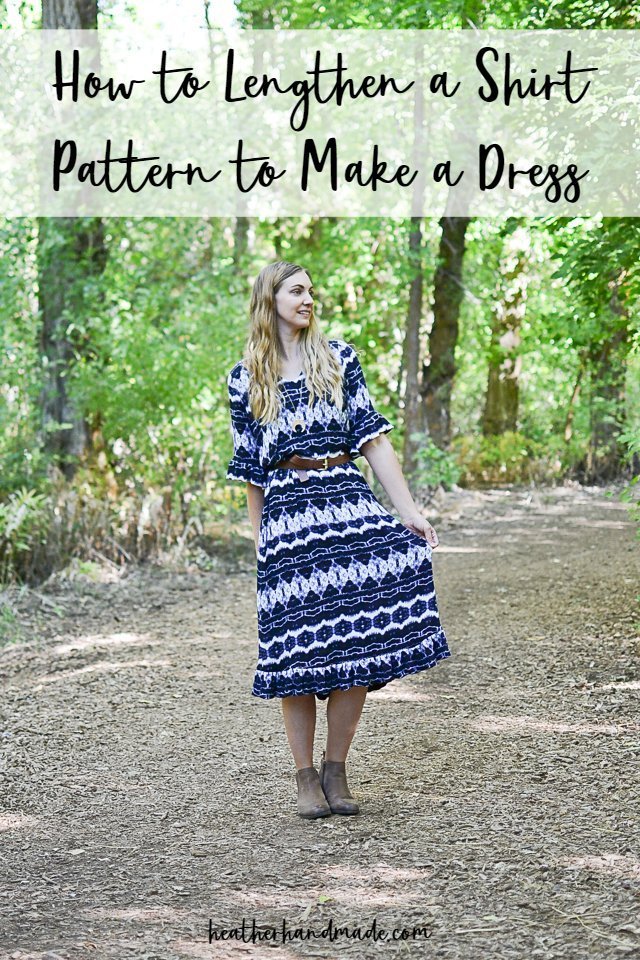
Do you want to see more of this dress? Come see the Lucerne Blouse to Dress!
I really love hacking patterns to make them into something else. It’s so exciting to start with an idea, do some drawing and cutting, and make the pattern into something different.
This pattern hack takes a simple shirt pattern and lengthens it into a dress. If you shirt pattern is a little more complicated or has more details you might have to do a little more work.
If you don’t want to do the work of altering the pattern you can also just do an alteration to lengthen a dress after it’s finished or lengthen a dress with a ruffle.
How to Lengthen a Pattern To Make a Dress
I found the best way to share this tutorial was in a video!
supplies
- Large clear ruler*
- Medical Exam Paper*
- Pen or pencil
- Large cutting mat
- Paper scissors
- Blouse pattern: printed, cut to size, and fit altered – I used the Lucerne Blouse Pattern*
Using the medical exam paper lengthen the front shirt pattern from the hem down to the length you want. Keep the center front straight.
Do the same to the back shirt pattern.
Once they are both lengthened make sure that the angle of the side seam is the same for both pattern pieces. You want the fabric to be cut on the same angle so that it hangs the same way.

If you make something using this sewing project, I’d love to see! Please share it on social media with the hashtag #heatherhandmade and tag me!

I believe small sewing moments can create great joy. Find your own “right” way to sew. -Heather