
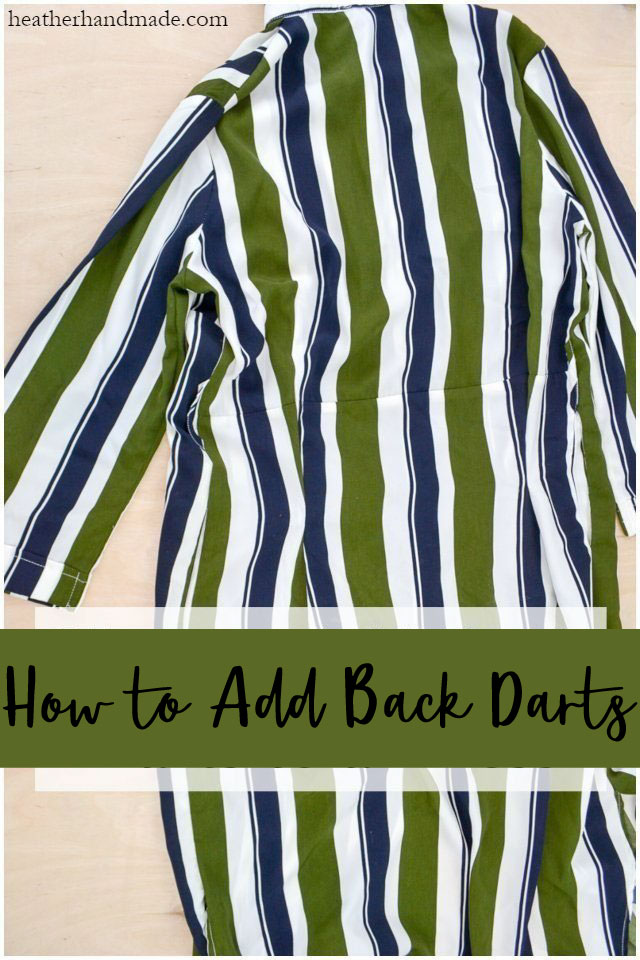
How to Add Back Darts to a Dress

This post may contain affiliate links.
Learn how to add back darts to dress for a better fit! This alteration is great to make your dresses fit better and add shaping in the back.
Ready-to-wear clothing is made to fit an average woman that doesn’t really exist. Sometimes you need to make simple alterations to your clothing to make them look like they were made for you.
This simple sewing tutorial teaches how to add back darts to a dress. This is one of the sewing and alterations you can do yourself!
What is a dart?
A dart is a triangle sewn into fabric to take it in and provide shape. It’s a way to take in fabric and keep a sleek and smooth look. It’s commonly used around a bust, waist, and hips.
Why use a dart to pull in fabric?
A dart is a great way to reduce the amaount of fabric in one area. You sew in the fabric to be tighter, but then it’s pressed flat so that it doesn’t create that much bulk in that area. Gathering or elastic pulls fabric in, but it can create bulk where you don’t want it.
Learn all of these alterations you can do to a dress:
- How to add back darts
- How to take the waist of pants
- Cinch a waist with elastic
- Make a dress longer
- Add sleeves to a dress
- Raise the neckline of a dress
How to Add Back Darts to a Dress
supplies
- Sewing tools
- dress
- safety pins
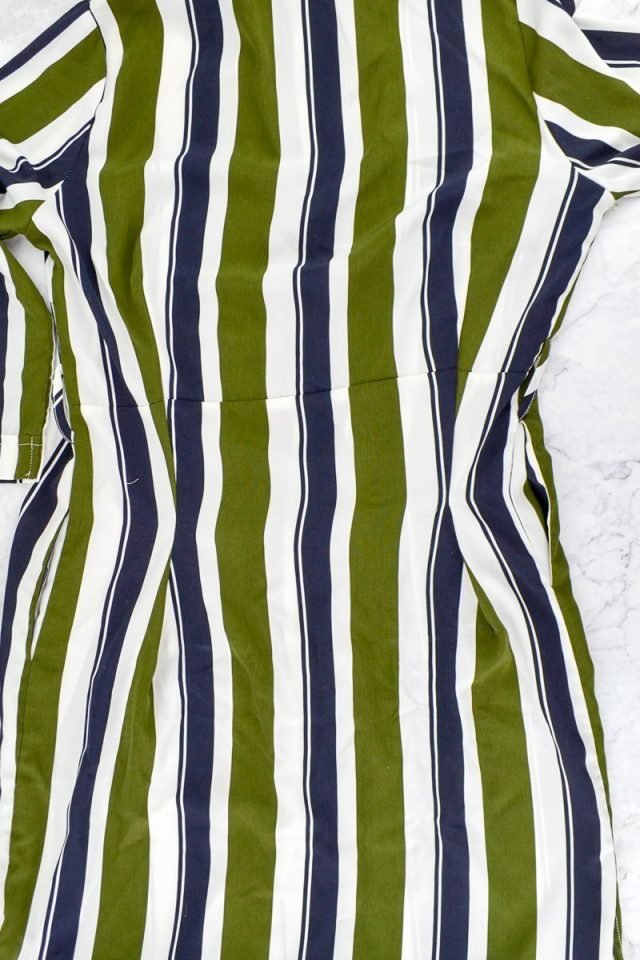
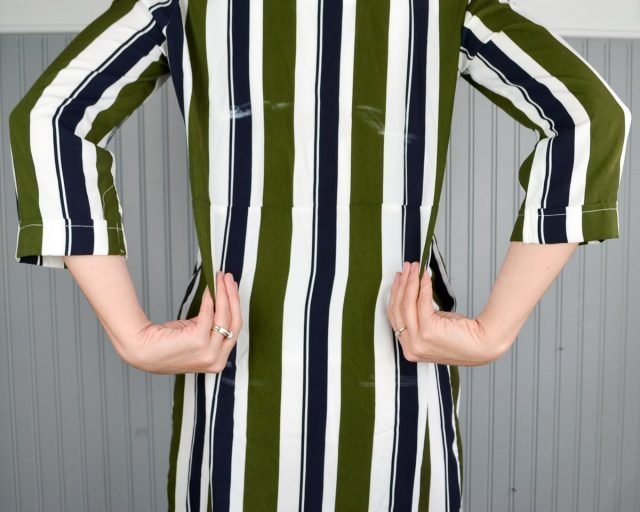
Put the dress on. Find the smallest part of your middle in the back. This may or may not be your waist. I find it helps if I bend side to side at my middle to help me find where I bend and where I am the smallest.
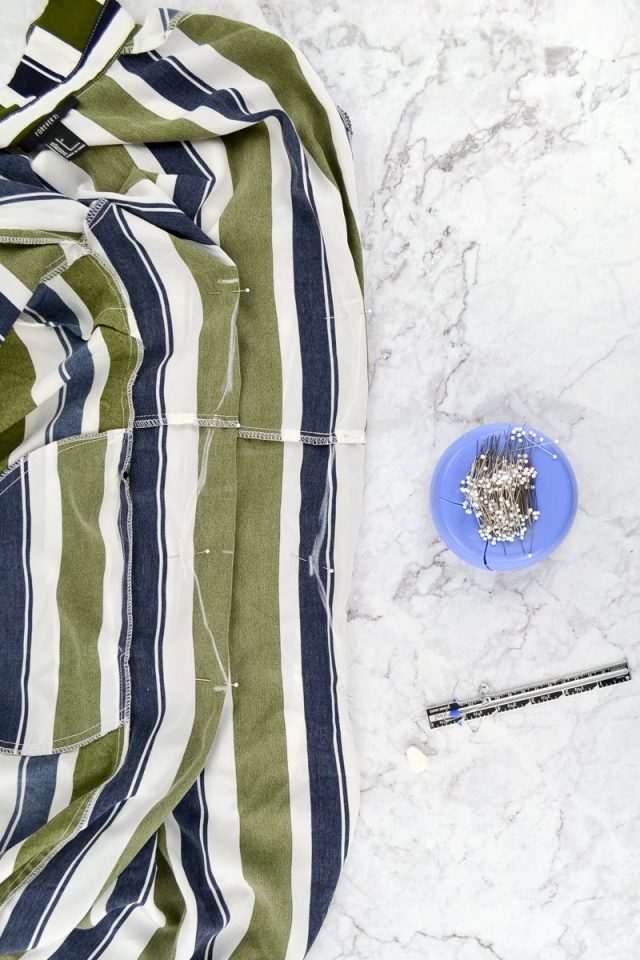
Safety pin out two equal sections on the back of each dress.
Mark the top and bottom of the dress with a marking tool. Mark where the dart gets kind of smoothed out.
Transfer the markings to the inside of the dress. The amount of the two darts might be slightly different so choose an amount that’s average of the two.
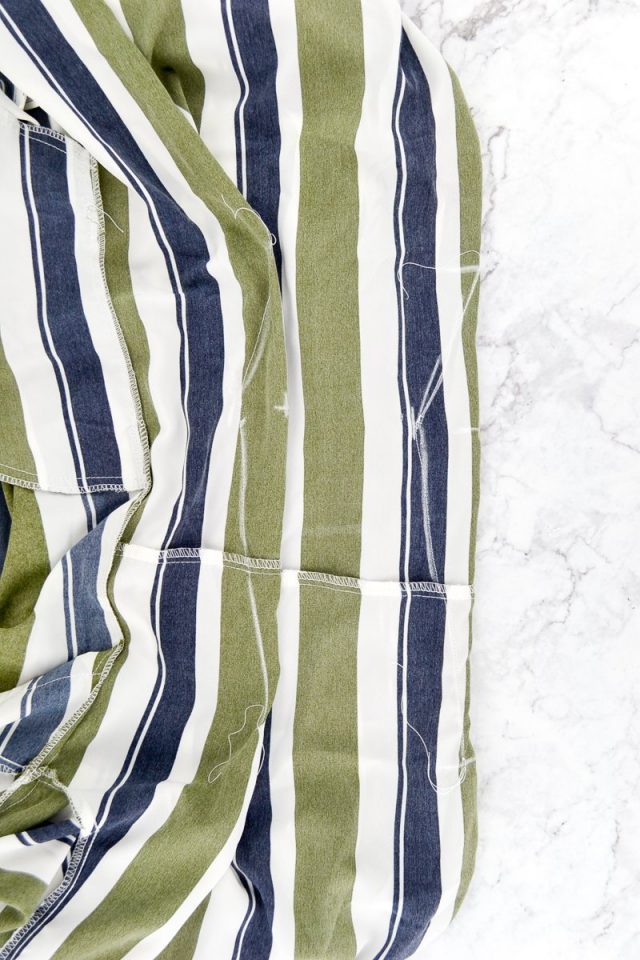
You will be creating two diamond shaped darts with a center line. Your dart might be uneven depending on the dress and your shape.
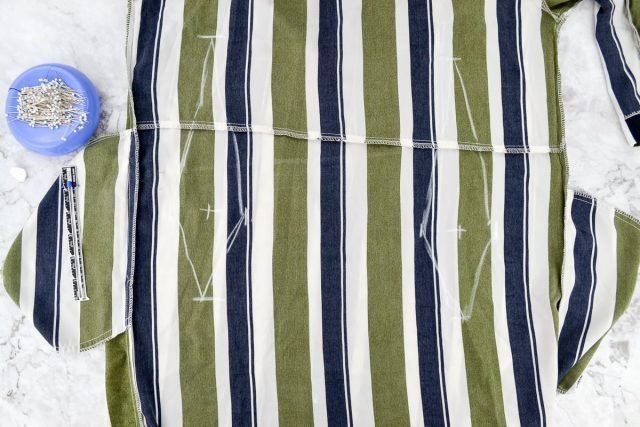
Fold the dart at the center matching up the outside points of the diamond. Pin the fold in place.
Sew the darts. Start by sewing from the center point of the dart and out towards the bottom point. DO NOT backstitch but leave a long thread tail. Flip the dart over, start sewing from the center point out towards the top point. DO NOT backstitch but leave a long thread tail.
Do the same to the other dart.
Tie the thread tails into square knots. This is how to finish the thread without backstitching.
If your darts are really deep you might need to clip the center part of the dart. This is expecially true for woven fabric.
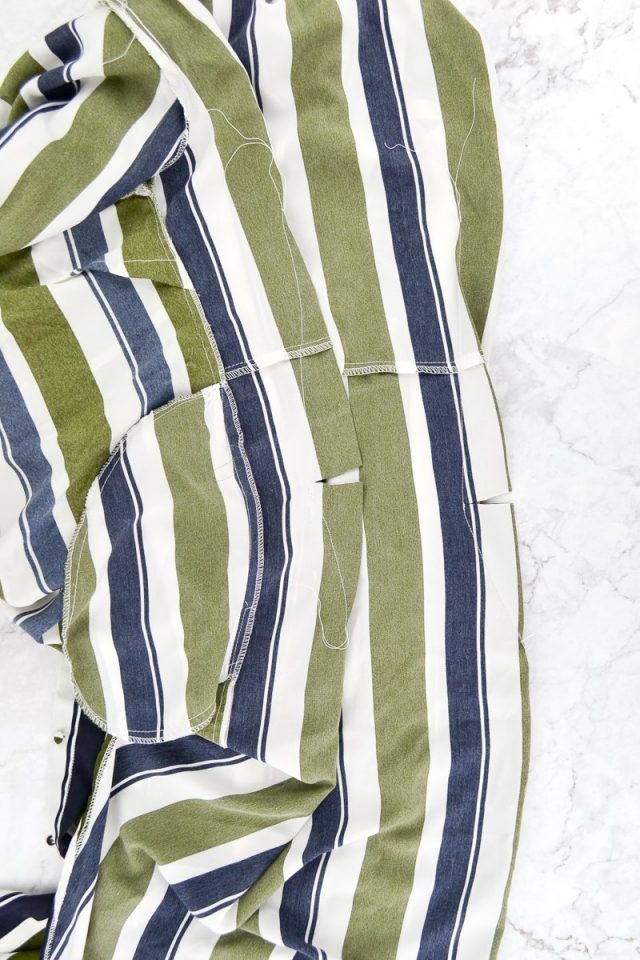
Press the darts towards the center of the dress.
If you make something using this sewing project, I’d love to see! Please share it on social media with the hashtag #heatherhandmade and tag me!

I believe small sewing moments can create great joy. Find your own “right” way to sew. -Heather
Hi How do I avoid the dart poking out at the bottom of the dart? Have i made it too long? I wish I could show you a picture, the dress is a slip dress made from cupro so quite silky and fine material.
It’s more likely that the dart is too short? I usually see that when the dart is too short. It could also be because you backstitched at the end of the dart instead of tying a knot. You can email me a picture and I could help more! blog at heatherhandmade dot com
I am just learning, so forgive stupid question: why not just sew in more at the waist, in a curve, to bring in the fabric instead of making darts? Please and thank you.
The fabric can’t all be pulled from the side seam since it’ll create pulling lines. The fabric being pulled in needs to be distributed across the sides and back.
Awesome! Found this on Pinterest. Although I know how it’s a helpful reminder and the pictures are great too.
Thanks , very simple and very helpful. However i would have liked to see the sample on a solid color fabric with a contrasting thread. It is difficult to see what.’s happening with the different color stripes! ?