
How to Take in Waist of Pants

This post may contain affiliate links.
Learn how to take in the waist of pants for a better fit. This works best when the pants fit you everywhere except for the waist.
It’s always hard to find ready to wear clothing that fits perfectly. We all have perfect non-average bodies that need special fitting. (Did you know that celebrities get all their clothing fitted and that’s why their clothing looks better?)
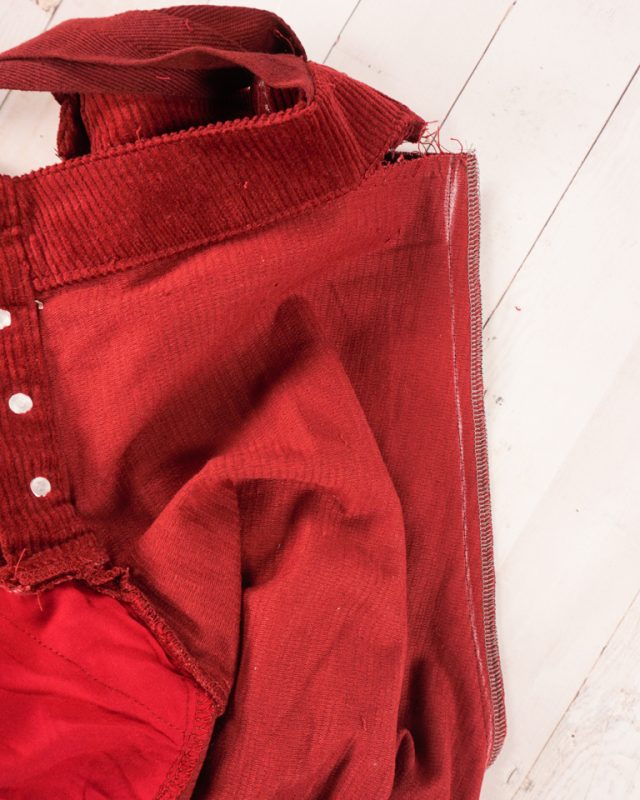
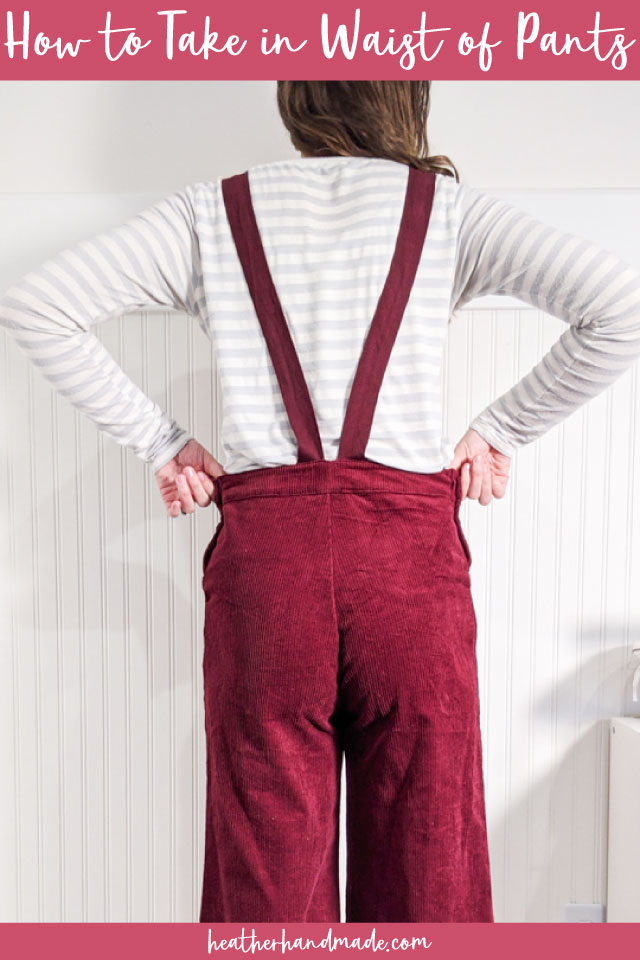
I bought these pretty red corduroy pants for the holidays, and they fit well everywhere except for the waist. The waist was just a tad too big so I took the waist in, and now the pants fit perfectly.
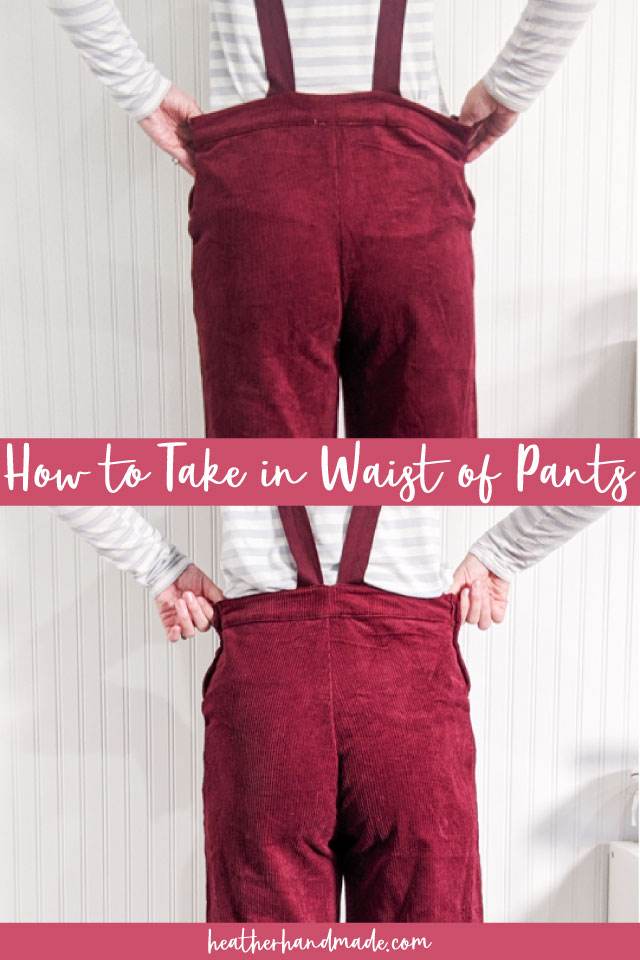
This technique does not work for pants that are multiple sizes too big for you. This isn’t about taking larger clothing and making it fit you, but it is about taking a pair of pants that almost fits except for the waist.
Do you want to learn how to alter clothing? Try some of these sewing projects:
- How to cinch a waist
- How to take in the waist of jeans with elastic
- How to add darts to a shirt
- How to add darts to a dress
- Sewing and alteration tutorials
- How to alter jeans
How to Take in the Waist of Pants
Supplies
- Pants with just the waist too wide
- Sewing tools
- Sewing machine
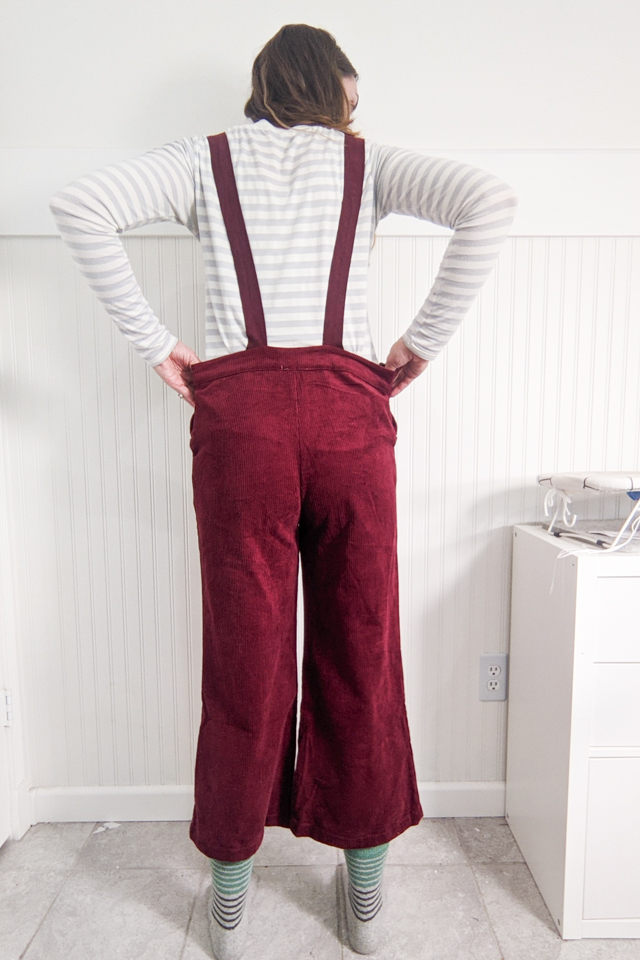
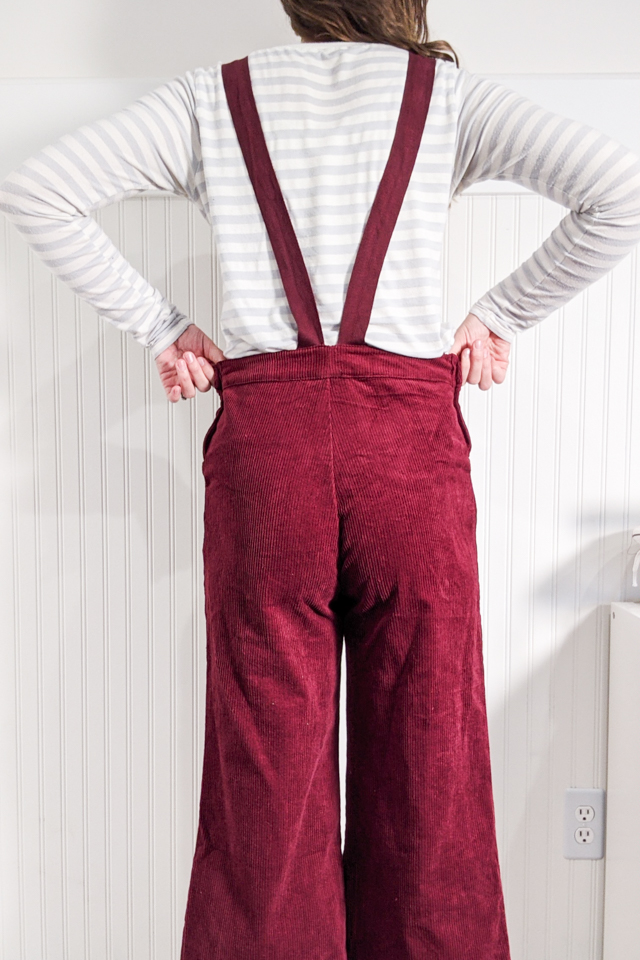
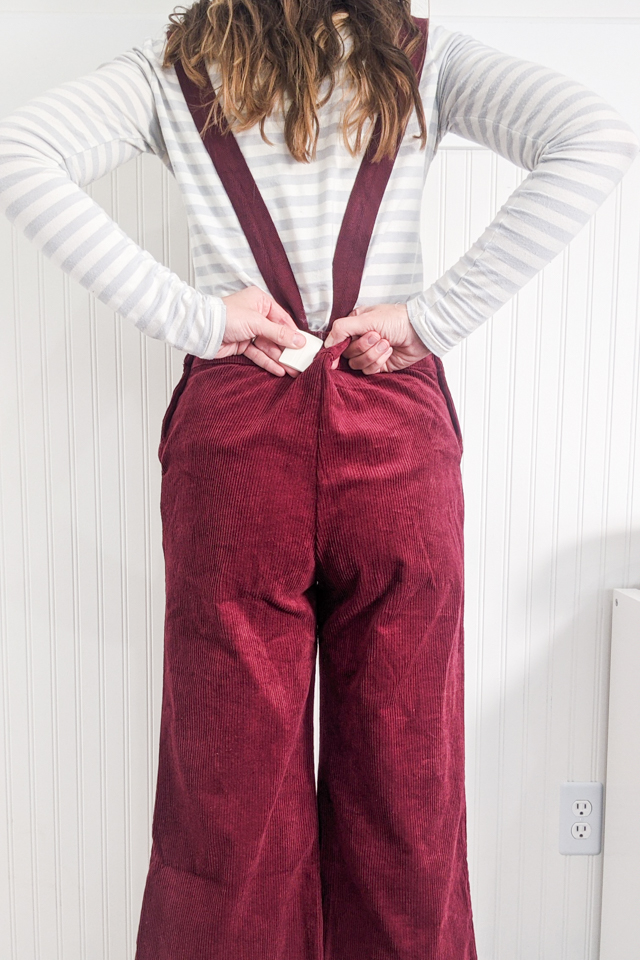
Put the pants on. Pinch a wedge in the center back until you like how the waist feels.
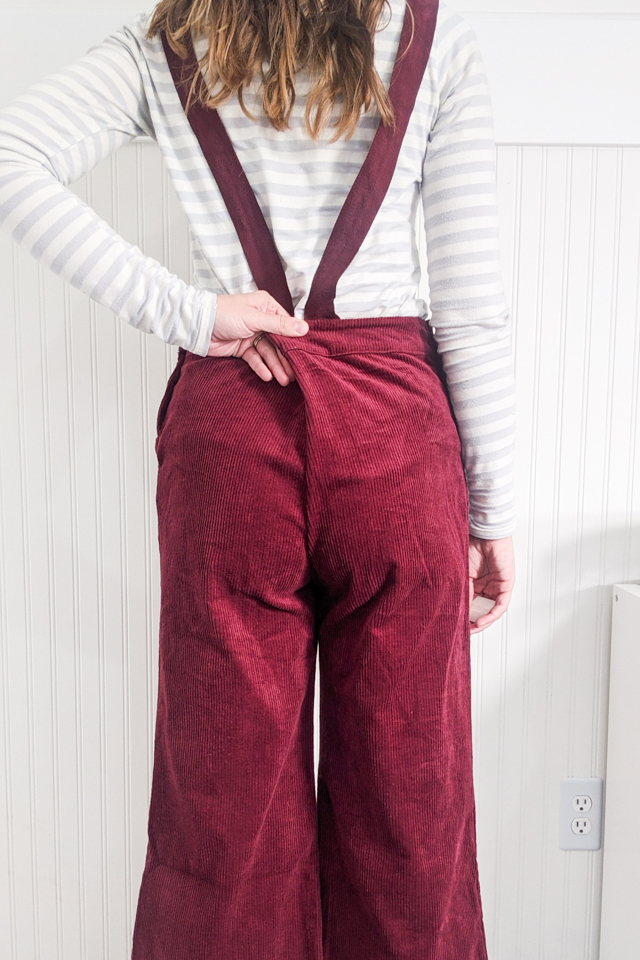
Use a marking tool to mark on each side of the wedge. Feel how far the wedge goes down, usually down to the widest part of your hips, and mark a line across.
Take the pants off. Check out your marks. Most likely the marks won’t be centered so measure the distance between the marks and use this amount.
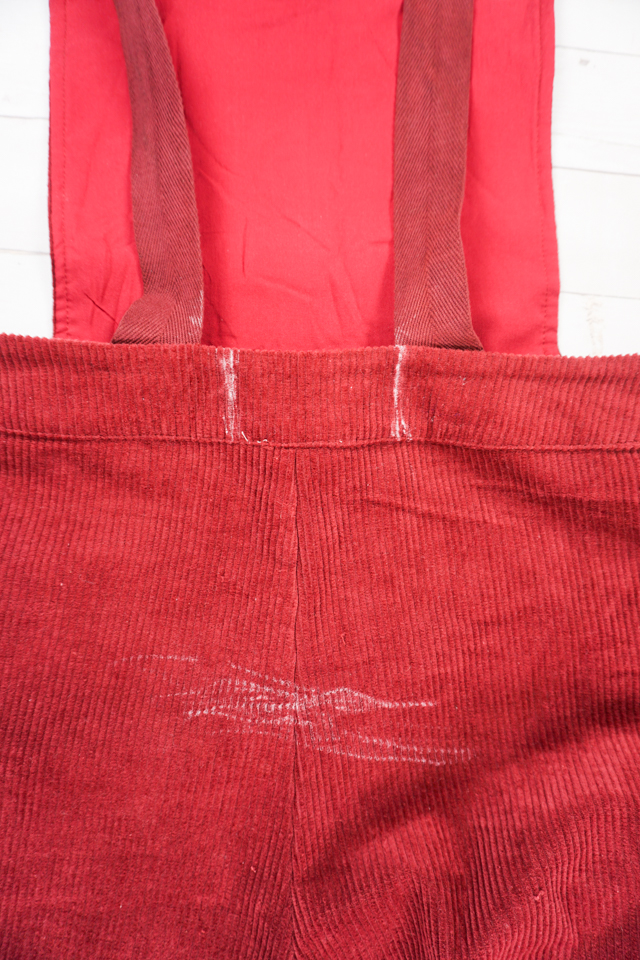
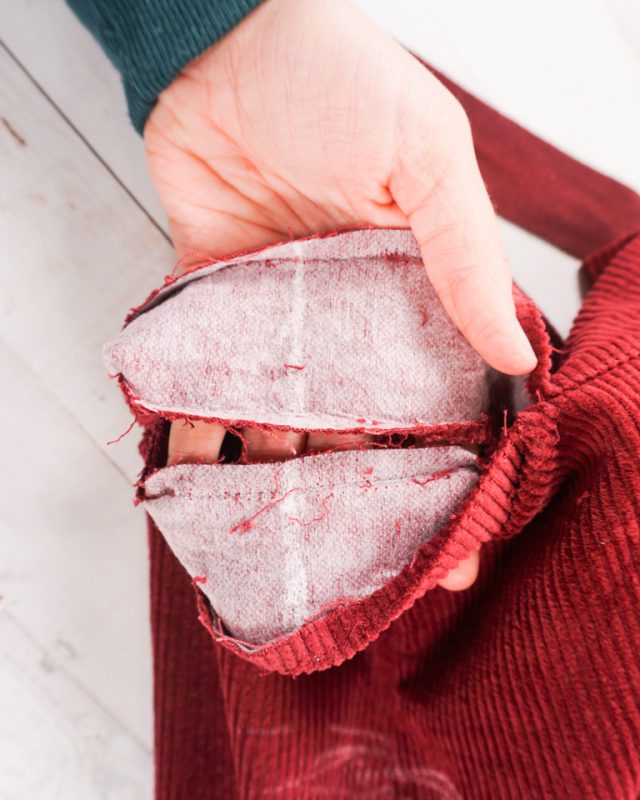
Seam rip the waistband off of the bands. I like to seam rip at least 2 inches passed each mark for room to work.
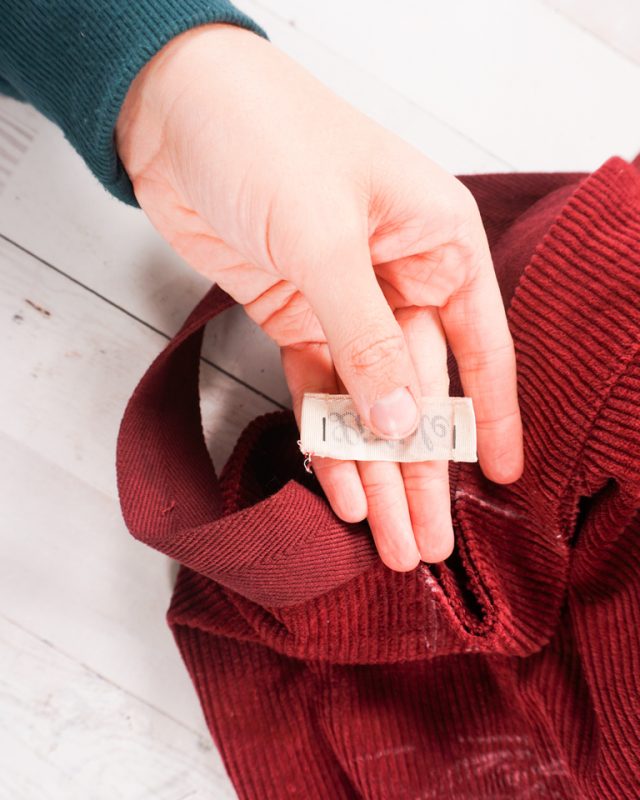
If the tag is on the center back of the waistband, then you’ll need to remove the tag of the pants. I’ve always removed the tag, and I never replace it.
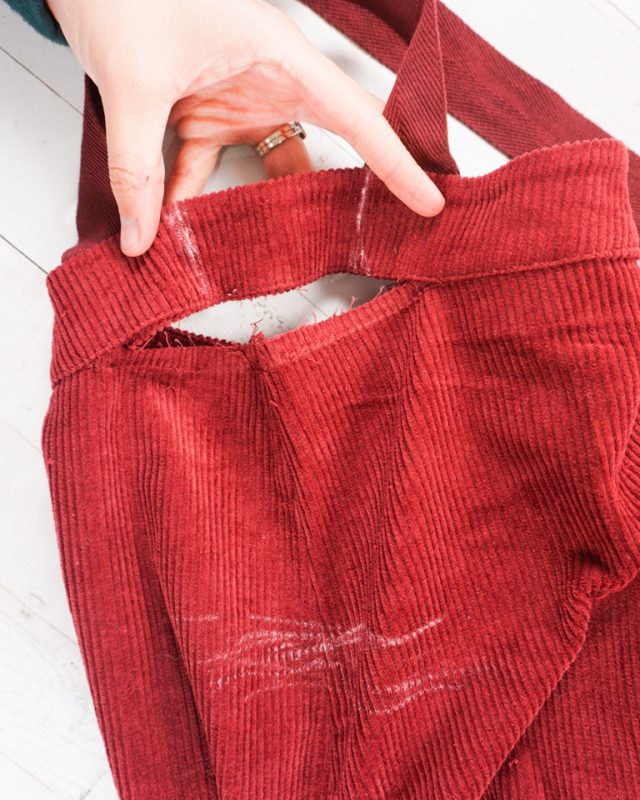
If your waistband is a separate outer and inner fabric, you’ll need to seam rip them so that the waistbands can be worked with separately.

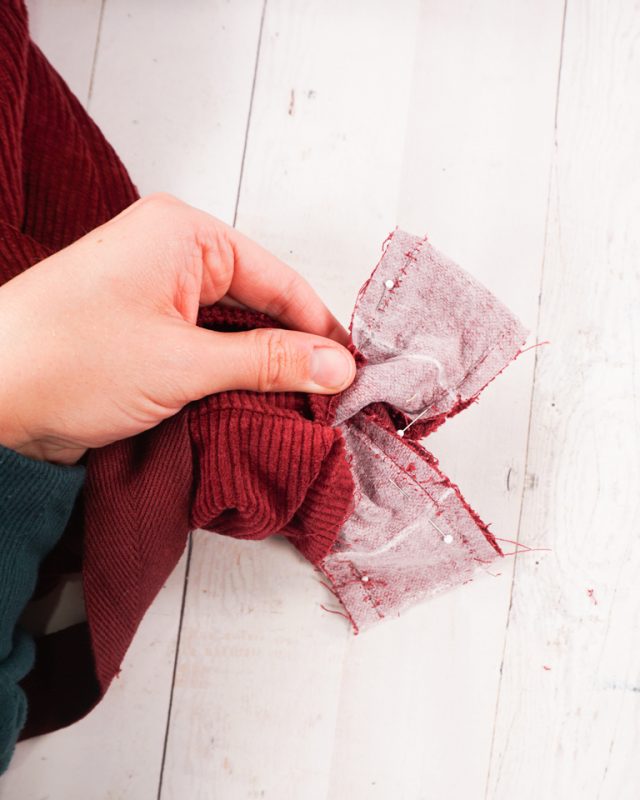
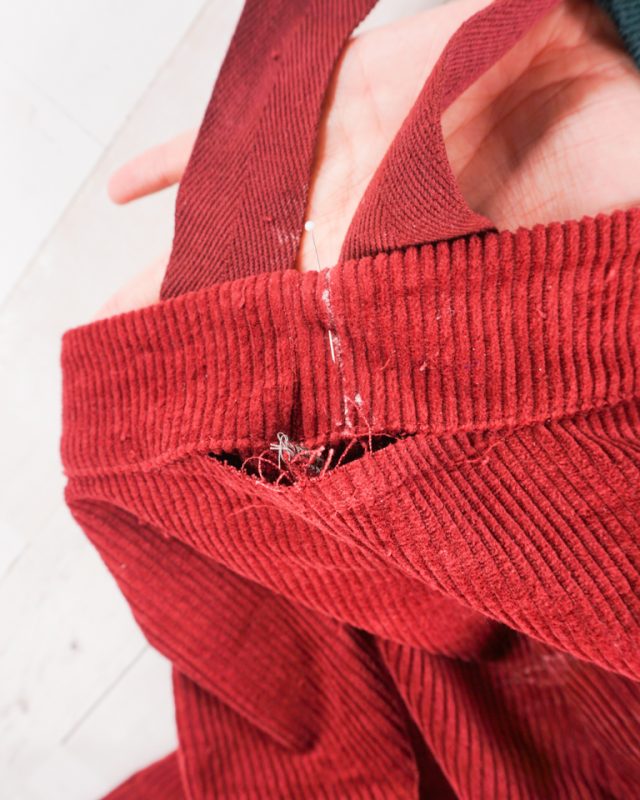
Find the center back of both waistbands and mark. Remember the total amount you wanted the waistband taken in? Divide it in half and mark that on each side of the center back.
Fold the waistbands on the center back and match up the marks on each side. Pin in place.
Sew along the marks to create a new seam.
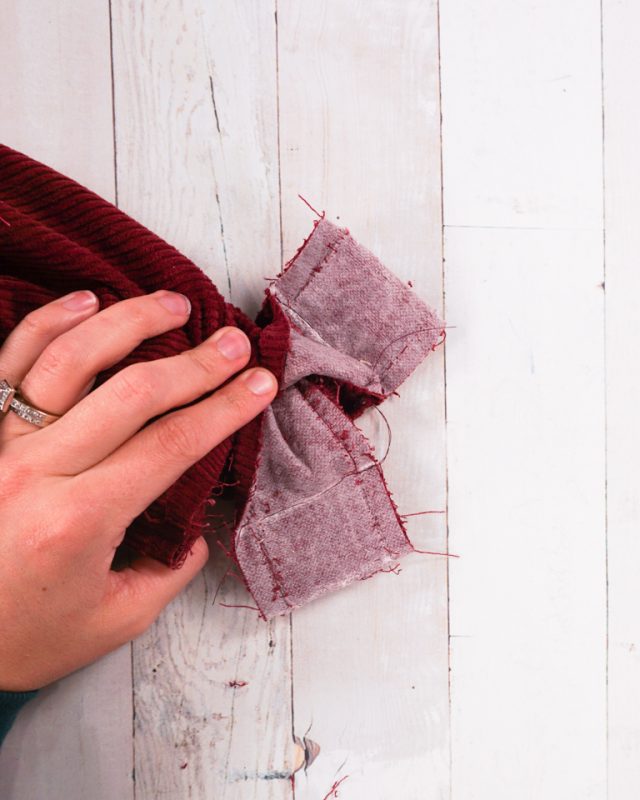
Trim off the excess leaving 1/2 inch of seam allowance. Press the seam allowance open.

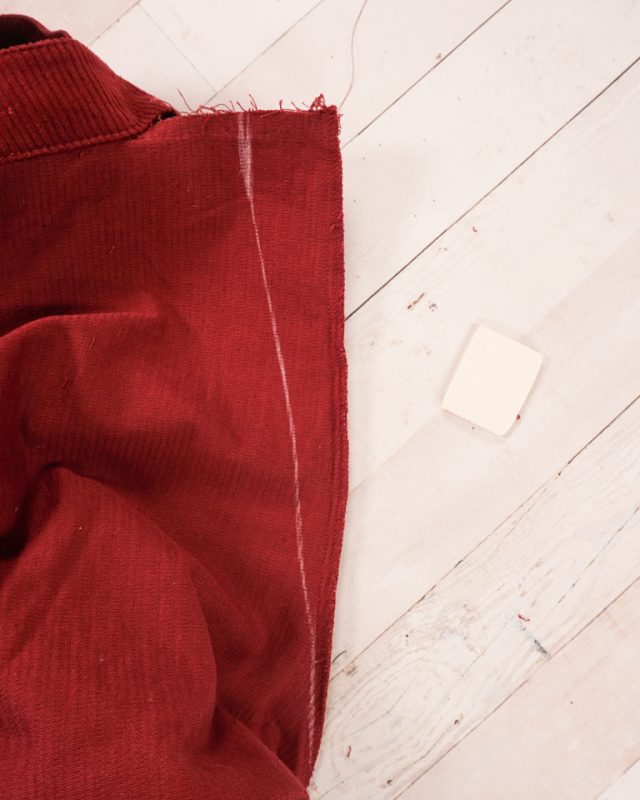
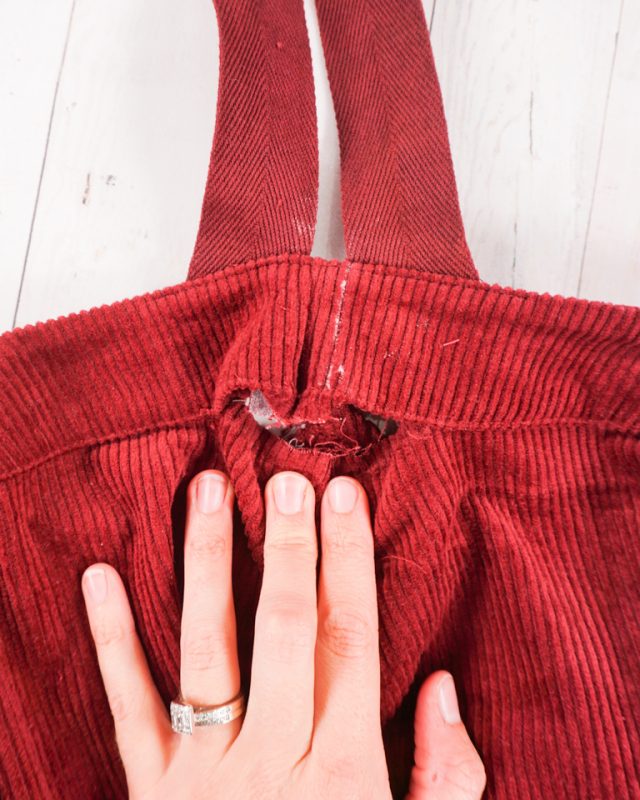
Remember the total amount you wanted the waistband taken in? Divide it in half and mark that as a wedge on the center back seam. Gradually reduce the amount until it smooths into the original seam.
If you have a specific spot where the wedge needs to stop, then that is where you’ll need to stop. I usually mark where the wedge needs to stop and then I do my best to end the wedge there, but sometimes I have to go another 1 or 2 inches to make the transition smooth.
Sew along the line. Cut off the excess and finish the new seam allowance.
Refold the top of the waistbands and pin together.
Topstitch the top of the waistbands to secure them together.
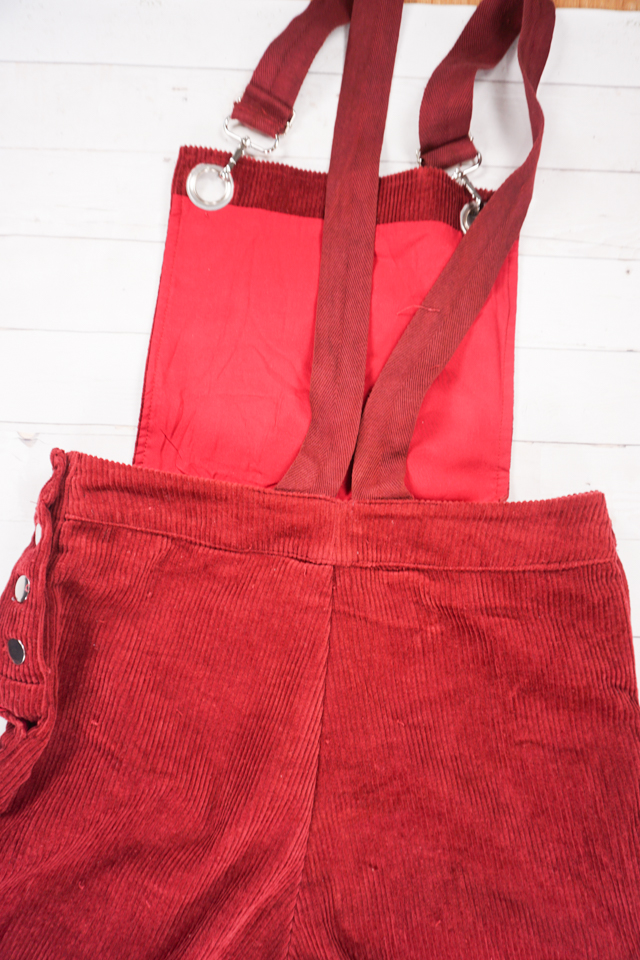
Fold the bottom of the waistbands in. Slide the top of the center back of the pants into the waistband. Pin the layers together.

Topstitch the waistbands in place onto the pants. Everything is now enclosed and sewn back together. It’s finished!
If you make something using this sewing project, I’d love to see! Please share it on social media with the hashtag #heatherhandmade and tag me!

I believe small sewing moments can create great joy. Find your own “right” way to sew. -Heather
I would like to become a member for free