
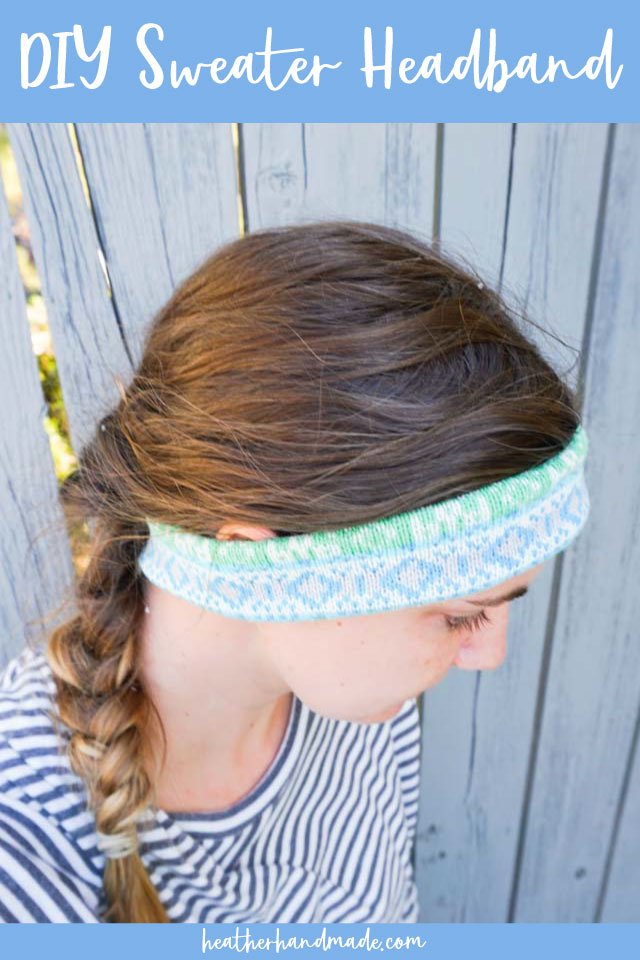
DIY Sweater Headband

This post may contain affiliate links.
Learn how to make a DIY sweater headband perfect for gifts and beginner sewing! Upcycle an unwanted sweater into a cute sweater headband!
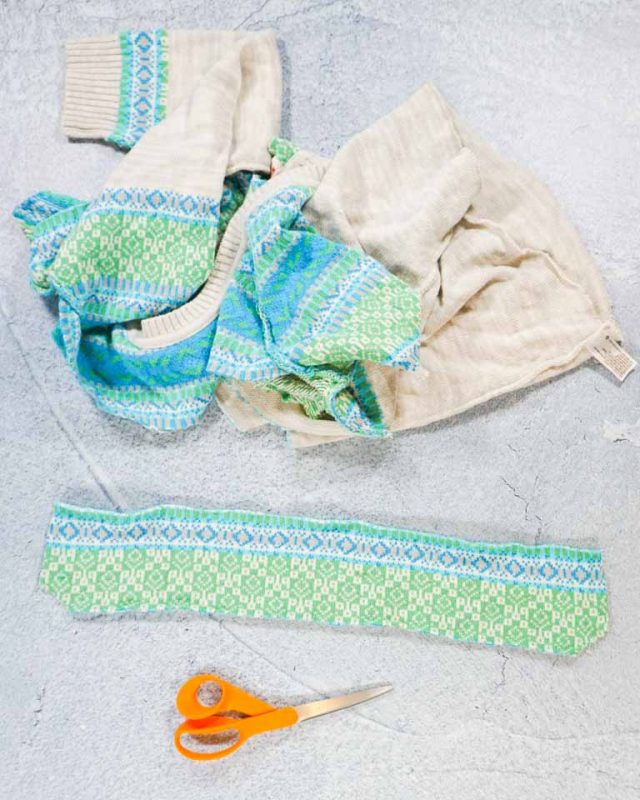
When I upcycle something I try to get as many projects out of an item as possible. I used this color fair isle sweater for a sweater ornament, and I used one of the sleeves for another project.
There was still a good amount of fabric left, so I decided to try making a DIY sweater headband. It used such a small amount of fabric that I can still make something from what’s left!
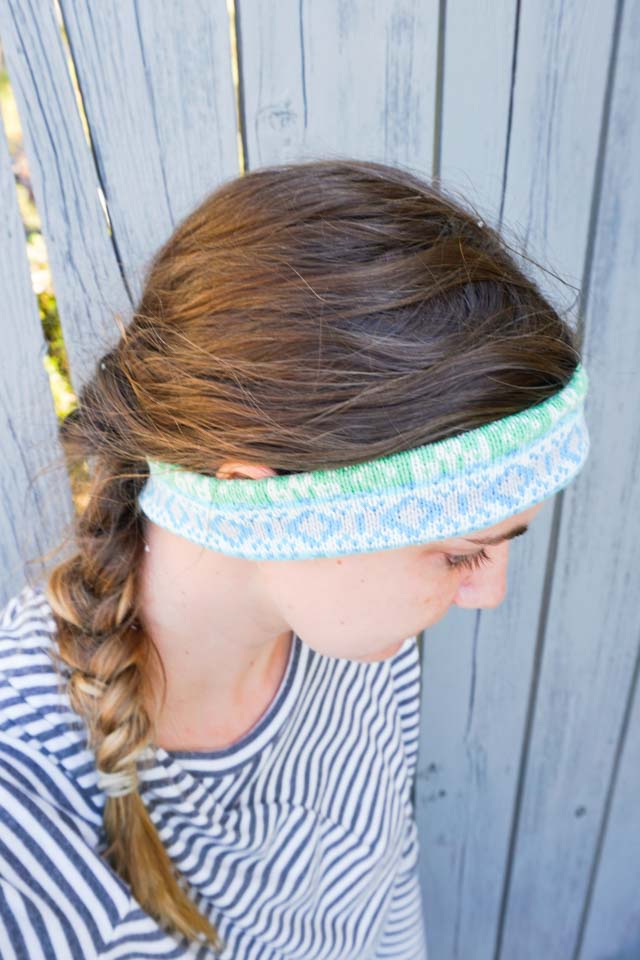
I love going running in the mornings, and it’s starting to get really cold. This sweater headband will keep my hair out of my face, and if I pull it down it will keep my ears warm. Win win!
Do you love to sew and upcycle? Check out some of these ideas:
- Gift ideas to sew
- Beginner sewing projects
- Sweater upcycle and refashion ideas
- Sew knit fabric with a sewing machine
- DIY knit headband
- DIY turban headband
- How to make a twisted headband
- How to make a sweater hat
- Make sweater mittens
DIY Sweater Headband
Supplies
- Sweater to chop up
- Sewing tools
- Sewing machine
- Want the free printable PDF headband pattern? Get it here
Any sweater can be used for a sweater headband but pay attention to the fabric and the weight. If the sweater fabric is really lightweight it might not hold it’s shape as well. If the sweater fabric is too heavy it might be uncomfortable to wear.
If the sweater is made from wool it might be a little itchy compared to a cotton sweater. You can choose a sweater with a knitted detail that you can reuse for the headband.
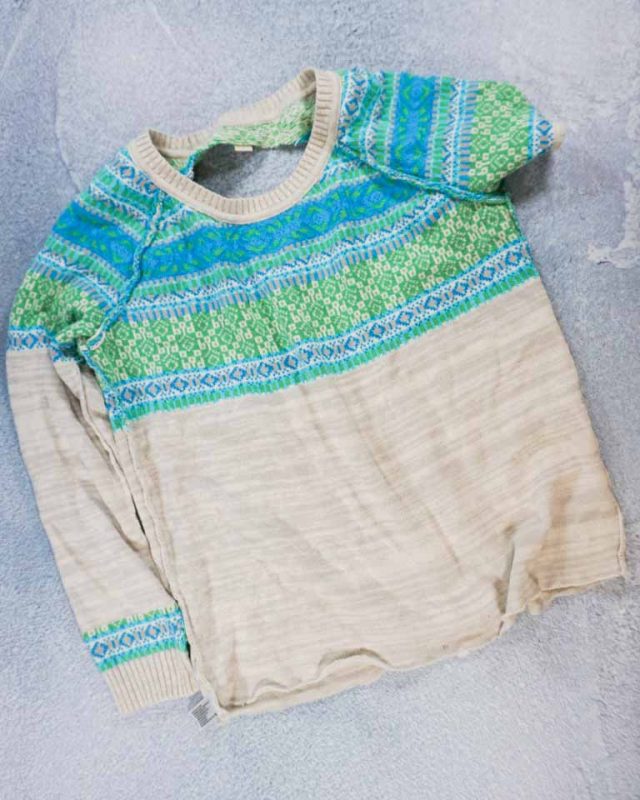
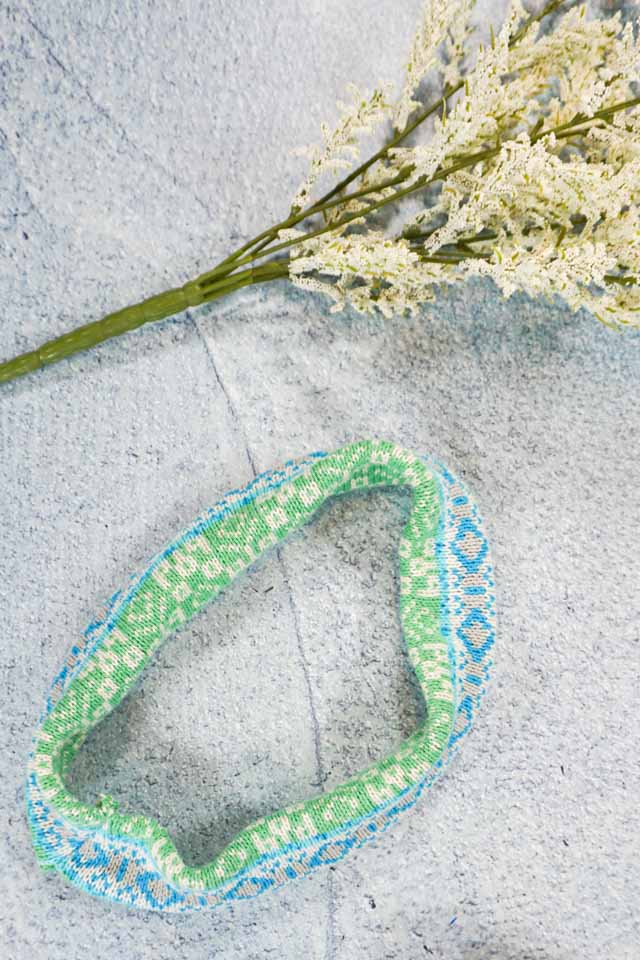
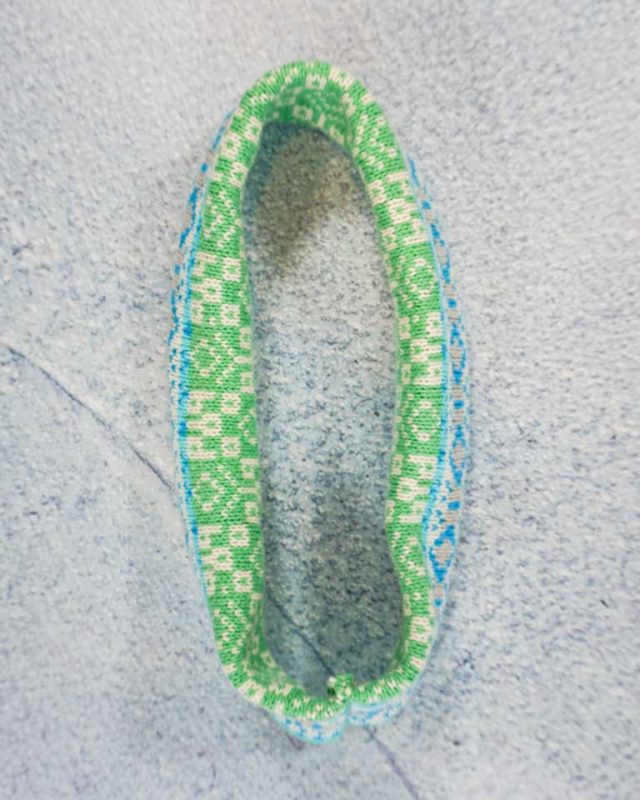
Cut a long rectangle about 4 inches tall and 16 inches wide. The height and width can change depending on the size and look you are going for. I cut my headband from the fair isle detail so that I could reuse it.
Fold the headband in half lengthwise with right sides together and match up the long edges. Zigzag stitch or serge this seam together.
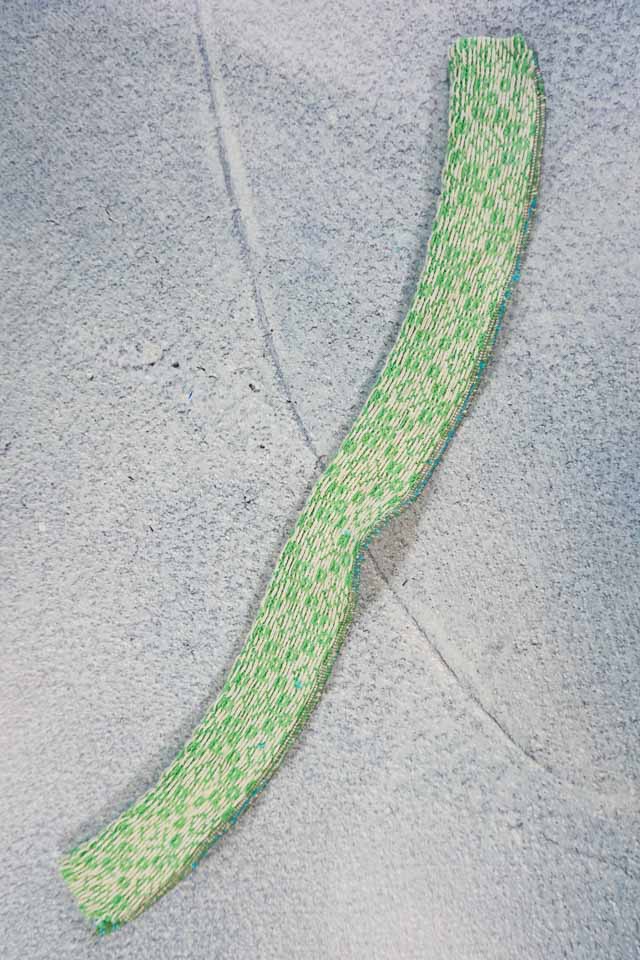
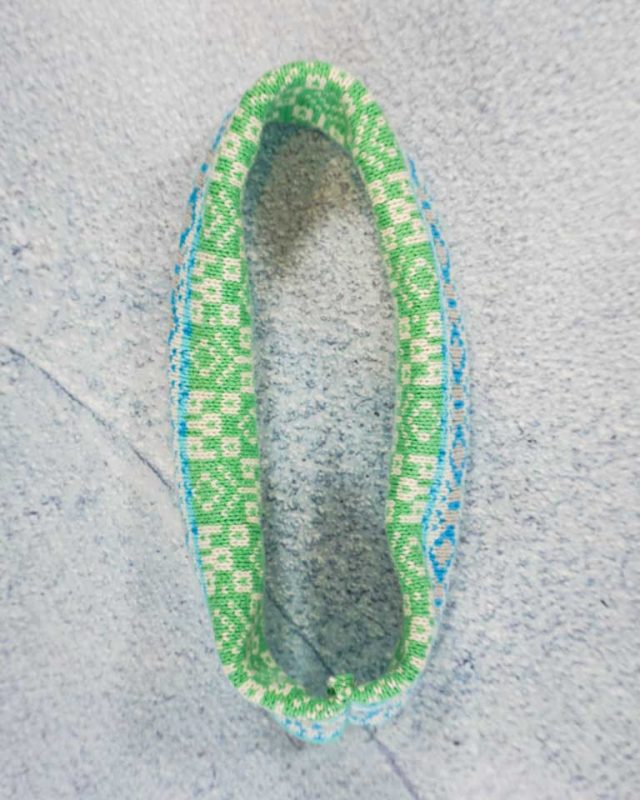
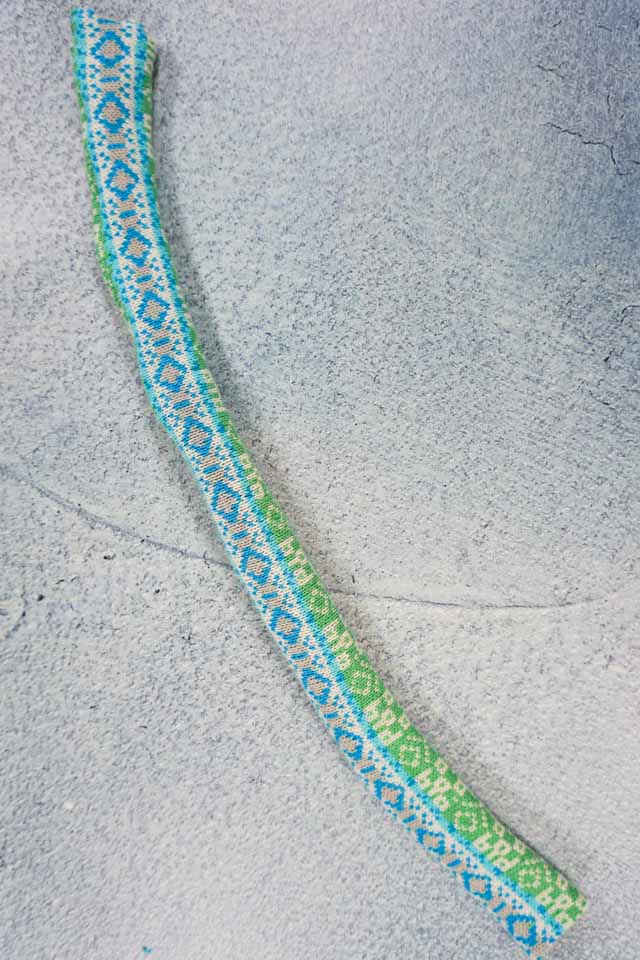
Turn the tube right side out and press with the seam along one fold.
Match up the short edges with right sides together. There will be four layers of fabric in the seam. Sew 1/4 inch from the edge with a zigzag stitch. Backstitch when you start and end.
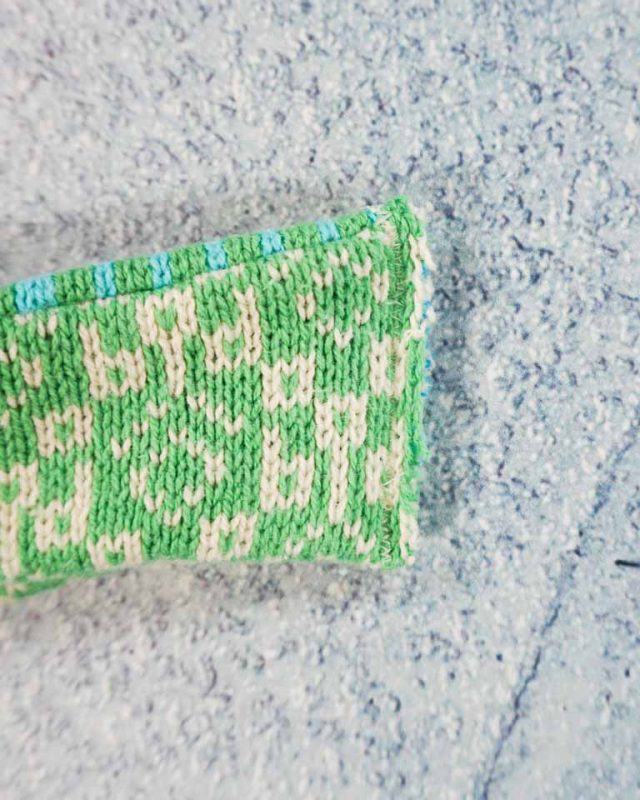
Turn the headband right side out and you finished! No need to finish the short seam since it will be inside the headband and knit fabric doesn’t fray like woven fabric.
If you make something using this sewing project, I’d love to see! Please share it on social media with the hashtag #heatherhandmade and tag me!

I believe small sewing moments can create great joy. Find your own “right” way to sew. -Heather