How to Make a Hat out of a Sweater

This post may contain affiliate links.
Learn how to make a hat out of a sweater. This upcycling project is a great gift since it’s easy to sew and quick to make!
My ears get cold easily, so I love having lots of warm hats to wear. I put one on to go walking, to go to the bus stop, and to play outside with my kids. I even wear one when I’m doing errands.
The great thing about making a hat from a sweater is that there are so many fun knitted sweater patterns to choose from. There are some that are so colorful and warm that would make great hats.
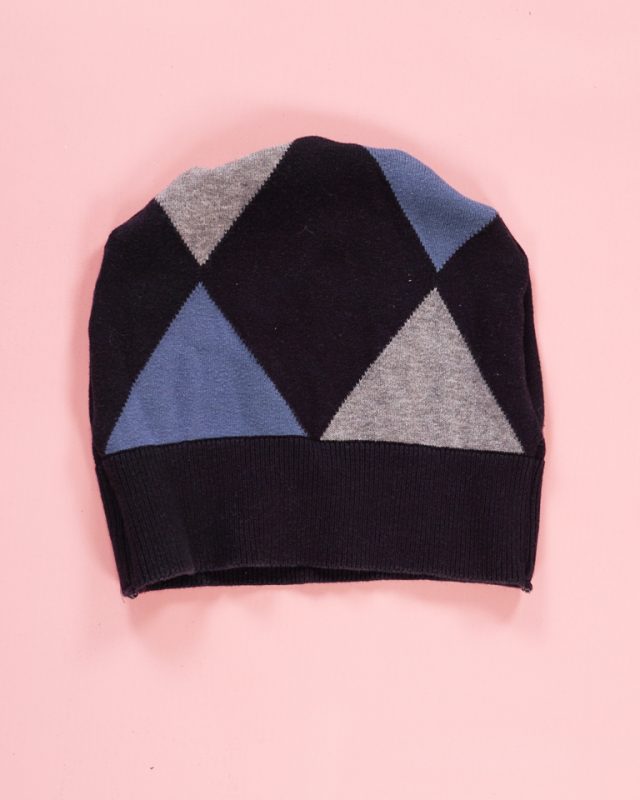
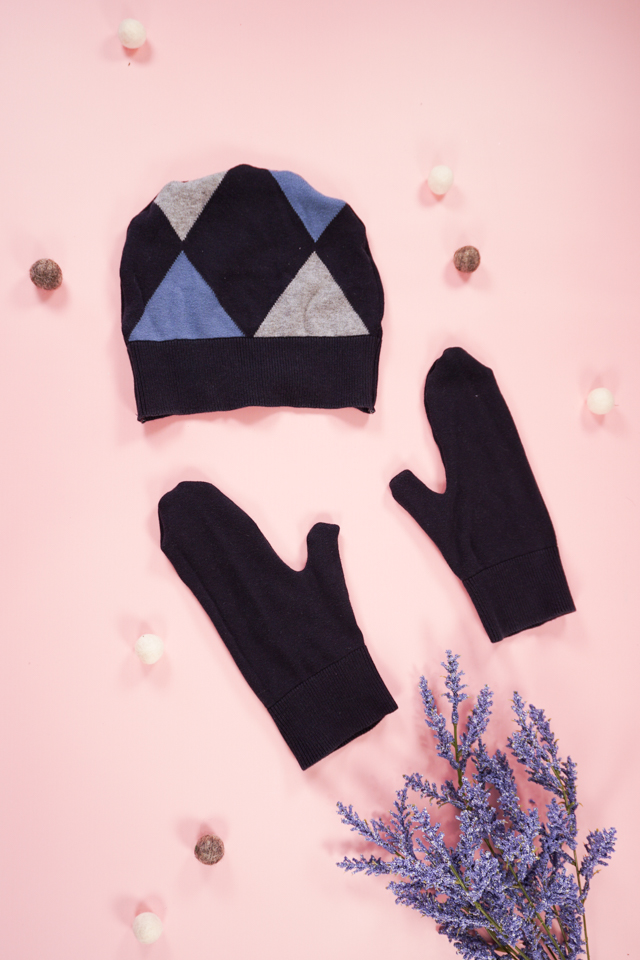
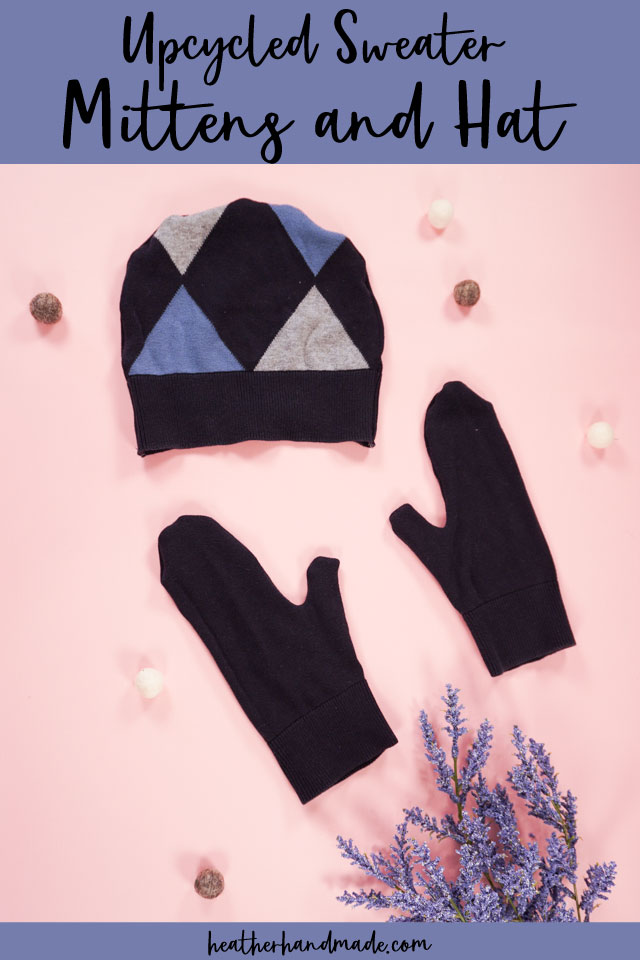
I made this hat out of a men’s sweater so there’s a diamond print on the front of the hat, and it’s solid on the back. I also made mittens from the sleeves, so it makes a great matching sweater. Wouldn’t this make a great gift?
What is a sweater?
A sweater is an item of clothing with long sleeves that is made from wool, cotton, or synthetic fibers. It’s knitted or crocheted yarns or threads.
I’ve done this sewing technique on a sweater with yarns that were tightly knitted, and it worked well. I’ve done this on a cardigan, and it worked well. I’ve also done this on a sweater with yarns that were loosely knitted, and it worked well.
Do you love to sew and upcycle? Try one of these fun projects:
- Sweater refashion and upcycle ideas
- Make infinity sweater scarf
- DIY sweater headband
- Easy gifts to sew
- Sweater to cardigan refashion
- Make sweater mittens
- How to make fur pompoms
- Cozy sewing projects
How to Make a Hat out of a Sweater
supplies
- Sweater to cut up
- Sewing tools
- Sewing machine
- Optional: free fleece hat sewing pattern
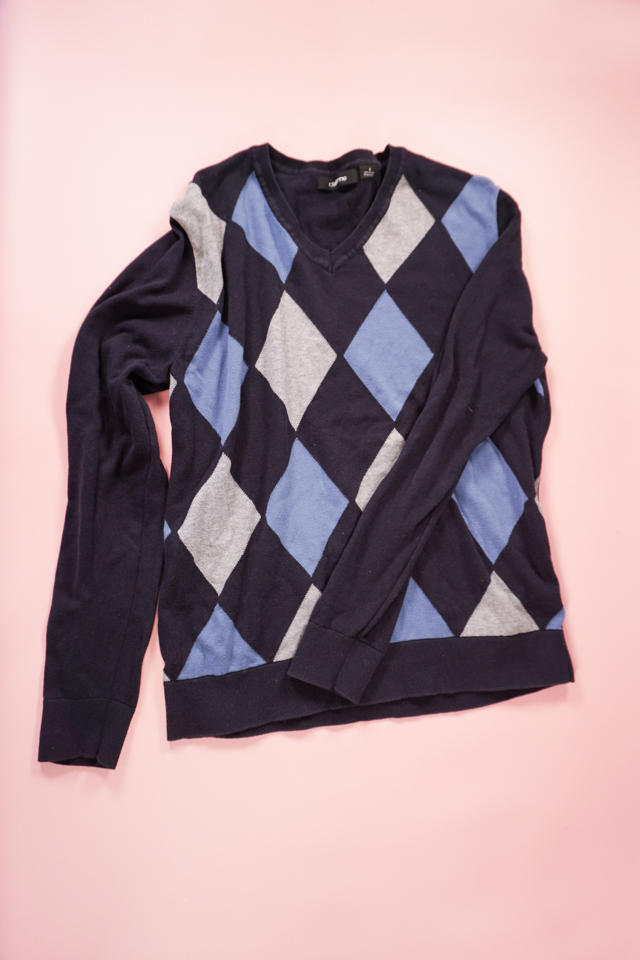
Start with a sweater that can be cut up. You can choose a solid print, or a bright design. Try to avoid sweaters that have really loose weaves or open holes since they are hard to sew and not very warm.
For this project you will only be using the cuff at the bottom on one side.
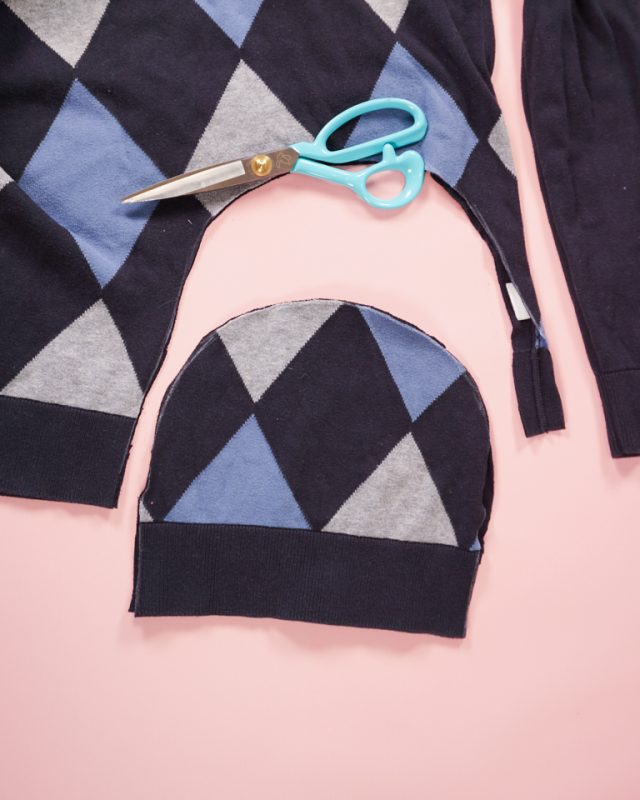
Mark a oblong half circle on one side of the cuffed hem. I used a hat we already had as a guide, but as long as it’s wide enough it doesn’t matter that much. I chose to center the hat around the diamonds so that it looks purposeful.
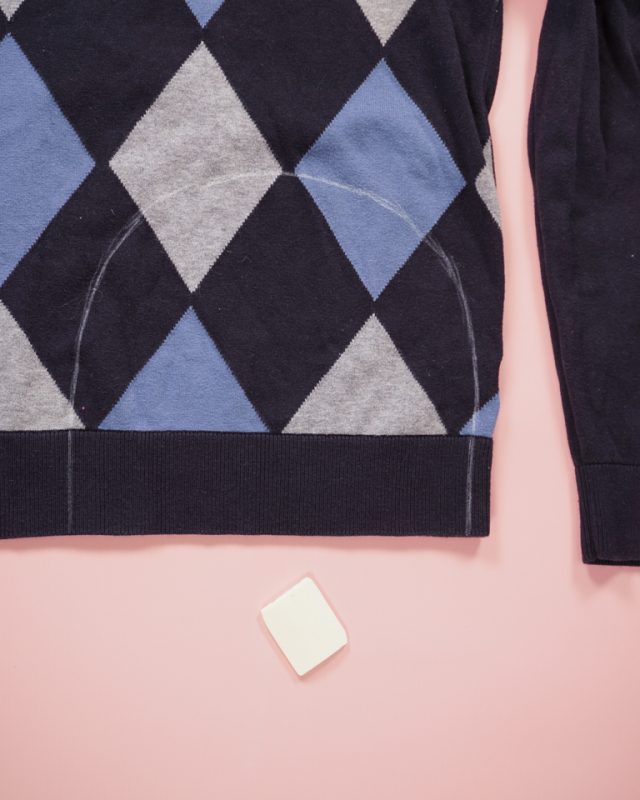
Cut out two hat pieces. I did the diamond design on the front and solid on the back. If you want the design to be on the front and the back then cut two pieces from the front of the sweater.

Place the hat pieces right sides together and pin. Match up the bottom of the ribbing and the top of the ribbing.
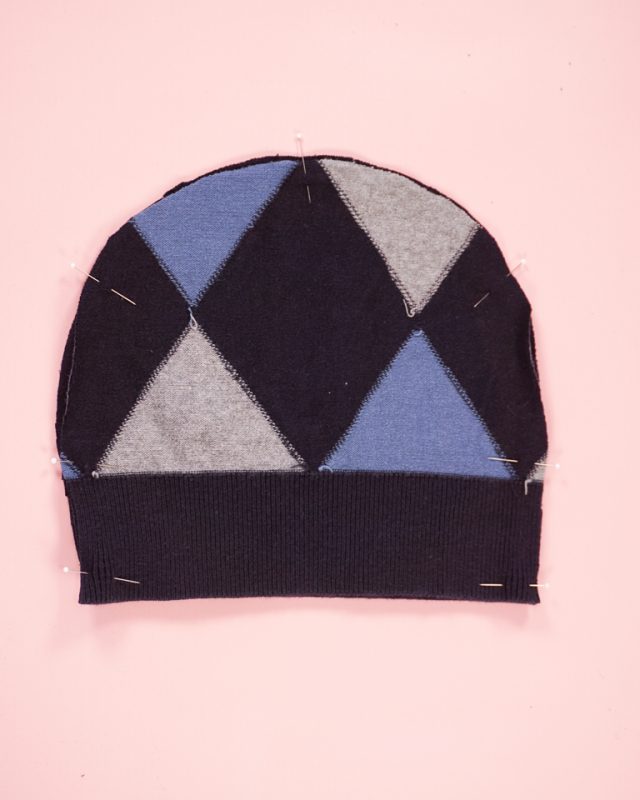
Sew or zigzag the edges with a 1/4 inch seam allowance. If you are doing a zigzag then backstitch when you start and stop.
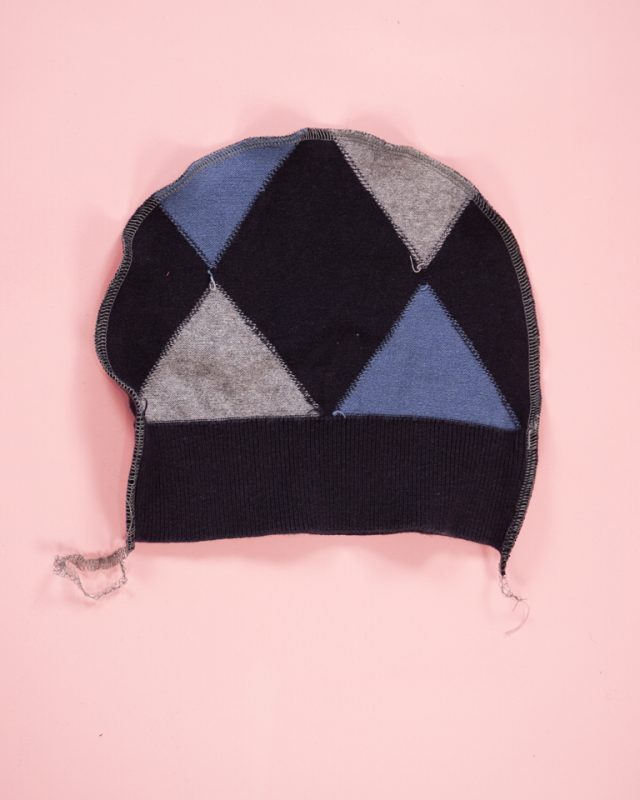
If you serged the seam use then method to tack the thread to prevent it from coming undone.
Pull the serger thread up by the seam allowance on the back side of the hat.
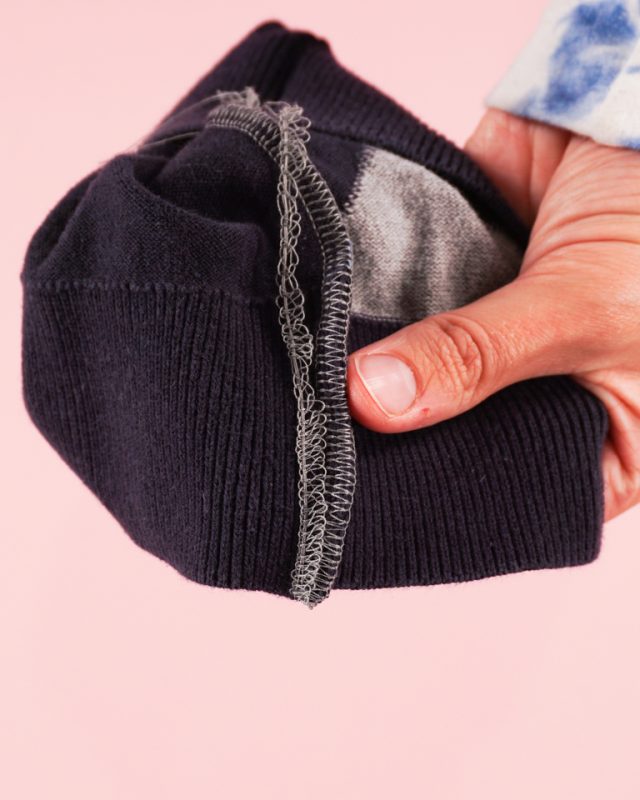
Fold the seam allowance over the thread chain.
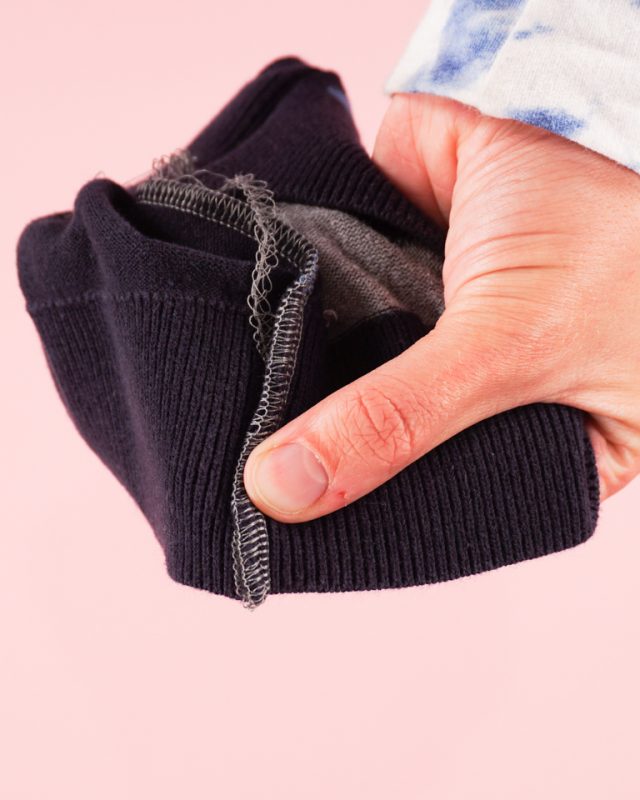
Pin the seam allowance in place. And pin the seam allowance so the bottom of the cuff matches up and the seam allowance doesn’t poke out at all.
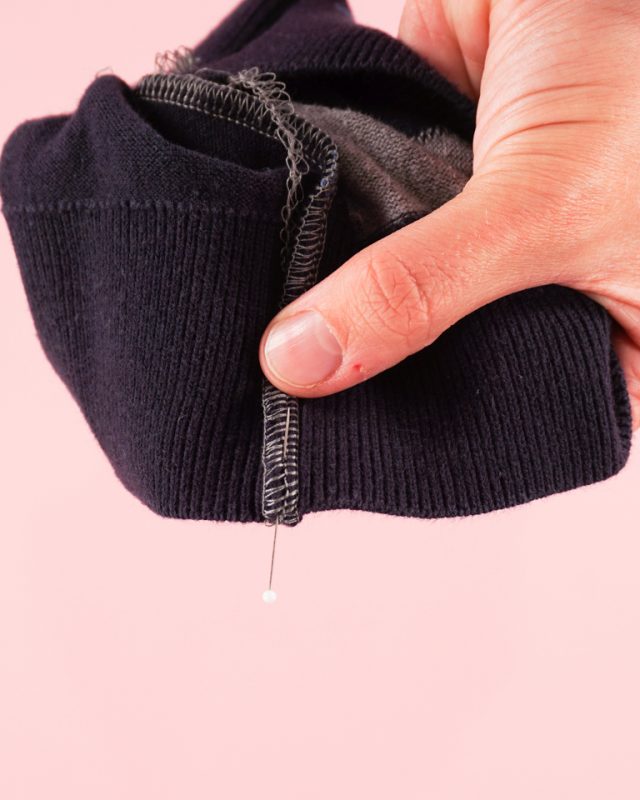
Sew a straight stitch across the bottom of the seam and through the seam allowance. Use matching thread so that the stitching is hard to see.
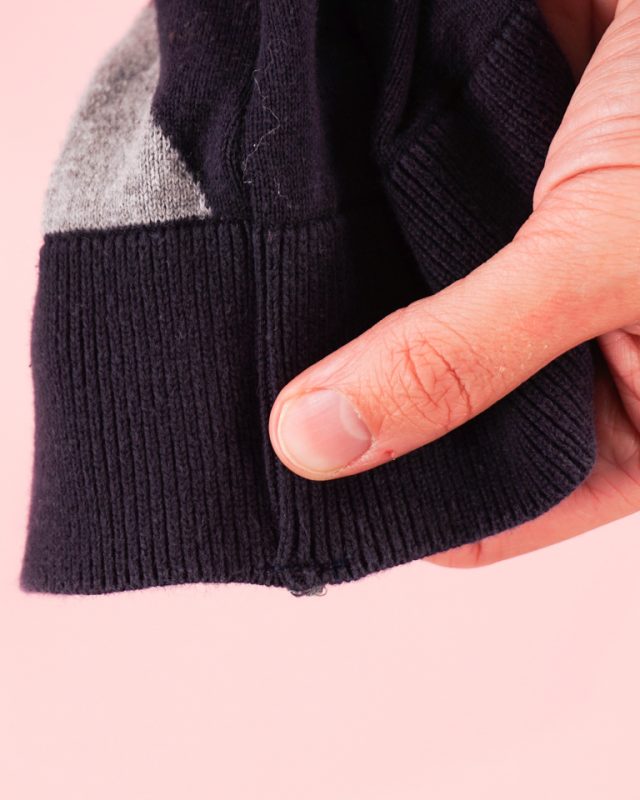
Turn the hat right side out and push out the curves. You finished!

If you make something using this sewing project, I’d love to see! Please share it on social media with the hashtag #heatherhandmade and tag me!

I believe small sewing moments can create great joy. Find your own “right” way to sew. -Heather
