
Free Ear Warmer Sewing Pattern

This post may contain affiliate links.
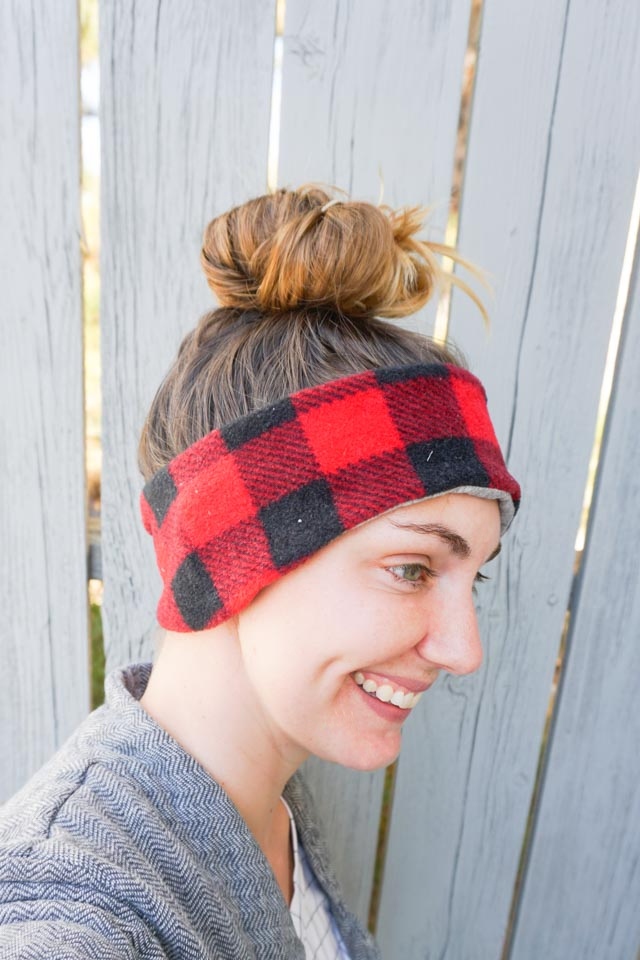
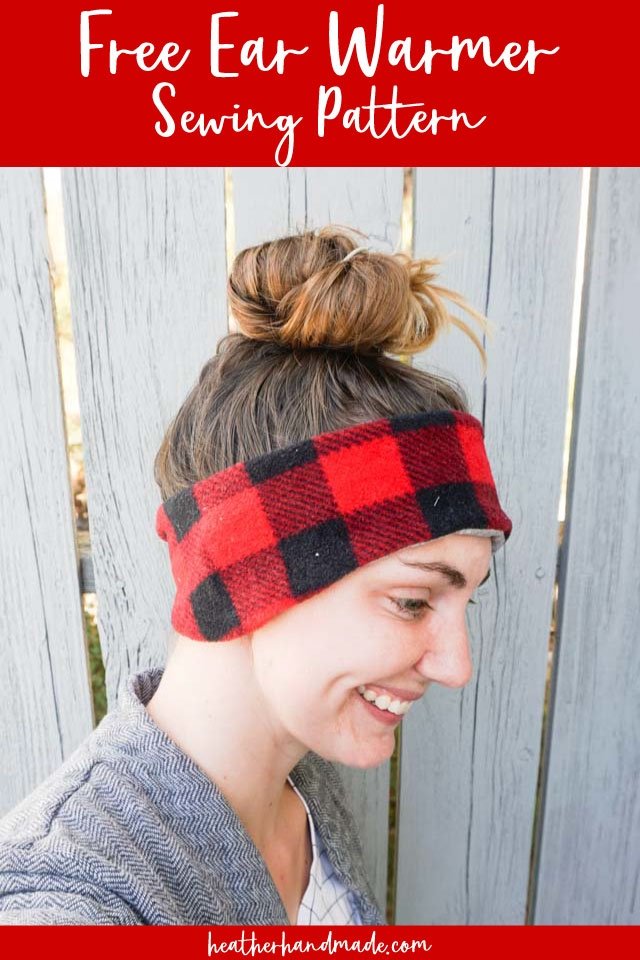
Learn how to make a warm gift with this free ear warmer sewing pattern. This beginner sewing project is comfortable because of the shaping.
We got so much snow this week, it’s time to get out all our cold weather clothing like coats, hats, and boots. I dislike having cold ears when I’m out playing in the snow or walking the dog, so I made some warm shaped ear warmers with my new free ear warmer sewing pattern.
This ear warmer sewing pattern works with lots of different fabrics, the shaped curve perfectly covers the ears, and it can be finished three different ways. I even designed a special lining that doesn’t show when the ear warmer is being worn!
To get the free sewing pattern, scroll to the end of the tutorial. Put your email address in the form under “Get the Free Sewing Pattern Here.” Once you confirm that you want to receive emails from Heather Handmade, the free pattern will be sent to your email address. Check your spam and promotions for the email.
This pattern works for teenagers, women, and men with smaller heads. The size can be adjusted slightly as it’s sewn to fit multiples sizes. You can have a sewn center back seam or it can be overlapped and closed with snaps or a button and buttonhole.
This shaped ear warmer is great because you can use a variety of knit fabric like french terry, fleece, and sweatshirt fabric.
What is a PDF sewing pattern?
A PDF pattern is a sewing pattern designed on the computer and organized so that it can be printed on several letter or A4 size pieces of paper.
I love using PDF sewing patterns because if the pattern gets ruined or if my children or I changed sizes, I can always print it again. It’ll never be destroyed since I have a digital version!
How do you use a PDF sewing pattern?
Open the PDF on a computer and click print. When printing make sure that the scaling is set to 100% or no scaling so that the pattern prints at the correct size.
Once the pattern is printed it can be taped together to get the full size. Then the pattern can be cut for each pattern piece size or individual sizes can be traced so that the pattern can be used again and again. Learn how to use PDF sewing patterns.
Do you love to sew? Try some of these projects:
- easy gifts to sew
- How to sew knit fabric
- How to sew knit fabric with a sewing machine
- Sew gifts with knit fabric
- Cozy sewing projects
- Winter sewing projects
- Fleece sewing projects
- Small sewing projects
Free Ear Warmer Sewing Pattern
Supplies
- Shaped ear warmer sewing pattern (no instructions) – get it at the end of the post
- 1/8 yard medium weight knit fabric with at least 25% stretch like sweatshirting, French terry, or polar fleece
- 1/8 yard lightweight knit like cotton spandex or rayon jersey spandex for the lining
- Optional: 1 inch button or plastic snaps
- Sewing tools
- Sewing machine
Do you just want the pattern and tutorial as a PDF? Get the pattern and photo tutorial for just $5. You won’t need to access the internet every time you want to make it.

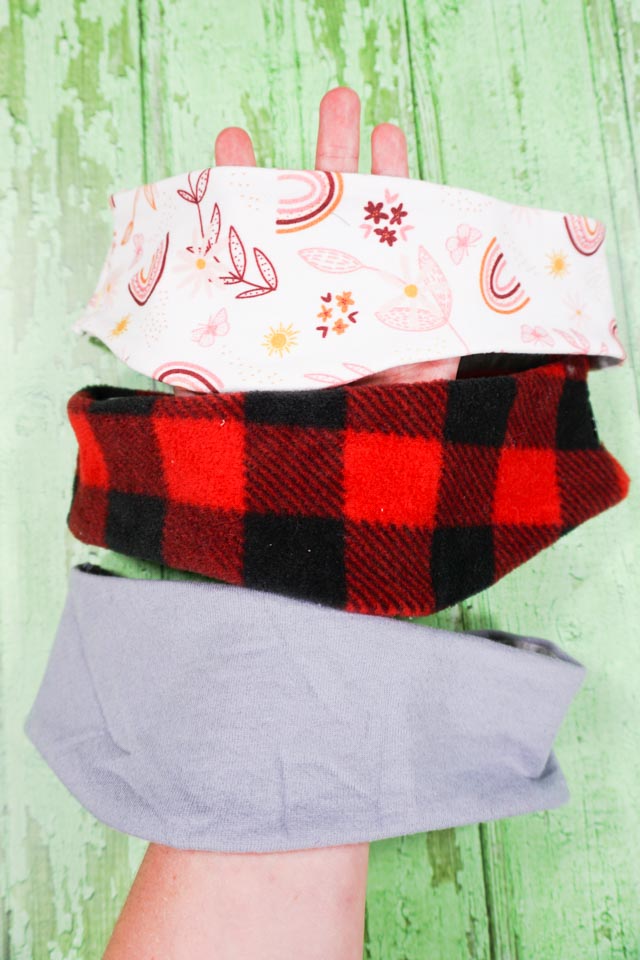
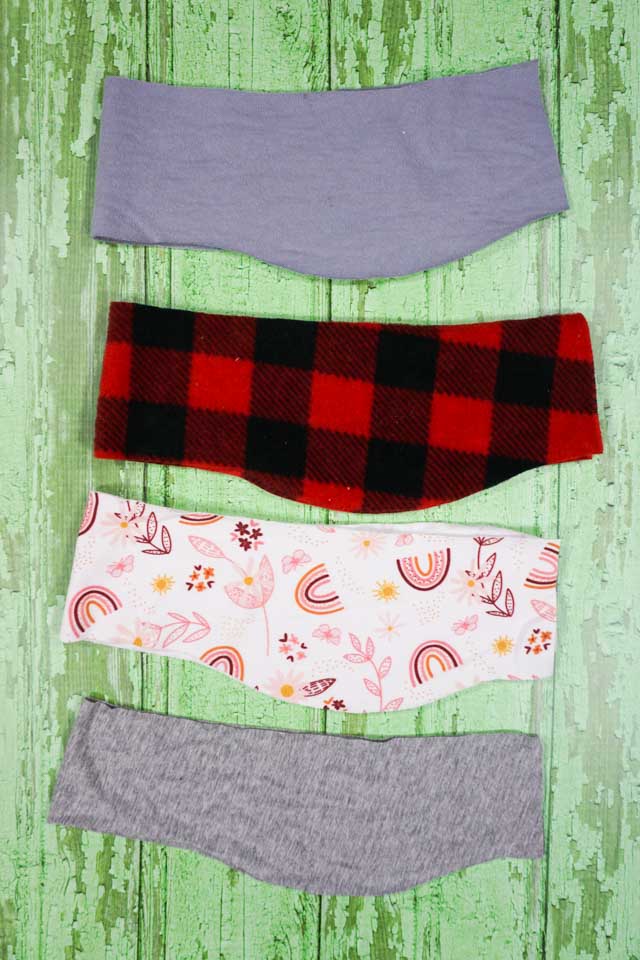
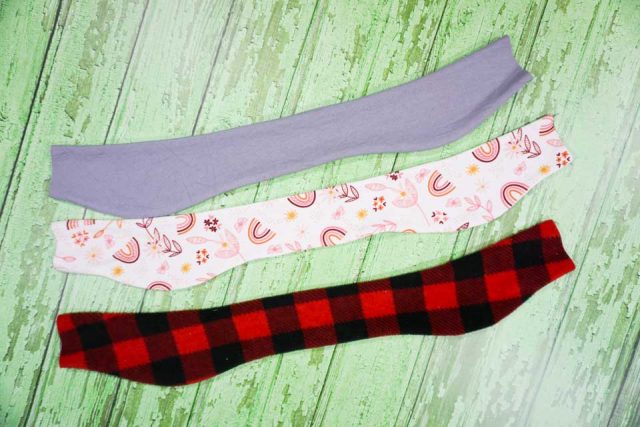
Cut out one ear warmer piece from the medium weight fabric. Match the stretch lines. Cut out one ear warmer lining from the lightweight knit fabric.
In the image below I cut out a sweatshirt fabric ear warmer, a polar fleece ear warmer, and a French terry ear warmer. The bottom is the lightweight knit (modal jersey spandex) for the lining.
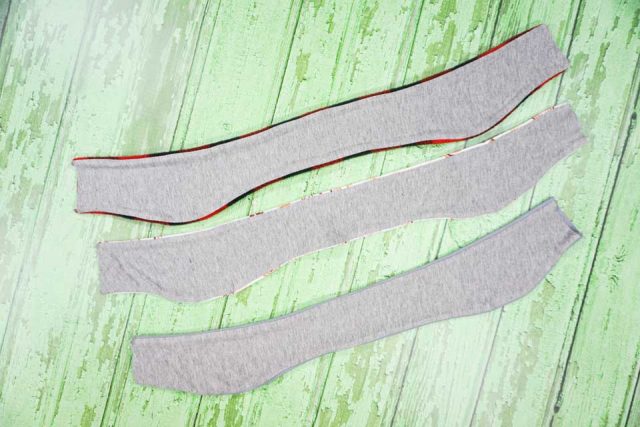
With right sides together match up the two long sides. Match up the curved shape. The lining is thinner than the ear warmer so you have to be very careful about lining up the edges.
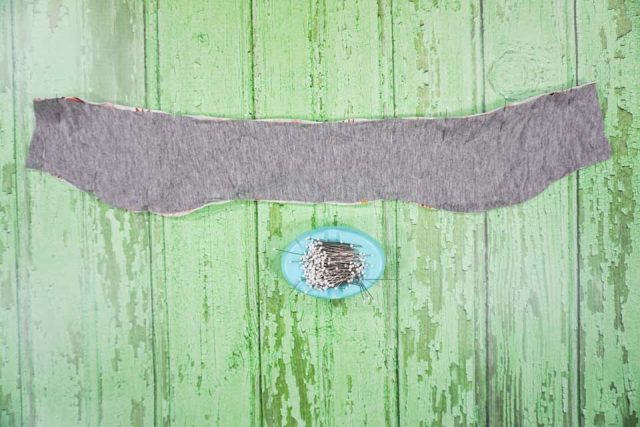
Sew both long sides with a 3/8 inch seam allowance with either a zigzag stitch or a serger. The ear warmer curves towards the lining because the lining is smaller.
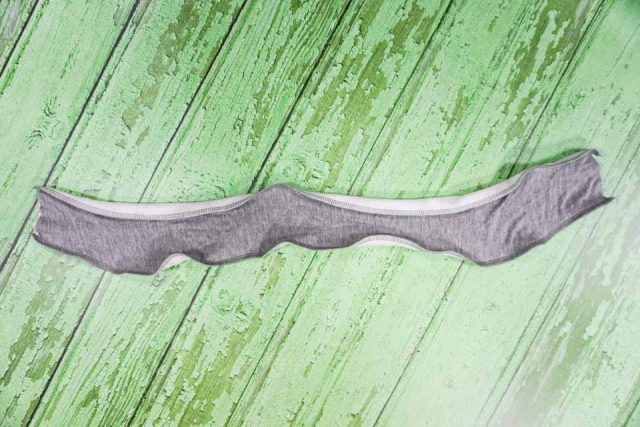
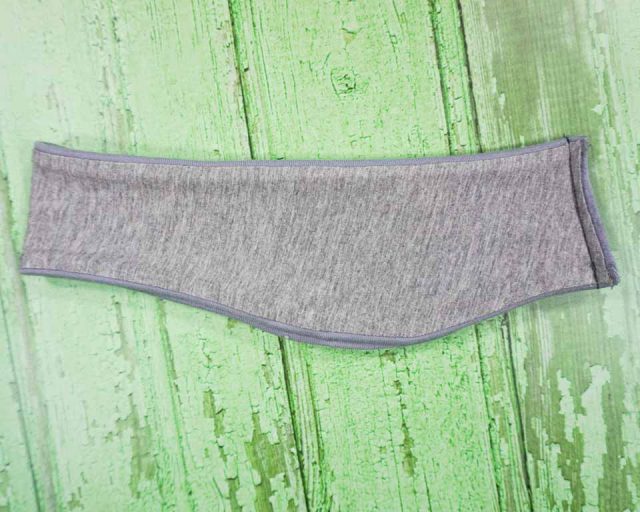
Turn the ear warmer right side out and poke out the curves.
Press the ear warmer flat. Be careful with polyester fabric so it doesn’t get melted from the heat.
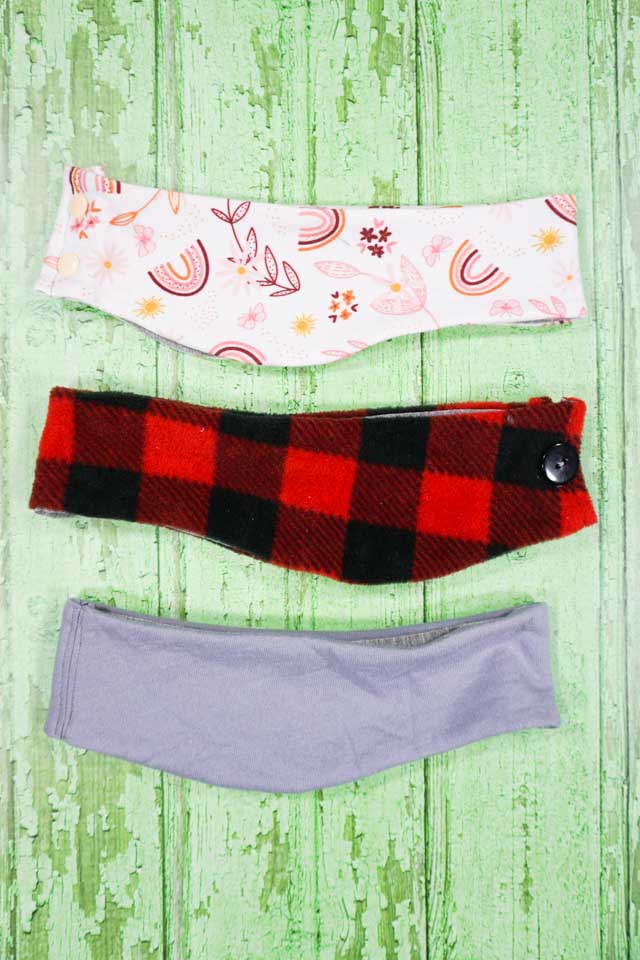
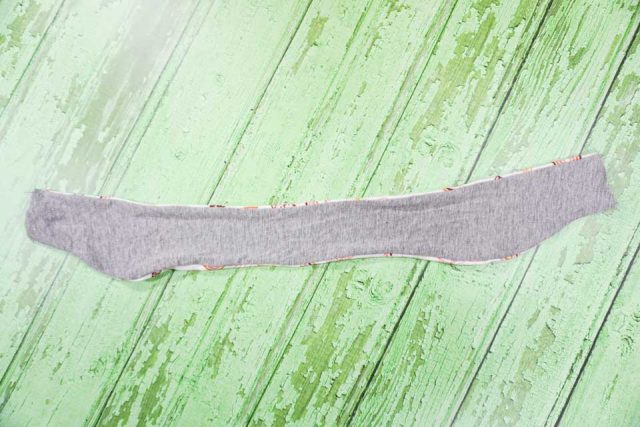
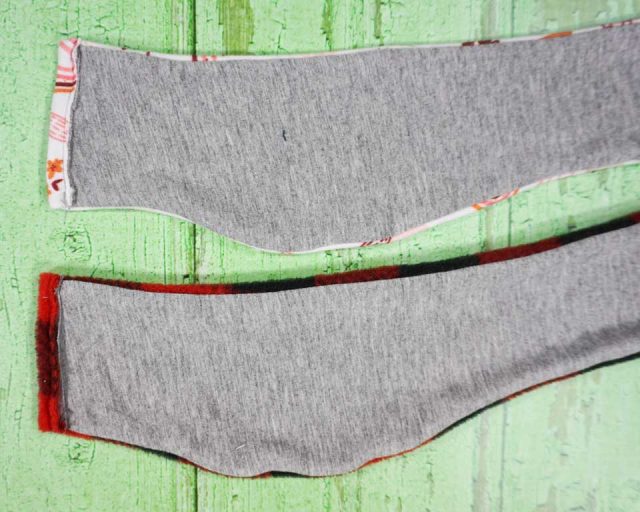
The lining is smaller so the front fabric with naturally pull towards the back which will hide the lining. See below how each medium weight fabric is seen on the edges from the inside. This makes it so you don’t have to do any topstitching!
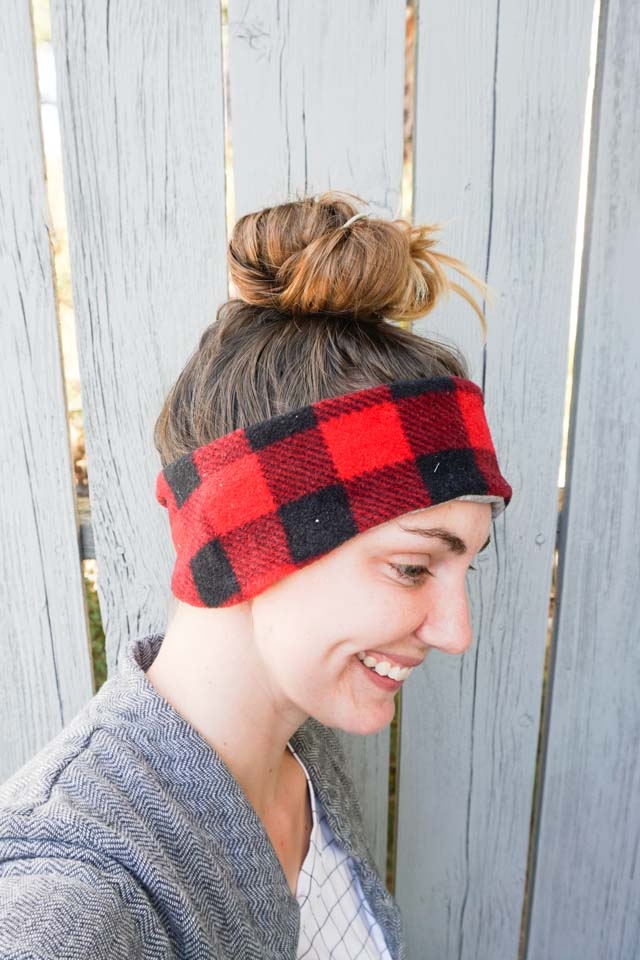
Put the ear warmer on to see how the length feels. If it’s too large you can trim it down a little. If it’s too small you might need to add some fabric to the back.
Center Back Seam
Follow these steps to have a center back seam on your ear warmer and no closure.
Fold the ear warmer in half with right sides together and match the short seams. There are four layers of fabric.
Sew a 3/8 inch straight seam along the back. Backstitch at the beginning and the end.
Turn the ear warmer right side out and topstitch the seam allowance open.

Closure Back
Follow these steps to have a center back closure on your ear warmer.
Start by folding the short edge over 1/2 inch. Sew it in place 3/8 inch from the fold.
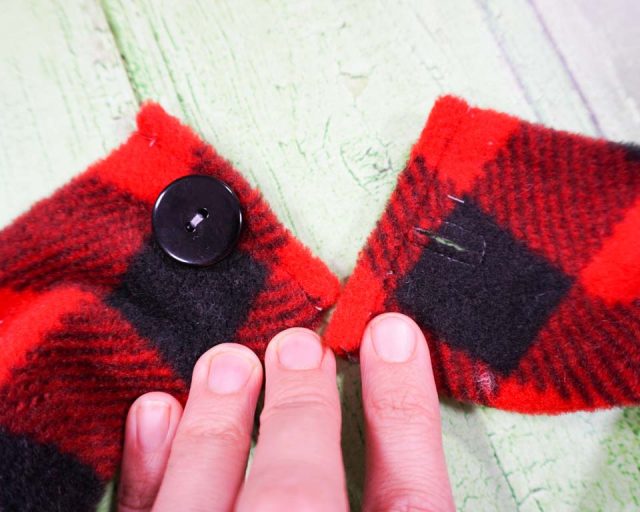
For a button and buttonhole sew a button onto one side of the back of the ear warmer. On the other side sew a rectangle that is just smaller than the diameter of the button. Cut a line in the center of the rectangle for a buttonhole.
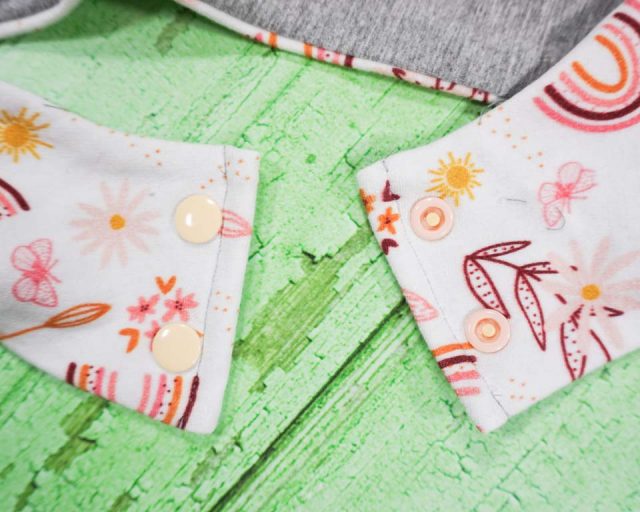
For snaps add two plastic snaps to the back edges of the ear warmer.
You finished and your ears will never be cold again!
Get the Free Sewing Pattern here!

If you make something using this sewing project, I’d love to see! Please share it on social media with the hashtag #heatherhandmade and tag me!

I believe small sewing moments can create great joy. Find your own “right” way to sew. -Heather
Where is the pattern?
https://www.heatherhandmade.com/free-ear-warmer-sewing-pattern/#get-the-free-sewing-pattern-here
I can’t find the pattern, even after signing up…
It is annoying that the Grow.me popup signup blocks the free pattern and it appears that you have to sign up to download the pattern!
You either have to sign up to download the pattern or get the free pattern through the shop process.
I love your site, you always give great patterns and insiteful information. Thank you!