
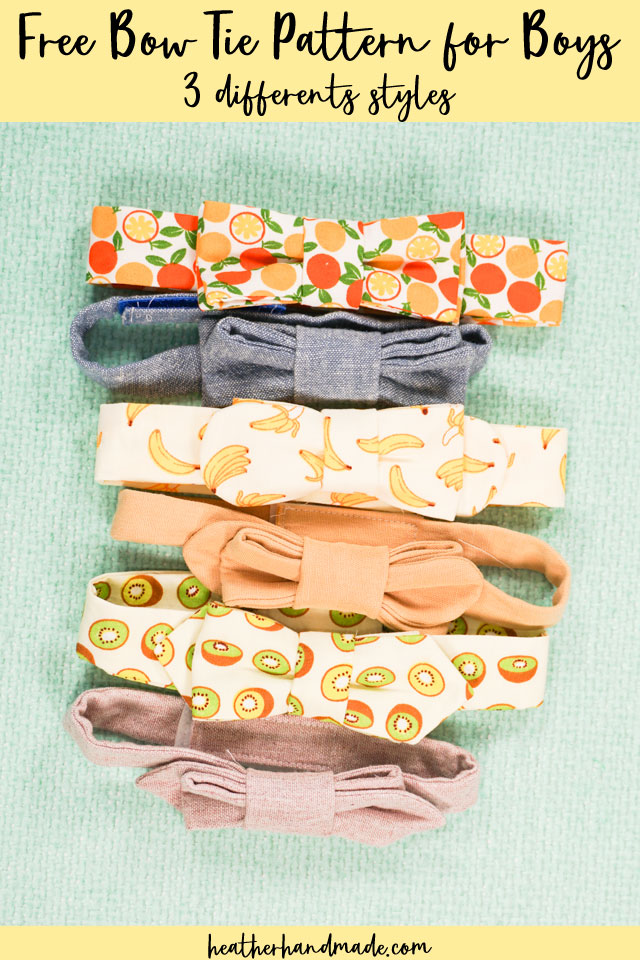
Free Bow Tie Pattern for Kids

This post may contain affiliate links.
Learn how to make a child bow tie with this free bow tie pattern. It’s a faux tie version and comes in three styles and three sizes.
I love making boy inspired sewing projects. Having a boy first made me fall in love with sewing for boys. Sometimes I make hard things for him, and sometimes I make an easy bow tie.
Bow ties are my favorite thing to make for my son since they are fast and don’t require a lot of fabric. I love making them in the Spring for an Easter outfit, in the summer for weddings, and in the winter for the holidays.
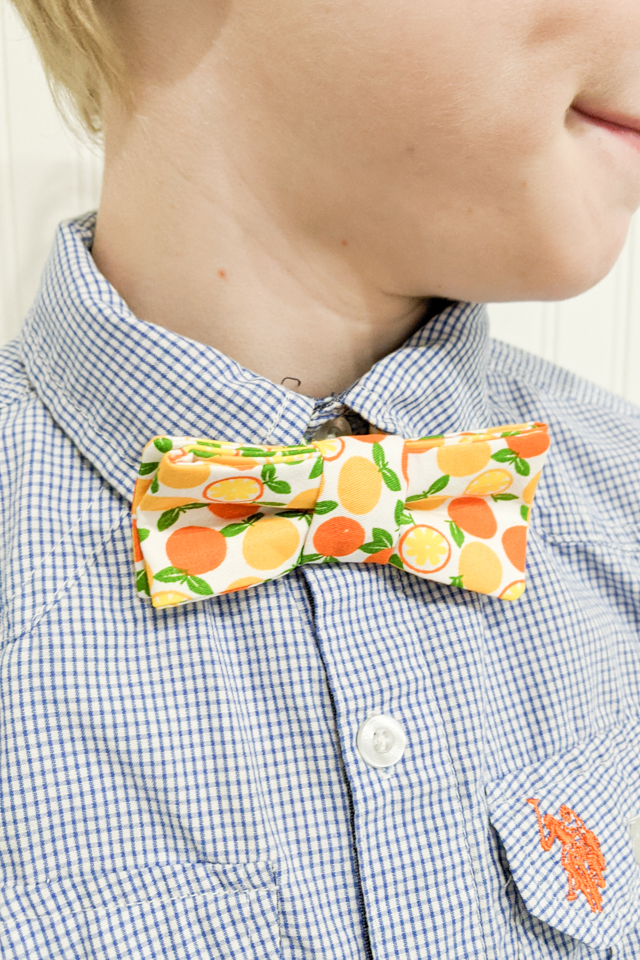
I created this printable bow tie PDF pattern to look like a bow tie that you actually tie on, but it is just a band that attaches around the neck with Velcro. The styles are all patterned after bow ties that men actually tie on, but you’ll never have to tie them!
To get the free sewing pattern, scroll to the end of the tutorial. Put your email address in the form under “Get the Free Sewing Pattern Here.” Once you confirm that you want to receive emails from Heather Handmade, the free pattern will be sent to your email address. Check your spam and promotions for the email.
I had so much fun creating this bow tie sewing pattern. There were multiple versions and tweaks to get it just right.
It was my desire to make bow ties that look dressy and fancy but are easy to sew and easy to put on. These bow ties are the perfect combination.
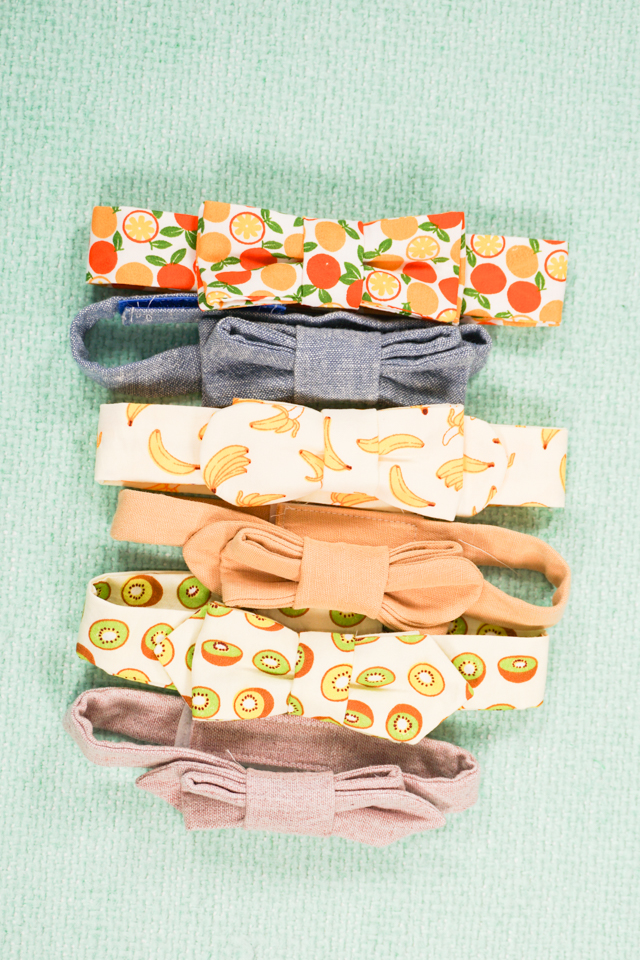
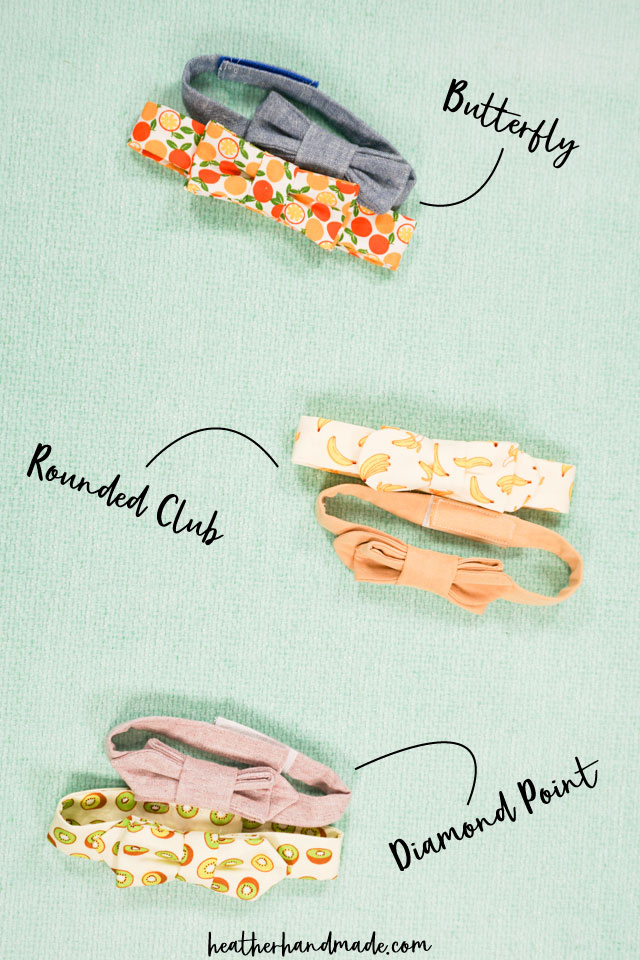
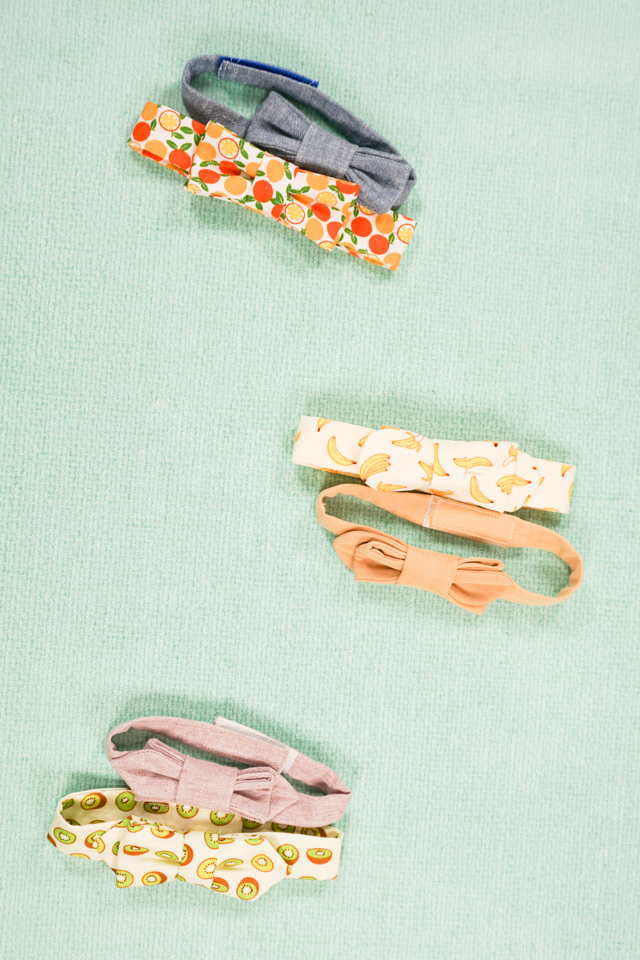
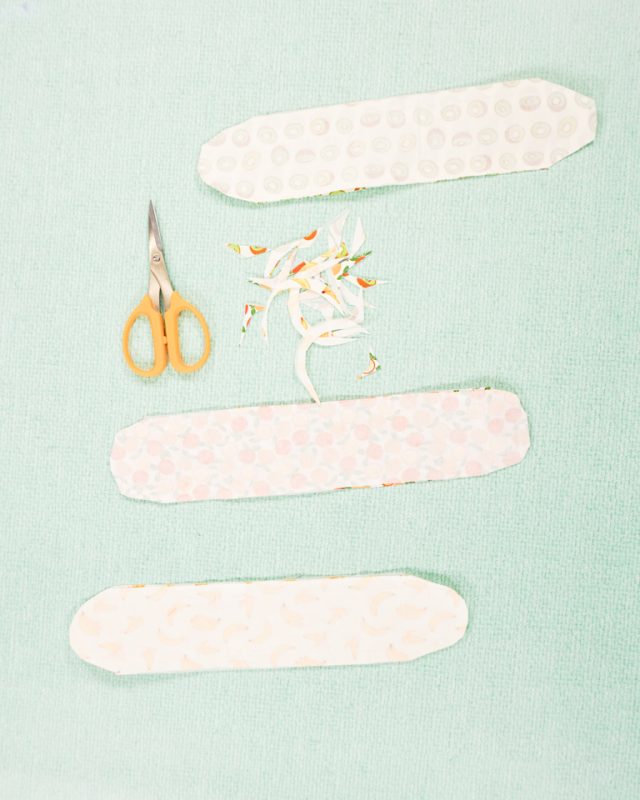
The three different styles of bows are the butterfly, the rounded club, and the diamond point. The butterfly is the classic rectangular bow tie look. The rounded club is a bow tie with rounded edges. The diamond point is a bow tie with pointed edges.
The neckband comes in three different sizes: small, medium, and large. The small is a toddler size, the medium is a young child, and the large is an older child. Using Velcro for the band makes it adjustable to fit multiple and growing sizes.
Do you love to sew? Try some of these fun sewing projects:
- Free sewing patterns
- Easter sewing projects
- Fat quarter sewing projects
- How to make DIY suspenders
- Free sewing patterns for kids
- Small sewing projects
- Father’s day tie sewing craft
What fabric should I use?
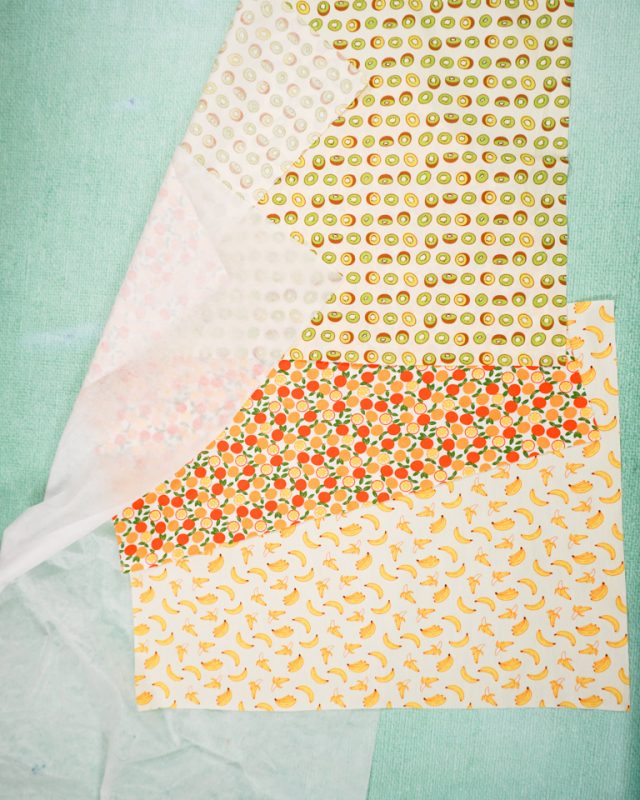
This kids’ bow tie pattern was designed to be made with quilting cotton. Quilting cotton is easy to sew and easy to find. It comes in every color and print imaginable.

What is a PDF sewing pattern?
A PDF pattern is a sewing pattern designed on the computer and organized so that it can be printed on several letter or A4 size pieces of paper.
I love using PDF sewing patterns because if the pattern gets ruined or if my children or I changed sizes, I can always print it again. It’ll never be destroyed since I have a digital version!
How do you use a PDF sewing pattern?
Open the PDF on a computer and click print. When printing make sure that the scaling is set to 100% or no scaling so that the pattern prints at the correct size.
Once the pattern is printed it can be taped together to get the full size. Then the pattern can be cut for each pattern piece size or individual sizes can be traced so that the pattern can be used again and again. Learn how to use PDF sewing patterns.
Free Bow Tie Pattern for Kids
supplies
- Free bow tie pattern – get it at the end of the post
- 1 fat quarter of quilting cotton – solid or print
- Lightweight interfacing
- Small piece of Velcro
- Sewing tools
- Sewing machine
Do you just want the pattern and tutorial as a PDF? Get the pattern and tutorial for just $5. You won’t need to access the internet every time you want to make it. Or get the Pattern Bundle with ALL the PDF tutorials!
Choose the bow shape you want and only use that one instead of all three. I will demonstrate how to create all three, but you will only be making one.
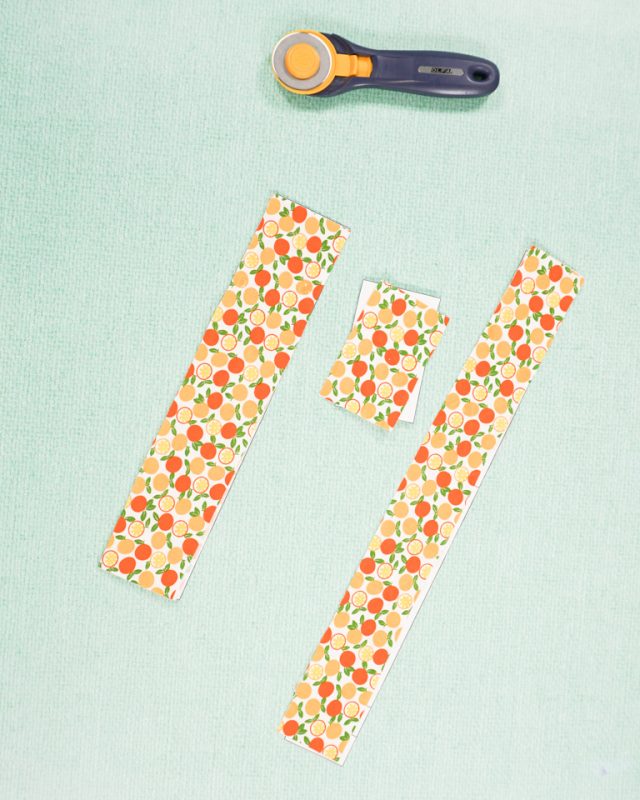
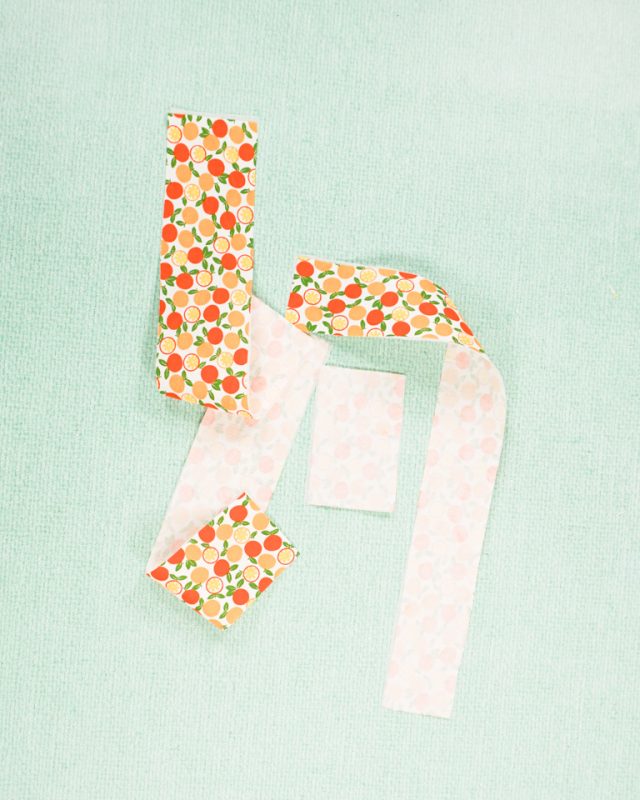
Out of the fabric cut out two bow pieces, one center piece, and two neckband pieces.
Out of the interfacing cut out one bow piece, one center piece, and one neckband piece.
Apply the interfacing to the back of the fabric.
Pin the neckband pieces right sides together matching up the two long sides. Pin and sew. Backstitch when you start and stop.
Fold and pin the center piece right sides together matching up the long sides. Sew and backstitch when you start and stop.

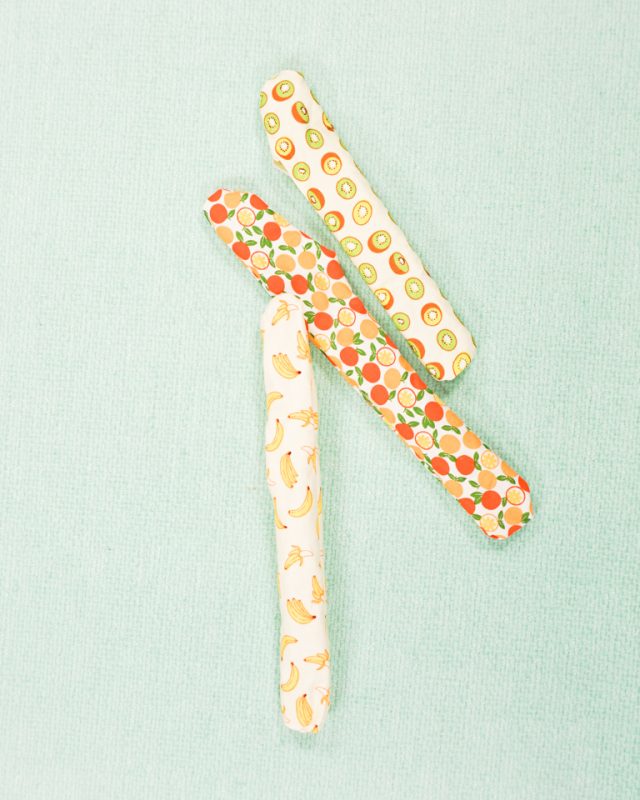
Turn both tubes right side out.
Press the center so that the seam is in the center on one side. Press the neck band so that the seams are on each side.

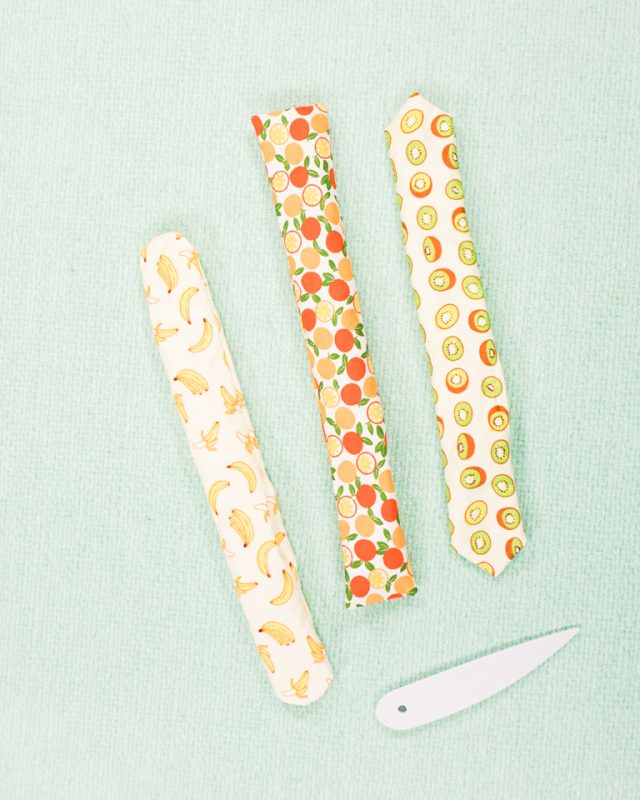
Pin the bow pieces (whichever shape you choose) right sides together. Sew around the outside and leave a 2 inch hole for turning just off center.
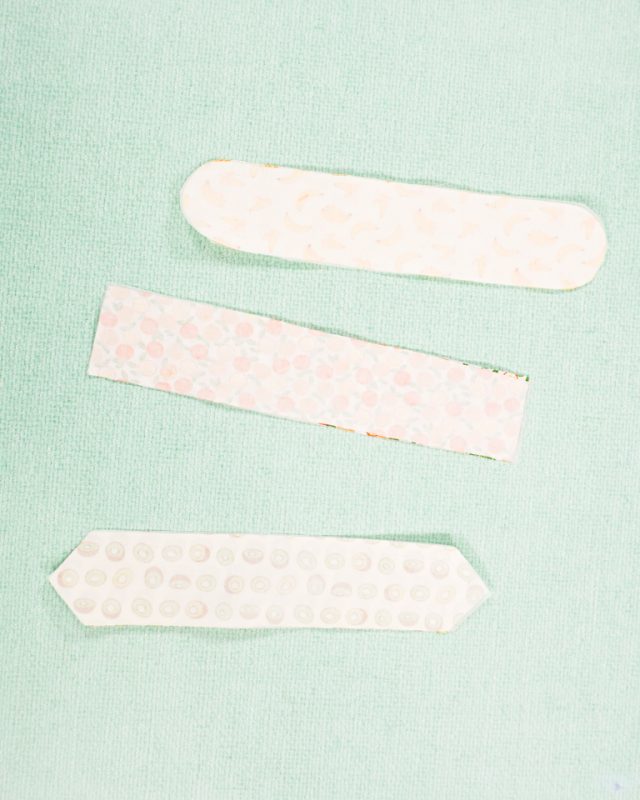
Trim the points or notch the curves.
Turn the bow piece right side out.
Poke the corners or curves out. Edgestitch the hole closed.
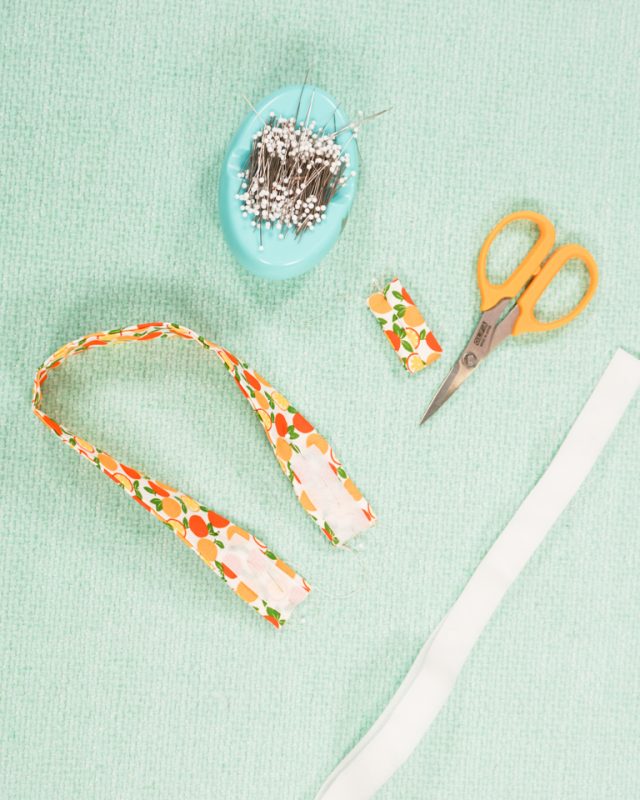
Fold the center and match up the two short ends with right sides together. Pin and sew. Backstitch when you start and stop. Turn it right side out.
Cut a piece of 2 inch Velcro and sew the loop side to one side of the band. Sew the hook side to the other side of the band. Make sure they can overlap as if the band was being worn.
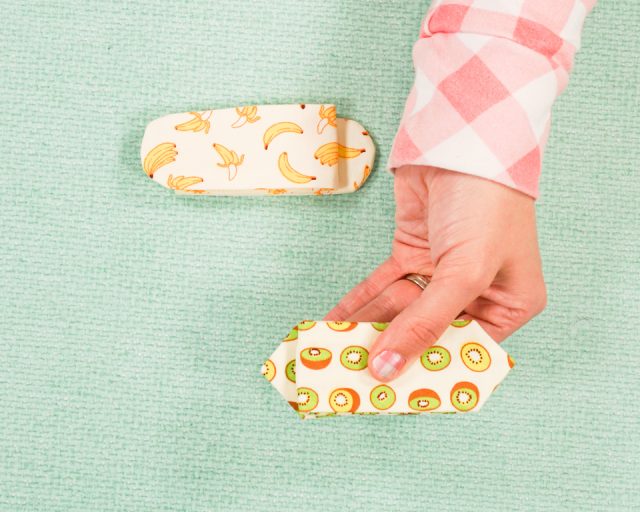
Fold the bow piece into thirds. One end will be on the top and the other end will be on the bottom. Line up the folds with the ends.
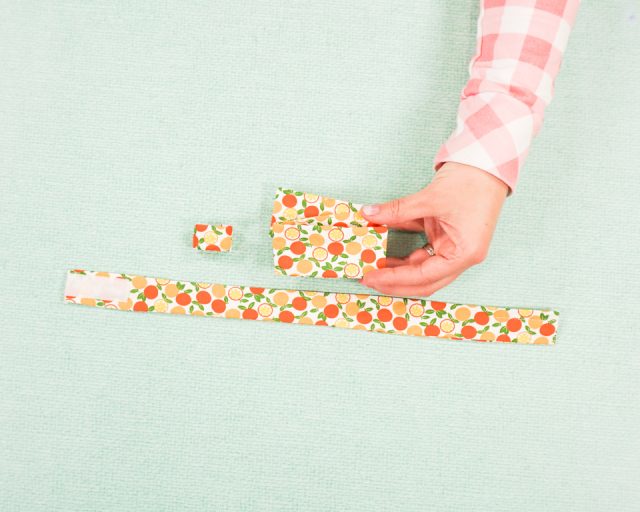
Its the same for the other shapes. Instead of lining up the end with the fold, line up the end of the widest part with the fold.
This creates the look of the tied bow tie without actually having to tie the bow tie.
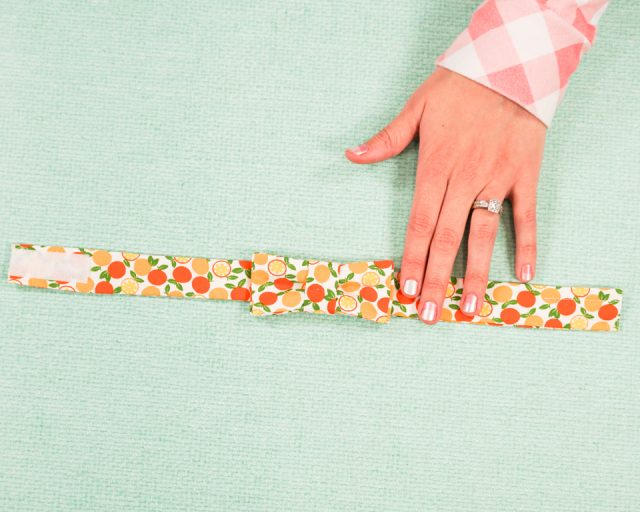
Center the bow on the neck band. Tack the bow to the band.
Slide the center onto the neck band and over the bow. Center it on the bow. Adjust any pleats so that the bow looks the way you want it too.
You finished! Make lots of different bows in lots of different shapes and sizes.
Get the Free Sewing Pattern here!
If you make something using this sewing project, I’d love to see! Please share it on social media with the hashtag #heatherhandmade and tag me!

I believe small sewing moments can create great joy. Find your own “right” way to sew. -Heather
Hello, I can not find the FREE pattern for this anywhere on this site and your youtube post directs here as well. Can you please provide the FREE pattern??? Thank you!
https://www.heatherhandmade.com/free-bow-tie-pattern-boys/#get-the-free-sewing-pattern-here
I can’t believe you don’t have any comments on this! Great instructions! I’m making several of these for my very “Dapper “ 9 to for Christmas and your video was very concise!
Thanks so much! Merry Christmas 🎄
I’m so glad it worked for you! This is great!