DIY Witch Costume

This post may contain affiliate links.
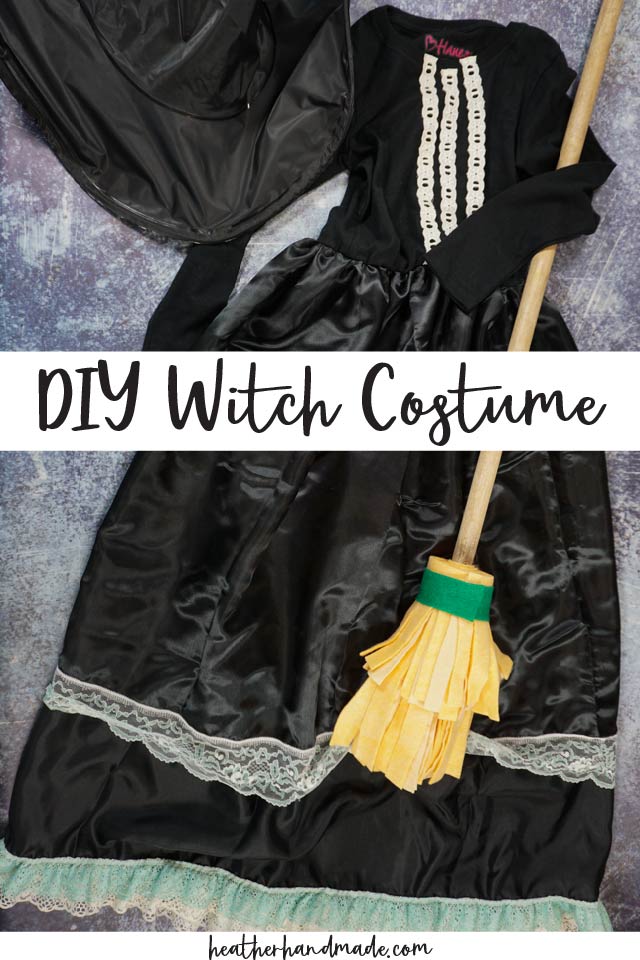
Learn how to make an easy DIY witch costume by adding lace to a black dress! Add a witch hat, black shoes, and a DIY witch broom for a fun Halloween costume!
Witches are just so classic for Halloween. It’s fun to decorate with witch decorations throughout the house and practice your witch cackles.
I was excited to make a DIY witch costume for my daughter, and I made a really easy black dress that can be worn as a warm dress even after Halloween since it doesn’t look completely like a witch dress. She loves it and has already been wearing it a ton!
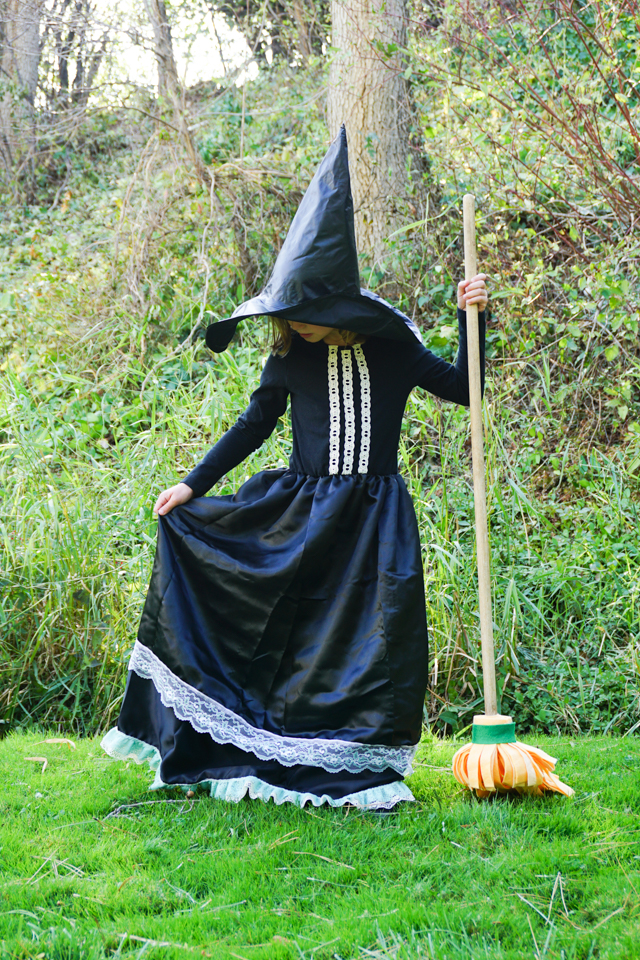
I remember wanting to be a witch so badly when I was a young girl. I wore this same black witch hat that my daughter is wearing, but I don’t remember what my dress looked like.
I made this dress for a child, but the technique works just as well for a teenager or a woman since the base is a t-shirt.
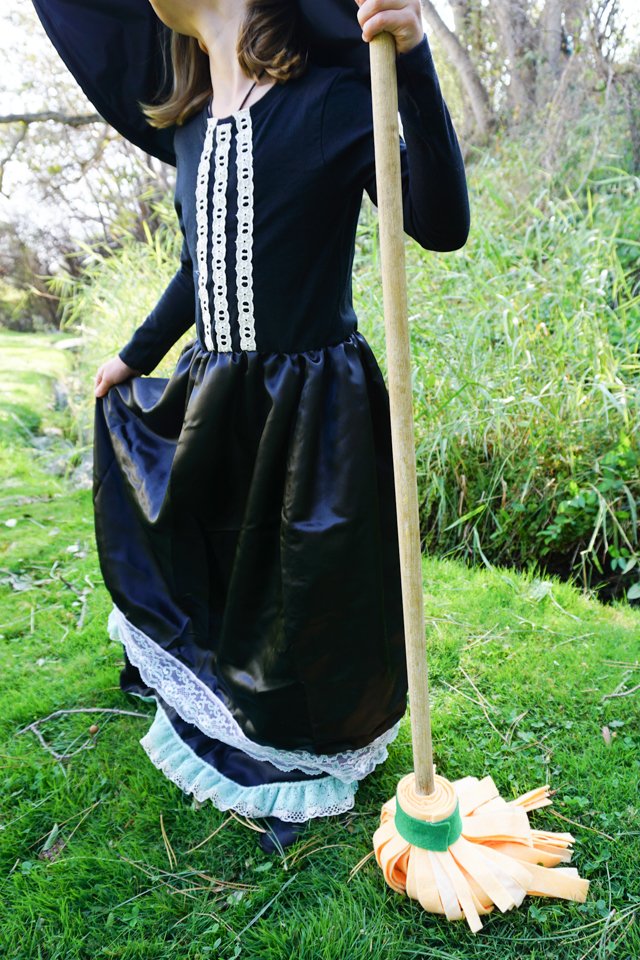
Adding a skirt to a t-shirt is the easiest way to make a dress. Most of the hard work is already done for you. It’s a simple refashion that I keep using because I love how fast it is.
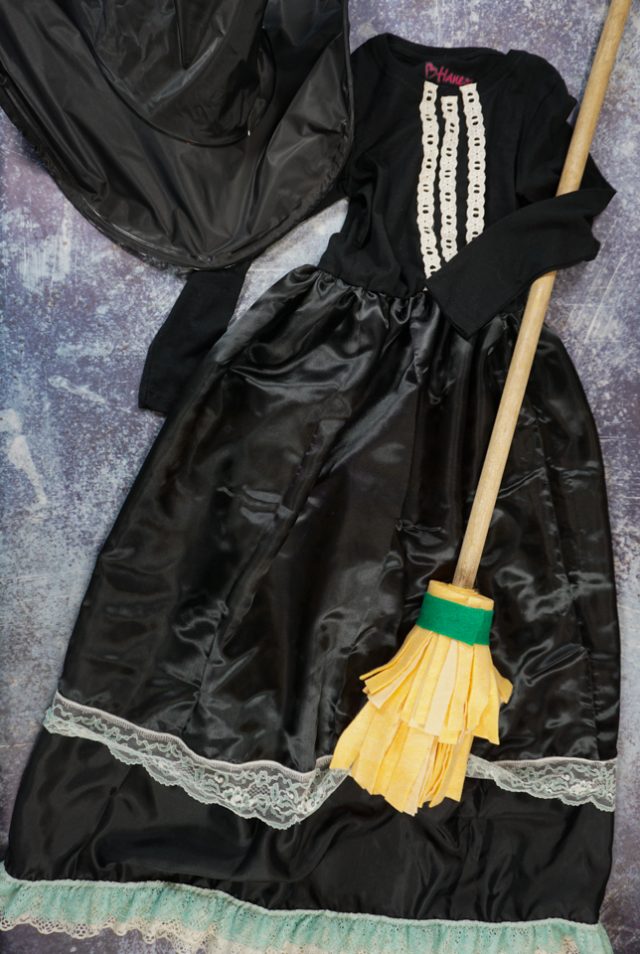
Add black shoes, a DIY witch broom, and a witch hat for a quick and easy witch costume!
Do you love making costumes? Check out some of these ideas!
- DIY costume ideas
- Free costume patterns
- Upcycled costumes for Halloween
- DIY ghost costume
- DIY grim reaper
- DIY werewolf costume
DIY Witch Costume
supplies
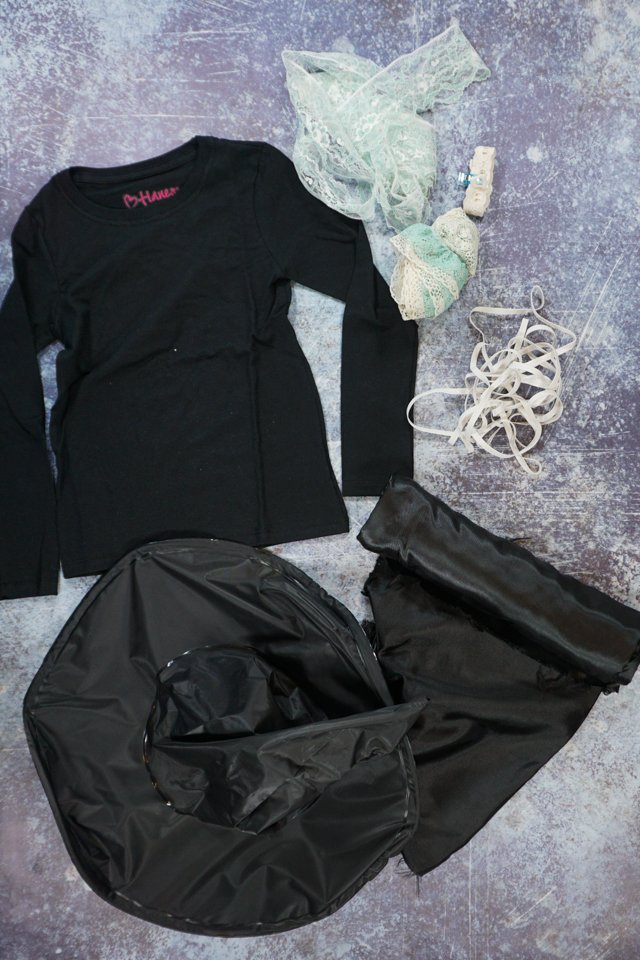
- Black sleeve t-shirt (short sleeve for warm places and long sleeve for cold places)
- 1 to 2 yards of black fabric
- Lots of lace trim, pompoms, or tassels – choose colors and styles that feel witchy
- Optional: 1 yard of 1/4 inch elastic
- Sewing tools
- Sewing machine
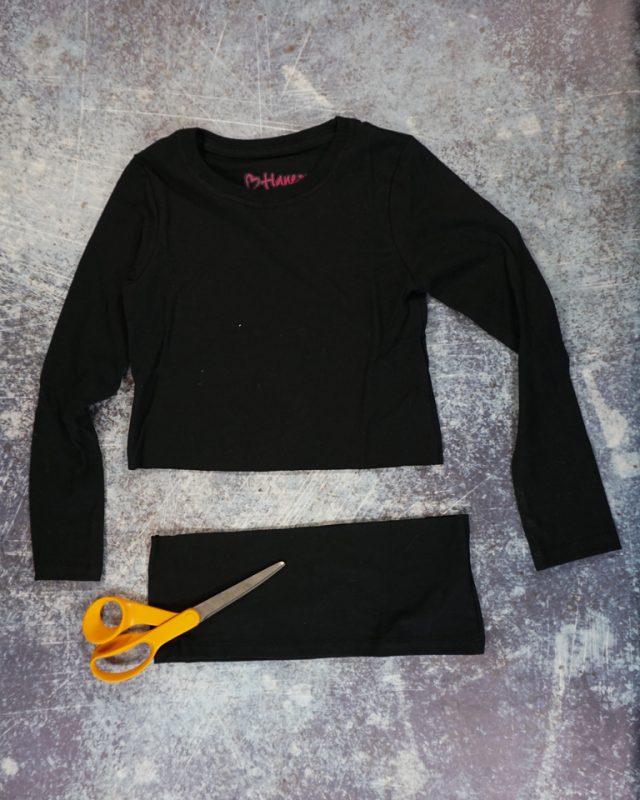
Cut the t-shirt off at the waist. You may need to try the t-shirt on to check the length you’ll need. Don’t forget to account for seam allowance.
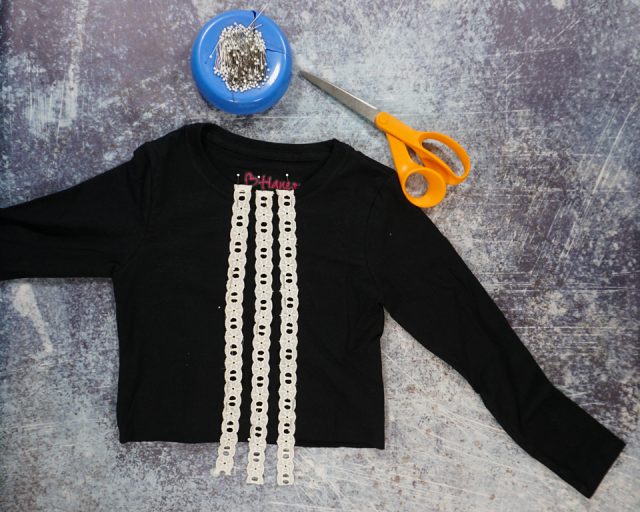
Cut three pieces of lace just longer than the center front of the t-shirt. Pin them to the center front of the t-shirt. Fold the top of the lace under to finish the edge.
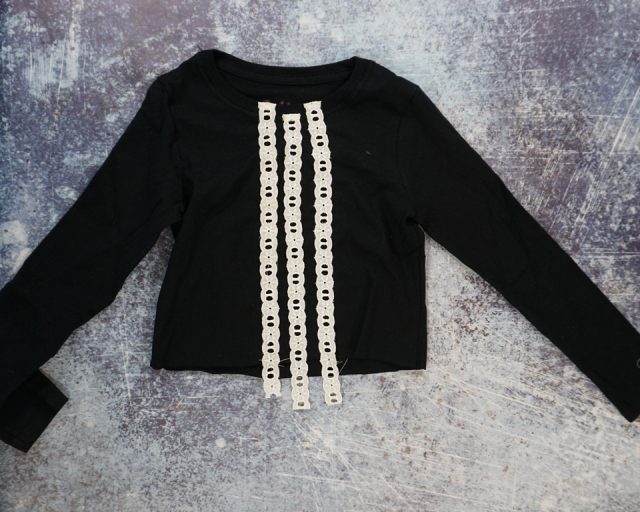
Topstitch around the lace to secure it to the front of the t-shirt. Trim the excess lace from the bottom of the center front.
Next, you are going to make the skirt. To figure out the measurements, first, measure the circumference of the bottom of the t-shirt. Double it. That is the width of the skirt.
Next, measure from the waist to the ankle. Double it. That is the height of the skirt. (The skirt will be layered with the bottom layer going down to the floor and the top layer ending near the calf.)
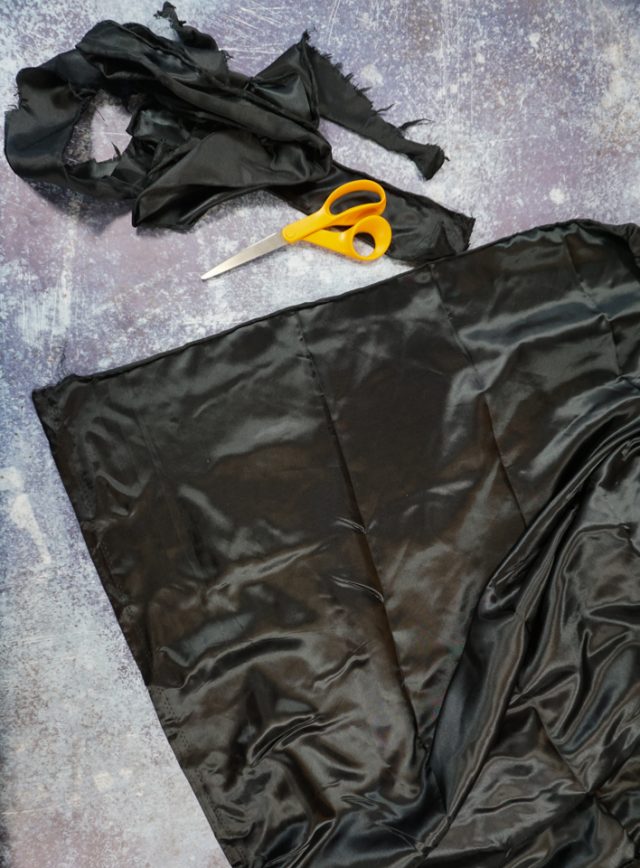
Serger or zigzag the raw edges of the fabric.
Lay out the fabric with the fold at the top. The bottom layer should measure from the waist to the floor and the top layer should be shorter than that. The top layer will be right side out and the bottom layer will be wrong side out.
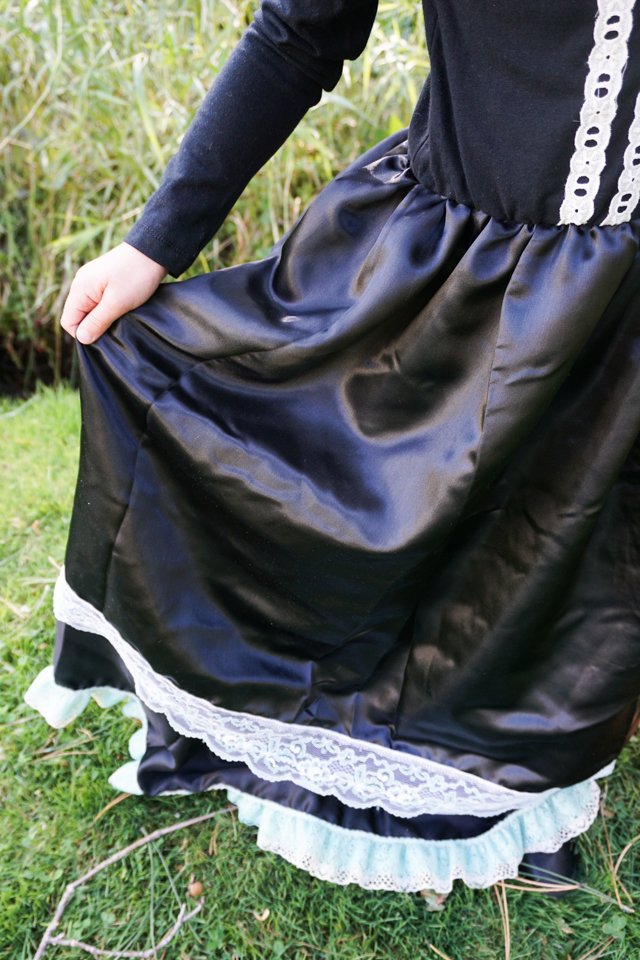
Pin lace to the bottom of each layer covering up the serging or zigzagging. I like to lay it out so that I know I’m pinning the lace trim onto the side that will be showing.
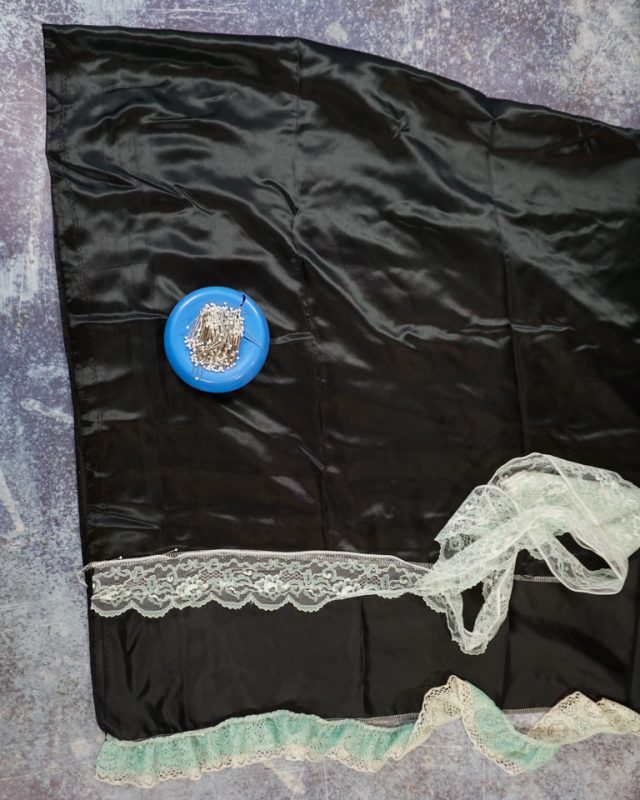
Sew the lace trim onto each layer.
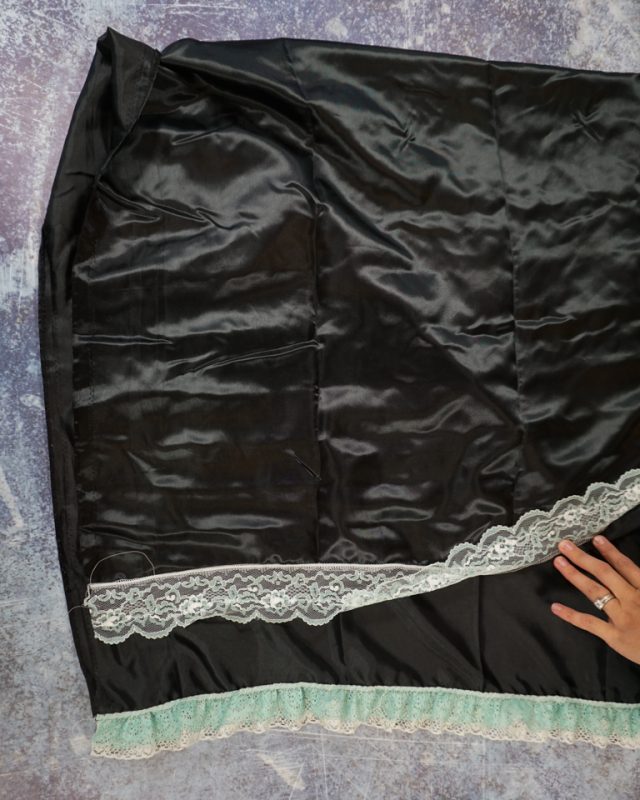
Fold the skirt right sides together and match up the seam. Make sure that the lace trims match up perfectly.
Sew a 1/2 inch seam allowance and then finish the edges if they haven’t been finished yet.
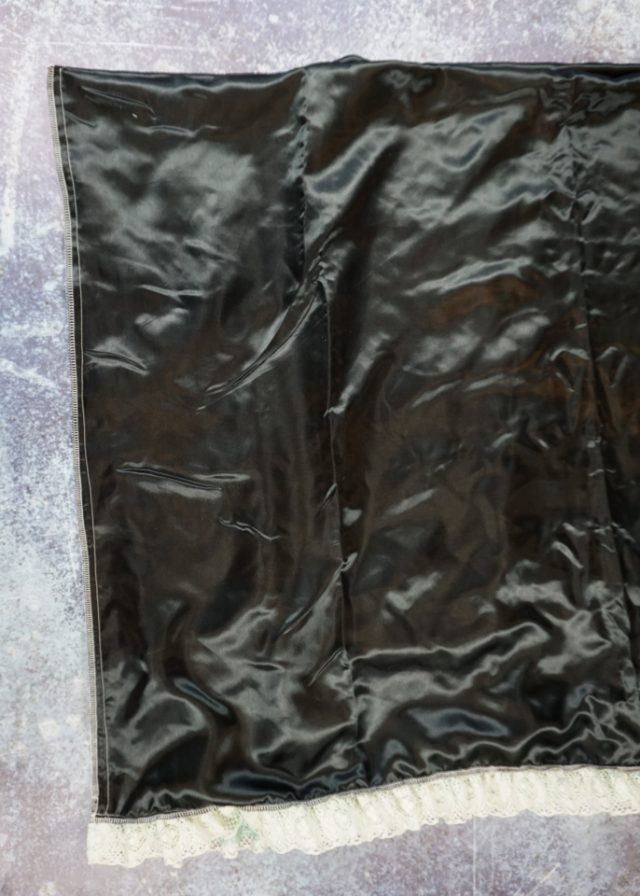
Sew two rows of basting stitches along the fold at the top of the skirt.
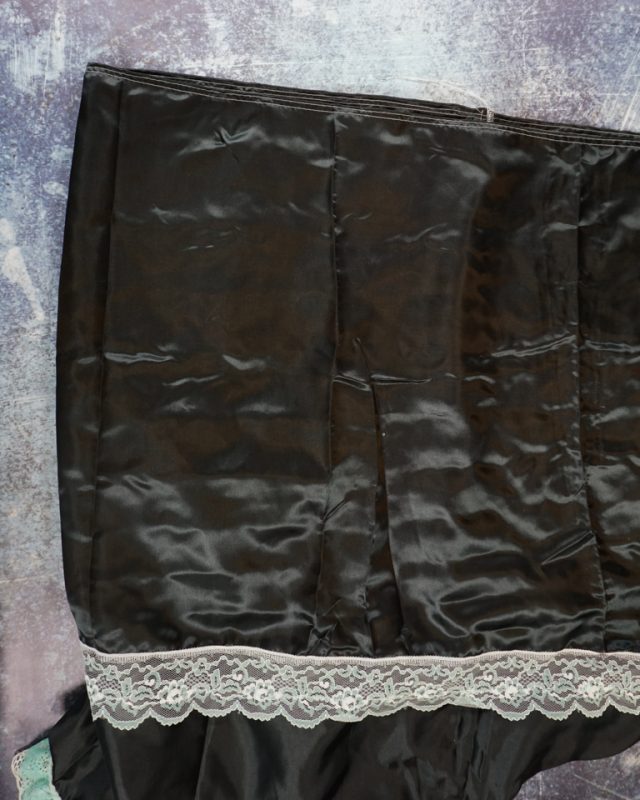
Divide the skirt into four equal sections. Divide the bottom of the t-shirt into four equal sections. Match up the four sections of the skirt to the t-shirt and pin.
Gather the skirt by pulling on the bobbin basting thread to match up with the t-shirt.
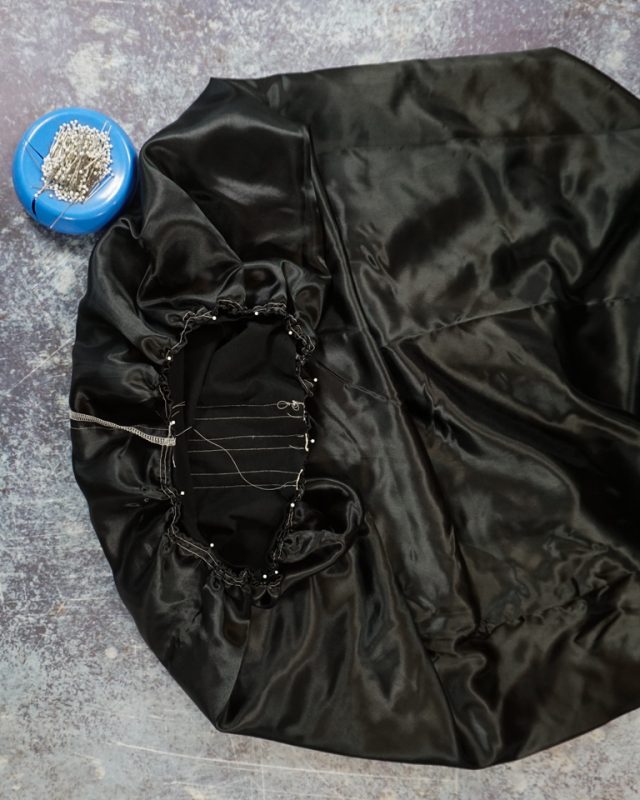
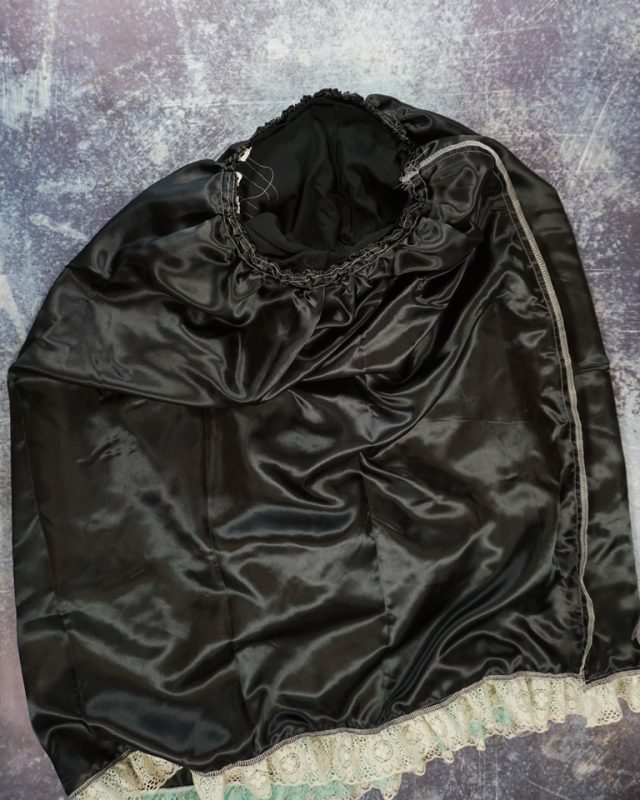
Sew the waist seam with a 1/2 inch seam allowance.
Optional: add 1/4 inch elastic to the waist seam allowance to pull it in slightly.
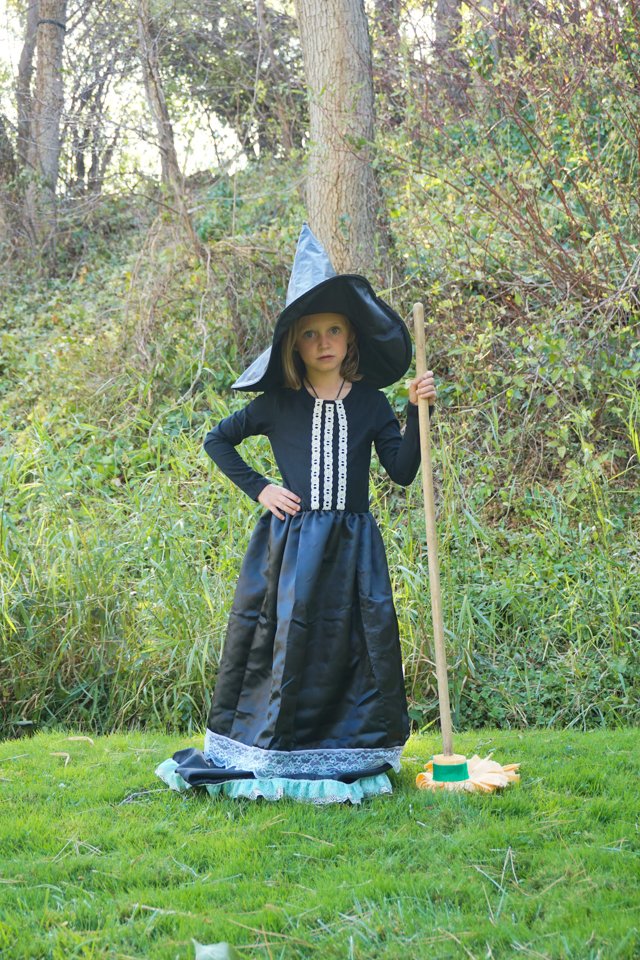
Add a black witch hat, black shoes, and a broom for the perfect DIY witch costume!
If you make something using this sewing project, I’d love to see! Please share it on social media with the hashtag #heatherhandmade and tag me!

I believe small sewing moments can create great joy. Find your own “right” way to sew. -Heather
