
DIY Tote Bag with Fold Up Pocket

This post may contain affiliate links.
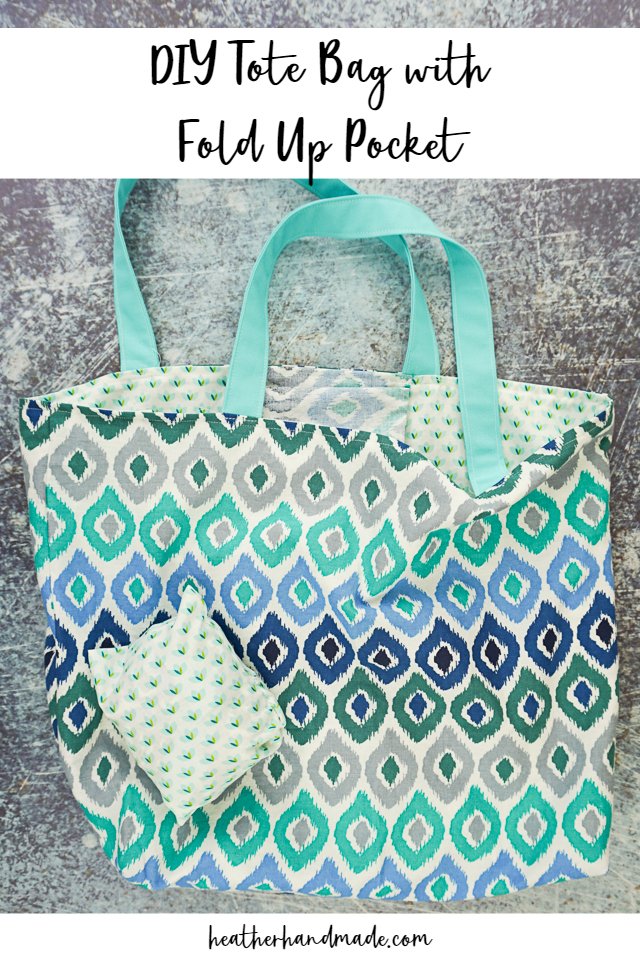
Learn how to make a DIY tote bag with a fold up pocket. With the reusable bag folded up in a pocket it’s easy to store in a purse or car until needed.
I’m in the habit of bringing my reusable grocery bags to the grocery store every time I go, but I often forget my reusable bags when I’m just doing a quick errand.
I needed a little bag that I could fold up and keep in my purse. I made a diy tote bag with a pocket so it can be folded up small. Get the free sewing pattern at the end of the post.
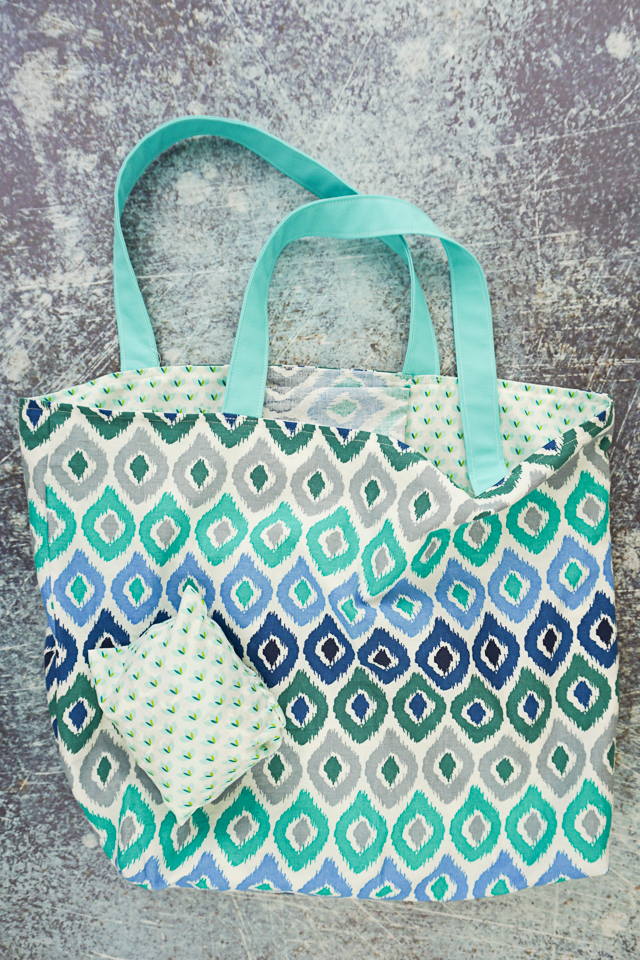
This bag is great because it is made with pretty quilting cotton fabric. It’s strong because it’s lined, and you don’t need a serger to make it. I wouldn’t say it’s strong enough to carry a bunch of cans, but it is strong enough to carry some weight.
I actually made these two tote bags as a gift and just put them in the mail. I don’t always sew handmade gifts, but I fit them in here and there.
Do you love to sew? Try one of these sewing projects:
- beginner sewing projects
- handmade gifts to sew
- Bag sewing projects
- eco friendly sewing projects
- One yard sewing projects
- Travel sewing projects
- Free tote bag sewing pattern
- Ruffled Tote Bag Sewing Pattern
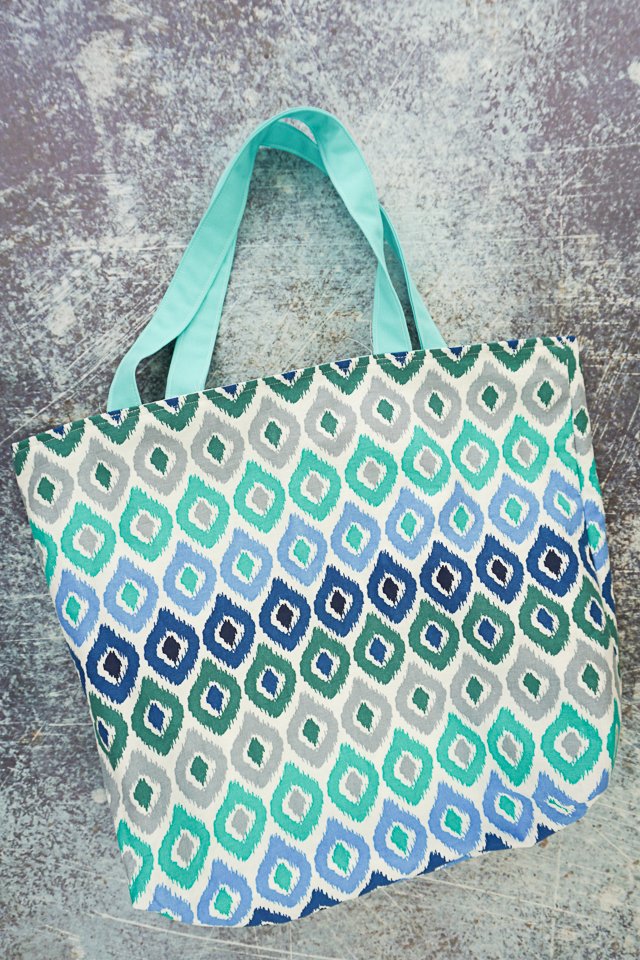
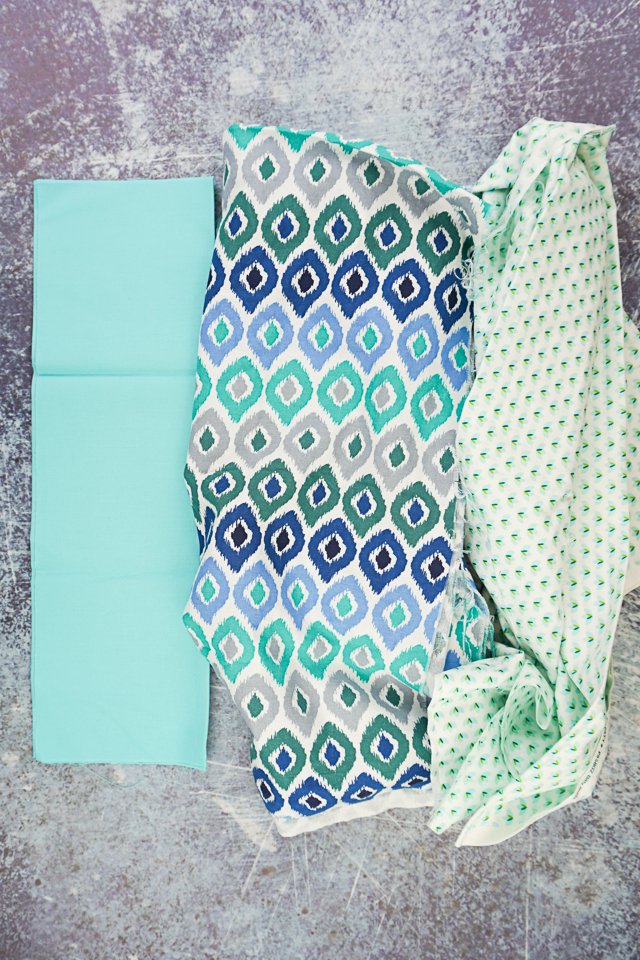
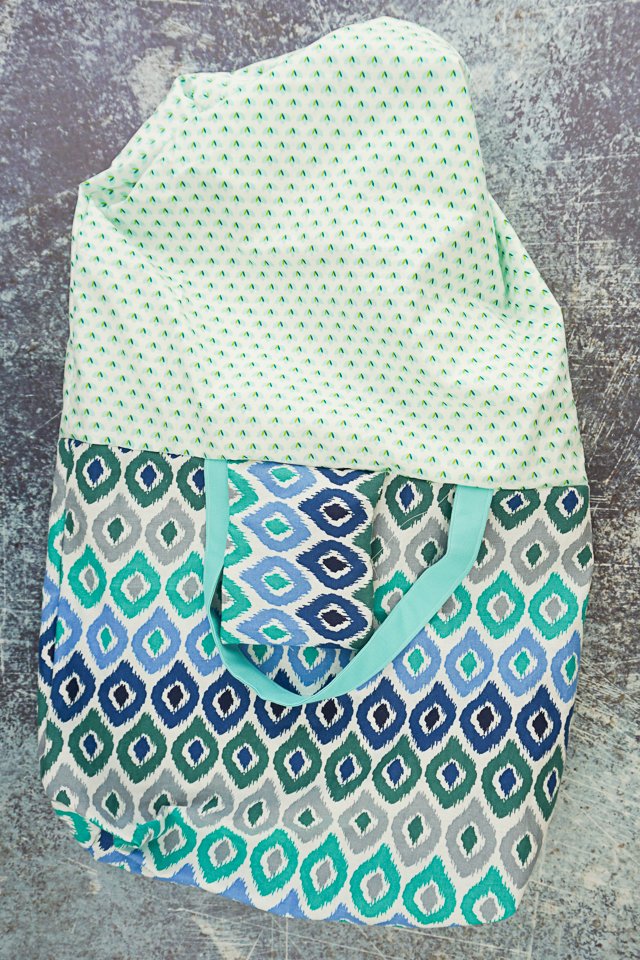
I chose to have the darker fabrics on the outside to help resist dirt and stains. I used a lighter colored fabric on the inside because it was pretty.
The envelope pocket is attached to the tote bag at the top. To fold up the DIY tote bag lay it out flat and bring each side in 1/3. It should look long and thin with the pocket at the top.
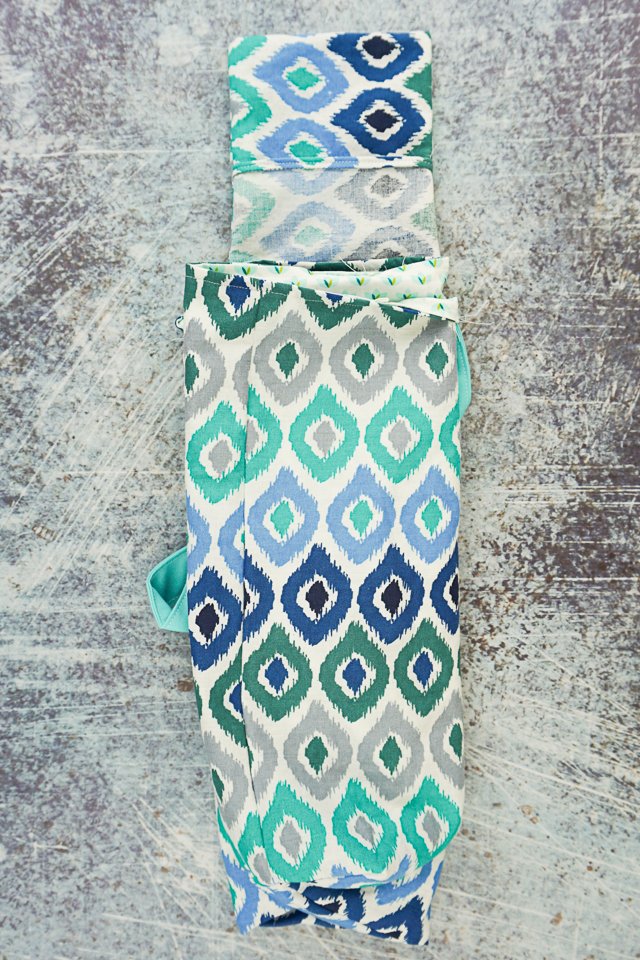
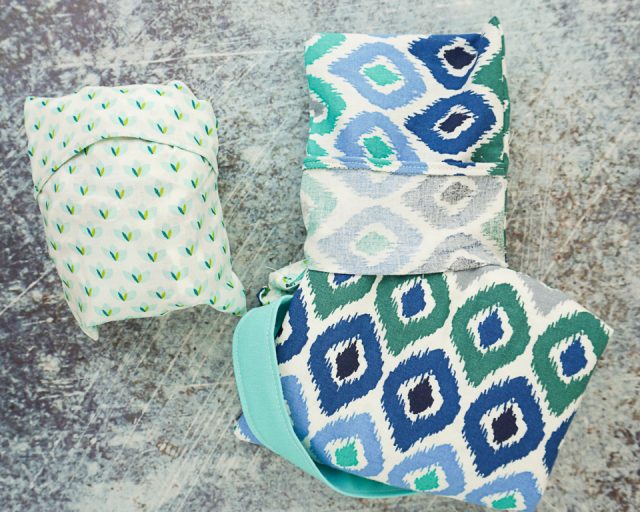
Fold the bag into thirds or fourths and then stuff it into the pocket. Since the bag is lined it makes it a little bulky, but I give you the right measurements to make it work as long as you are using lightweight fabric.
DIY Tote Bag with Fold Up Pocket
supplies
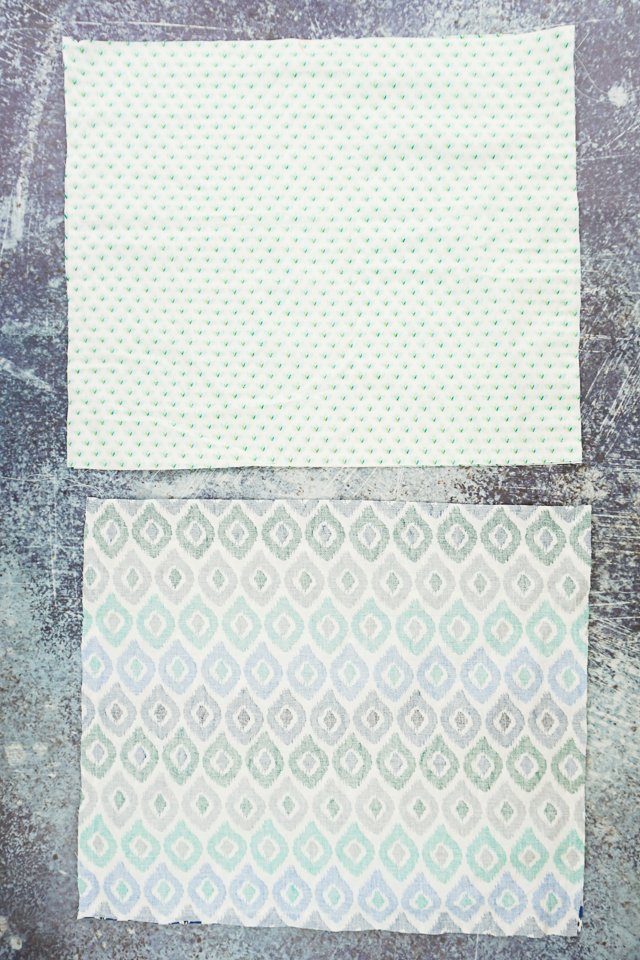
- 1 yard of quilting cotton (or 1/2 yard of two different fabrics)
- Free tote bag with fold up pocket sewing pattern – get it at the end of the post
- sewing tools
- sewing machine
Cut these pieces for the DIY tote bag or get the free sewing pattern at the end of the post:
- bag – 18 inches wide by 15 inches tall – cut 2 fabric and cut 2 lining
- pocket – 7 inches wide by 15 inches tall – cut 1
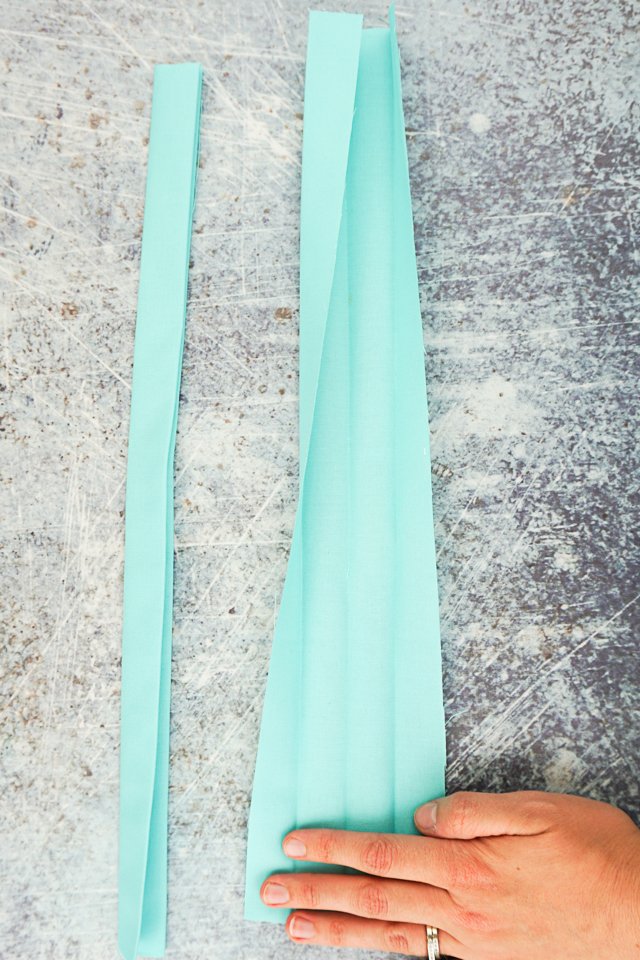
- straps – 4 inches by 16 inches (can be cut any direction) – cut 2

Press the straps in half. Then bring each side in to meet in the middle and press again. Fold all three folds and press again.
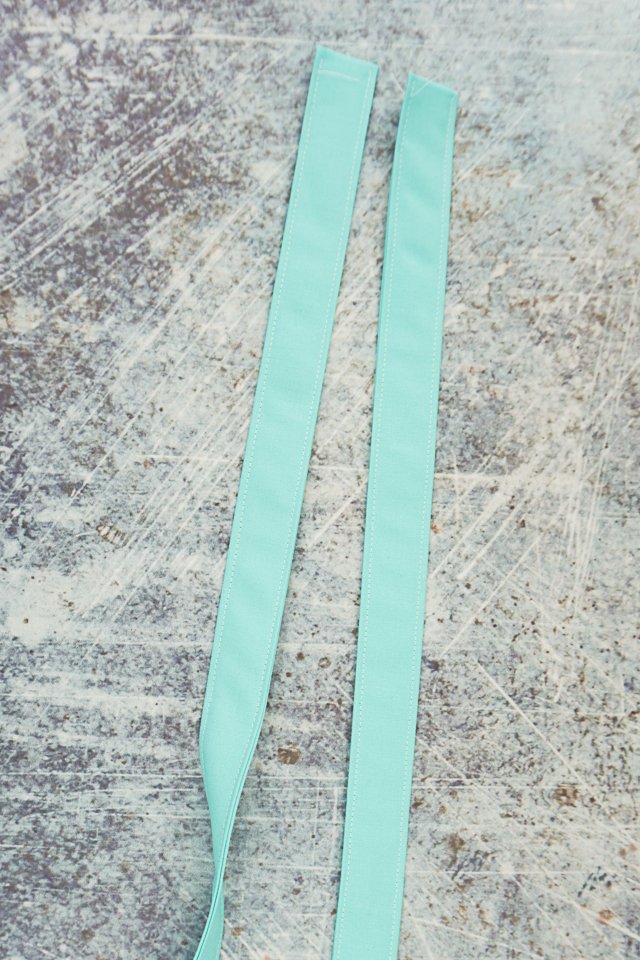
Topstitch along each side of the strap to hold it in place.
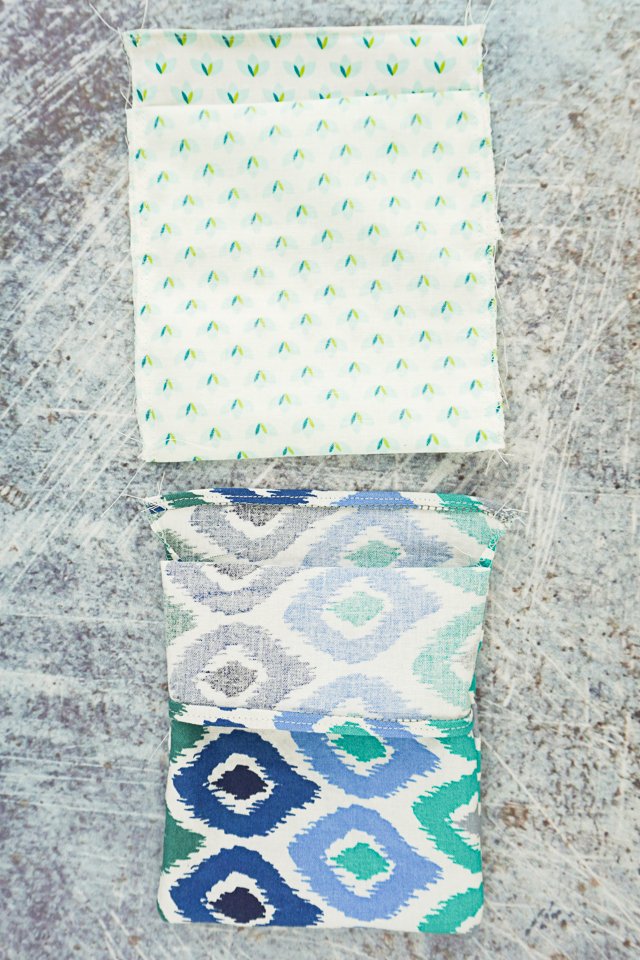
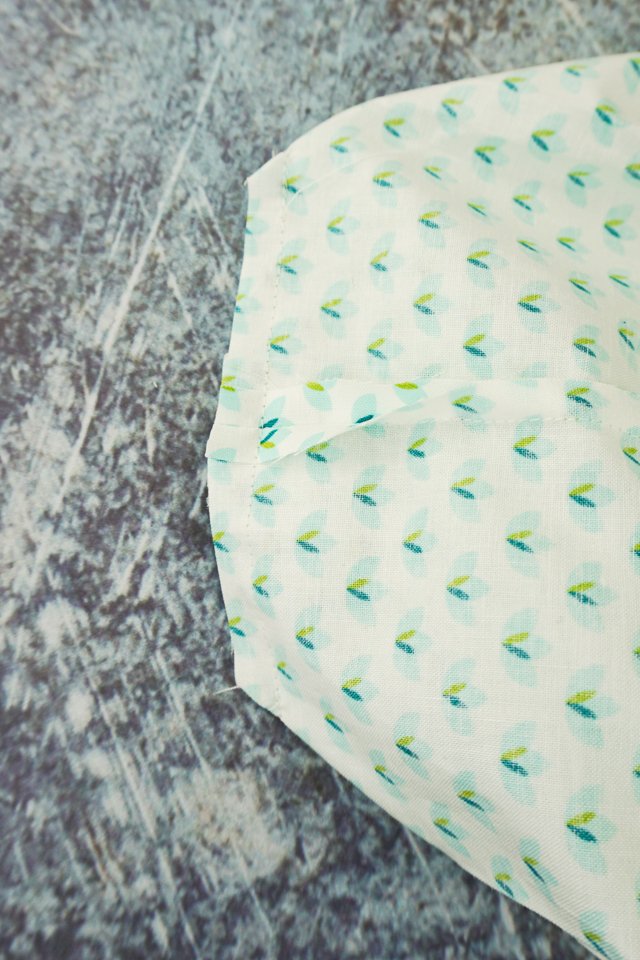
Hem one short side of the pocket. In this image I hemmed both sides and realized later that I only needed to hem one side.

Fold the hemmed side towards the front of the fabric 2 inches. Then fold the whole pocket in half with right sides together but leave the unhemmed side out 1 inch.
Sew 1/4 inch from each side and zigzag the raw edges. Turn the pocket right side out.
Pin the sides and the bottom of the bag pieces with right sides together. Sew around the edge at 1/2 inch.
Do the same to the lining.
Pull out the corner lining up the side seam with the seam along the bottom of the bag. Sew across like a triangle 2 inches from the point.
Do the same to the other side and the lining, so you will do this 4 times total.

Trim off the triangle seam allowance.
Pin the pocket to the top of the lining matching up the unhemmed edge with the raw edge of the lining. Baste in place.
Pin the straps to the top of the outer bag piece with the short edges lining up with the raw edge of the bag. I like my straps to be about 6 inches apart. Baste in place.

With the outer piece right side out slip it inside the lining right side in. That way you’ll match right sides together. Match up the side seams.

Sew around the top at 1/4 inch seam allowance and leave a 4 inch hole for turning.

Turn the bag right side out.
Push the lining down inside the bag and roll out the seam along the top. Pull out the straps.
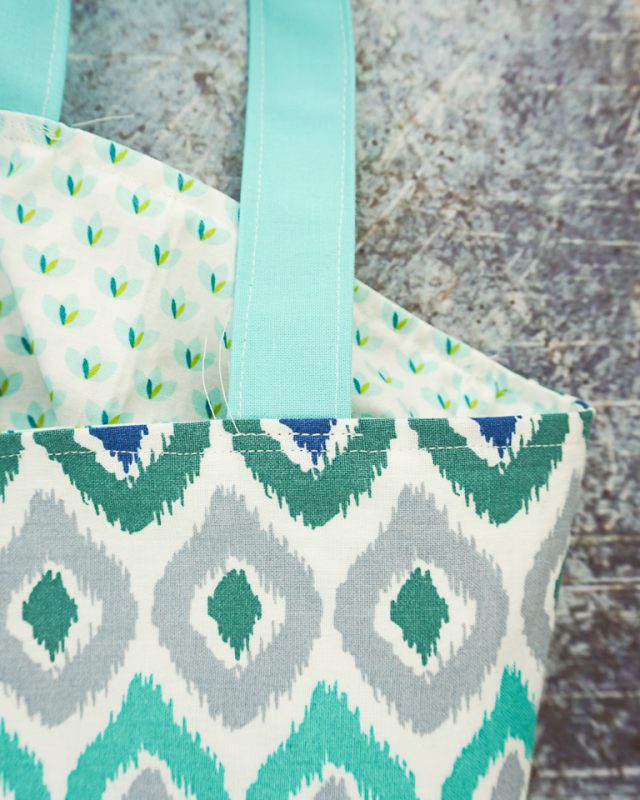
Edgestitch around the top of the bag to keep the straps up and the pocket down. This will also close the hole.

Add a little bit of extra stitch at the top next to the strap. You want the straps to be nice and secure.
Fold up your bag and take it with you wherever you go!
Get the Free Sewing Pattern here!
If you make something using this sewing project, I’d love to see! Please share it on social media with the hashtag #heatherhandmade and tag me!

I believe small sewing moments can create great joy. Find your own “right” way to sew. -Heather
I can’t figure out the pocket and how to fold
Thank you so much for all this information at so many levels. I have been a seamstress for over forty years, I retired my career job and have time to really get back full time to do what I love. And learn new things, excited to learn more. Thanks.