How to Turn a Men’s Shirt to Skirt

This post may contain affiliate links.
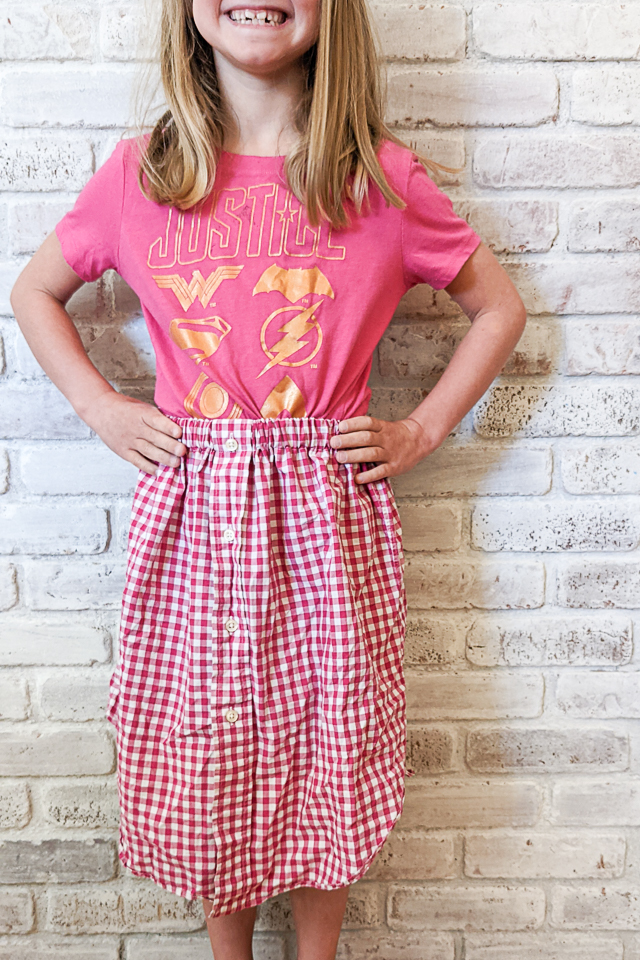
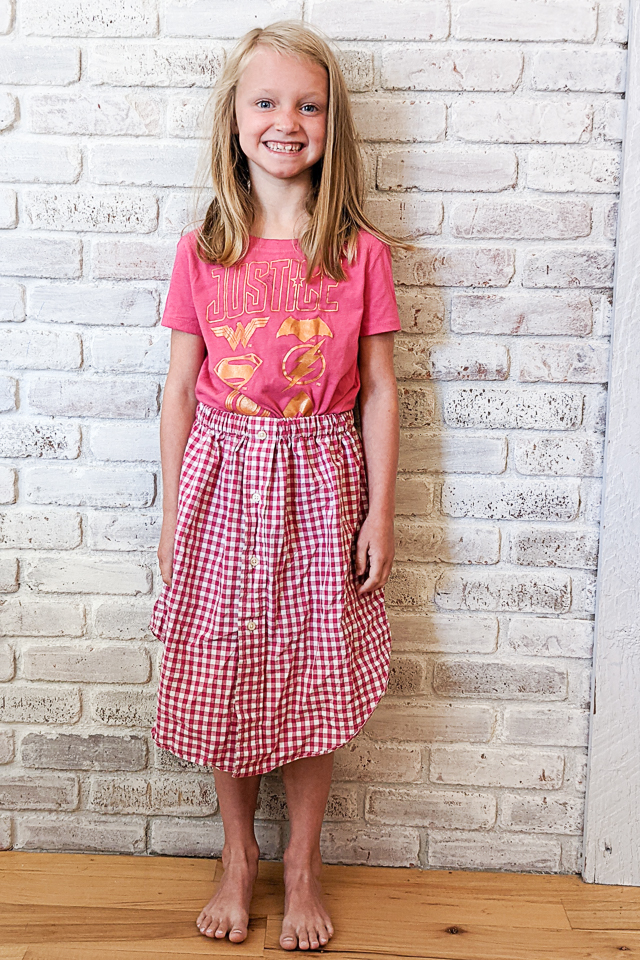
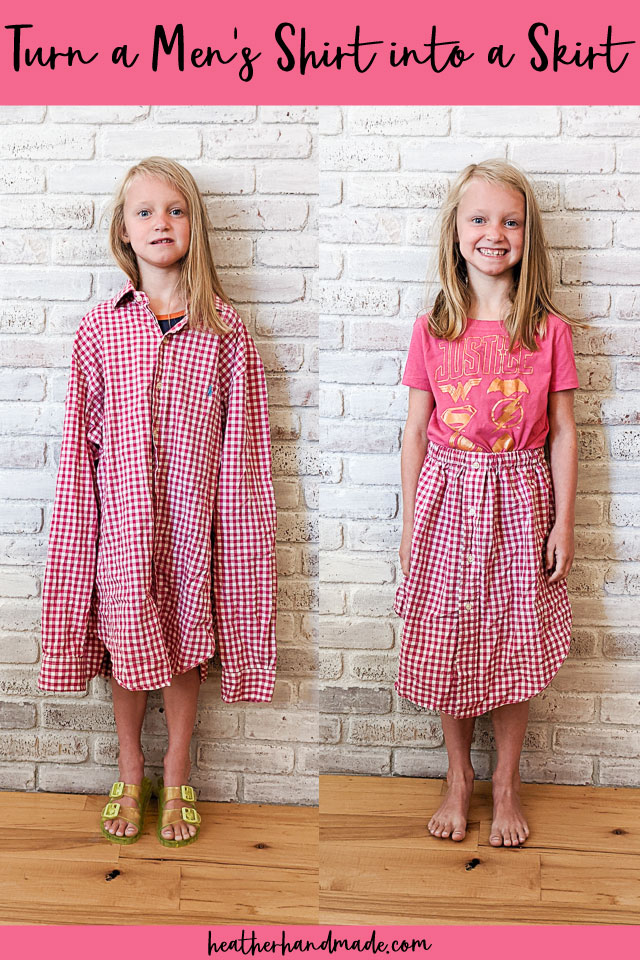
Learn how to make a men’s shirt into a skirt. This upcycling project is quick and easy, and you keep the curved hem and button front!
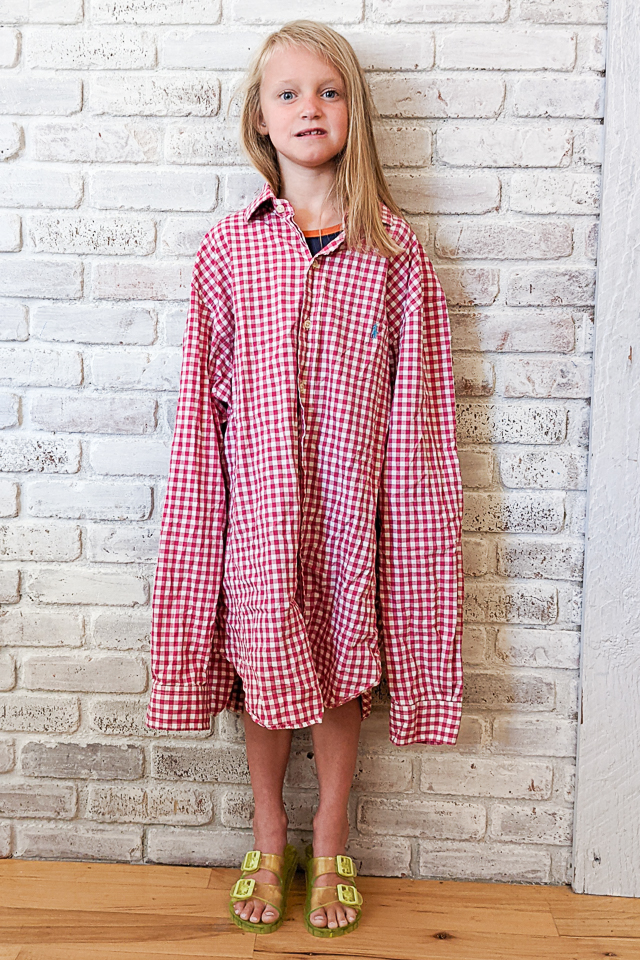
My husband got rid of this pink gingham men’s button up shirt, and all I could think about was how cute it would be as a skirt! It’s getting hot so my daughter wants more skirts to wear to keep cool. I remembered this shirt and how easy it would be to turn into a skirt!
Turning a men’s shirt into a skirt is a quick project, and the result is so good. You get to reuse some of the original details that elevates the skirt up from a basic skirt, but it’s still really comfortable to wear and easy to make.
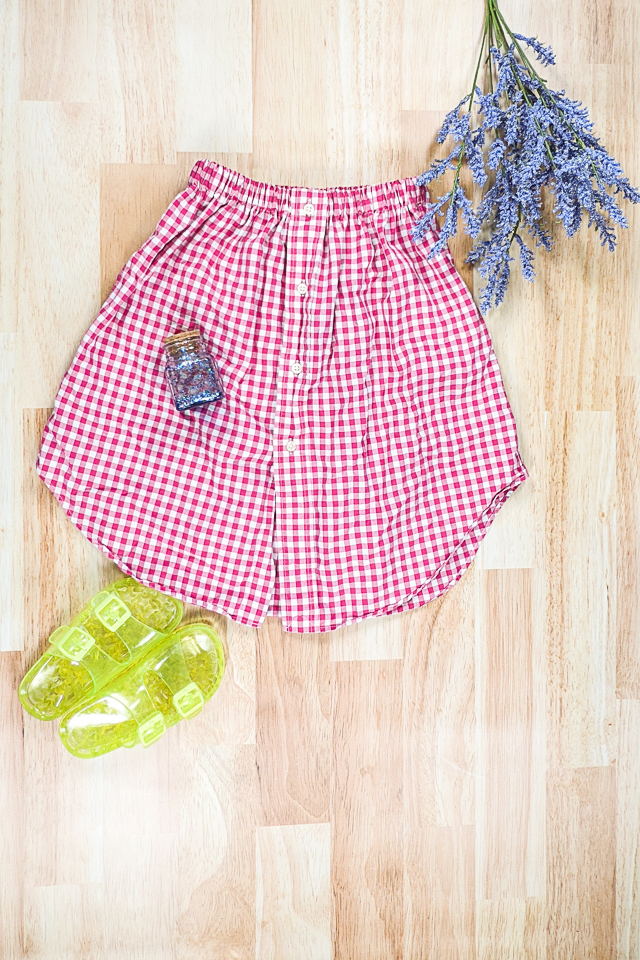
I love the curved hem of men’s shirts. It’s a trickier hem to sew, so I love to be able to reuse it whenever I can.
I also love the look of button plackets and have even added a faux button placket to the front of a skirt to get the same look.
I did make this skirt for my daughter, but the same idea can be used for women, teenagers, and little girls. Start with a men’s shirt that is twice as wide as the hips of the recipient for the perfect size.
What is Refashioning?
Refashioning is to fashion clothing again or differently. I usually use this to describe when I’m sewing clothing to fit different or to look different, but the majority of the item stays the same.
What is Upcycling?
Upcycling is to reuse material to create something better than the original. I usually use this to describe when I’m sewing adult clothing into clothing for children or I’m sewing clothing into an accessory or house item.
Do you love to sew and upcycle? Try one of these fun sewing projects:
- Men’s shirt upcycle projects
- Free skirt patterns and tutorials
- Free dress patterns for girls
- How to upcycle clothing for kids
- Men’s shirt to baby romper
- Sewing projects for kids
- Sewing projects for teens
How to Turn a Men’s Shirt to Skirt for Girls
supplies
- Men’s button up shirt – any size
- 1 yard 1 inch elastic
- 1 large safety pin
- Sewing tools
- Sewing machine
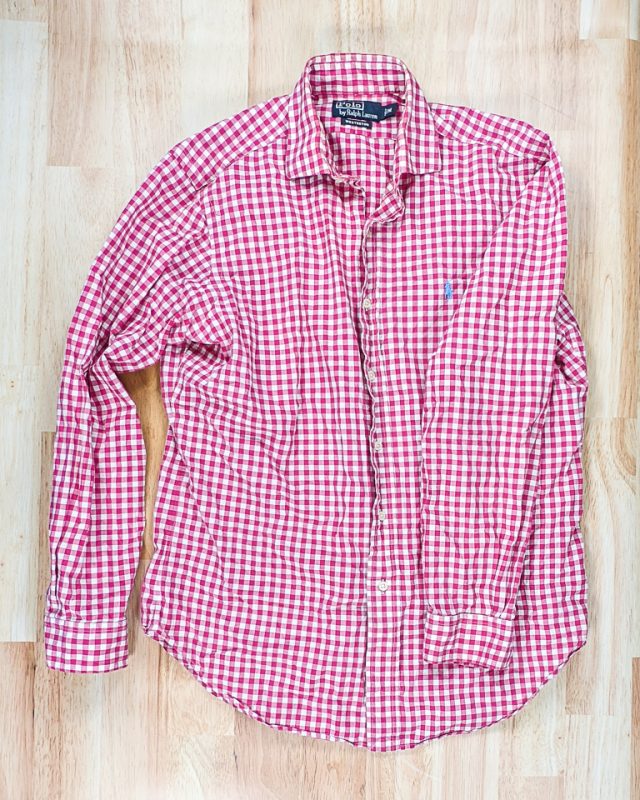
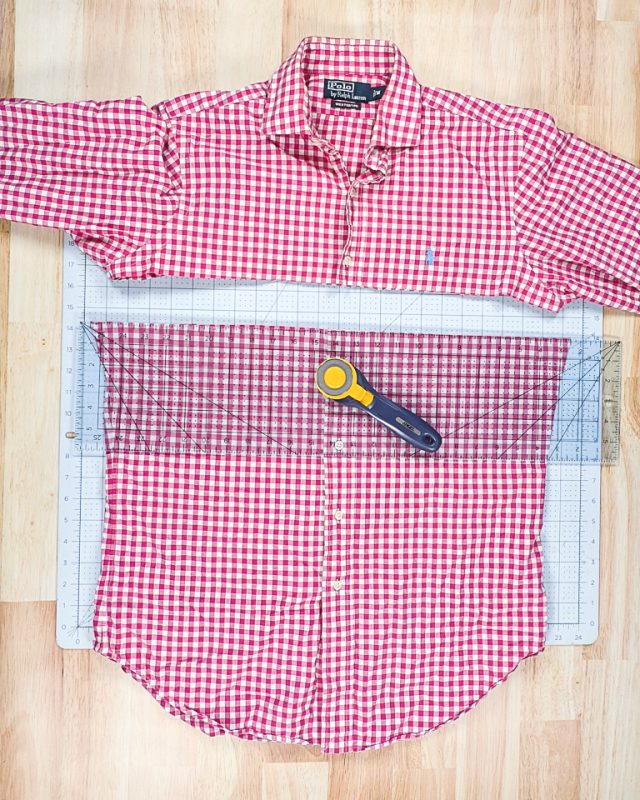
Lay the shirt out flat. Start by cutting through the shirt just below the armpits. You can mark and cut with scissors or you can use a ruler, cutting mat, and rotary cutter.
Make sure you are cutting between buttons instead of through a button.
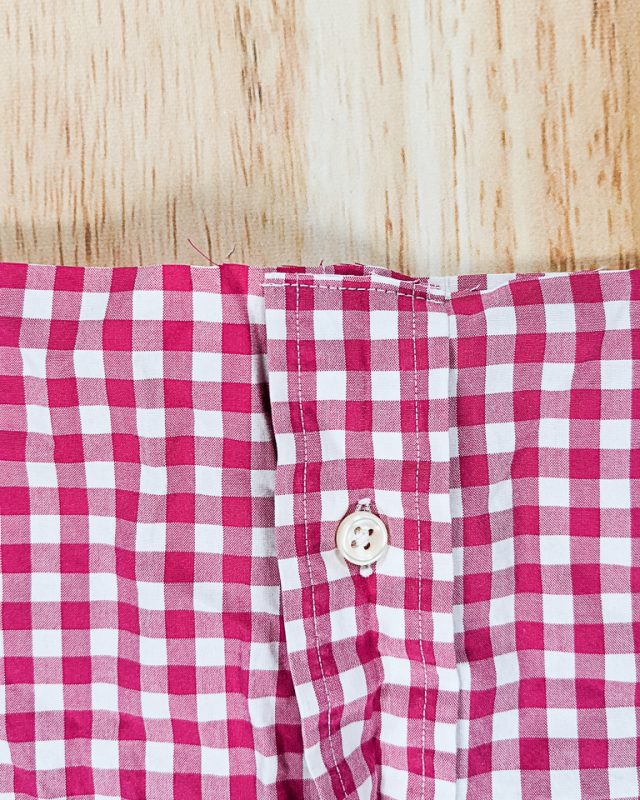
Place the cut edge of the button placket together where is should got and sew it in place.
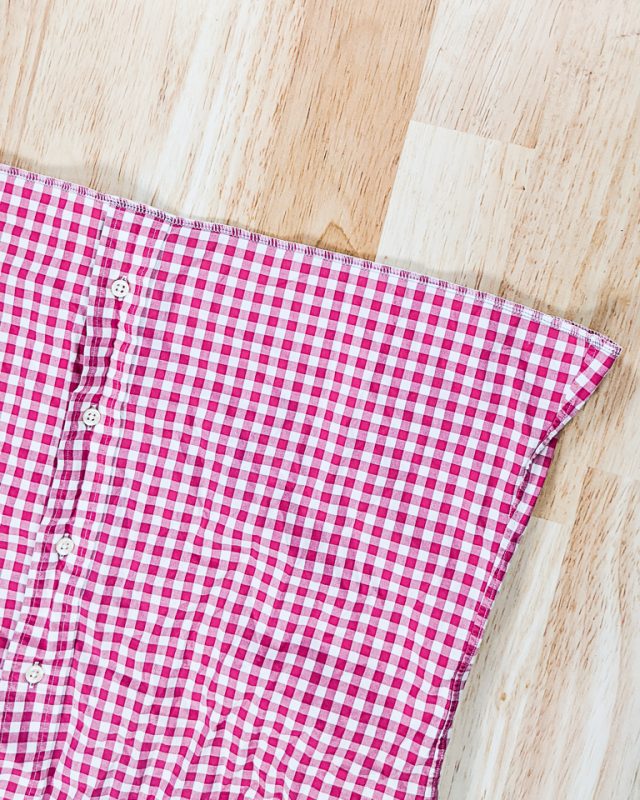
Finish the cut edge of the shirt with either a serger or a zigzag stitch.
Fold the finished edge over 1.25 inch and pin in place.

Sew around 1.125 inch (1 and 1/8) from the fold to secure and create a casing. Leave a 3 inch hole.

Cut a piece of elastic that fits your waist or your child’s waist. Place a safety pin on one side.
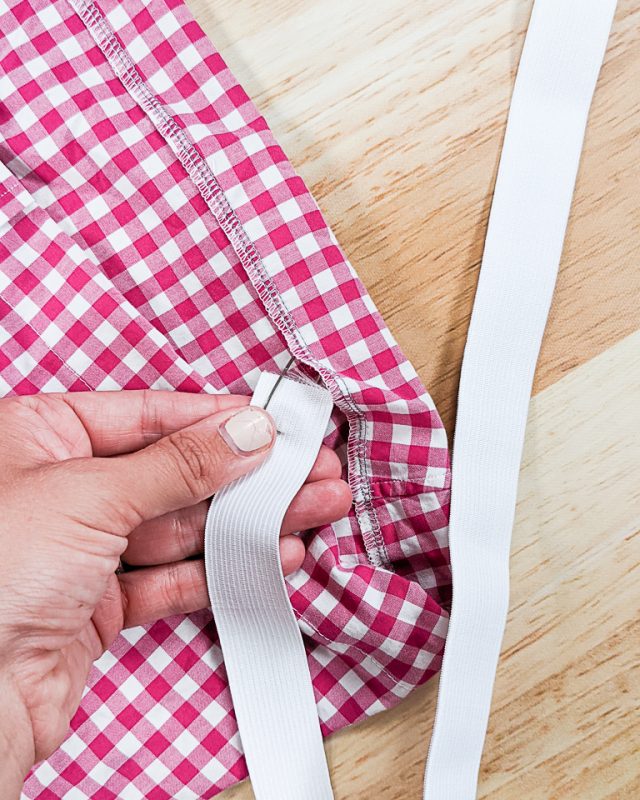
Use the safety pin to pull the elastic through the casing.
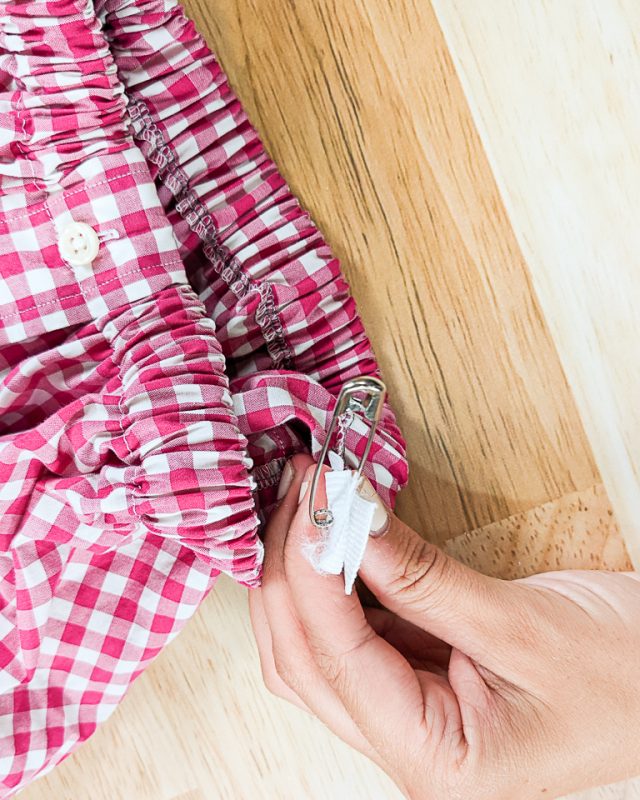
Pull both ends of the elastic out. Make sure the elastic is not twisted in the casing. Overlap the short ends of the elastic 1/2 inch and zigzag in place.
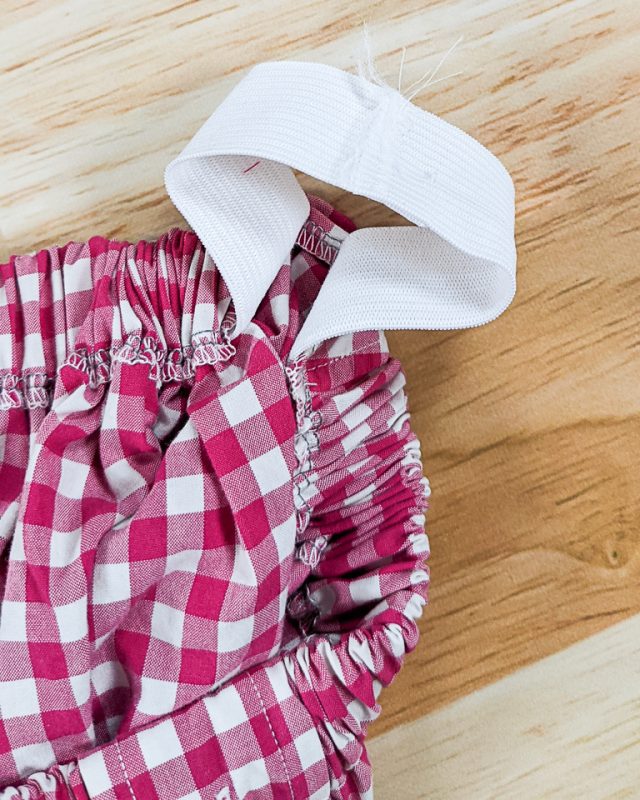
Pull the elastic into the casing. Pin the hold closed and sew it in place.
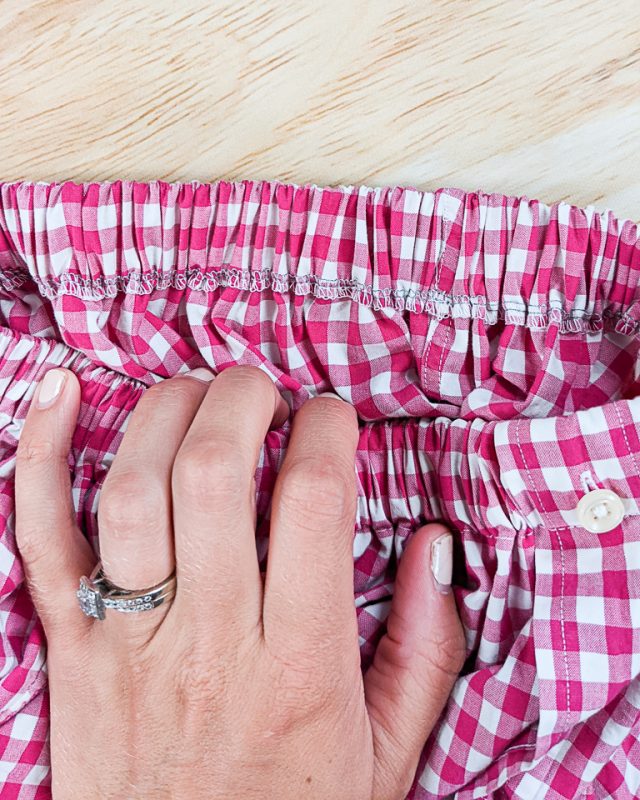
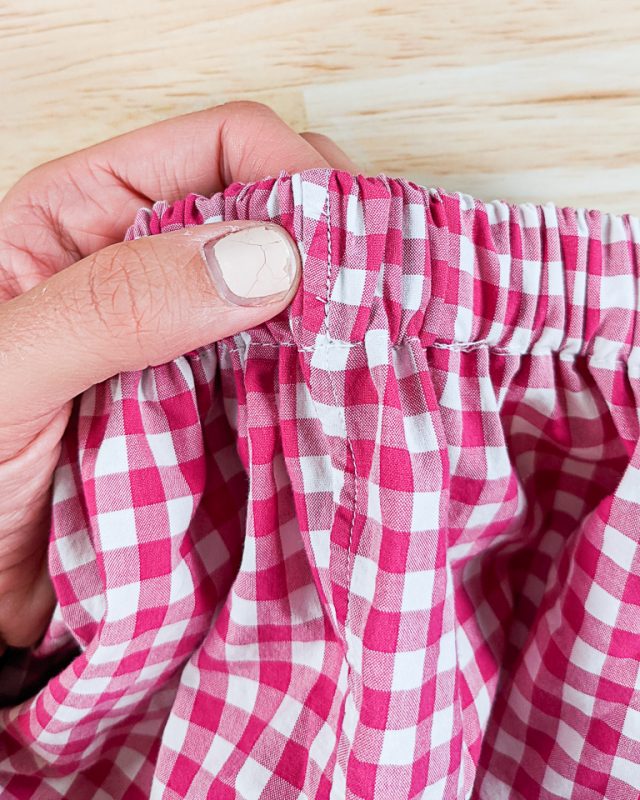
To keep the elastic from twisting as it’s being worn and washed, sew through the elastic at both side seams of the casing. If you sew over the original stitching it will look almost invisible.
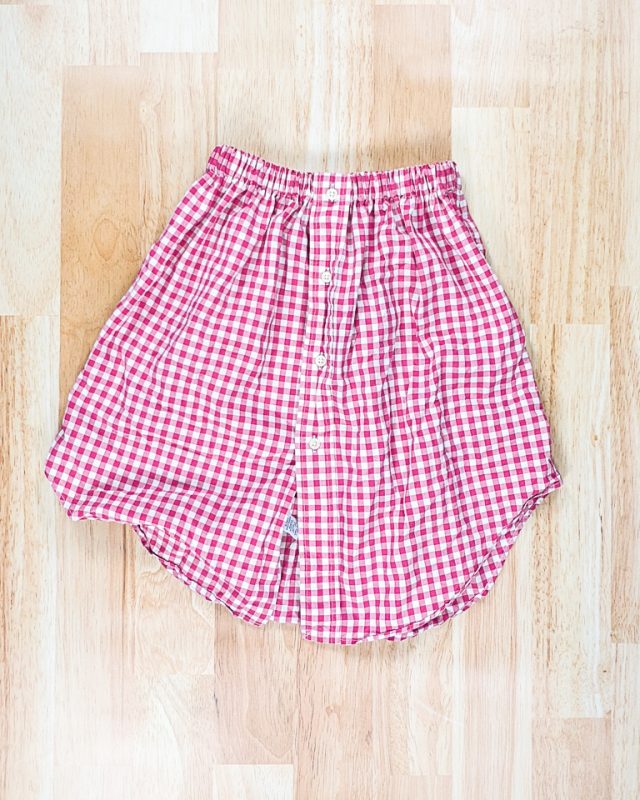
You finished!
If you make something using this sewing project, I’d love to see! Please share it on social media with the hashtag #heatherhandmade and tag me!

I believe small sewing moments can create great joy. Find your own “right” way to sew. -Heather

Love, Love, Love this skirt!!❤ I have a couple of men’s shirts; I am definitely trying out this skirt. The checkered print is wonderful! I am a brand new to sewing……Your instructions are very concise and I learn well this way! Thank you for everything!! P. S. I am so greatful you discussed how to use the seam ripper.LOL😂😂