
How to Make a Square Hem Circle Skirt

This post may contain affiliate links.
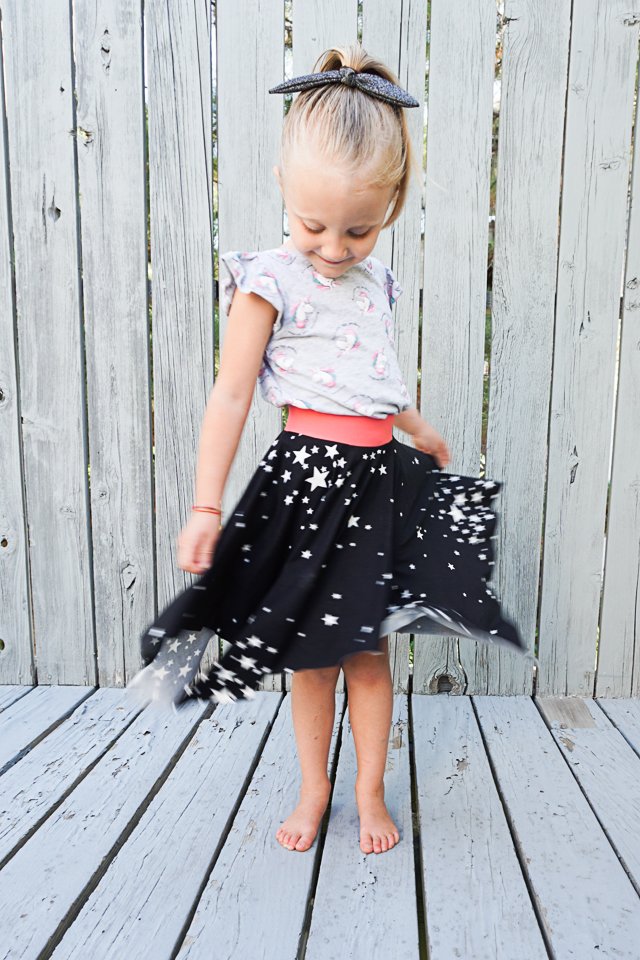
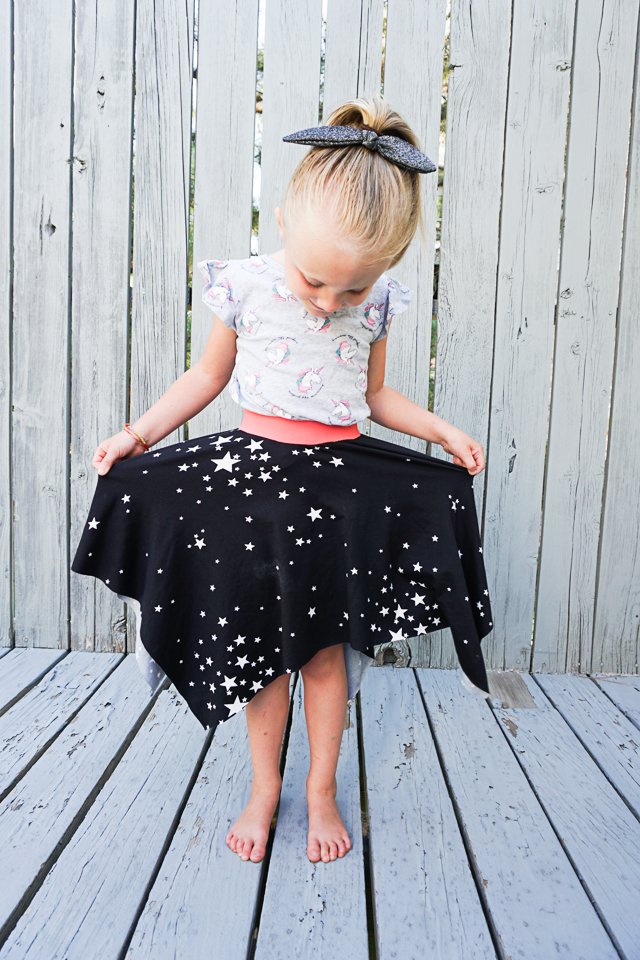
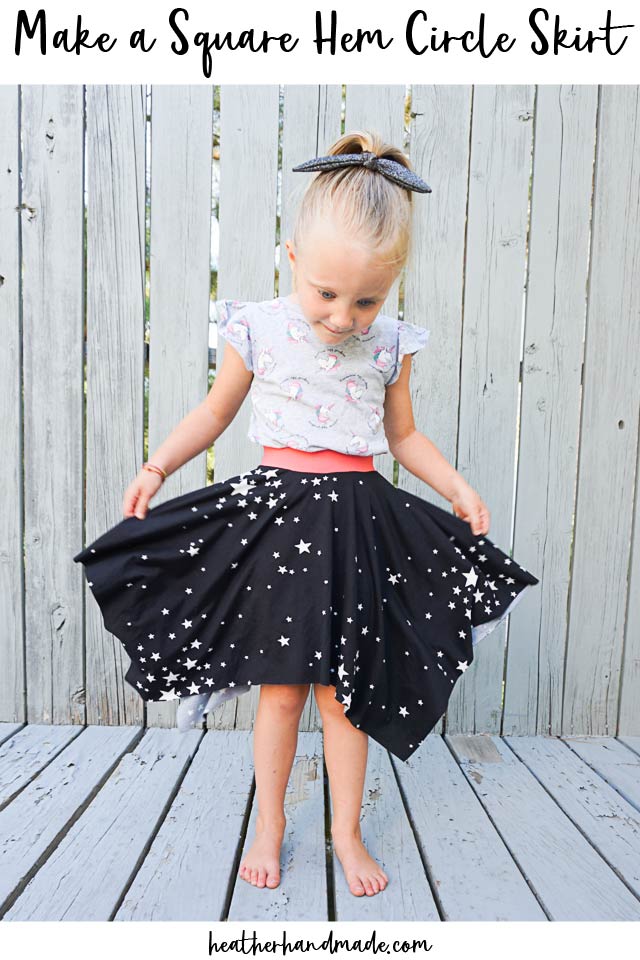
Learn how to make a square hem circle skirt with knit fabric. It’s a quick sew skirt with two seams, so it’s a perfect beginner sewing project!
I love wearing circle skirts because they are beautiful, and I love making circle skirts because they are so easy. The marking and cutting is the longest part of the process.
I’ve always wanted to make a circle skirt with a square hem, and I think it’s easier than a regular circle skirt because you don’t have to cut a circle hem!
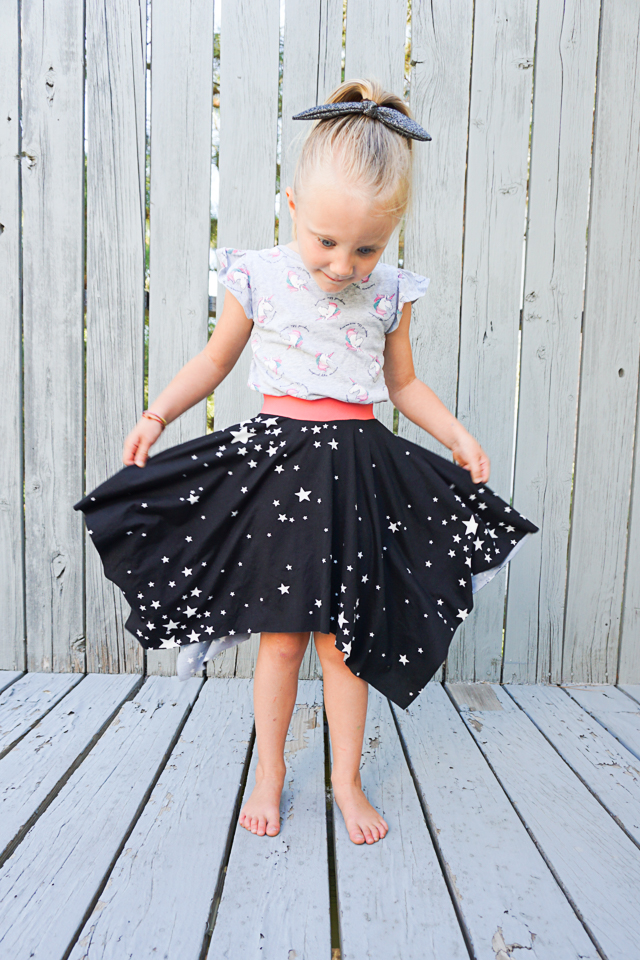
I made this simple square hem circle skirt for my daughter, and she’s worn it everyday since! She loves it so much.
I decided to use knit fabric to make this skirt because then you don’t have to hem the fabric. That’s how I made my circle skirt because I like to skip hemming when I can.
If you decide to use woven fabric to make this square hem skirt, which you totally can, you will have to hem all the edges. A straight hem is much easier to sew than a rounded circle hem!
Do you love to sew skirts? Check out these fun sewing projects!
- Circle skirt pattern
- Free skirt patterns and tutorials
- Tips for sewing knit fabric
- Sew knit fabric with a sewing machine
- Jersey knit sewing projects
- One yard sewing projects
How to Make a Square Hem Circle Skirt
Supplies
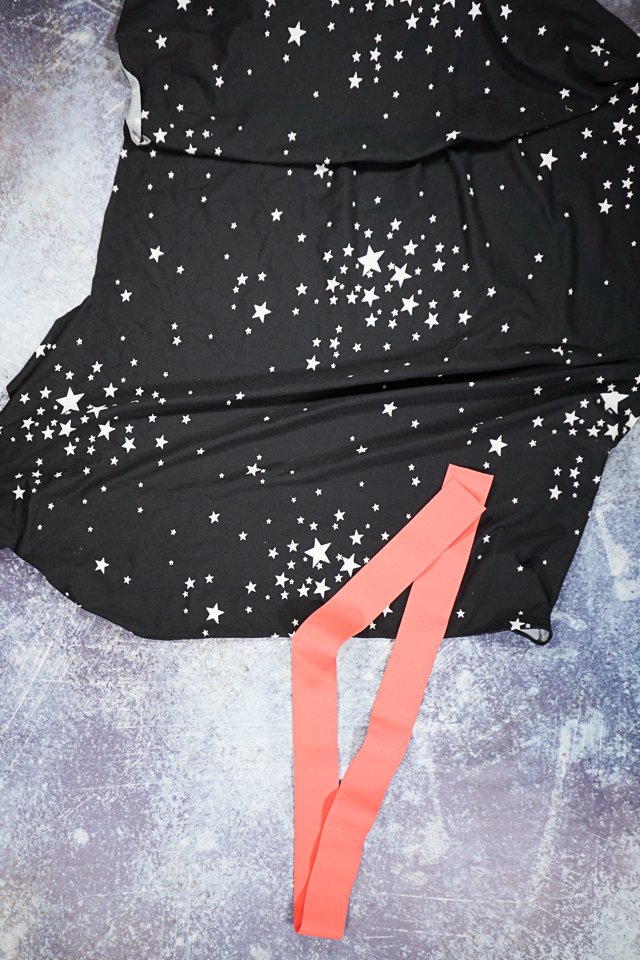
- 1 yard of knit fabric
- 1-2 yards of 2 inch solid colored elastic
- Circle Skirt free sewing pattern
- Sewing tools
- Sewing machine
For the knit fabric choose something like double brushed poly, Liverpool, or cotton spandex The amount varies greatly depending on who the skirt is for.
Use the circle skirt sewing pattern to figure out how much fabric you’ll need for your custom measurements. You won’t need extra fabric for the points of the hem.
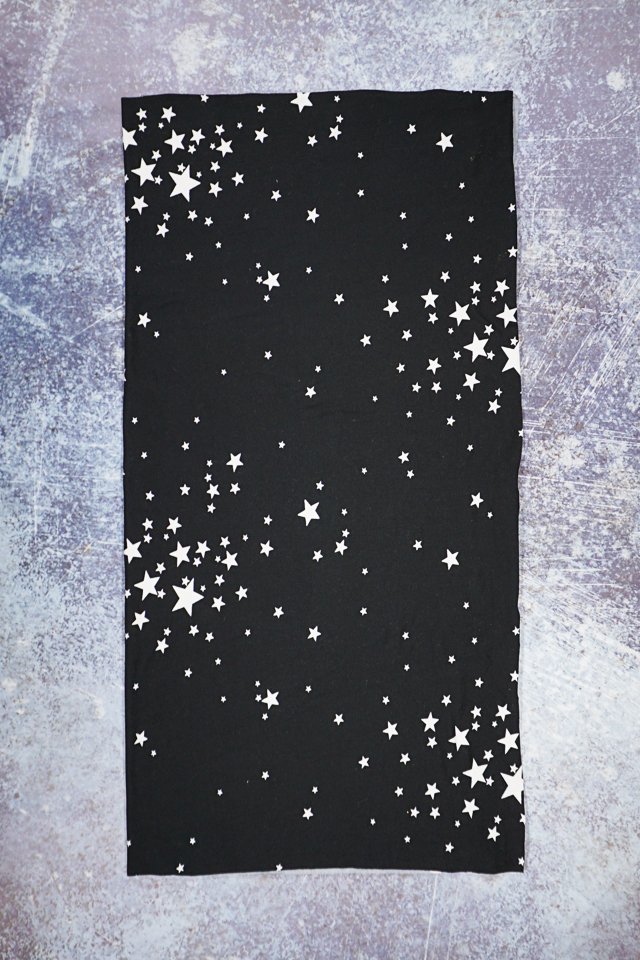
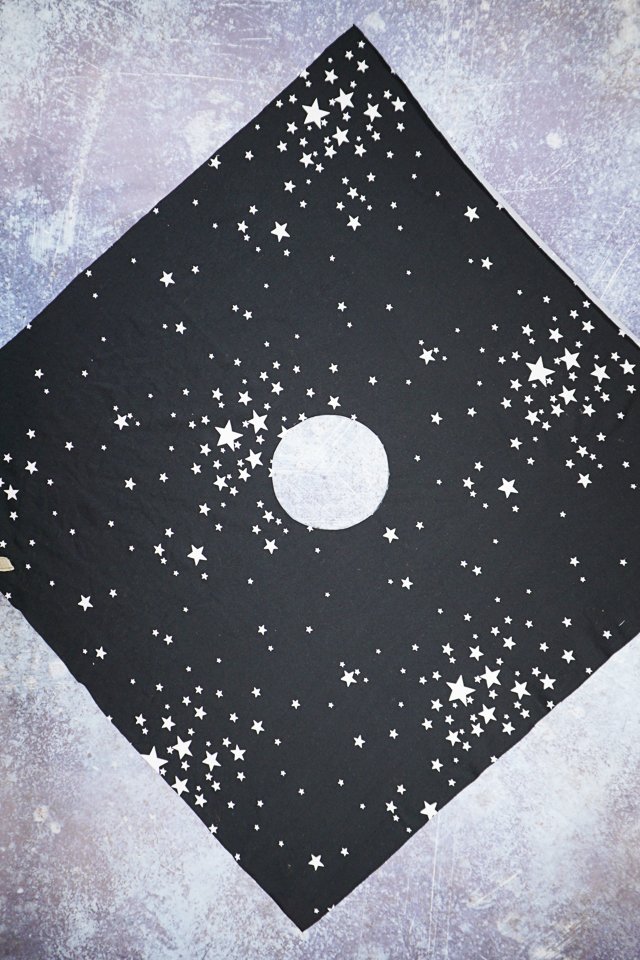
Cut a square from the fabric. The center of the square to a corner will be the longest part of the skirt, and the center of the square to one side will be the shortest part of the skirt.
These won’t be completely accurate measurements since you need to cut out the center hole of the skirt for the waist, but it gives you an idea when working on your skirt.

Fold the square in half matching up sides and corners.
Fold the square in half again so that it makes a smaller square, and that all folds are lined up at one point.
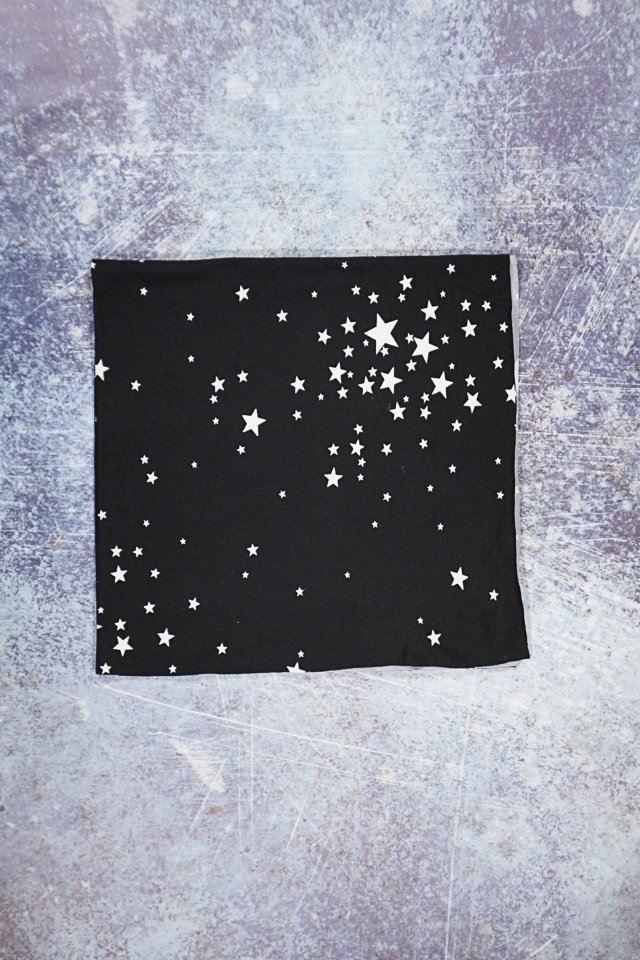
One corner of the folded square will have all the folds lining up, and it will be the center of the square.
Mark the radius of the waist (find yours in the free circle skirt pattern) with a marking tool.
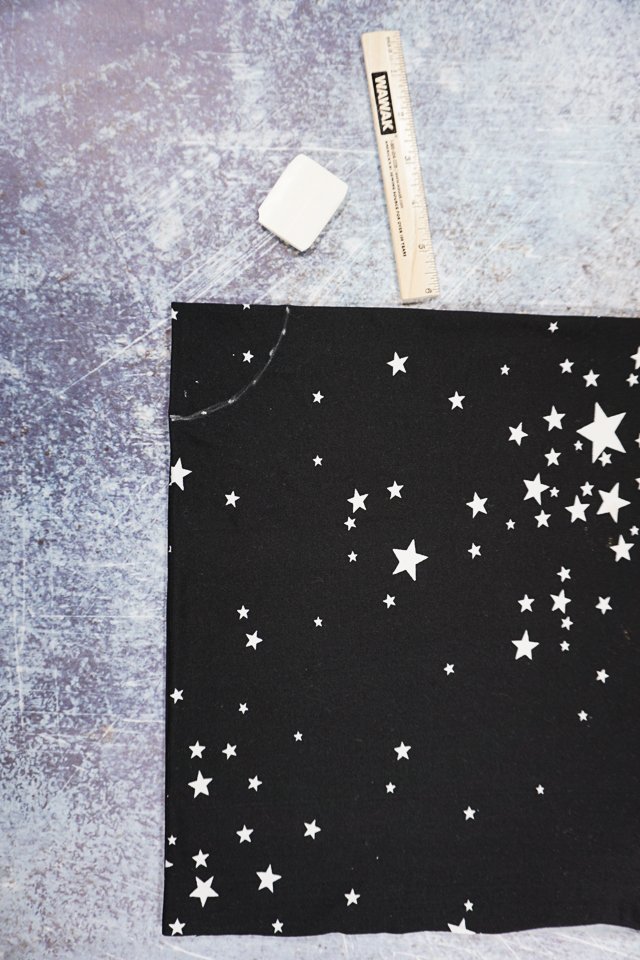
Cut at the radius through all four layers to remove the inner circle and make room for the waist.
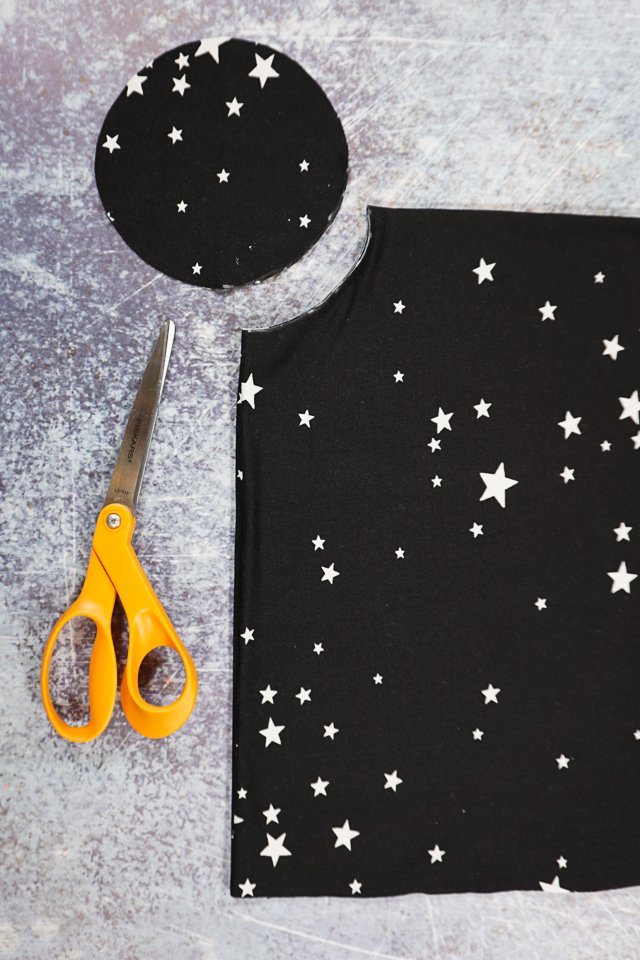
Remove the circle and open up the square.
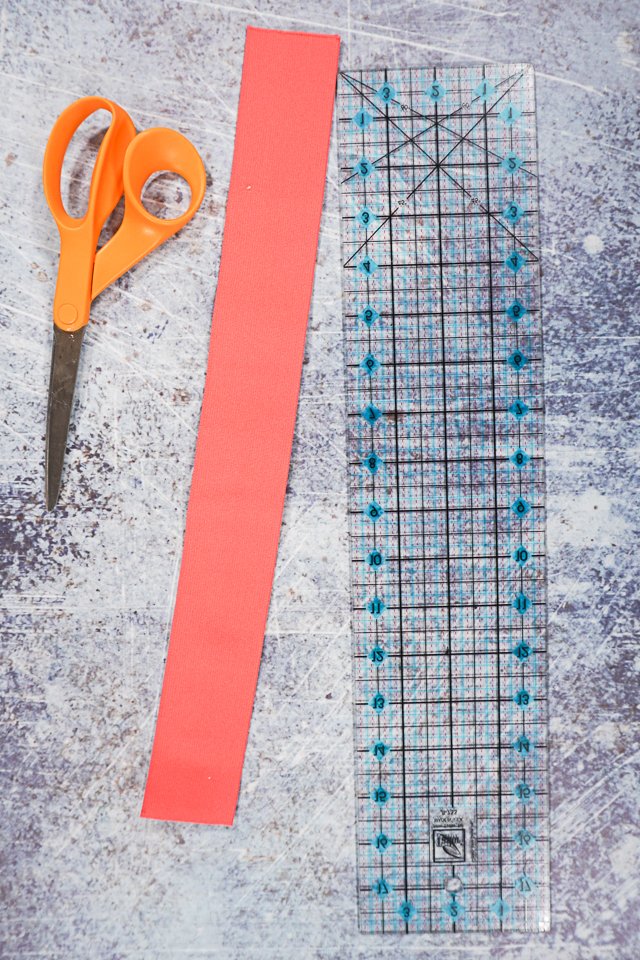
Cut the elastic to the measurement of the waist + 1/2 inch.
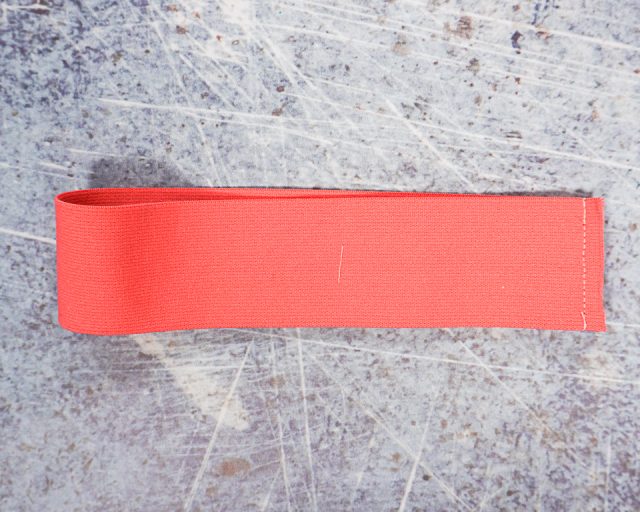
Line up the short edges of the elastic and sew at 1/4 inch seam allowance.
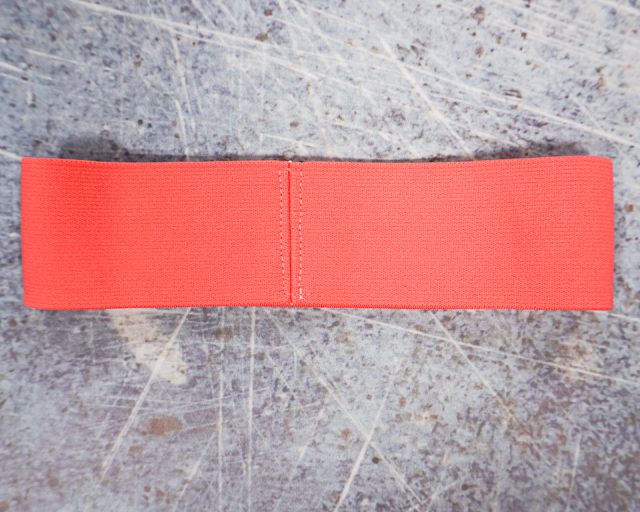
Open the seam allowance and topstitch it open.
Divide skirt waist into four sections. Divide the elastic into four sections.
With right sides together match up each section of the elastic with a section of the skirt waist. Pin the sections together and then pin in between each section.
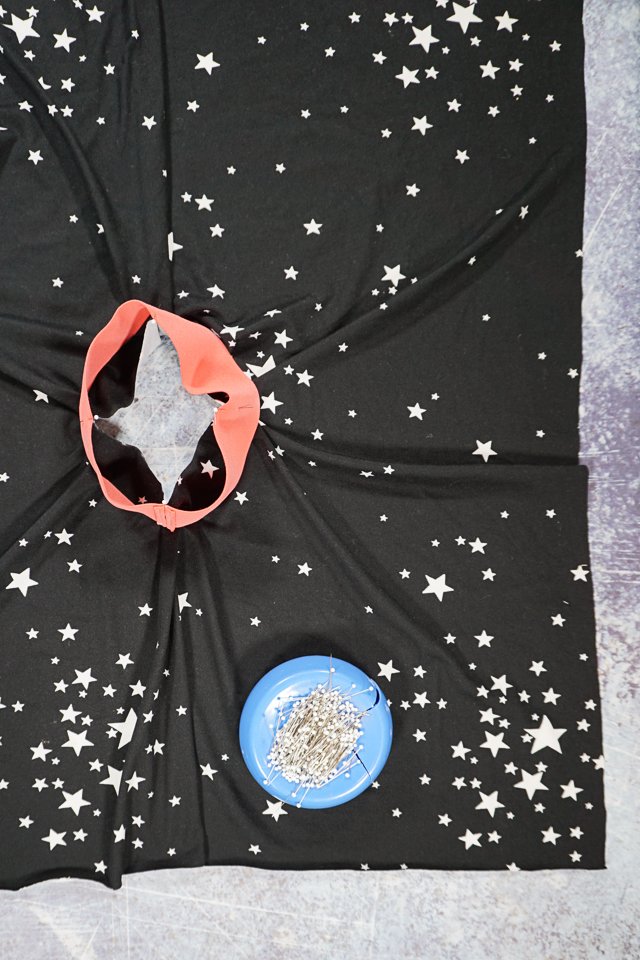
Zigzag or serge the elastic to the skirt.
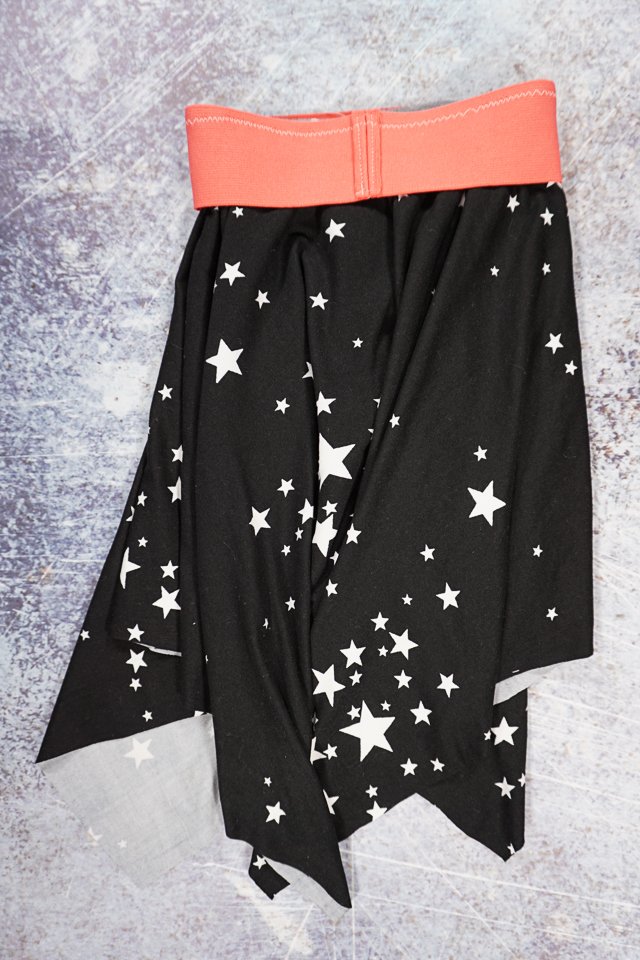
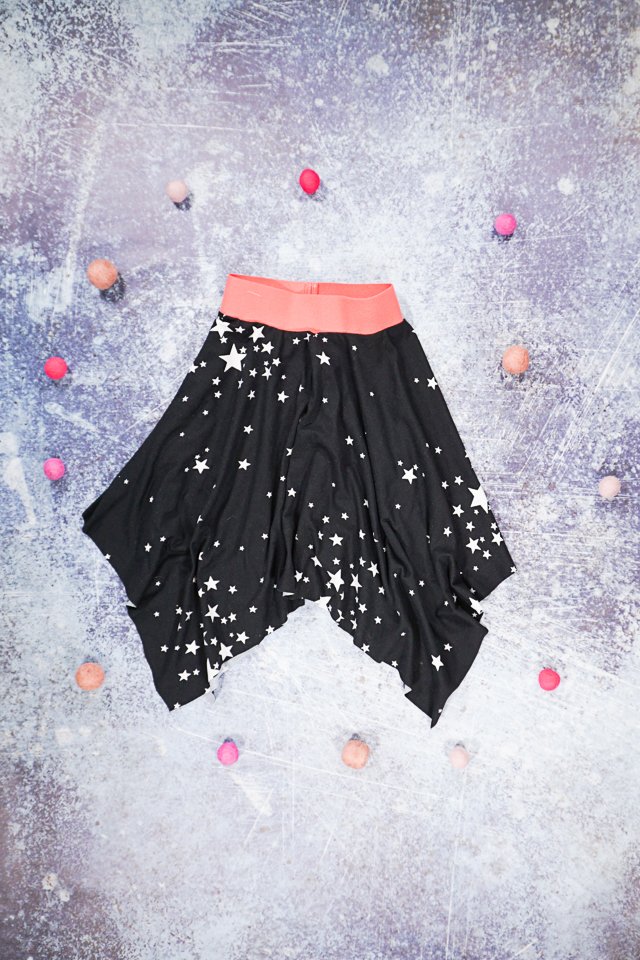
Flip the elastic waistband up, and the skirt is now finished!
If you make something using this sewing project, I’d love to see! Please share it on social media with the hashtag #heatherhandmade and tag me!

I believe small sewing moments can create great joy. Find your own “right” way to sew. -Heather
The pattern link is broken
I fixed it, but it’s here too: https://www.heatherhandmade.com/easy-circle-skirt-tutorial-free-pattern/