DIY Fleece Blanket with Tassels

This post may contain affiliate links.
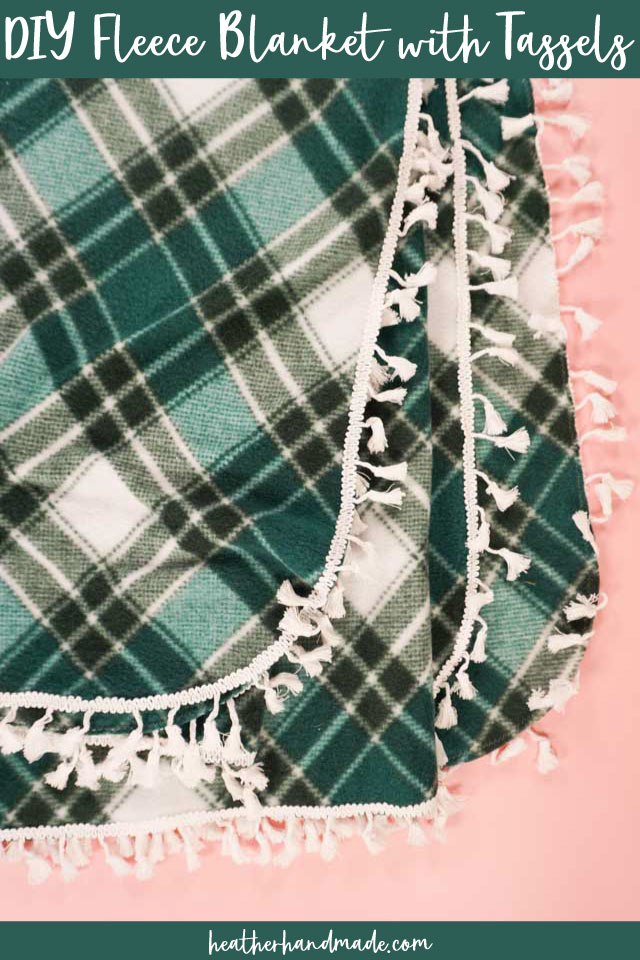
Learn how to make a DIY fleece blanket with a simple trim edge. This is a beginner sewing project that is perfect for gifts.
When it’s chilly outside one of my favorite things is to curl up and snuggle with a blanket. My kids and I walk around wrapped in a blanket a lot. One of us is often found on the couch curled up in a blanket reading a book.
Adding trim to a DIY fleece blanket is a quick and easy sewing project that makes the perfect gift. This is so much easier than tying or braiding the fleece blanket edges since it’s just sewing on the trim.
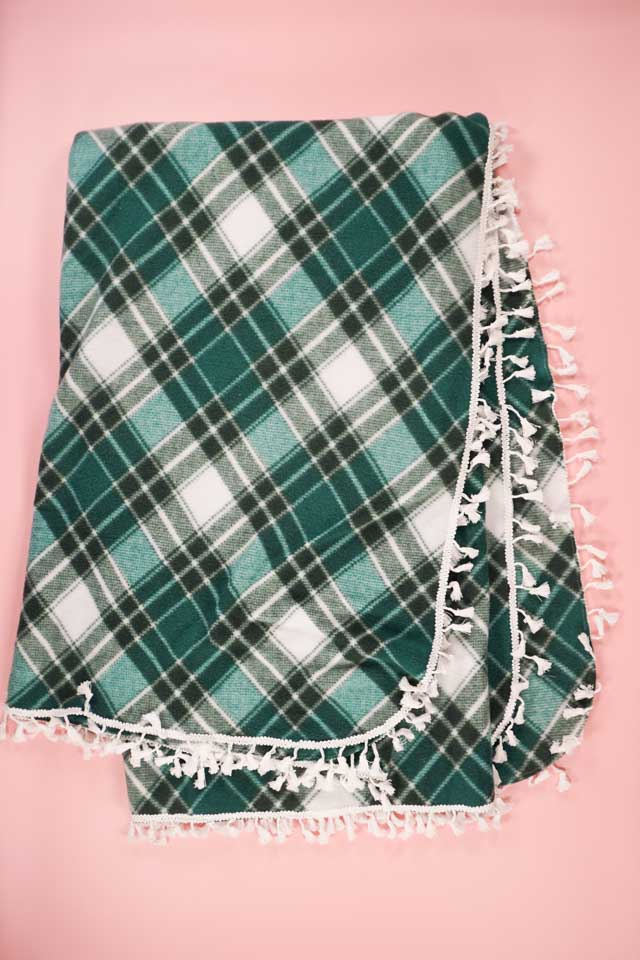
I love a pretty trim and the great thing about fleece is that you can add any trim like lace, pompoms, tassels, and rick rack.
Choose a fun print with a simple trim or a solid color and a contrasted trim. Choose your kids favorite character print to make them feel special. The possibilites are endless!
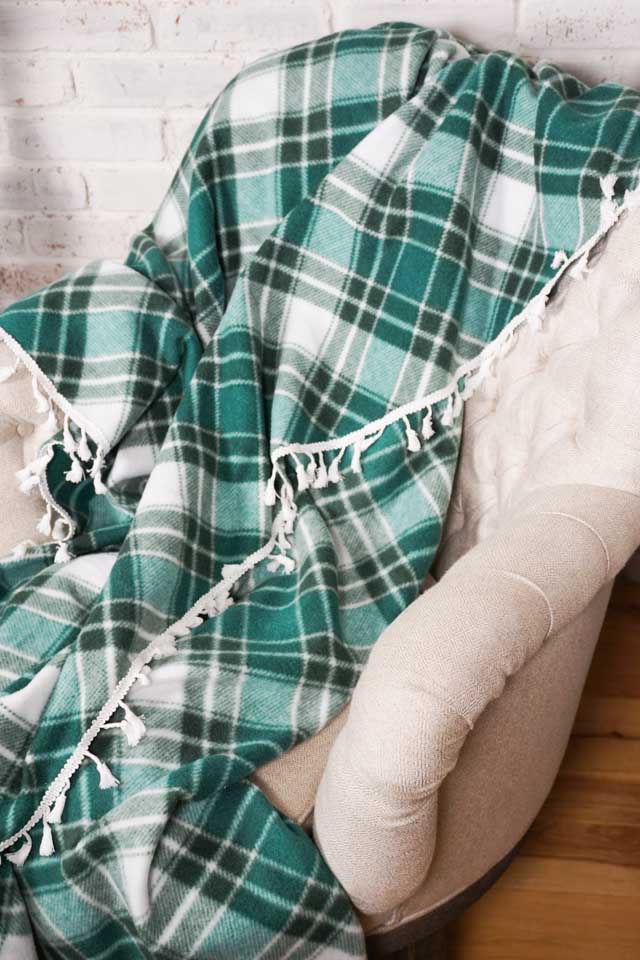
What is polar fleece fabric?
Polar fleece fabric is a type of stable knit fabric that has a two sided fluffy pile. It stretches along the crossgrain, but not along the grainline. Polar fleece is durable, insulating, soft, easy to wash, and it is made from polyester fiber.
It’s used in jackets, hats, pants, hoodies, and blankets, and the fibers can even be made partly from recycled plastic bottles. It comes in every print and color imaginable.

Do you love to sew? Try one of these sewing projects:
- easy gifts to sew
- beginner sewing projects
- make a minky blanket
- DIY flannel and fleece blanket
- DIY fleece slippers
- Free ear warmer sewing pattern
- Sew gifts with knit fabric
- home sewing projects
- Cozy sewing projects
- Fleece sewing projects
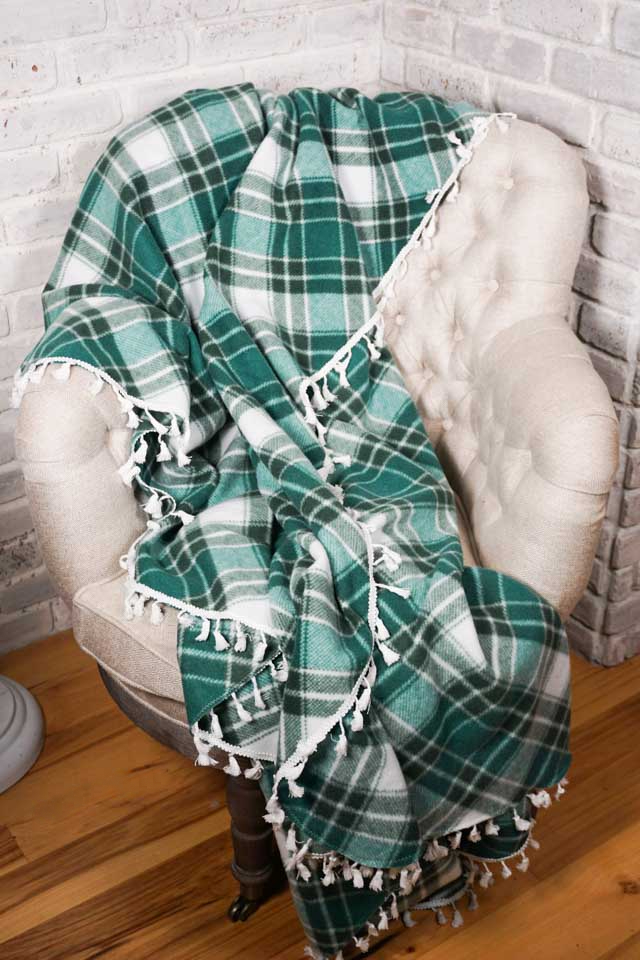
DIY Fleece Blanket with Tassels
supplies
- 2 yards of polar fleece* – this will make a blanket that is about 55 inches wide and 72 inches tall
- 7 yards of trim like tassels, pompoms, or rick rack
- Sewing tools
- Sewing machine
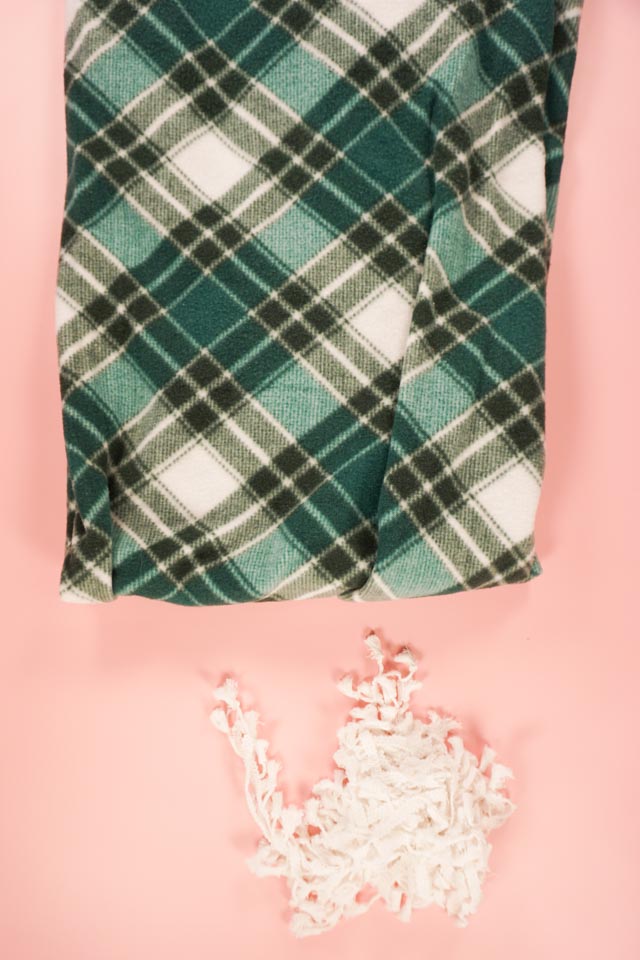
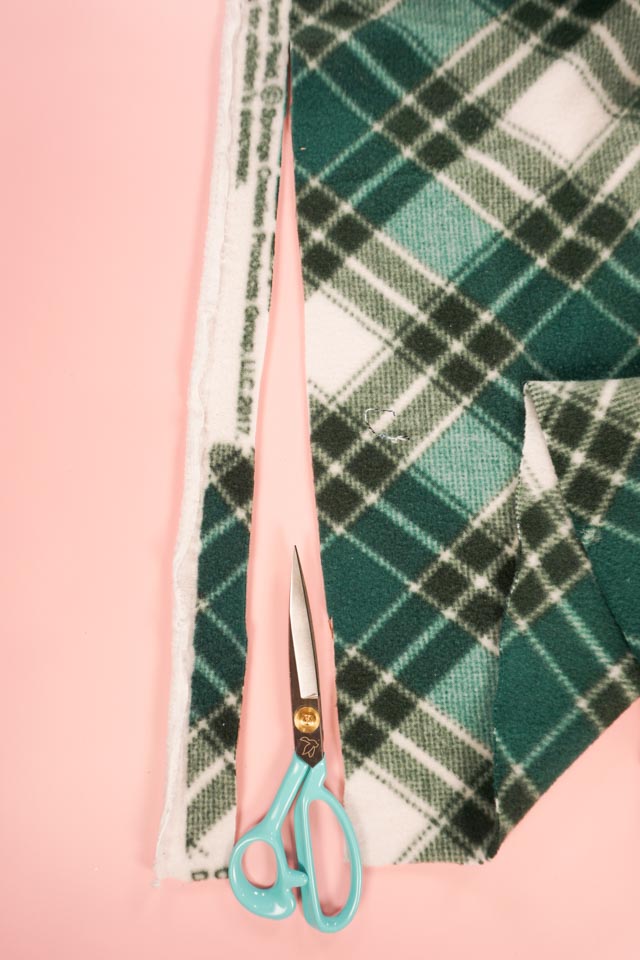
Cut any white or print info off of the edges so that the fleece is only printed fabric.
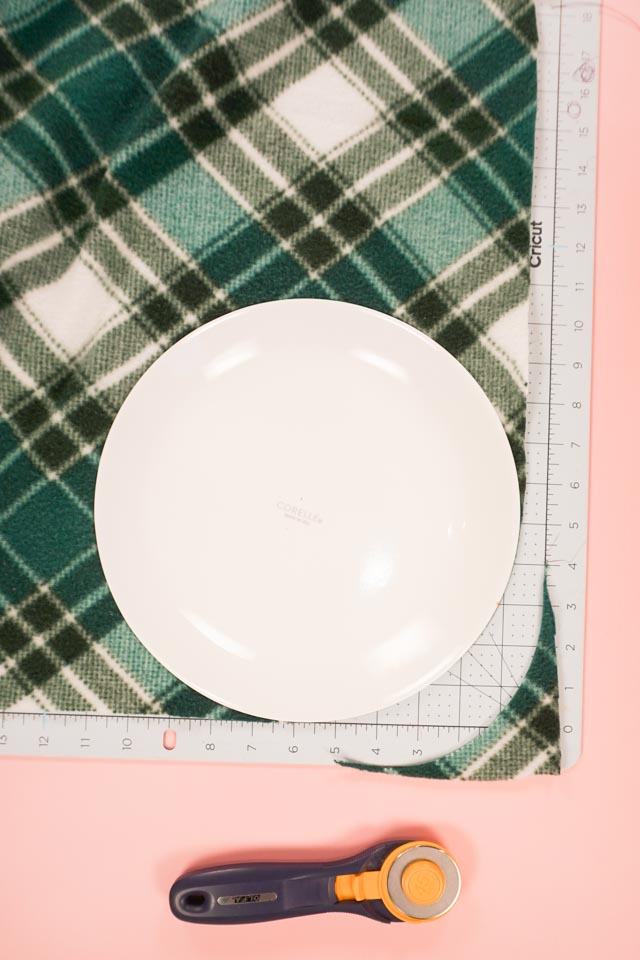
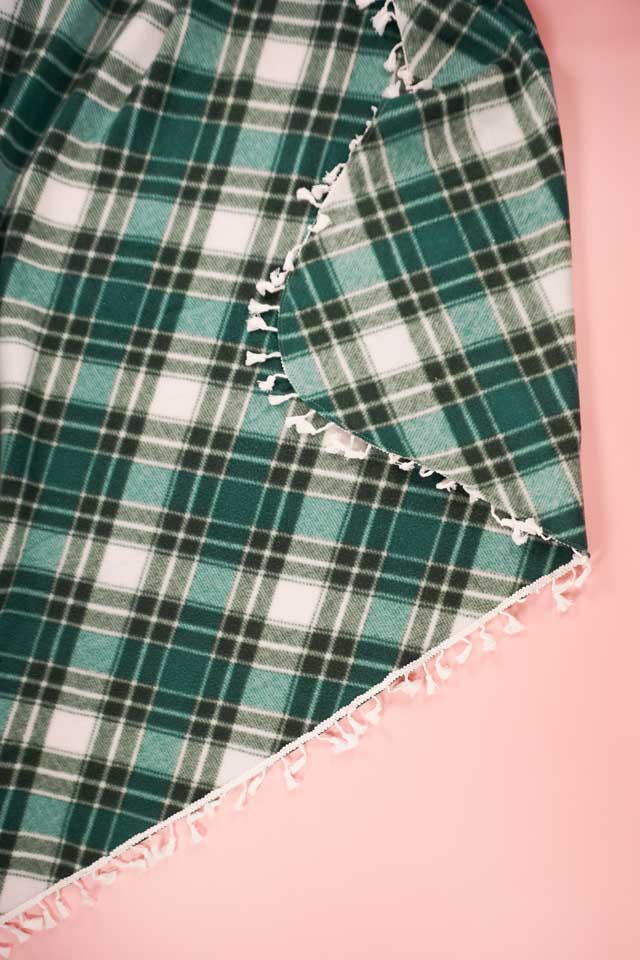
Use a plate to cut each corner into a curve.
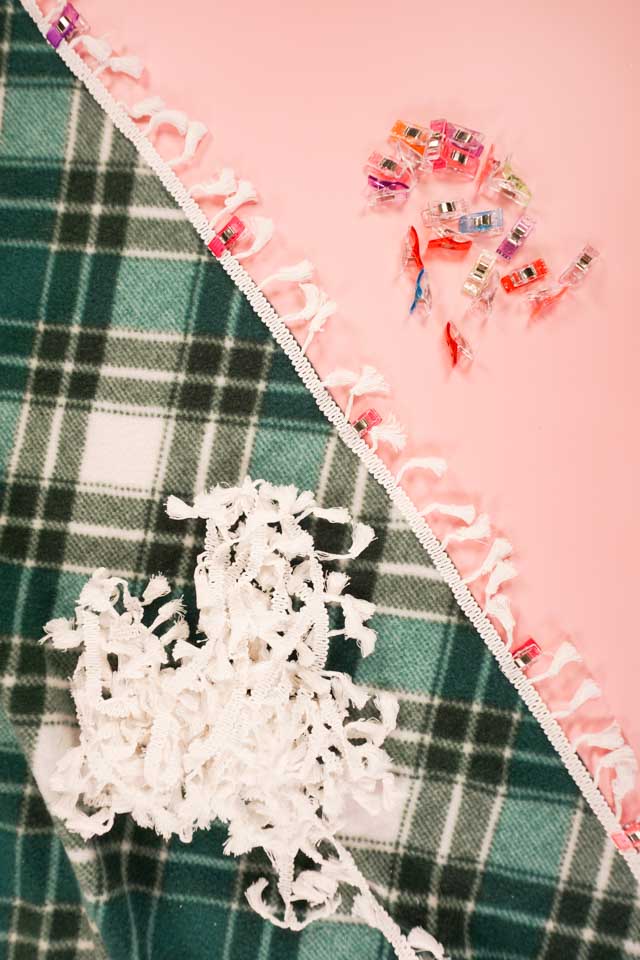
Clip or pin the trim onto the edge all the way around the edge. Line up the bottom edge of the trim with the cut edge of the fleece.
Zigzag the trim onto the edge of the fleece. I did the widest zigzag width and about a 3 mm length. Try to keep the stitches completely on the trim and on the fleece. I like to sew it on with the trim facing up.
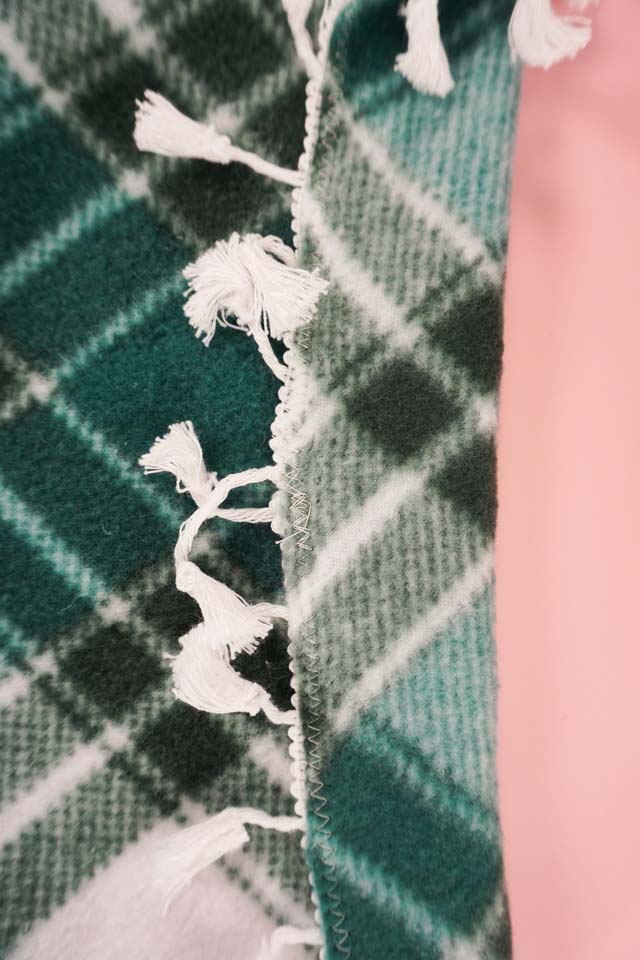
The zigzag stitch blends in with the trim, and it’s hardly noticeable on the back. The zigzag stitch isn’t needed to finish the edges of the fleece, but it helps keep it neat and tidy. The beginning and the end can be folded under and sewn over to finish the edges.
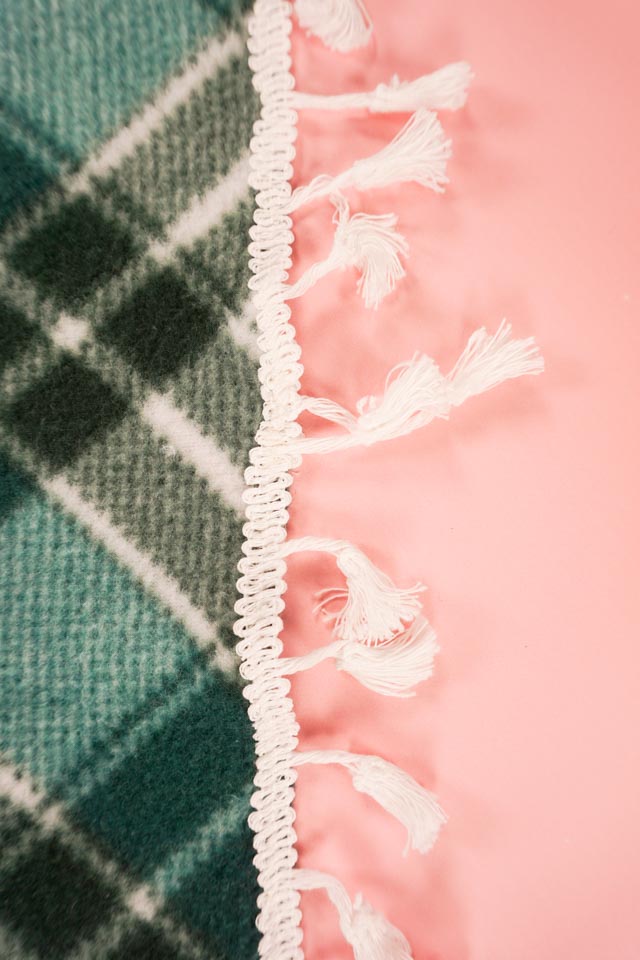
Once the trim is sewn on the blanket is finished. It makes a great throw blanket! If you need to wash it then wash it delicate cold and hang dry to protect the trim.
If you make something using this sewing project, I’d love to see! Please share it on social media with the hashtag #heatherhandmade and tag me!

I believe small sewing moments can create great joy. Find your own “right” way to sew. -Heather
