
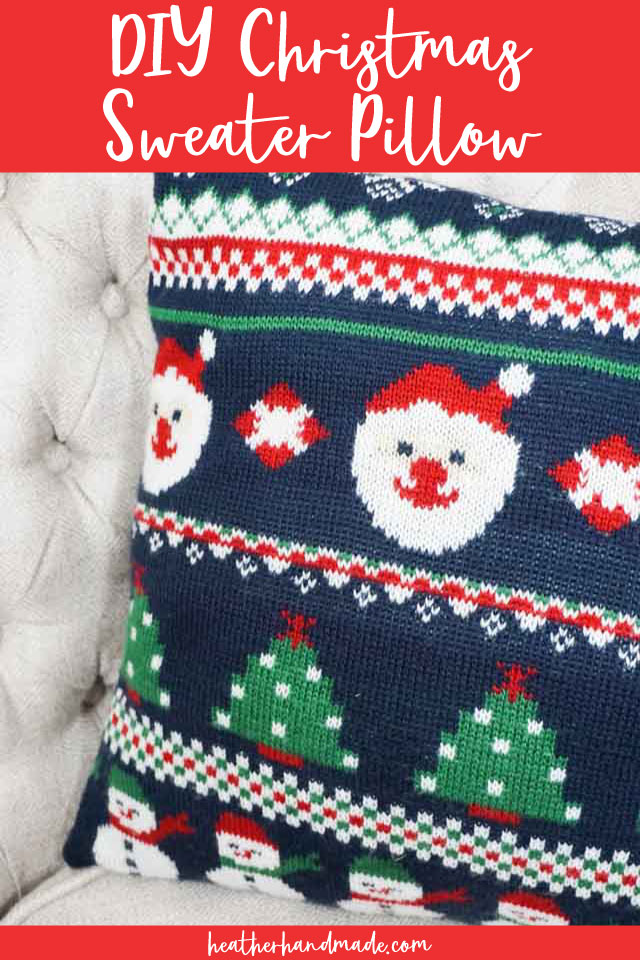
DIY Christmas Sweater Pillow

This post may contain affiliate links.
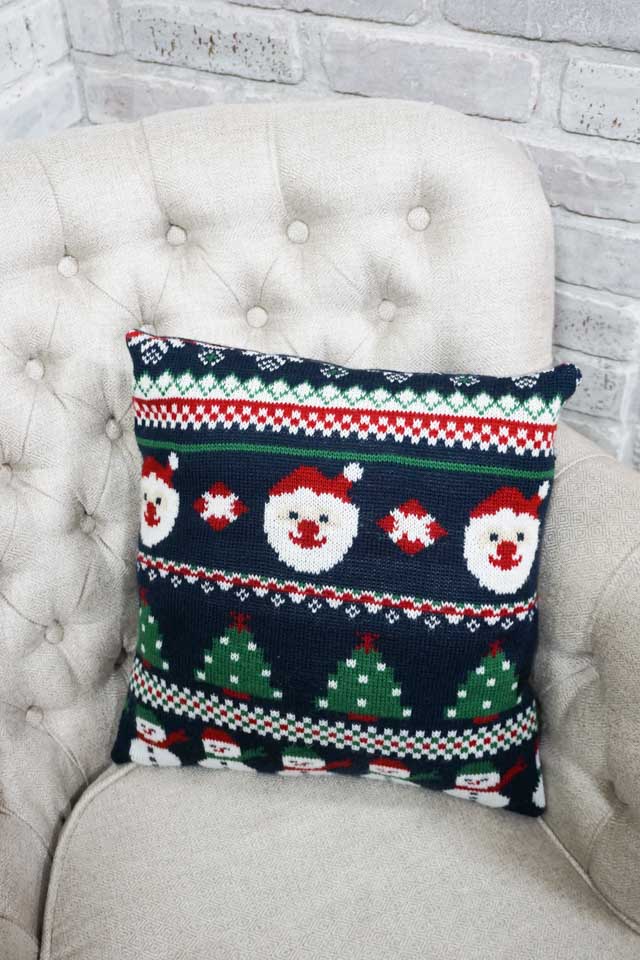
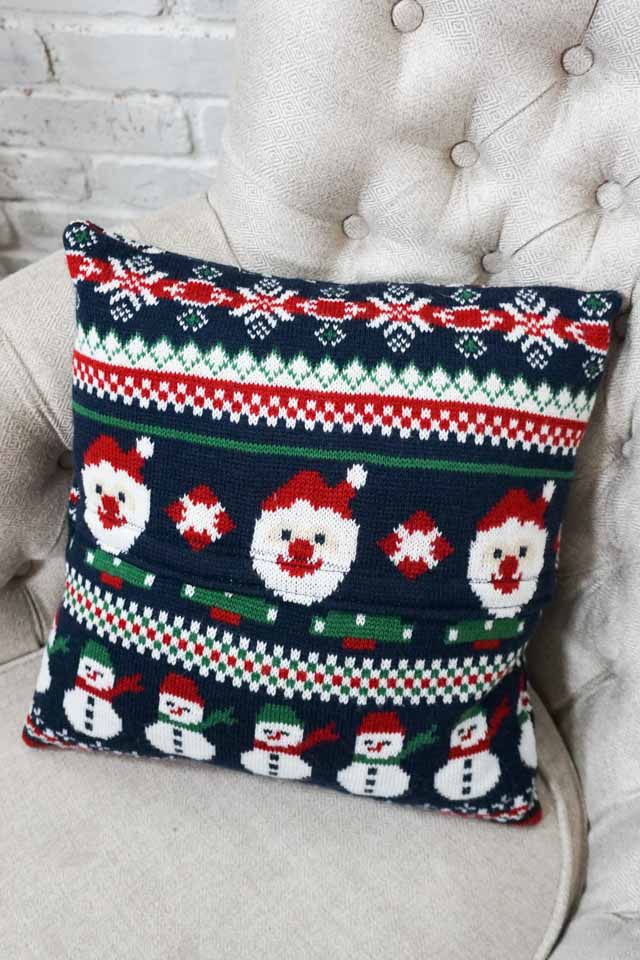
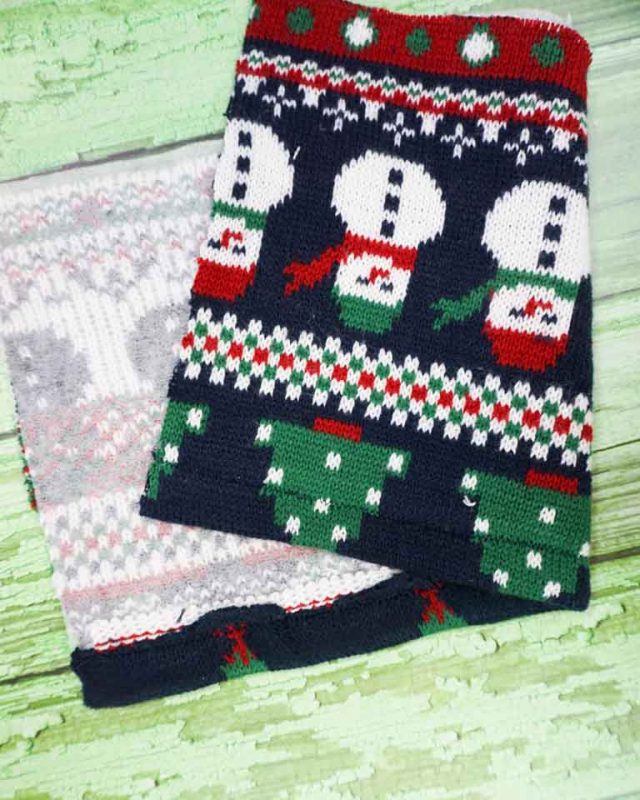
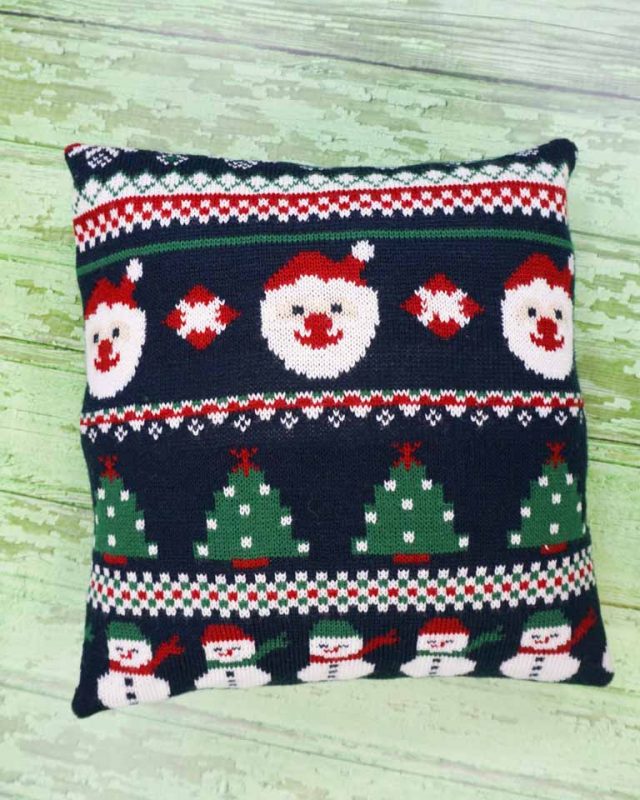
Turn an ugly Christmas sweater into a DIY Christmas sweater pillow for fun holiday decor! This upcycle is a great beginner sewing project!
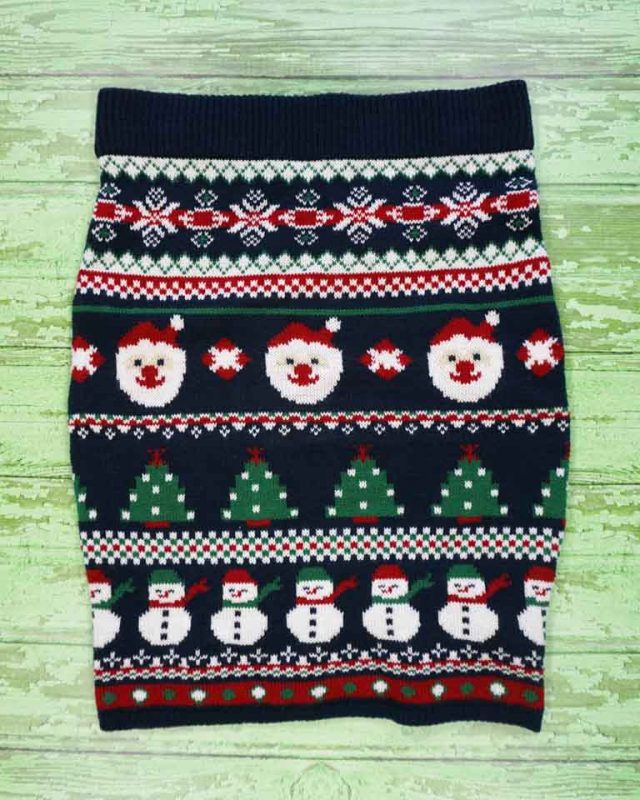
A couple of years ago I found a fantastic ugly sweater skirt that I bought thinking I would wear it to holiday parties. Well, it sat in my closet and it never got worn. I loved the cute knitted design, so I finally turned it into a DIY Christmas sweater pillow.
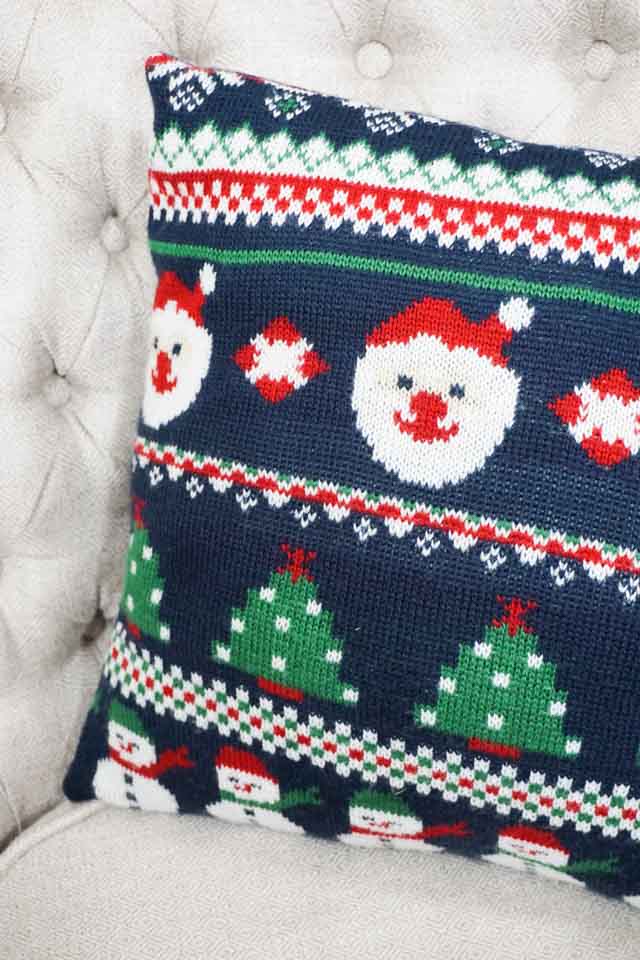
I love it because the yarn is so soft and squishy! It adds just the right amount of cute holiday decor without being over the top. There are so many fun characters knitted across the front.
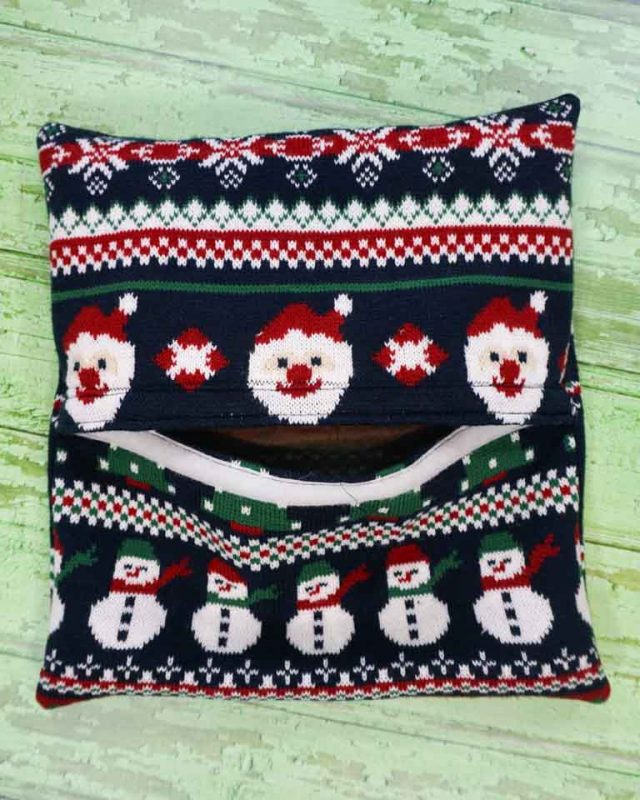
I made this Christmas sweater pillow as a pillow cover so that I could remove it and wash it if needed. It also makes it easier to store throughout the year.
What is upcycling?
Upcycling is to reuse material to create something better than the original. I usually use this to describe when I’m sewing adult clothing into clothing for children or I’m sewing clothing into an accessory or house item.
I love upcycling because it saves time, money, memories, and the environment. It saves times since you can reuse details. It saves money since you are using what you already have. It saves memories because you can do something with a loved ones clothing. It saves the environment by keeping fabric out of landfills.
Do you love to sew? Try some of these sewing projects:
- Sweater upcycle projects
- Free quilted tree skirt pattern
- DIY sweater stockings
- DIY Christmas sweater ornament
- Fat quarter Christmas pillow tutorial
- Christmas sewing projects
- DIY Christmas pillow ideas
- Ways to sew a pillow
DIY Christmas Sweater Pillow
Supplies
- 1 adult Christmas sweater
- Lightweight interfacing
- 18 inch of Velcro or another closure like buttons or snaps
- Pillow form (size depends on the size of the sweater you are using)
- Sewing tools
- Sewing machine
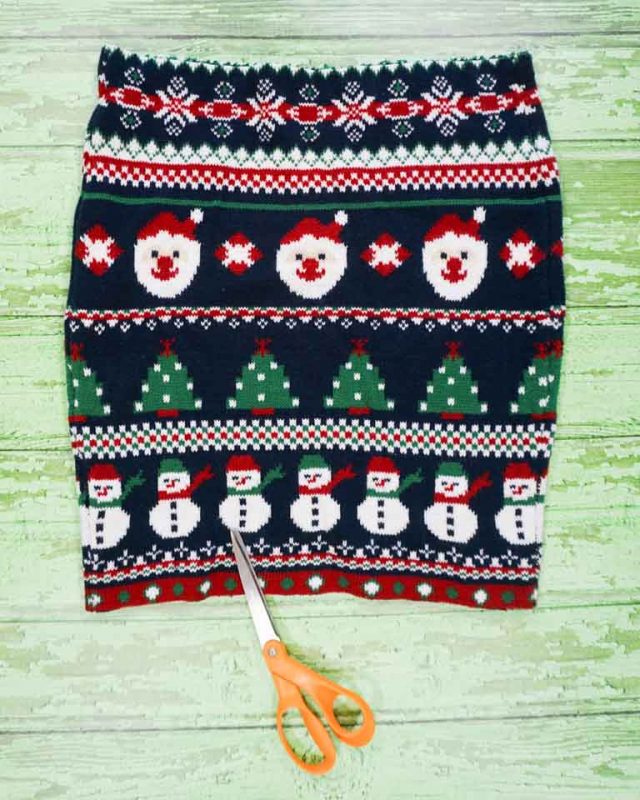
In this example I did use a Christmas sweater skirt that I thrifted at a thrift store, but you can use the exact technique that I used to make a DIY Christmas sweater pillow. Your measurements will be different because your sweater will be a different size, but I’ll give you a general idea of how to make one.
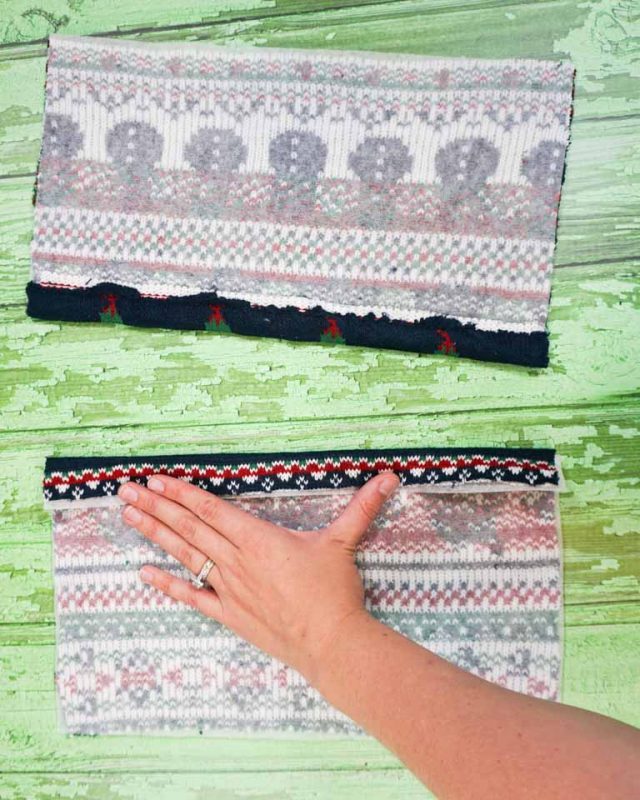
First, cut the top and bottom of the sweater. You will be cutting the ribbing off the bottom and the neckline/shoulders off of the top. The key is to have a straight line at the top and a straight line at the bottom.
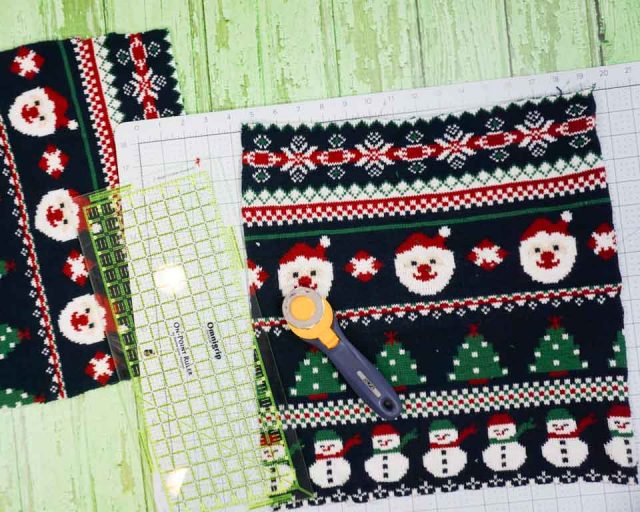
Cut one side seam open and the cut the side seams off of both sides. You will have one front and one back. Cut the sides so that they are straight edges.
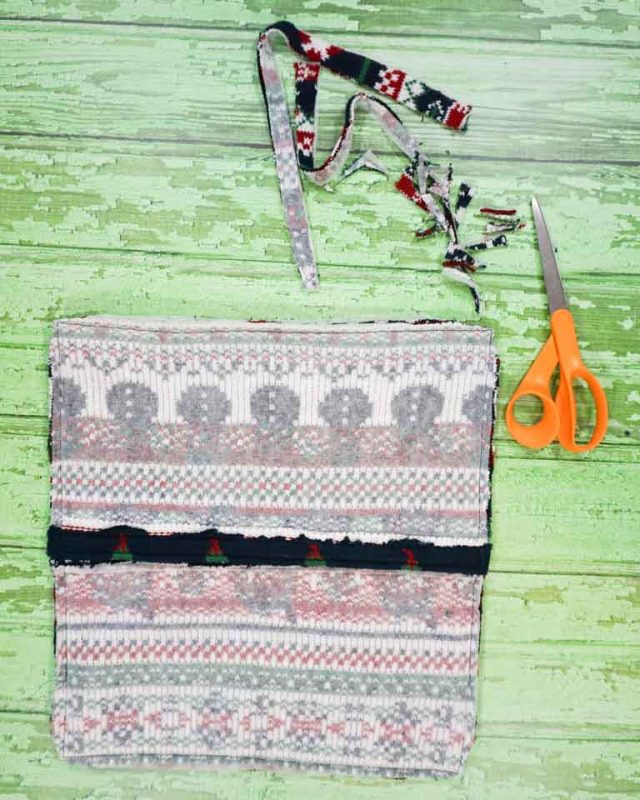
Measure the rectangle you have left to decide what size your pillow is going to be. My rectangle was taller than it was wide so I chose to cut the back horizontally in the middle to add my closure. If your rectangle is wider than it is tall you can cut the back vertically in the middle to add the closure.
When you cut the back you will lose 3 inches in either width or height so trim your front rectangle 3 inches either skinnier or shorter.
Cut a piece of lightweight interfacing to the size of each of the three rectangles.
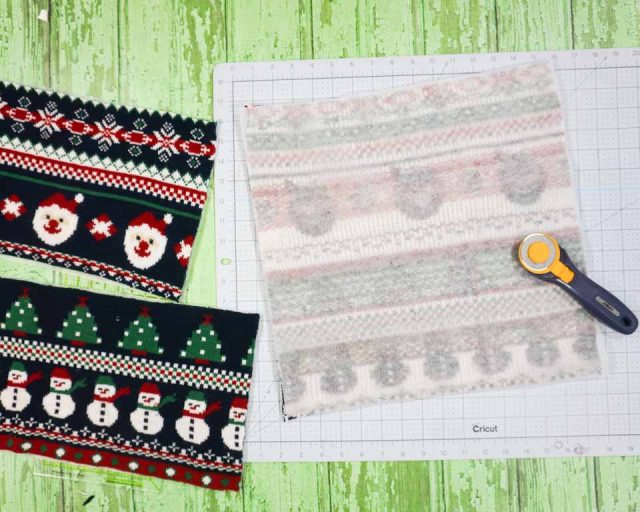
Apply the interfacing to the back of all the sweater pieces. Be very careful when pressing so that you don’t stretch out the knitted fabric.
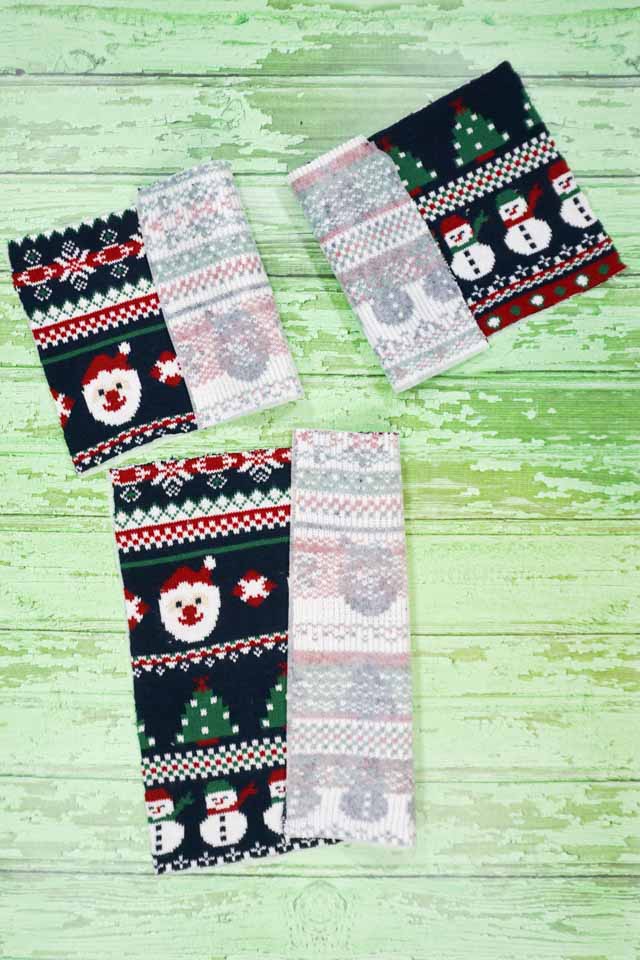
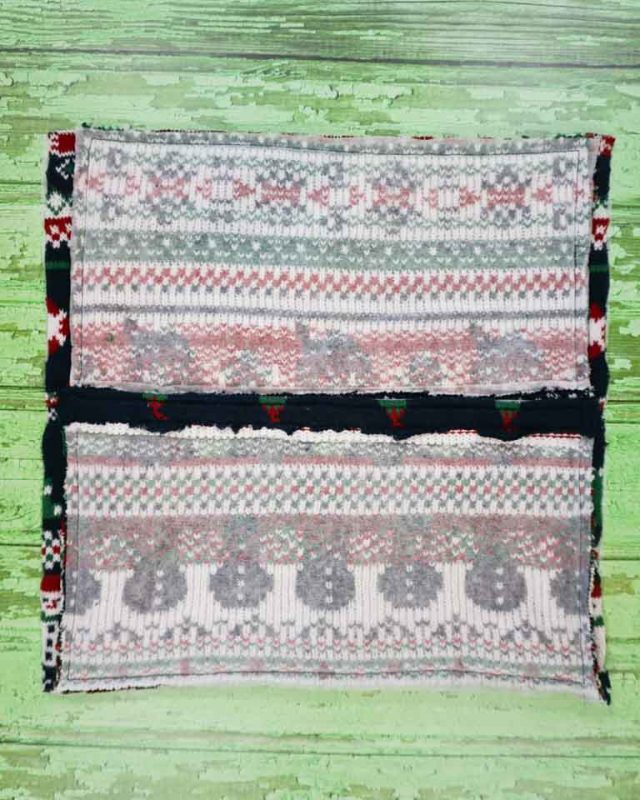
Take your back pieces and where they will be meeting, fold the edge over 1 inch and press.
Zigzag the hem in place with matching thread.
Attach the Velcro (or snaps or buttons and buttonholes) to the hem. One Velcro side will face the inside of the sweater and one Velcro side with face the outside of the sweater.
Velcro the back pieces together so that everything will be in the right place when the pillow is finished.

With right sides together pin the front of the pillow to the back of the pillow. It’s okay if there’s any small size discrepancies since it will be trimmed later. You can see that my front piece is wider than my back piece. The sweater knit tends to grow and shrink as you work with it.
Sew around the edges with a 3/8 inch seam allowance and a straight stitch. Pivot at the corners.
Trim the excess seam allowance and trim the corners.
Turn the pillow cover right side out and poke out the corners. Be careful not to poke through the interfacing.
Insert a pillow form and close the back of the pillow. You finished!
If you make something using this sewing project, I’d love to see! Please share it on social media with the hashtag #heatherhandmade and tag me!

I believe small sewing moments can create great joy. Find your own “right” way to sew. -Heather
This is the exact same project that I wanted to sew last year, but I didn’t have an ugly sweater to use!