
How to Make an Envelope Pillow Cover

This post may contain affiliate links.
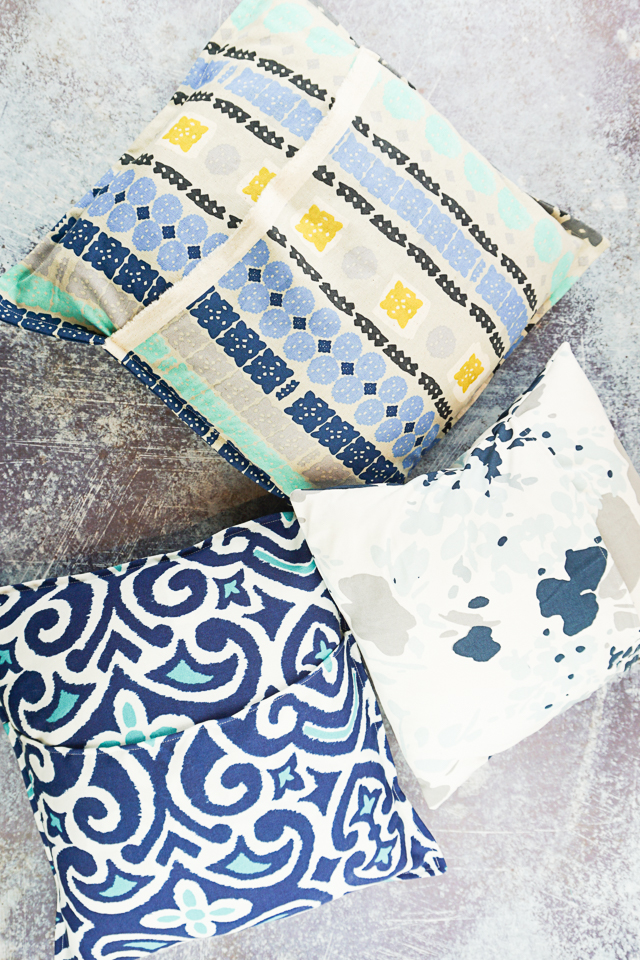
Learn how to make an easy envelope pillow cover that makes the perfect throw pillow. Add a flange or not to this beginner sewing project.
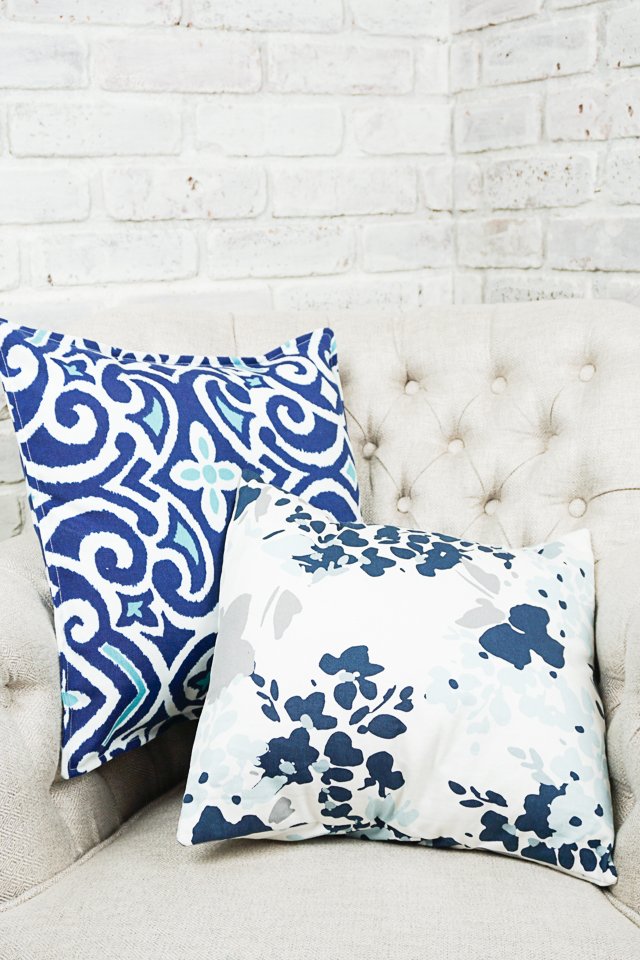
As much as I hate picking up throw pillows that my kids are always throwing on the ground, I love having pretty pillows to decorate my couch. They often use pillows to hop on when they play the “floor is lava” game.
I have made pretty and fun envelope pillow covers for almost every holiday, and I always use this easy envelope pillow cover tutorial. Sometimes I add a flange which is a decorative edge, and sometimes I don’t.
The great thing about throw pillow covers is that they use about 1/2 a yard of fabric, and they are really easy to sew. It’s the best beginner sewing project!


What fabric works for an envelope pillow cover?
The best fabric to use is either quilting cotton. cotton flannel, or canvas. These fabrics are easy to find, easy to sew, and come in every color and print imaginable. They are great for whatever look you are going for.
I have used canvas, quilting cotton, and flannel for these pillows, and they have turned out great!
You can also use any home decor fabric, and if you are brave, you can even try some stable knit fabrics!
What size pillow form should I get for my pillow cover?
I like to get a pillow form that is at least two inches bigger than the pillow cover I make. I like my throw pillows to be extra full and squishy.
If I don’t have enough fabric and I make a pillow cover that is the same size as my pillow cover, I usually stuff two pillow covers inside to get the same look.

My fabric stretches once I put a pillow form inside? How can I fix it?
This can happen with lightweight fabrics. There’s not much you can do for the pillow form once it is done, but to prevent it in the future I recommend adding lightweight fusible interfacing to fabric before cutting and sewing.

Do you love to sew pillows? Try one of these sewing projects:
- Beginner sewing projects
- Gift ideas to sew
- Home sewing projects
- One yard sewing projects
- Ways to sew a pillow
How to Make an Envelope Pillow Cover
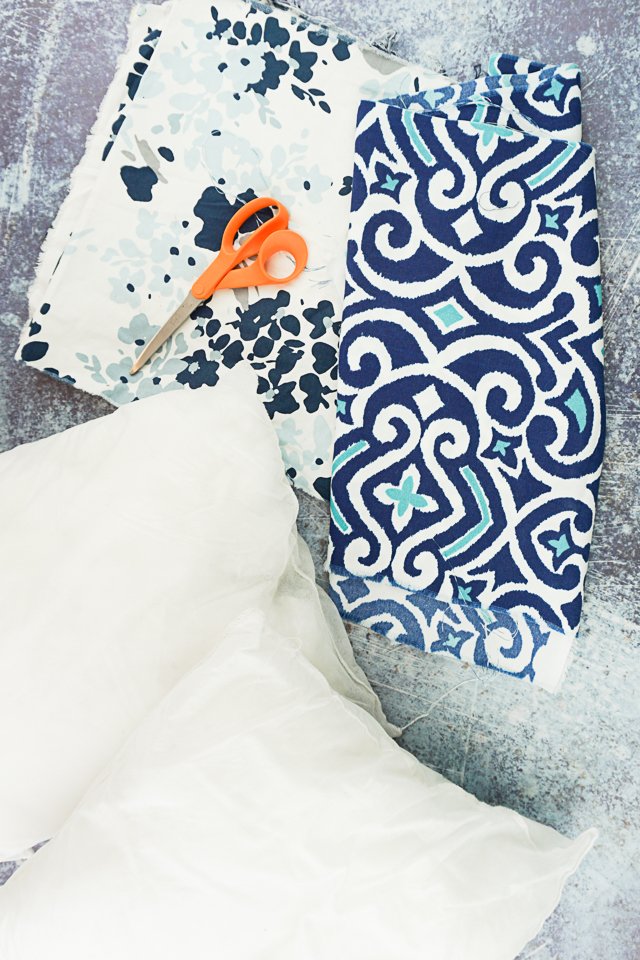
Supplies
- 1/2 to 1 yard of quilting cotton or canvas
- sewing tools
- sewing machine
- pillow form
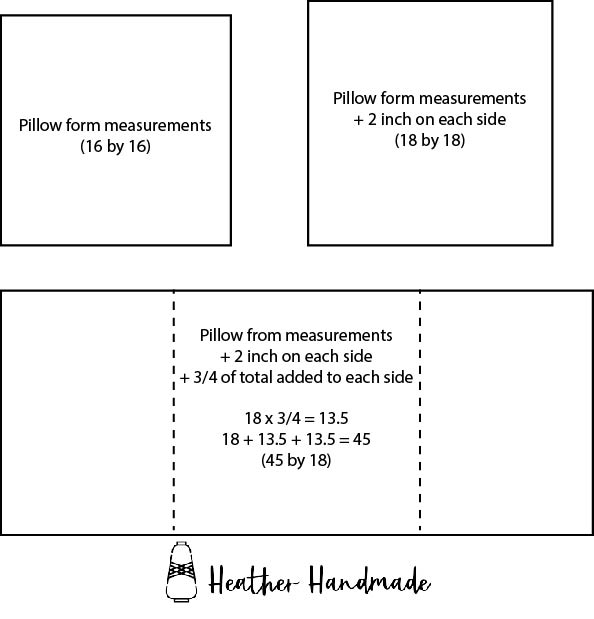
Measure your pillow form. For this example I’m using a 16 inch pillow form but you’ll be able to figure out the math for any pillow form.
Take your pillow form measurement and add 1/2 inch to all the sides. I will work with a square that is 17 inch by 17 inch for my final 16 inch pillow cover.
Then multiply the width by 3/4. Add that to each side of the side to find the total width.
Your final rectangle you will cut out will be the found height by the found width.

Cut out your rectangle using the math above. It’s about a 1/2 yard of fabric depending on the fabric you choose.
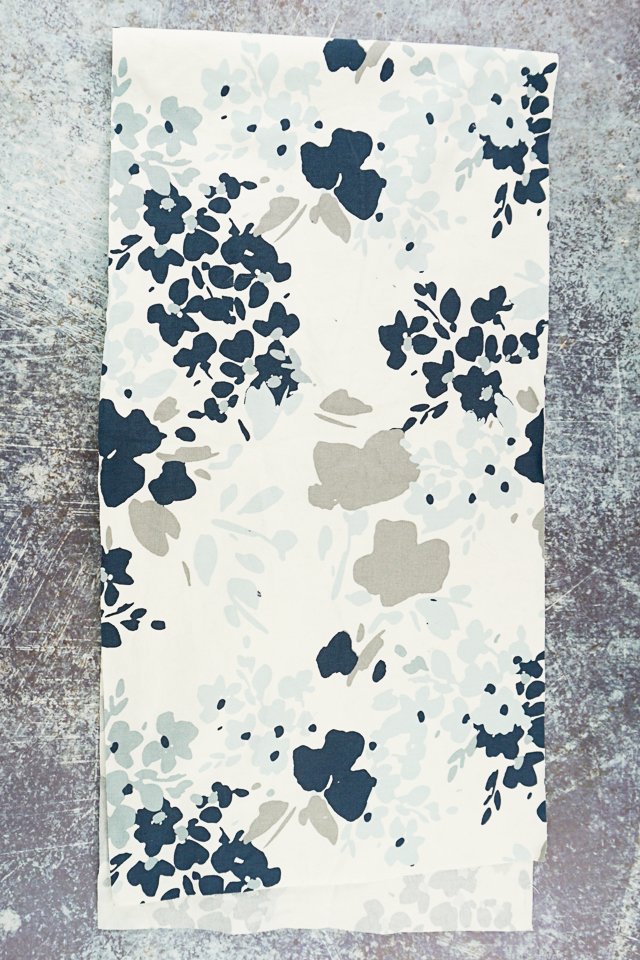
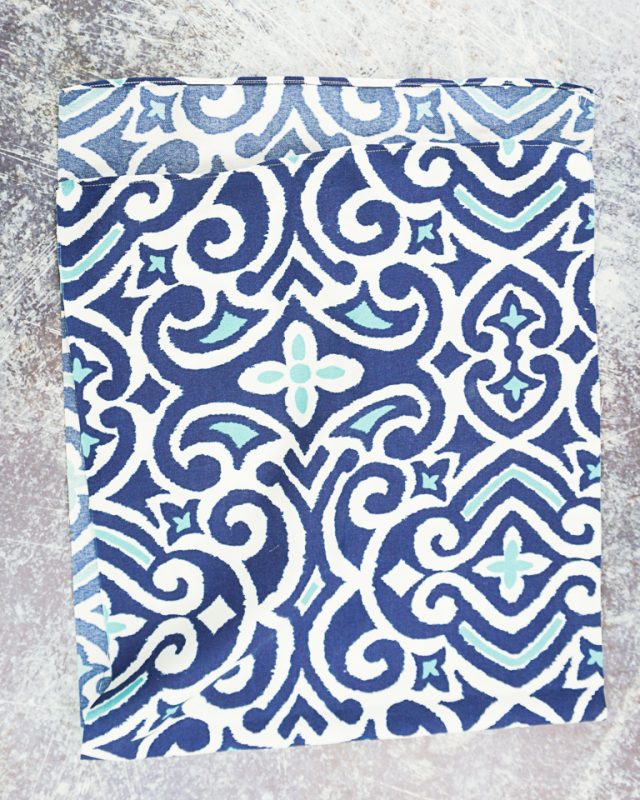
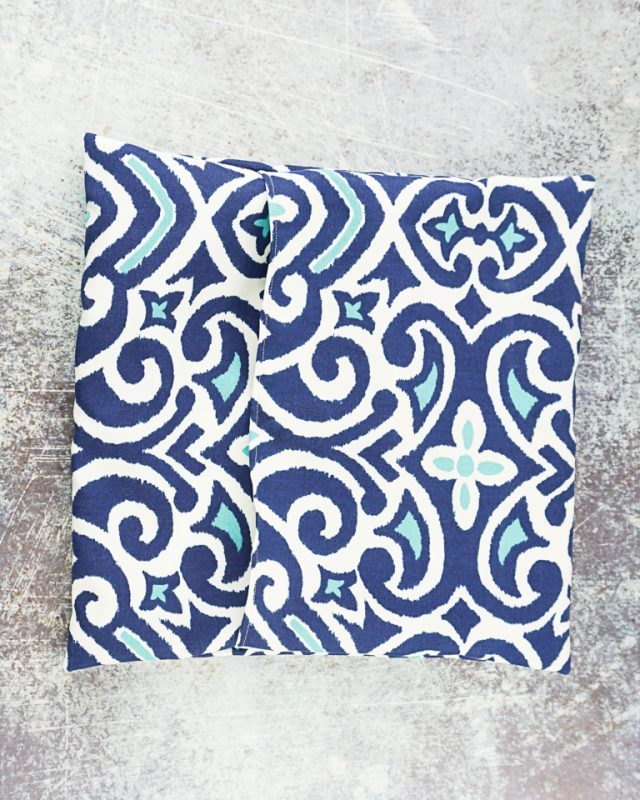
Finish the short edge of each side with a small double rolled hem. Press it well.

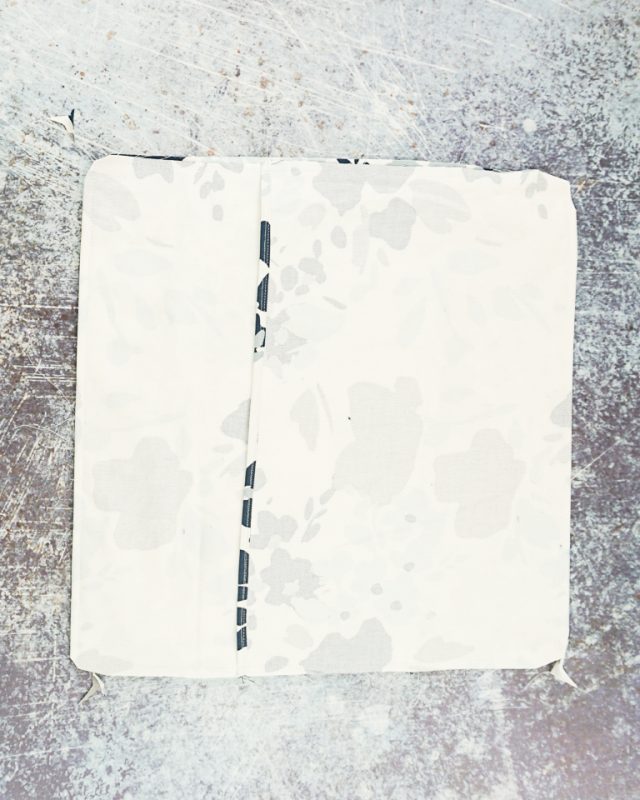
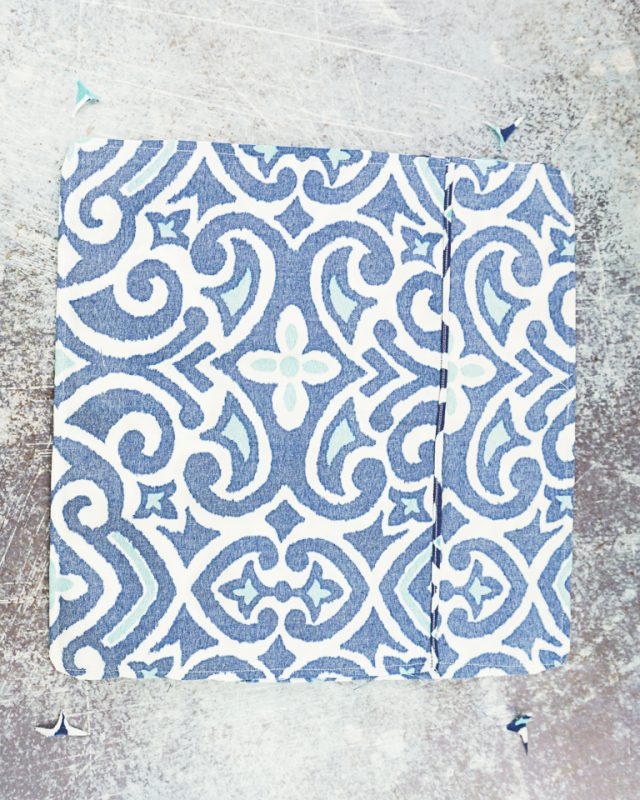
With right sides together fold the pillow on the fold lines overlapping the edges in the middle.
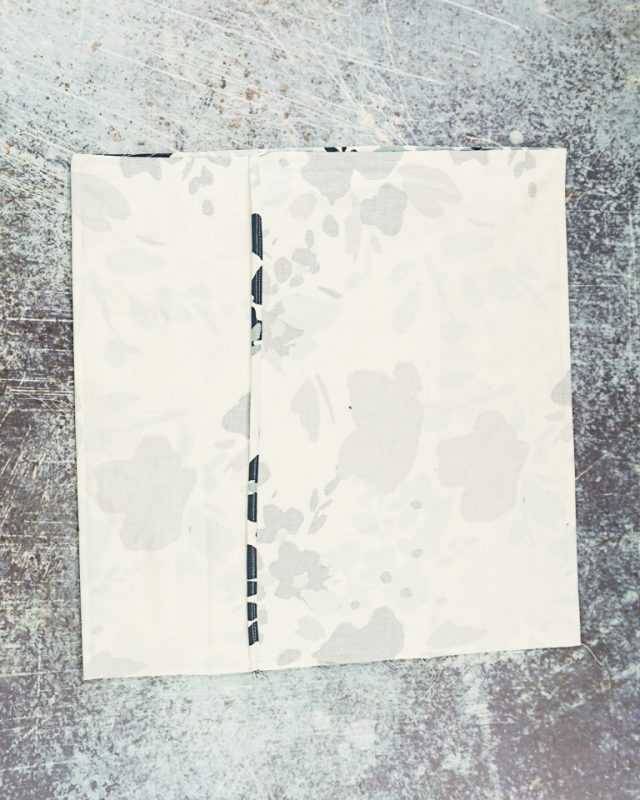
Sew around the pillow with a 1/2 inch seam allowance. Trim the corners.
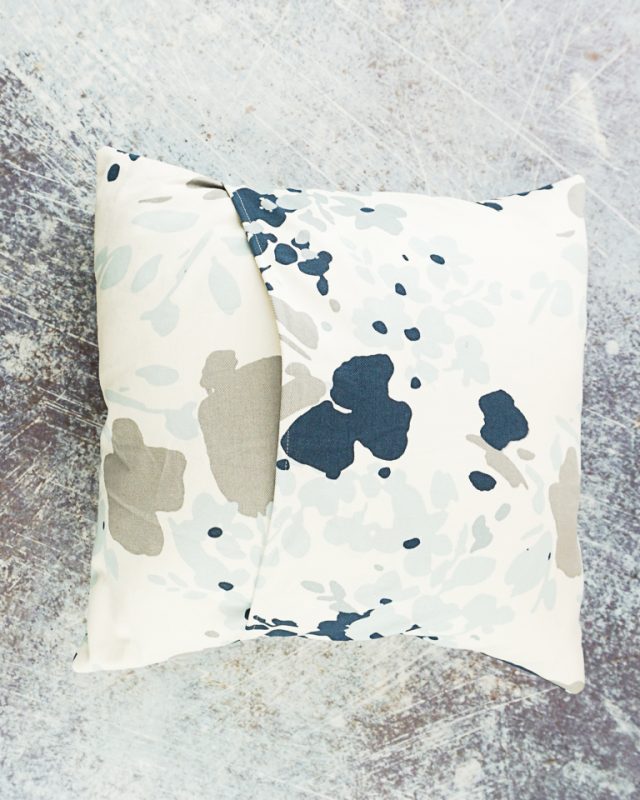
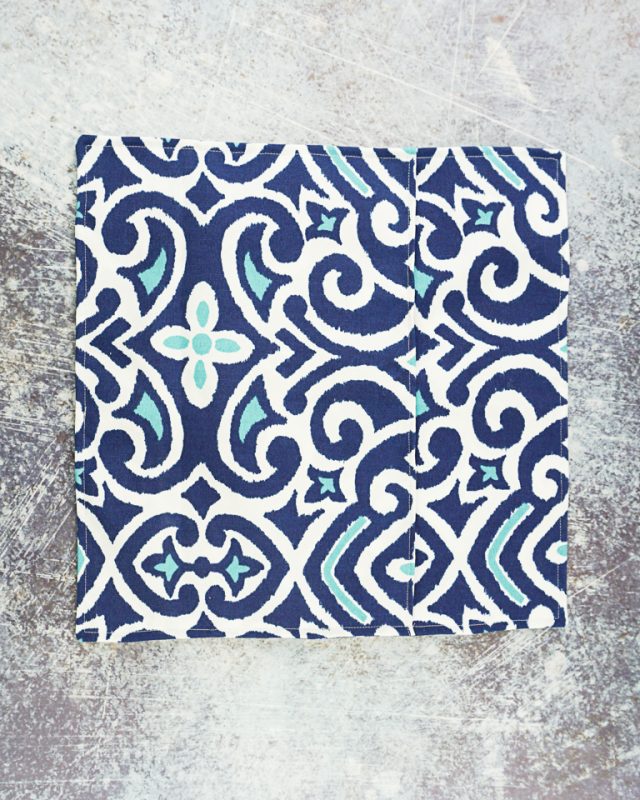
Turn the pillow cover right side and poke out the corners. Press the edges flat.

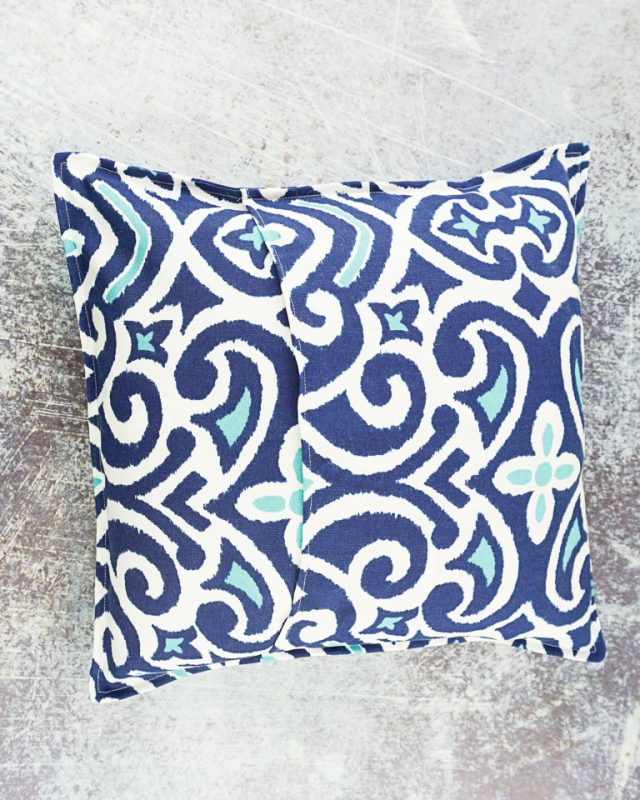
Stuff the pillow form into the pillow cover and enjoy your work!
How to Make an Envelope Pillow Cover with a Flange
Supplies
- 1/2 to 1 yard of quilting cotton or canvas
- sewing tools
- sewing machine
Measure your pillow form. For this example I’m using a 16 inch pillow form but you’ll be able to figure out the math for any pillow form.
Take your pillow form measurement and add 1 inch to all the sides. I will work with a square that is 18 inch by 18 inch for my final 16 inch pillow cover.
Then multiply the width by 3/4. Add that to each side of the side to find the total width.
Your final rectangle you will cut out will be the found height by the found width.
Cut out your rectangle using the math above. It’s about a 1/2 yard of fabric depending on the fabric you choose.
Finish the short edge of each side with a small double rolled hem. Press it well.
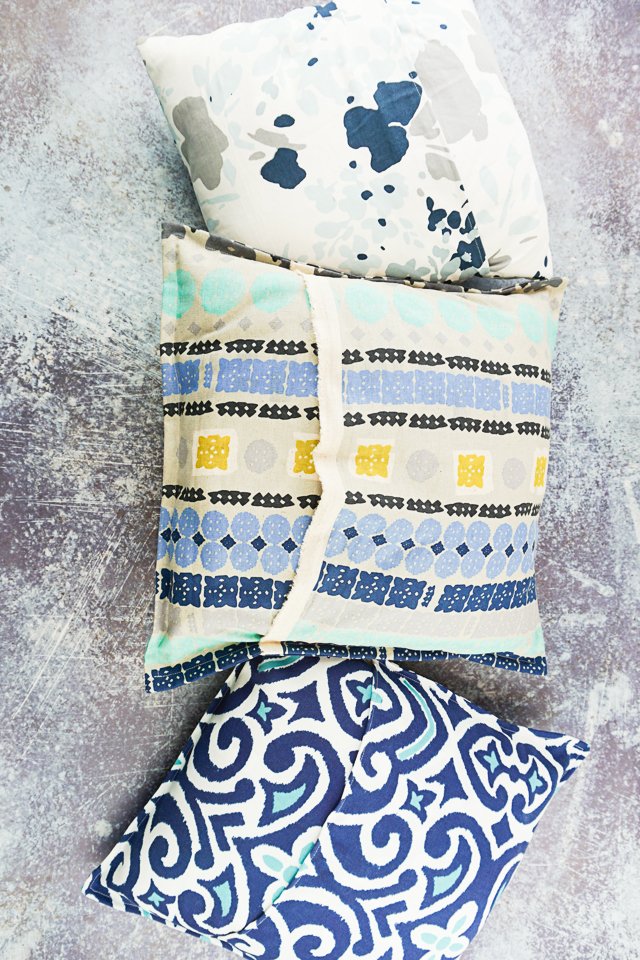
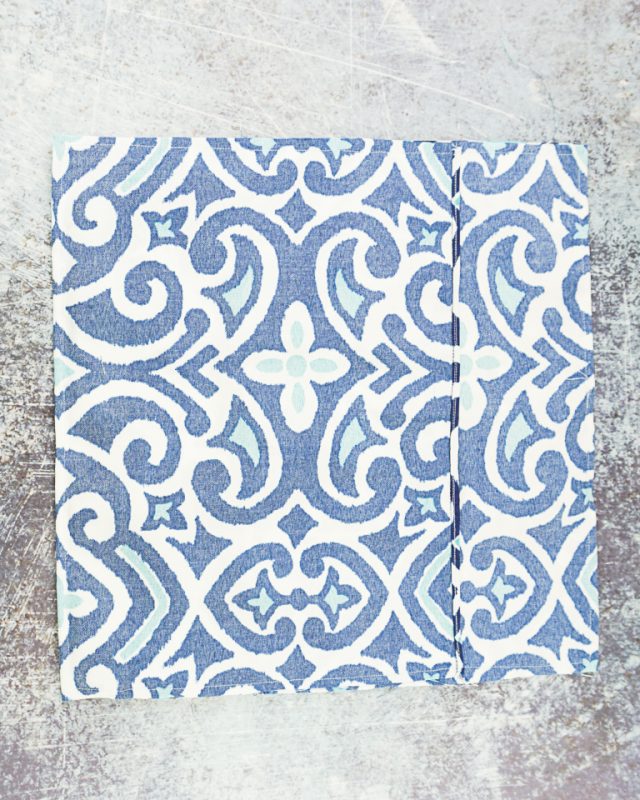
Instead of hemming the edge you can just use each selvedge as the finished edge like I did with the pillow below. Sometimes it’s nice to reuse the pretty selvedge for a nice detail.
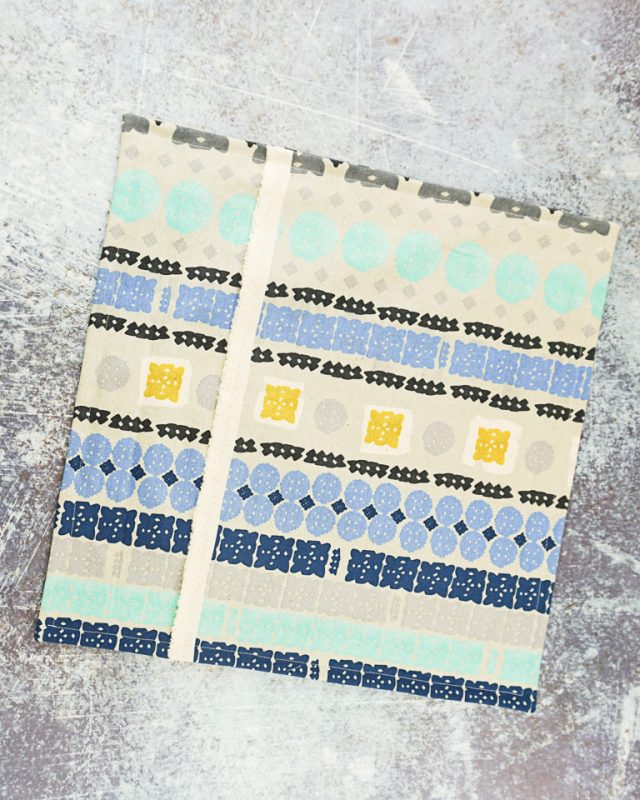
With right sides together fold the pillow on the fold lines overlapping the edges in the middle.
Sew around the pillow with a 1/2 inch seam allowance.
Trim the edges down to 1/4 inch and trim the corners.
Turn the pillow cover right side and poke out the corners. Press the edges flat.
Sew a sqaure around the edge of the pillow cover 1/2 inch from the edge.
Stuff the pillow form into the pillow cover and enjoy your work!
If you make something using this sewing project, I’d love to see! Please share it on social media with the hashtag #heatherhandmade and tag me!


I believe small sewing moments can create great joy. Find your own “right” way to sew. -Heather
Hello Heather. I’m going to make pillow covers soon from spare curtain material to match curtains I’m putting up, so I’m reading with interest. I just got confused by this:
“If I don’t have enough fabric and I make a pillow cover that is the same size as my pillow cover, I usually stuff two pillow covers inside to get the same look.”
Doesn’t help it’s the late afternoon death zone, a low energy time.😵💫 Can you explain this to me slowly?🐞
I stuff two pillow forms in most of my pillow covers to make them full and stuffed looking.
THANK YOU, WHAT A NICE PROJECT FOR BEGINNER’S