How to Lengthen a Dress with a Ruffle

This post may contain affiliate links.
If you have a dress that’s just a little too short then you can lengthen a dress with a ruffle! It’s an easy and quick fix, and you can use pretty fabric.
Because I’m a mom and there’s always someone tugging on me or hiding behind me, it’s easy for my dresses and skirts to get flipped up. For this reason I prefer and feel more comfortable when dresses are just a little bit longer.
I am really tall so finding a midi length dress is basically impossible. Instead I love to make dresses longer my own way like adding a ruffle to the hem of a dress.
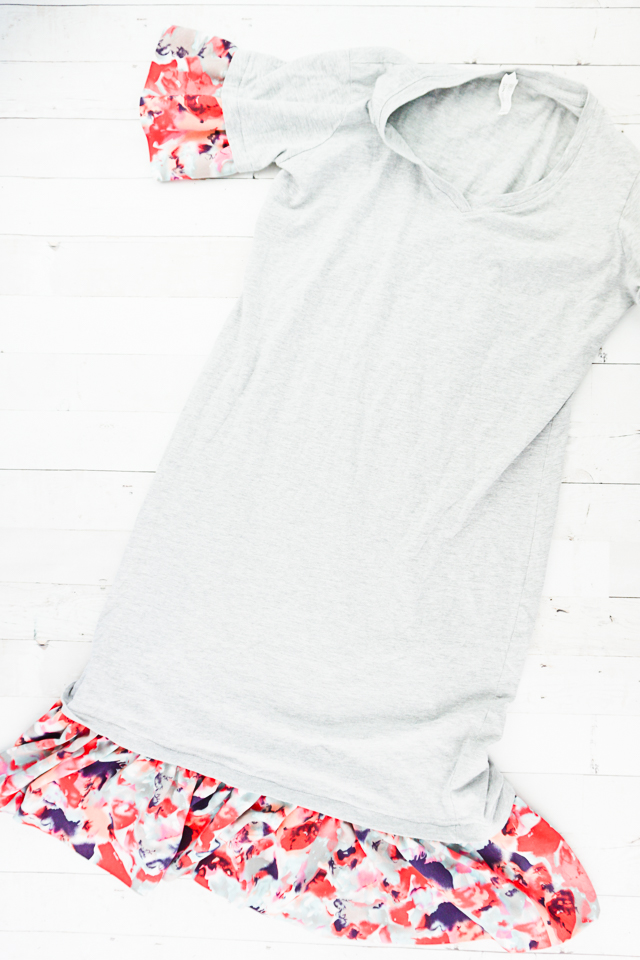
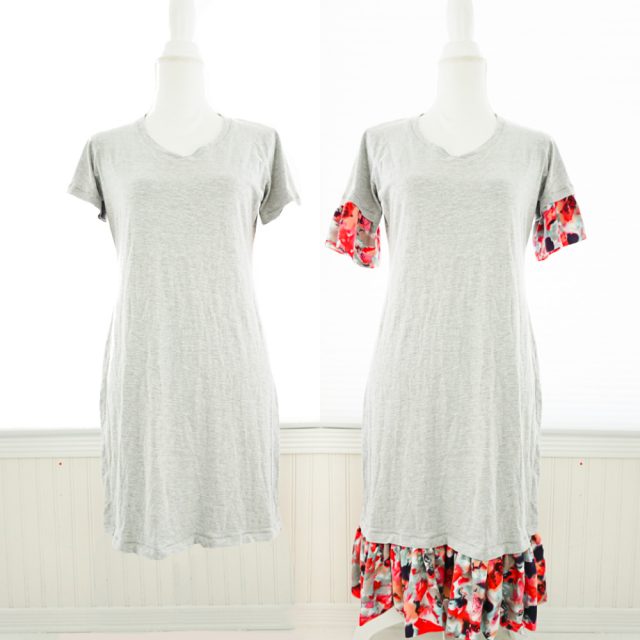
I found this simple gray t-shirt dress at the thrift store and holding it up to myself, I thought it would be the length I wanted. Once I got home I realized it was way too short.
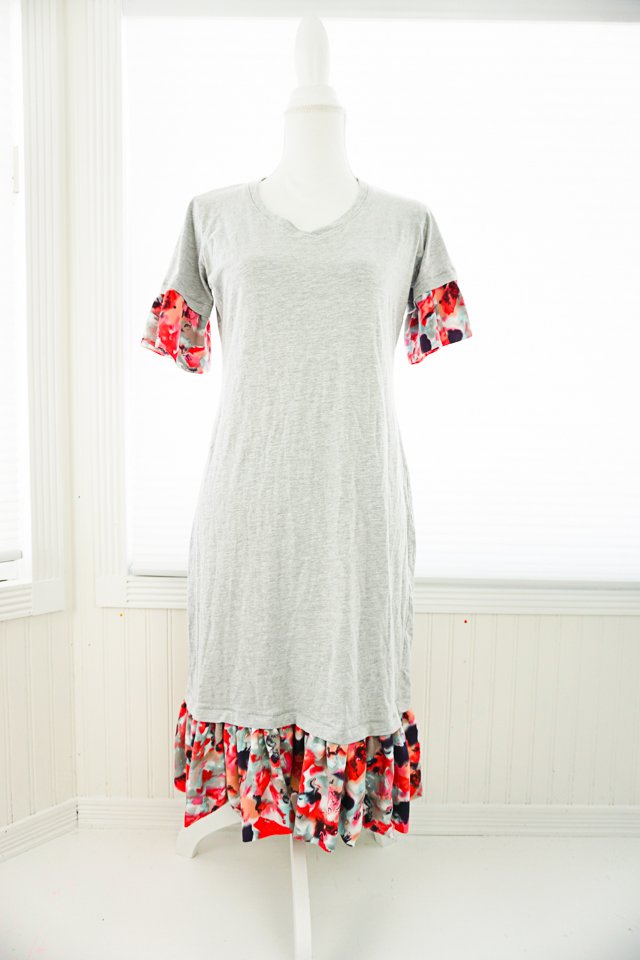
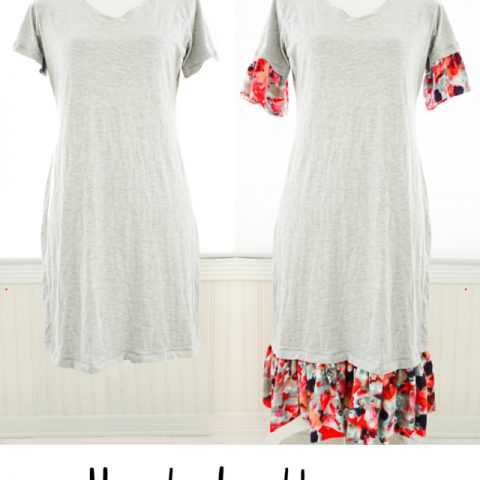
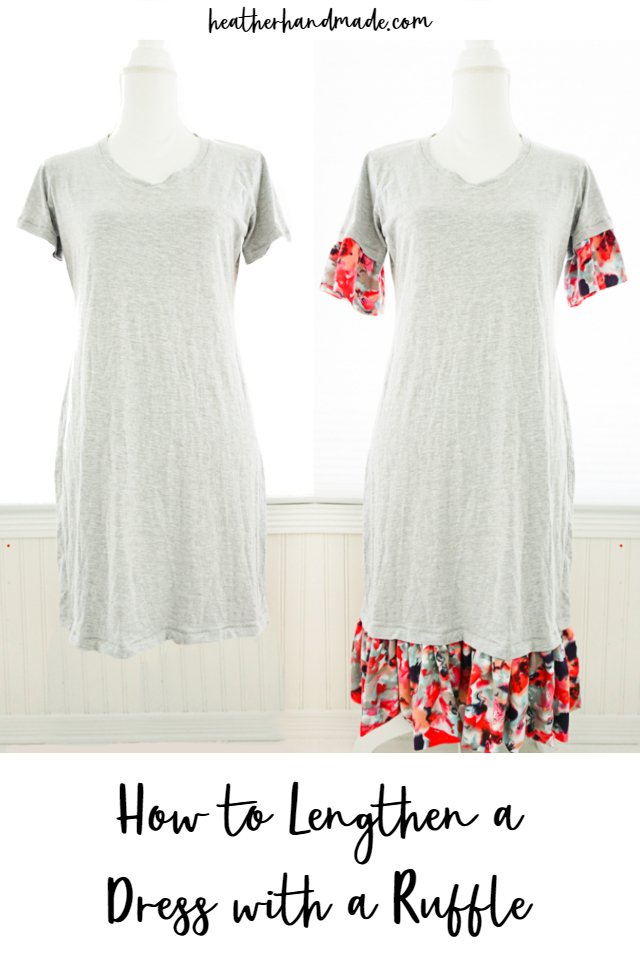
Using some of my beautiful scrap fabric I added a simple ruffle that gives the dress a bit of a pop.
The best way to add fabric and have it look right is to add the fabric in at least two places. I added the ruffle to the hem where I needed it, and then I added ruffles to the sleeves to make it look like it was on purpose.
Do you want to learn to lengthen? Try some of these tutorials:
- How to make a dress longer
- Refashion dress ideas
- How to lengthen a sewing pattern
- How to add fringe to a dress
- How to lengthen dress pants
- How to add sleeves to a strapless dress
How to Lengthen a Dress with a Ruffle
Supplies
- Dress
- Lightweight coordinating fabric for the ruffles – learn how to sew lightweight fabric
- Sewing tools
- Sewing machine
First you need to measure how long and wide you want your ruffle to be. I used the same method for the sleeves and the bottom of the dress.
For the height of the ruffle, measure the height, double it, and then add 1 inch of seam allowance.
For the width measure the hem where the ruffle will be added and double it. I decided to do a 2:1 gathering ratio for lots of gathers, but you can also do a 1.5:1 gathering ratio.
Use your measurements to cut out the rectangles. I had one for each sleeve, and then two for the hem since my fabric wasn’t wide enough for the width I needed.
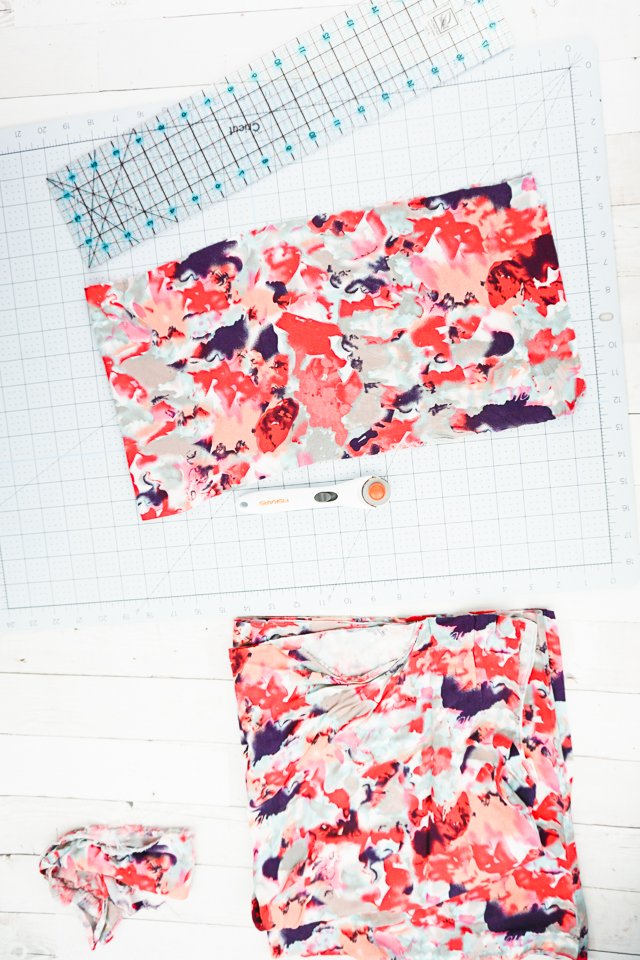
With right sides together sew the short ends of the rectangles together to form a tube. The sleeve ruffles will each have one seam, and the bottom ruffle will have two seams.
Press the seam open.
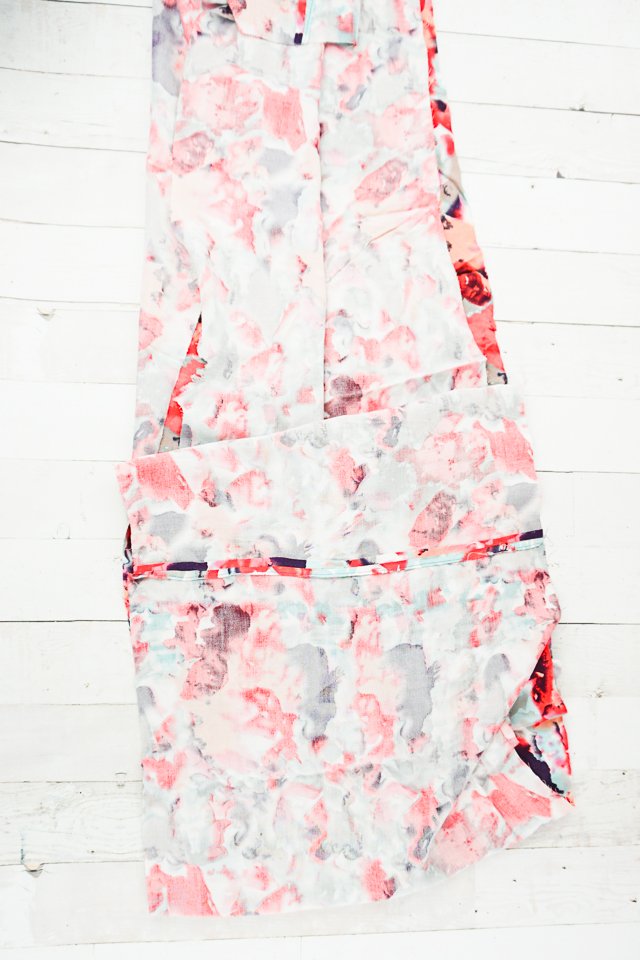
Fold the tube in half with the raw edges matching up like it will be when it’s sewn onto the dress. Press a crisp fold in place that will become the hem.
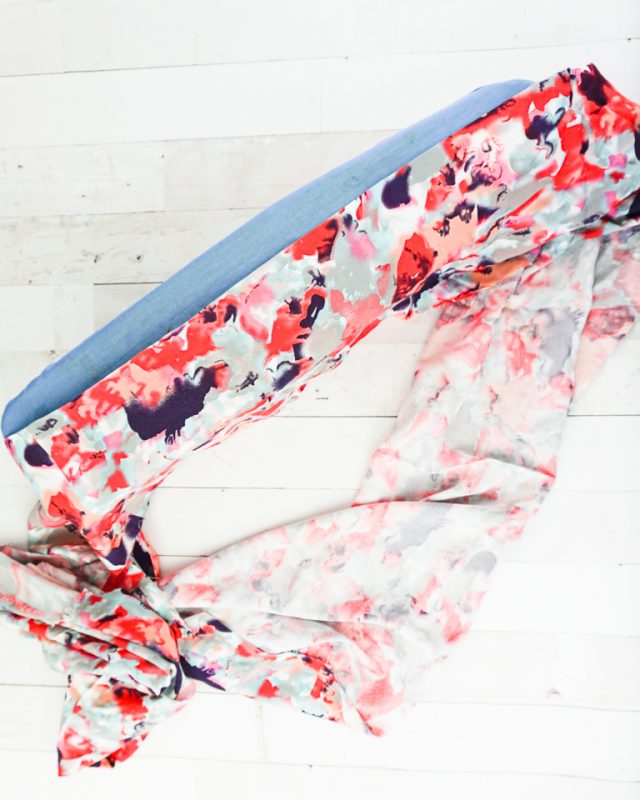
Finish the raw edges with a serger or zigzag. This also bastes the two layers together.
Sew two rows of basting stitches 1/8 inch and 1/4 inch from the edge.
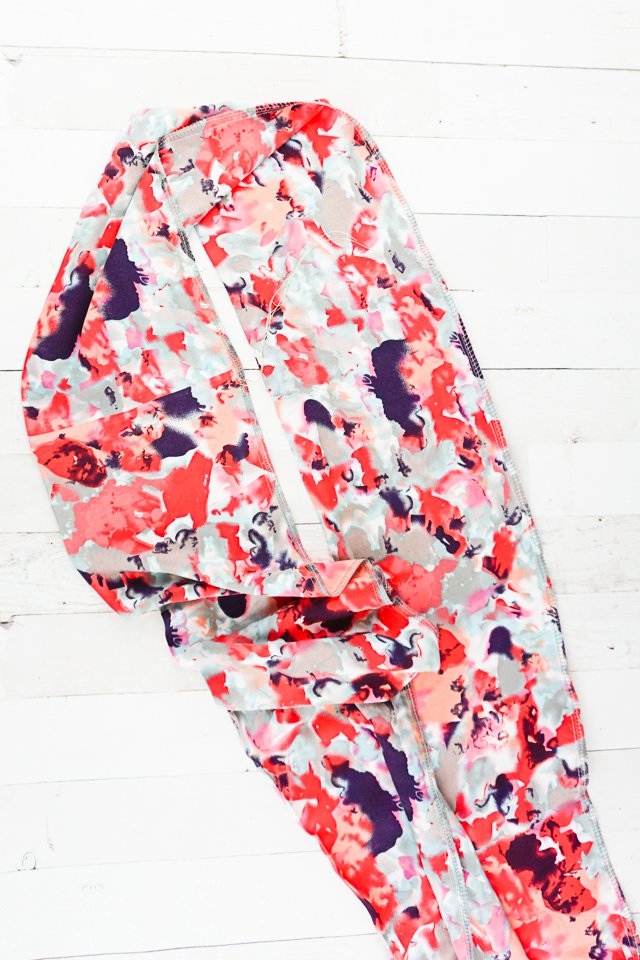
Pull the basting stitches to gather the ruffle until it’s the same circumference as the sleeves or the bottom of the dress.
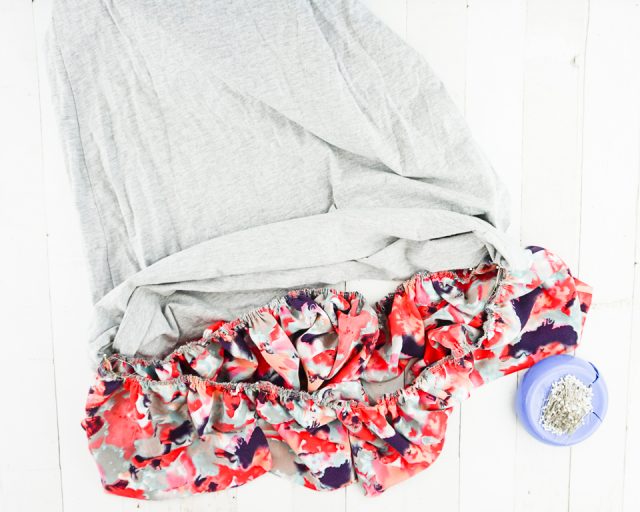
Pin the ruffle onto the hem. The top edge of the ruffle should line up with the top of the hem allowance.
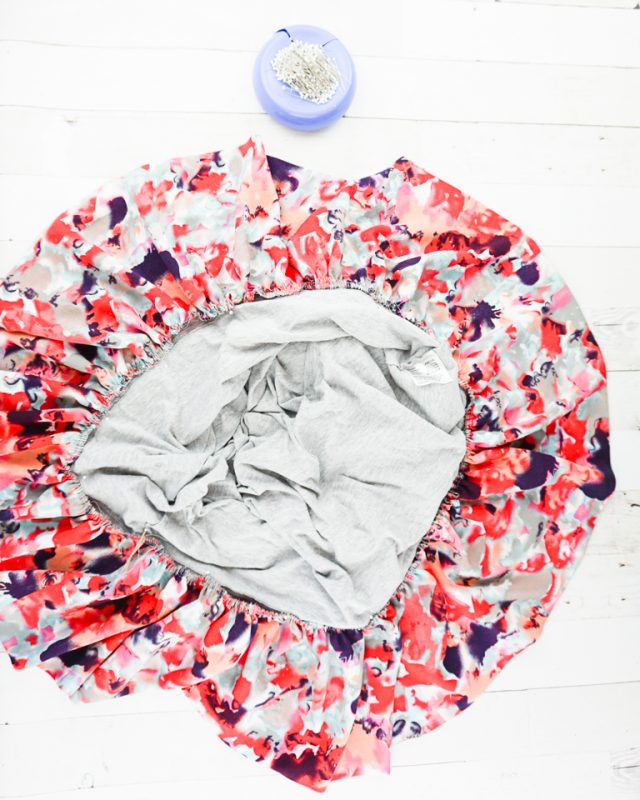
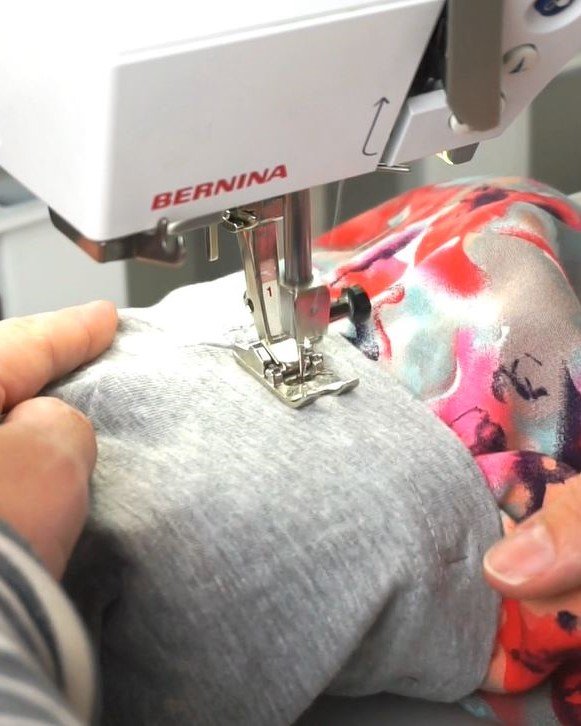
With thread that matches the thread of the original hem, sew the ruffle onto the dress. I sewed along the lower row of hem stitches so that I would always be catching the ruffle.
How to Lengthen a Dress with a Ruffle
If you have a dress that's just a little too short then you can lengthen a dress with a ruffle! It's an easy and quick fix, and you can use pretty fabric.
Materials
- Dress that is too short
- Lightweight coordinating fabric for the ruffles
Tools
- Sewing tools
- Sewing machine
Instructions
- First you need to measure how long and wide you want your ruffle to be. I used the same method for the sleeves and the bottom of the dress.
- For the height of the ruffle, measure the height, double it, and then add 1 inch of seam allowance.
- For the width measure the hem where the ruffle will be added and double it. I decided to do a 2:1 gathering ratio for lots of gathers, but you can also do a 1.5:1 gathering ratio.
- Use your measurements to cut out the rectangles. I had one for each sleeve, and then two for the hem since my fabric wasn't wide enough for the width I needed.
- With right sides together sew the short ends of the rectangles together to form a tube. The sleeve ruffles will each have one seam, and the bottom ruffle will have two seams.
- Press the seam open.
- Fold the tube in half with the raw edges matching up like it will be when it's sewn onto the dress. Press a crisp fold in place that will become the hem.
- Finish the raw edges with a serger or zigzag. This also bastes the two layers together.
- Sew two rows of basting stitches 1/8 inch and 1/4 inch from the edge.
- Pull the basting stitches to gather the ruffle until it's the same circumference as the sleeves or the bottom of the dress.
- Pin the ruffle onto the hem. The top edge of the ruffle should line up with the top of the hem allowance.
- With thread that matches the thread of the original hem, sew the ruffle onto the dress. I sewed along the lower row of hem stitches so that I would always be catching the ruffle.
Recommended Products
As an Amazon Associate and member of other affiliate programs, I earn from qualifying purchases.
If you make something using this sewing project, I’d love to see! Please share it on social media with the hashtag #heatherhandmade and tag me!

I believe small sewing moments can create great joy. Find your own “right” way to sew. -Heather


Thanks for taking the time to share, I make farm clothing for my self and other local ladies. We work hard and it’s nice to have a garment with ruffles to remind us that we don’t live in work boots. Keep up the good work. Love, Di