
Using Infusible Ink on Polyester Fabric

This post may contain affiliate links.
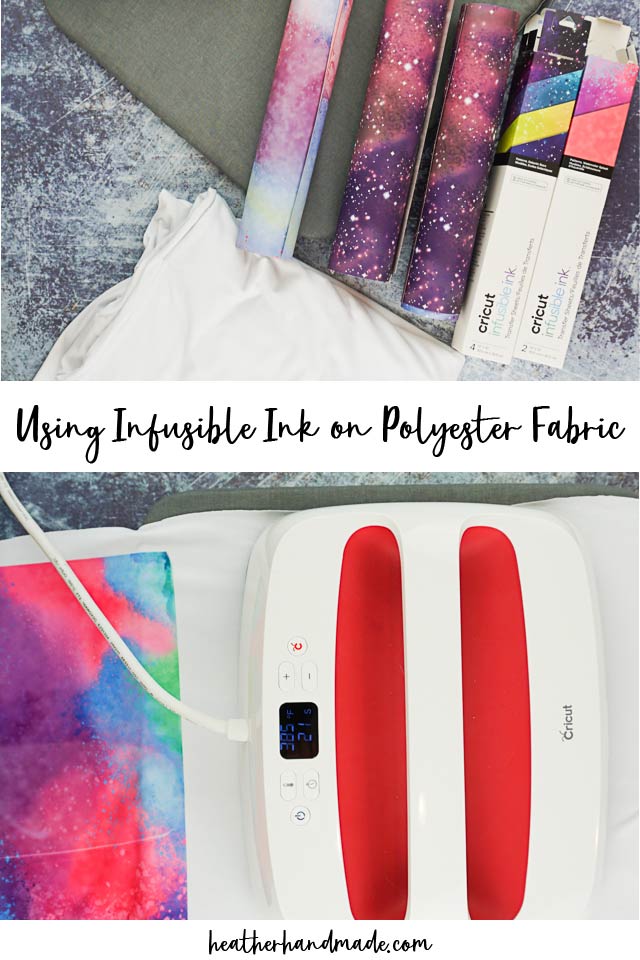
Learn about my experience of using infusible ink and an Easypress 2 on polyester fabric and what happens when you iron over fused Cricut infusible ink.
I love all the cool Cricut Infusible Ink transfer sheets. Whenever I see them I think of all the cool fabric prints I want to make with them.
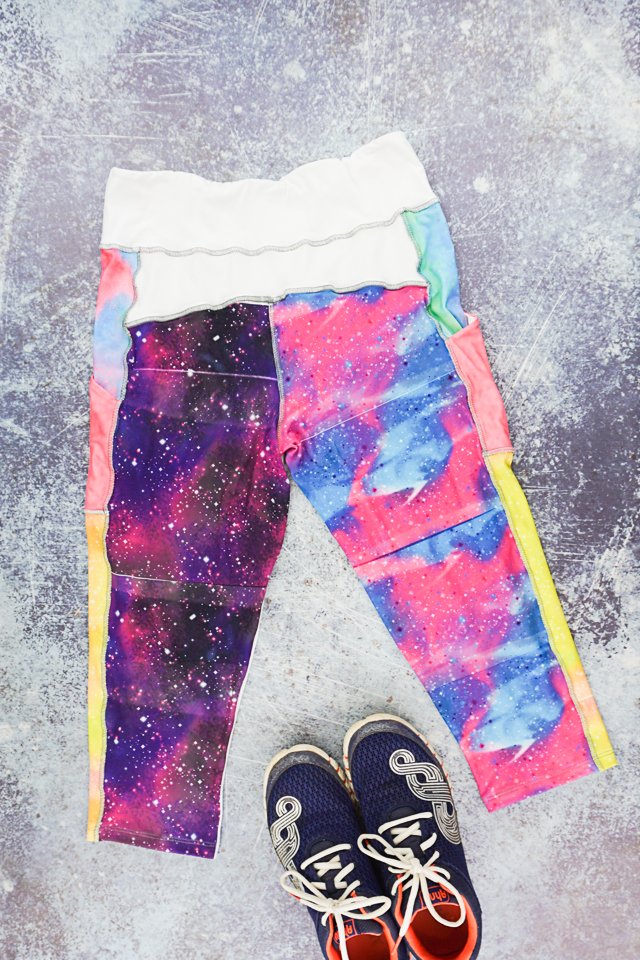
I decided to make my own workout leggings and try out infusible ink on 100% polyester fabric. This post can also be called “what happens when you ironed over fused infusible ink?” because I was so set on having the prints all next to each other.
I wish I would have done polka dots or stripes or something to separate the infusible ink, and then I wouldn’t have had a problem with ironing over fused fusible ink.
What is Infusible Ink?
Infusible ink is ink that is transferred by heat. It’s essentially sublimation, but it’s now accessible to hobby crafters. When infusible ink is transferred the ink is infused into the item.
Infusible ink can be purchased as an infusible ink transfer sheet and as infusible ink pens. The colors of the infusible ink transfer sheet look pale before being heated, but they are very bright once heated and transferred.
Infusible ink really looks the best on white fabric, but you can use it on any light colored fabric. I recommend using a white 100% polyester fabric.
I have used Cricut infusible ink for lots of different projects, and here’s all the posts teaching you how to use and and what I’ve learned:
- Infusible Ink vs Iron-on Vinyl (HTV)
- Infusible Ink on Cotton vs Polyester
- Infusible Ink on blue vs white fabric
- Infusible Ink and cotton hack
- Infusible Ink with fabric sewn on top
- Infusible Ink DIY animal face t-shirts
- Cricut Infusible Ink Projects
- Infusible ink and sublimation spray for cotton
Using Infusible Ink on Polyester Fabric
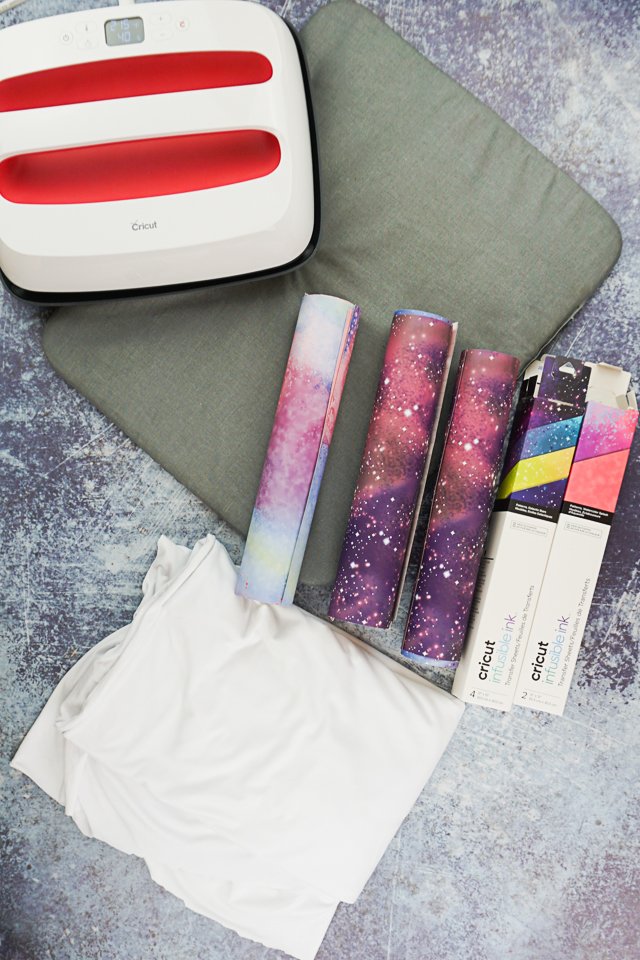
supplies
- Cricut Infusible Ink transfer sheet – watercolor* and galactic stars*
- Cutting machine like the Cricut Maker*
- Easypress 2* and mat (easypress 2 vs easypress)
- 100% polyester fabric like single brushed poly or double brushed poly
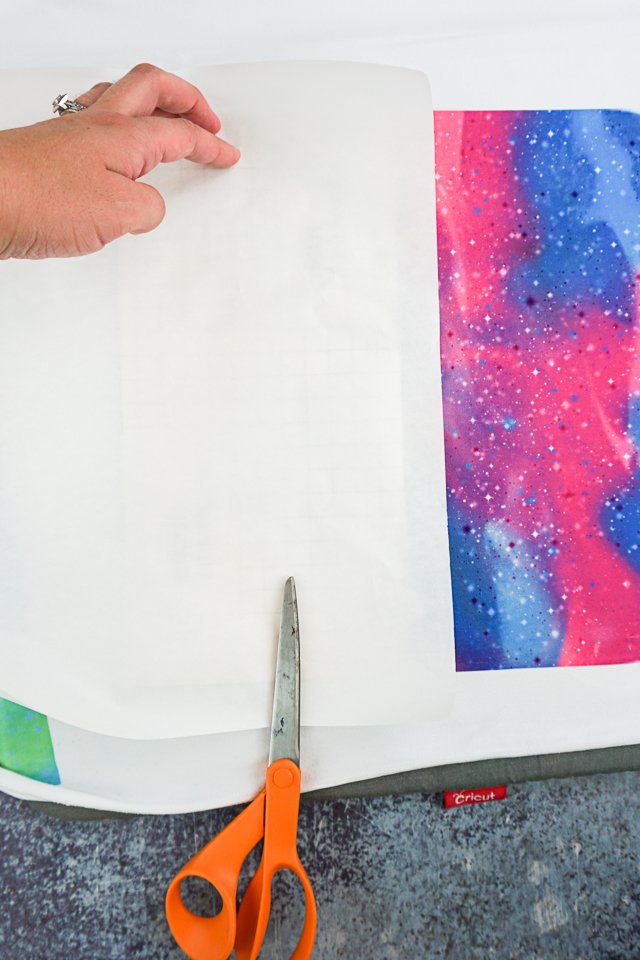
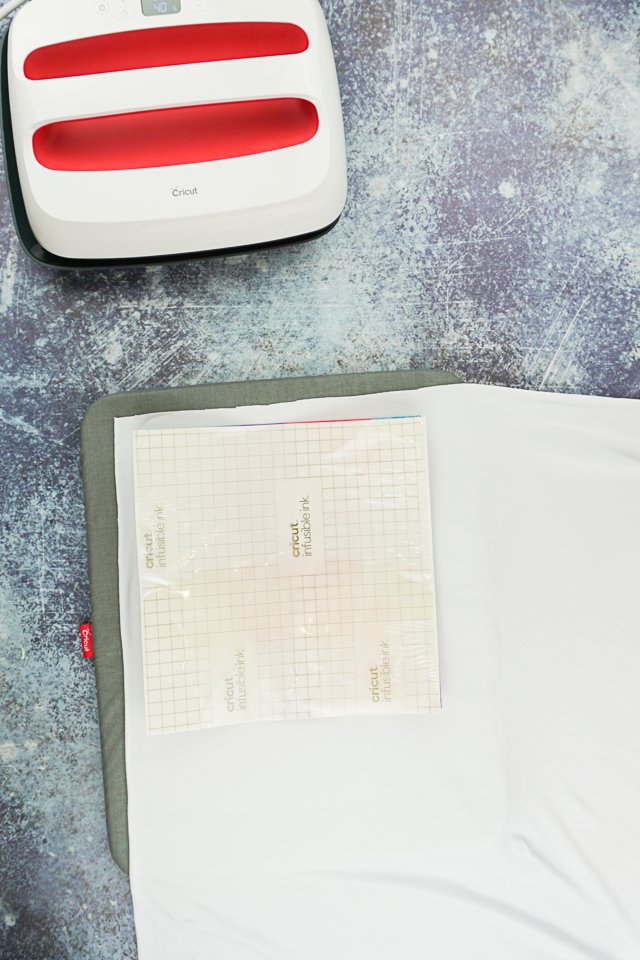
Since I was so set on filling up my fabric with as much infusible ink as possible I didn’t cut my infusible ink transfer sheets with my cricut maker. That made it hard to apply because I didn’t have any sticky plastic backing to keep it on the fabric.
I would put a pair of scissors on one side and then hold the other side with my hand. Then I would carefully place the Easypress 2 on one side and removing my hand, then I would move the scissors and place the Easypress all the way down.
If I cut an infusible ink transfer sheet in half the largest Easypress 2 would cover all of it.
If I didn’t cut an infusible ink transfer sheet in half the largest Easypress 2 would only cover 3/4 of it, but then I would have to heat the remaining section of the infusible ink transfer sheet.
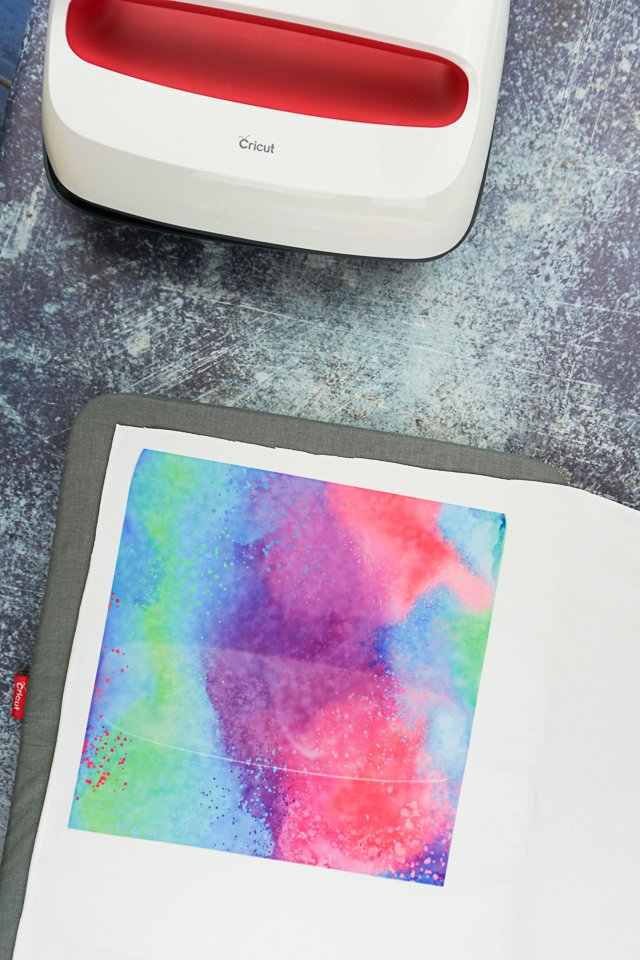
This is what a full sheet looks like after being heated. You can definitely see where the Easypress 2 sat the first time, where it sat the second time, and where the ink started to lift back up when I overlapped.
I would ruin my perfect transfers every time I would iron or heat it again with my Easypress 2. I suspected I would have problems with the way I wanted to do it, and I was okay with that since I was only making workout leggings.
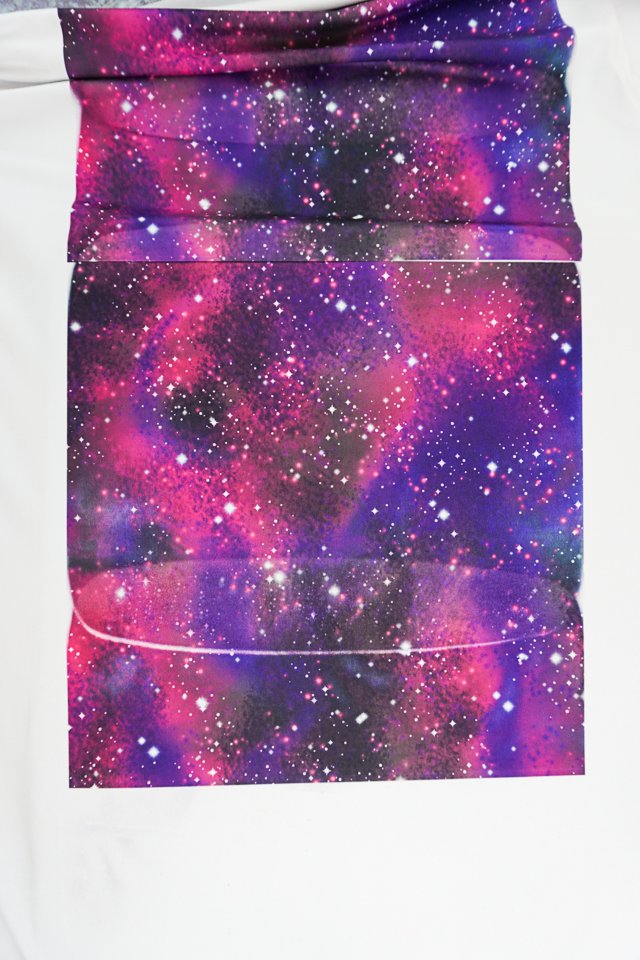
When I cut the infusible ink transfer sheets in half but placed them right next to each other, I still have the problem of the Easypress overlapping the previous design.
This is where a stripes design would’ve come in handy. I wish I would’ve cut my transfer sheets in half and kept a 3 inch gap between each one creating a cool striped or blocked design.
My transfer sheets would’ve gone a lot futher and I probably could’ve had color on the front of the leggings.
I cover the fabric as much as I could with all of my extra infusible ink transfer sheets. I had 7.5 transfer sheets from two different boxes of designs.
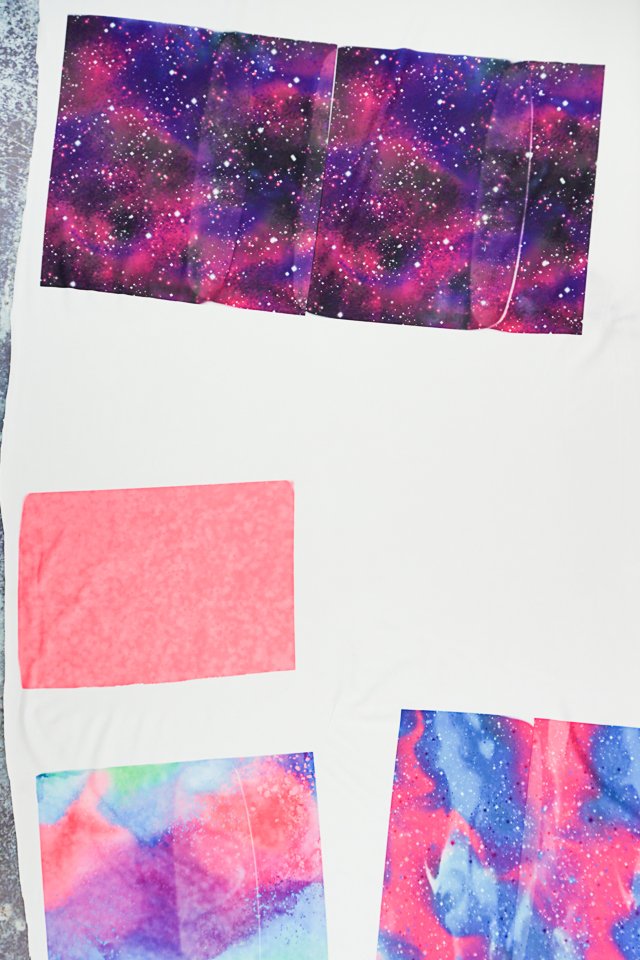
Once I had as much fabric patterned with infusible ink as possible, I cut out my leggings pattern pieces. Some edges got a little bit of white, but most of the time I could keep it in the seam allowance.
I used a pattern that had lots of different pattern pieces (which cuts down the full size) to accommate the infusible ink. I think something small like a sports bra or shorties would’ve worked even better.

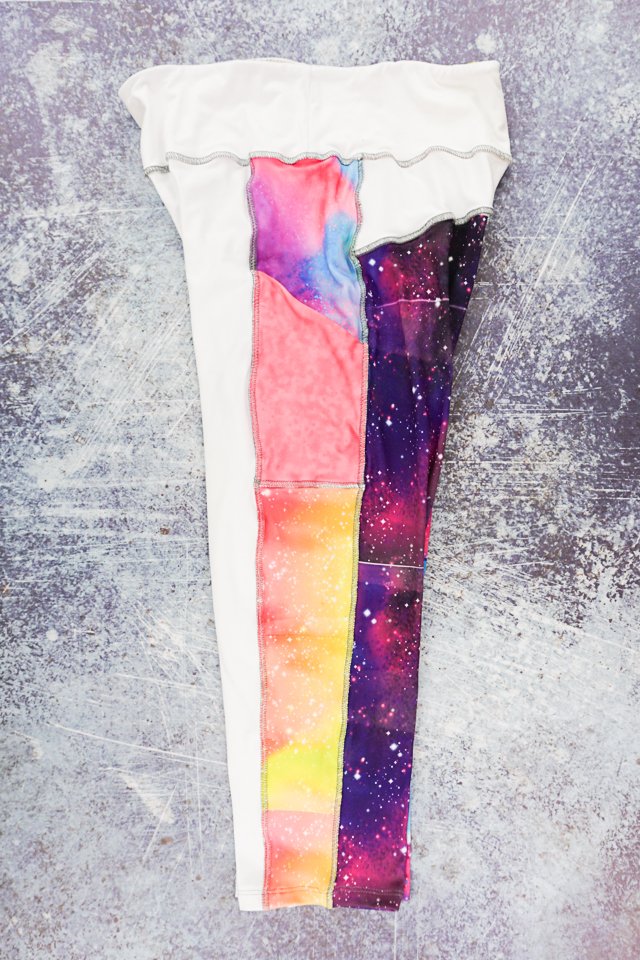
Sew up your design and enjoy all of the happy color patterns. I think the best looks best which you can see below. That’s where most of the infusible ink ended up. The front looks a lot more white than I thought it was going to.
If you make something using this sewing project, I’d love to see! Please share it on social media with the hashtag #heatherhandmade and tag me!

I believe small sewing moments can create great joy. Find your own “right” way to sew. -Heather
Do the colors bleed when you wash the pants?
No. Infusible ink is permanent and does not fade or bleed when washed.