
DIY Harry Potter Costume

This post may contain affiliate links.
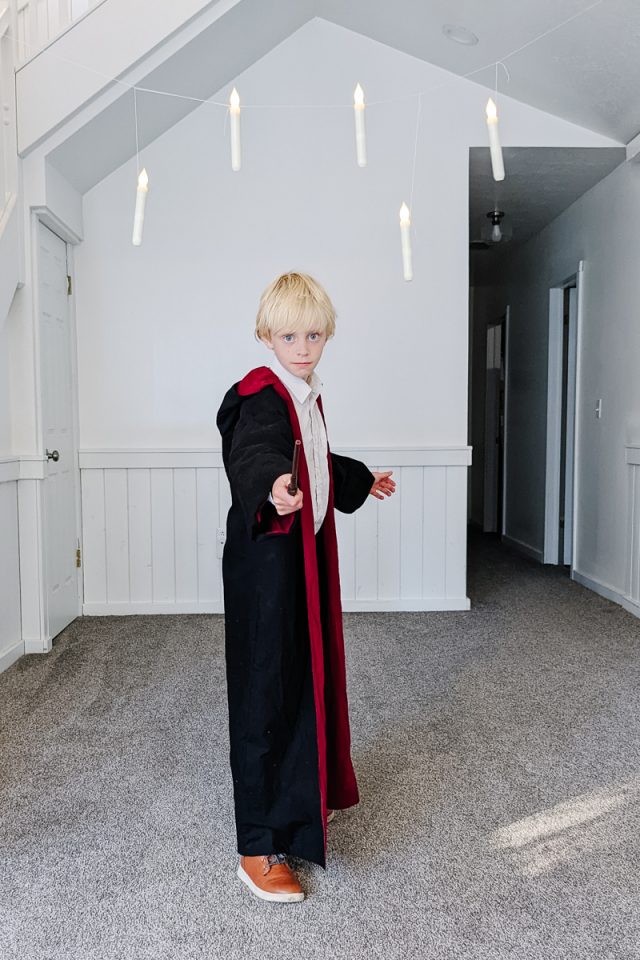
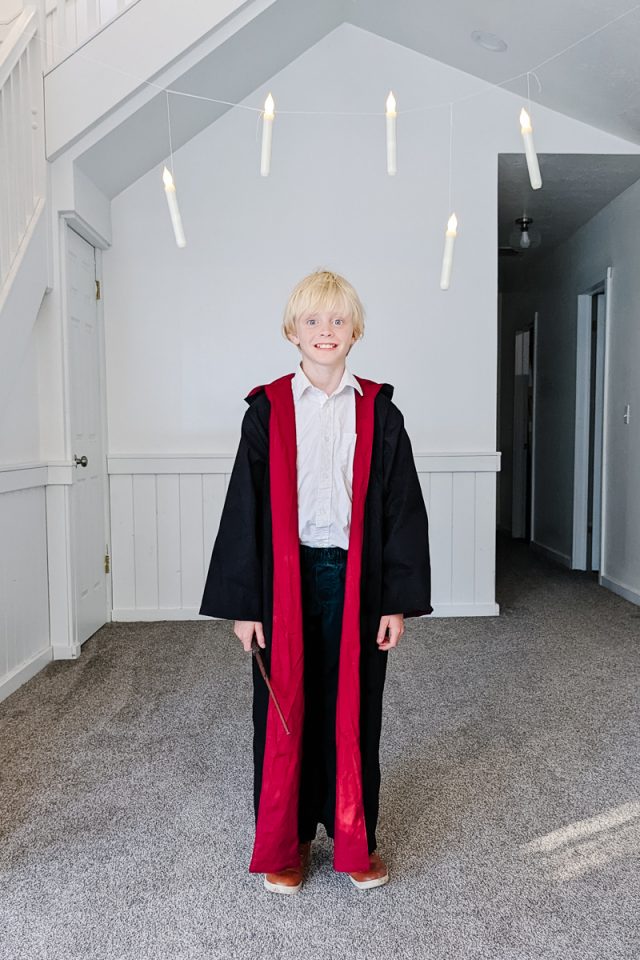
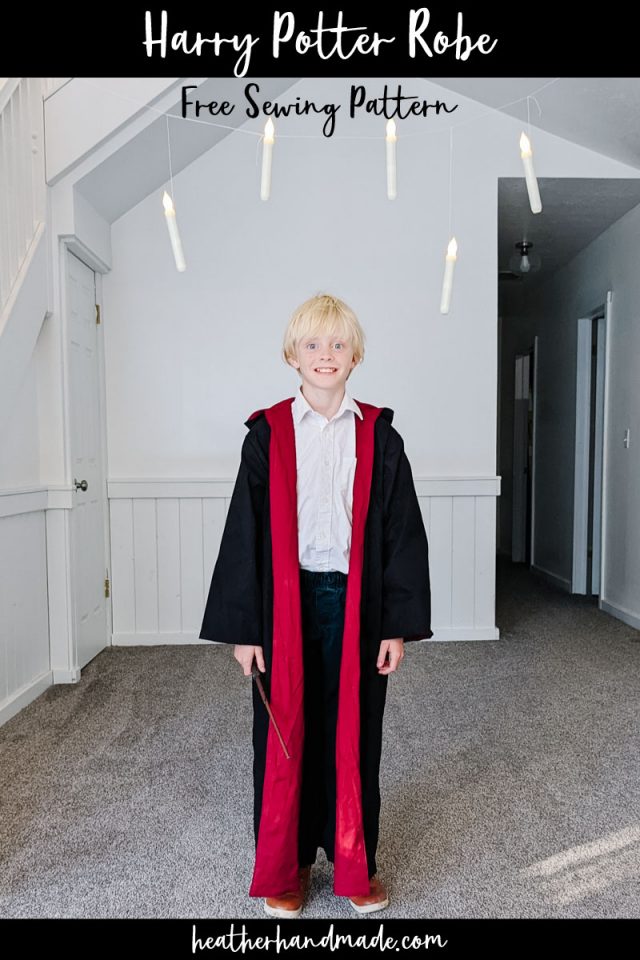
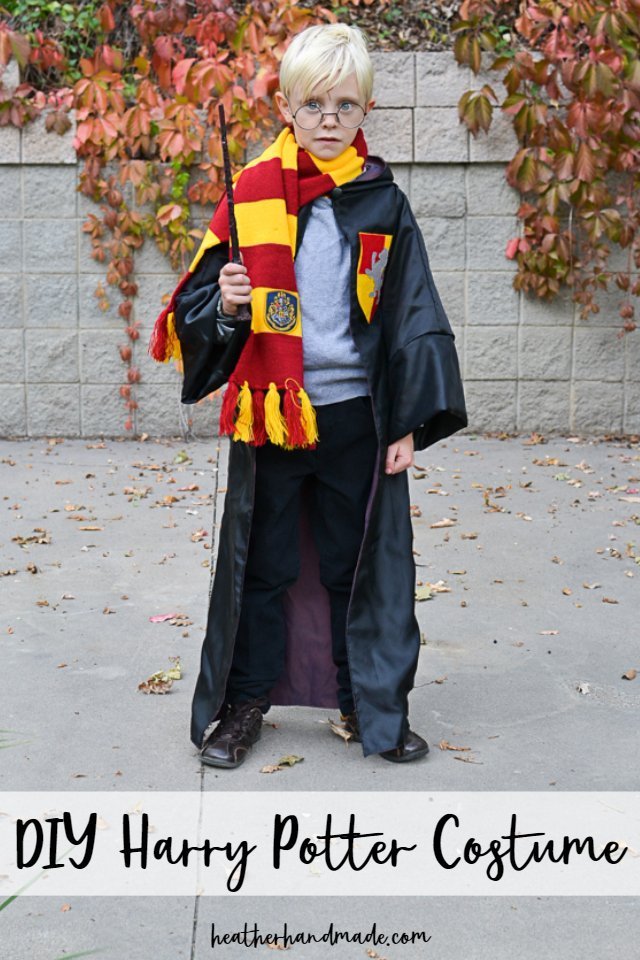
Make an easy DIY Harry Potter costume. Use items from your wardrobe, Harry Potter accessories, and then make a lined robe for the finishing touch.
We started reading the Harry Potter books to my son last Christmas, and he’s been a fan ever since. He has been talking about being Harry Potter for several months, so I was happy to make him the costume. We did try to convince him to be Draco Malfoy with his hair, but he likes Harry Potter the best!
I’m sharing a free costume robe pattern in this post that you can use! It comes in multiple kid sizes and it’s really easy to sew!
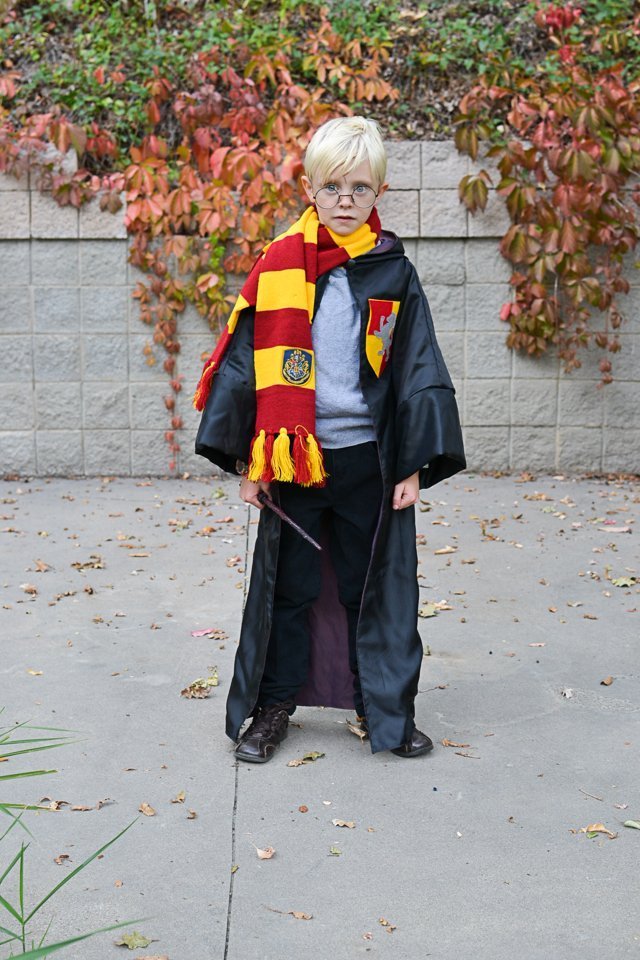
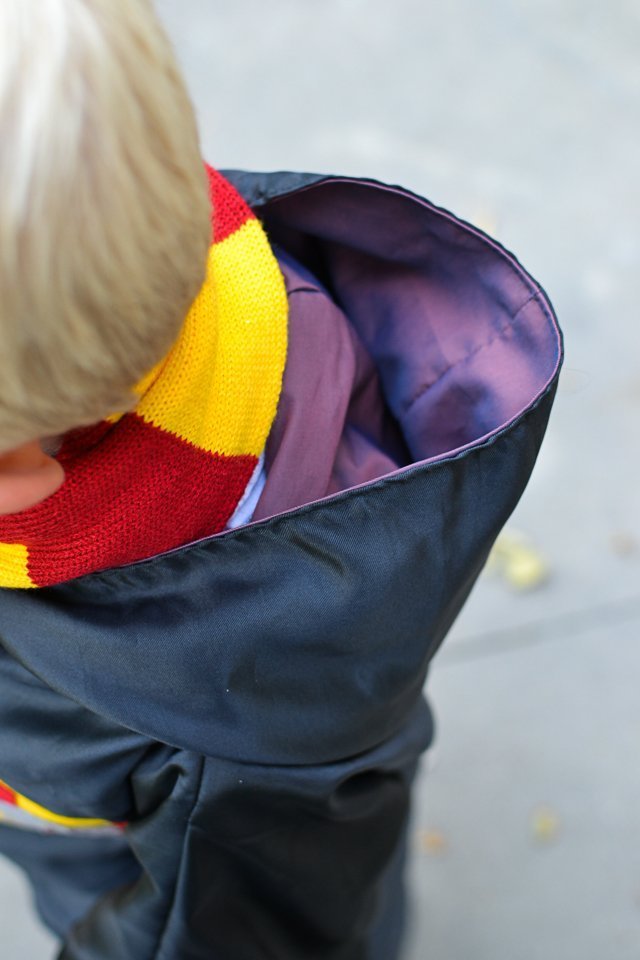
For this costume I just sewed the robe, then I added some Harry Potter accessories, and used clothing from my son’s closet. The robe is completely lined which makes it easier to sew because there’s no need to finish the edges!
It’s so fun to have a Harry Potter fan in the house. He has a Harry Potter shirt that I made him, a DIY gryffindor t-shirt, and a Harry Potter cheater quilt! I even made a simple Gryffindor ornament that we both love seeing on the Christmas tree.
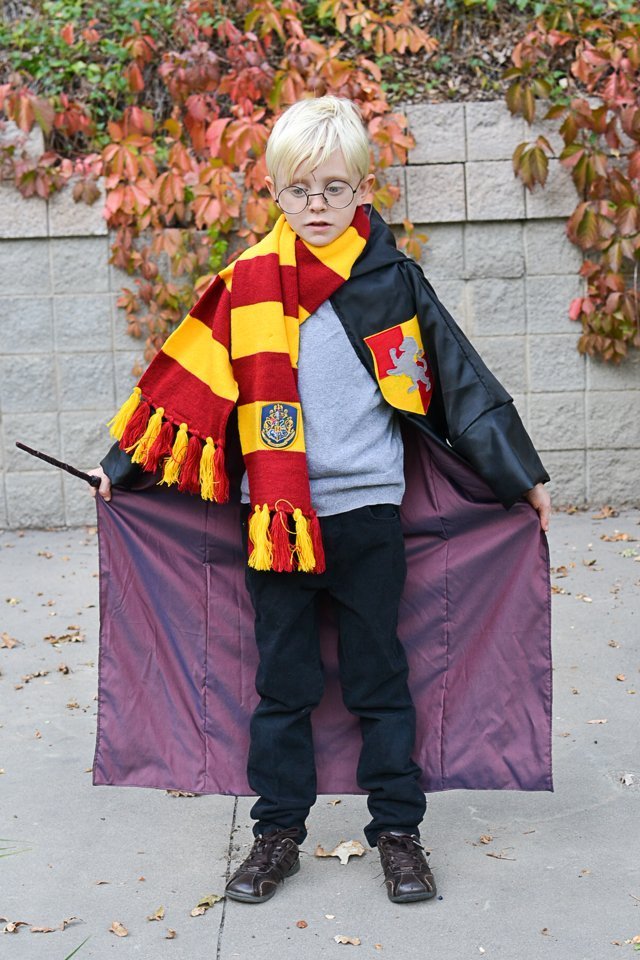
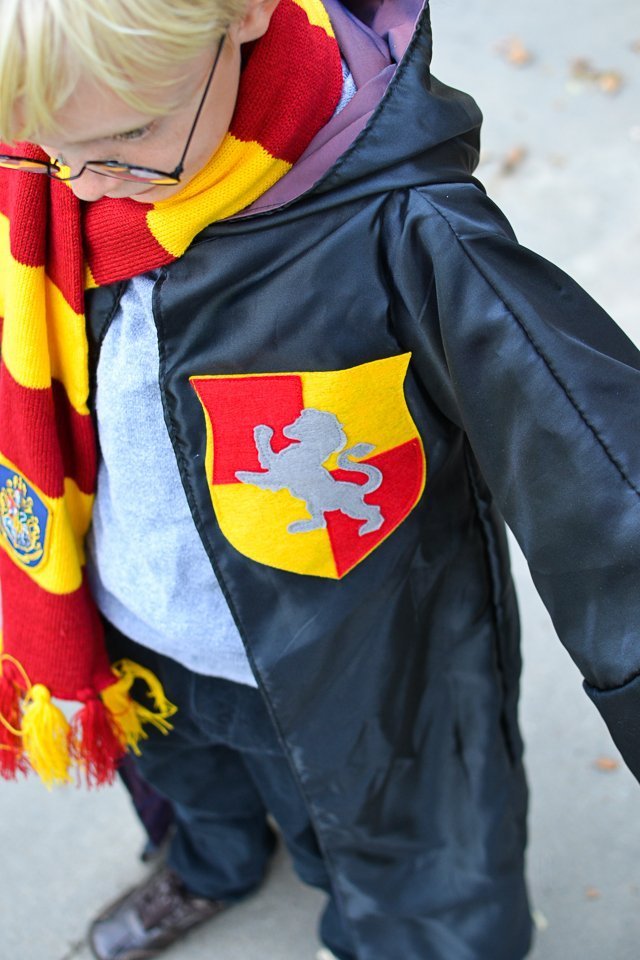
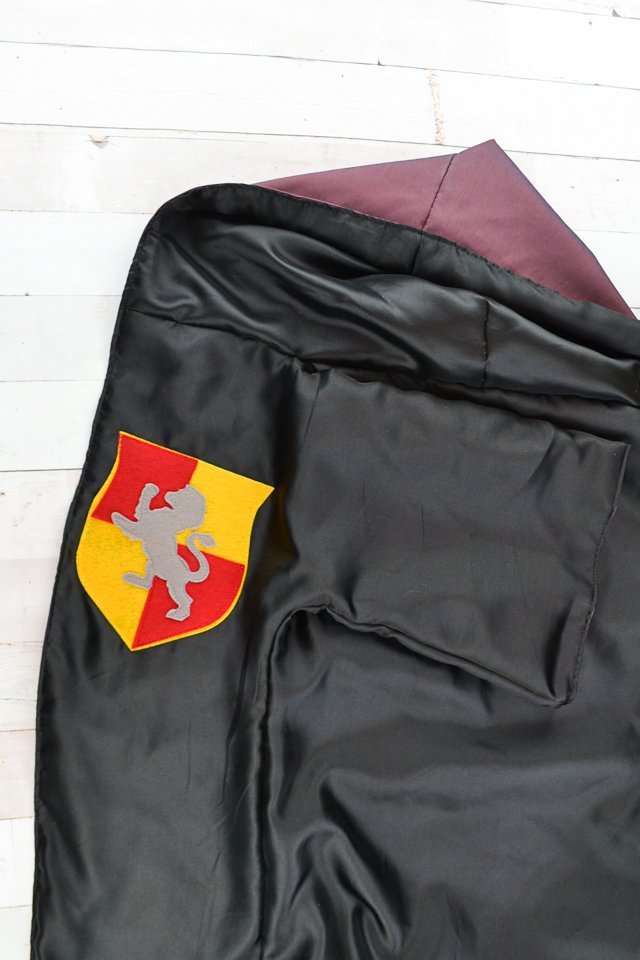
I added the gryffindor crest to the front of the robe using felt. I made it extra large so it would stand out. I used a cutting machine to cut it out, but in the supply list I link to a free pattern!
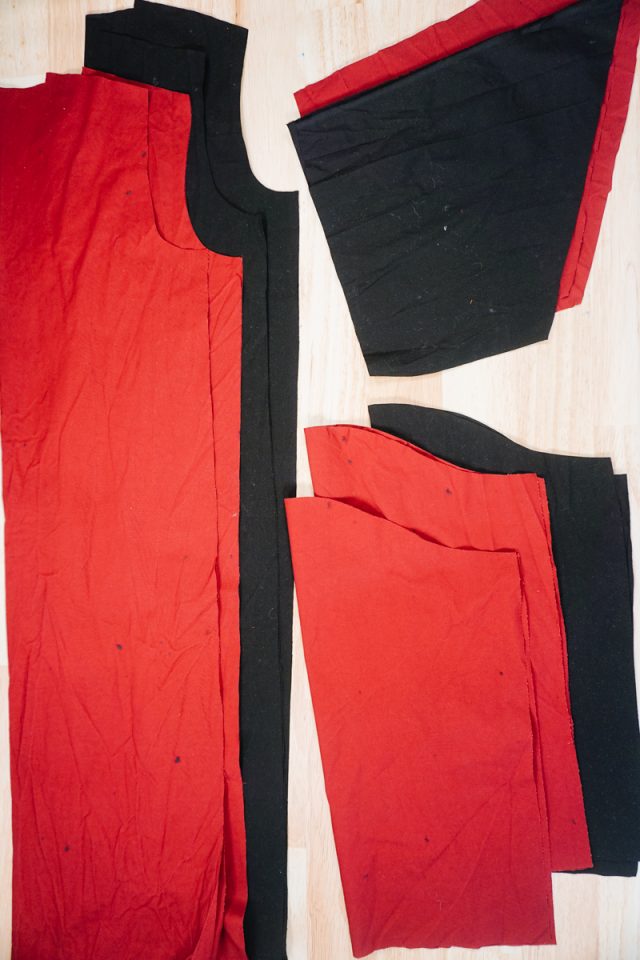
All of my colors aren’t exactly accurate, but I was trying to use fabric I had in my stash before buying anything. I thrifted the black slippery fabric, and my sister gave me the two tone lining fabric.
If your child wants to be a gryffindor that is playing quidditch, you can add a DIY Harry Potter broom to the costume!
What fabric should I use to make a costume robe?
The best fabric to use is any woven apparel fabric like lawn, chambray, gauze, satin, rayon, and linen. Lawn, chambray, and gauze are great for cotton robes. Satin, rayon, and linen are lightweight fabrics with a lot of drape. They also have a slight sheen so they would make a great dressy robe.
You can also use quilting cotton to make a robe. It will have to be ironed but it is the easiest to find and the easiest to sew. The brown robe is made from a polyester cotton woven fabric blend. The black and red robe is made from two different quilting cottons.
What sizes does the pattern come in?
The pattern comes in child sizes 3, 4, 5, 6, 7, 8, 9, and 10. That’s eight sizes so you can find the best fit. The pattern also comes with a rounded hood and a pointed hood to work with lots of different costumes.
What is a PDF sewing pattern?
A PDF pattern is a sewing pattern designed on the computer and organized so that it can be printed on several letter or A4 size pieces of paper.
I love using PDF sewing patterns because if the pattern gets ruined or if my children or I changed sizes, I can always print it again. It’ll never be destroyed since I have a digital version!
How do you use a PDF sewing pattern?
Open the PDF on a computer and click print. When printing make sure that the scaling is set to 100% or no scaling so that the pattern prints at the correct size.
Once the pattern is printed it can be taped together to get the full size. Then the pattern can be cut for each pattern piece size or individual sizes can be traced so that the pattern can be used again and again. Learn how to use PDF sewing patterns.
DIY Harry Potter Costume
Supplies
- Free costume robe sewing pattern – get it at the end of the post behind the locked content box
- 2-3 yards Black Fabric
- 2-3 yards red Fabric
- Cricut Harry Potter Cut File or Free Gryffindor Patch Template
- Scraps of felt or iron-on vinyl
- Harry Potter accessories – tie and glasses* or scarf and hat*
- Sewing tools
- Sewing machine
- Clothing needed: white button up shirt, black pants, black shoes, gray sweater vest
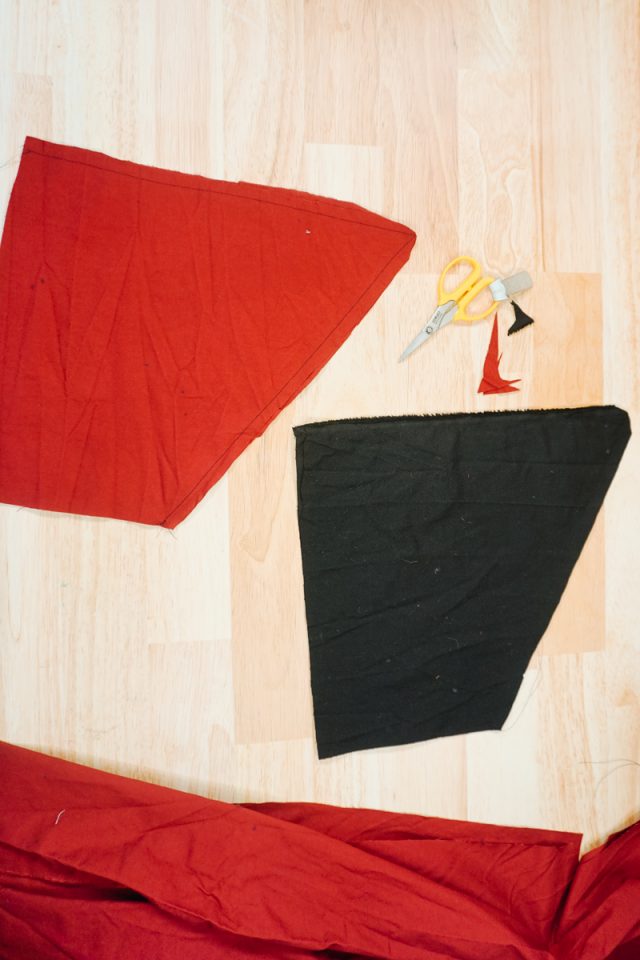
Cut out these pieces from both fabrics:
- 1 back on the fold
- 2 fronts mirrored
- 2 sleeves on the fold
- 2 hoods mirrored
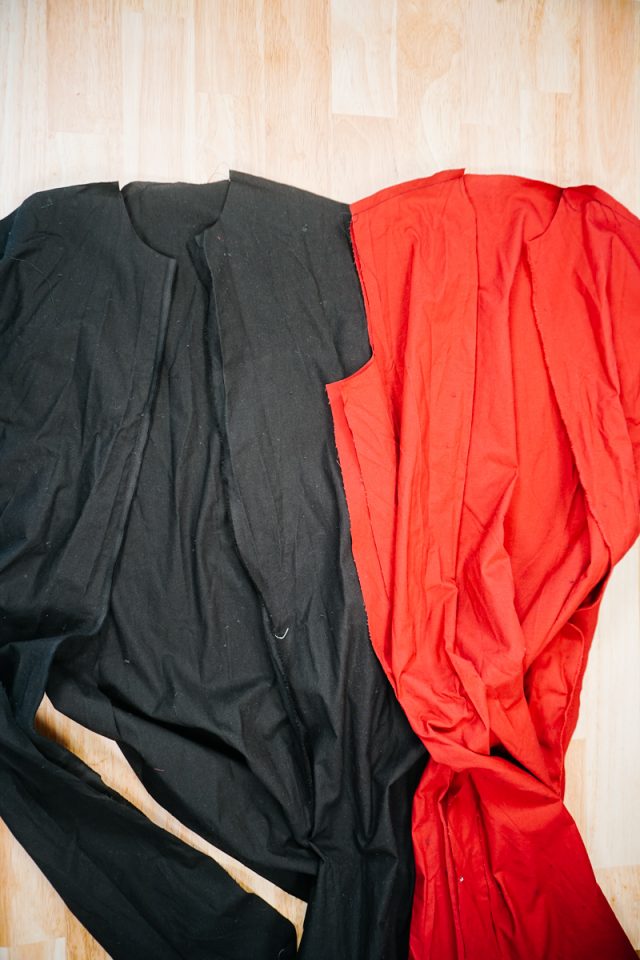
Match up the shoulder seams right sides together and sew. Backstitch when you start and when you stop. Press the seam allowance towards the back. Do both the outer fabric and the lining.
Match up the hoods right sides together and sew the top and the back. Backstitch when you start and when you stop. Do both the outer fabric and the lining.
If you are doing the pointed hood make sure to pivot at the corner and trim the seam allowances. If you are doing the rounded hood just sew a nice curve.
Match up the hood to the neckline of the robe with right sides together. The center fronts and the center backs should line up. Sew the seam and backstitch when you start and when you stop. Do both the outer fabric and the lining. Press the seams up towards the hood.
Match up each sleeve to each armscye with right sides together. Sew the sleeves in and backstitch when you start and when you stop. Do both the outer fabric and the lining. Press the seams towards the sleeves.
Match up the side seams and the sleeve seams with right sides together. The sleeve seam allowance should point towards the sleeves. Sew and backstitch when you start and when you stop. Do both the outer fabric and the lining.
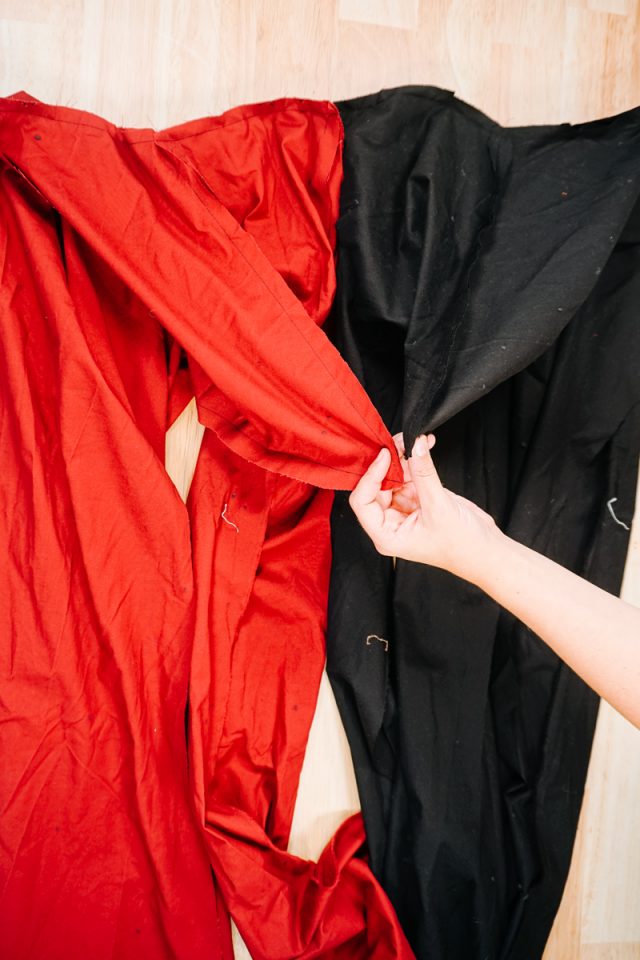
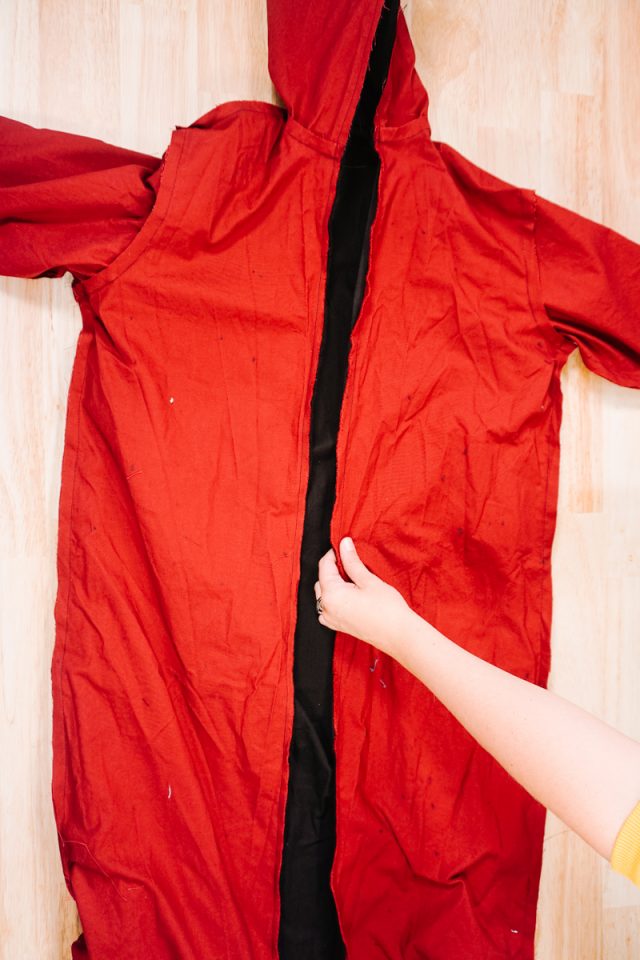
Turn the outer robe right side out. Slide it inside the robe lining so that the right sides are facing. Match up the hems and the center front up around the hood. Sew the hem and the front. Leave a 10 inch hole for turning and backstitch when you start and when you stop.
Trim the corners at the bottom front corner to reduce the bulk.
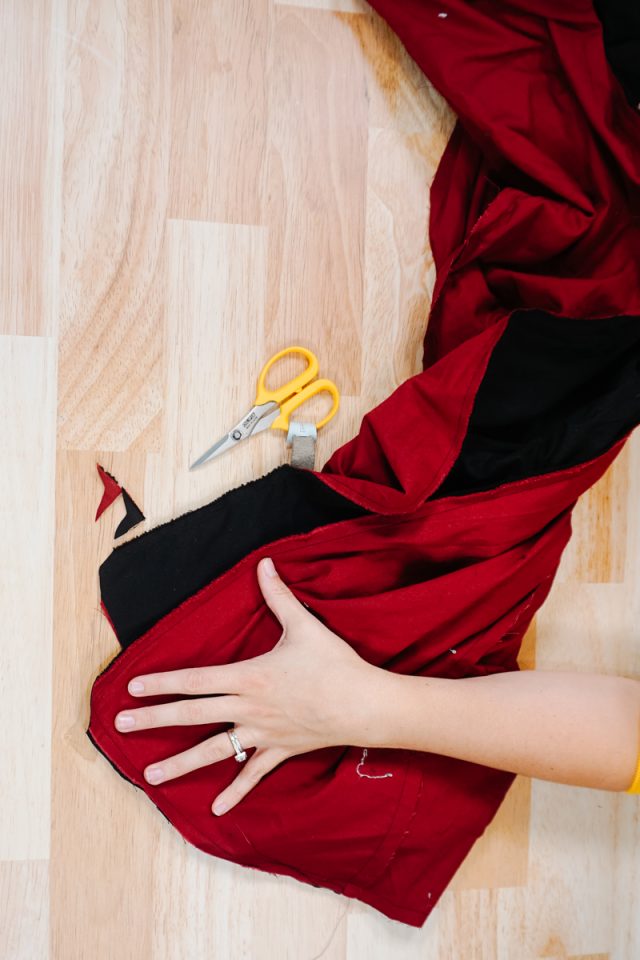
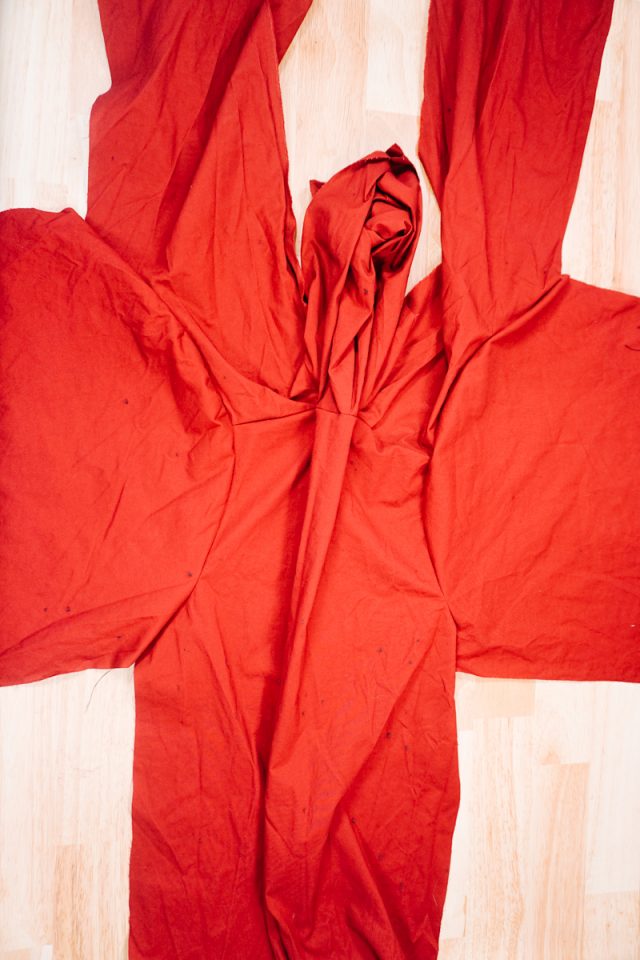
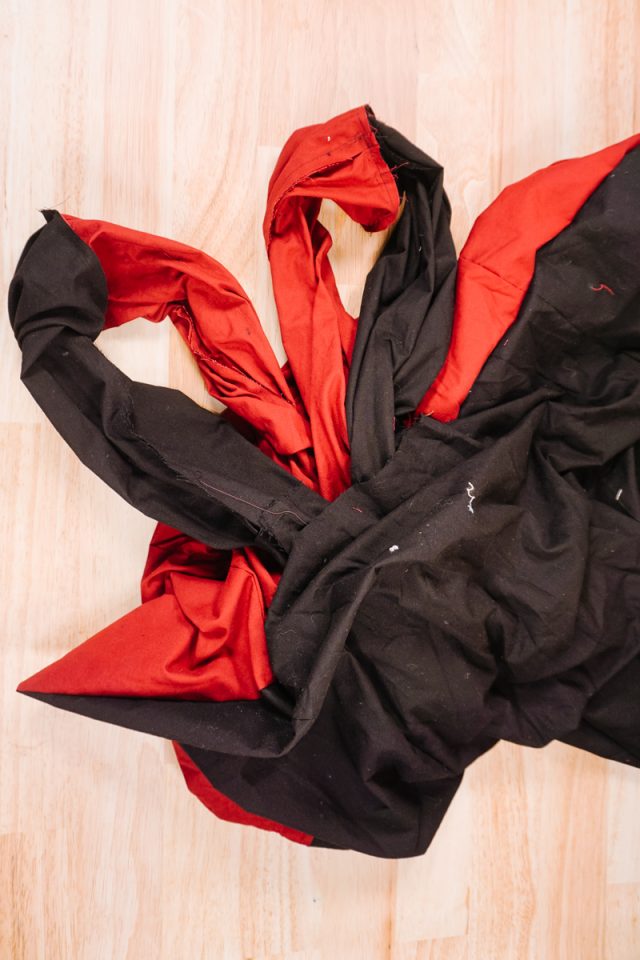
Turn the robe right side out through the hole.
Push the sleeves in place. Grab the sleeve hem sleeve allowance through the hole and sew the sleeve ends together. Do the same to the other sleeve.
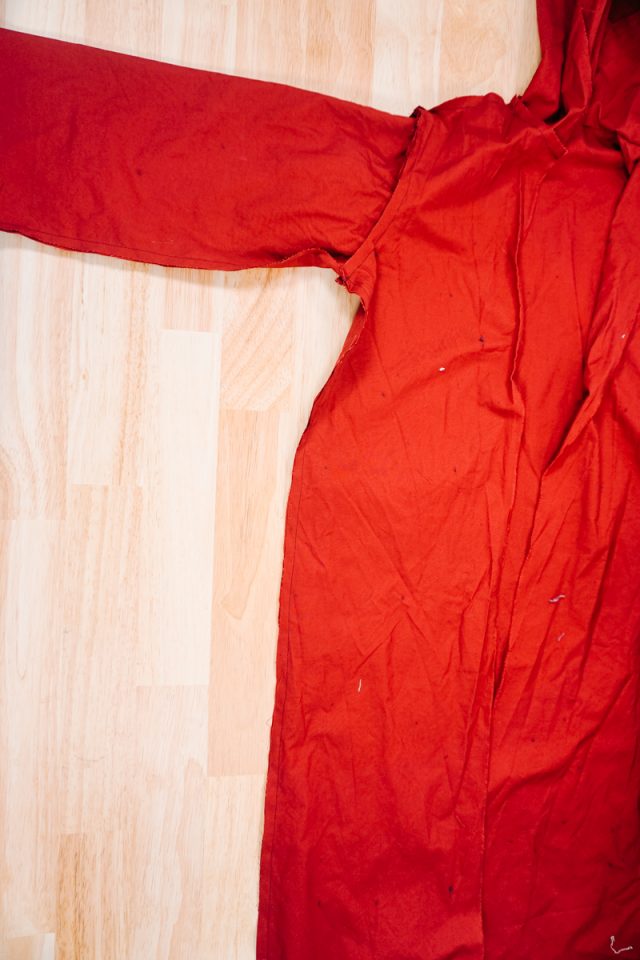
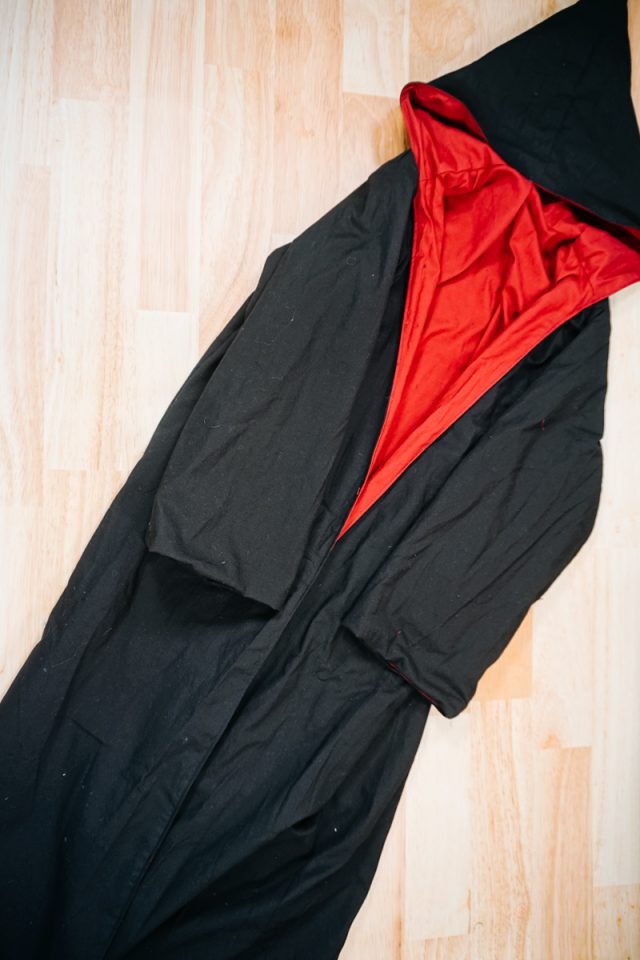
Push the sleeves back in place. Edgestitch the hem to close the hole and up the center front and around the front of the hood. This will keep the edges nice and crisp, and it will help keep the lining in place.
Cut out the gryffindor crest from felt or iron-on vinyl. I chose felt to look a little more like it was embroidered. I used my Cricut Maker to cut the detailed shapes.
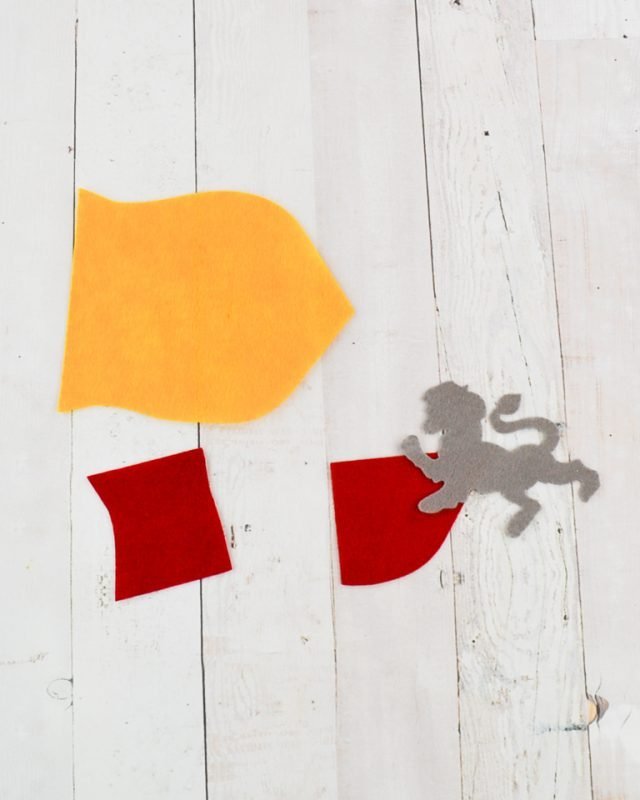
Place the red details on the shield and topstitch in place. I placed my red details just in from the edge so that I could sew with yellow thread on the shield when sewing it to the robe.
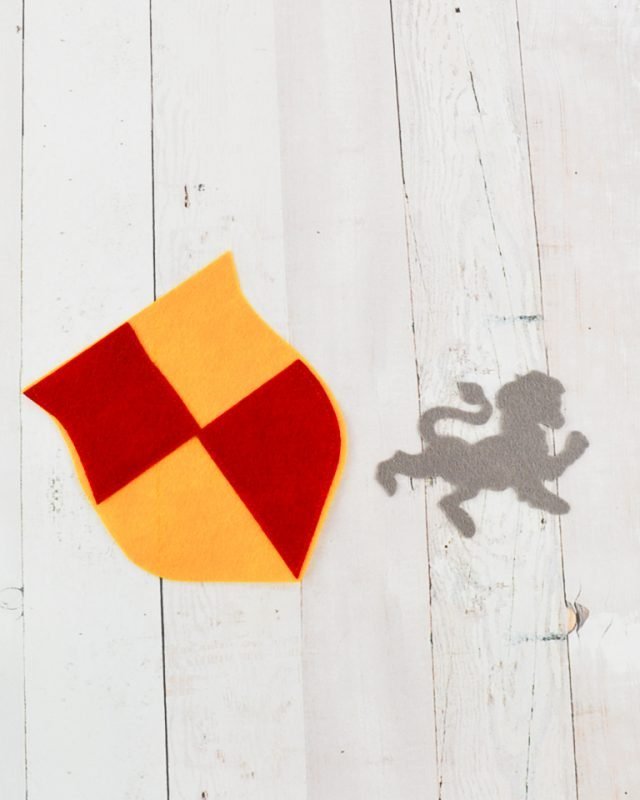
Topstitch the lion onto the shield.
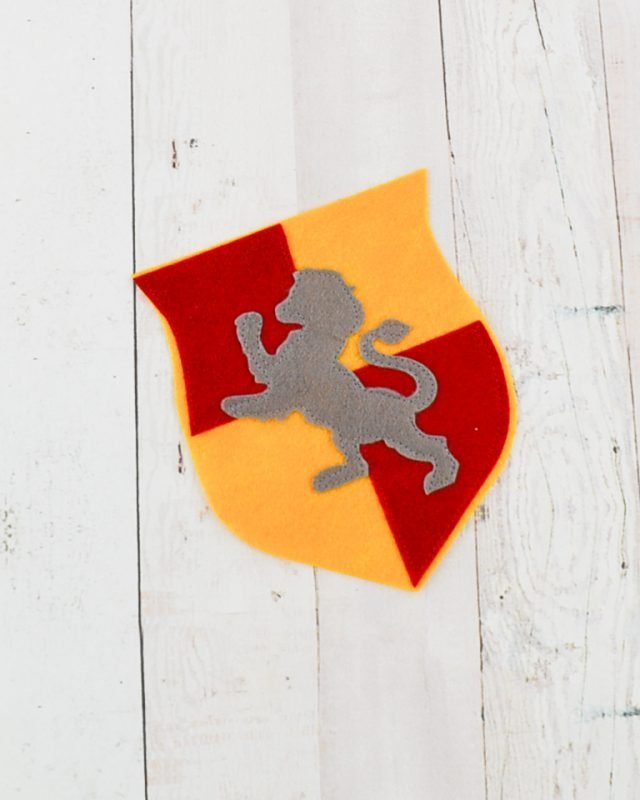
Sew the gryffindor onto the left front chest of the robe.
Get the Free Sewing Pattern here!
If you make a DIY Harry Potter costume using this tutorial, I’d love to see! Please share it on social media with the hashtag #heatherhandmade and tag me!

I believe small sewing moments can create great joy. Find your own “right” way to sew. -Heather