
DIY Lightning Buttons with Cricut

This post may contain affiliate links.
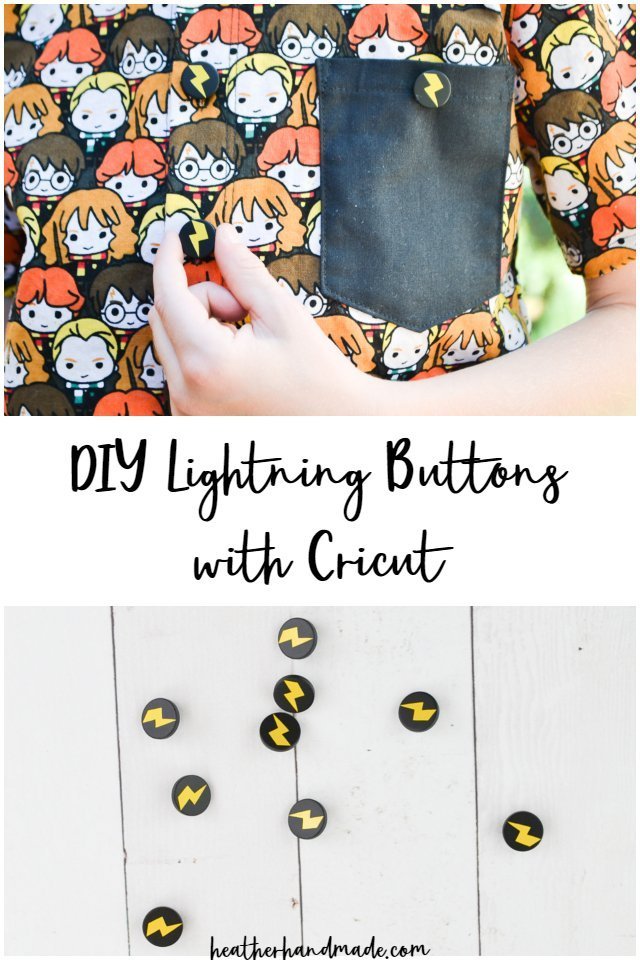
Make your own unique lightning buttons using a Cricut Maker and permanent vinyl. You can use any design to make special custom buttons.
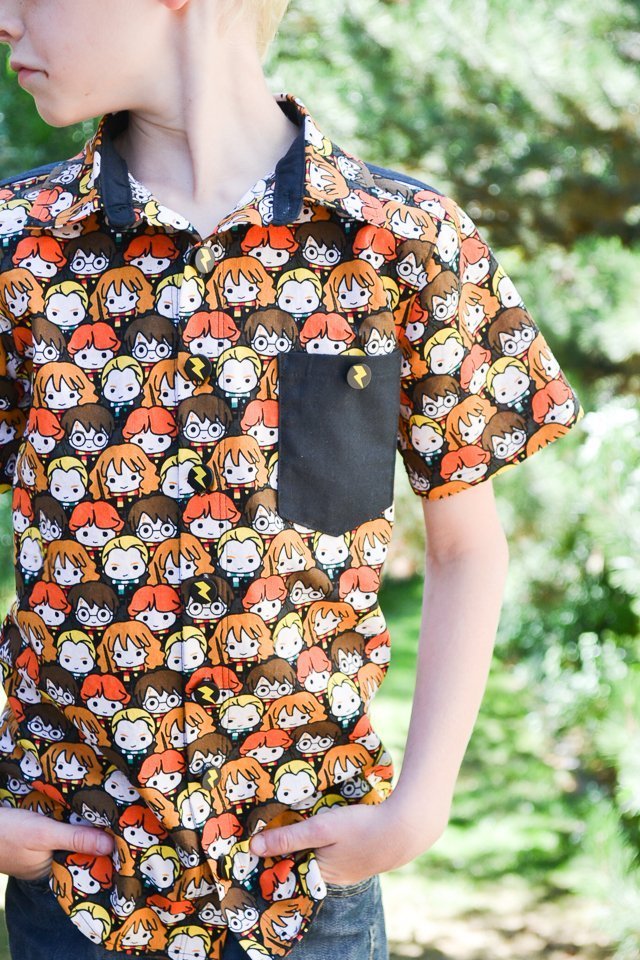
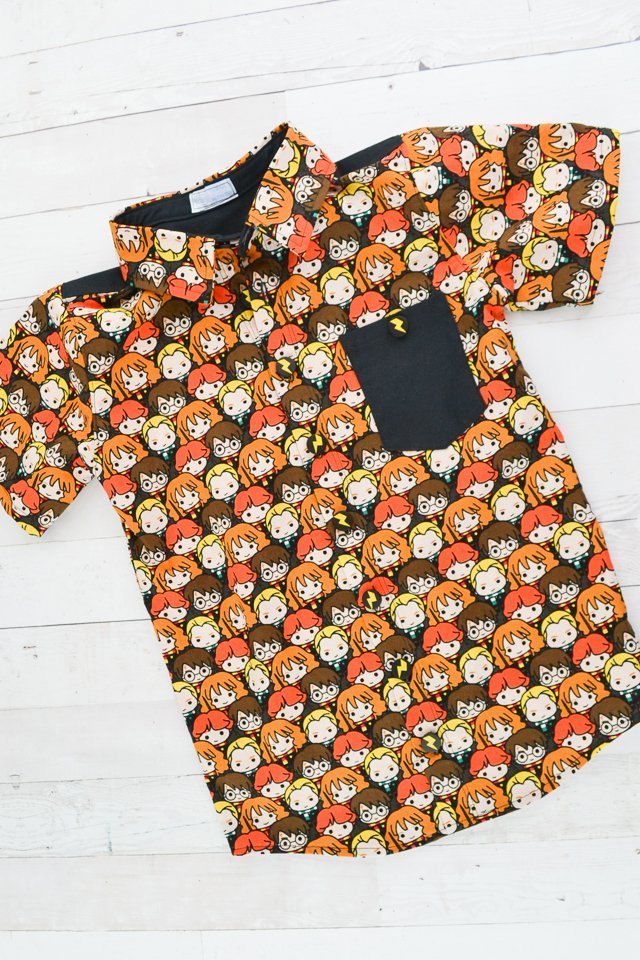
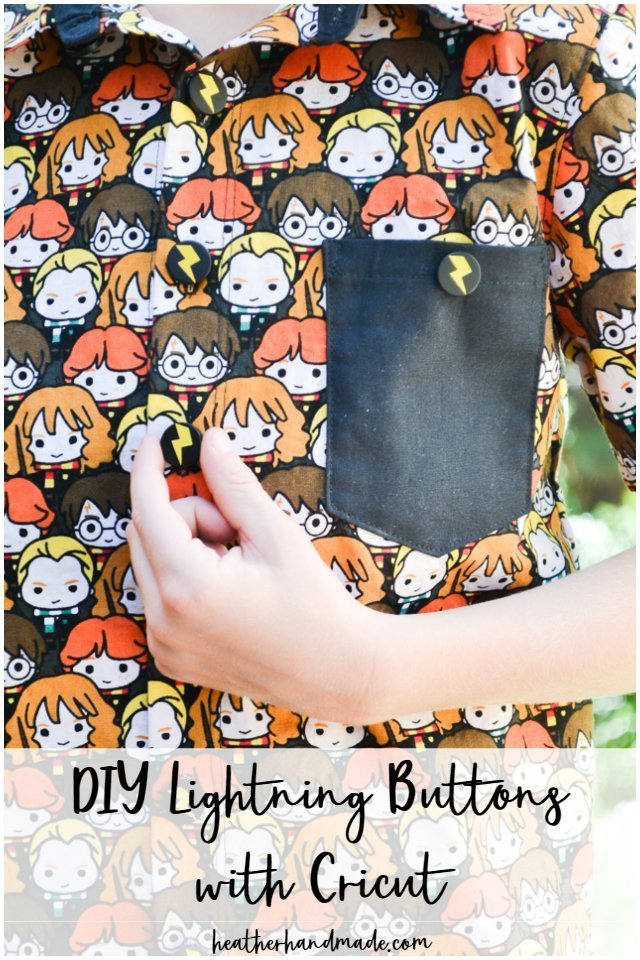
Button up shirts are one of my favorite things. It’s a Cricut Maker sewing project I love to work on because it’s just a step up from basic. Besides making a special button up shirt, you can make custom buttons that match the fabric using permanent vinyl and a Cricut Maker.
I found some really cool Harry Potter fabric at Joann Fabrics*, and I bought it to make something for my son. He loves Harry Potter right now! At first I was going to make him pajama pants, but my husband thought a button up shirt would be better. We decided it would only be worth it if it had Harry Potter buttons to go with it.
My son loves Harry Potter so much I even made him a Harry Potter cheater quilt! And he wore a DIY Harry Potter costume for Halloween! We tried to convince him to be Draco Malfoy, but Harry Potter is better. We even have a Gryffindor ornament for the Christmas tree!
I searched for Snitch buttons, Harry Potter buttons, glasses buttons, and lightning buttons, and I could only find the button pins that people make. I decided to figure out how to put permanent vinyl on buttons for the perfect lightning buttons. I thought lightning would be the most simple and recognizable against the busy fabric background.
I love being able to use fun quilting cotton for button up shirts since it’s one of the few places you can use quilting cotton and have it look right. My son loves this shirt and even wore it for the first day of school!
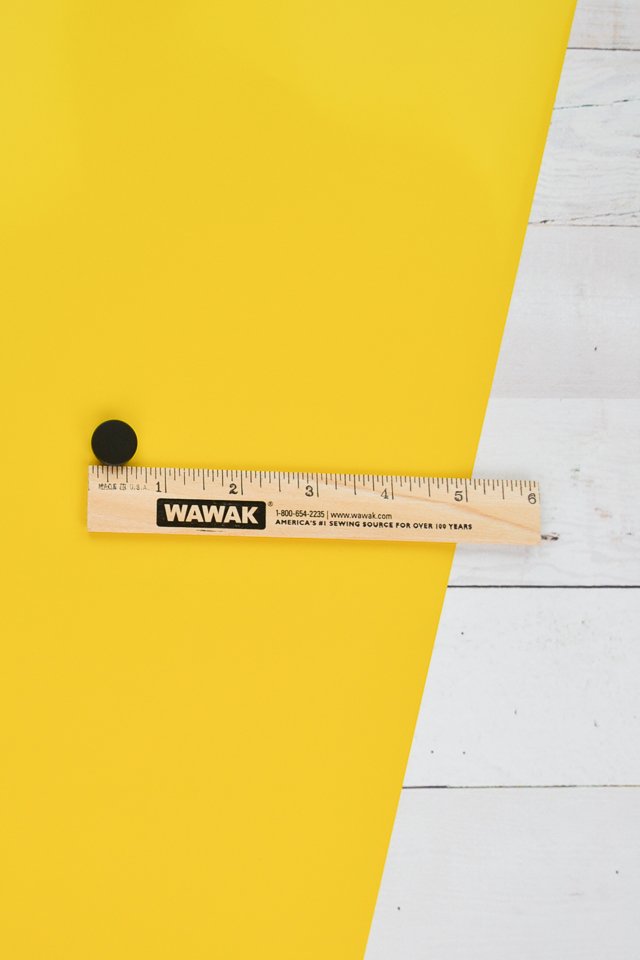
This project works best with shank buttons. Shank buttons have holes going sideways in the back so there aren’t any holes that go through the top and bottom of the button. The shank button should be mostly flat for the vinyl to be applied.
Use premium permanent vinyl since it’s waterproof and permanent. It lasts for three years and can be dishwashed (or so people say). I plan on washing the shirt like I normally wash clothes and hang drying the shirt instead of drying in a dryer.

DIY Lightning Buttons with Cricut
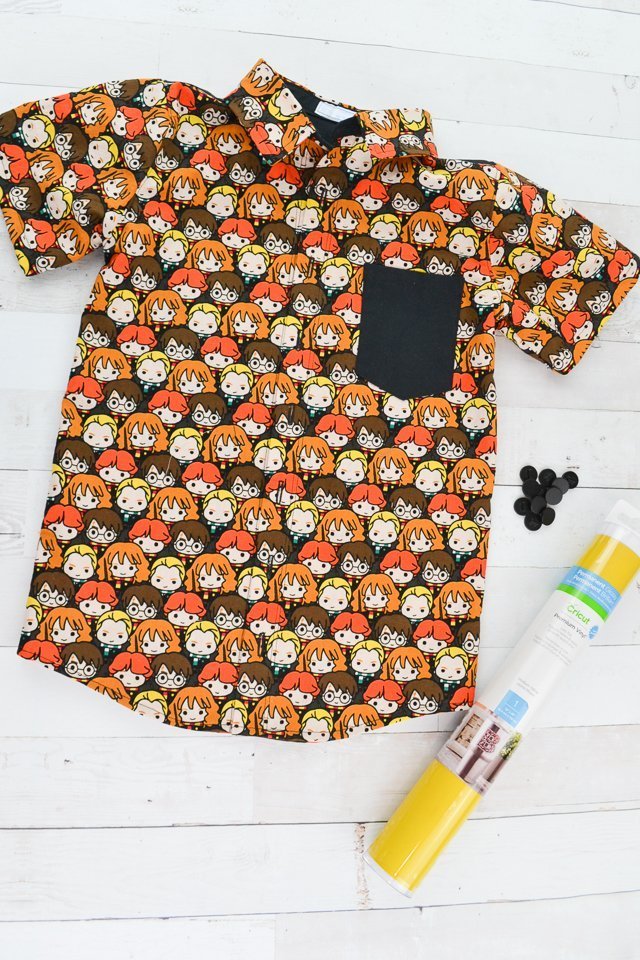
Supplies
- Button up shirt – make the shirt or just remove the buttons to add new ones
- Flat shank buttons – buy on Etsy* or Amazon*
- Medium yellow permanent premium vinyl – buy on Cricut* or Amazon*
- Clear transfer tape – Amazon*
- Lightning bolt design
- Hand needle and thread
Measure the width of the button so that you can design the right size lightning bolt.
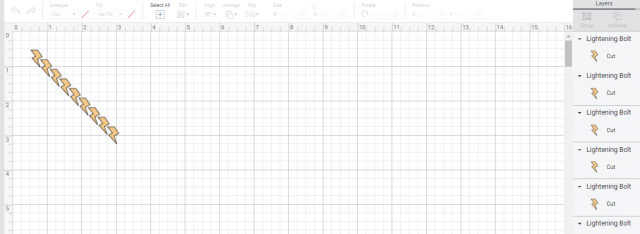
Create lightning bolts in Design Space and size them to be just smaller than your button. You can reuse my lightning bolts from my project.
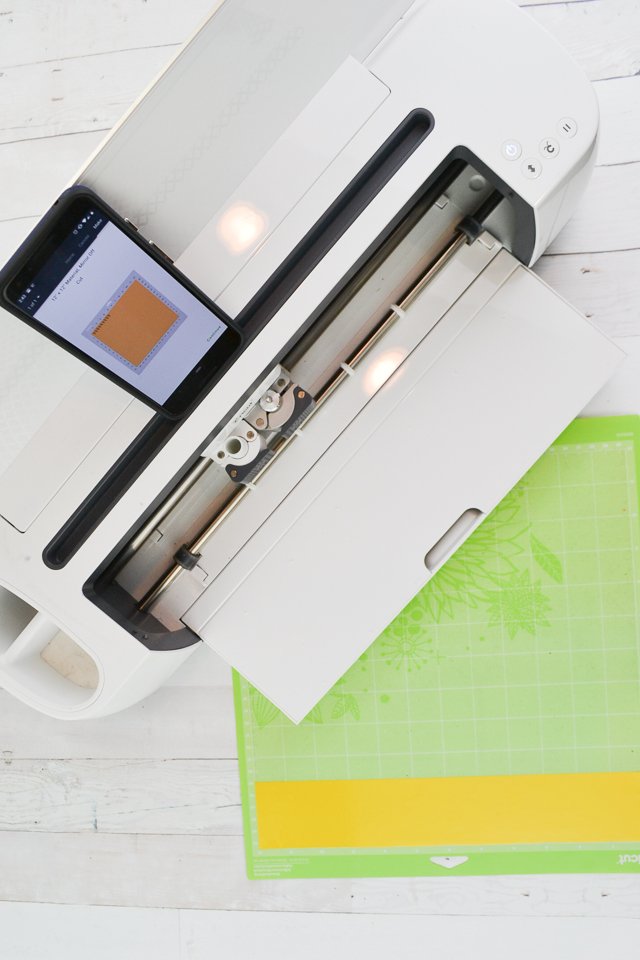
Apply your vinyl right side up on a mat and cut it out with your Cricut Maker or Cricut Explore.
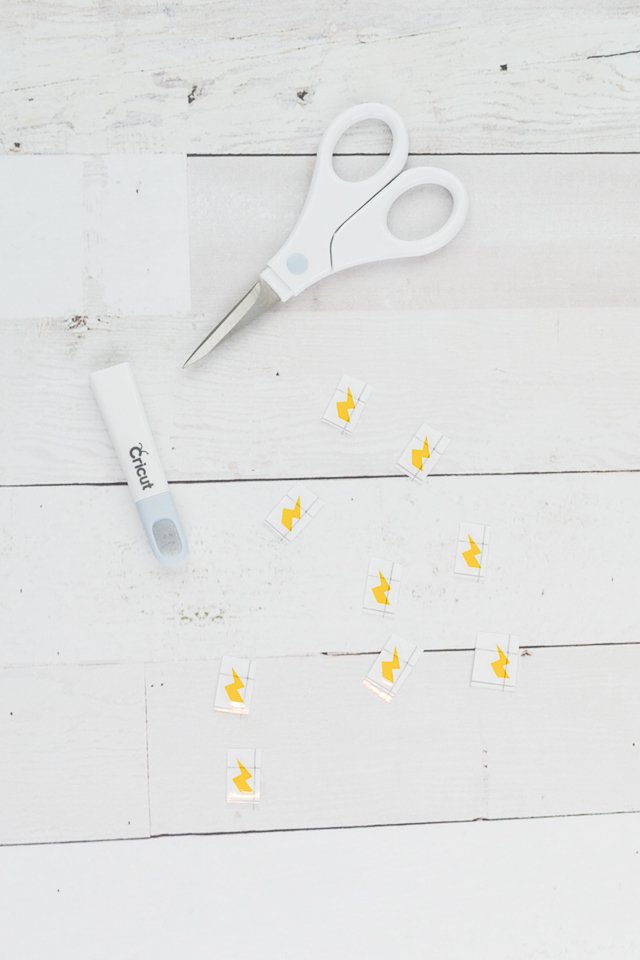
Weed the negative vinyl from your design.
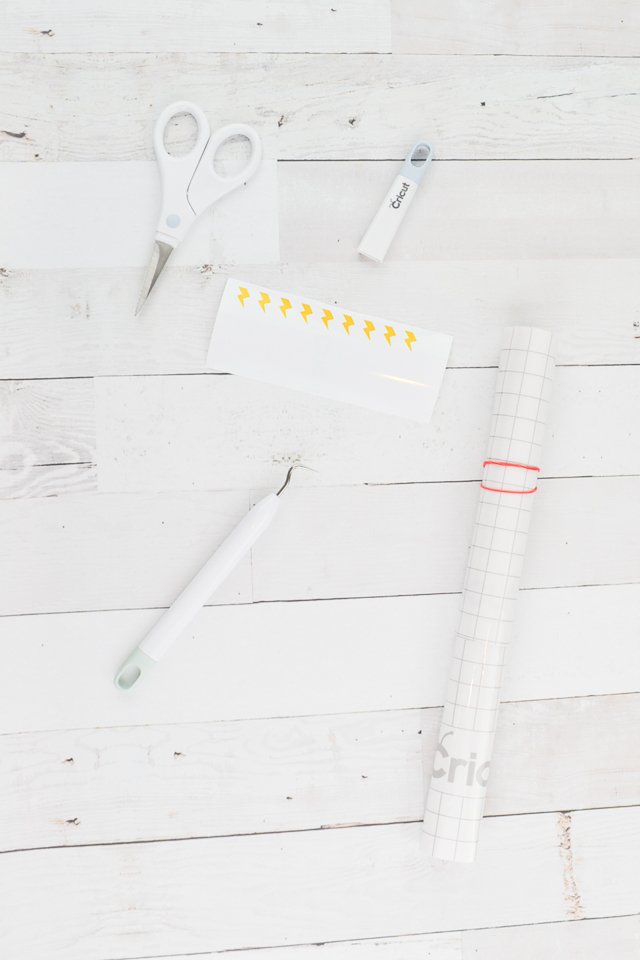
Apply clear transfer tape so that you can transfer the permanent vinyl.
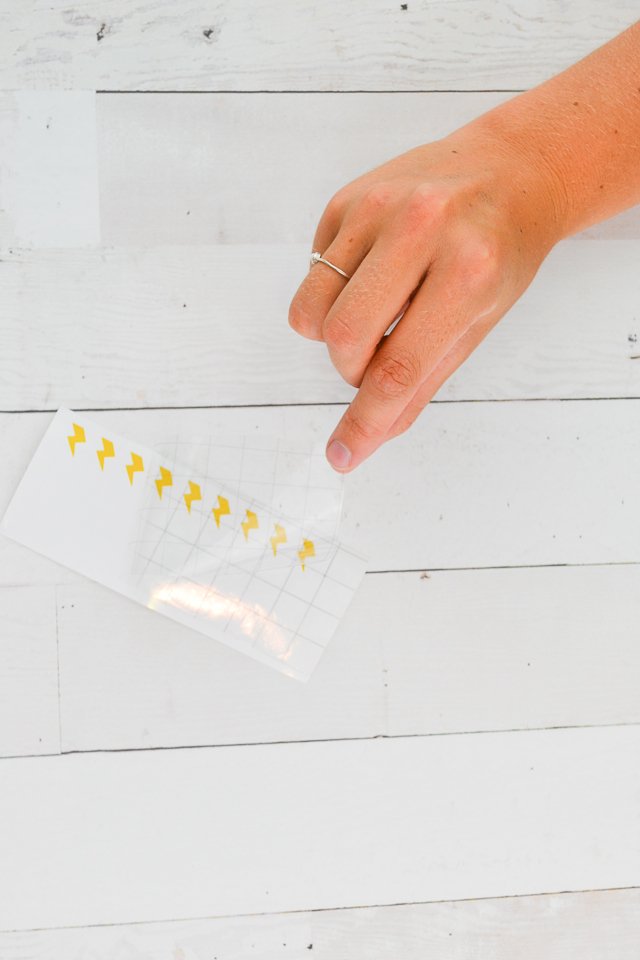
Cut to separate each vinyl lightning bolt.
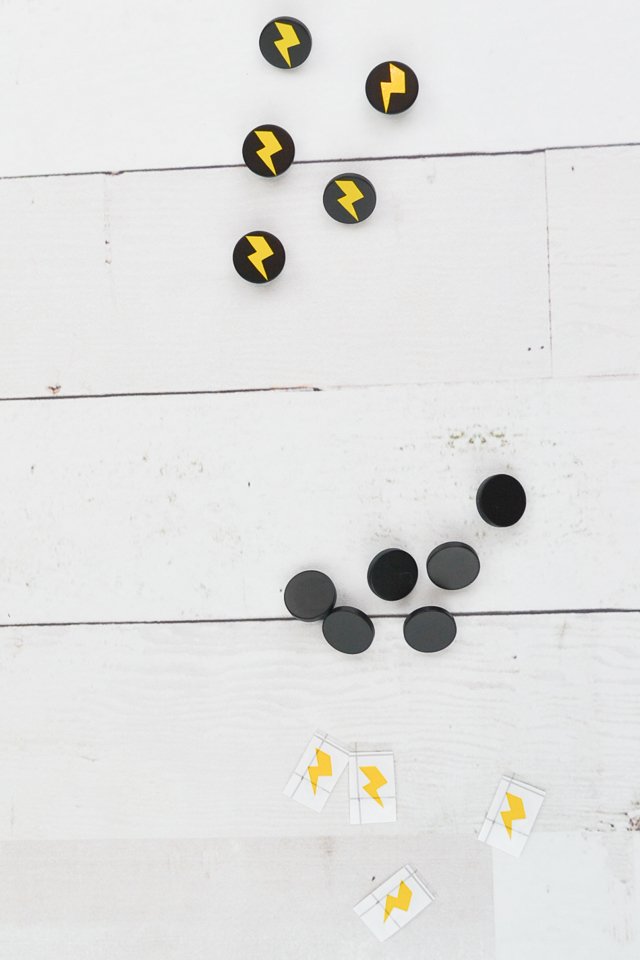
Apply the vinyl onto the button. Make sure you apply the lightning bolt right side up for how the button will be sewn on.
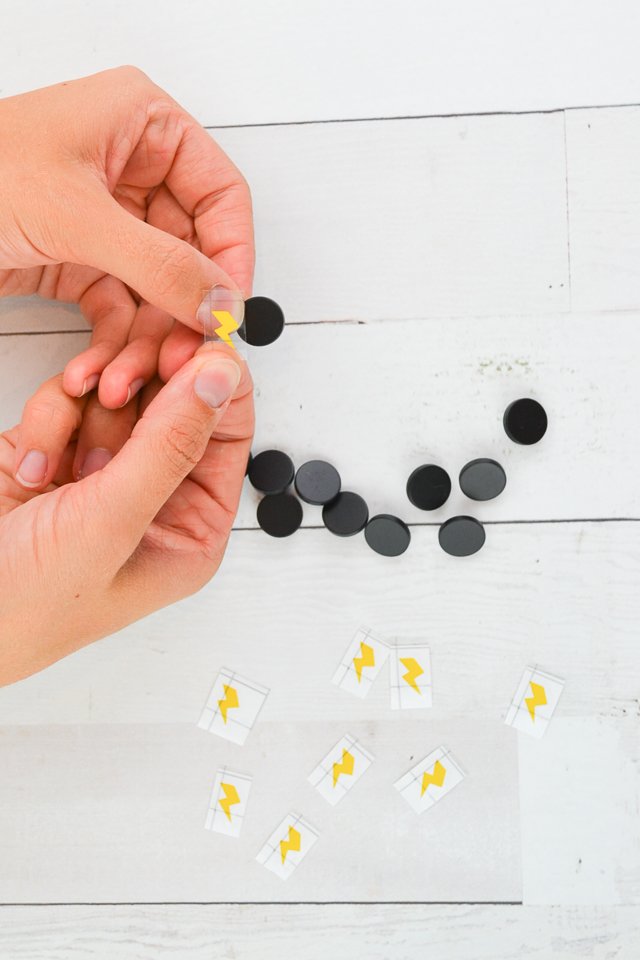
Rub the design with the edge of your fingernail or a credit card. Make sure it’s really stuck on.
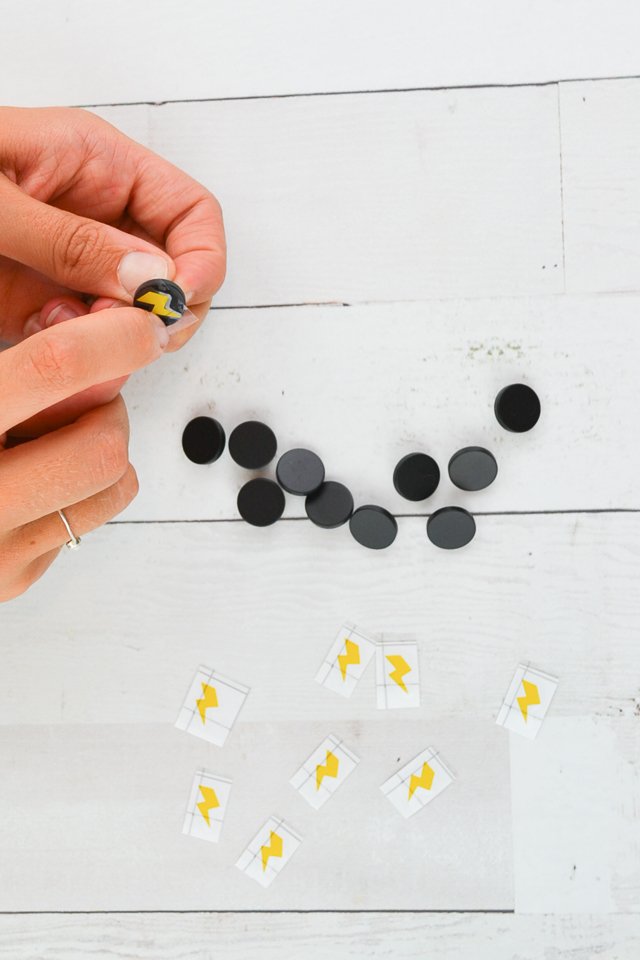
Peel the transfer tape off.
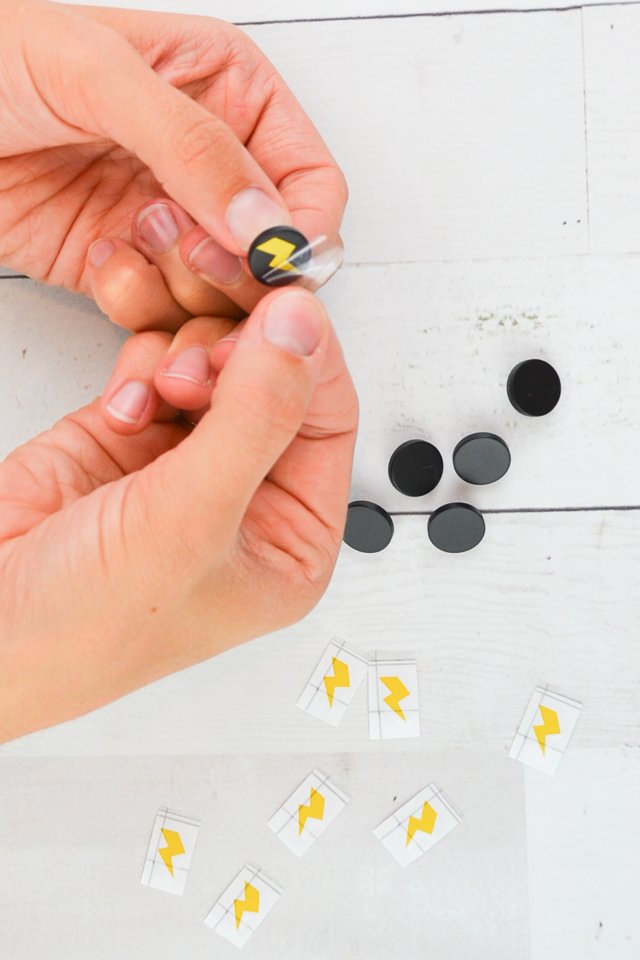
Do the same to all the other buttons.
Hand sew the buttons onto the shirt. Shank buttons cannot be sewn on with a sewing machine and must be sewn on by hand.

Enjoy your shirt with DIY lightning buttons!
If you make something using this sewing project, I’d love to see! Please share it on social media with the hashtag #heatherhandmade and tag me!

I believe small sewing moments can create great joy. Find your own “right” way to sew. -Heather
What pattern did you use for the shirt? I’ve been wanting to get a good button down pattern.
It’s the classic oxford button-up by Peekaboo patterns. https://www.peekaboopatternshop.com/classic-oxford-button-up/
That is so super cute!!!!! You are a genius! Thanks for sharing the tutorial. I have a 7 year old that loves Minecraft. Hmmmmmm. ideas are popping up in my head.
I think minecraft buttons would be so cool!