
DIY Elsa Frozen 2 Dress

This post may contain affiliate links.
Learn how to make a DIY Elsa Dress inspired by the new movie. Hack a sewing pattern for Elsa’s original snow dress from to make a stronger dressup to play with.
My daughters have been traveling to the Enchanted Forest ever since we saw Disney’s Frozen 2 movie. They talk about Gale, the fire salamander, the rock giants, and the water Nokk. It’s so fun to see them play and imagine.
I made a DIY Elsa dress that Elsa wears to travel to the Enchanted Forest for my daughter. It pairs well with the Elsa jacket that she also travels with. I also made Anna’s dress and cloak. It was so fun to make these separate dressups for my daughters that they can enjoy!
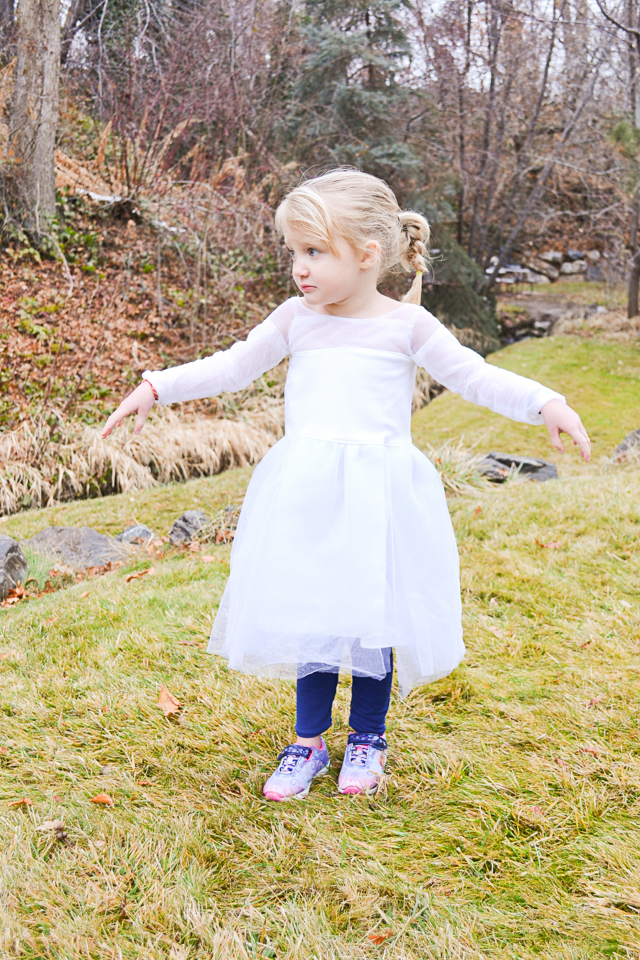
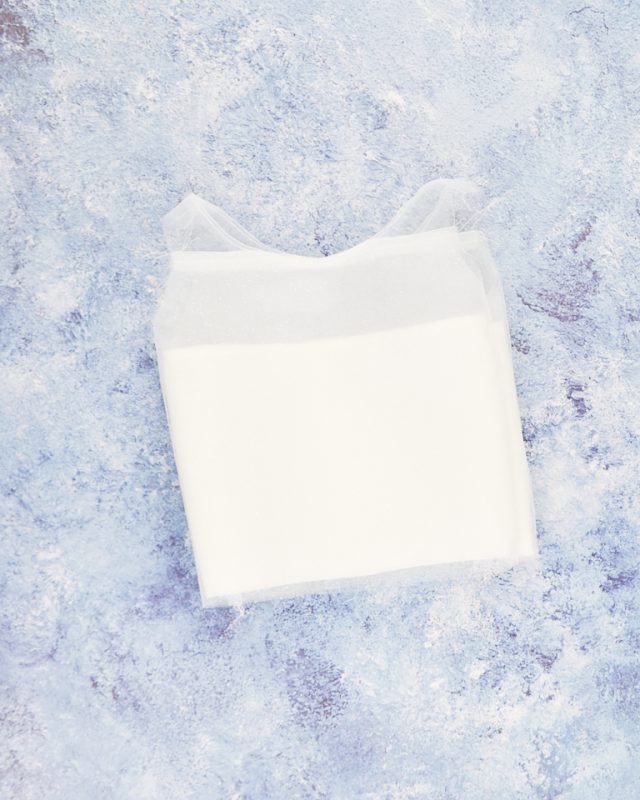
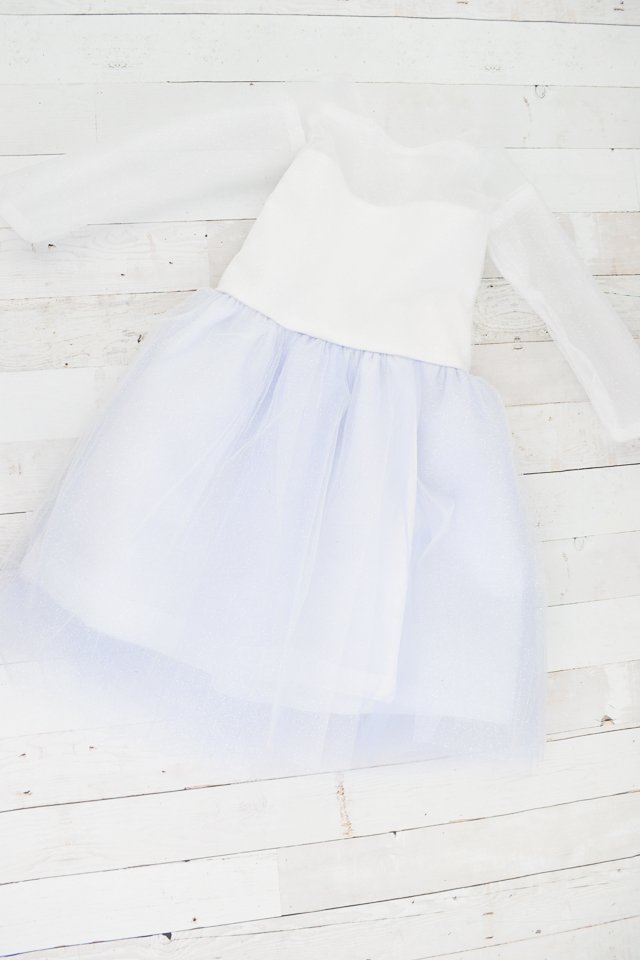
The amazing thing about the dress Elsa wears to travel in is the fading of the glitter up the dress. The skirt is blue and white, the bodice is white glitter and then it fades away into an illusion neckline.
There are lots of ways to achieve the illusion neckline, but I was aiming for strength over accuracy. My daughter is going to put this dress on and take it off over and over again. It’s going to get played with and dirty, and it needs to hold up to being washed again and again. I chose fabric and a style that will be stronger than other fabric.
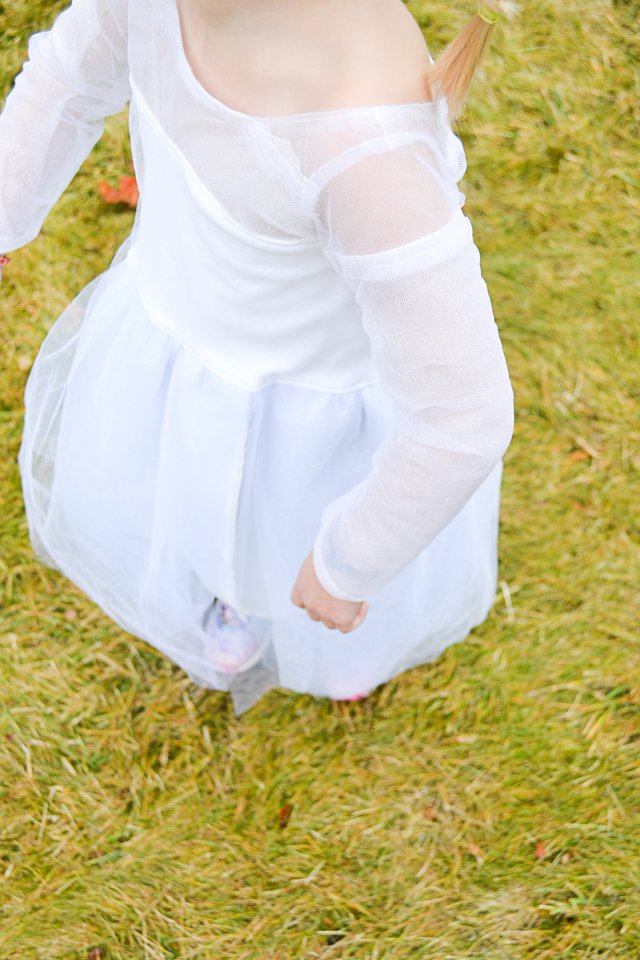
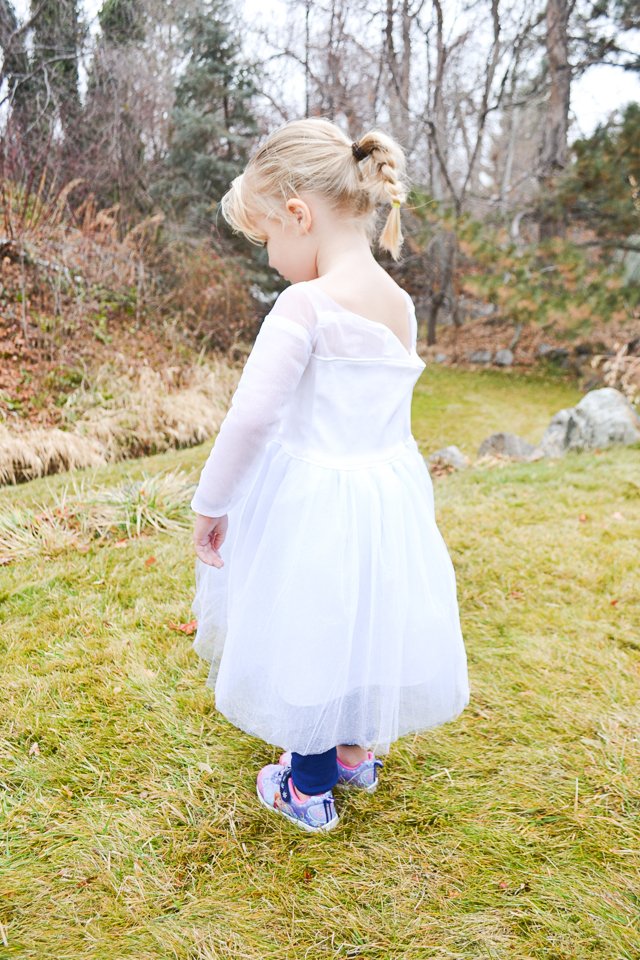
The dress actually has a v-neck back that I didn’t add until after I finished the tutorial. I just cut it in the center and sewed the flaps open.
If you are looking for any easier DIY Elsa dress don’t miss this t-shirt dress version!
My daughter has been wearing it and shooting ice out everywhere. It’s so fun to to make costumes for kids to play with and kids to wear for Halloween.
DIY Elsa Dress
supplies
- Ice Queen dress up pattern* – this one claims to be for wovens and knits, but it only works for knits
- Other Elsa dress sewing patterns to try: Everyday princess dress pattern, Once upon a dress pattern*, and snow sister princess pattern*
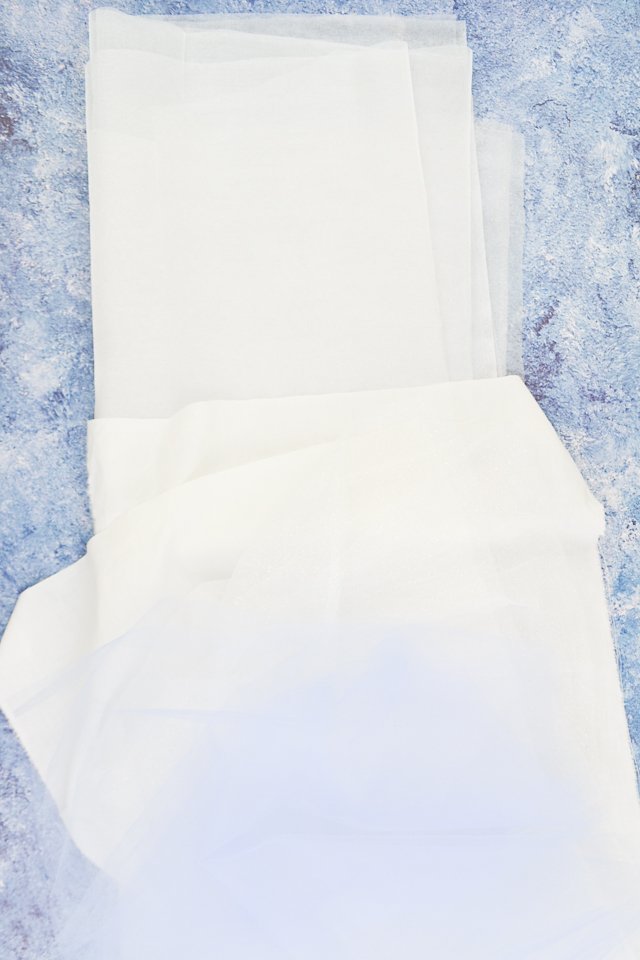
- White Glitter tulle*
- Light blue tulle*
- Shimmer transparent organza*
- White quilting cotton – for lining
- Sewing tools
- Sewing machine
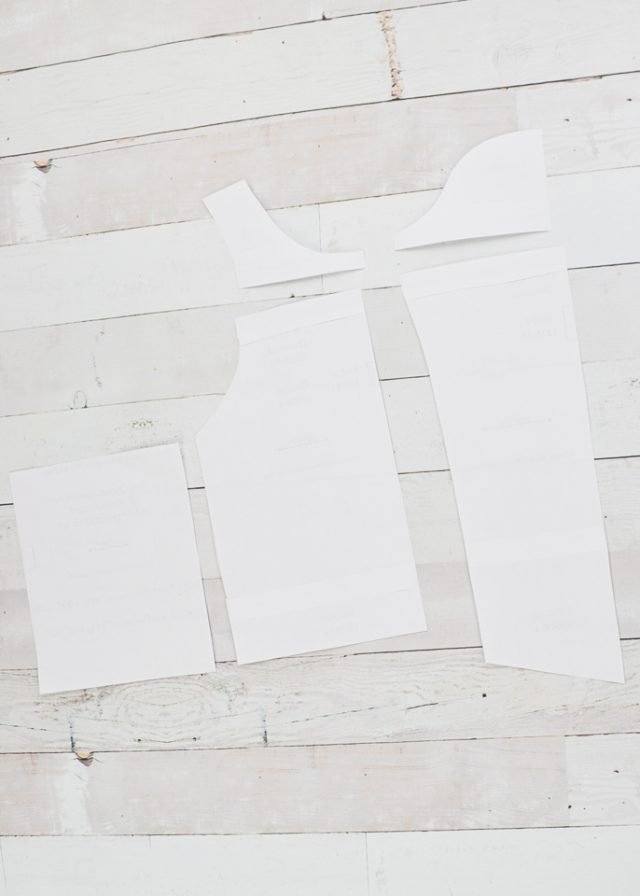
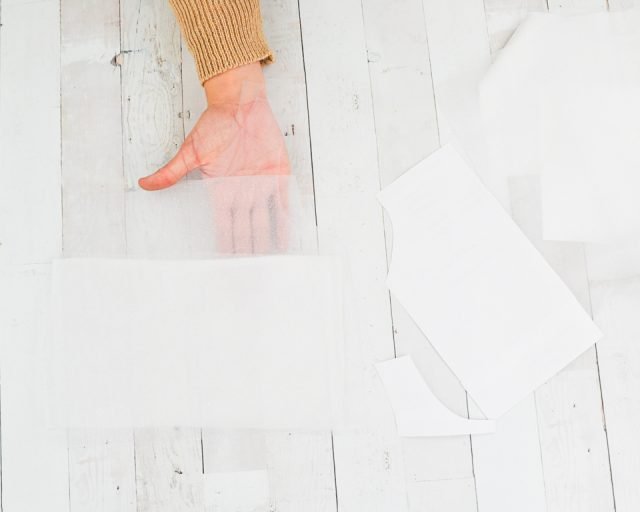
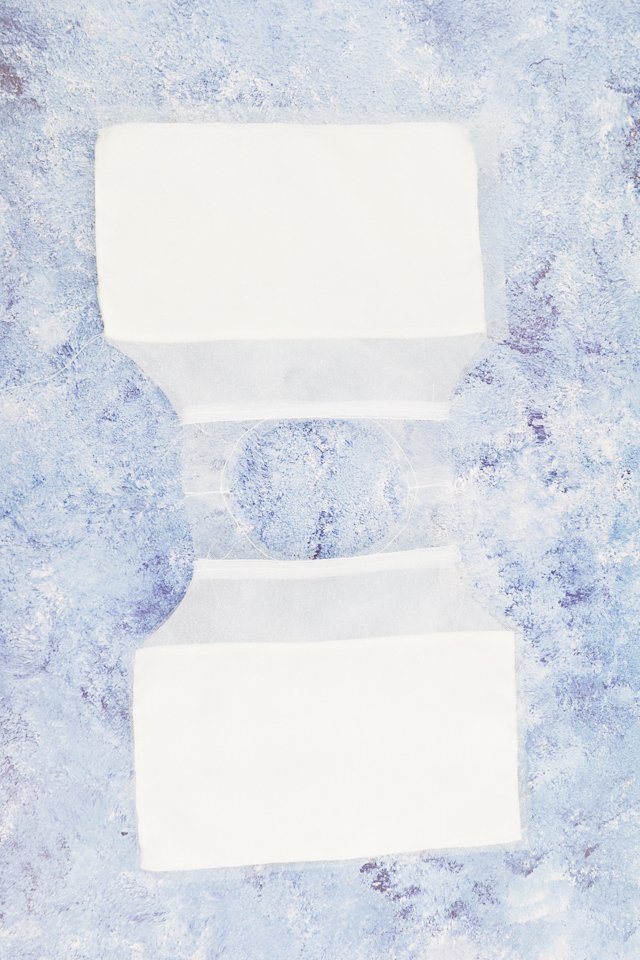
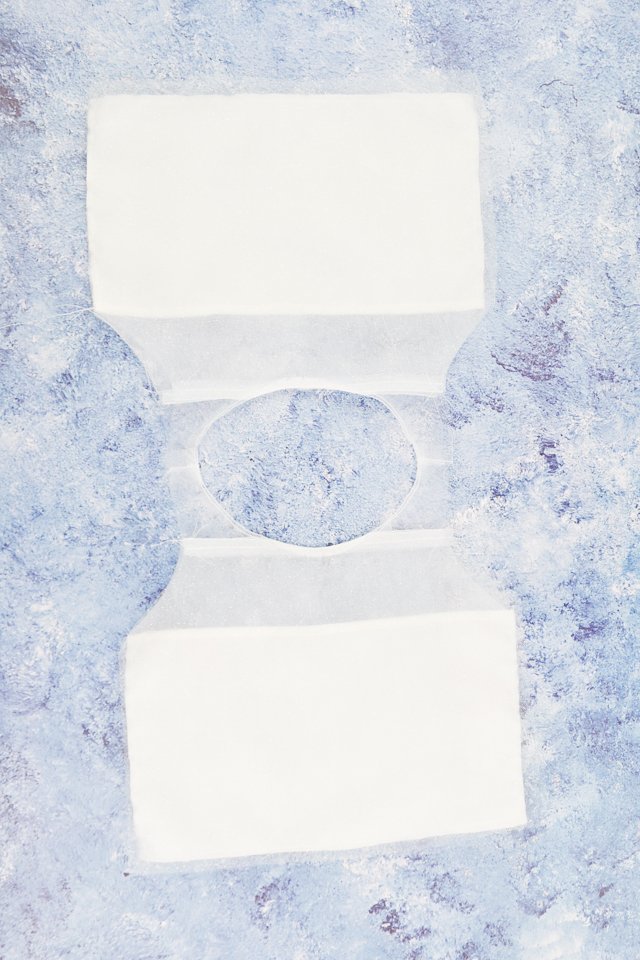
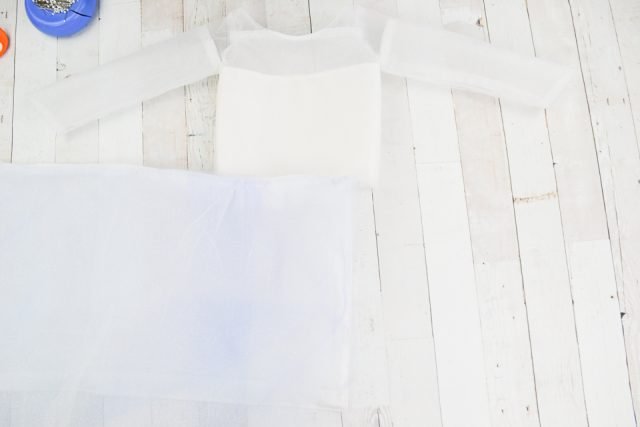
Cut through the top of the bodice and the top of sleeve. Add 1/2 inch seam allowance on each edge. If the middle of the bodice has any curves along the top, then cut it straight.
Cut two pieces of tulle for each of the three bodice pieces. Cut two pieces of organza for the lower bodice pieces. Cut two pieces of quilting cotton for the bottom bodice piece.
Cut two pieces of tulle for each sleeve piece. Cut two pieces of organza for each lower sleeve piece.
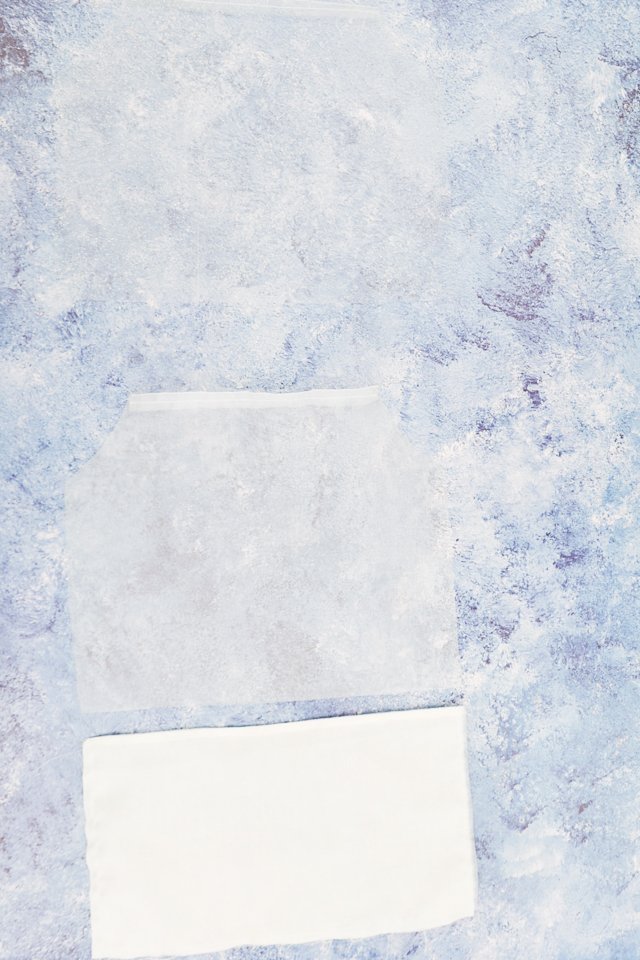
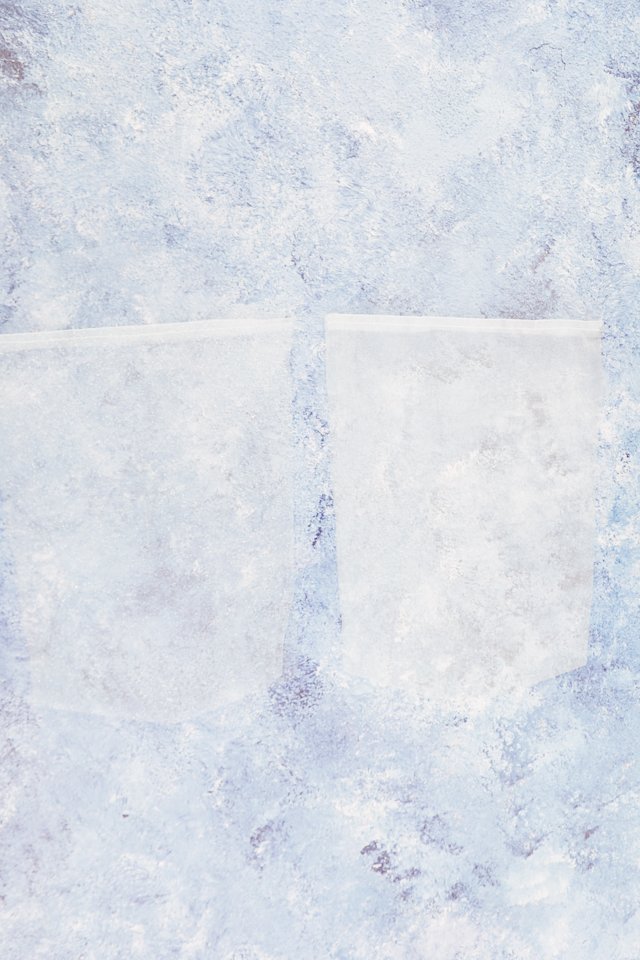
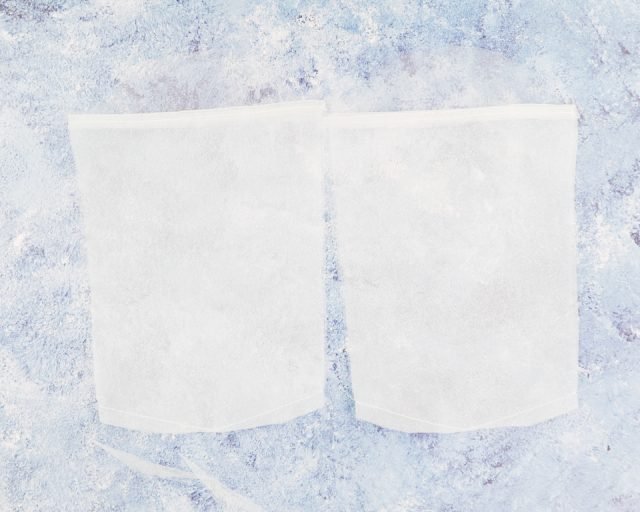
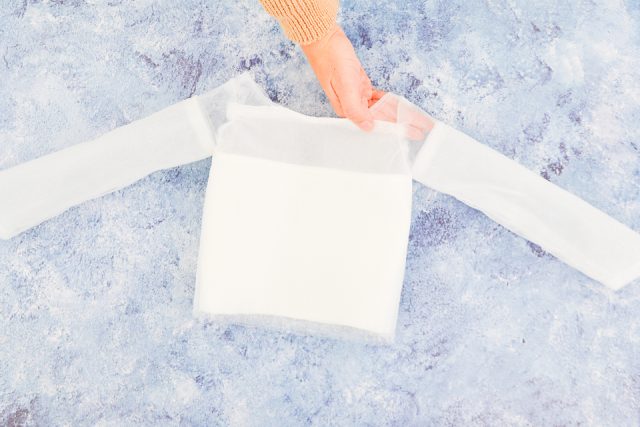
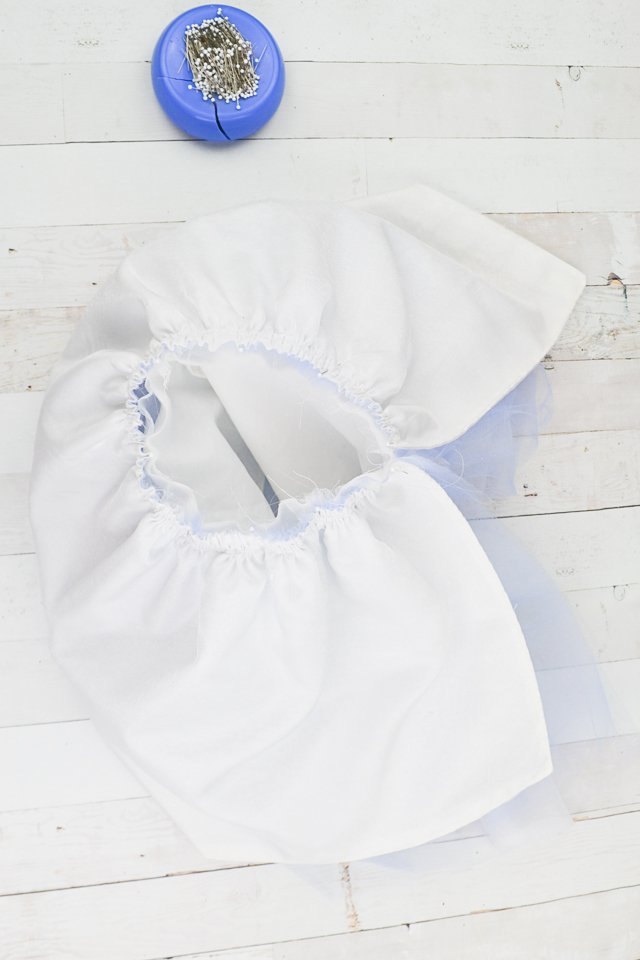
Assemble each bodice front and back. The tulle will be sewn to the organza which will then be sewn to the quilting cotton. You will have four bodices, two front and two back.
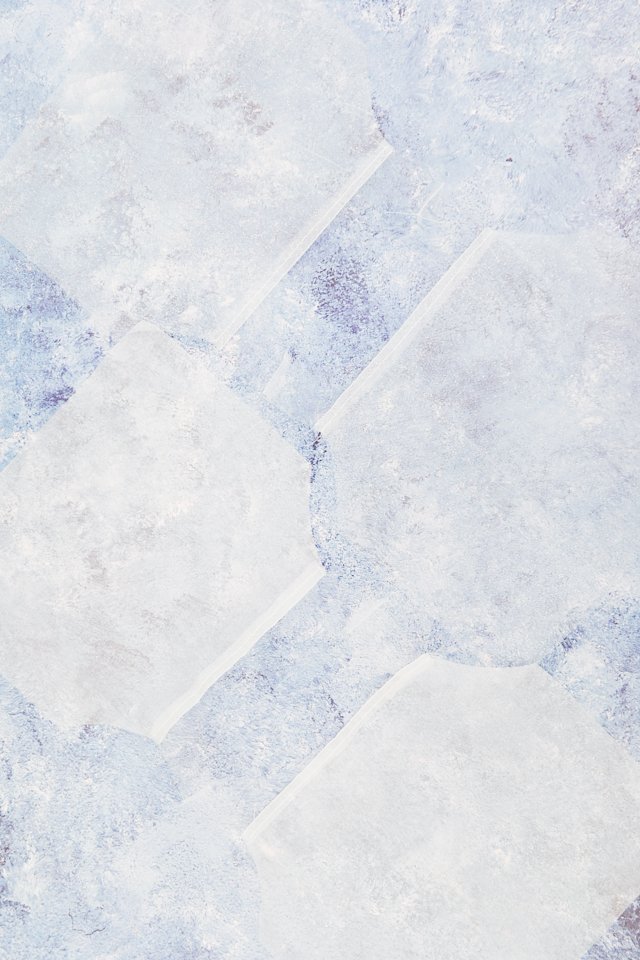
With right sides together sew the shoulder sleeves together of the front to the back. You will now have two separate bodices.
With right sides together lay the bodices on top of each other and match up the neckline. Sew the neckline with a 1/2 inch seam allowance and clip the curves.
Turn the bodice right side out and topstitch or understitch the neckline.
Assemble the sleeves by sewing the seam you created. You should have four sleeve pieces.
With right sides together sew the hem of the sleeve combining the four sleeves into two sleeves.
Trim the point.
With right sides together match up the sleeve seam and sew. Since the hem is pointed it makes the sleeve seam meet at an angle. Just stop and pivot at the hem.

Turn the sleeve right side out with the lining inside.

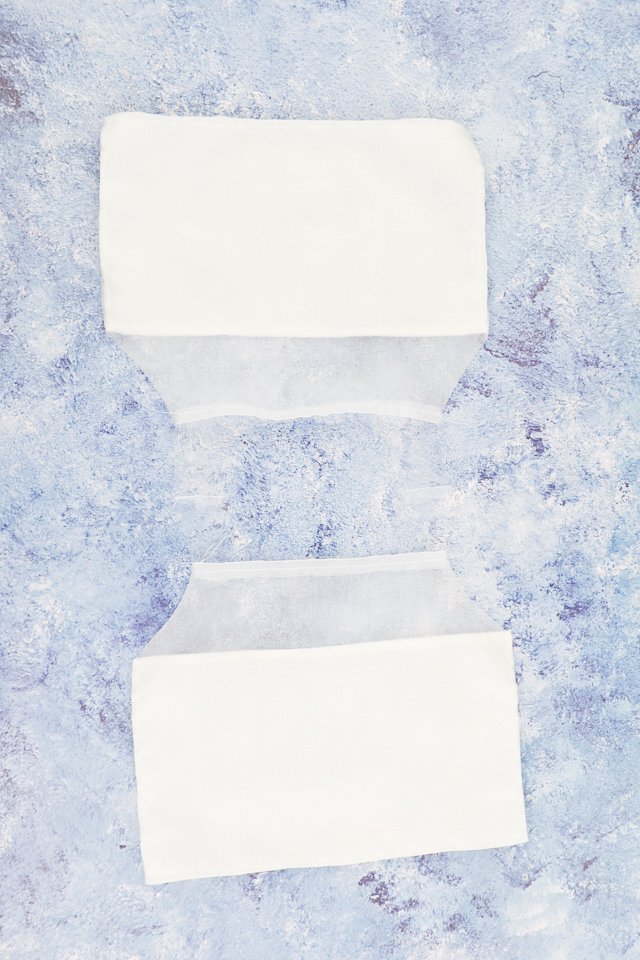
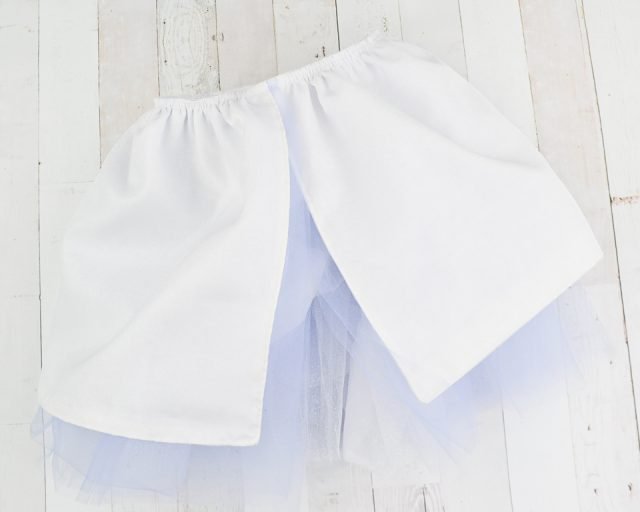
With right sides together sew the side seams of the bodice. Finish the edges.
Sew the sleeves onto the bodice.
Gather your tulle, organza, and quilting cotton for the skirt. I did two layers of glitter tulle, three layers of light blue tulle, one layer of organza, and one layer of quilting cotton.
Finish three sides (two short and one long) of the oranza and quilting cotton before the next step.
Place all the skirt layers on top of each other lining up one long unfinished edge. Pin the layers together.
Sew two to three rows of basting stitches along the top unfinished edge.
Pin the skirt to the bodice, but pin the two short ends (that are finished) in the front just off to the side. This will create the slit in the skirt.
Gather the skirt until it fits the bodice. Pin it in place.
Sew the seam and finish the edges.
Turn the dress right side out and you finished!
If you make a DIY Elsa Dress using this tutorial, I’d love to see! Please share it on social media with the hashtag #heatherhandmade and tag me!

I believe small sewing moments can create great joy. Find your own “right” way to sew. -Heather