DIY Anna Frozen 2 Cloak

This post may contain affiliate links.
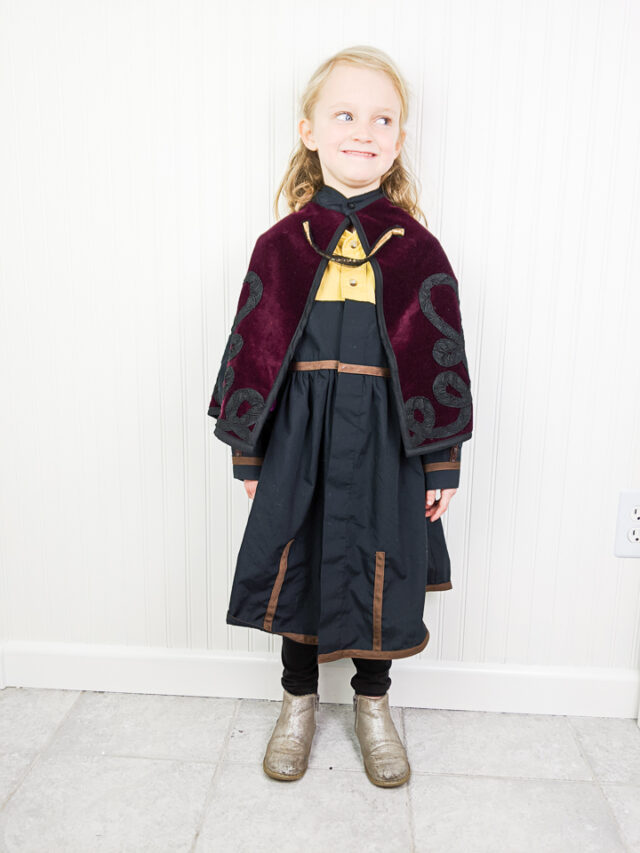
Make a DIY Anna cloak that she wears as she travels into the Enchanted Forest. This is an upcycle so it’s easier and cheaper!
When I saw Anna’s travel cloak in Disney’s Frozen 2, I just kept thinking how easy it would be to make from a skirt. It’s essentially a skirt in a bunch of different colors with armholes.
When I was at the thrift store, there were two perfect skirts in the exact colors and textures that I wanted. I was so excited to make this DIY Anna cloak, and it might be one of my favorite upcycles ever!
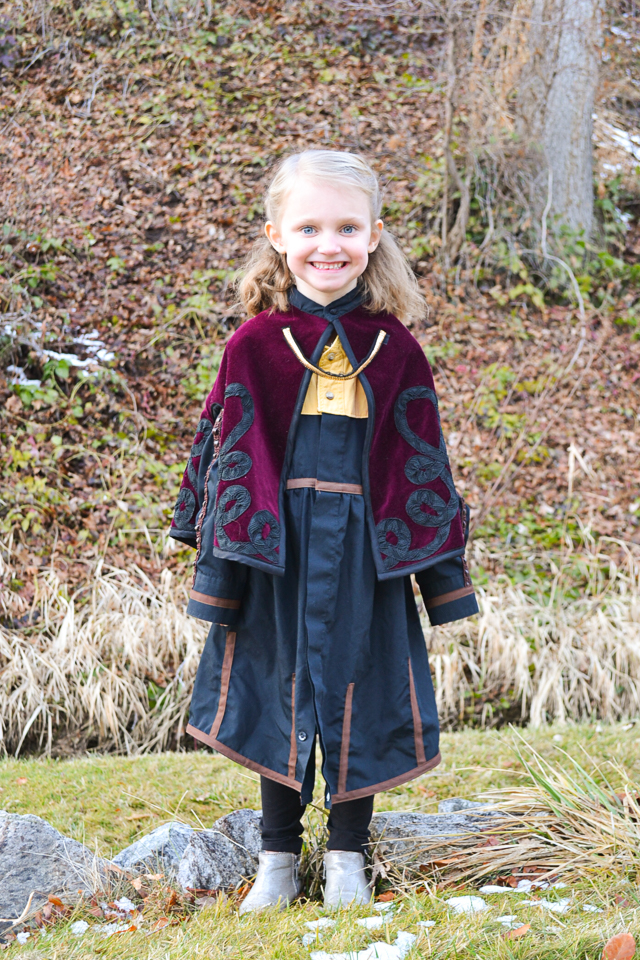
I’m excitedly watching my daughters play with all the dress ups I’ve made them over the last month like the Elsa dress and jacket and the Anna dress. It’s nice to have four different pieces for them to mix and match and play with.
If you are looking for any easier DIY Elsa dress don’t miss this t-shirt dress version!
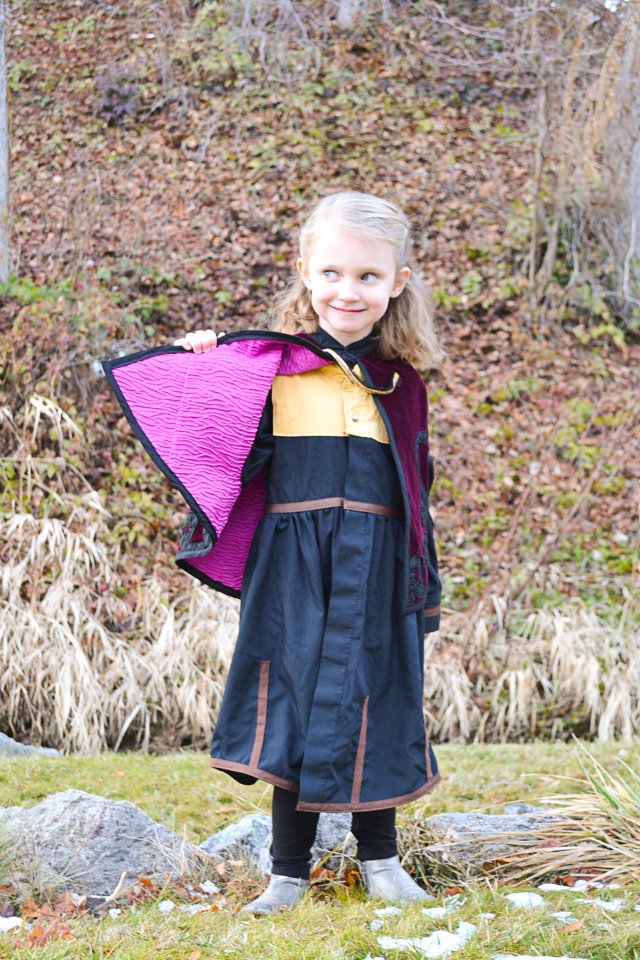
I love the pop of magenta inside the cloak. It’s just a little pop of fun. I also really like the look of the gold chain on the front. It was a simple addition, but it really pulls the look together.
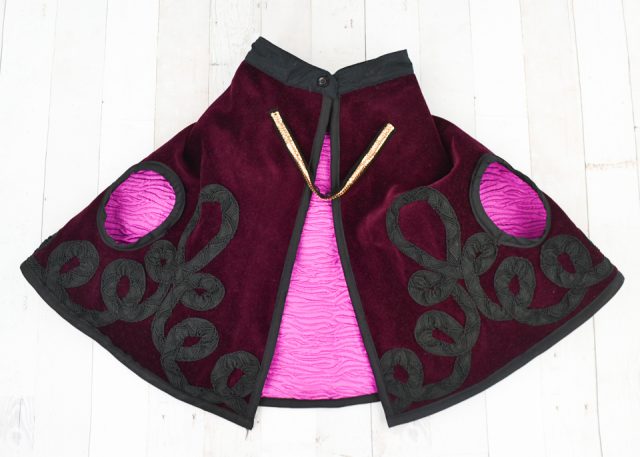
The velvet skirt with black details was such a great find. The color isn’t too accurate, but it’s velvet so it looks like the wool texture of the movie, and the black details were so perfect. I didn’t add any extra black details since the skirt already had it, but I show you how to add some of your own.
DIY Anna Cloak
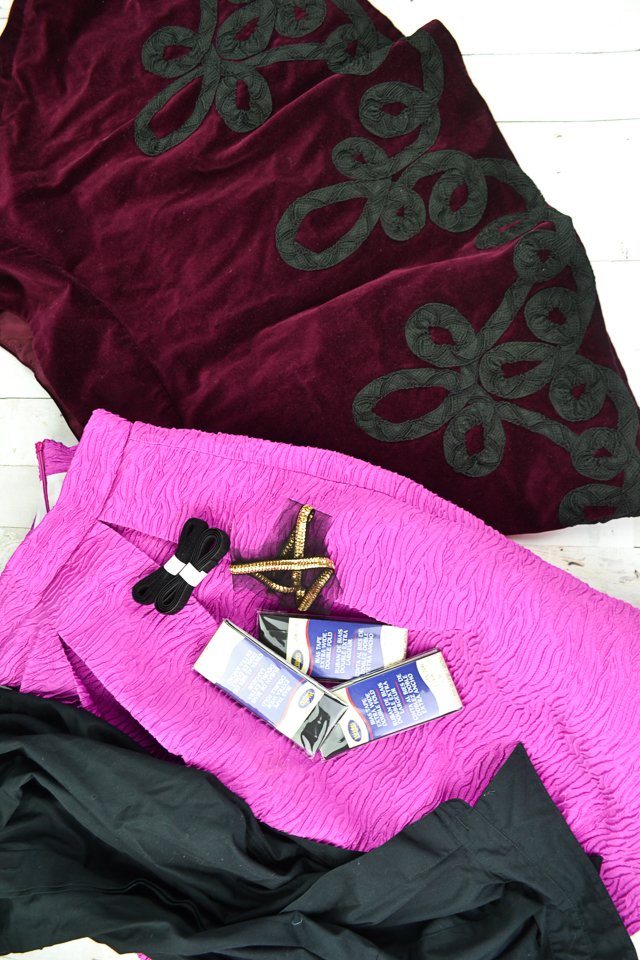
supplies
- Purple skirt, circle or half circle skirt preferred – thrifted
- Magenta skirt – thrifted
- Gold chain on netting – 12 inch or less (I found it an Joann Fabrics but couldn’t find it online)
- Black button up shirt collar stand (the rest of the shirt was use for Anna’s dress)
- Black 1/2 inch double fold bias tape* (Learn how to make and use bias tape.)
- Sewing tools
- Sewing machine
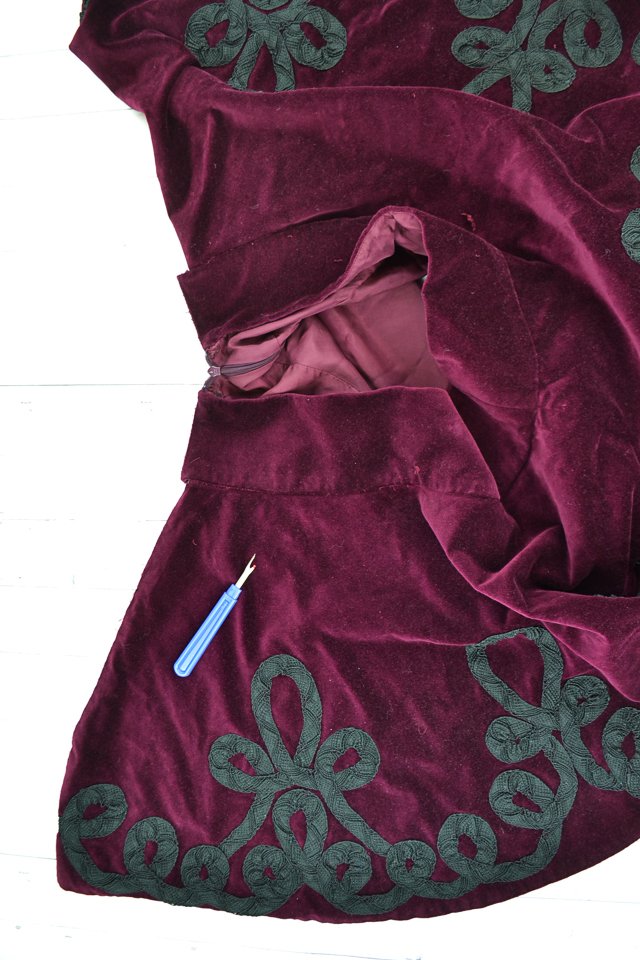
Deconstruct the purple skirt until there’s only the fabric from the skirt part left.
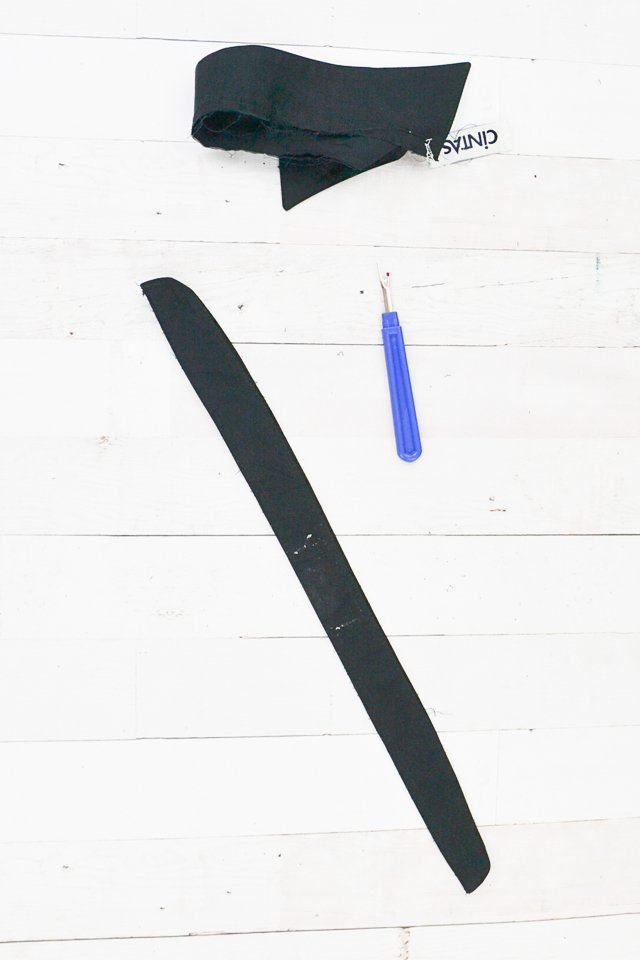
Removed the collar and collar stand from the black button up shirt. Remove at tags and the collar so you only have the collar stand left.
Leave the button on!
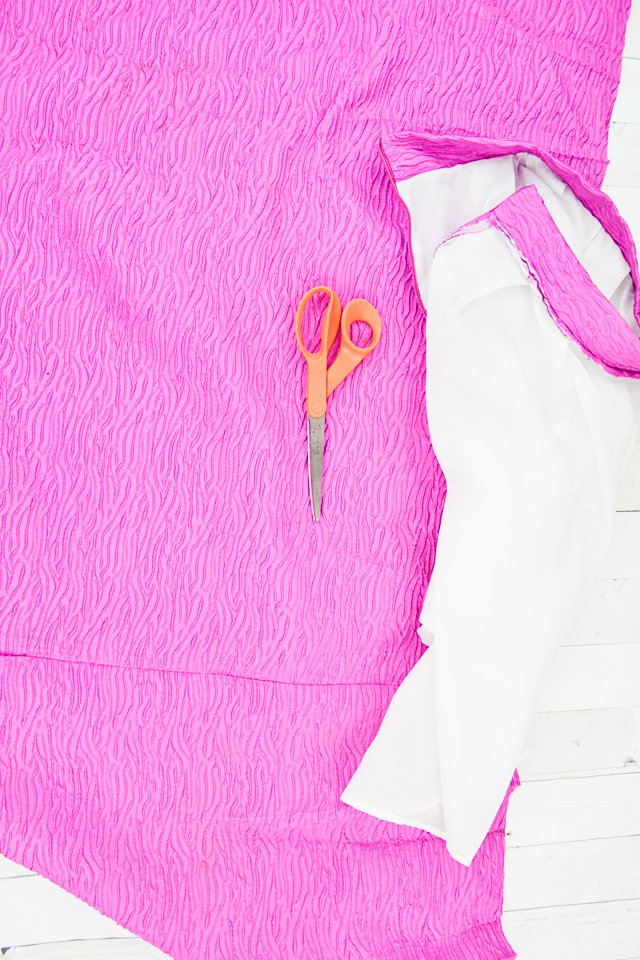
Deconstruct the magenta skirt until the skirt portion is all that is left.
Place the collar stand along the top of the purple skirt. If there’s a big size discrepancy than cut the purple skirt smaller.

Cut the magenta skirt to be the same size and shape as the purple skirt.
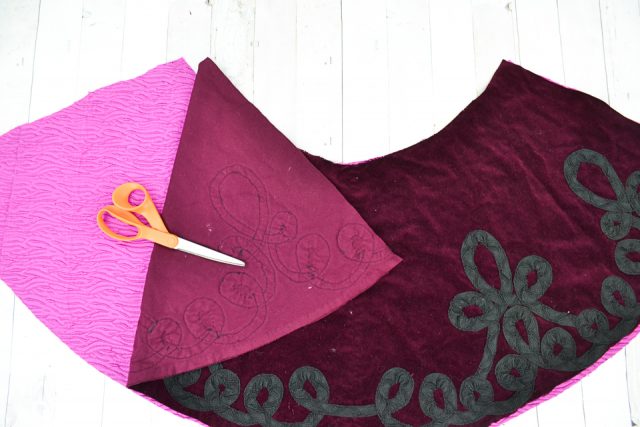
Lay the skirts wrong sides together and baste the edges together. Treat it as one piece of fabric now.
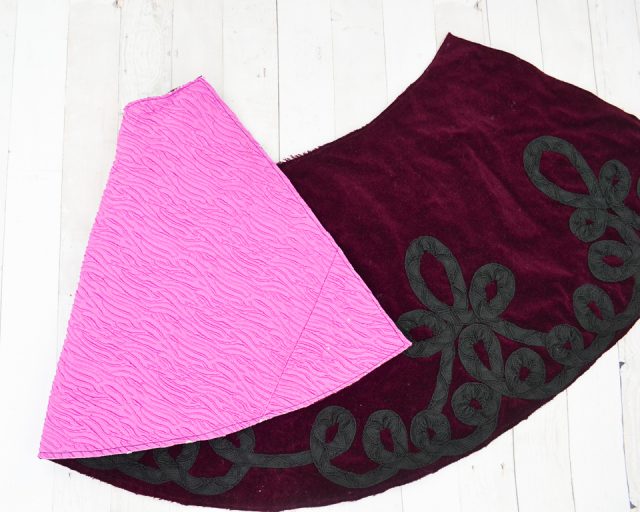
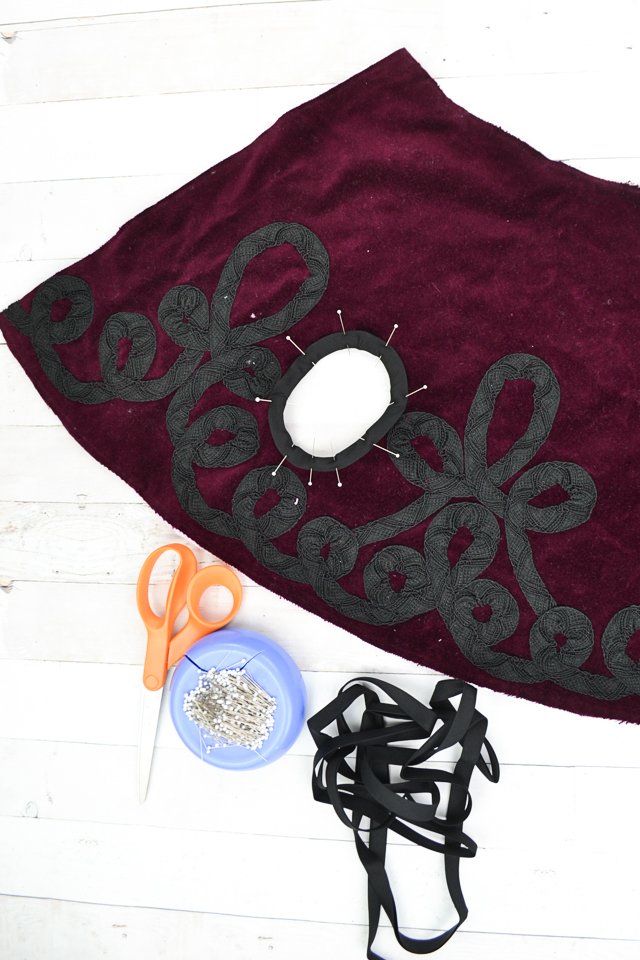
On each side near the front draw an oval big enough for an arm to fit through. Pin the layers together.
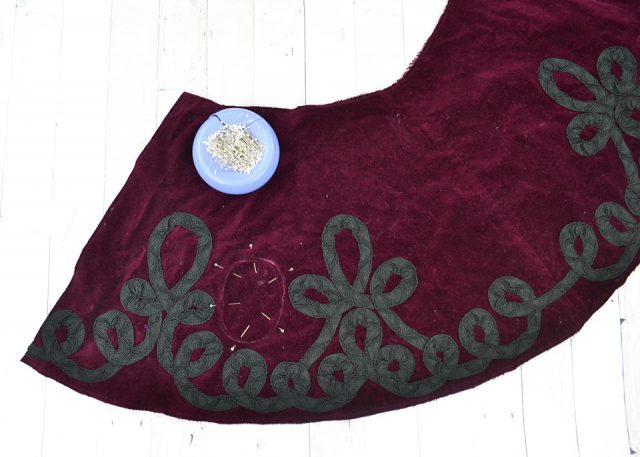
Baste the oval where you drew it, and cut out the inside 1/8 inch from the stitching line.
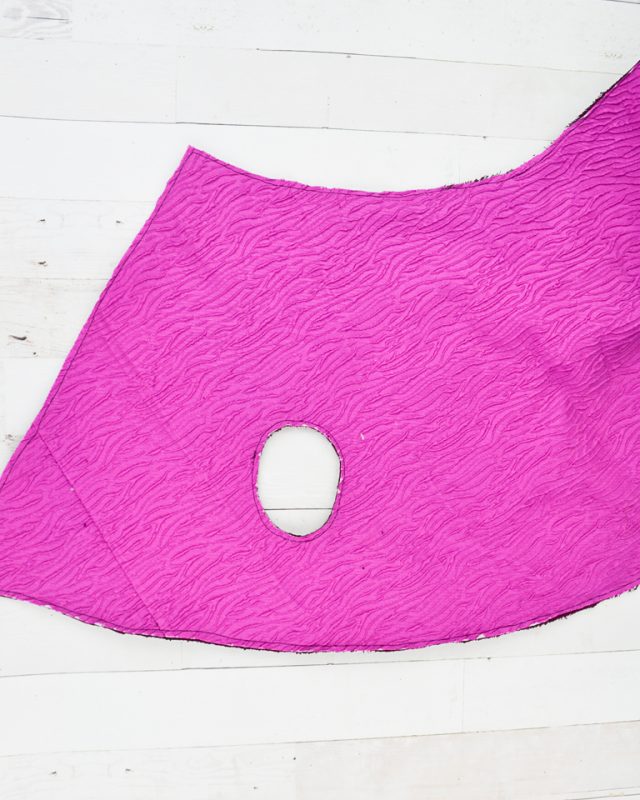
Pin the bias tape onto the oval enclosing the raw edge inside. Pin carefully and close together. Press the bias tape before sewing to help the curves stay in place.
Sew the bias tape onto the oval. Do the same to the other side.
Finish the center front opening with the bias tape.
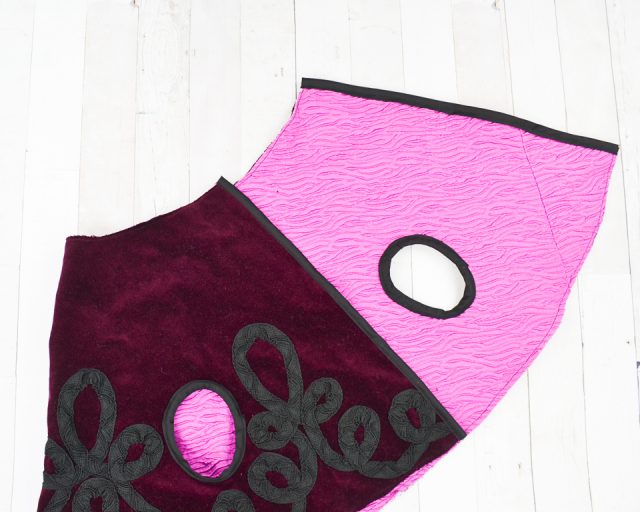
Finish the hem with the bias tape.
My skirt happened to have black details on the skirt that added to the look of the cloak. You can get the same look by sewing the bias tape on in any design that you like.

Sew the top of the collar stand closed.
Pin the bottom of the collar stand onto the neckline of the cloak. Pin carefully to keep it in place. Sew it on and make sure the button and buttonhole are still functional.
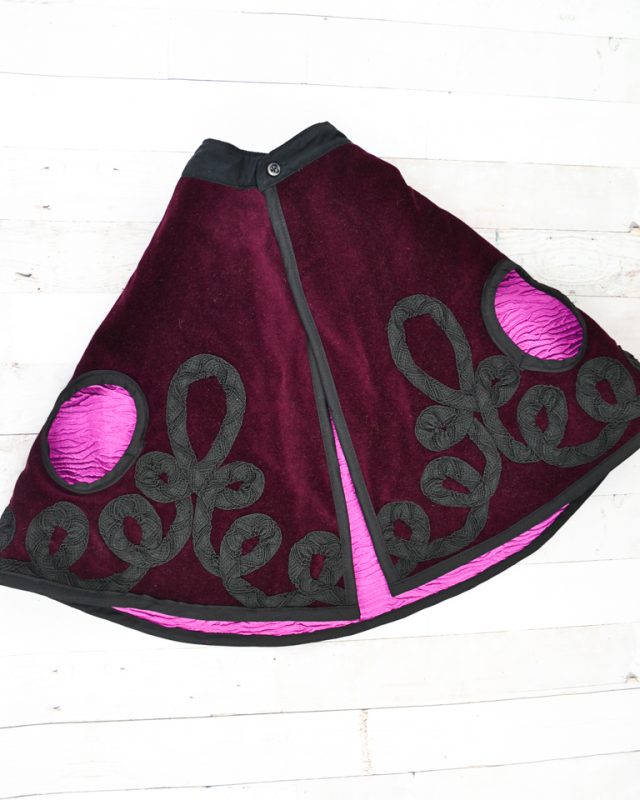
I had to add a pleat to the center back to make the collar stand fit.

I used gold chain that was kind of encased in a tulle tube. I tacked the raw edges of the tulle to the back and tacked the chain in place, so it would slide out of one side.
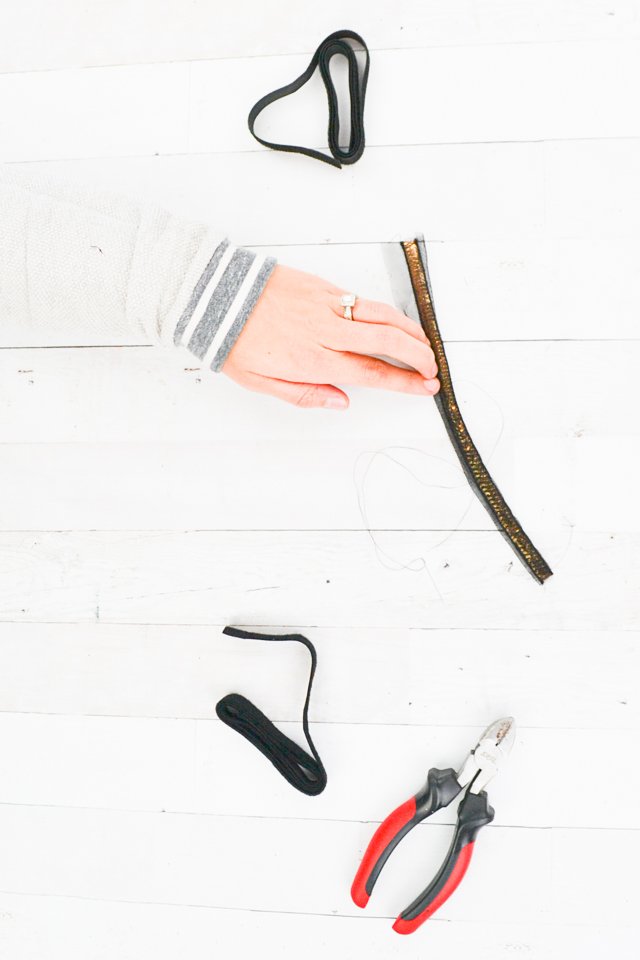
Cut both sides of the Velcro into small rectangles. Sew one side onto one side of the gold chain.
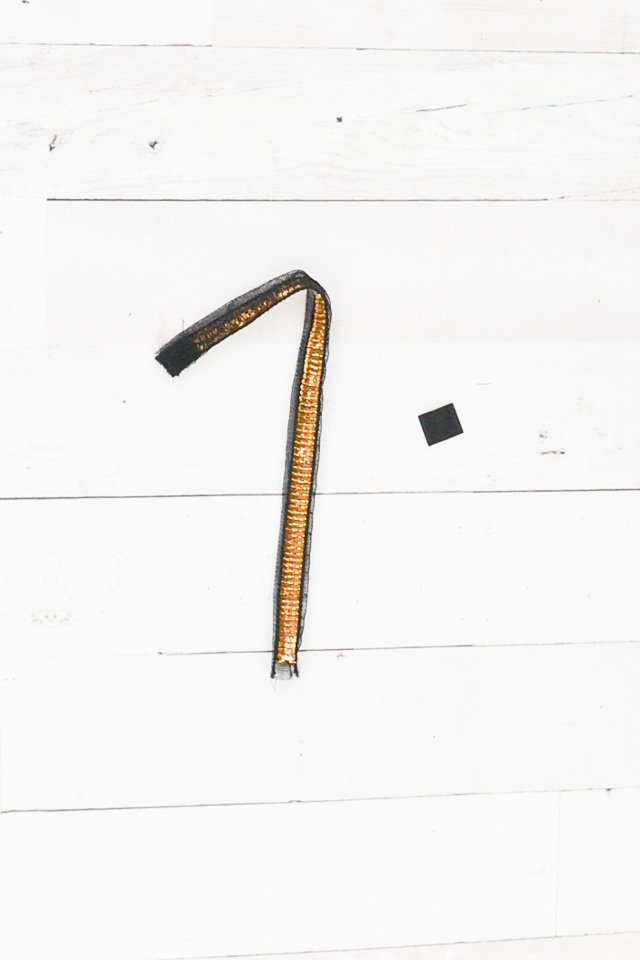
Sew the side of the chain without veclro right onto the cloak. Sew the remaining velcro piece onto the cloak on the opposite side. I had to do some of this sewing by hand because I couldn’t sew through the chain.
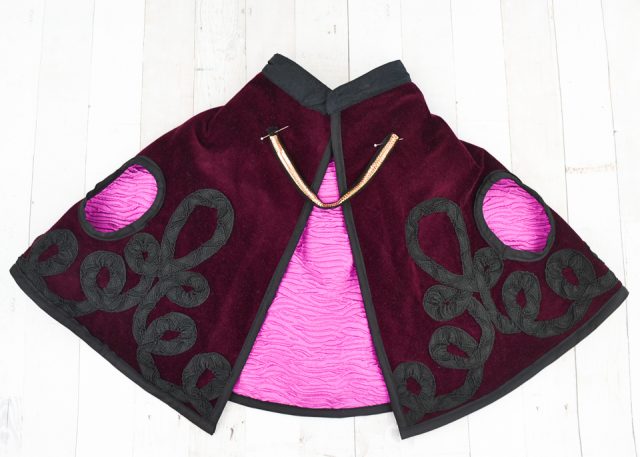
You finished!

If you make a DIY Anna cloak using this tutorial, I’d love to see! Please share it on social media with the hashtag #heatherhandmade and tag me!


I believe small sewing moments can create great joy. Find your own “right” way to sew. -Heather
