
How to Make Bias Tape and Bias Binding

This post may contain affiliate links.
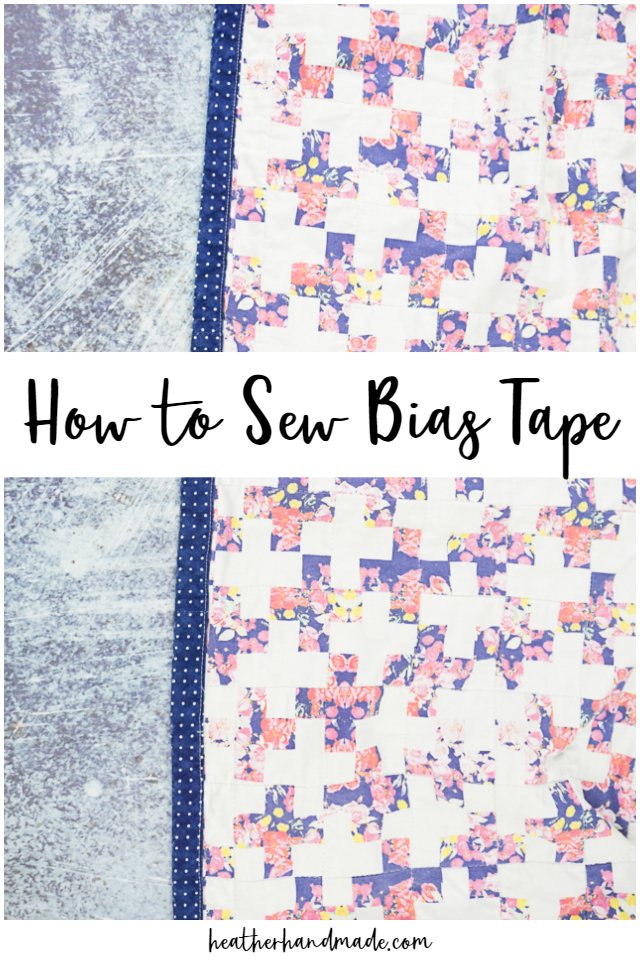
Learn how to make bias tape and how to sew bias tape with this beginner sewing tutorial. Bias tape is used in quilting, sewing bags, and sewing clothing.
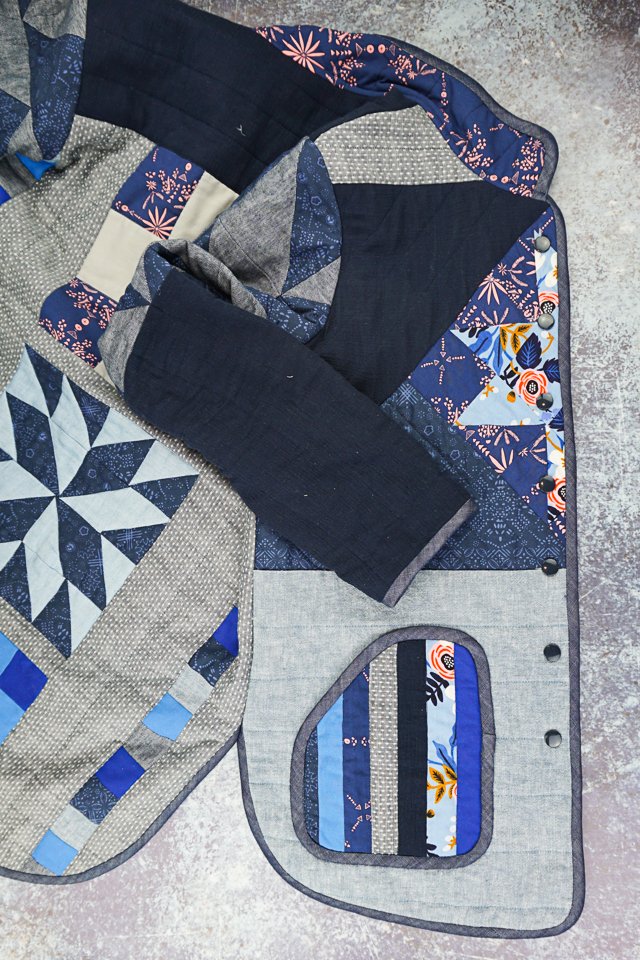
I love the look of quilts and clothing finished with bias tape. There’s something so pretty and polished about seeing the inside of at item of clothing finished with bias tape.
It took me a long time to learn how to make bias tape properly and how to sew bias tape properly. I mostly use bias tape when I sew clothing, so this might lean towards apparel, but I’ve also used it to finish quilts and bags so it can work in many different ways.
What is Bias Tape?
Bias tape is a thin strip of fabric that is cut on the bias. The grainline of the fabric runs the same way as the selvedge and the crossgrain of the fabric is perpendicular to the selvedge. The bias is when you cut the strip of fabric 45 degrees from either the grainline or the crossgrain.
Cutting fabric on the bias gives it a little bit of stretch and makes it drape nicely. It goes around curves nicely.
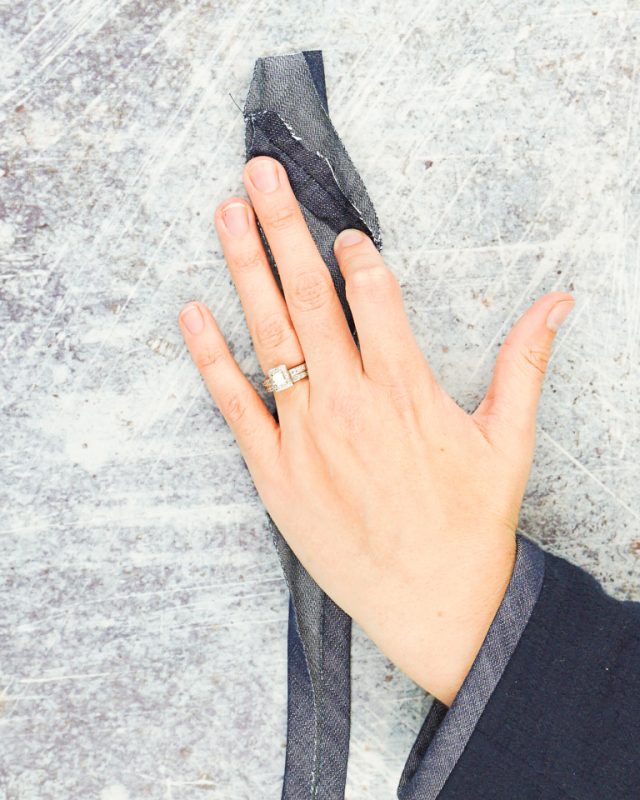
Piece multiple strips of bias tape together to get one long piece.
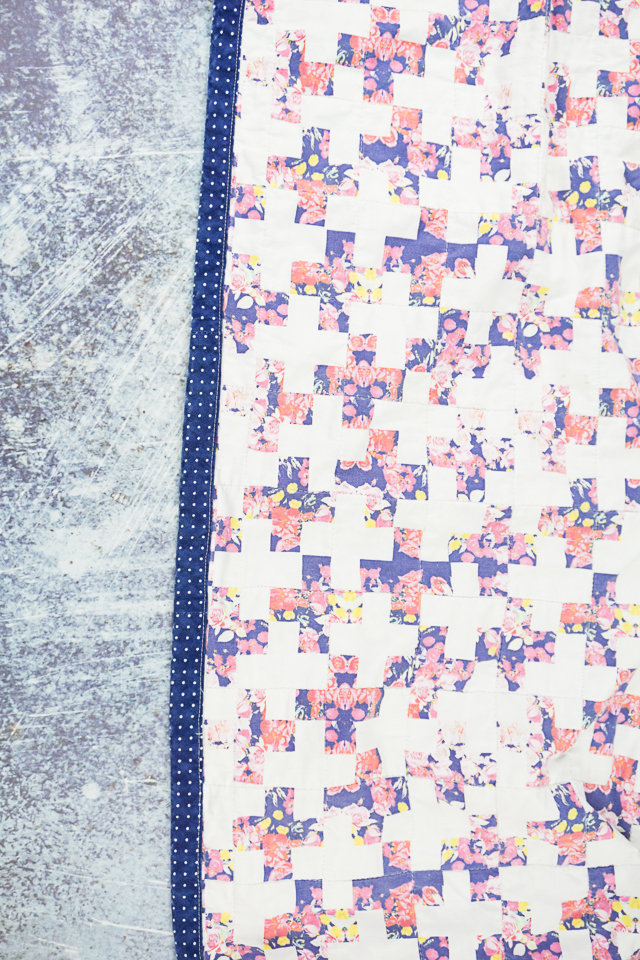
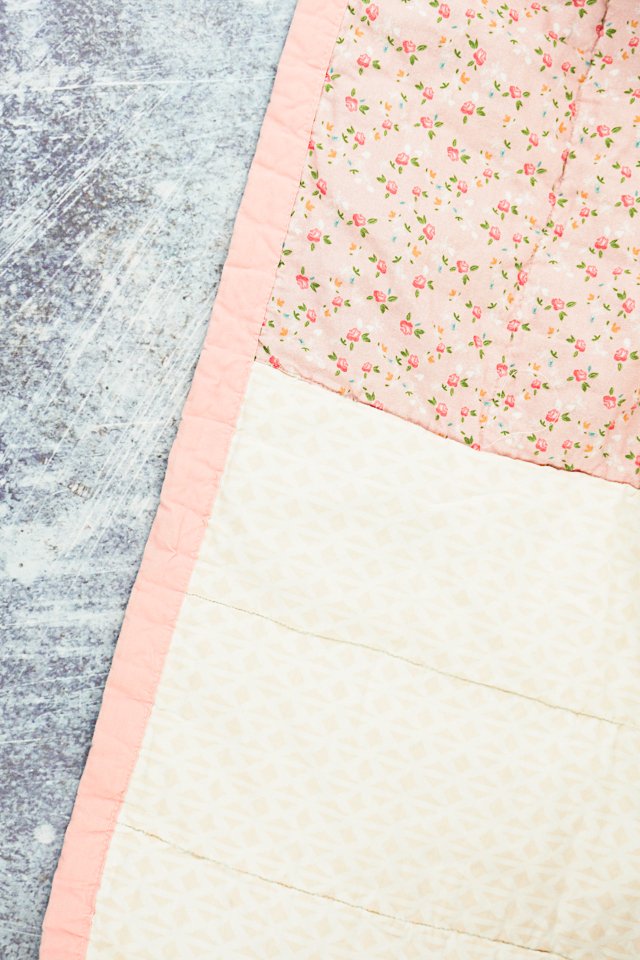
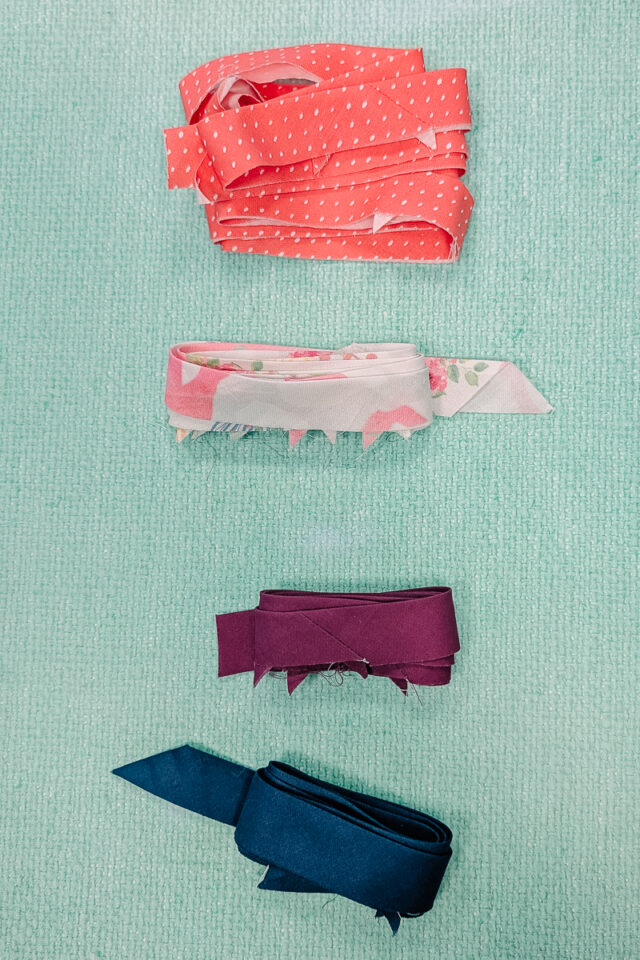
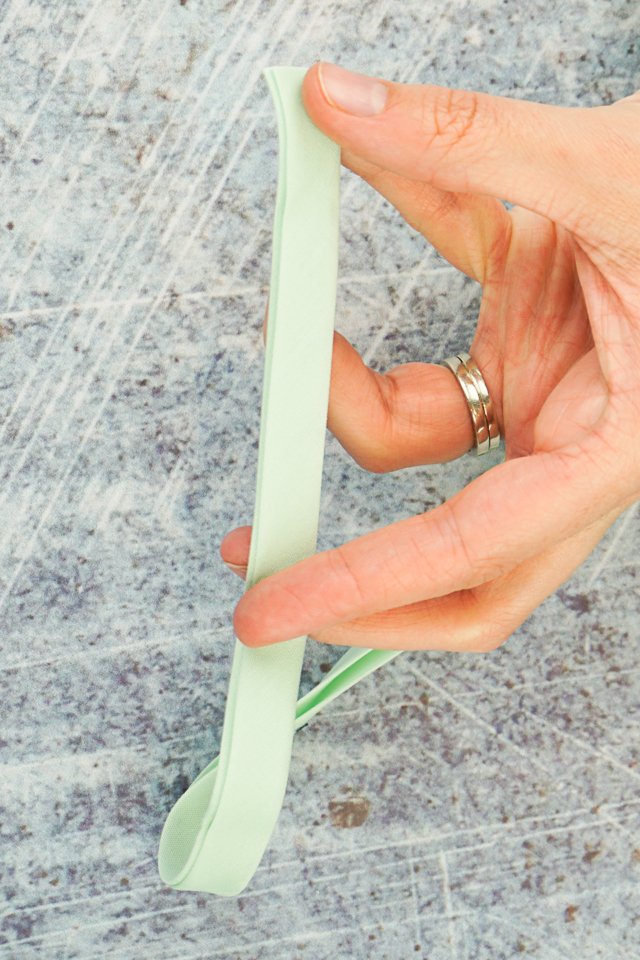
Double Fold Bias Tape
Double fold bias tape is when the fabric is folded three times to create binding, and all the raw edges are enclosed. When it’s all folded up you can see two sides of the bias tape.
You can buy this pre-made or make it yourself.
Single Fold Bias Tape
Single fold bias tape is when the fabric is folded two times to create one strip, and all the raw edges are enclosed underneath. When it’s all folded up and sewn you can see one side of the bias tape.
You can buy this pre-made or make it yourself.
How to Make Bias Tape
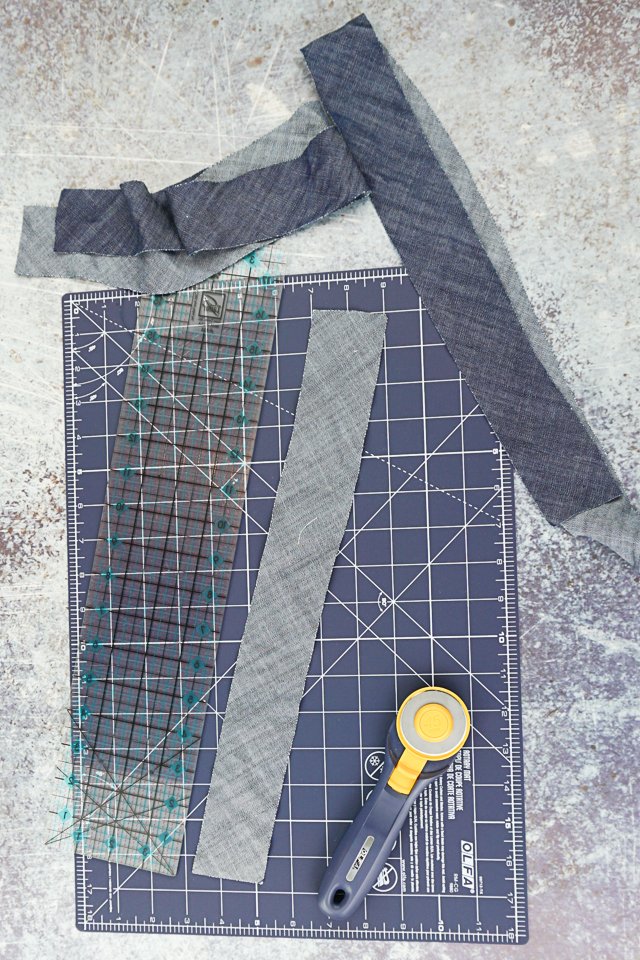
Figure out how wide you want the finished width to be and multiply it by 4. So if you want a finished width of 1/2 inch then multiply it by 4 which makes 2 inch.
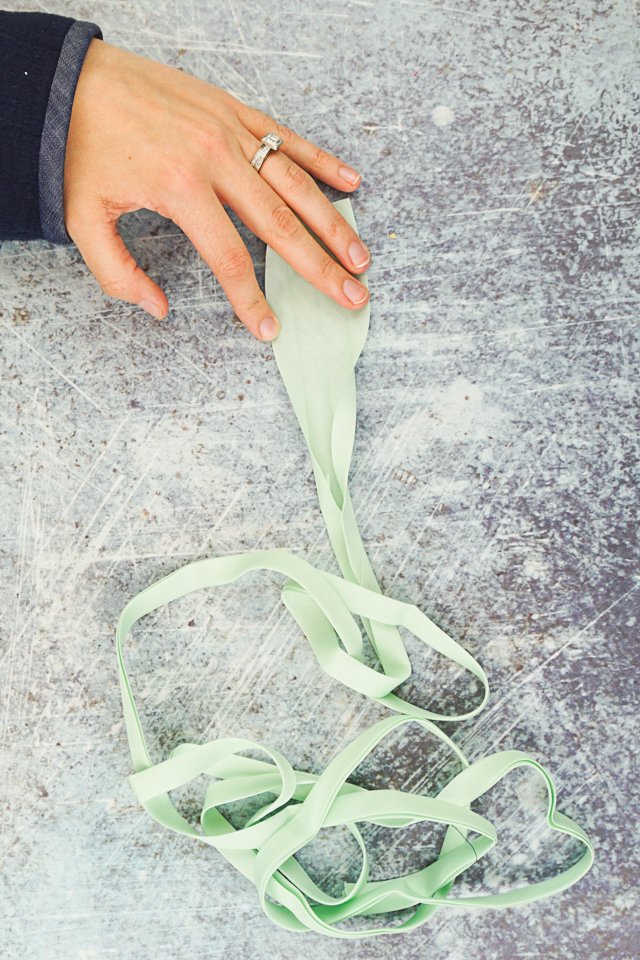
Cut strips of fabric the width that you want. Cut multiple strips. The easiest way to cut it is with a clear ruler and a rotary cutter.
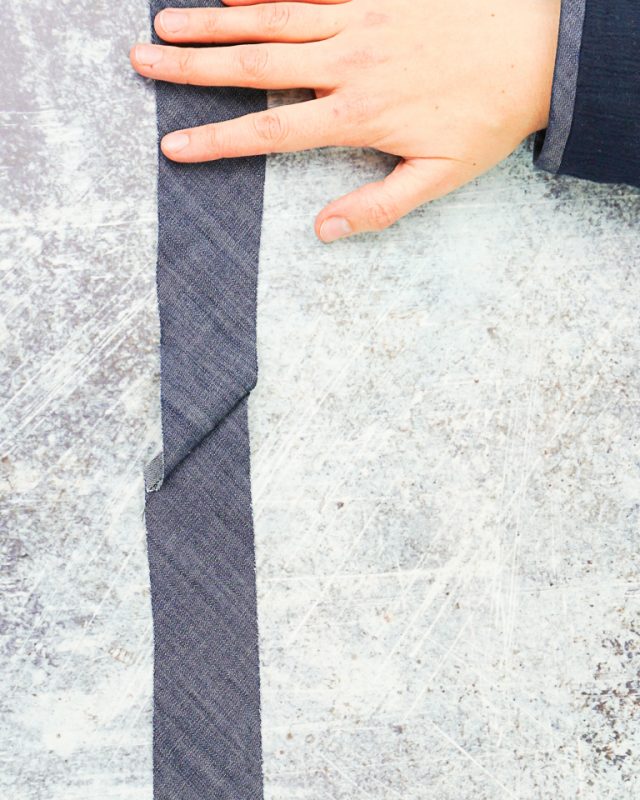
To sew the strips of bias together line up the corners of the strips with right sides together. Place them perpendicular to each other.
Sew with a straight stitch across from corner to corner.
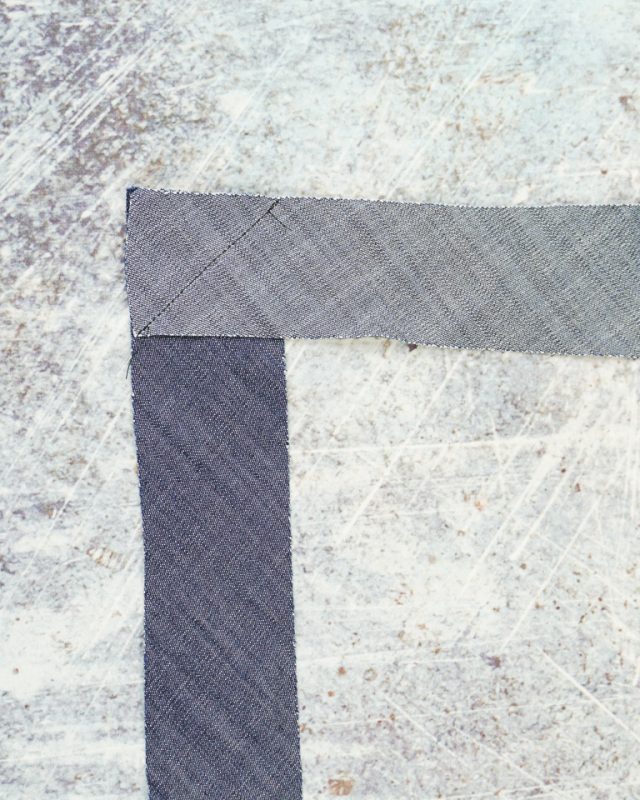
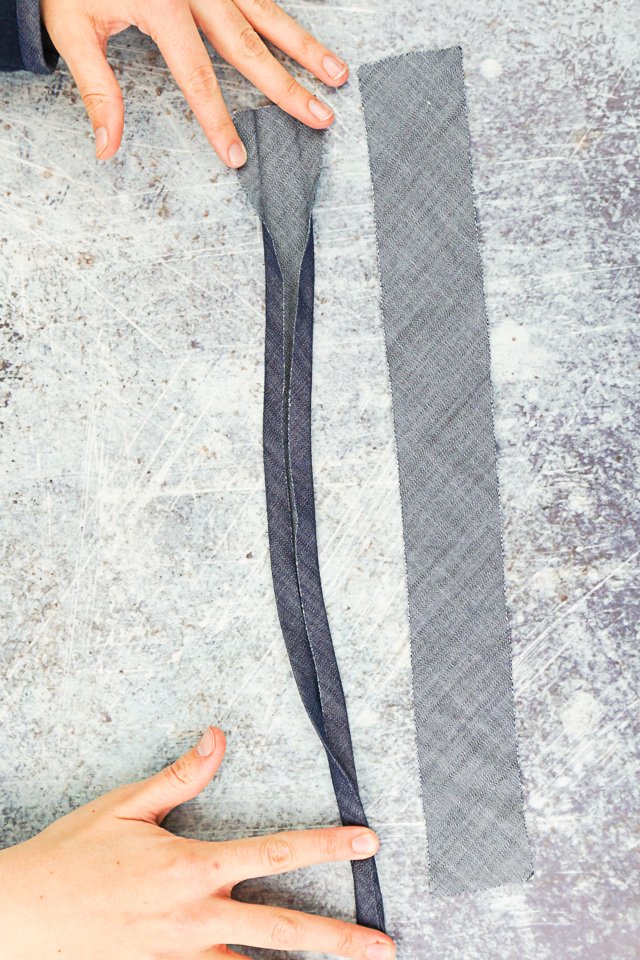
Trim the triangle part off leaving a little seam allowance.
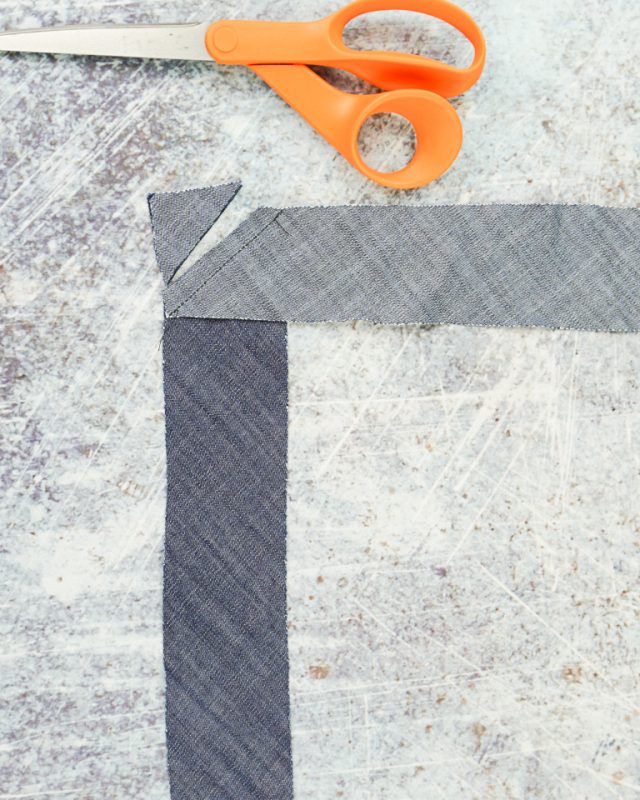
When you flip the strip of fabric up it creates one long strip. Press the seam allowance open.
How to Make Bias Binding
To fold the bias tape to be used as bias binding you need to press it the right way.
First press the bias tape in half lengthwise. Open it back up and fold the raw edges in to meet in the middle. Press the folds in place.
Fold all the folds and press again. There should be three folds and the raw edges should be enclosed.
You press the folds right through the seam. Sewing the seam on an angle keeps the fabric from stretching out and reduces bulk in one section.
how to sew bias tape
When I sew pre-made bias tape I usually sew it all with my sewing machine.
When you use pre-made bias tape there is usually one side that is slightly bigger than the other side. I use the bigger side on the bottom or inside so that it’s easier to catch.
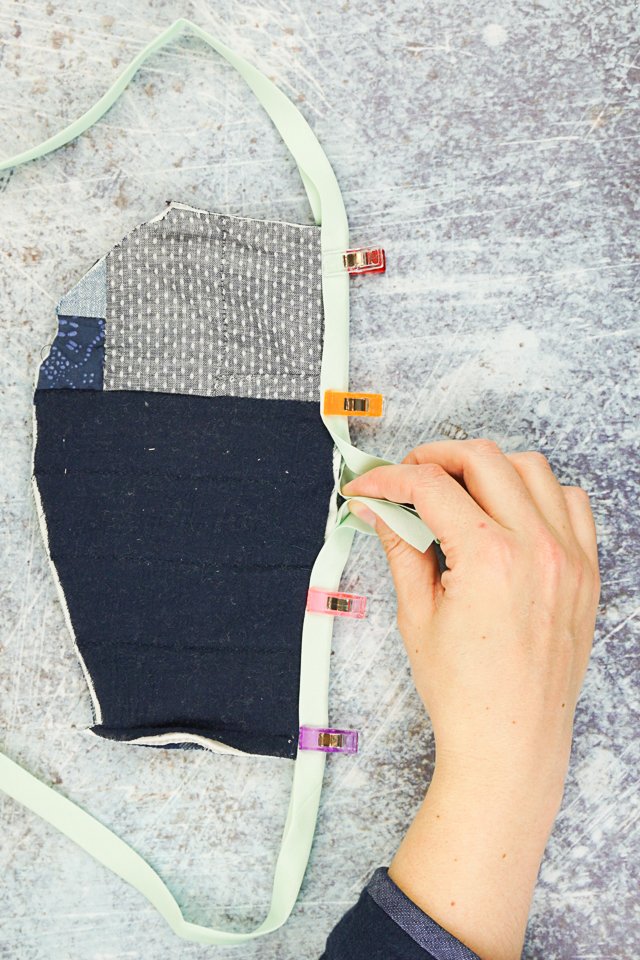
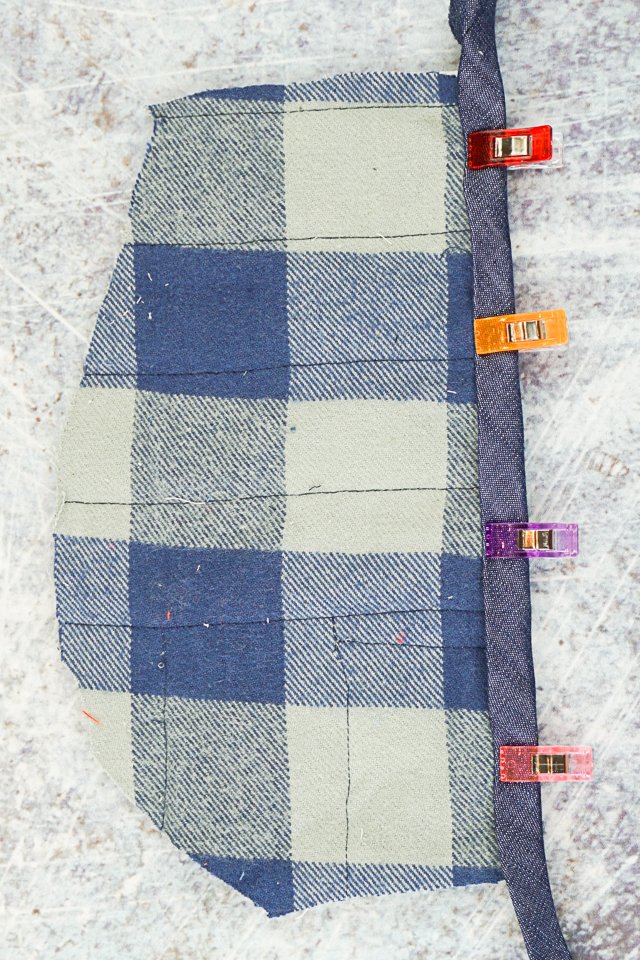
To put pre-made bias binding on I keep the bias binding folded up and I wrap it around the edge of fabric. I clip it in place. Then I edgestitch along the inner fold of the top catching the wider folded edge on the back.
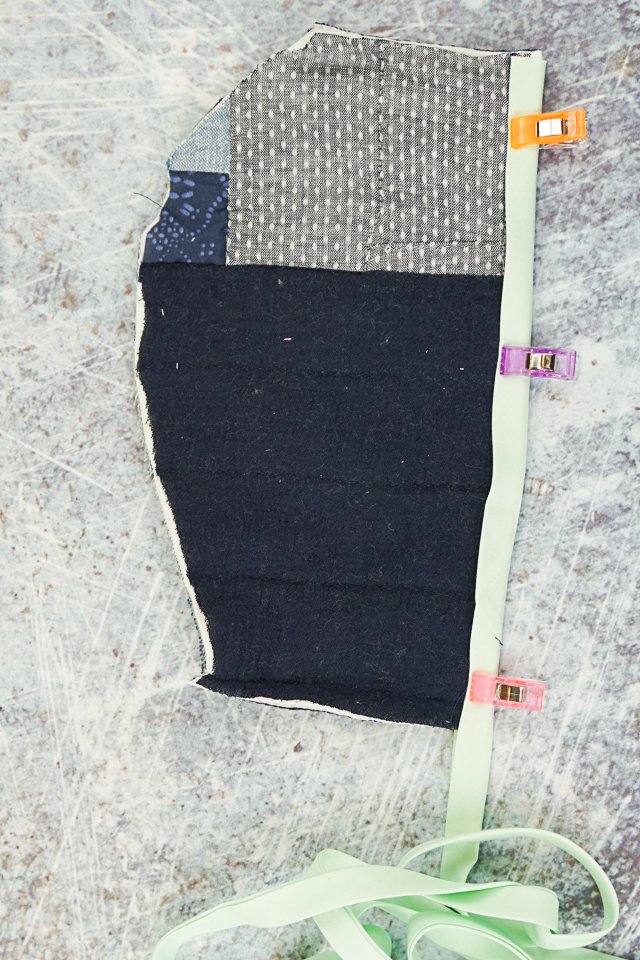
Start by leaving a 4 inch tail. Sew all the way around the item. When you get back to the beginning stop a couple of inches away and leave another 4 inch tail.
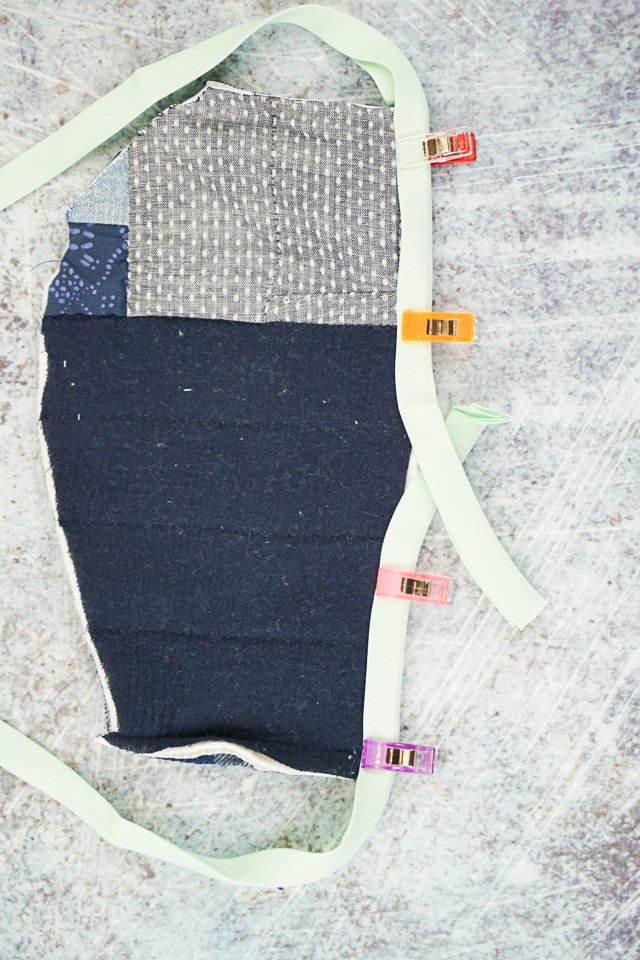
Pinch the bias tape where it would meet to find where to sew the seam. Put in a pin. Open the bias tape and sew the seam. Fold the bias tape back in place and finish sewing it in place.
how to sew bias tape and finish by hand
When I sew bias tape that I made myself I usually sew it partly with my sewing machine and partly by hand.
Open up the bias tape completely. Match up one raw edge with the edge of the item. Sew in the fold closest to the edge. Sew all the way around the item.
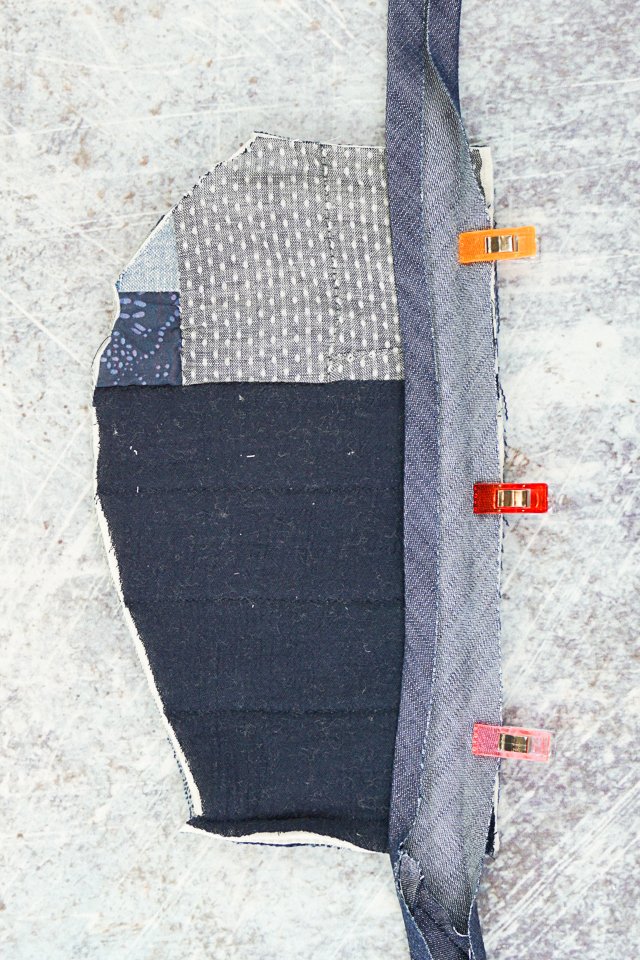
Fold the bias binding up and around to the other side. Clip it in place. Hand sew the bias binding in place. Keep the stitches in the fold and make sure to cover up the machine stitches with the bias binding.
If you make something using this sewing project, I’d love to see! Please share it on social media with the hashtag #heatherhandmade and tag me!

I believe small sewing moments can create great joy. Find your own “right” way to sew. -Heather
I am by no means skilled enough yet to make that jacket up above with all the patch work and bias tape, but it is awesome!! I just ordered the baby bloomers pdf this morning and was happy to find I had received it this afternoon. One of my granddaughters presented me with my 5th great grandchild a week ago and I plan on making her some bloomers. I think they are adorable no matter what age the child is and provide modesty under their little dresses.
Thank you for renewing my interest in sewing!
thanks for the lessons on simple sewing tricks, making sewing easier, i.e sewing a zippers, sewing a pencil case