
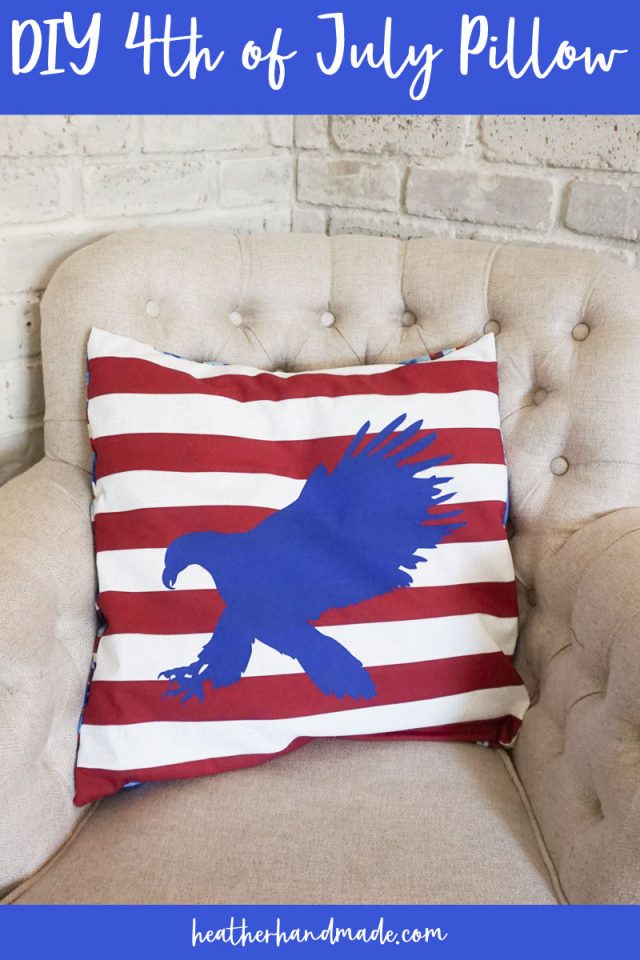
DIY 4th of July Pillow: Eagle and Stripes

This post may contain affiliate links.
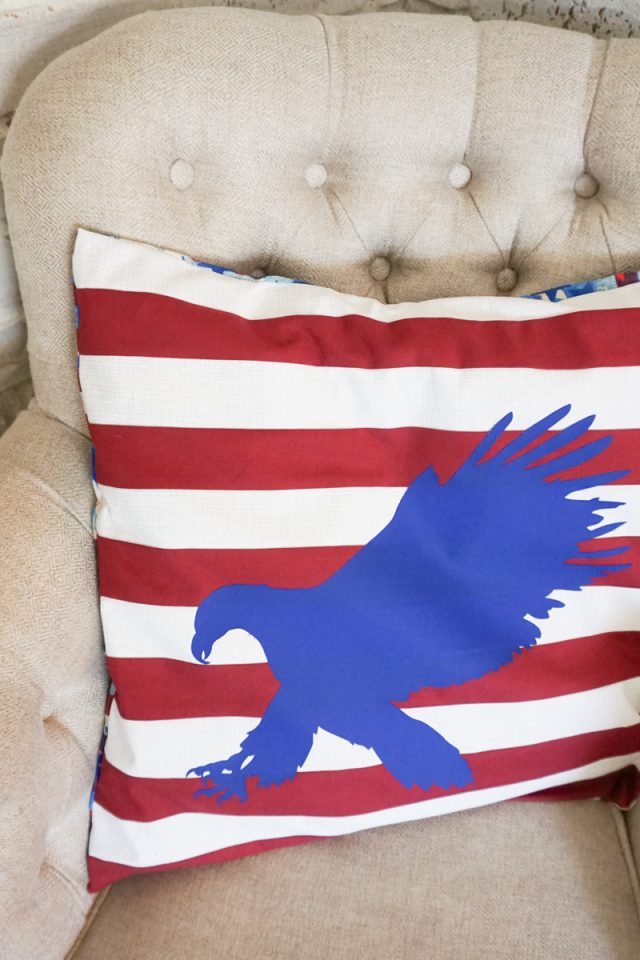
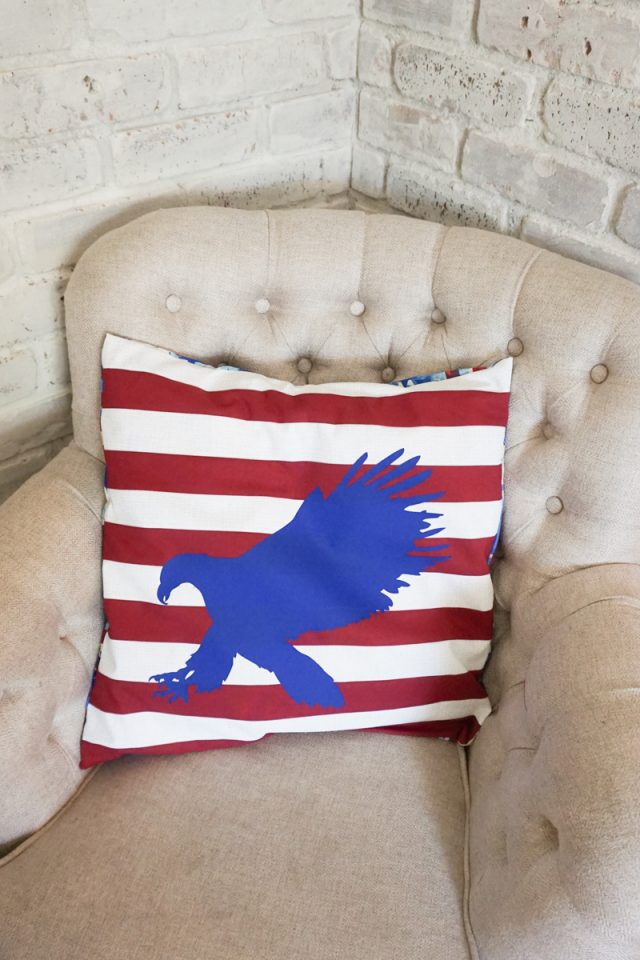
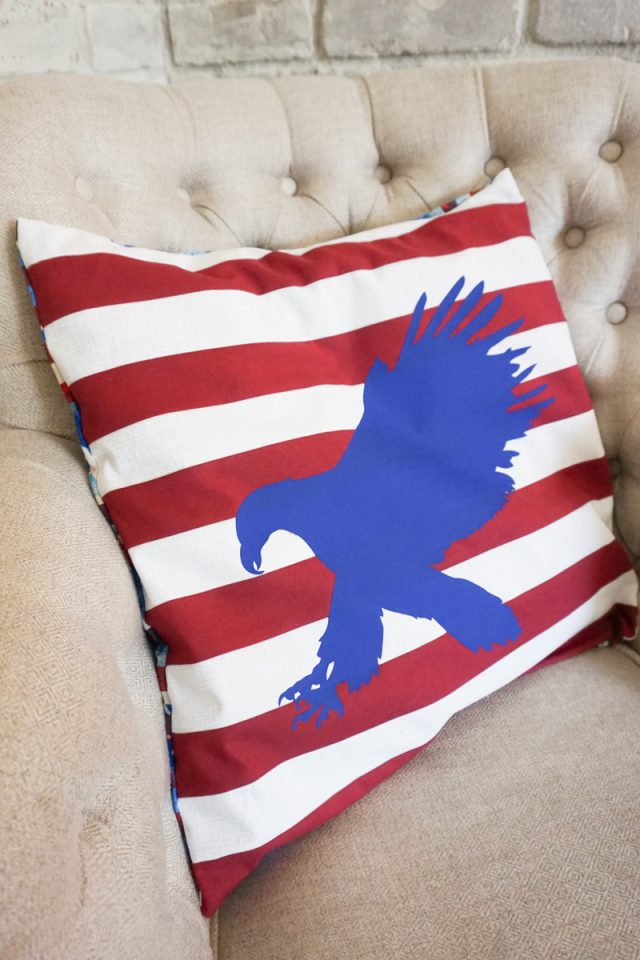
Learn how to make a DIY 4th of July pillow with pieced fabric and an iron-on vinyl eagle. This easy sewing project pairs well with a Cricut Maker.
I’m not a huge fan of a red color, but every summer I love getting out my 4th of July decorations. There’s something patriotic and happy and having red, white, and blue out when it’s hot outside.
Piecing together fabric is such a relaxing project. I love how I can zone out and do the same thing for a little bit without thinking about what I’m creating. It’s such a cute 4th of July pillow!
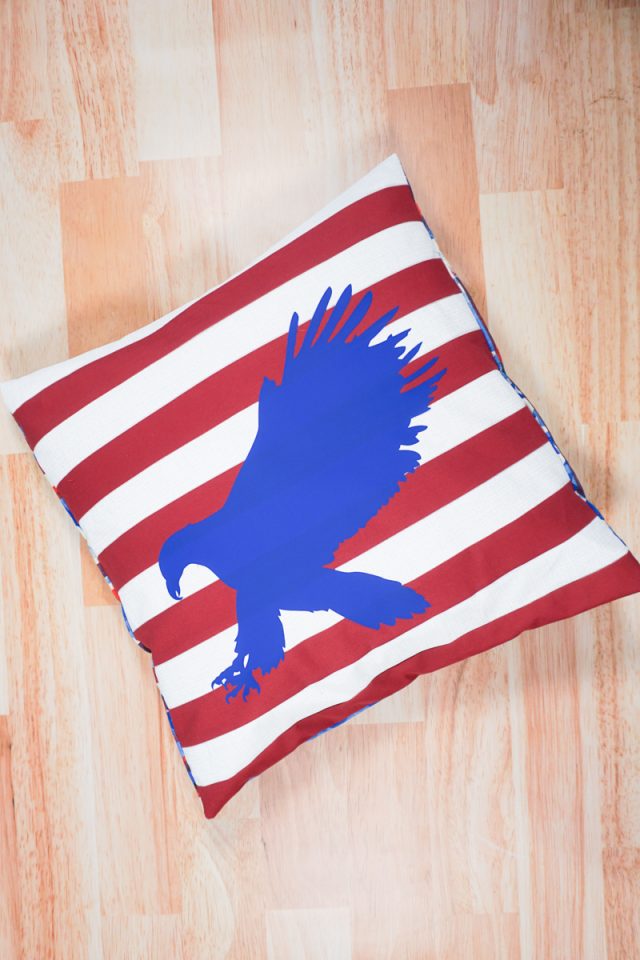
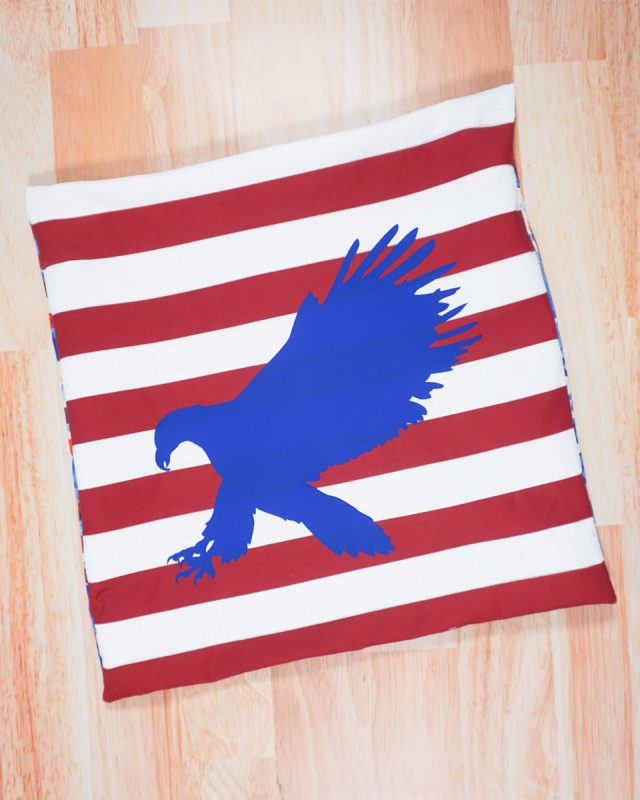
I was worried about the red and blue not being enough of a contrast, and that the eagle wouldn’t pop. After it was all done, I’m so happy with how it turned out. I love the stripes and it’s the perfect contrast with the solid eagle.
Can I use iron-on vinyl or HTV over fabric seams?
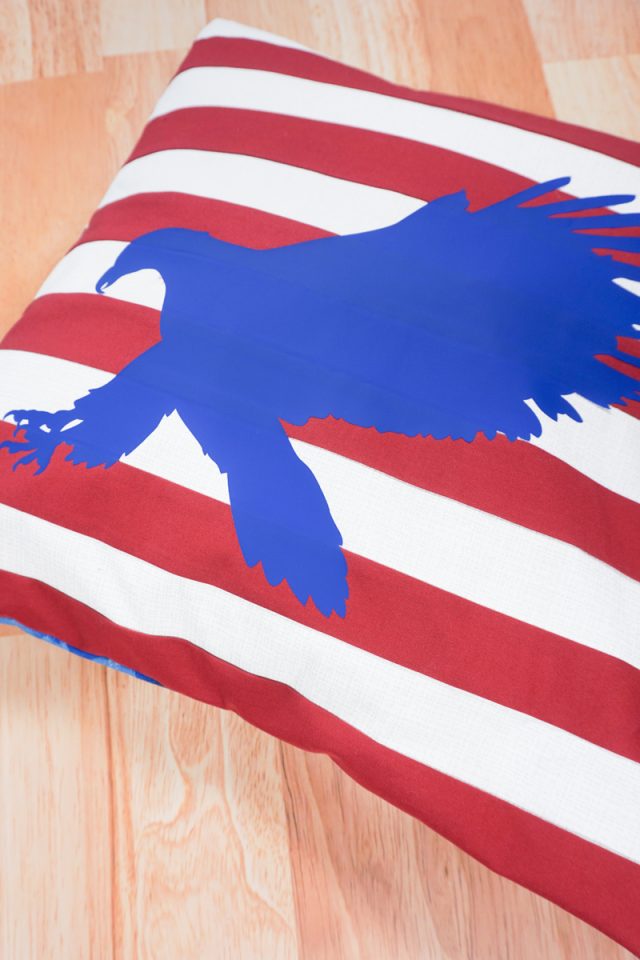
I have done iron-on vinyl over one fabric seam, but it was only a little bit of iron-on vinyl so I didn’t have a problem. I didn’t know how well a big piece of vinyl would do over lots of seams.
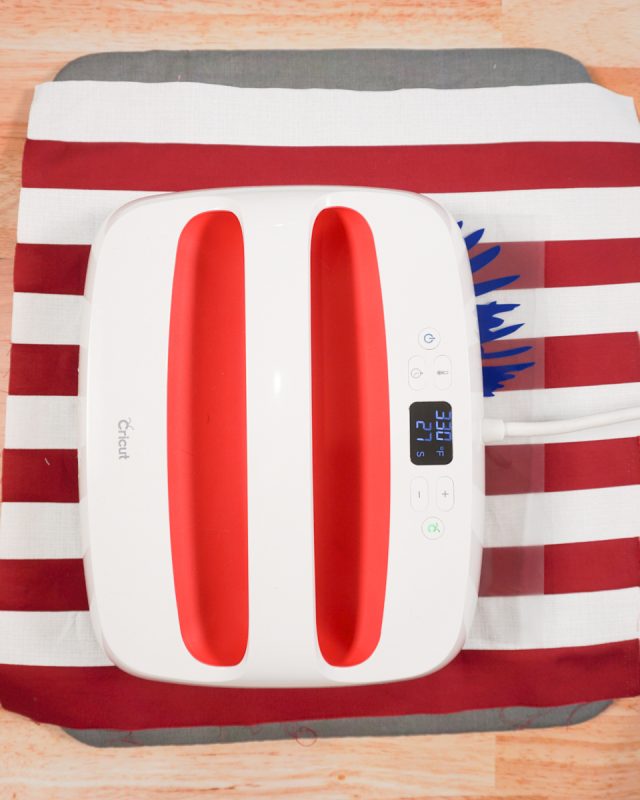
The end result looks great and fused well. From the side you can kind of see the lines of the seams, but you don’t see it from the front. When I was applying the iron-on vinyl with my large Easypress 2, I put extra pressure and had to do each side twice. It was a little tricky around the seams, but I was able to make it work.
Types of Pillow Covers
There are several different types of pillow covers to make it easy to remove the cover to wash it or change for another season. Here are just a few of the different types you can do:
- pillow cover with Velcro
- pillow cover with buttons and buttonholes
- pillow cover with an invisible zipper
- pillow cover with an envelope back
Do you love to sew? Try some of these sewing proejcts:
- Ways to sew a pillow
- 4th of July sewing projects
- Summer sewing projects
- Quilting cotton sewing projects
- Cricut maker sewing projects
- Flag rag quilt with free pattern
- Heart US State Map Quilt
How to Make a DIY 4th of July Pillow: Stripes and Eagle
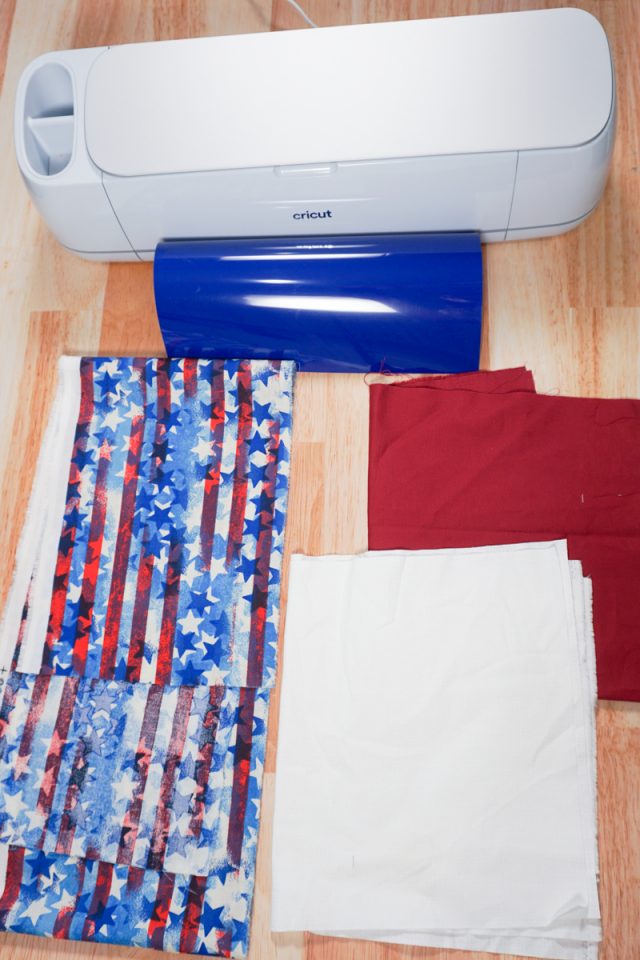
Supplies
- 1 fat quarter of white fabric
- 1 fat quarter of red fabric
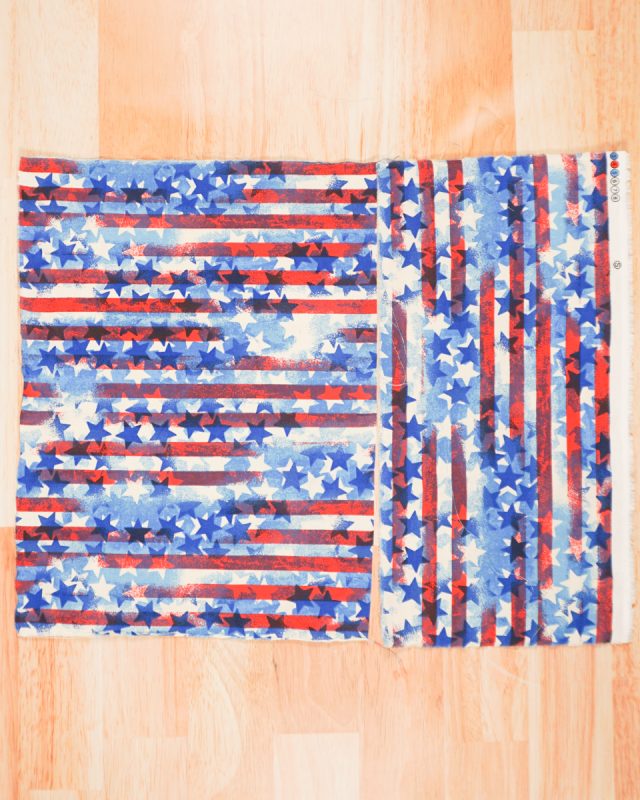
- 1 fat quarter of printed fabric for the back – I chose stars and stripes
- Blue iron-on vinyl*
- Cricut Maker* and tools
- Easypress*
- 20 inch pillow form
- sewing tools
- sewing machine
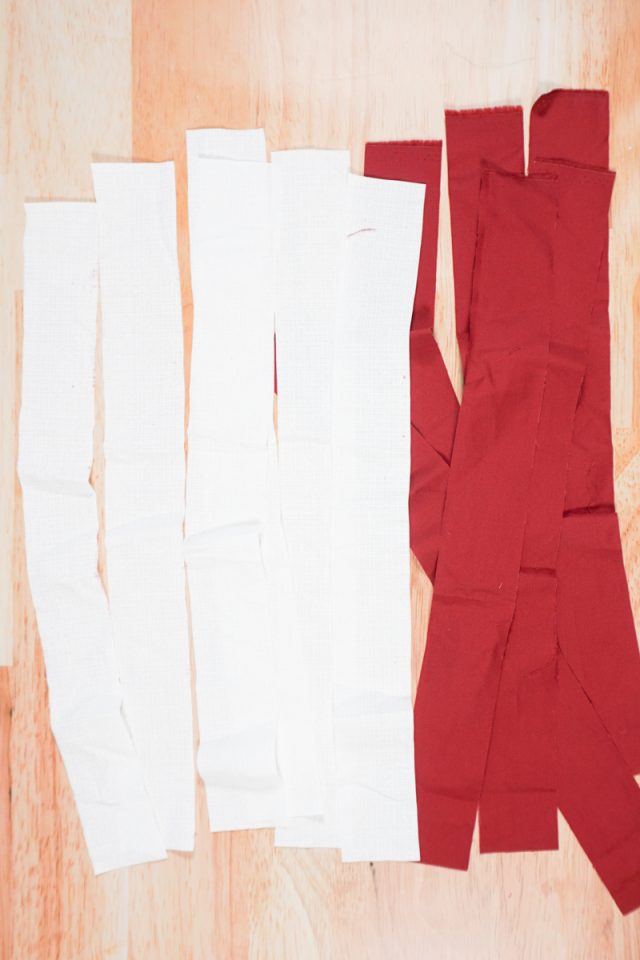
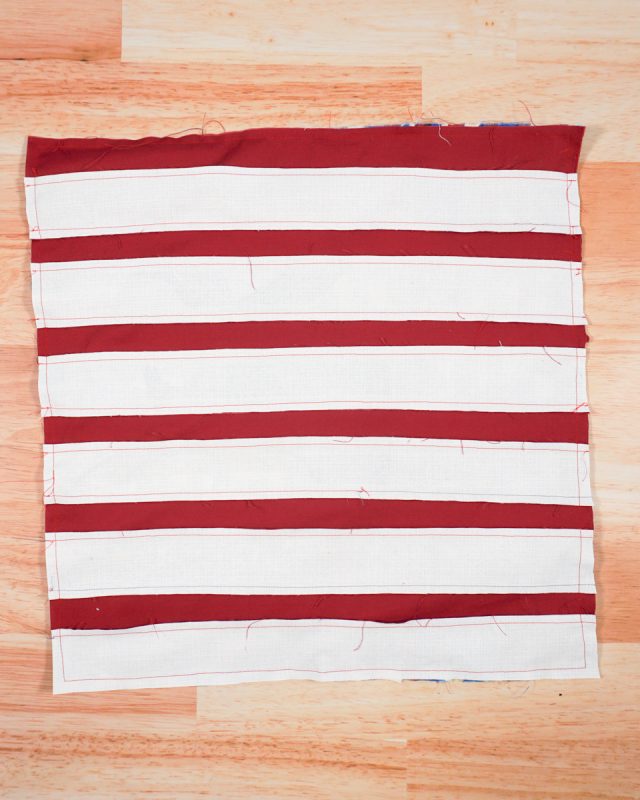
Cut six strips of white fabric 2 inches by 18 inches. Cut six strips of red fabric 2 inches by 18 inches.
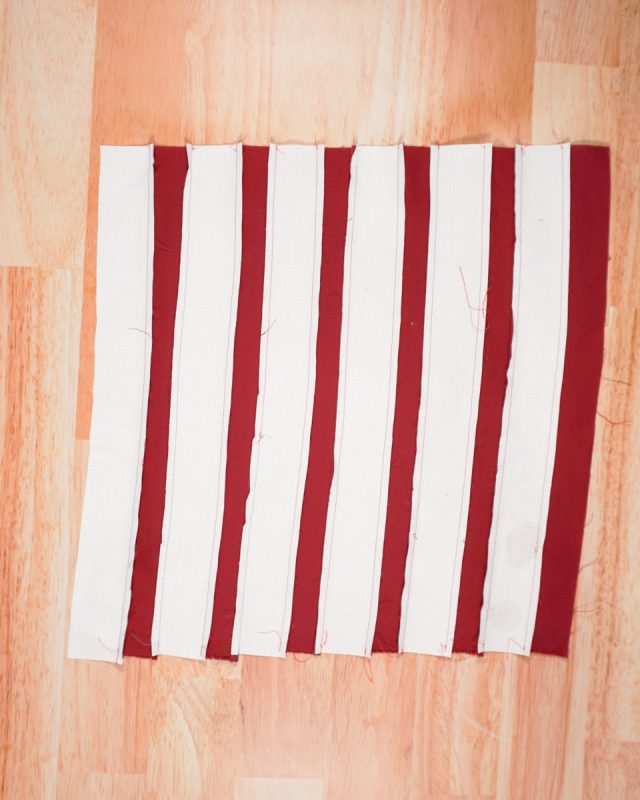
Sew the strips of fabric together alternating between the white and the red. Use 1/4 inch seam allowances and backstitch when you start and when you stop.

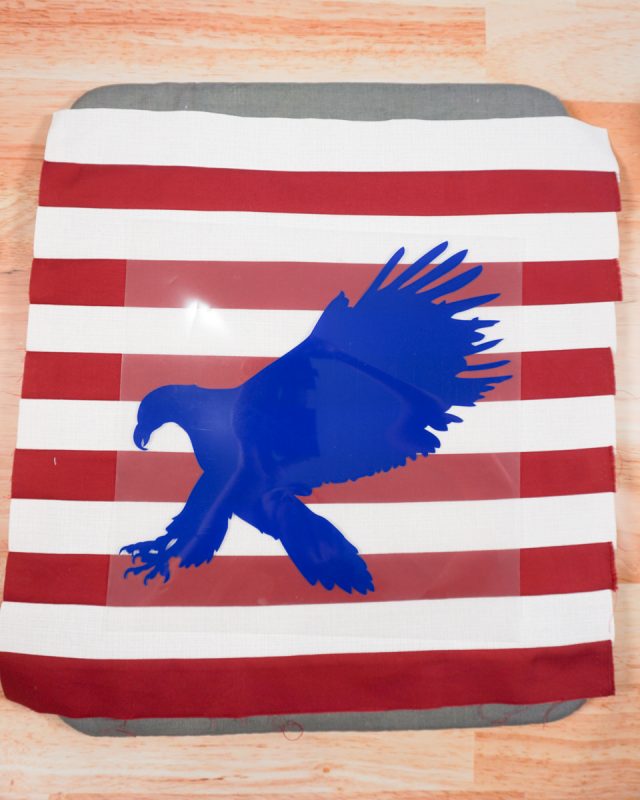
Press the seam allowances towards the red and away from the white. Square up the piece by cutting it down to 18 inches by 18 inches with 90 degree corners.
Cut two pieces of the printed fabric that are 18 inches by 11 inches. Hem one 18 inch side of each piece. These will overlap each other to create the envelope opening in the back.
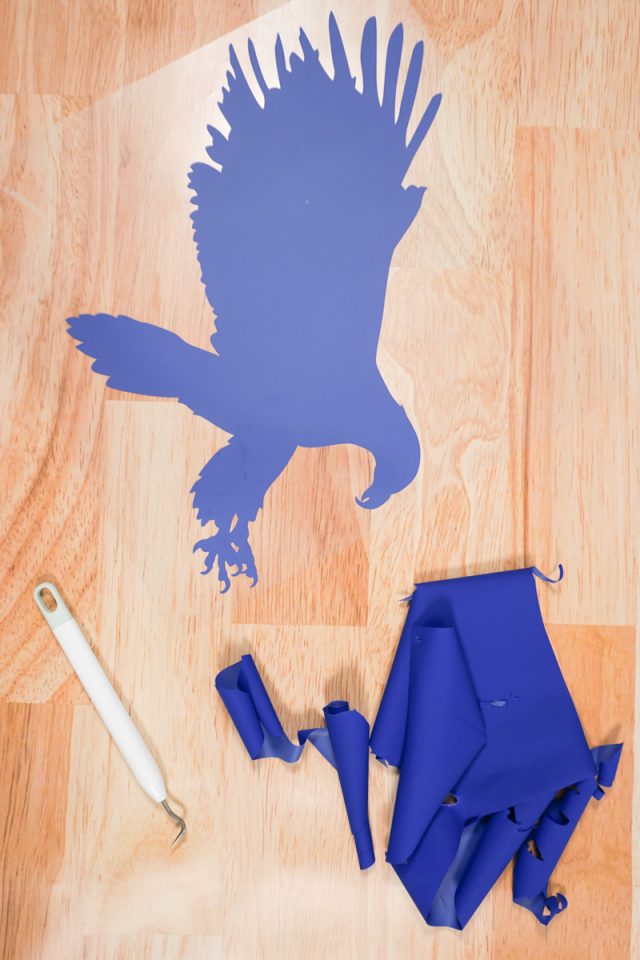
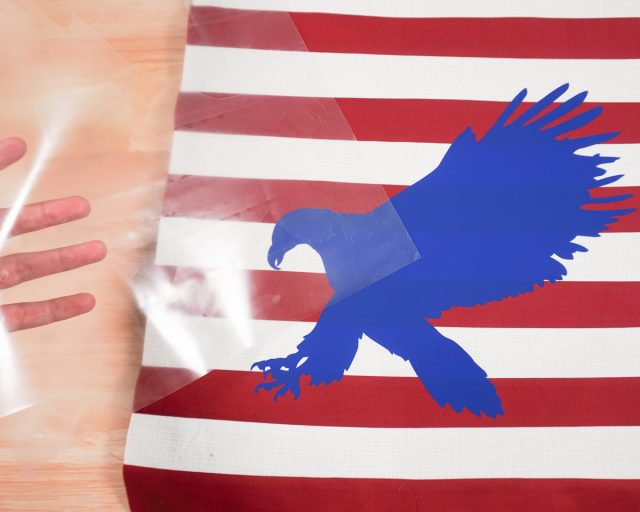
Use the Cricut Maker to cut a big eagle silhouette from the blue iron-on vinyl. I made my eagle as big as possible that would also fit on my mat.

Weed the iron-on vinyl design.
Place the eagle on the striped piece and center side to side and top to bottom.
Use the easypress to fuse the eagle to the fabric. Since there are seams I had to do the front twice and the back twice with lots of pressure.
Once the design cools, peel the plastic backing off.
Place the front of the pillow right sides together with the two backs. The two backs should have the hemmed sides overlapping in the center.
Sew all the way around the pillow with a 1/4 inch seam allowance. Trim the corners to reduce the bulk.
Turn the pillow cover right side out.
Insert a pillow form into the pillow cover. You finished!
If you make something using this sewing project, I’d love to see! Please share it on social media with the hashtag #heatherhandmade and tag me!

I believe small sewing moments can create great joy. Find your own “right” way to sew. -Heather