
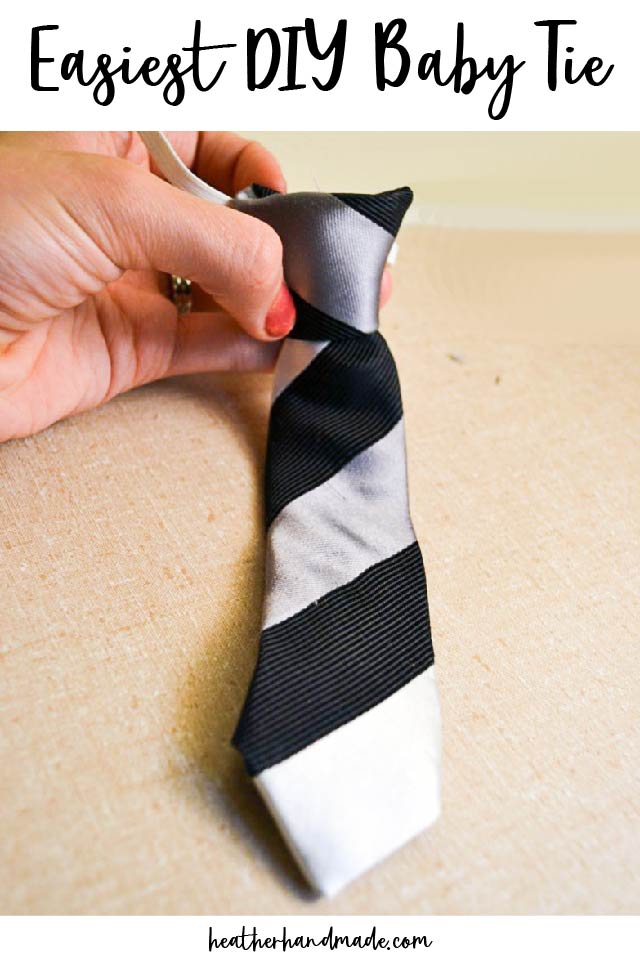
Easiest DIY Baby Tie

This post may contain affiliate links.
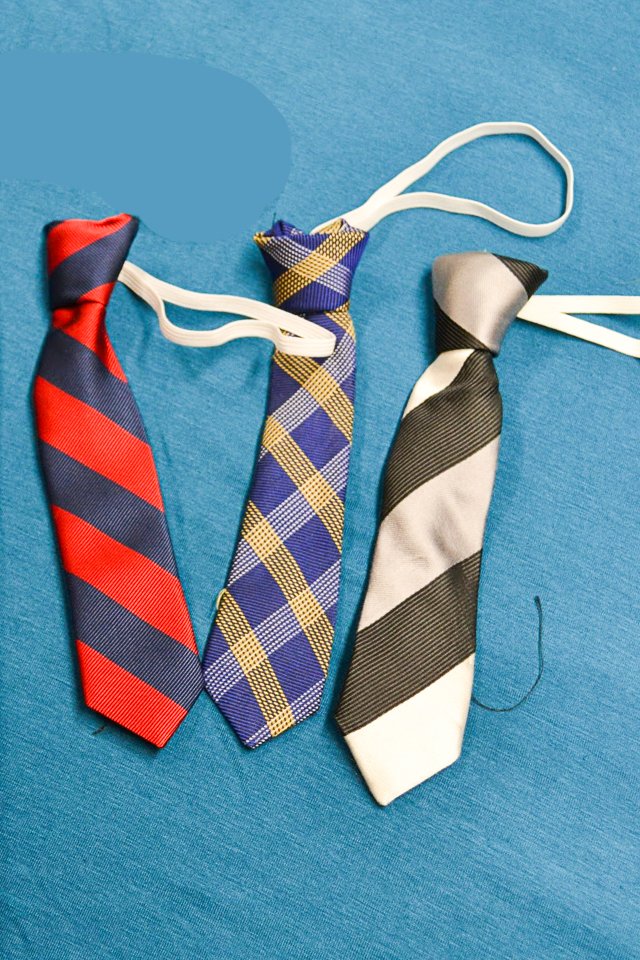
Learn how to make the easiest DIY baby tie by refashioning a men’s adult silk tie. It looks professional, but it’s really easy to sew!
I have been reading many, many tutorials for making little boy ties and they were all great, but took a lot of steps. They often used quilting cotton and didn’t look like a grown up men’s tie.
I knew there was an easier way, so I fiddled until I came up with the perfectly EASY DIY baby tie by upcycling an adult tie. It is just one short stitch on your machine and a couple of hand stitches.
When I first made this tie I wanted it to be really easy and that is why I used the elastic. You wouldn’t have to sew the elastic at all.
I noticed that sometimes the elastic wouldn’t be tight enough once the baby was wearing it, and the tie would hang down a little bit. If this will bother you, then create two bands and insert like the elastic. Sew velcro onto the ends to get it on and off.

What do you use to make a DIY baby tie?
Start with a men’s silk tie that you don’t mind cutting up. Using an adult tie as a base makes this baby sewing project so easy! You’ll also need 1/4 inch elastic, a sewing machine, scissors, and a hand needle.
What is refashioning?
Refashioning is to fashion clothing again or differently. I usually use this to describe when I’m sewing clothing to fit different or to look different, but the majority of the item stays the same.
What is upcycling?
Upcycling is to reuse material to create something better than the original. I usually use this to describe when I’m sewing adult clothing into clothing for children or I’m sewing clothing into an accessory or house item.

Do you love to sew? Here are some fun sewing projects to try:
- Baby sewing projects
- Beginner sewing projects
- Supplies for sewing baby projects
- Baby gifts to sew
- Father’s Day tie sewing craft

Easiest DIY baby Tie
supplies
- Men’s tie to refashion
- 1/4 or 1/2 inch elastic – here are some ideas for finding elastic to reuse
- Sewing tools
- Sewing machine
Measure the width of your child’s shirt neck and cut the elastic that size. I cut mine to 10.5 inches. Cut the back end of the tie off at 7 inch (toddler size or cut 6 inch for infants).

Cut a middle piece 5.5 inch on one side and 3 inch on the other side (like a trapezoid). This will become the top knot.
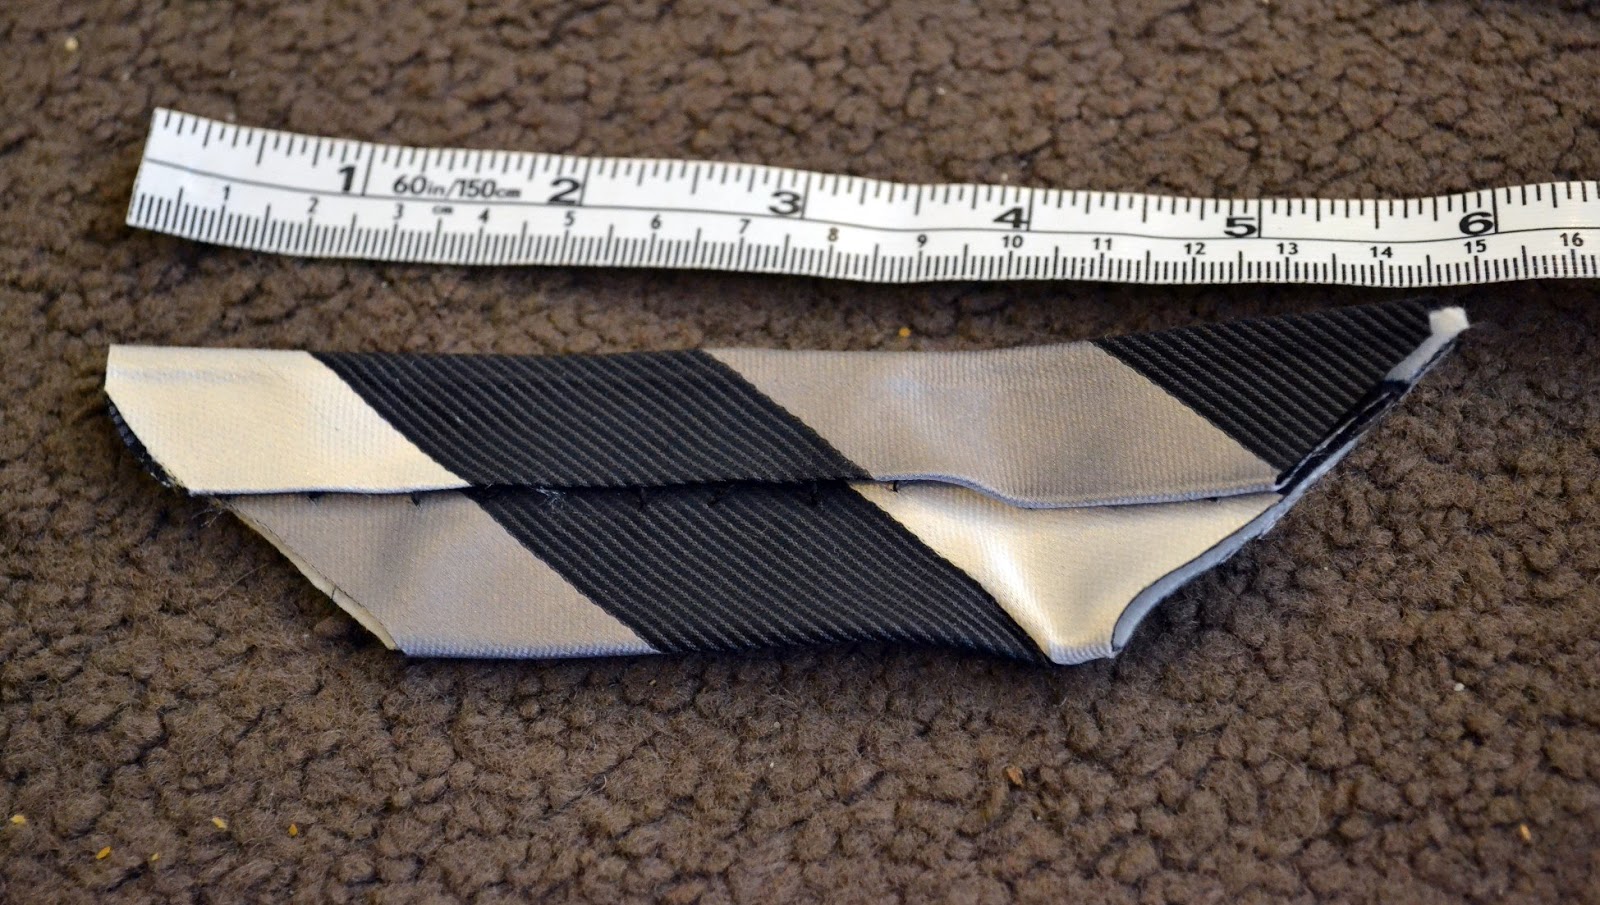
Baste edges of the knot piece 1/8 inch from edge.
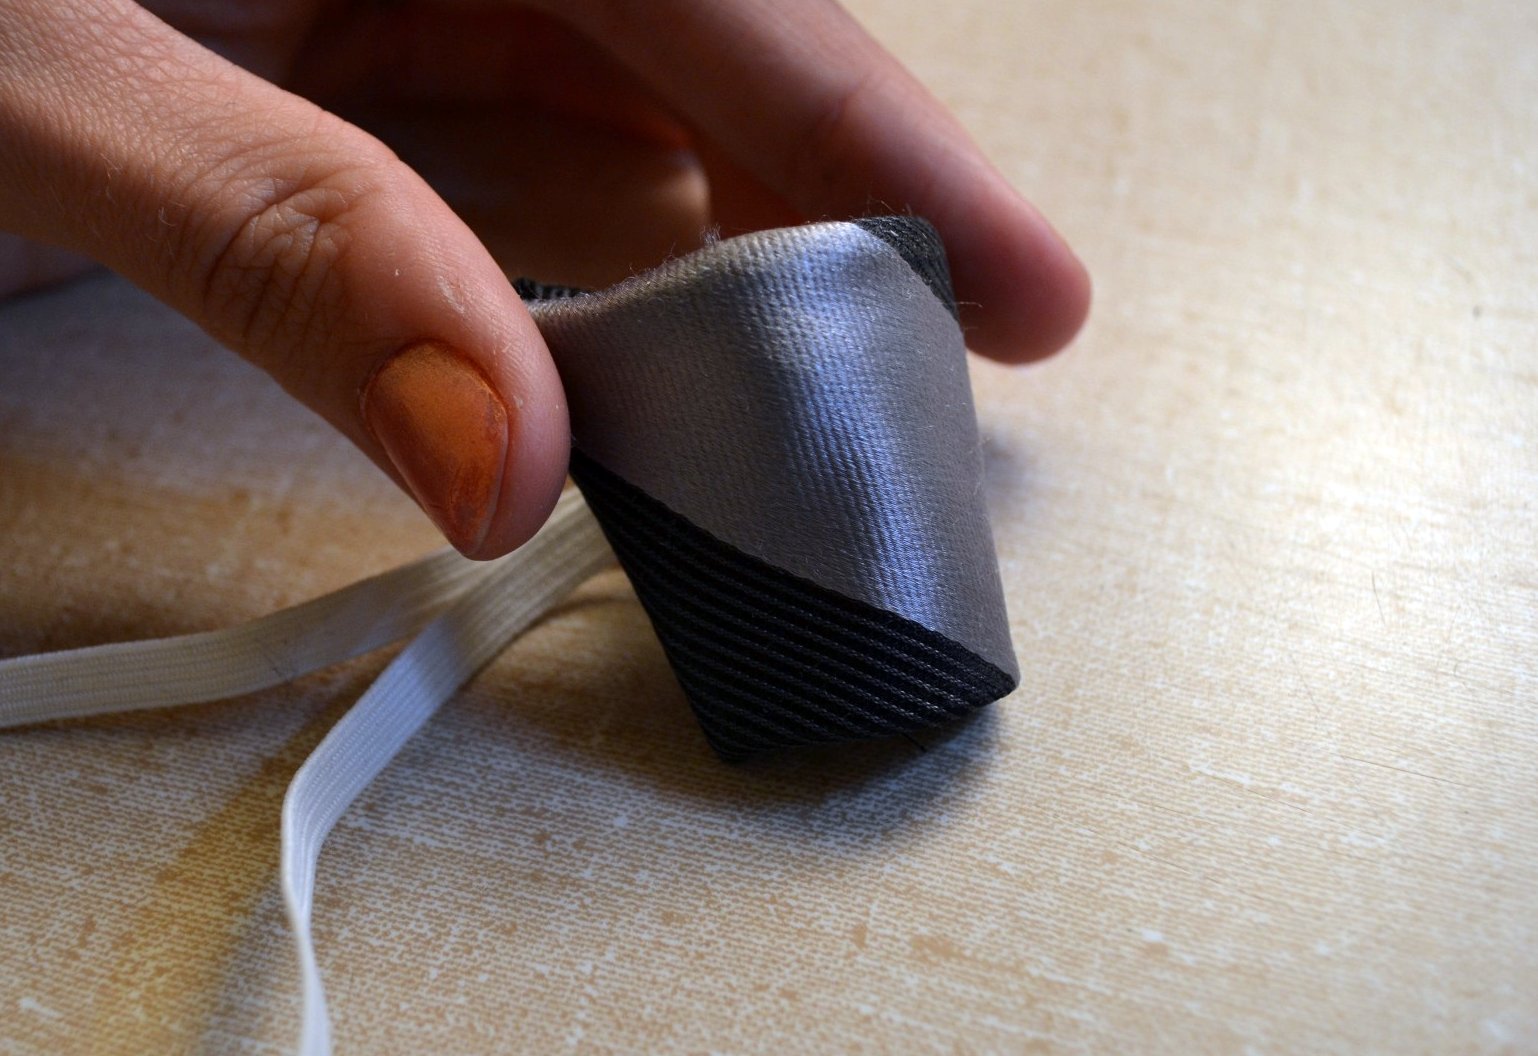
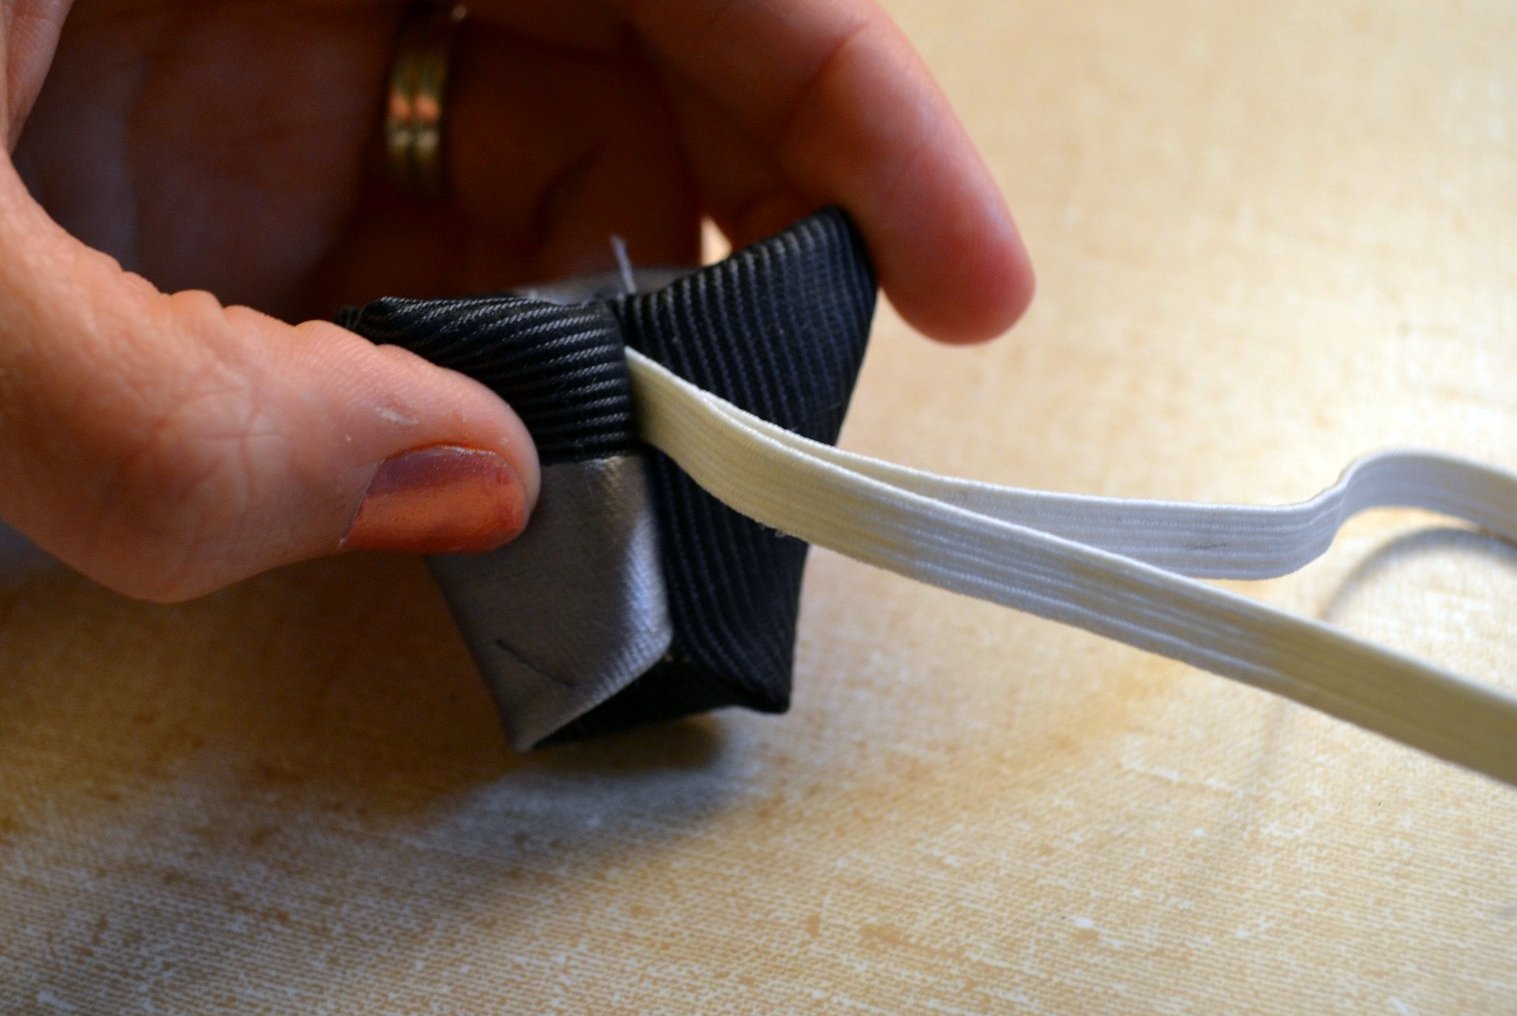
Line up elastic edge with the center of the knot edge and fold down.
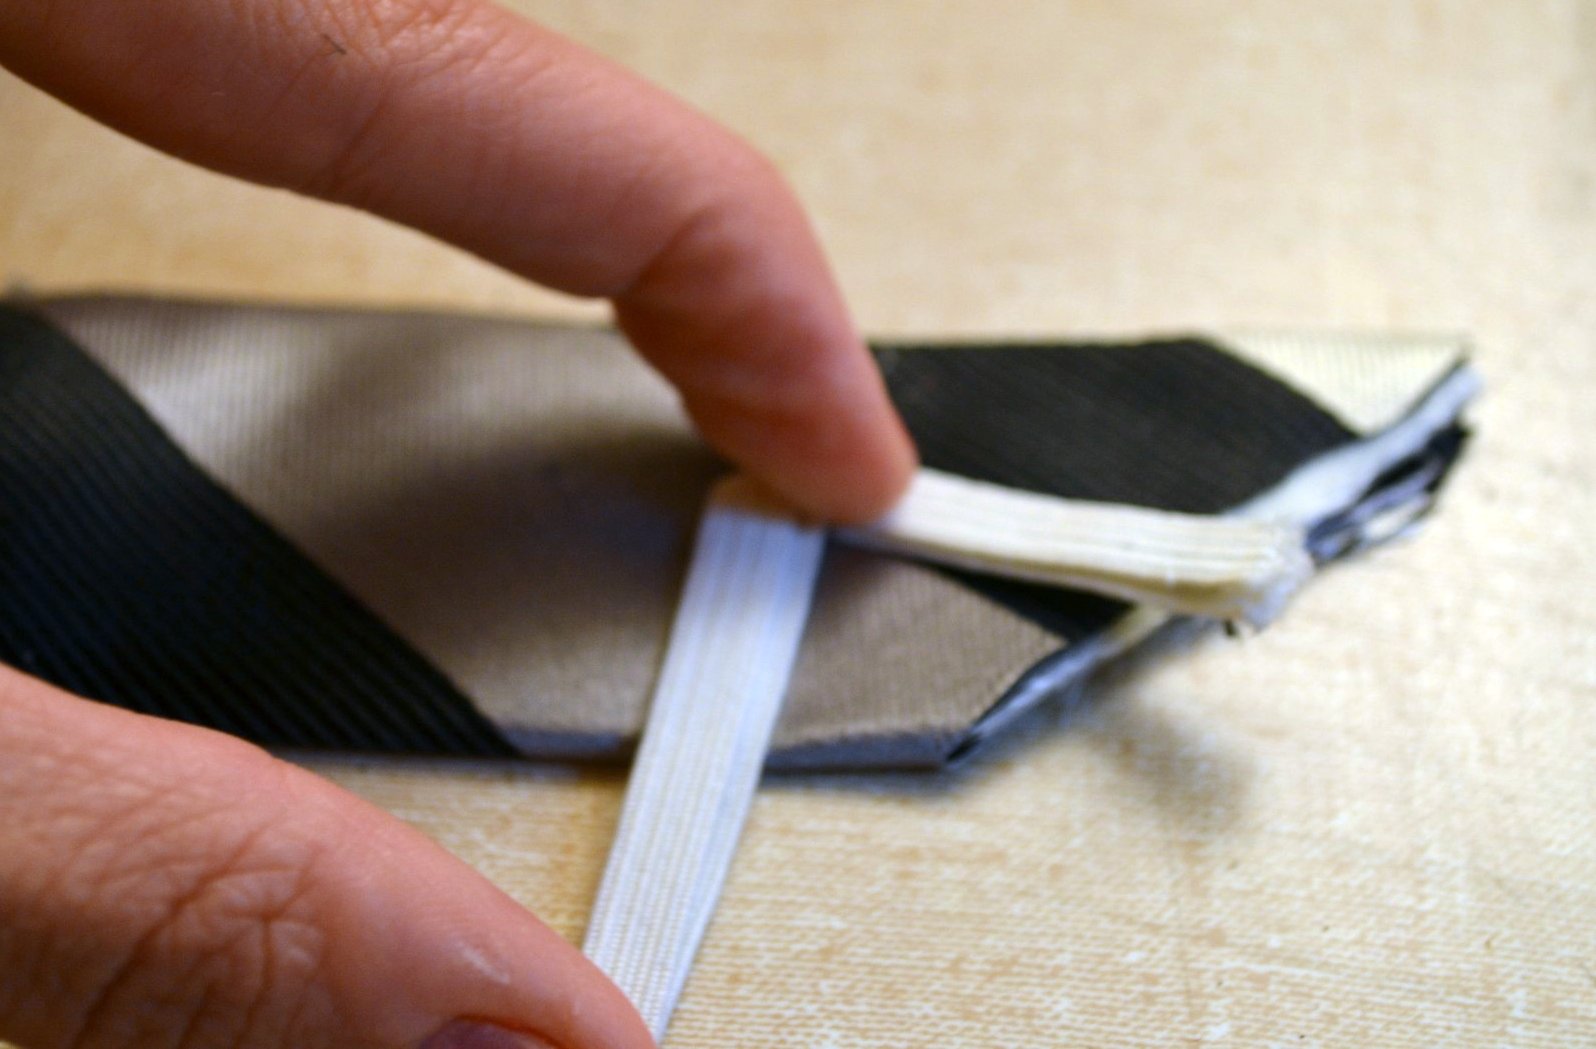
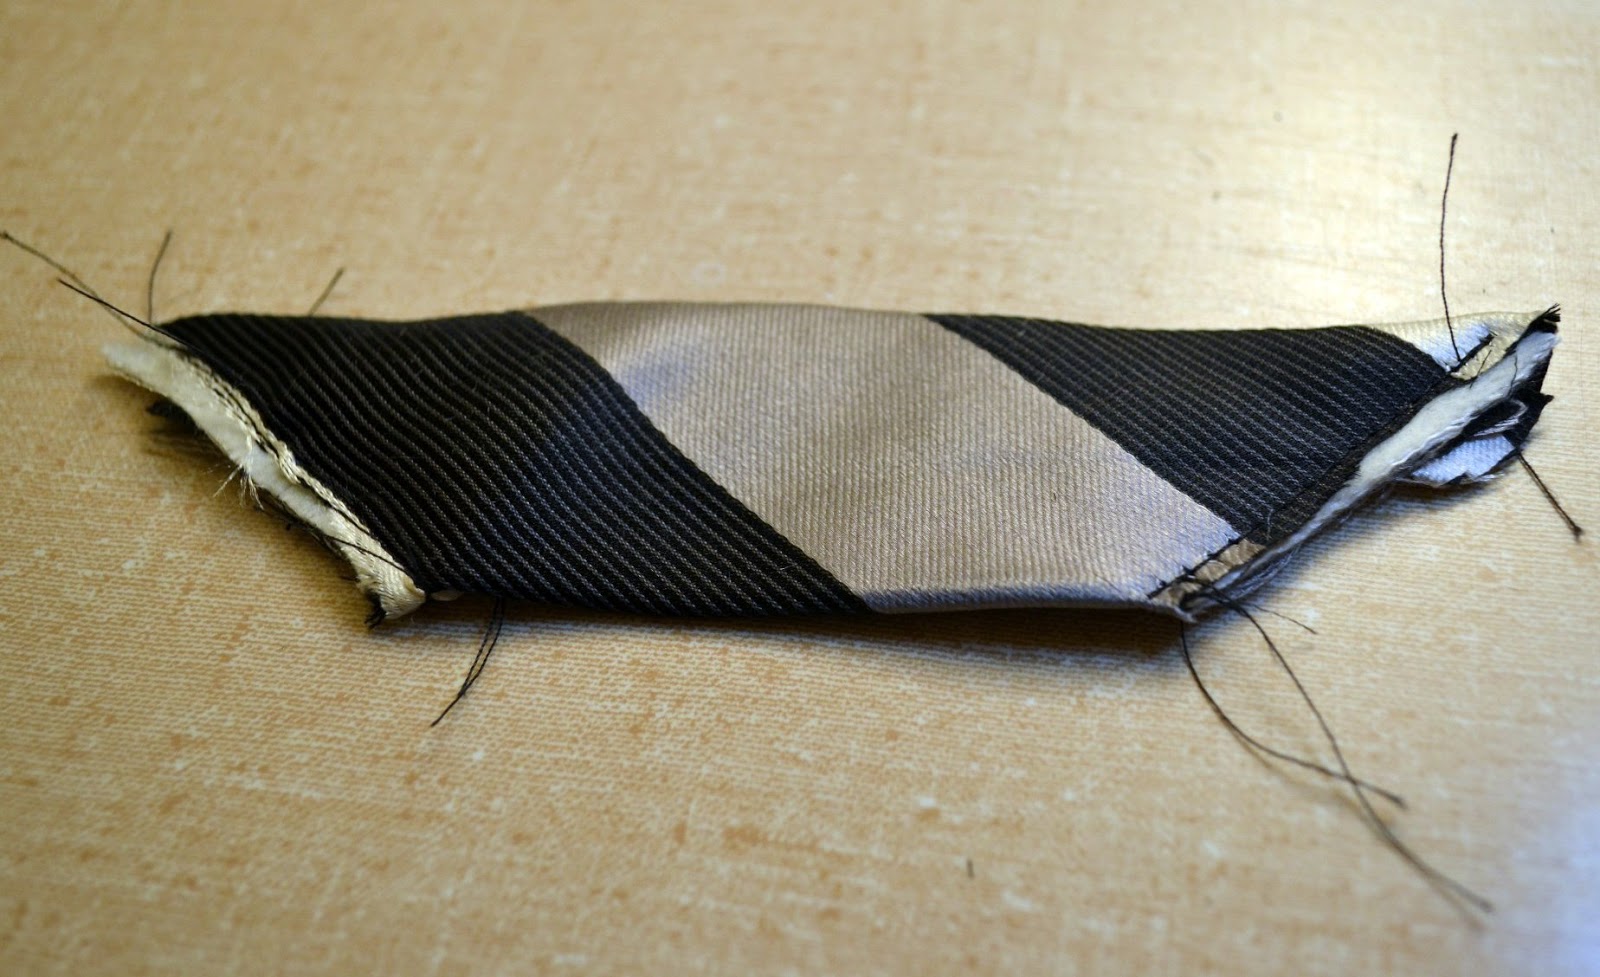
Fold right sides together.
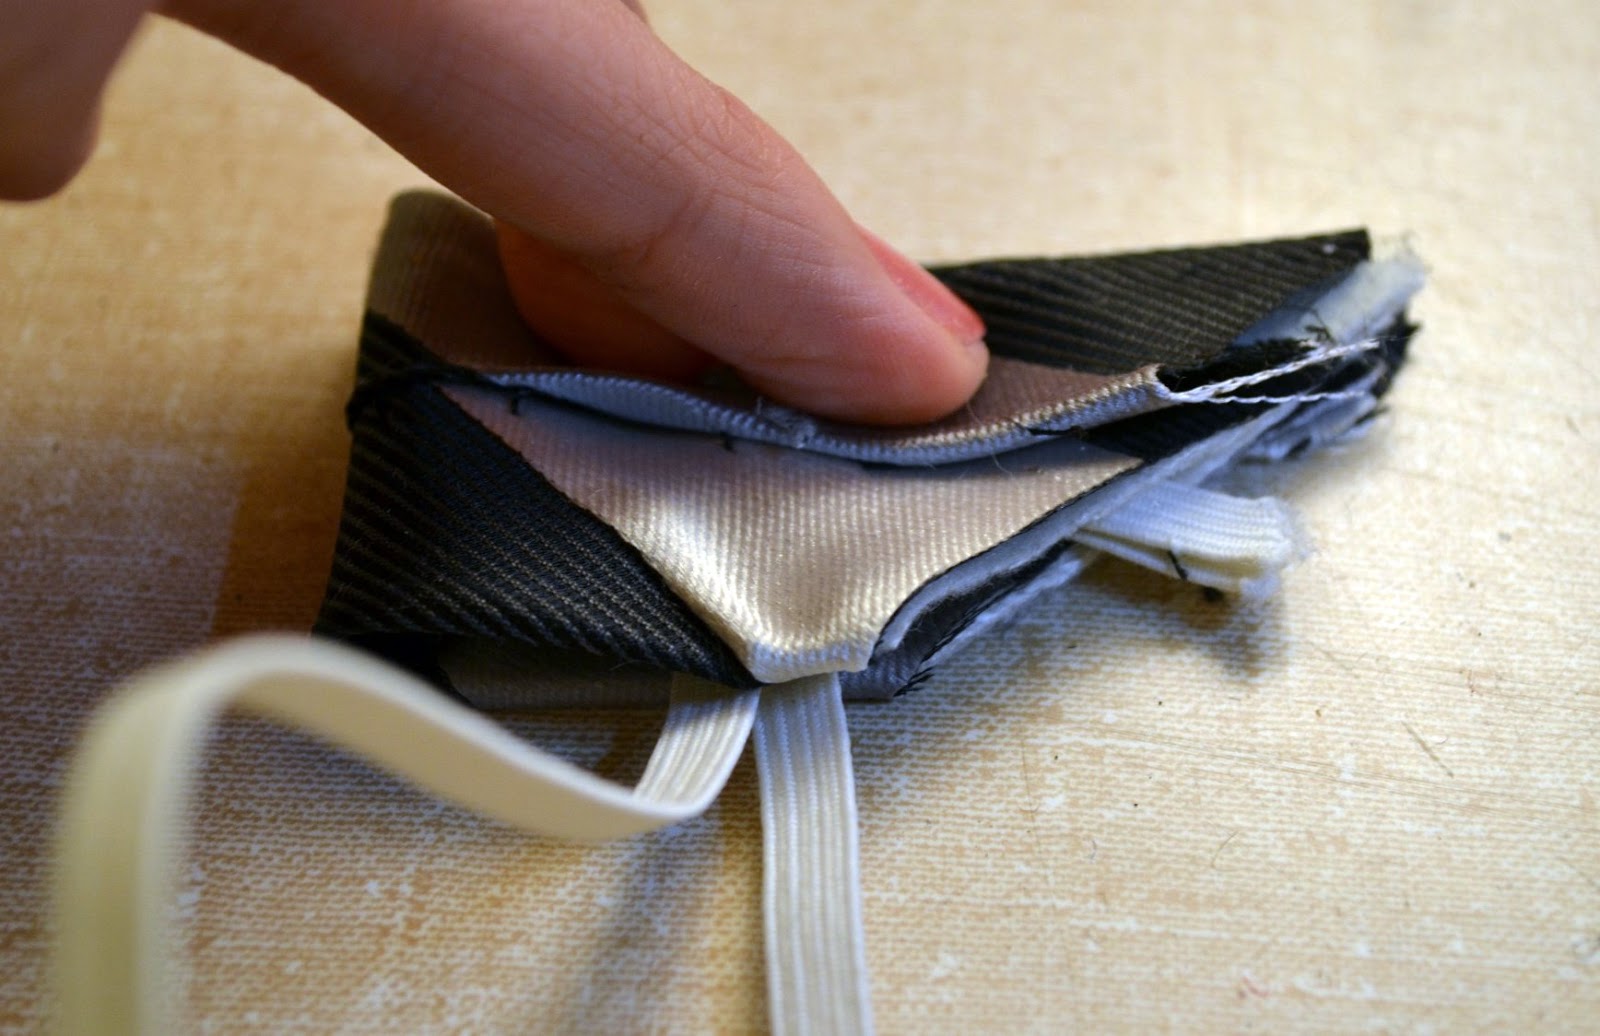
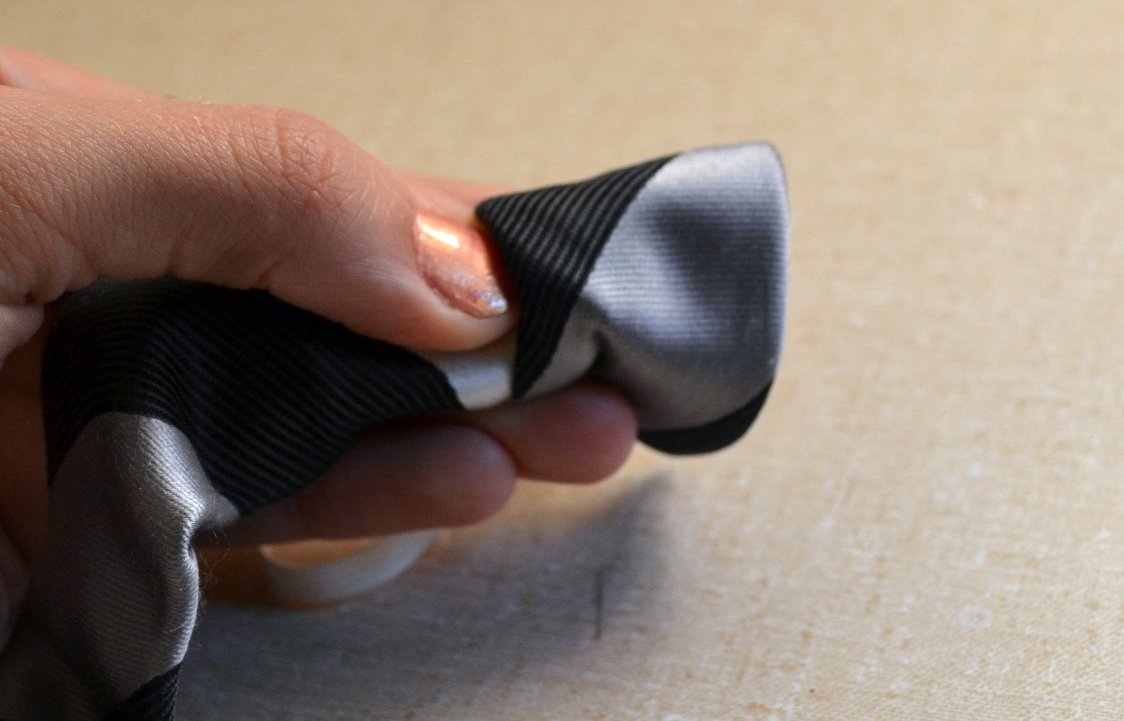
Fold both corners down matching raw edges.
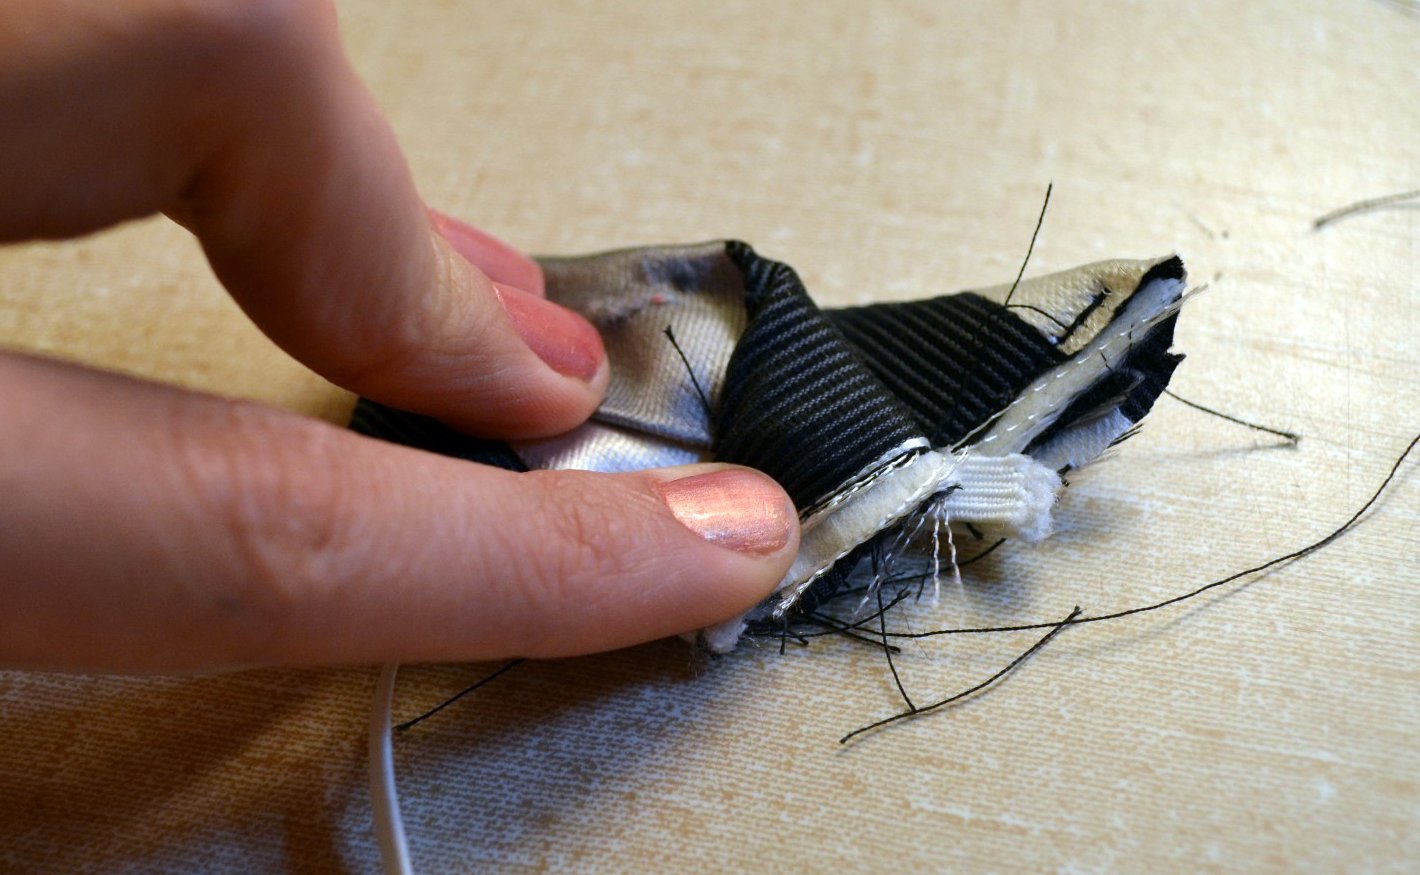
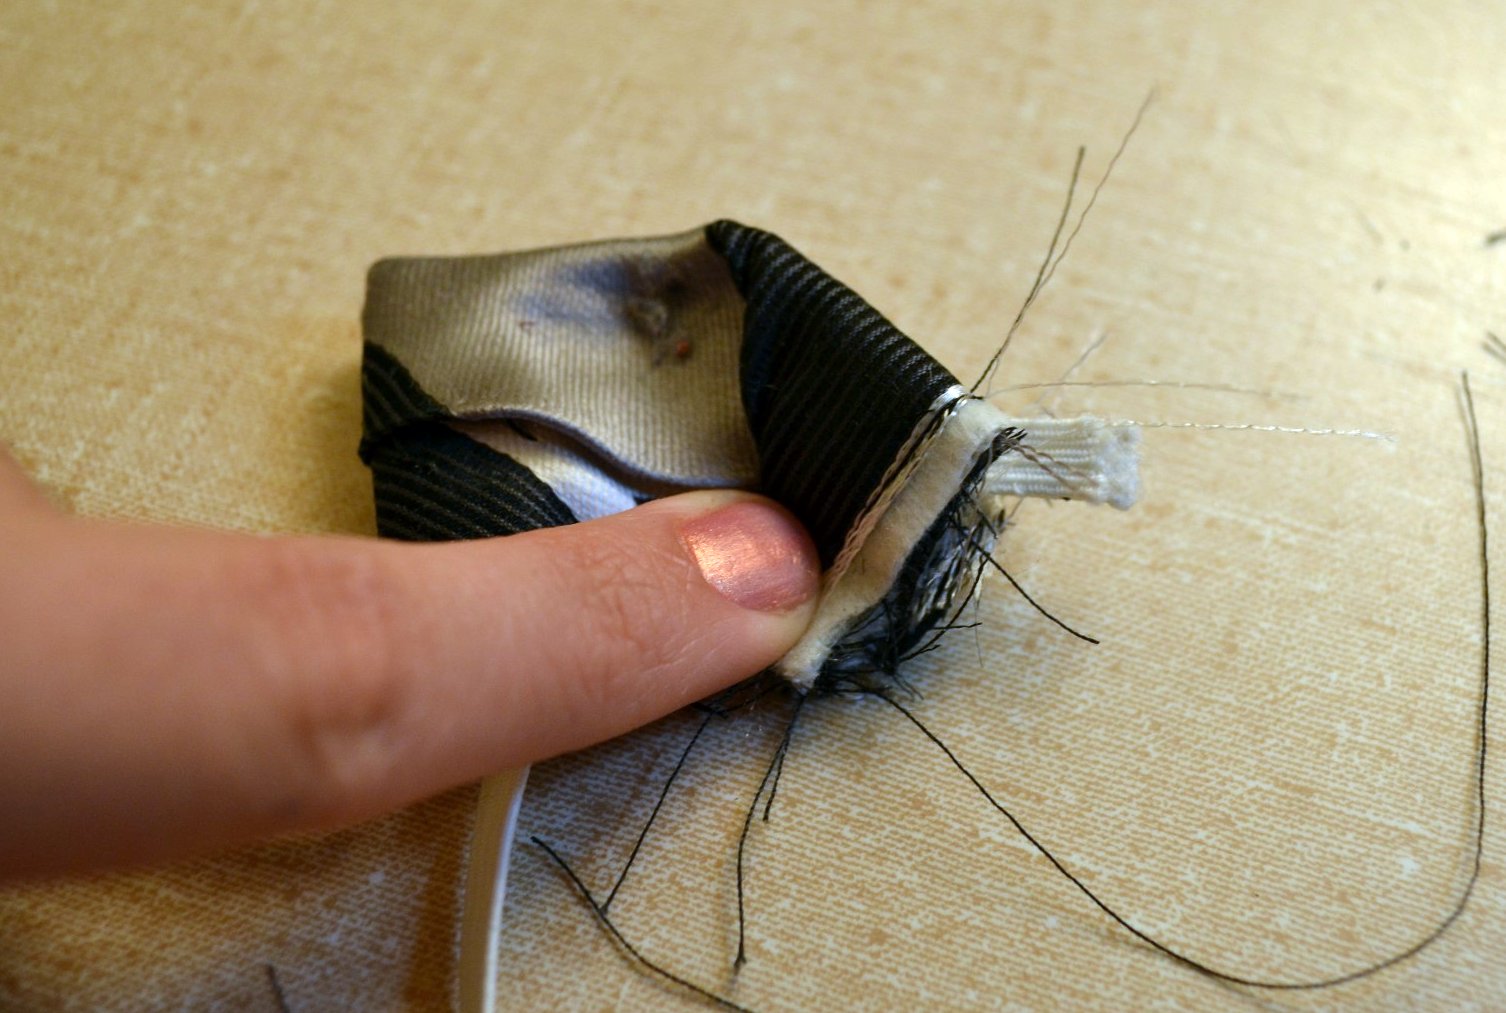
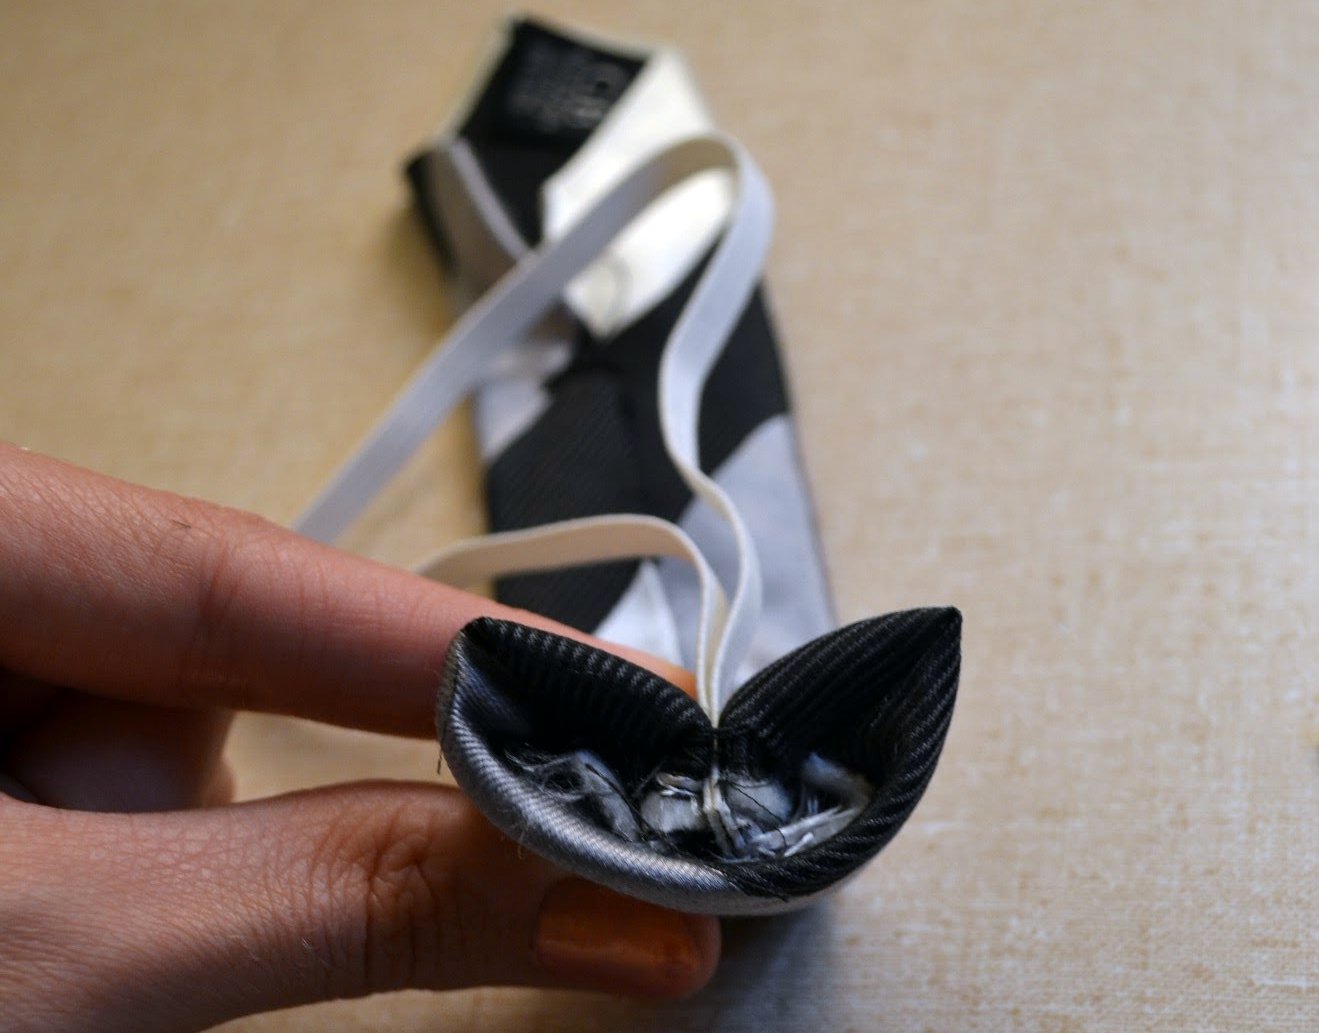
Sew at a scant 3/8 inch down raw edge. Turn right side out.
Fold the top raw edges of the long part in to meet in the middle.

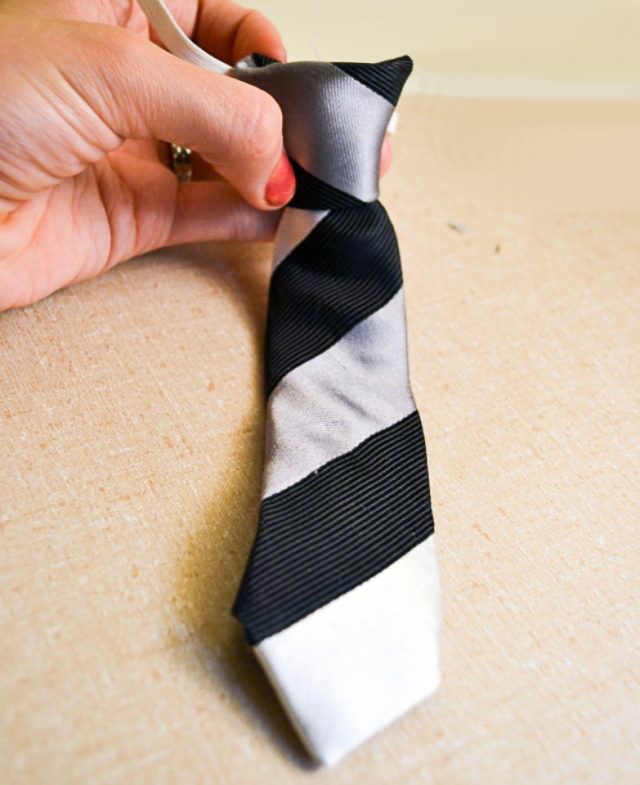
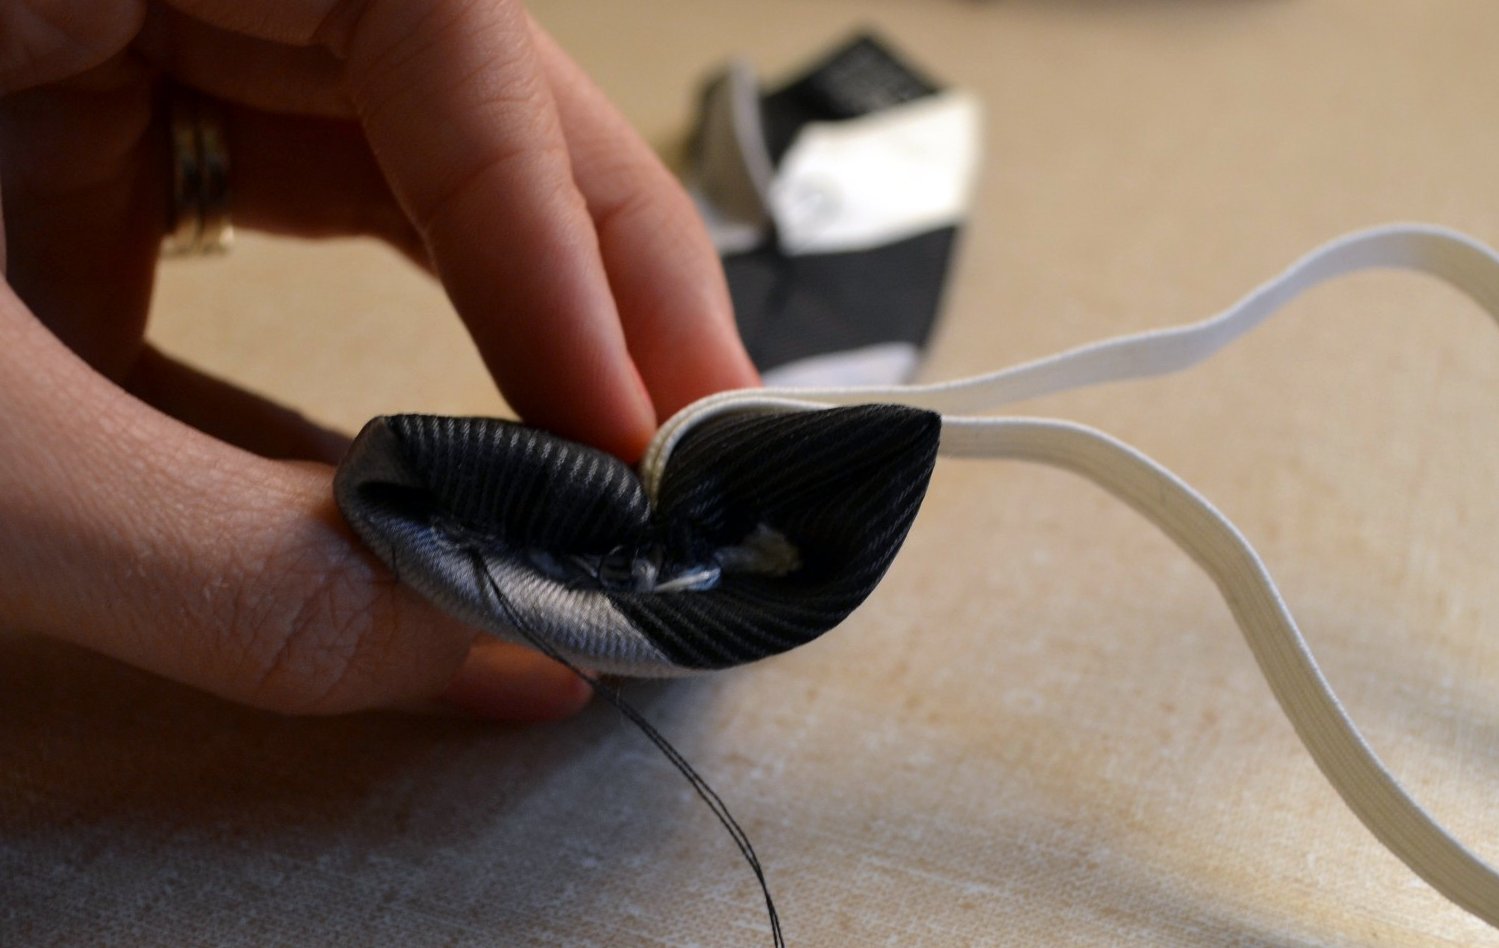
Slide the raw edge of the long piece into the knot from the bottom.
Hand sew the long piece inside the knot. Don’t sew the top edge of the front of the knot or else it’ll make it look weird.

Slip it on to see how it looks! You finished.
If you make something using this sewing project, I’d love to see! Please share it on social media with the hashtag #heatherhandmade and tag me!

I believe small sewing moments can create great joy. Find your own “right” way to sew. -Heather
What an incredibly sweet tutorial. Your love of sewing is infectious. I feel inspired to whip one of these adorable ties up too 🙂
This is an awesome tutorial thanks.
Thank you for figuring this out! Much, much easier than the tutorial I tried last Christmas. We'll see if we can work some up for this year.
So doing this for B!! Thanks:)
Ok, this is awesome. I have checked out all those other tie tutorials, but I just don't want to spend the time to make one. But this looks like something I could do. And since all the ties at the stores for little boys are clip on, which in my mind can't be comfortable, this is perfect!
Thanks for sharing!