
How to Sew a Drawstring Bag

This post may contain affiliate links.
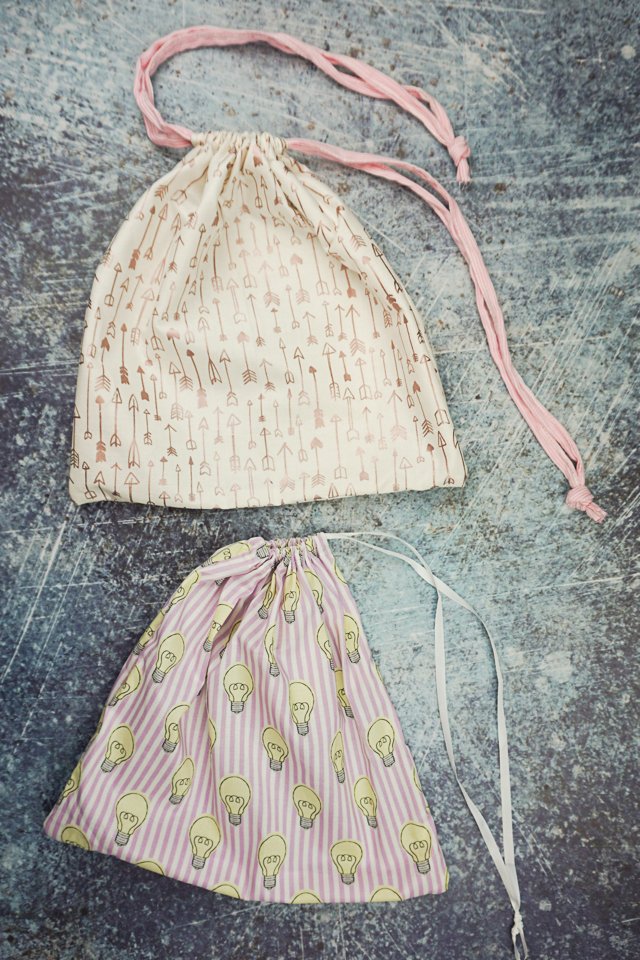
Learn how to sew a drawstring bag with a free drawstring bag sewing pattern. It can be changed to any size, and it can hold so many different things.
A drawstring bag is quick and easy sewing project, but it’s so useful! I have one in my car that holds emergency clean clothes for the kids. I have one in my purse that is ready to hold dirty, wet clothes. I have one that I use to wash my reusable face pads.
I am sharing the free sewing pattern for this medium sized drawstring bag, but once you know how to to make a drawstring bag you can change the size to anything you need. You can make tiny drawstring bags or large drawstring bags with this sewing tutorial!

The great thing about diy drawstring bags is that they are the perfect scrap fabric projects. You can use small pieces of fabric and leftover pieces of ribbon or bias binding. I love matching up scraps together to see what colors will work.
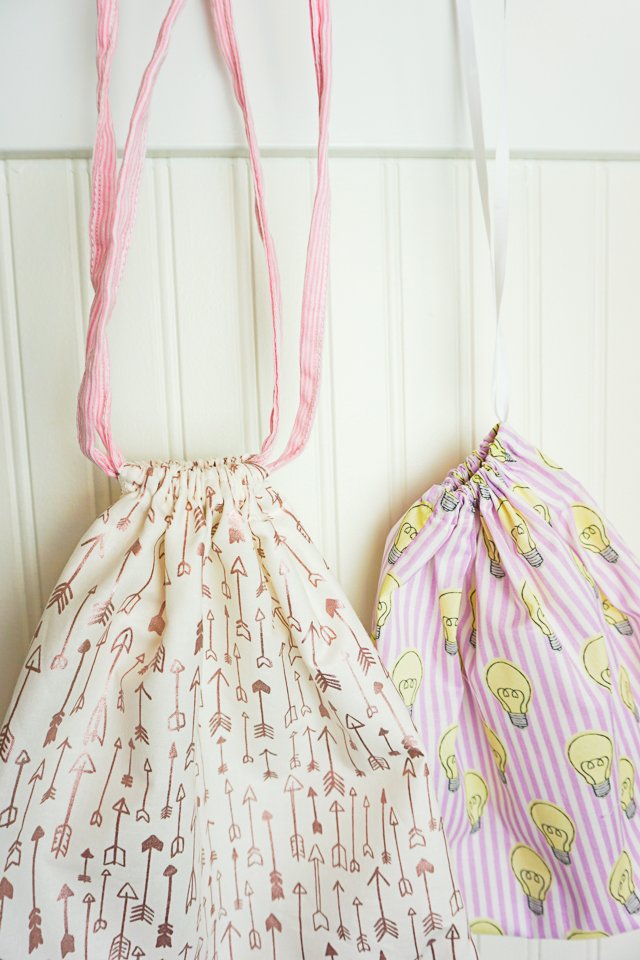
In this tutorial you’ll learn how to sew a drawstring bag with either one drawstring or two drawstrings.
Are you looking for some other great sewing projects? Check out one of these!
- scrap fabric sewing projects
- DIY tote bags and free tote bag patterns
- beginner sewing projects
- Small sewing projects
- Fat quarter sewing projects
- eco friendly sewing projects
How to Sew a Drawstring Bag
supplies
- 1 fat quarter of fabric
- 18 inches or more of ribbon, rope, twine, bias binding, etc. that can be used for the drawstring
- sewing tools
- sewing machine
Free Drawstring Bag Sewing Pattern
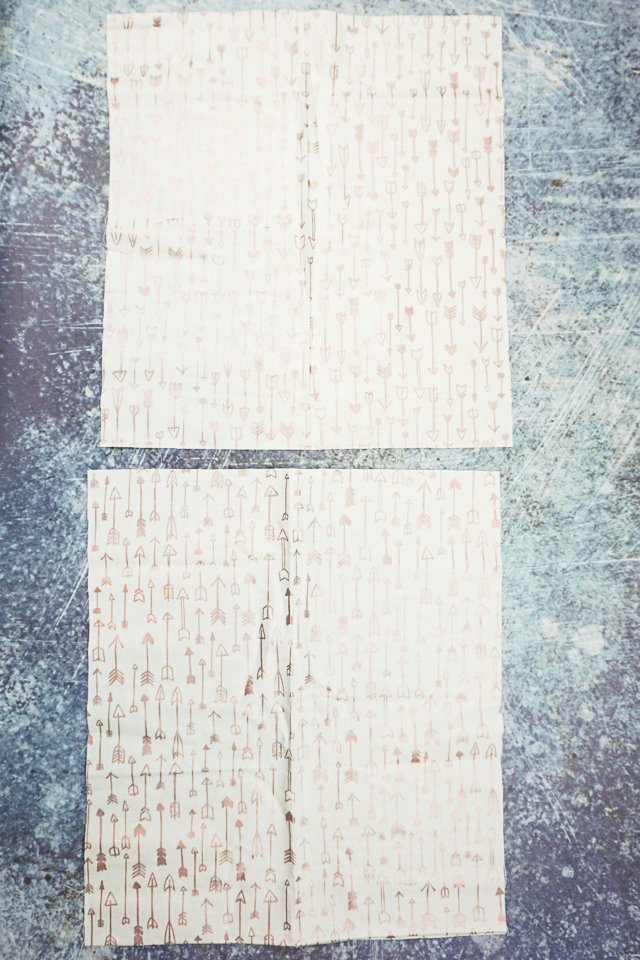
Cut two pieces of fabric 13 inches tall by 12 inches wide. This size can be changed as long as the amount that will be lost is taken into account. 1 and 3/8 inch will be lost from the height and 3/4 inch will be lost from the width.
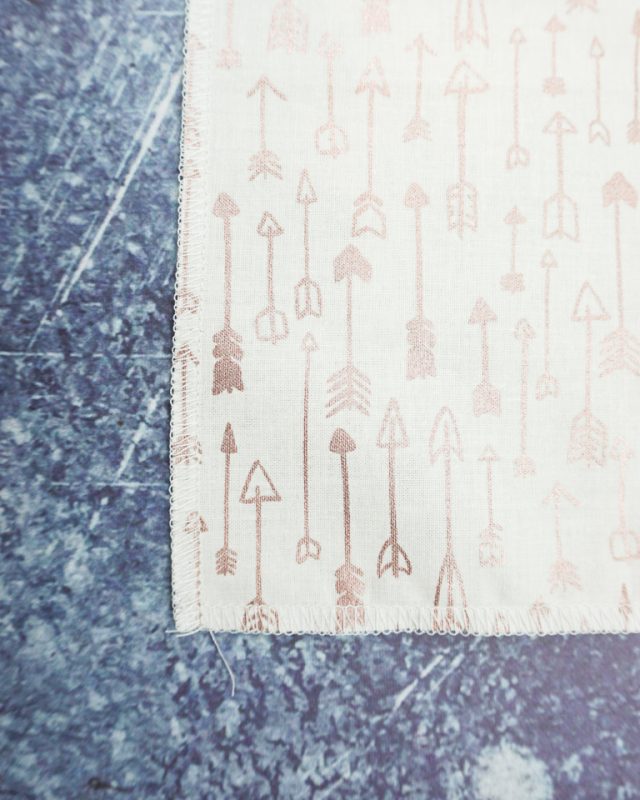
Finish the edges of both sides and the bottom of each piece separately. You can do this by serging or choosing another seam finish.
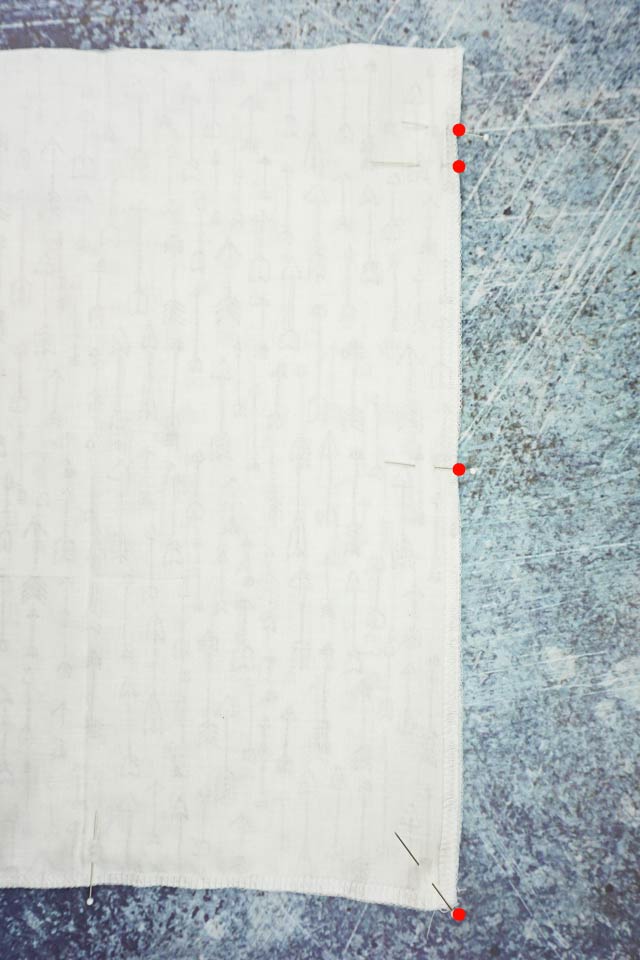
With right sides together pin the bag pieces together.
Mark 1 inch from the top with a pin. Then mark 1/2 inch below that pin with another pin. You can choose another marking method if you choose.
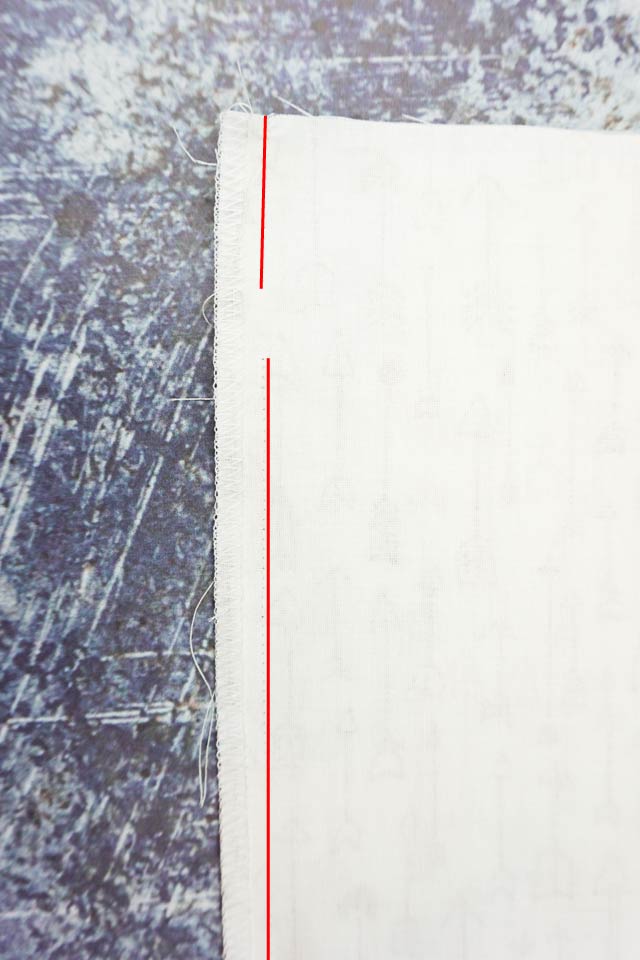
Start at the top of one side, backstitch. Sew down to the first pin, backstitch. Start sewing at the next pin, backstitch.
Sew down to the corner, pivot, sew to the next corner, pivot. Sew until you get to the pin marking, backstitch. Start sewing at the next pin, backstitch. Sew to the top and backstitch to end.
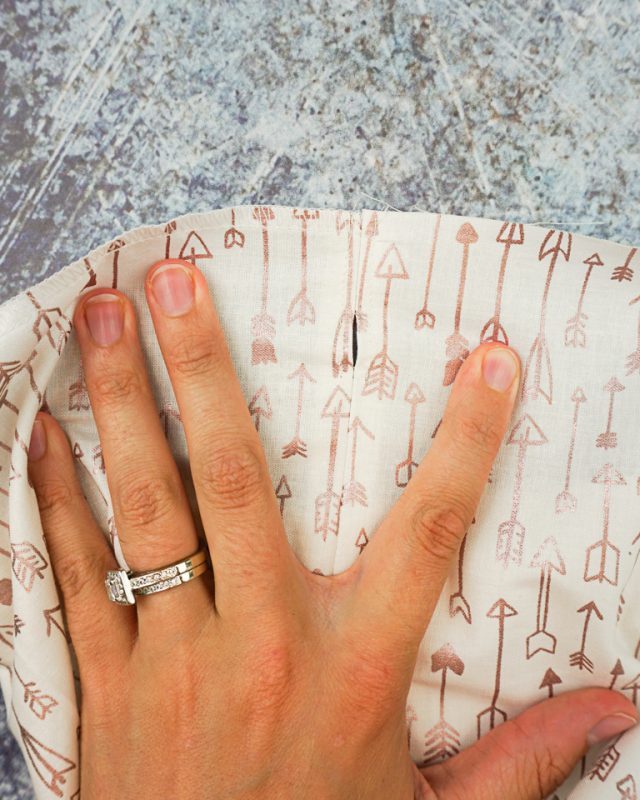
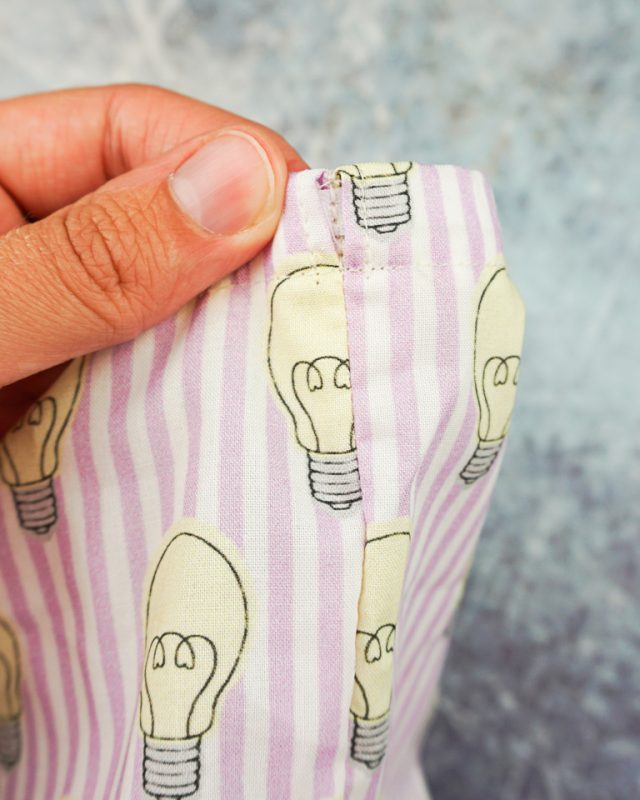
Press the seam open. You will be able to see the small 1/2 inch hole from the right side. Topstitch the seam allowance away from the hole for 1 and 1/2 inch from the top.
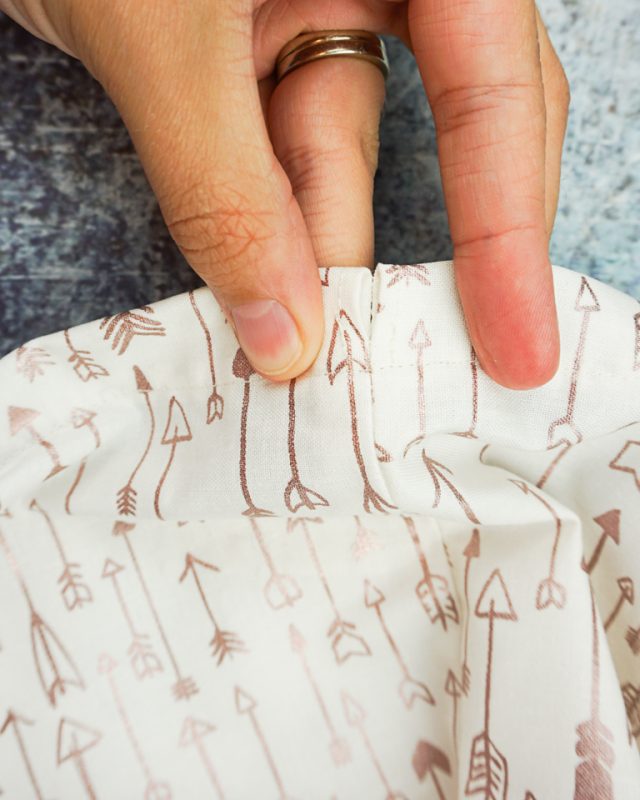
Fold the top down 1/4 inch. Fold it again 5/8 inch. Pin in place all the way around the top. Press the folds in place.

Sew 1/2 inch from the top all the way around the top of the bag. The stitch line should go right under the holes in the seams.
How to Sew a Drawstring bag with one drawstring
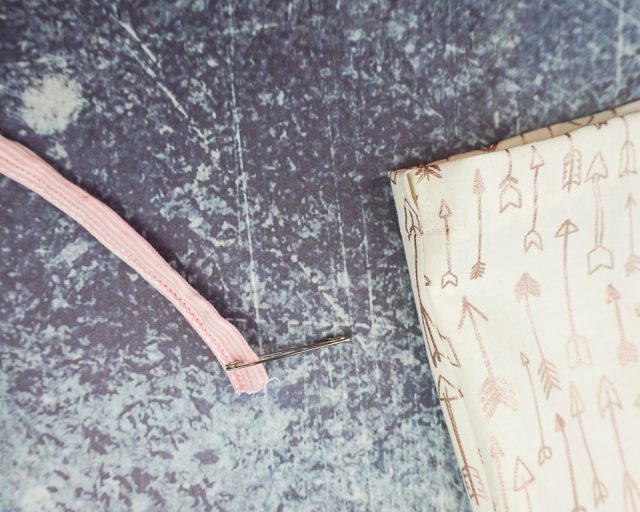
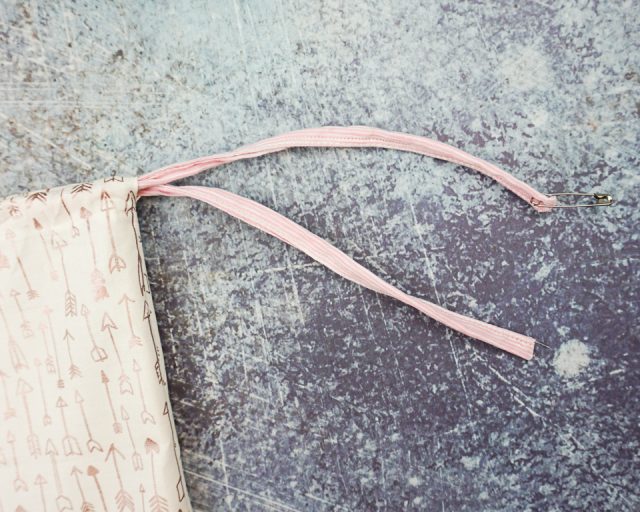
Put a safety pin on one side of the drawstring you will be using. Slip it into the hole, and thread the drawstring all the way throught the casing until it meets the first hole.
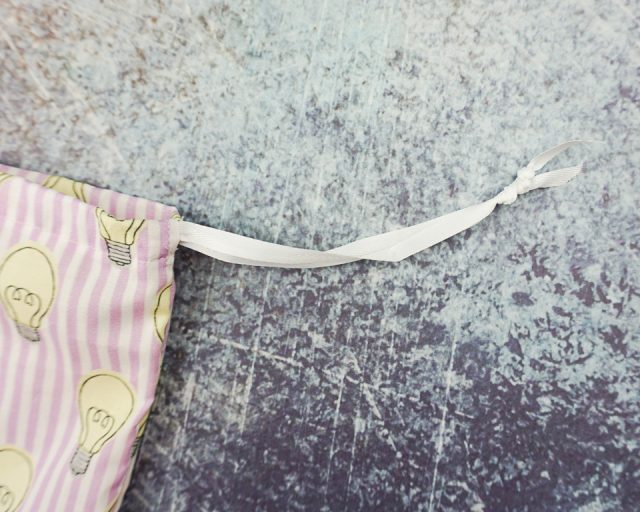
Pull the drawstring out until both tails are even.

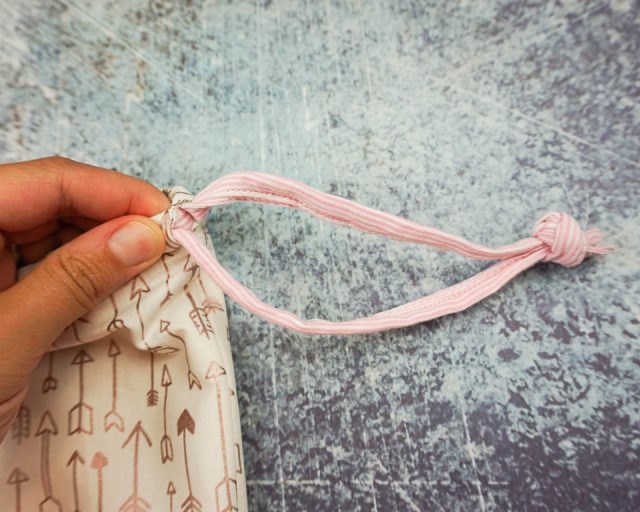
Tie a knot to keep the drawstring together to prevent it from being pulled out of the casing. Optionally, you can also add a knot at both ends of the drawstring to prevent fraying.
The other hole will still be there. I sewed a couple of stitches inside the hole to prevent the drawstring from coming out.
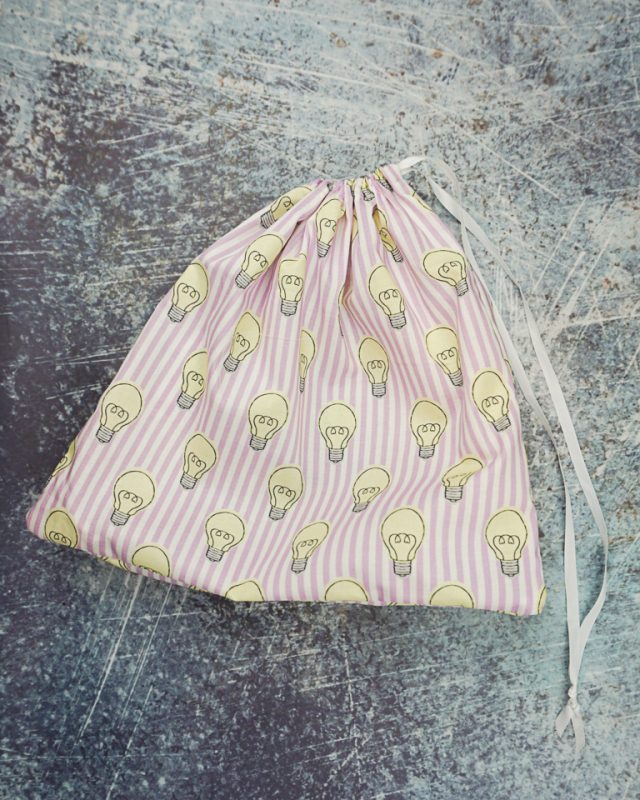
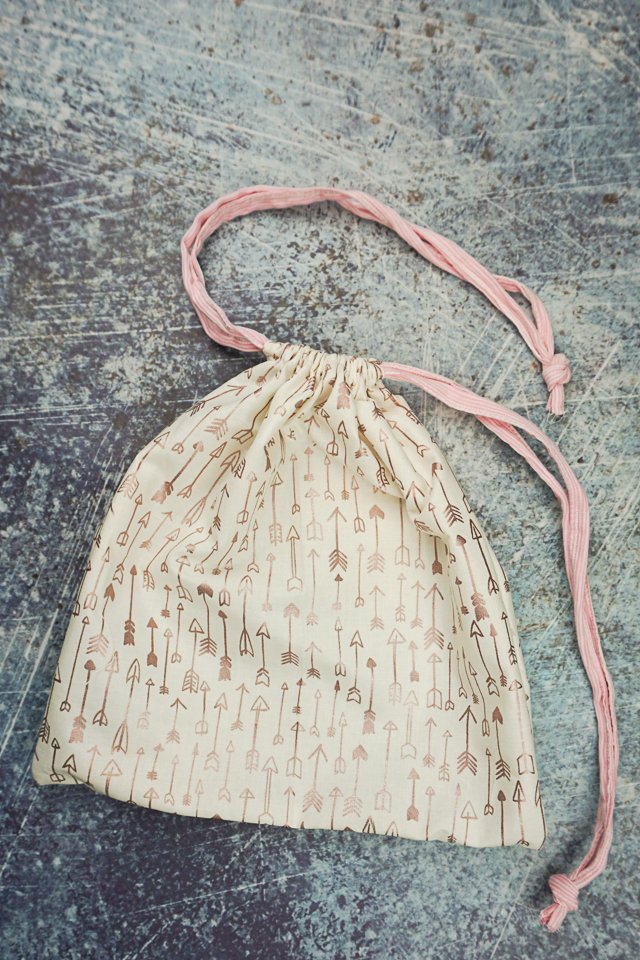
Hold the drawstring and push the fabric away from the knot to close the drawstring bag.
how to sew a drawstring bag with two drawstrings
Put a safety pin on one side of the drawstring you will be using. Slip it into the hole, and thread the drawstring all the way throught the casing until it meets the first hole.
Pull the drawstring out until both tails are even.
Put a safety pin on one side of the second drawstring you will be using. Slip it into the other hole, and thread the drawstring all the way throught the casing until it meets the second hole. Pull the drawstring out until both tails are even.
You’ll be able to see the opposite drawstrings through the holes. Tie a knot to combine each drawstring.
Pull both drawstrings at the same time to close the drawstring bag.
If you make something using this sewing project, I’d love to see! Please share it on social media with the hashtag #heatherhandmade and tag me!


I believe small sewing moments can create great joy. Find your own “right” way to sew. -Heather
I’m thinking one could “hack” this to a backpack kindof thing if you do it bigger with double drawsring and attach the drawsring to the bottom corners, or is there an easier way to do that?
I definitely think that could work. I actually plan on doing a tutorial on this in the next couple of months!
Great instructions. I’ve been showing for years, but was struggling to figure how to do the drawstring part of the bag and this gave me just what I needed. Thank you.