
Pieced Valentine Pillow Tutorial with Cricut

This post may contain affiliate links.
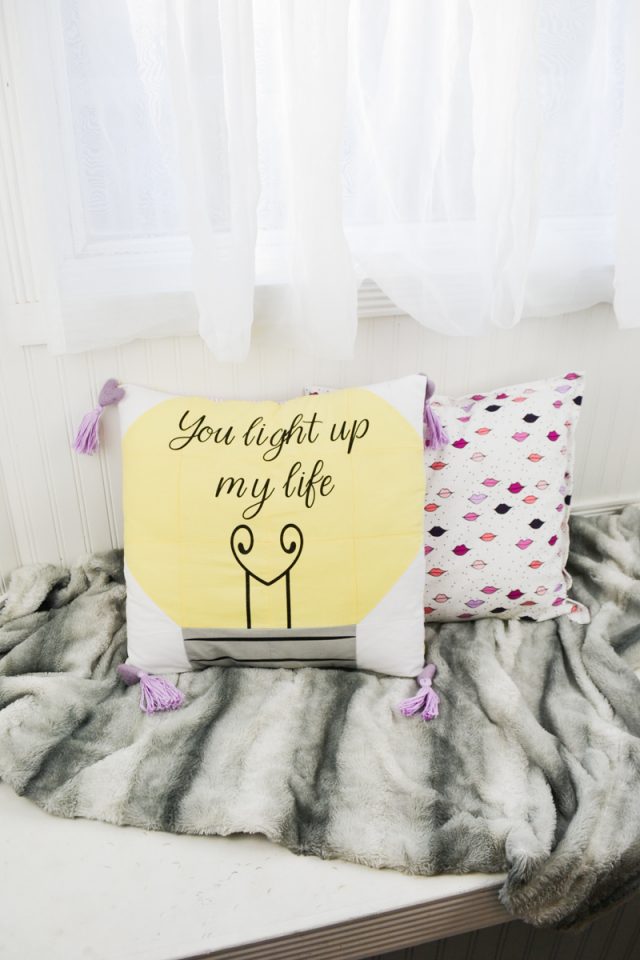
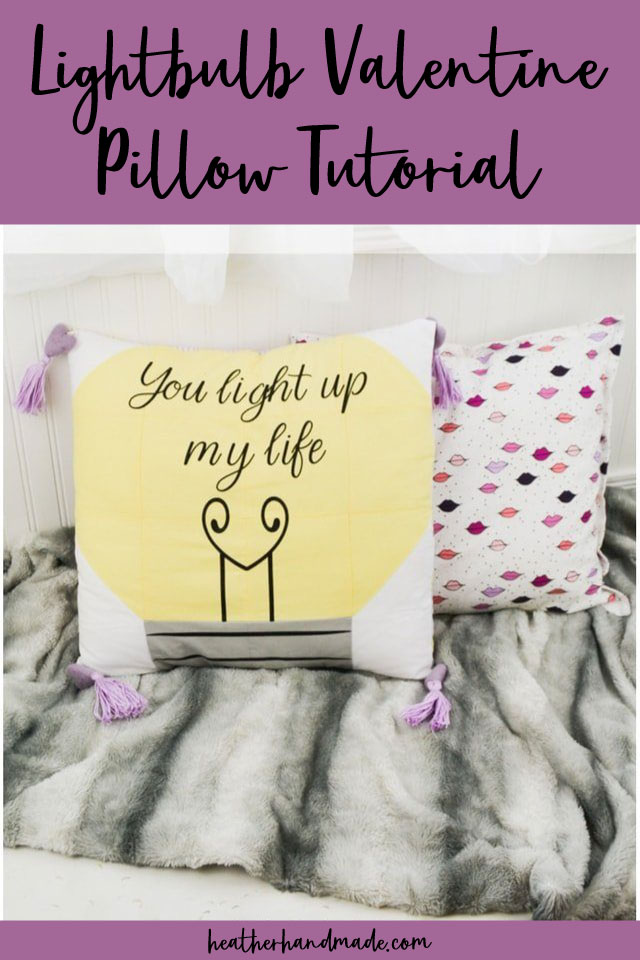
Make a cute Valentine decor with this “you light up my life” Valentine pillow tutorial. Use the Cricut Maker to cut out all the pieces!
This is a sponsored conversation written by me on behalf of Cricut. The opinions and text are all mine.
When I decorate for Valentine’s day I want to inspire my family with the love we have for each other. I want to show them how much I love them, and that they can love each other and the people around them. I decided to make a Valentine pillow tutorial that says, “You light up my life”.
I love making holiday pillow covers. I love that I was able to make a valentine pillow tutorial with lots of different materials and cut them all out with the Cricut Maker. Since I’m still a beginner in iron-on vinyl and quilting, the Cricut maker expands my crafting abilities.
If you want to make this valentine pillow tutorial but you don’t have the Cricut Maker, I’ve shared the amount and sizes of fabric squares and then you can use your cutting machine to cut out all the iron-on vinyl.

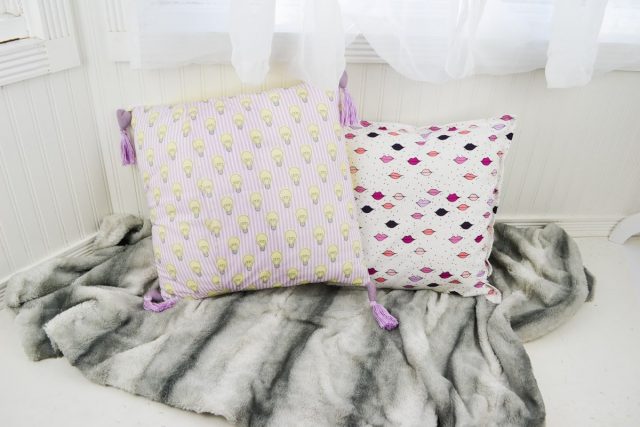
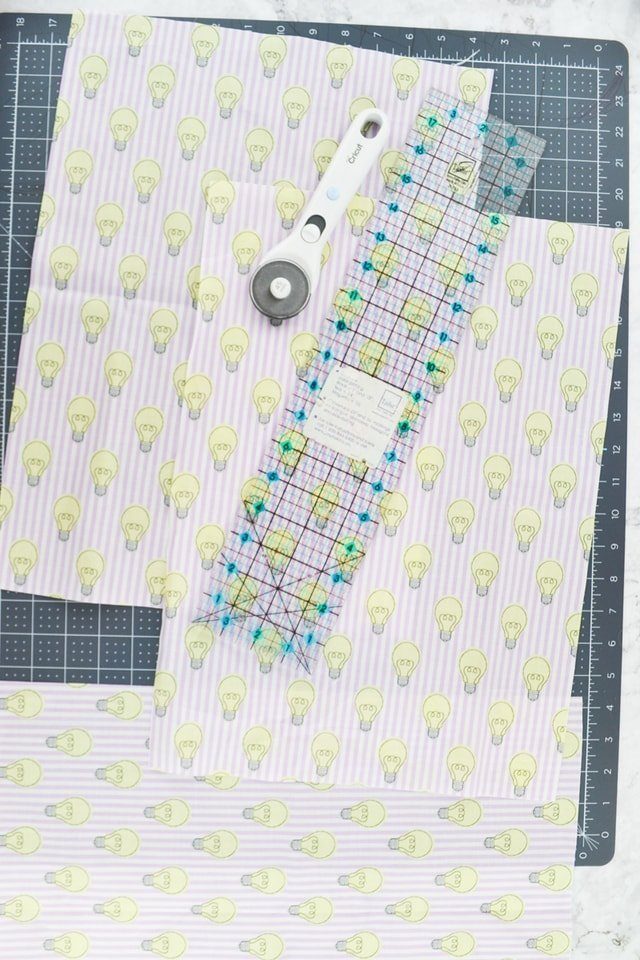
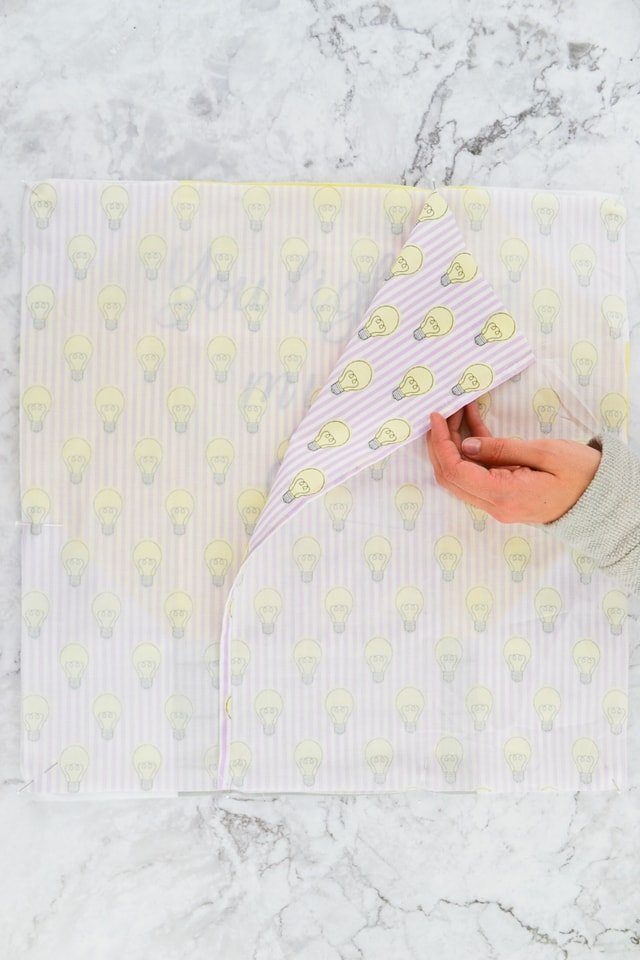
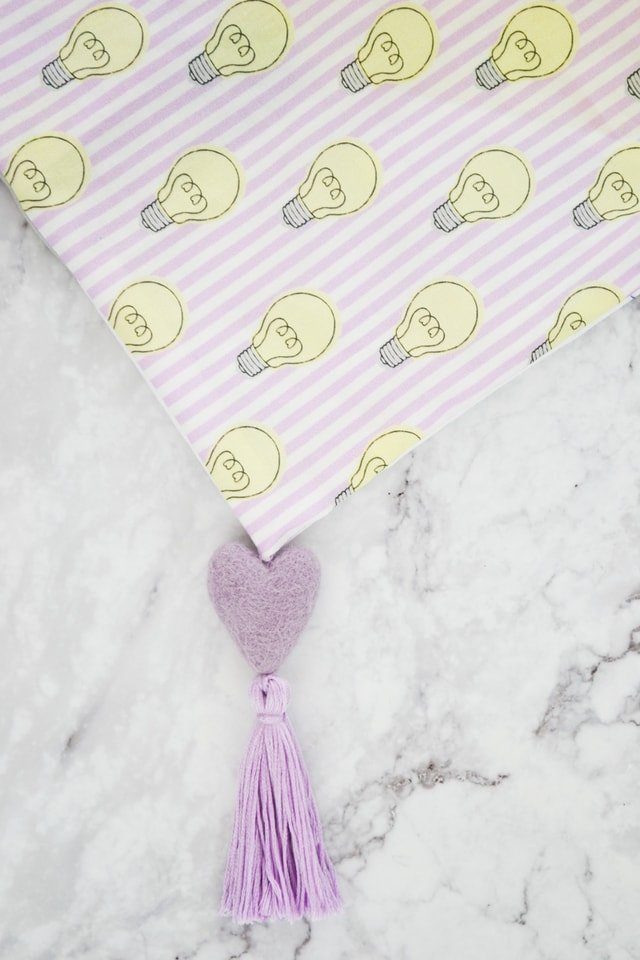
I really love the lightbulb fabric that I used on the back of the pillow cover. It’s so cute and it matches the felt hearts and embroidery floss perfectly. I love the way it looks next to the lips pillow I made using some Kiss Me Kate fabric*.
Do you love to sew pillows? Try one of these sewing projects:
Pieced valentine pillow tutorial
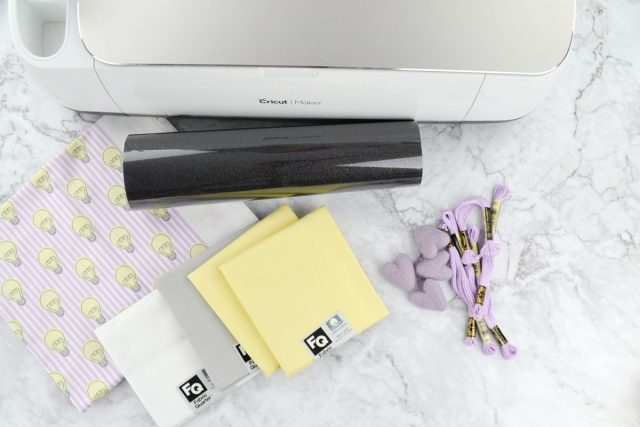
Supplies
- Cricut Maker*
- Black glitter iron-on vinyl*
- Washable Marker
- Fat quarters*: 1 white, 1 gray, and 2 yellow
- 1/2 yard of lightbulb fabric
- 18″x18″ pillow form*
- 5 packs of embroidery floss*
- 4 felt hearts*
- Lightbulb pillow pattern –
- 8 yellow squares 4.5″x4.5″, 2 yellow squares 5.5″x5.5″, and 2 white squares 5.5″x5.5″, 2 white squares 4.5″x4.5″, and 2 gray squares 4.5″x4.5″
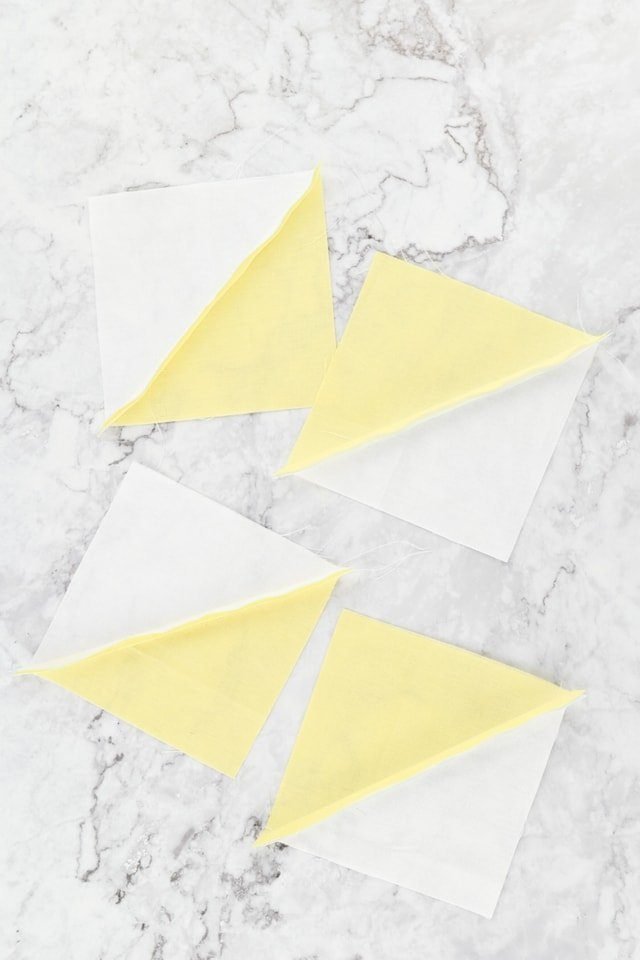
1- Use the Cricut Maker to cut out the fabric squares and the iron-on vinyl. Take the two largest white squares with the diagonal washable lines and place them on top of the largest yellow squares. Sew a line 1/4″ away from the washable line on both sides.
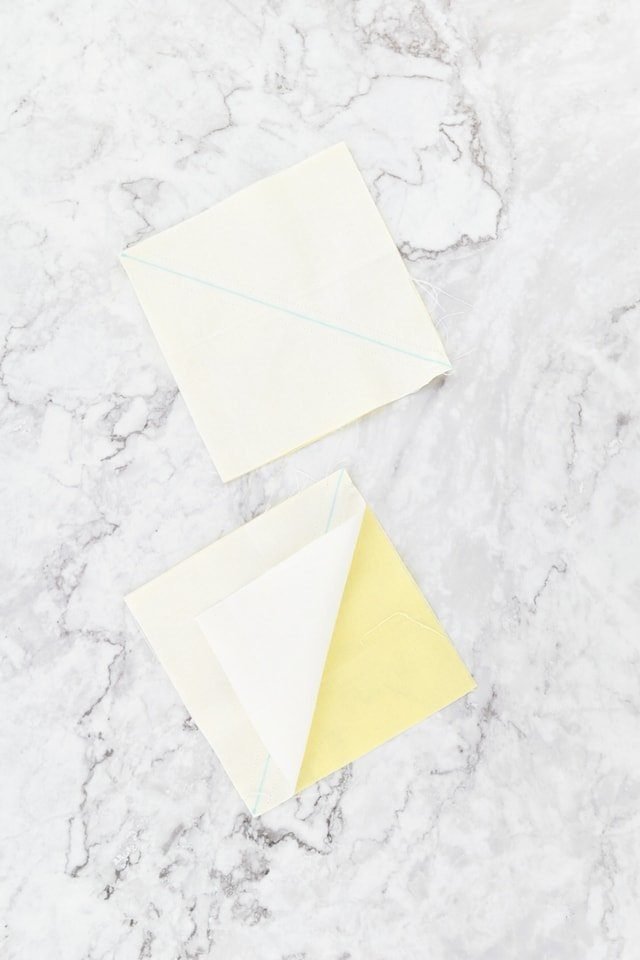
2- Cut along the washable line to make four half-square triangles. Press the seam allowance towards the yellow fabric.
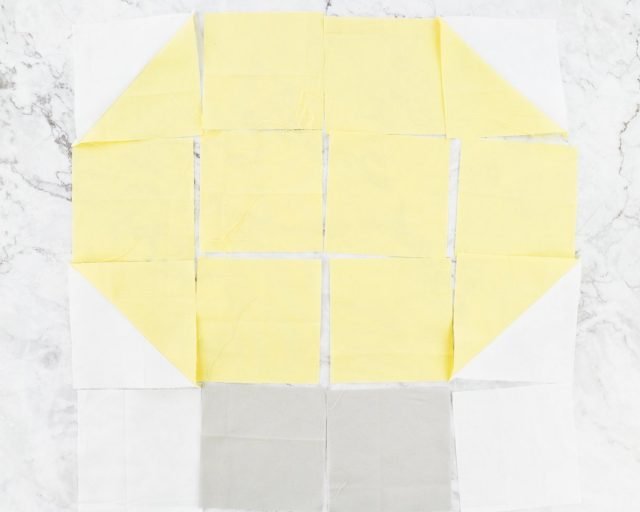
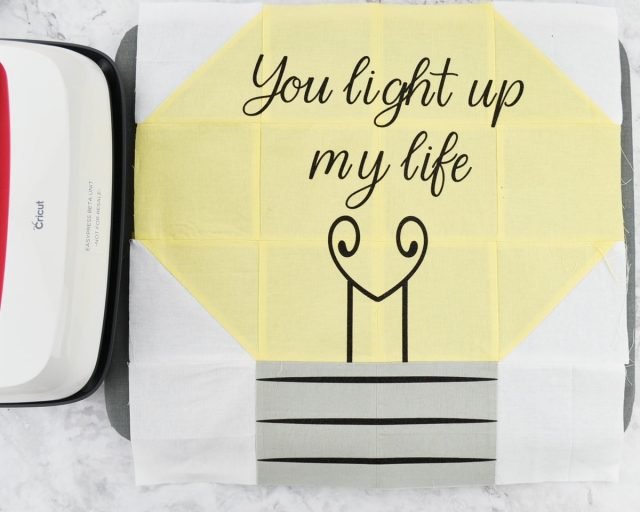
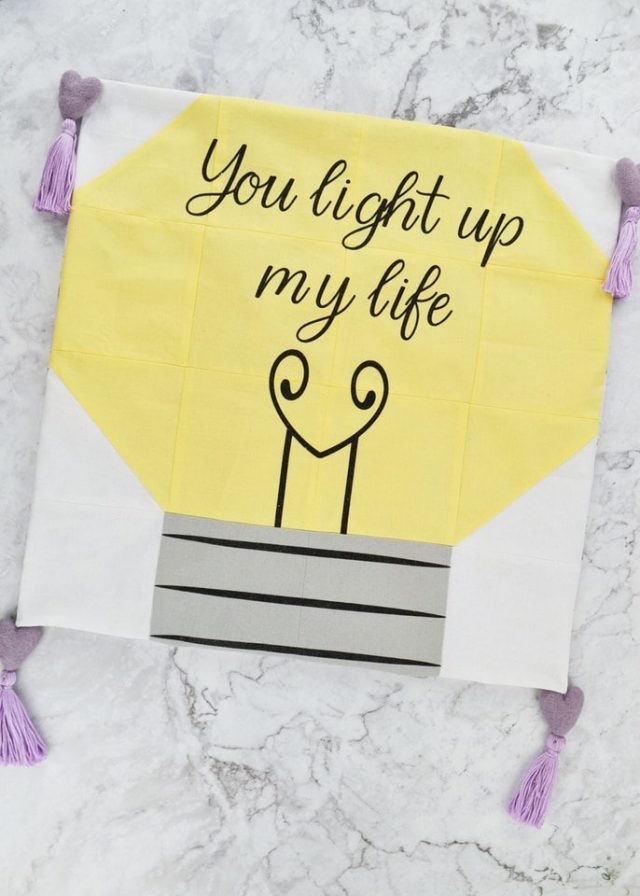
3- Lay out your squares to make a lightbulb design. The half-square triangles go on each corner of the lightbulb.
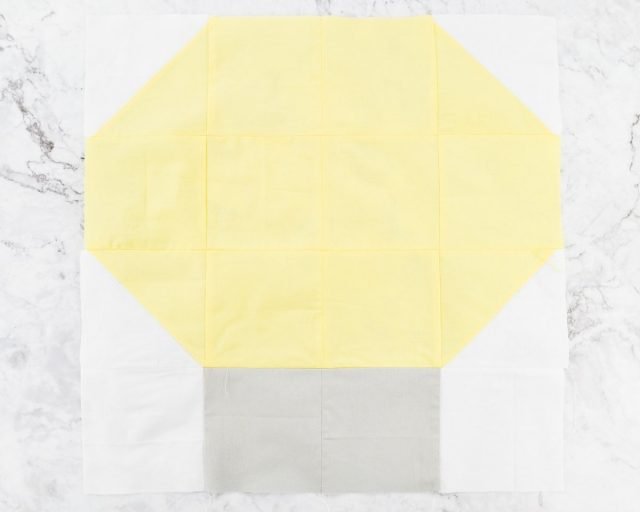
4- Sew the squares together in rows and then sew the four rows together.
5- Weed the iron-on vinyl.
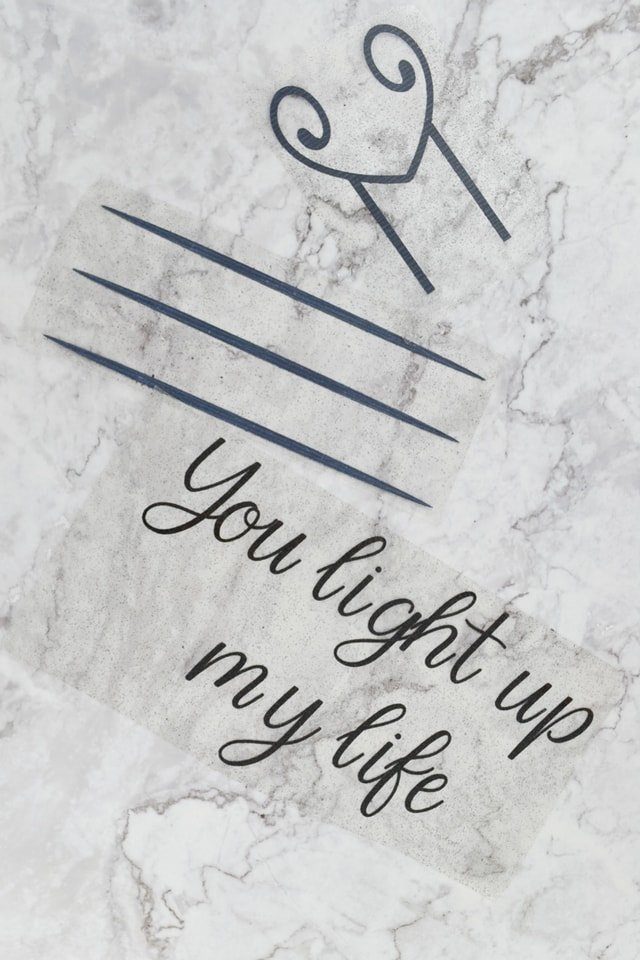
6- Place the iron-on vinyl onto the lightbulb design and fuse it using and Easypress 2 or an iron.
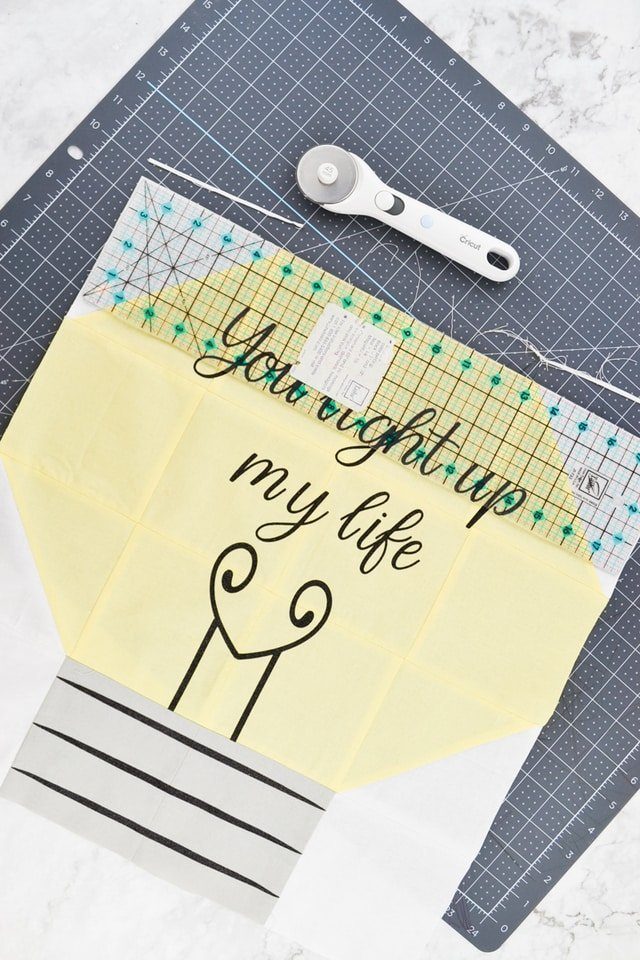
7- Square up the edges of your lightbulb design. Trim it down to 18″x18″.
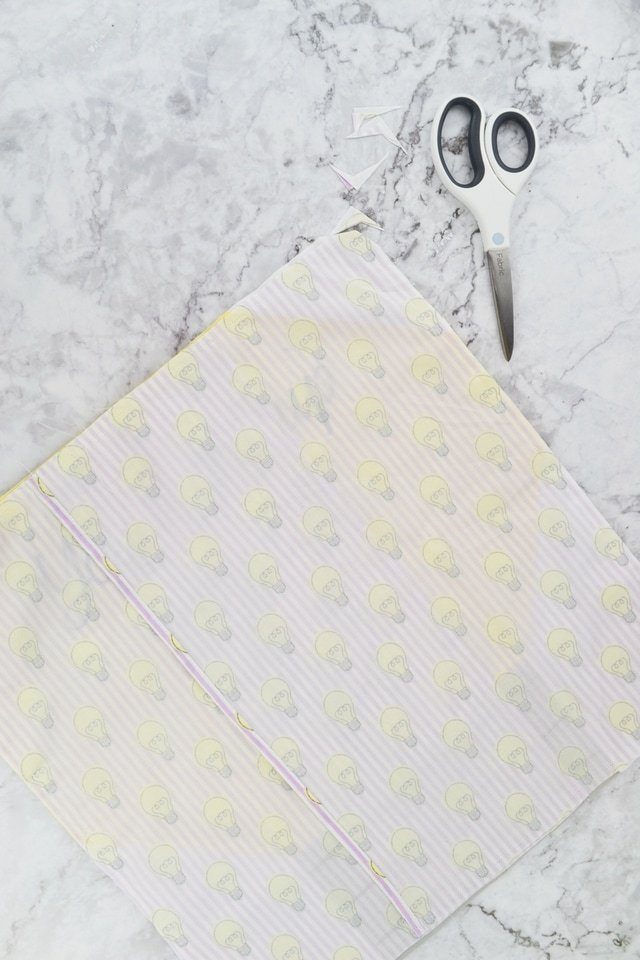
8- Cut out two pieces 13″x18″ from the back fabric.
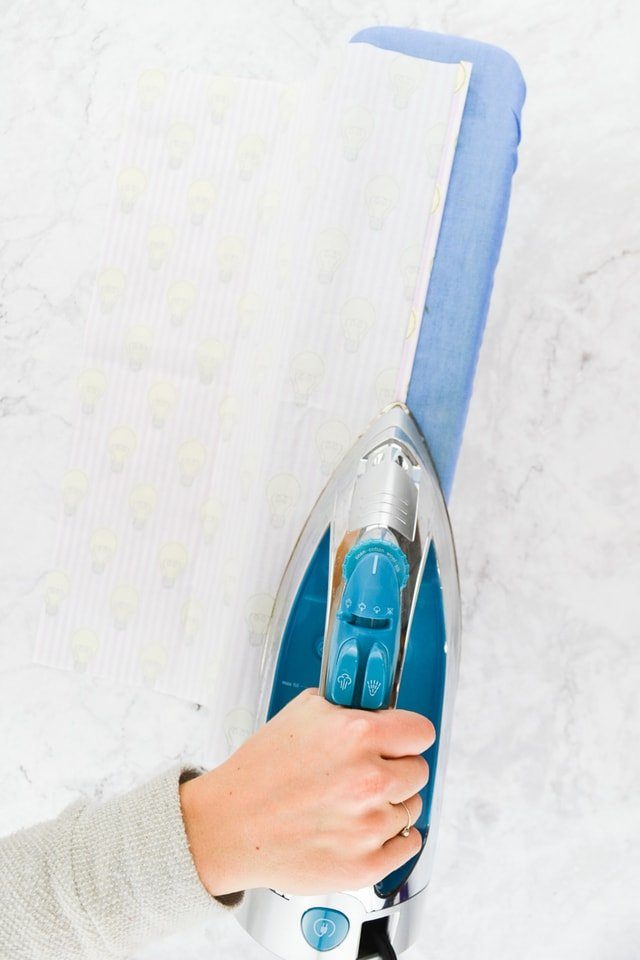
9- Fold the long side of one back piece over into a double fold hem and press. Fold the opposite long side of the other back piece over into a hem. Sew both of the hems.
10- Place the fabric backs pieces on the lightbulb design right sides together. The hemmed edges should overlap each other. Pin all the edges together.
Sew around the four sides with a 1/4″ seam allowance. Pivot carefully around each corner.
11- Trim the corners.
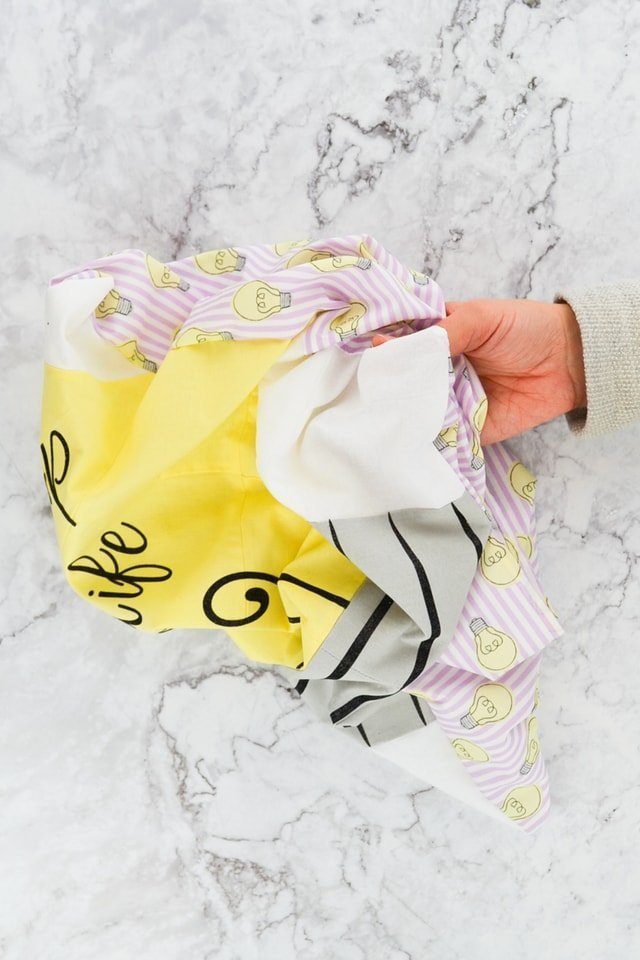
12- Turn the pillow cover right side out and poke out the corners.
13- Turn each pack of embroidery floss into a tassel using the fifth pack of embroidery floss to tie them together.
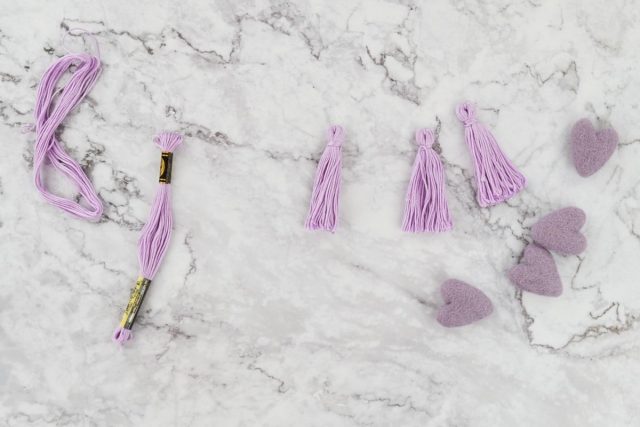
14- Hand sew the tassel onto the felt heart and sew it onto the corner of the pillow cover. Do the same to other corners.
15- Stuff a pillow form into your pillow cover using an 18″x18″ pillow form through the envelope back.
If you make something using this free SVG file, I’d love to see! Please share it on social media with the hashtag #heatherhandmade and tag me!

I believe small sewing moments can create great joy. Find your own “right” way to sew. -Heather