
Valentine Quilt with the Cricut Maker

This post may contain affiliate links.
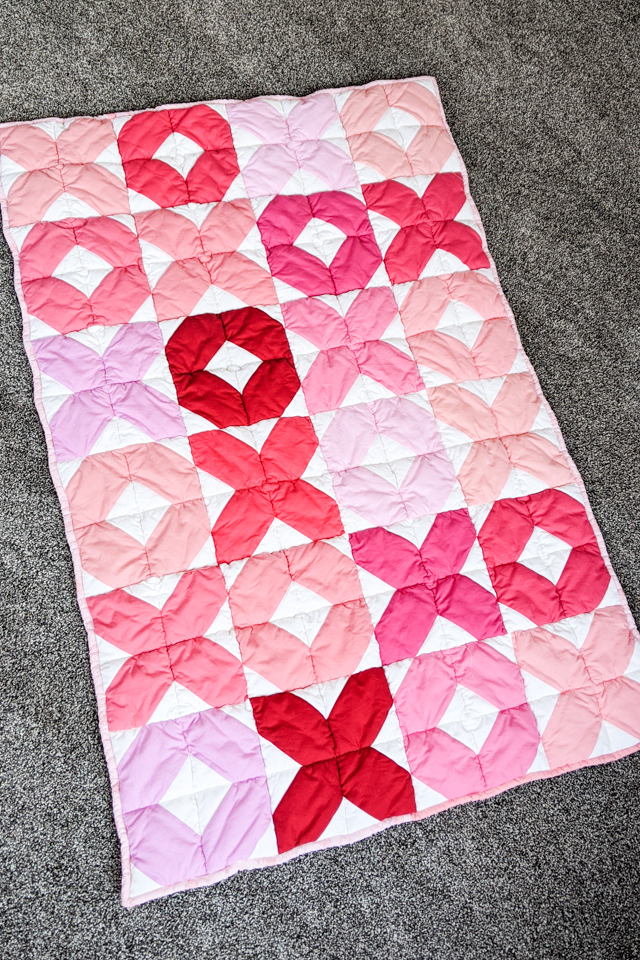
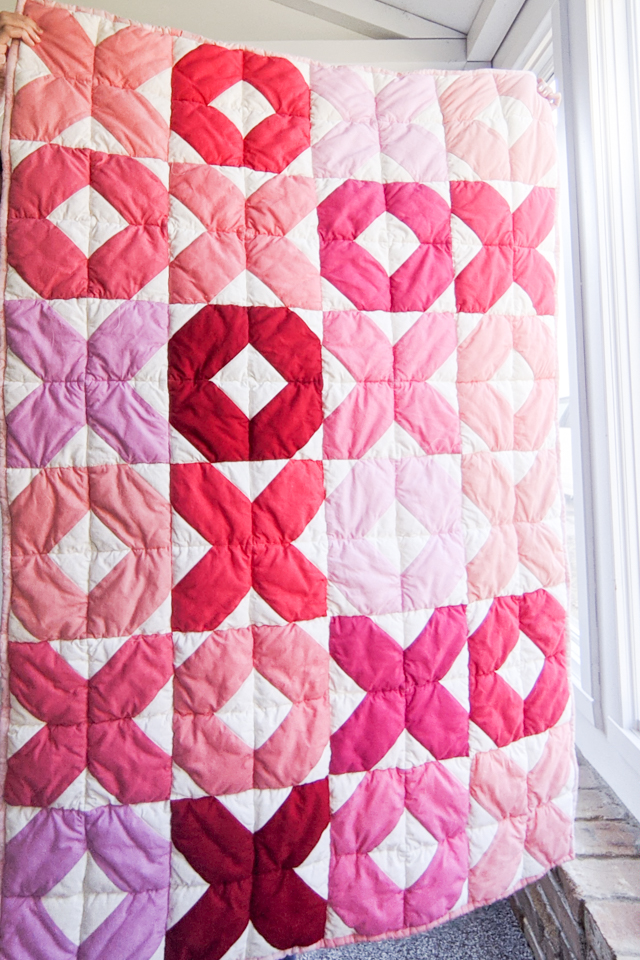
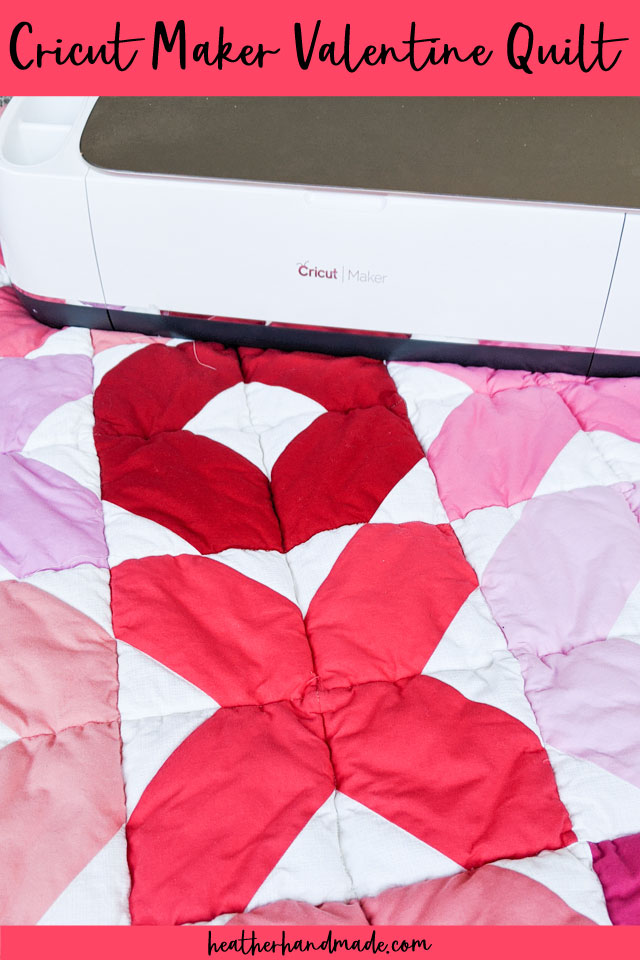
Make a Valentine quilt with the Cricut Maker and a Riley Blake Fabrics quilt pattern. Choose pinks and reds for a simple modern look!
Every once in awhile I get the itch to make a quilt. I love the meditative sewing that comes with quilting because it’s sewing similar seams over and over until it slowly becomes a quilt.
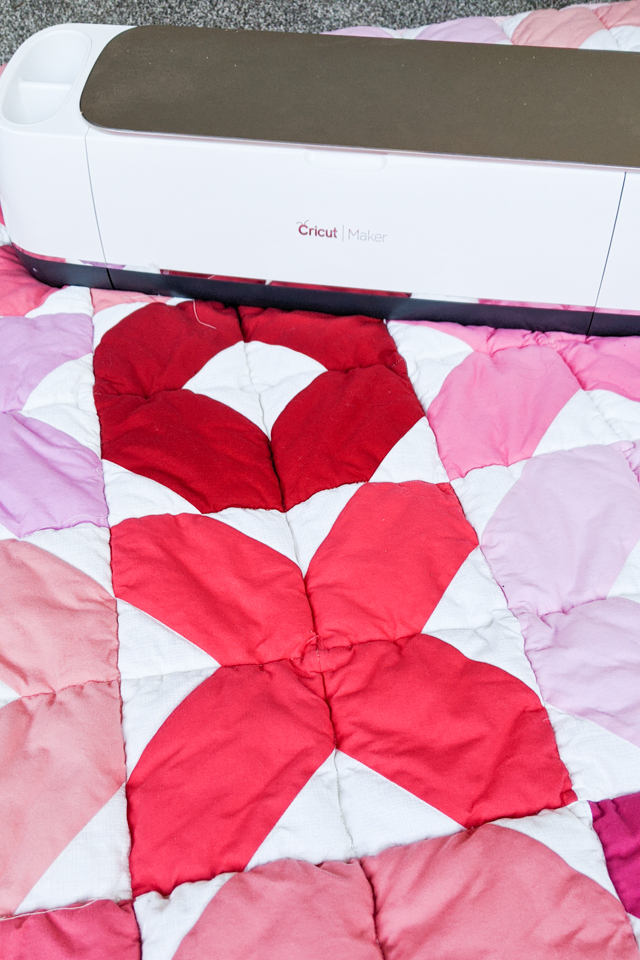
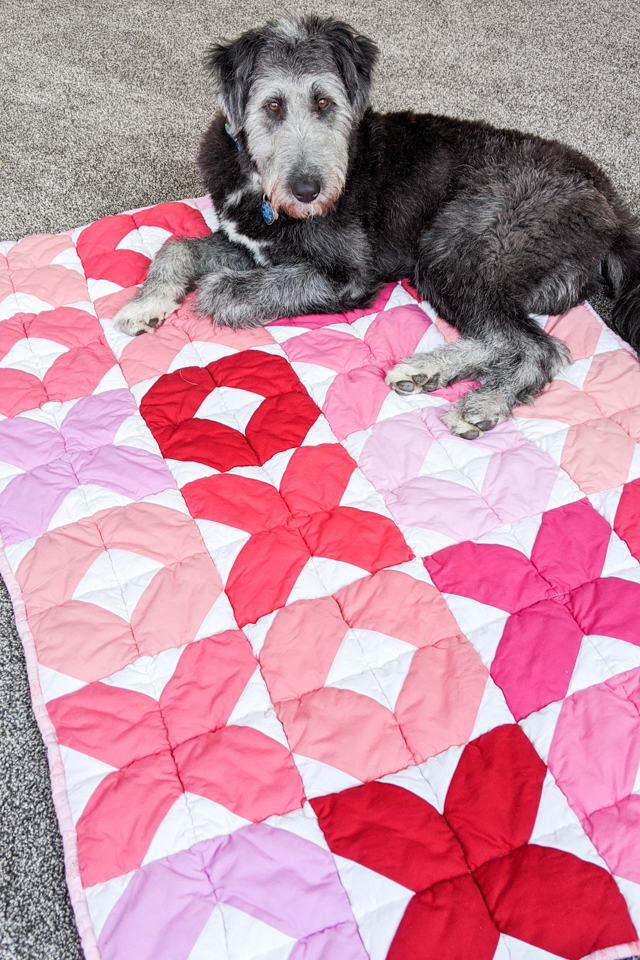
I decided to make a Valentine’s day quilt to decorate my front room with happy pink and red. My kids love snuffling under it. The best part is that I used the Cricut Maker to cut out all the pieces so that they were all accurate.
I love choosing colors for quilts and thinking about the placement of the colors and design. But I’m too impatient to cut out all the pieces of fabric. I usually make mistakes because I’m trying to hurry.
For me the Cricut Maker has made a big difference since it cuts fabric so accurately. It’s not the fastest cutting, but it doesn’t bother me all.
The quilt is people approved and dog approved. My puppy sleevps on it on the couch a lot. Since I often make mistakes when I quilt, my quilts are not special and can get cuddled by kids and dogs alike.
Do you love sew? Try some of these fun projects:
- Cricut Maker sewing projects
- Cricut Maker quilt pattern
- Valentine sewing projects
- Make a cheater quilt
- Make a minky blanket
- Make a flannel blanket
Valentine Quilt with the Cricut Maker
supplies
- Cricut Maker*
- Long fabricgrip mat
- 12 different fat quarters in pink and red
- 2 yards of white fabric
- 2 yards of backing
- Bias binding
- XOXO quilt pattern – this is actually a baby quilt pattern but I cut everything twice to double the size
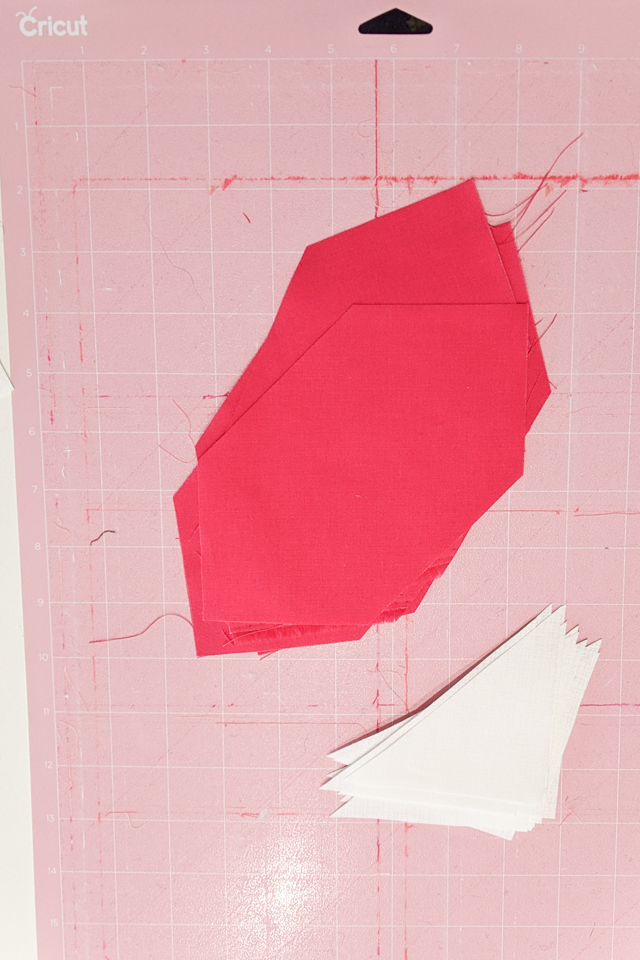
Start by putting the fabric on the mats and cutting out the pieces. I did all the X’s and O’x from pink or red and then all the surrounding with white. I cut the whole pattern twice to double the size.
Peel all the fabric off of the mats.
Sew all the white triangles onto the sides of the pink and red diagonal pieces.
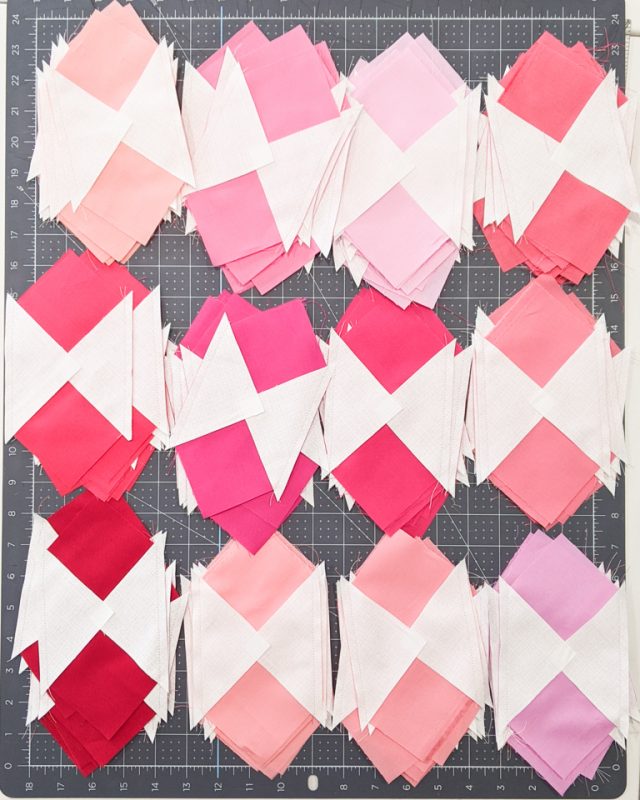
Press the seam allowances away from the white.

Combine four small blocks into one bigger blocking creating either an X or an O.
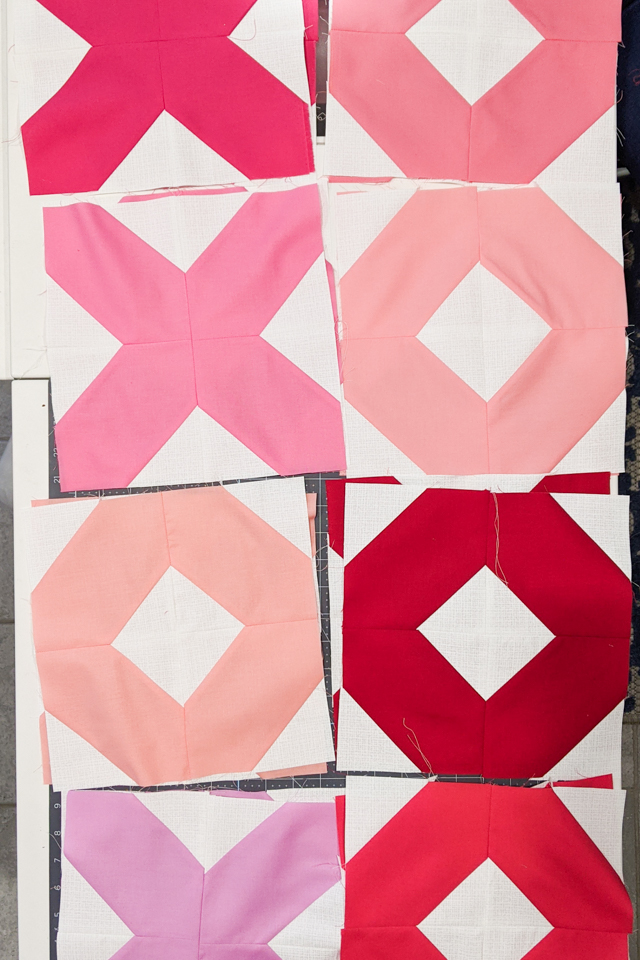
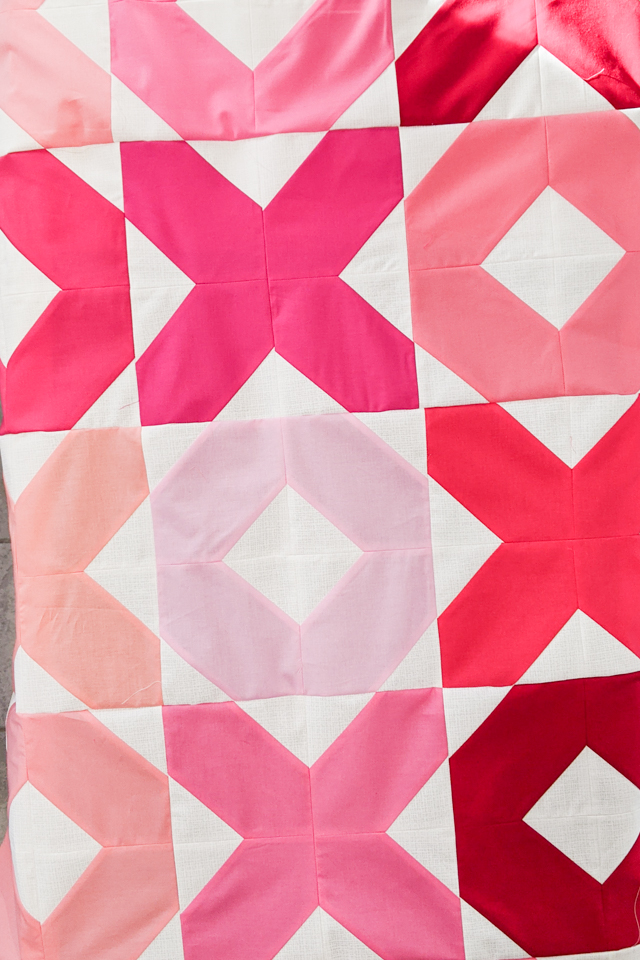
Sew all the big blocks into rows and then sew the rows together.
Make a quilt sandwich with the quilt top, the battting, and the backing. Quilt the layers together. I decided to sew along all the straight lines to make it easier for myself.

Bind the edges of the quilt. Wash and dry the quilt. You finished!

If you make something using this sewing project, I’d love to see! Please share it on social media with the hashtag #heatherhandmade and tag me!

I believe small sewing moments can create great joy. Find your own “right” way to sew. -Heather