
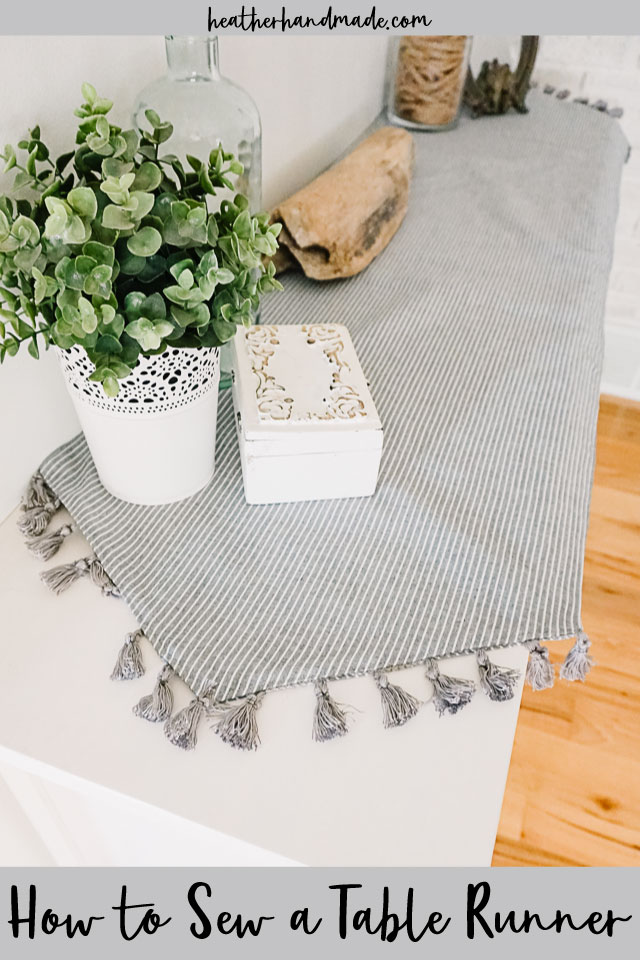
How to Sew a Table Runner

This post may contain affiliate links.
Learn how to sew a simple table runner with cotton fabric and trim. Make one for everyday or for holiday decorating, and give it as a handmade gift.
I love adding homemade decorations to my home that feel like me and my style. It’s the same with sewing my own wardrobe! I’ve always loved the look of table runners, but I could never find one that spoke to me.
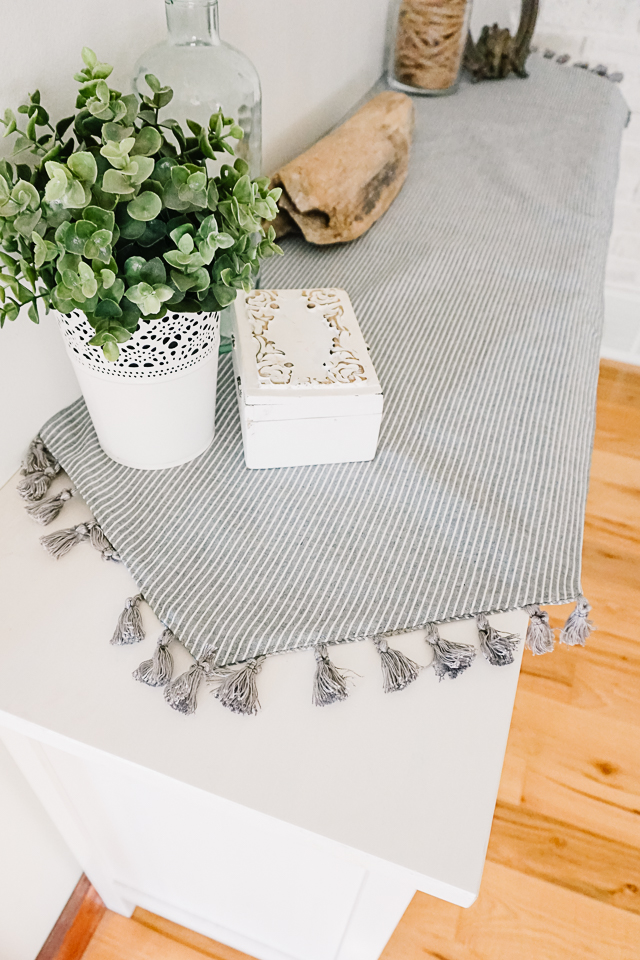
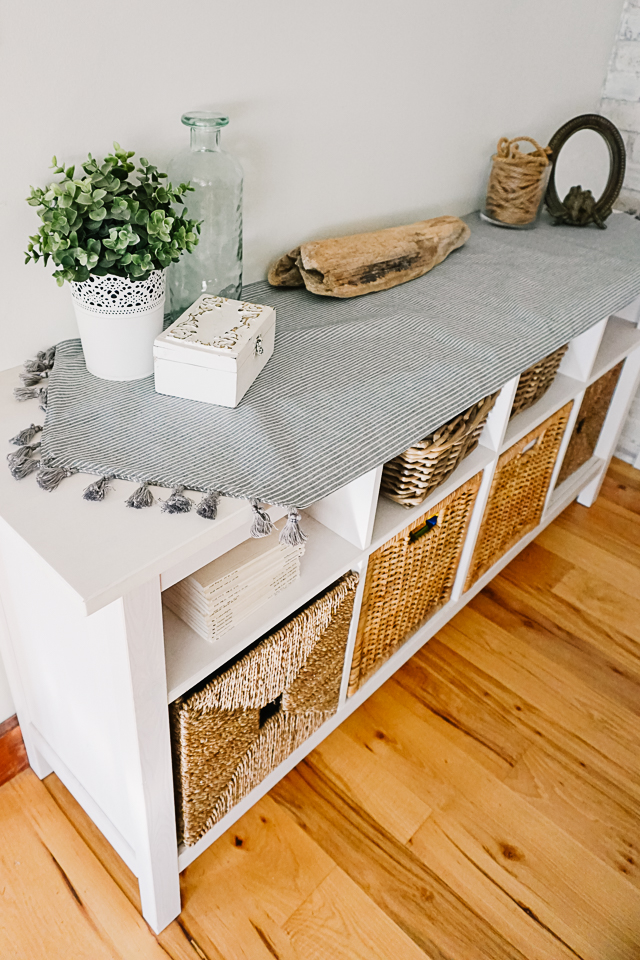
I like a lot of the holiday ones I’ve seen, but I wanted one that I could keep up all year long, and that would work with multiple colors and holidays. I decided to make my own with a simple striped fabric and tassel trim. It makes me happy every time I see it! I’ll show you how I made my table runner, so you can make one too!
The best fabric to use for a table runner is a type of cotton. It is absorbent if something spills, and it is easy to wash.
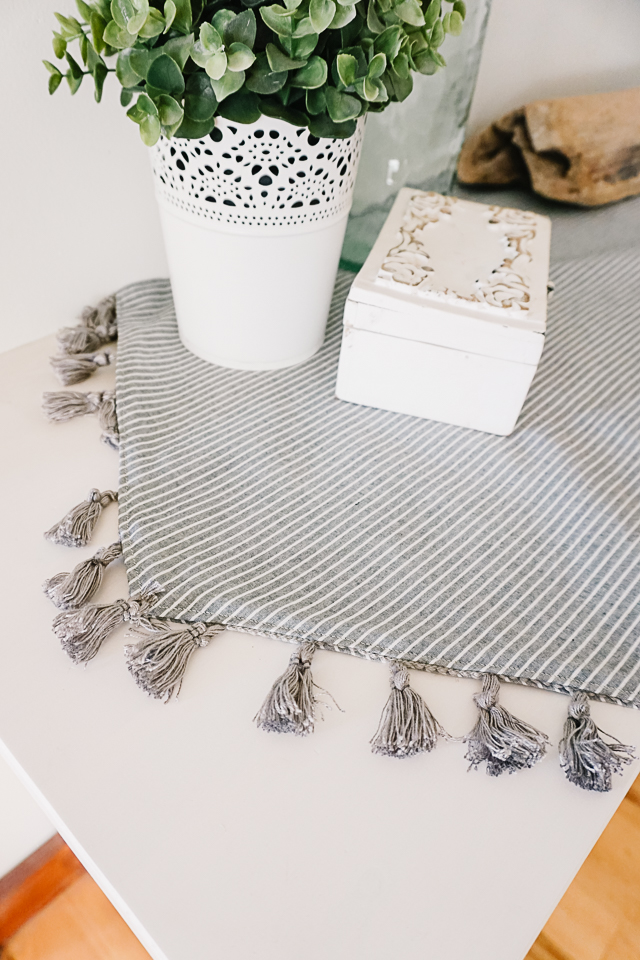
You can use a solid colored quilting cotton for a simple look, or you can use a printed quilting cotton for a bright and bold look. You can even use apparel cotton fabric like shirting or lawn if you are looking for a specific look. I ended up using a cotton shirting because I liked the mini stripe look in a beautiful gray.
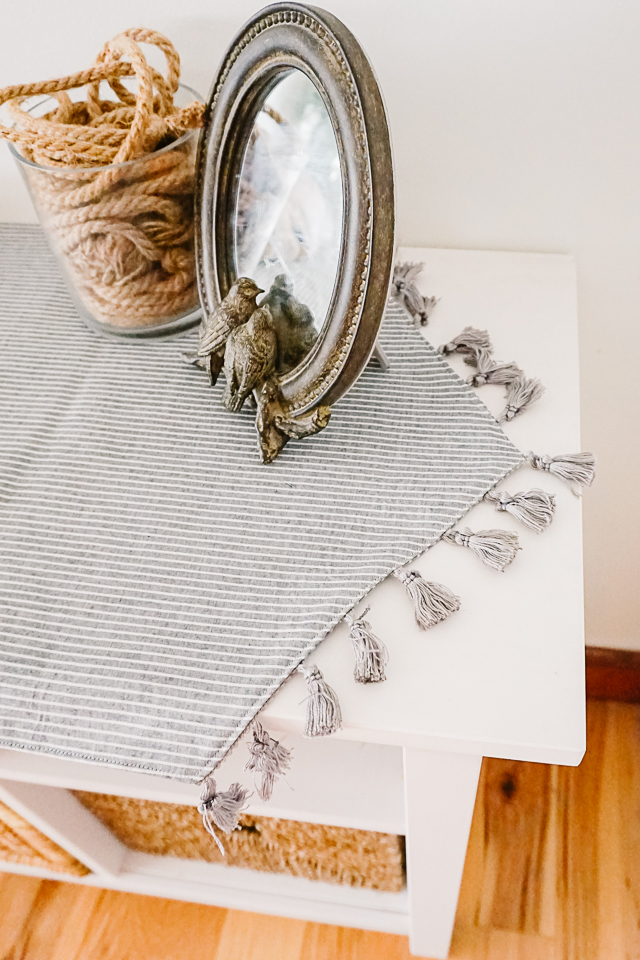
I love to use tassels for trim because it’s such a pretty and sophisticated detail, but you can add pompoms, lace, or fringe to a table runner. There are so many fun things you can add to a table runner to make it feel custom to your house and what you love.
Do you love to sew? Try one of these sewing projects:
- Beginner sewing projects
- 30 min sewing projects
- Gift ideas to sew
- How to sew a placemat
- Quilting cotton sewing projects
- home sewing projects
How to Sew a Table Runner
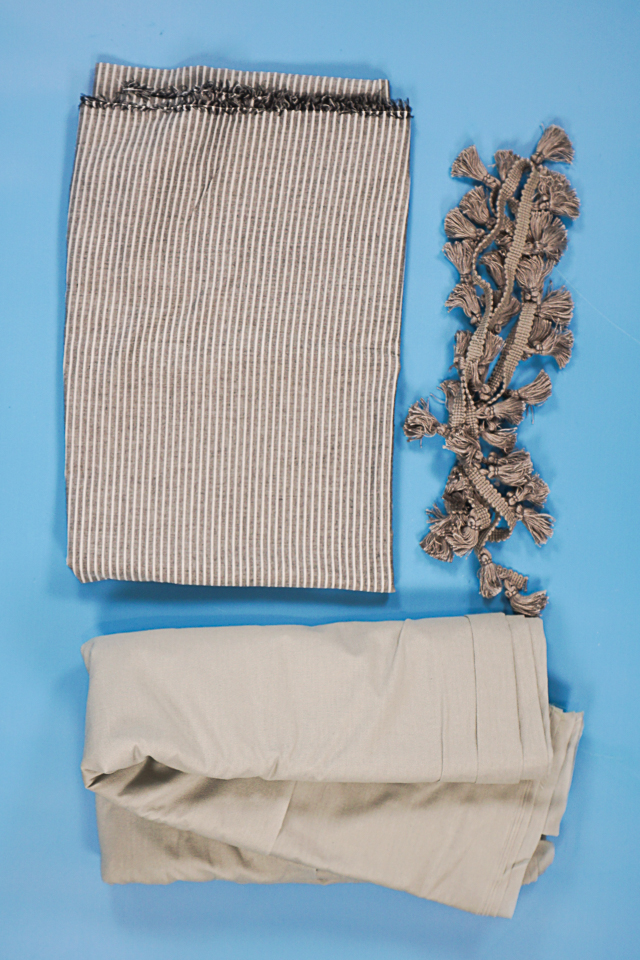
Supplies
- 2 yards of cotton fabric like quilting cotton, shirting, or cotton lawn
- 1 yard of trim like pompoms, tassels, lace, or fringe
- 2 or more yards of fusible interfacing
- Sewing tools
- Sewing machine
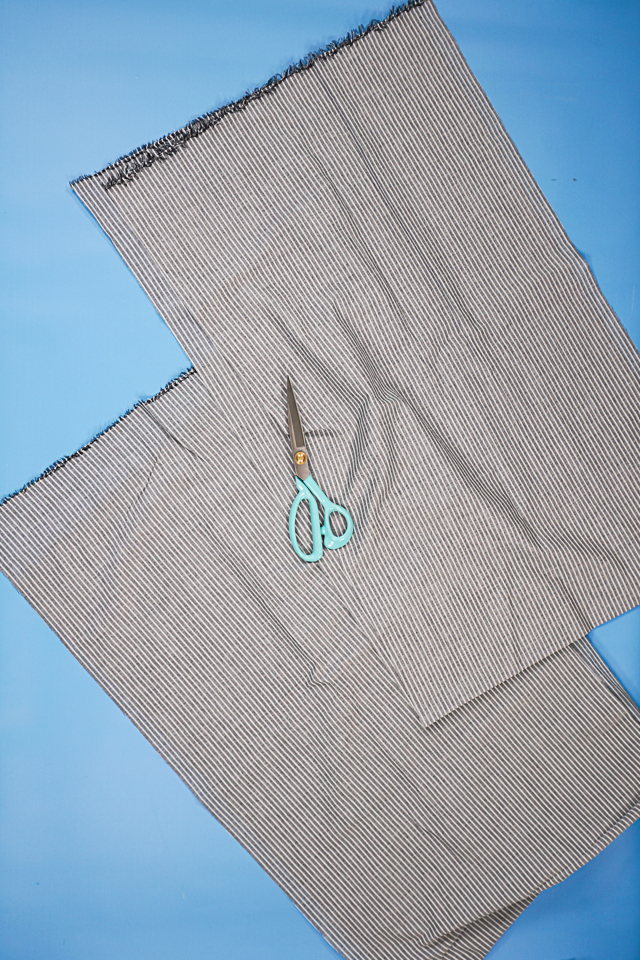
Cut the fabric in half lengthwise so that there are two pieces of fabric 21 inches wide and 72 inches long.
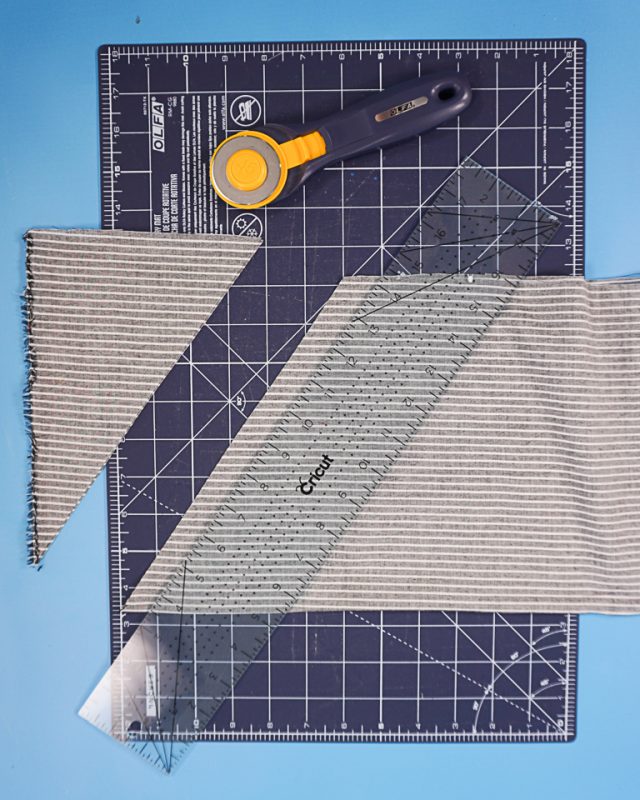
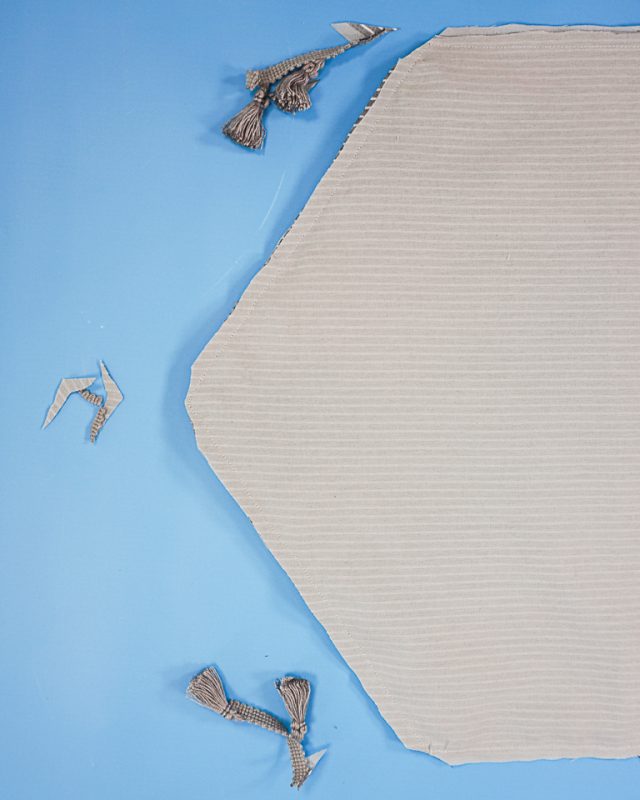
Fold each rectangle in half lengthwise and trim the short ends into a point. I did a shallow point, but you can make it steeper if you want.
If you have a medium weight fabric like quilting cotton only one side of the table runner will need interfacing. If you have a lightweight fabric like shirting or lawn, then both sides of the table runner will need interfacing.
Cut a piece of interfacing for either one or two table runner piece. Iron it to the back of the fabric.

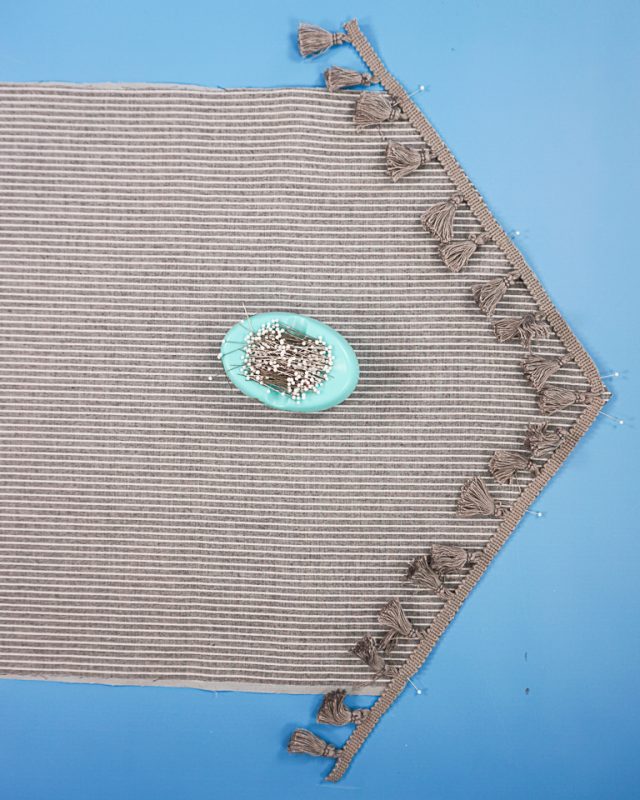
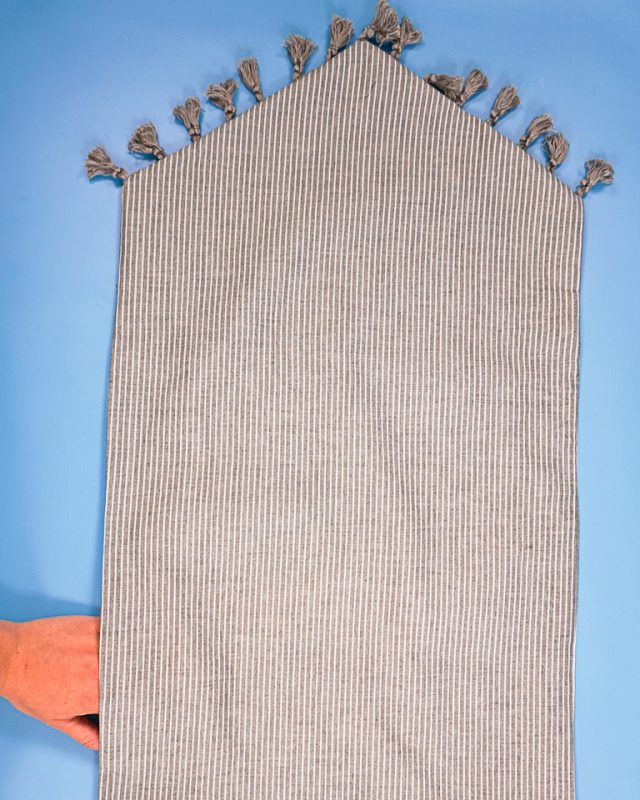
Cut the trim in half. Pin the trim to one side of the pointed end of the table runner. Make sure that the main side of the trim is facing into the center of the fabric piece.
Do the same to the other side. Baste the trim in place.
If your trim is thick you might need to clip it at the point to help it bend around.

Place the two table runner pieces wrong sides together and pin. Sew around the edges with a 1/2 inch seam allowance. Leave a 4 inch hole for turning and backstitch when you start and when you stop.
Be careful when you’re sewing near the trim so that the wrong side of the trim doesn’t get sewed into the seams.

Trim the corners and points to reduce bulk.
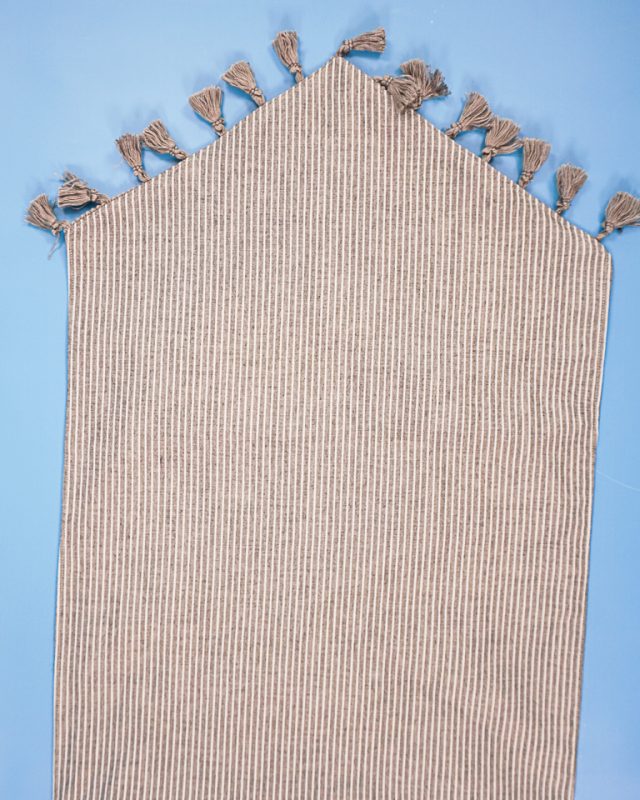
Turn the table runner right side out. Poke out the corners and pull out the trim. Press the edges flat to make them nice and crisp.
Edgestitch 1/8 inch from the edge all the way around to close the hole and perfect the edges. You finished!
If you make something using this sewing project, I’d love to see! Please share it on social media with the hashtag #heatherhandmade and tag me!

I believe small sewing moments can create great joy. Find your own “right” way to sew. -Heather
New to your site. Love it! I like the idea of a simple no fuss runner. I do have a question about the tassels though… All the tassels I see are in the drapery area and say dry clean I think. Are they washable? Where do you get washable tassels? Thank you so much!
If you look with the ribbon and lace, you should find the washable trims. Look at the trims that are designed for clothing because they’ll be washable. Something like this: https://www.joann.com/simplicity-tassel-fringe-trim-1.25-white/16503575.html