
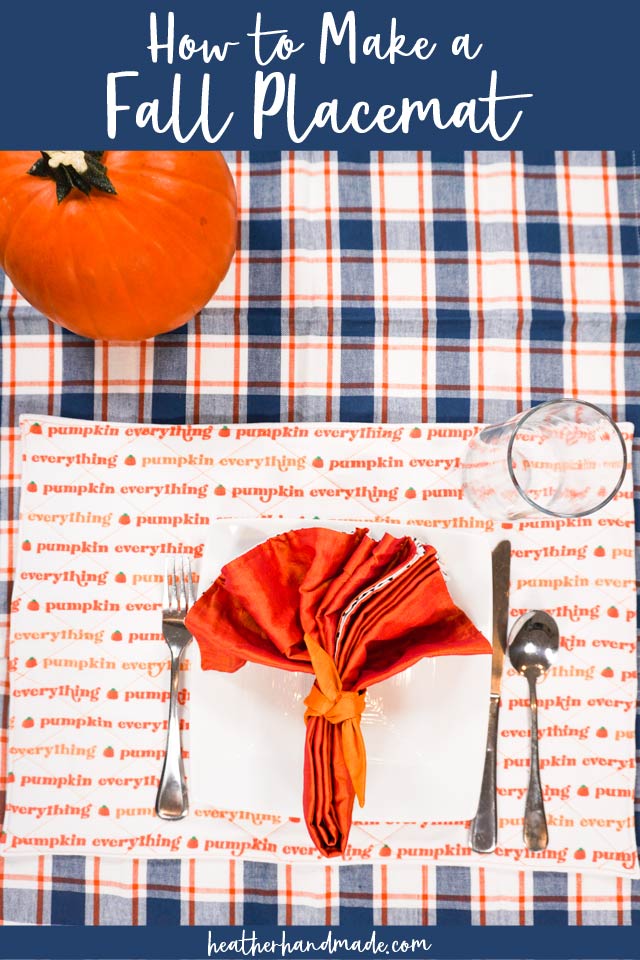
How to Make a Fall Placemat

This post may contain affiliate links.
Learn how to make a Fall placemat that is perfect for Halloween and Thanksgiving! Choose a pretty Autumn fabric for this beginner sewing project!
My kids get excited to set the table whenever we have placemats set out on the table, so I love having placemats. It makes dinner feel just a little bit fancier, and they are more willing to help!
We have some regular placemats that we rotate through, but now we have some special holiday placemats! I even have some DIY fabric napkins that match perfectly! Let’s make a fall placemat for either Halloween or Thanksgiving!
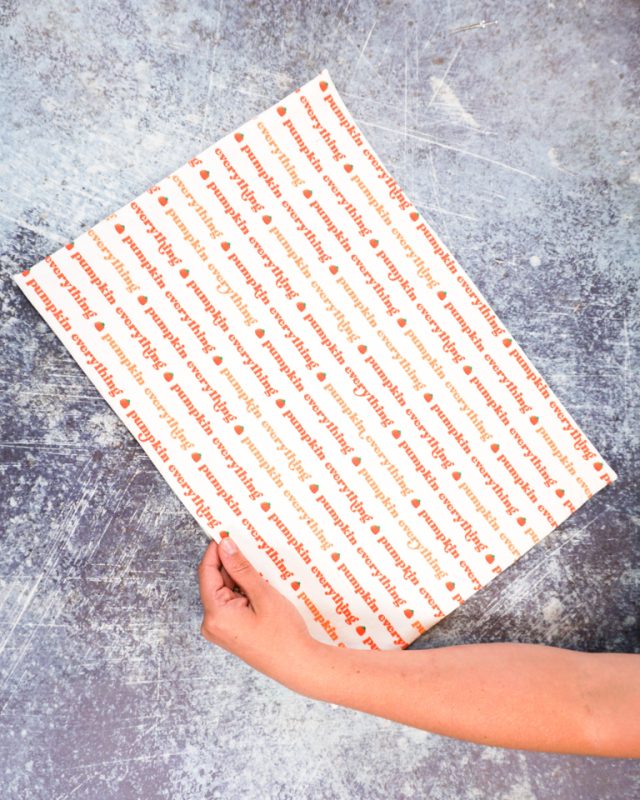
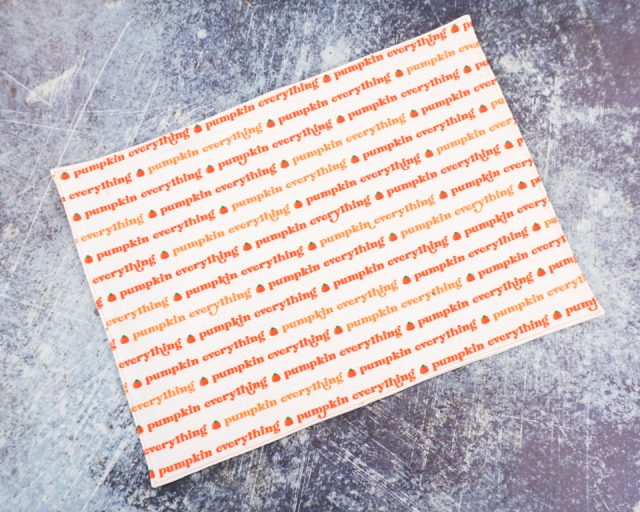
Whenever it’s Fall we start making pumpkin flavored everything. I usually only like a couple of pumpkin treats, and lots of apple flavored treats. Do you like pumpkin or apple better?
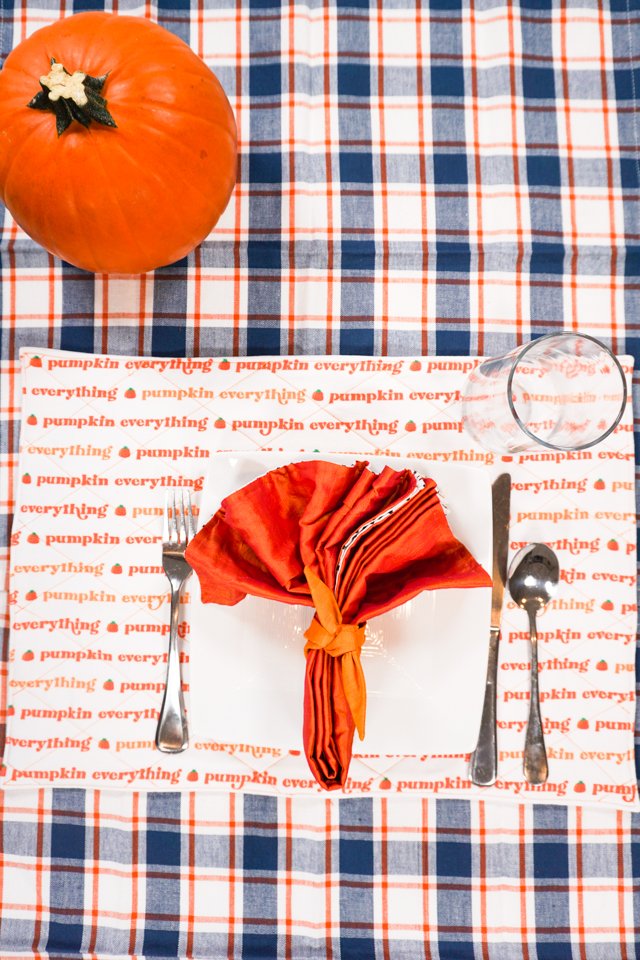
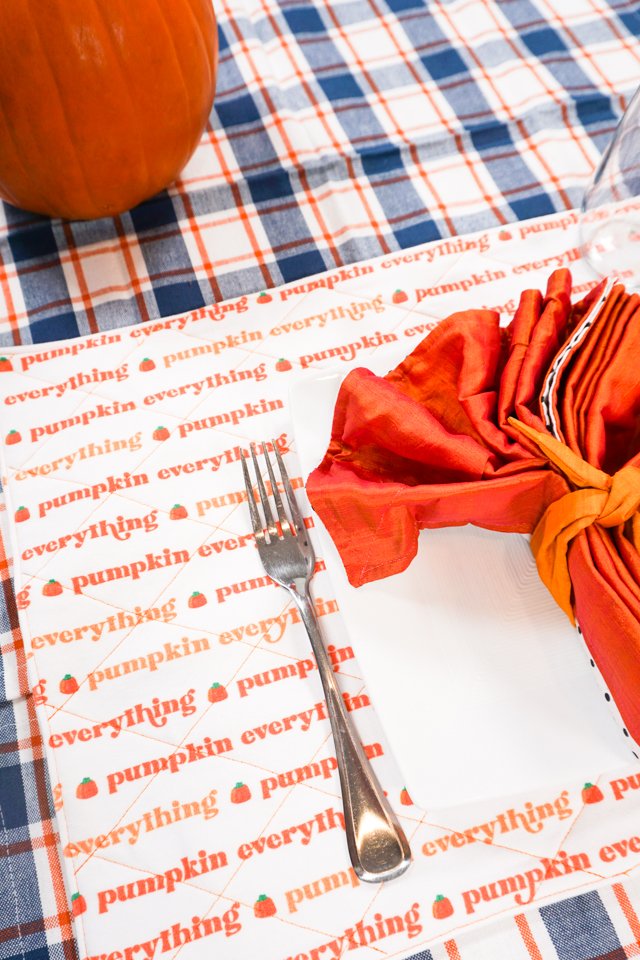
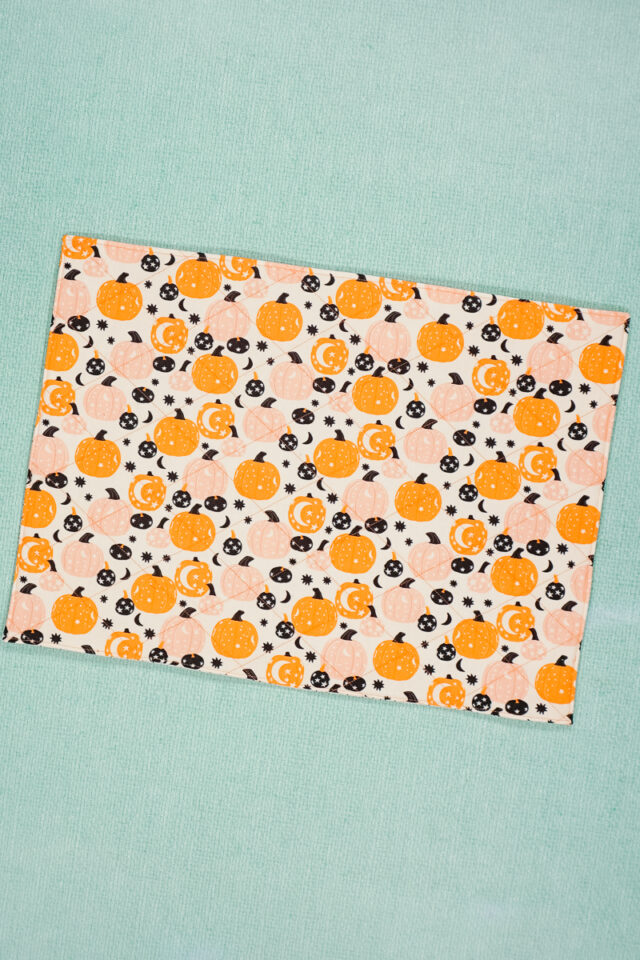
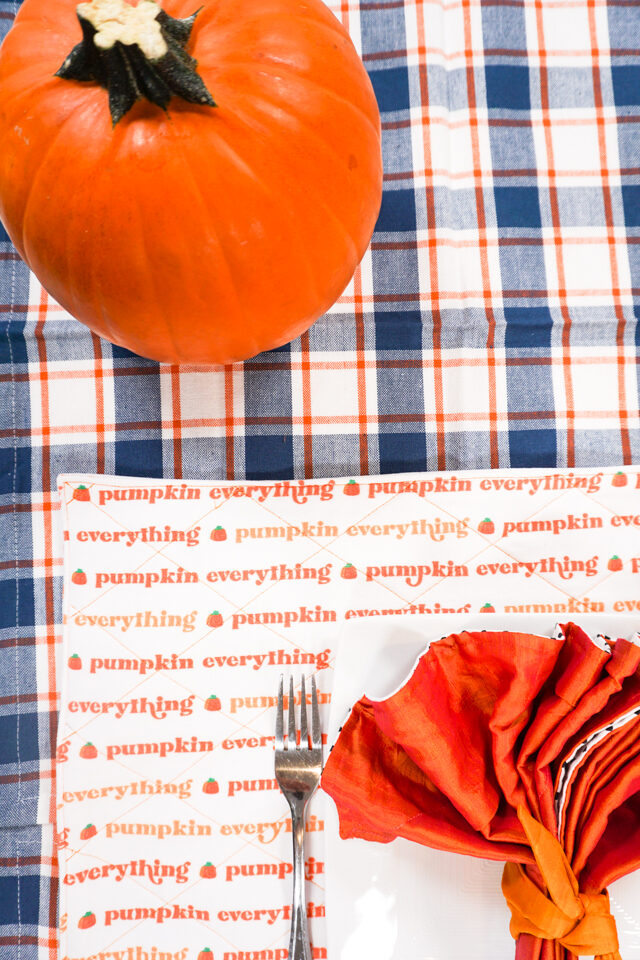
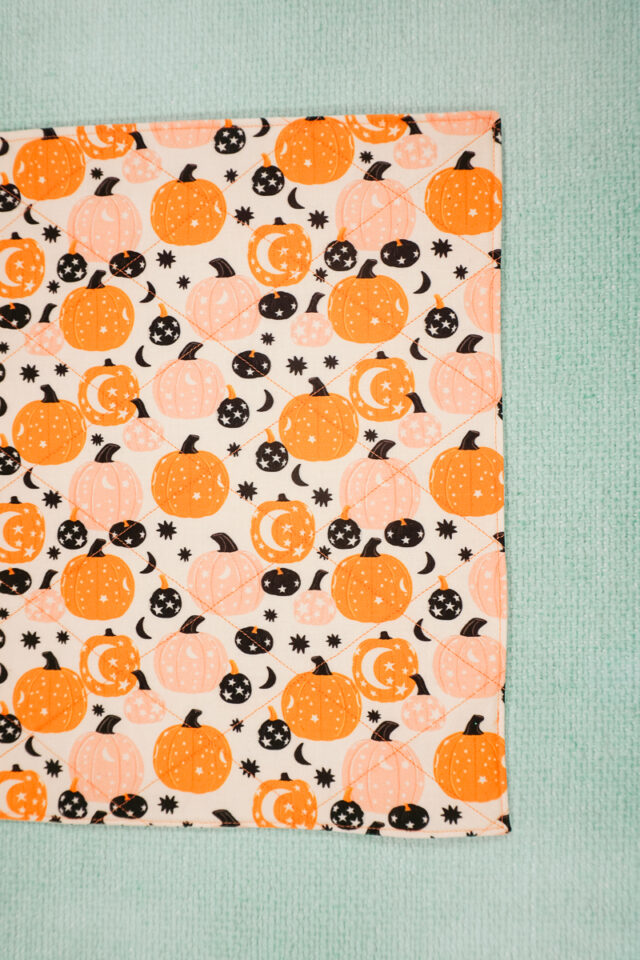
I still used cute fabric that says “pumpkin everything” because it a cute way to decorate. I really love the look of pumpkins and the orange color for Fall! I’ve also made one with a pumpkin fabric print and I’ve pieced fabrics together to make one.
What fabric should I use to make placemats?
Use a light to medium weight cotton fabric, like quilting cotton, since it absorbs spills and it’s easy to wash. It also comes in every print and color imaginable.
Another tip is to use cotton fabrics that are medium to dark colors to help hide stains. You can always use any color you want, but you’ll have to do more stain treatment if you want them to last longer.
Do you love to sew? Check out some of these fun sewing projects!
- Beginner sewing projects
- Fall sewing projects
- Gift ideas to sew
- Quilting cotton sewing projects
- How to sew a placemat
This is the placemat I made by piecing fall fabrics together. It was fun to choose fabric scraps and put them together, and then add some quilting lines. I quilted the placemat with the lines of the seams.
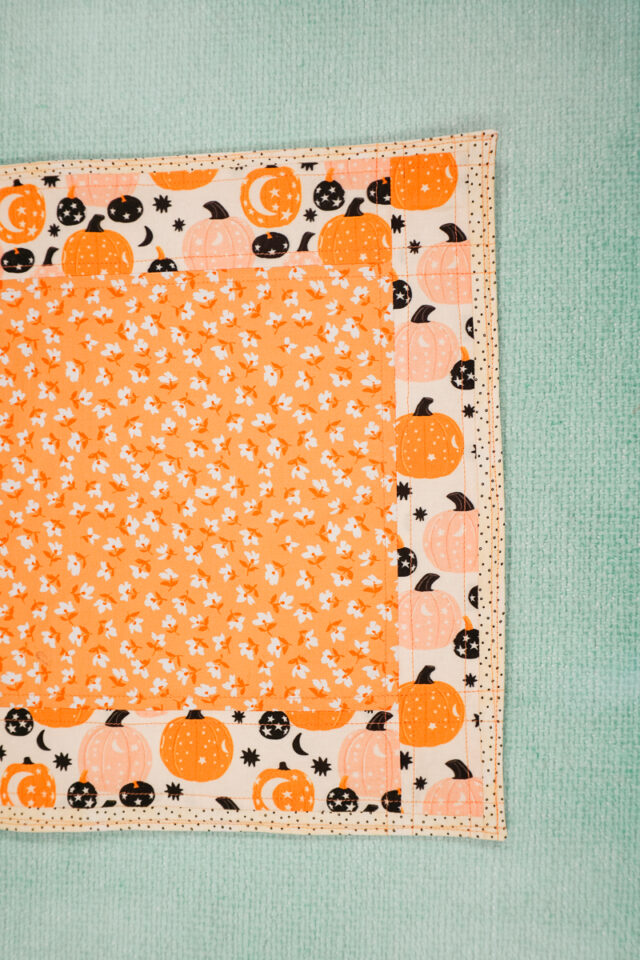
Quilting makes such a difference in the look of the placemat. I love the elevated look.
How to Make a Fall Placemat
supplies
- fall themed quilting cotton fabric – you need about 1/2 a yard for each placemat
- lightweight interfacing
- sewing tools
- sewing machine
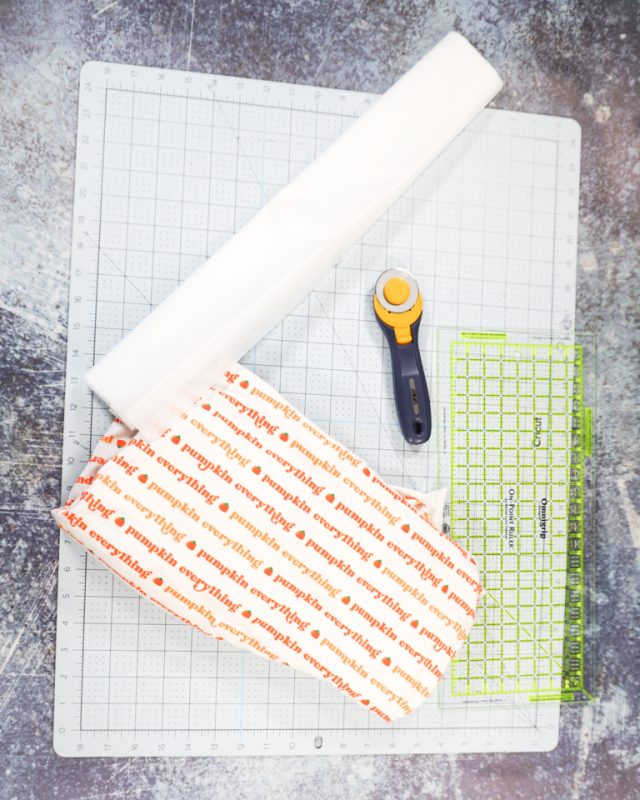
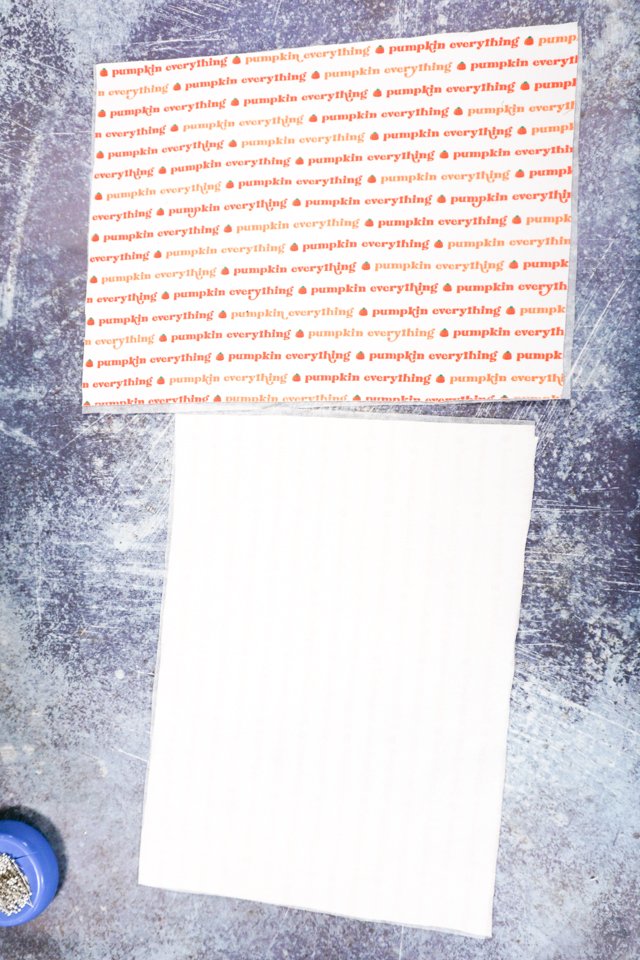
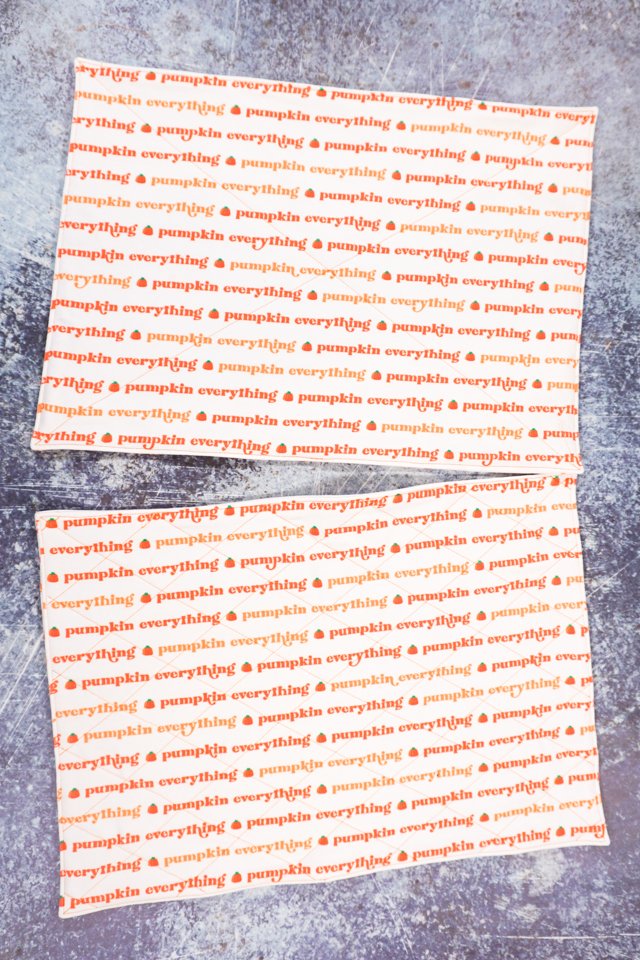
For each placemat cut two rectangles that are 20 inches wide and 15 inches tall. This accounts for a 1/2 inch seam allowance on all sides. Make sure the print direction goes the right way.
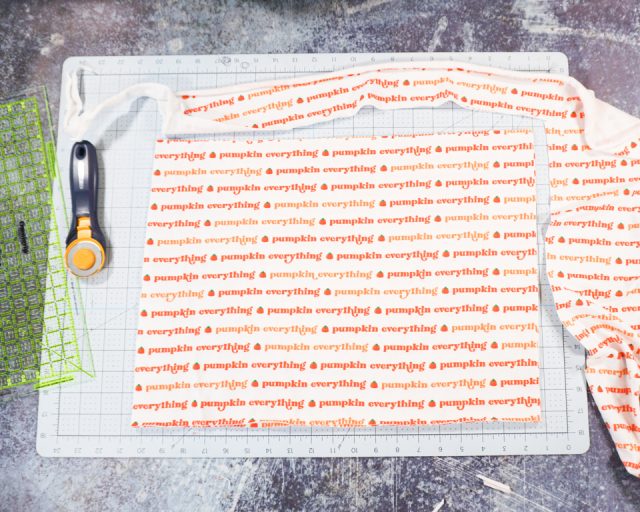
Cut out interfacing for both rectangles.
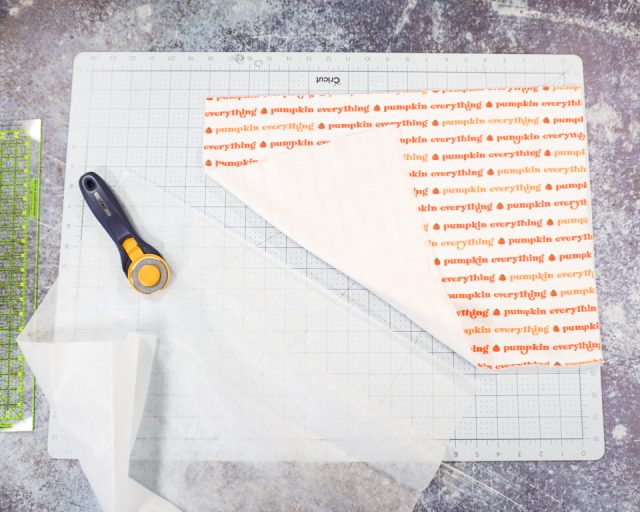
Fuse the interfacing to the back of the fabric rectangles. Trim any excess interfacing.
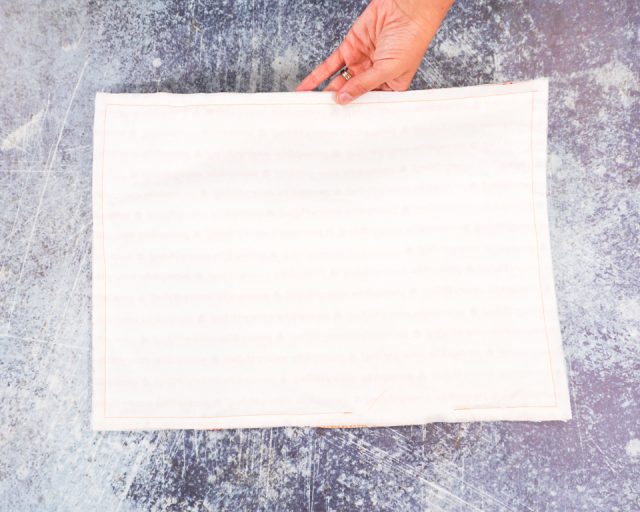
With right sides together pin all edges of the rectangles together.

Sew around all four sides pivoting at the corners with 1/2 inch seam allowance. Leave a 5 inch hole for turning.
Trim the corners to reduce the bulk.
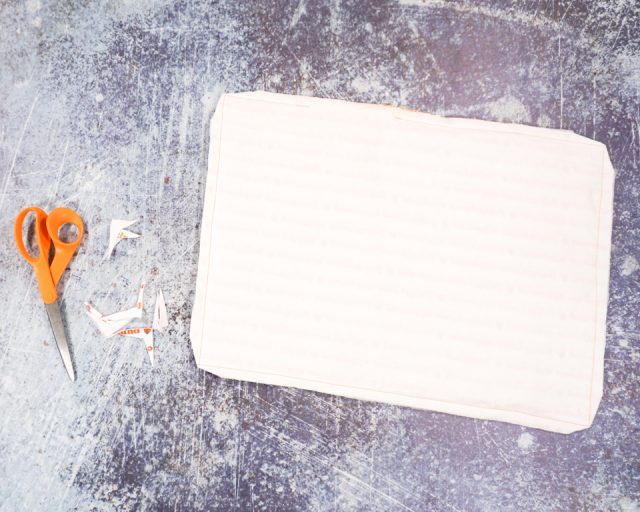
Turn the placemats right side out through the hole.

Roll the seams to bring out the edge and press the placemat flat. Pin or clip the hole closed.
Topstitch around the edges and close the hole.
Add quilting to the placemat to give it strength and to keep the interfacing in place. Choose between a large “X” of two quilting lines or multiple quilting lines in a diagonal grid. I like the diagonal grid a lot because it almost looks like plaid.
If you make something using this sewing project, I’d love to see! Please share it on social media with the hashtag #heatherhandmade and tag me!

I believe small sewing moments can create great joy. Find your own “right” way to sew. -Heather
these are the cutest! thanks so much for sharing.