
DIY Witch Hat Pillow with Free Pattern

This post may contain affiliate links.
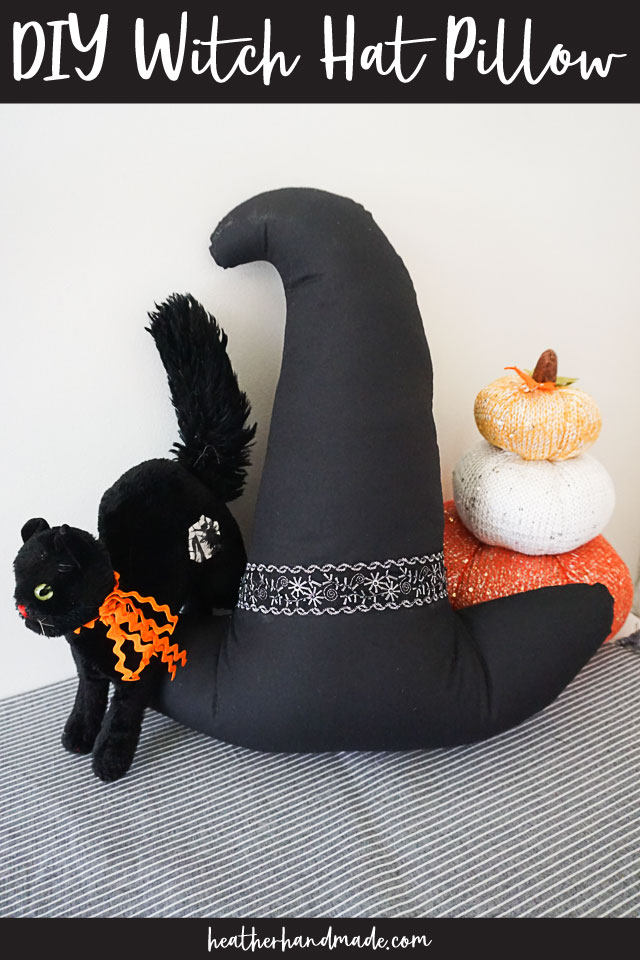
Learn how to make a DIY witch hat pillow with a free sewing pattern. It’s a quirky witch hat with a lace band, and it’s a great Halloween sewing project!
There’s so many classic things about Halloween that I bring out every October. Pumpkins, black cats, skeletons, bats, and witch hats. I love having these all throughout my home.
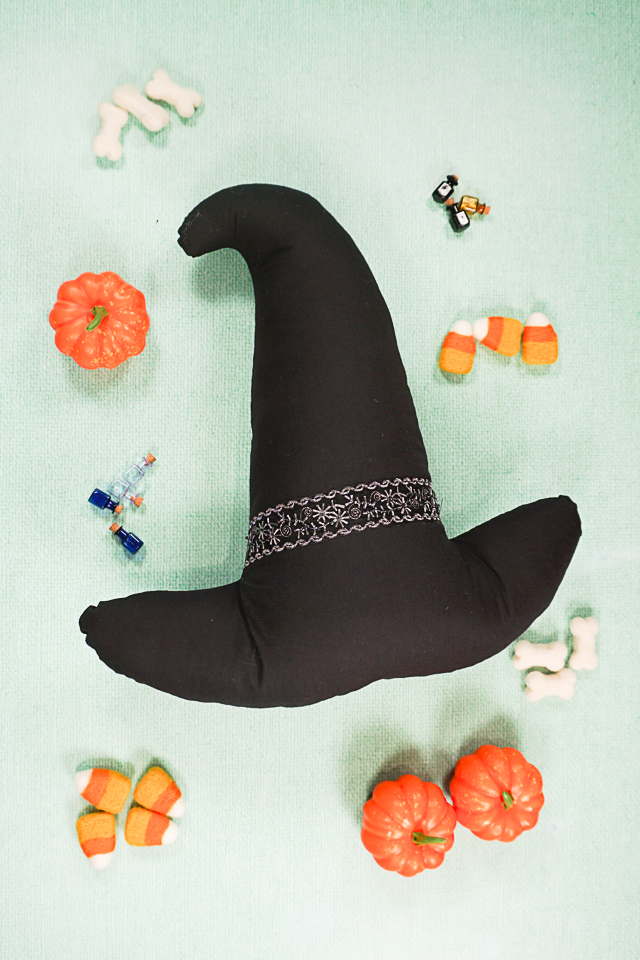
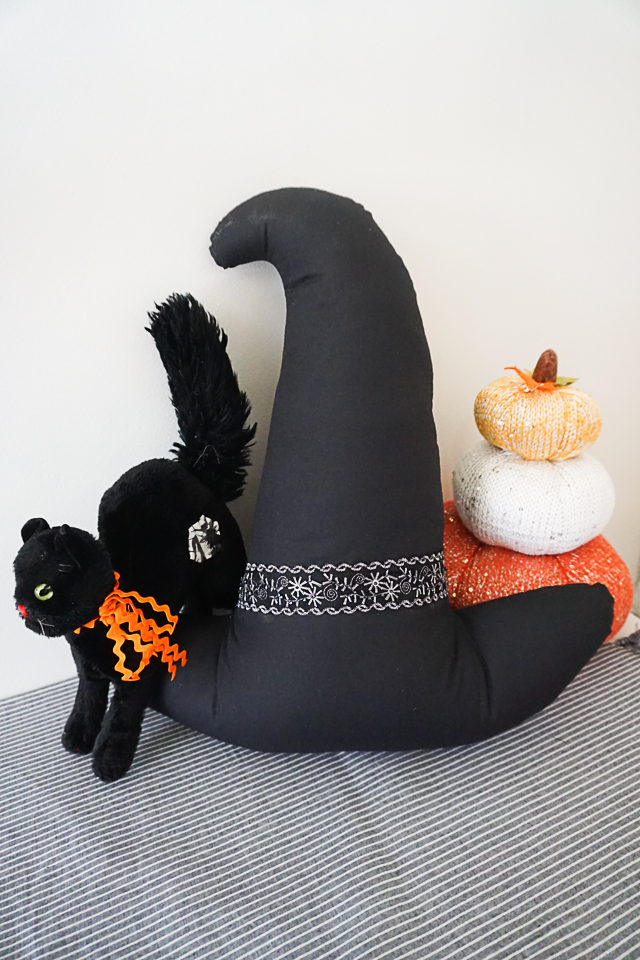
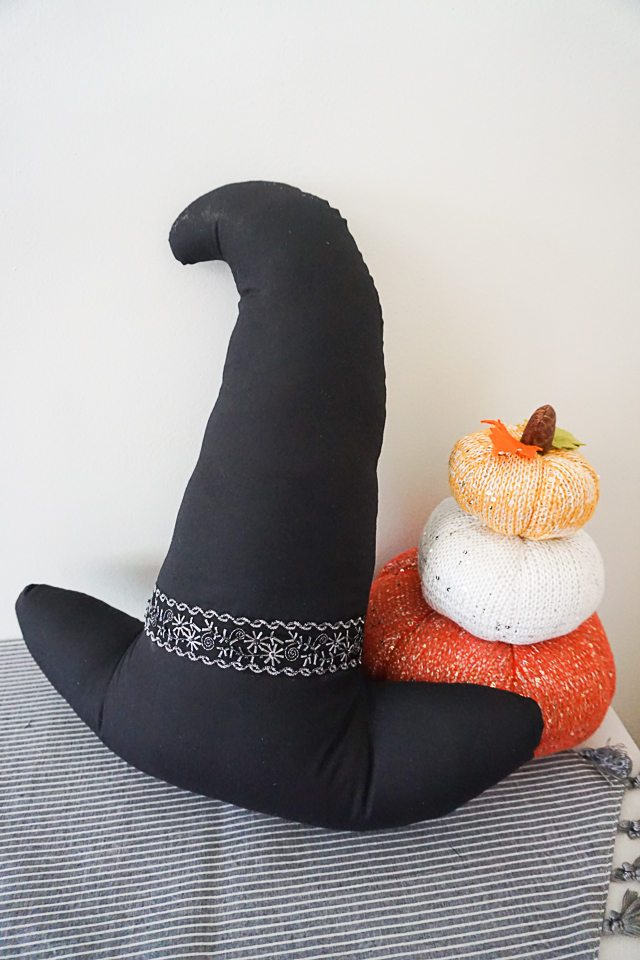
Decorate your home with a cute witch hat pillow. It’s a great and silly shape, and you can add ribbon or lace for a brim detail. Get the free sewing pattern to make your own!
What is a PDF sewing pattern?
A PDF pattern is a sewing pattern designed on the computer and organized so that it can be printed on several letter or A4 size pieces of paper.
I love using PDF sewing patterns because if the pattern gets ruined or if my children or I changed sizes, I can always print it again. It’ll never be destroyed since I have a digital version!
How do you use a PDF sewing pattern?
Open the PDF on a computer and click print. When printing make sure that the scaling is set to 100% or no scaling so that the pattern prints at the correct size.
Once the pattern is printed it can be taped together to get the full size. Then the pattern can be cut for each pattern piece size or individual sizes can be traced so that the pattern can be used again and again. Learn how to use PDF sewing patterns.
What fabric should I use for a witch hat Pillow?
The best fabric to use for a witch hat pillow is a quilting cotton. It’s easy to find in all sorts of colors and prints, and it’s stable so it’s easy to sew. Since this is a pillow, hopefully it won’t get really dirty, but quilting cotton can be spot cleaned or thrown in the wash. Just check your stuffing after washing!
Do you love to sew? Try one of these sewing projects:
- Halloween sewing projects
- Fall sewing projects
- Home sewing projects
- Ways to sew a pillow
- DIY Witch Broom
- DIY Witch Costume
- Free Witch SVG
- Free sewing patterns
- Free Halloween sewing patterns
DIY Witch Hat Pillow with Free Pattern
Supplies
- Free witch hat pillow sewing pattern – get it at the end of the post
- 1 yard of black cotton fabric
- 1/2 yard of ribbon or lace in black, purple, orange, or green
- Polyfil
- Sewing tools
- Sewing machine
Do you just want the pattern and tutorial as a PDF? Get the pattern and tutorial for just $5. You won’t need to access the internet every time you want to make it. Or get the Pattern Bundle with ALL the PDF tutorials!
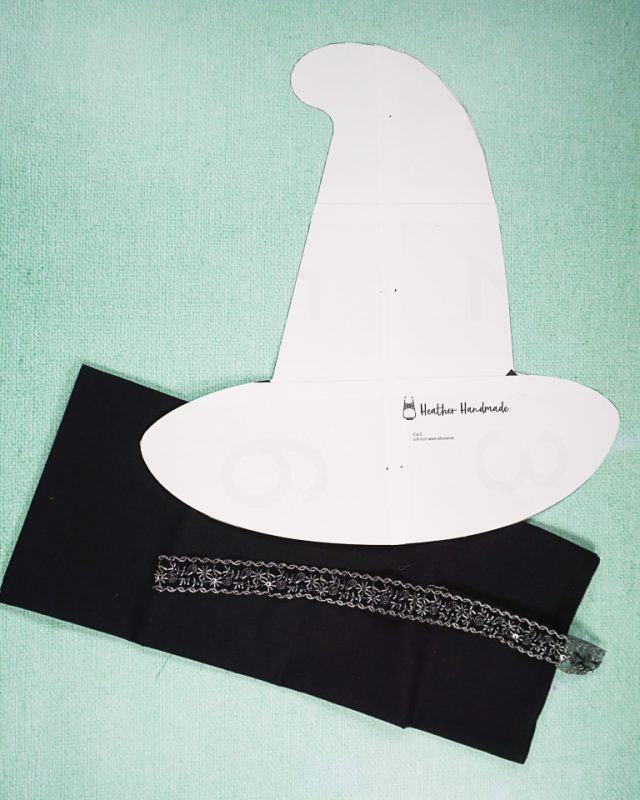
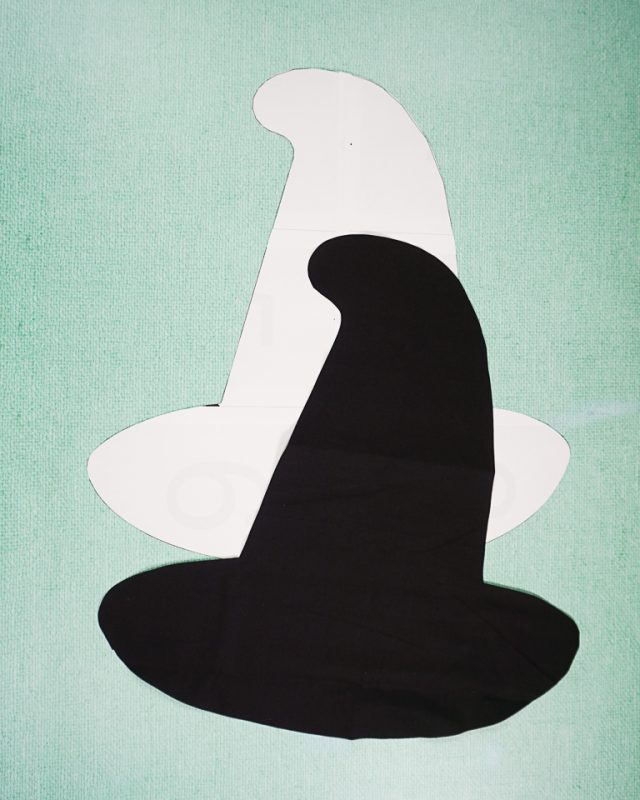
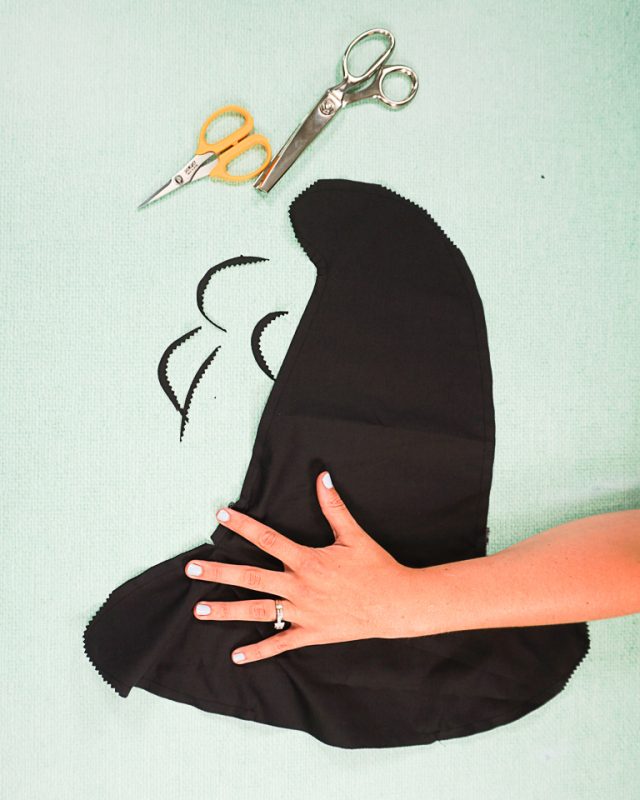
Cut out two pattern pieces.
Pin the ribbon or lace across the middle of the witch hat right above the brim.
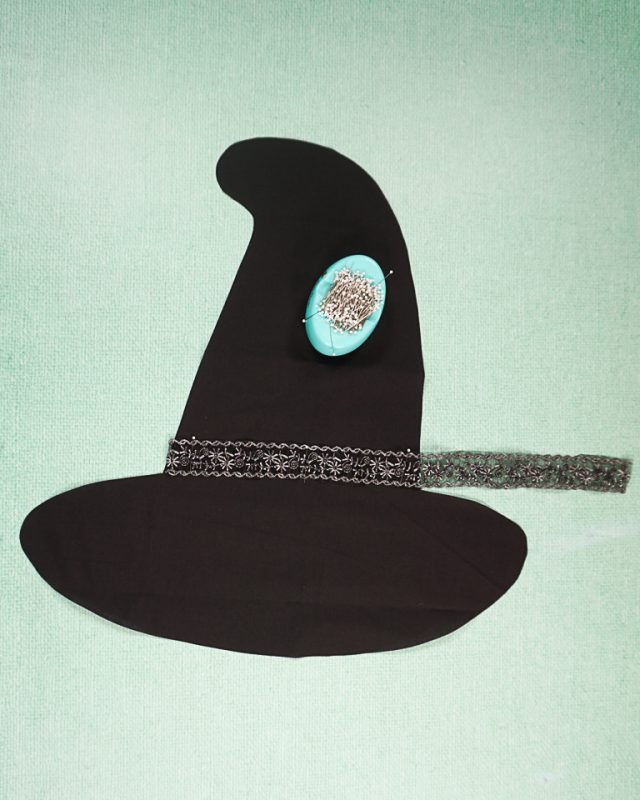
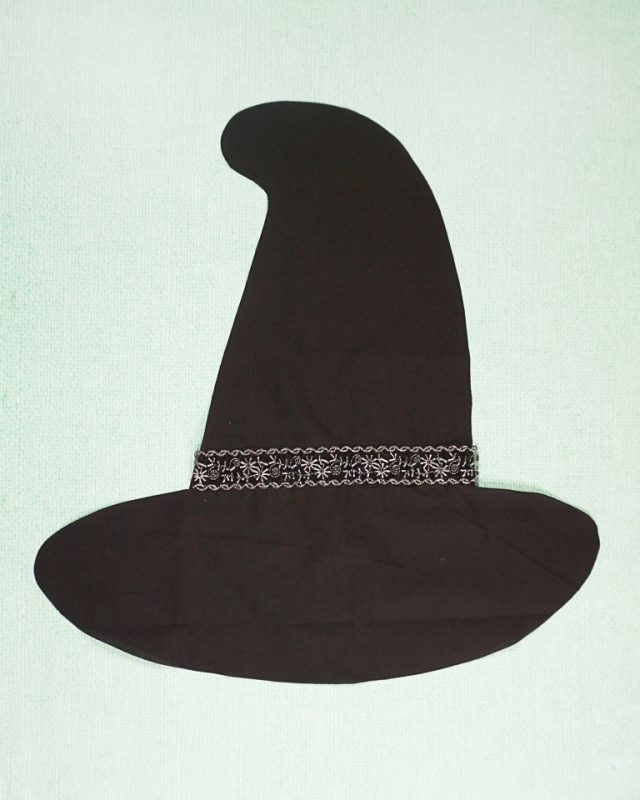
Sew along both sides of the ribbon 1/8 inch from the edge. Trim any excess off.
Place the hat pieces right sides together and pin. Sew around the edge and leave a 6 inch hole. Backstitch when you start and stop.
Clip all the inner curves and points. Notch all the outer curves and points.
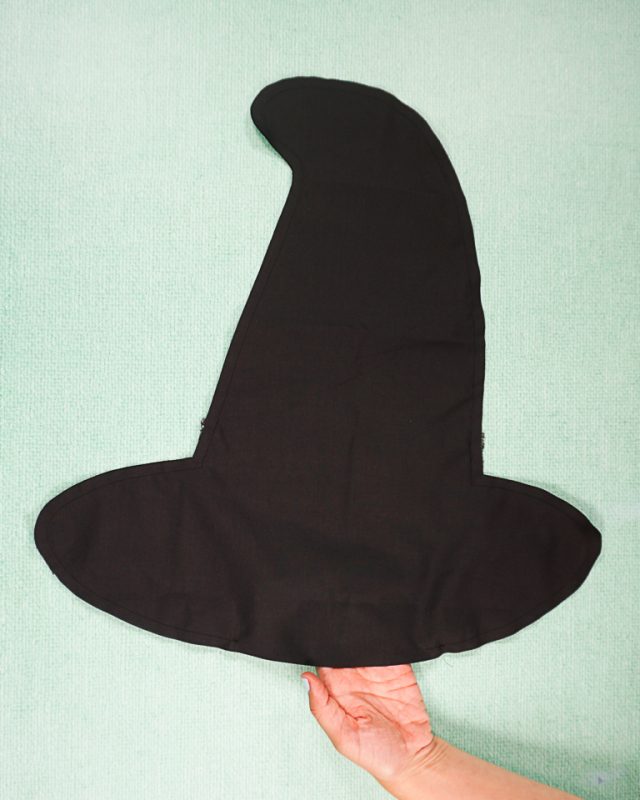
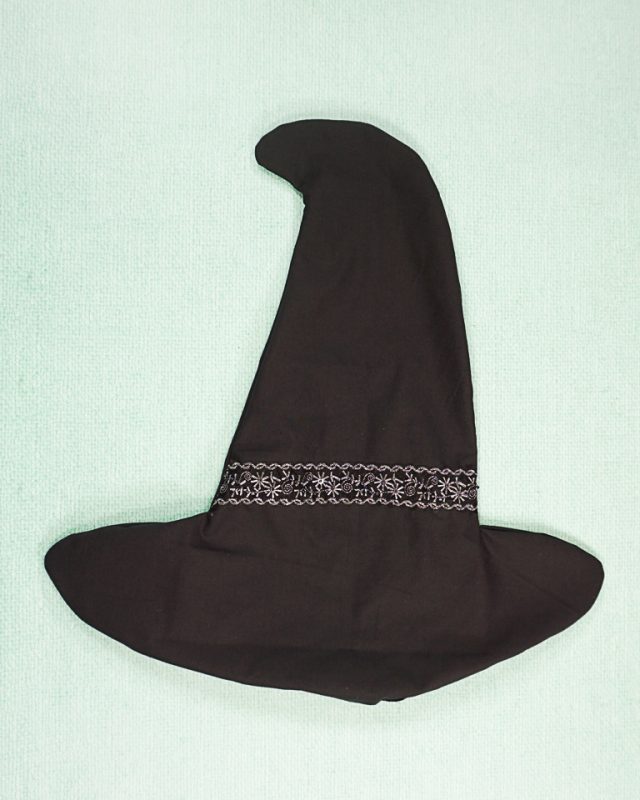
Turn the witch hat right side out. Push out all the curves and points.
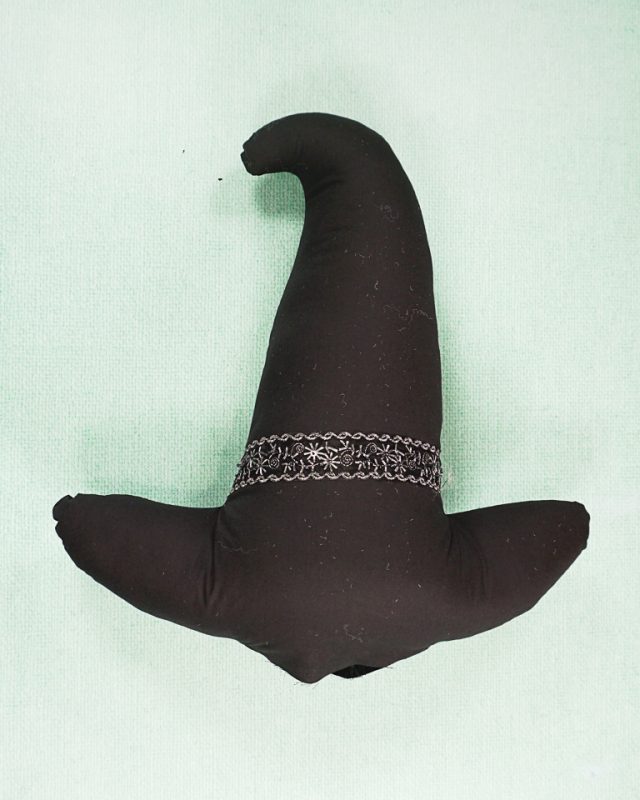
Stuff the witch hat with polyfil. Use tiny pieces in the tiny spaces and larger pieces in the larger spaces.
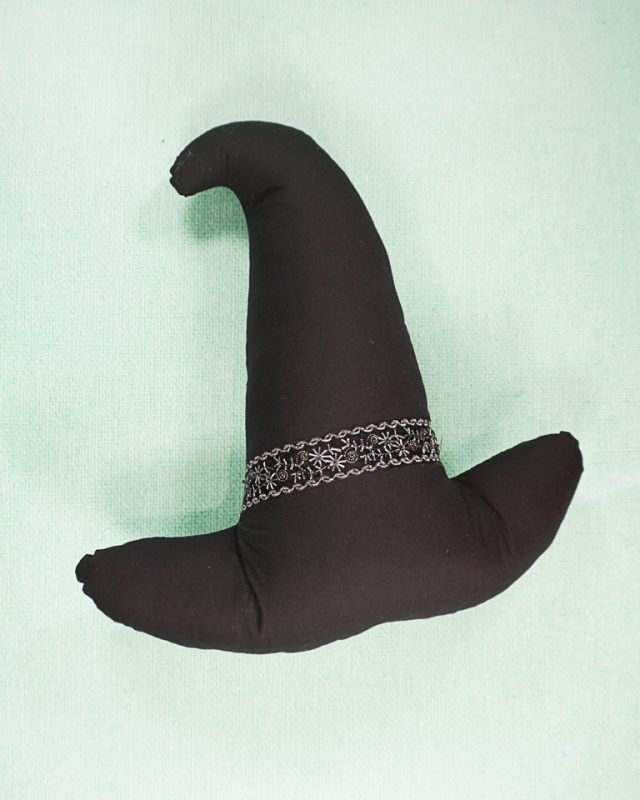
Sew the hole closed with a hand needle and thread.

The DIY witch hat pillow is finished!
Get the Free Sewing Pattern here!
If you make something using this sewing project, I’d love to see! Please share it on social media with the hashtag #heatherhandmade and tag me!

I believe small sewing moments can create great joy. Find your own “right” way to sew. -Heather
is the ribbon only on the front of the hat?
yes! it’s only for the front of the hat