
DIY Trick or Treat Bag

This post may contain affiliate links.
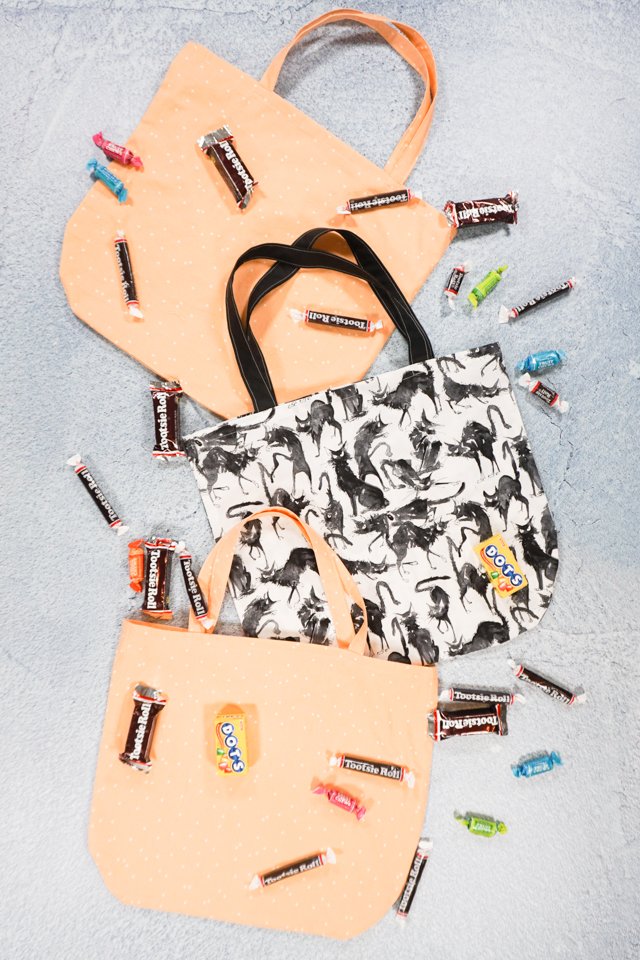
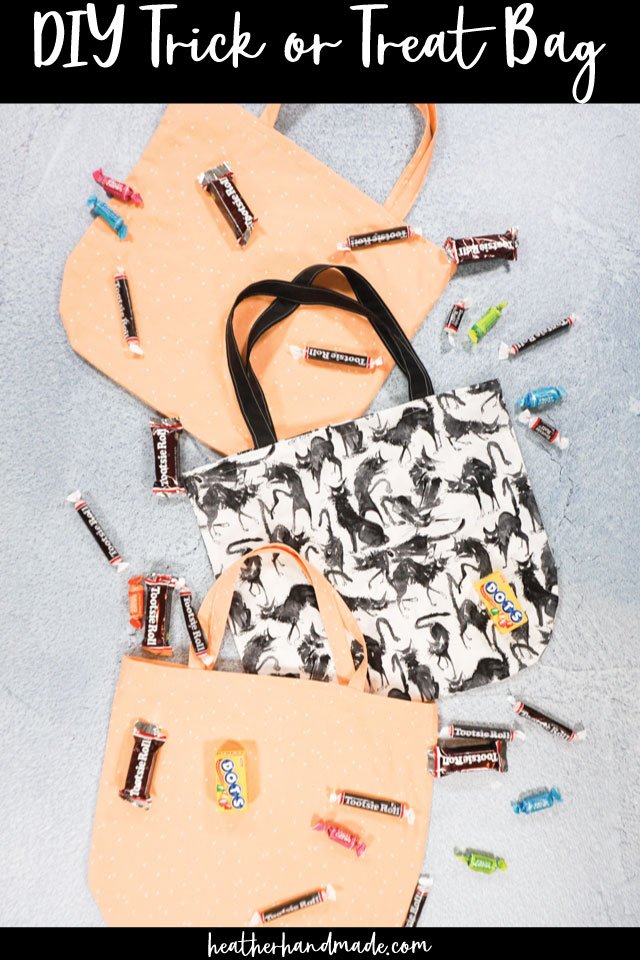
Learn how to make a DIY trick or treat bag with Halloween cotton! It can be done on a sewing machine, and it’s a great beginner sewing project!
In all the years my kids have gone trick or treating for Halloween, they’ve always used the cheap plastic pumpkin buckets. They were easy to find and then we just had them to use again and again.
This year I finally made my kids some fabric DIY trick or treat bags with Halloween quilting cotton fabric. I think they can hold more candy, and they are so much cuter. I might even add some iron-on details to the front to make them extra special.
This bag is created using French seams so there are no exposed raw edges, and it can all be done on the sewing machine. The straps are even made like bias binding so the edges are enclosed, and you don’t have to turn any tubes right side out.
These bags are simple, fast, and easy but they aren’t very sturdy or stiff. If you want to strengthen the bag then you can use canvas instead and add interfacing to the top edge and the straps.
Do you like to sew? Check out one of these fun sewing projects:
- Beginner sewing projects
- Fall sewing projects
- DIY costumes for Halloween
- Free costume patterns for kids
- Halloween sewing projects
- Free tote bag sewing pattern
- Free Halloween sewing patterns

DIY Trick or Treat Bag
Supplies
- 1 yard quilting cotton – Halloween or costume themed
- Sewing tools
- Sewing machine
I chose to use a pale orange polka dotted fabric for my daughters and a black cat fabric with black fabric handles for my son.

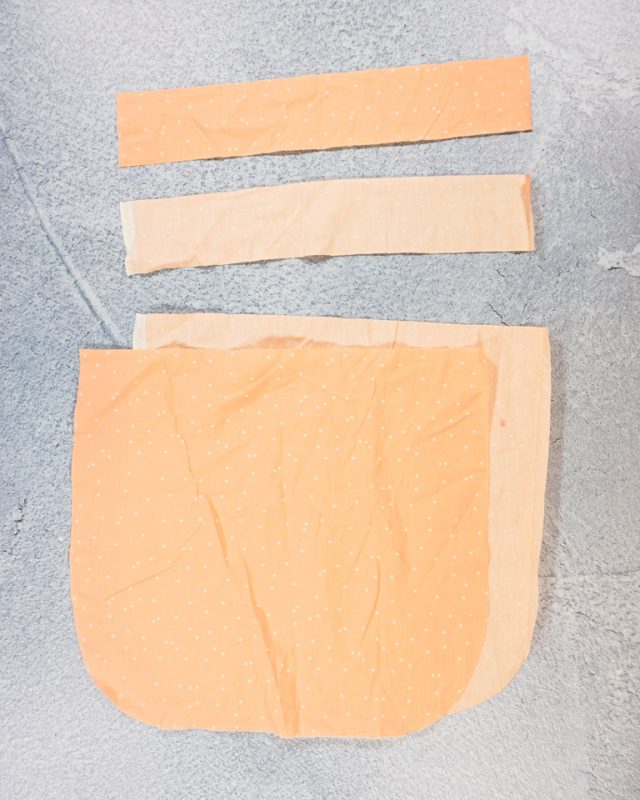
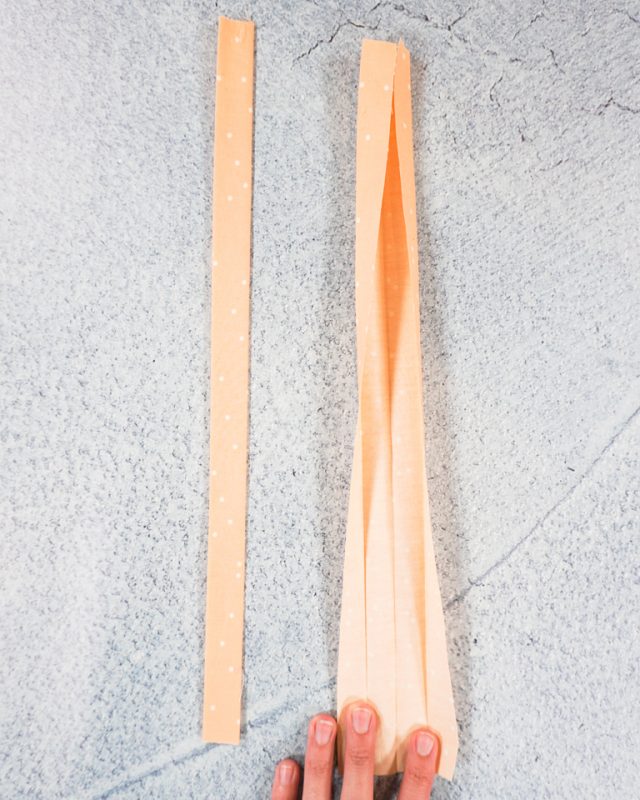
Cut out two rectangles that are 16 inches tall and 4 inches wide.
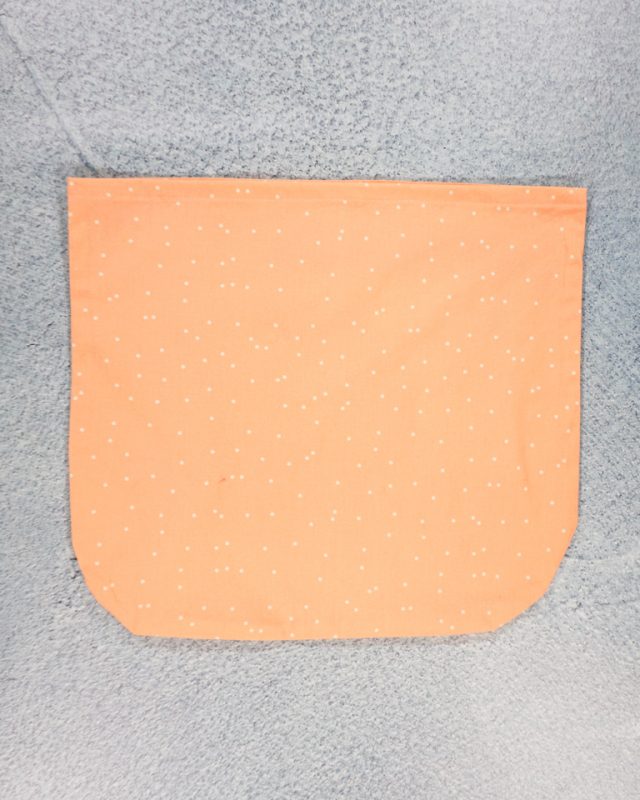
Cut out two squares that are 15 inches by 15 inches. Curve the bottom corners by using a plate as a guide.
With WRONG sides together sew the two sides and the bottom with a 1/4 inch seam allowance. Backstitch when you start and stop.
Trim the seam allowance down to 1/8 inch.

Turn the bag right side in. Sew around the sides and the bottom with a 3/8 inch seam allowance.
Turn the bag right side out.
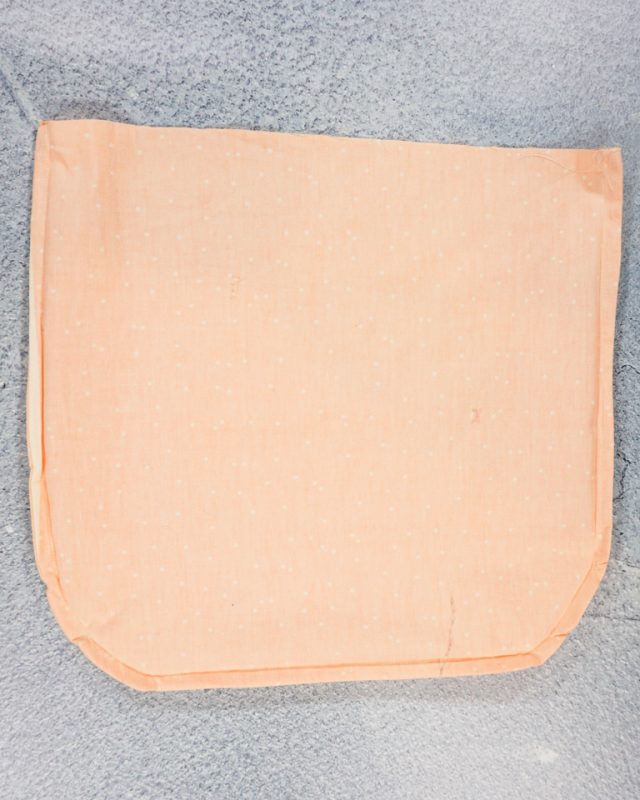
Press the edges well. The curves will have a little bit of bulk because of the French seams, but it’s okay.
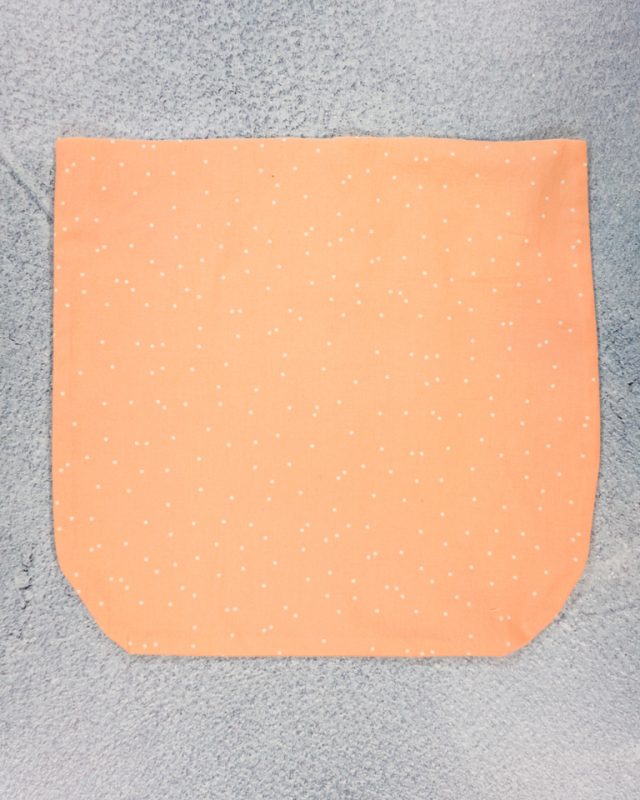
Fold the top down twice at 1/2 and pin in place. Sew around the top 1/2 inch from the edge to secure the hem in place.
Press the top edge to make it crisp.
Press the straps in half length wise. Fold the outer raw edge in to meet the center and press. Do the same to the other raw edge. Fold all three folds and press again.
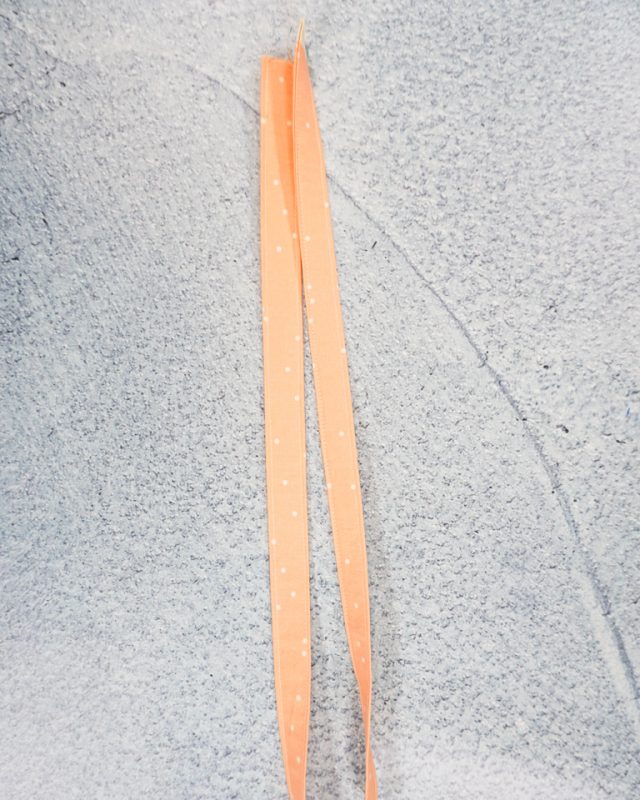
Sew down both sides of the straps 1/8 inch away from the edge. Do the same to the other strap.
Mark the center of the top of the bag. Mark 3 inches away on each side. This is where you pin the straps to the top of the bag.
Sew a rectangle around the edge of the strap through the hem. This will keep the strap attached, and it’ll be harder for it to come off since there are so many layers of fabric here.
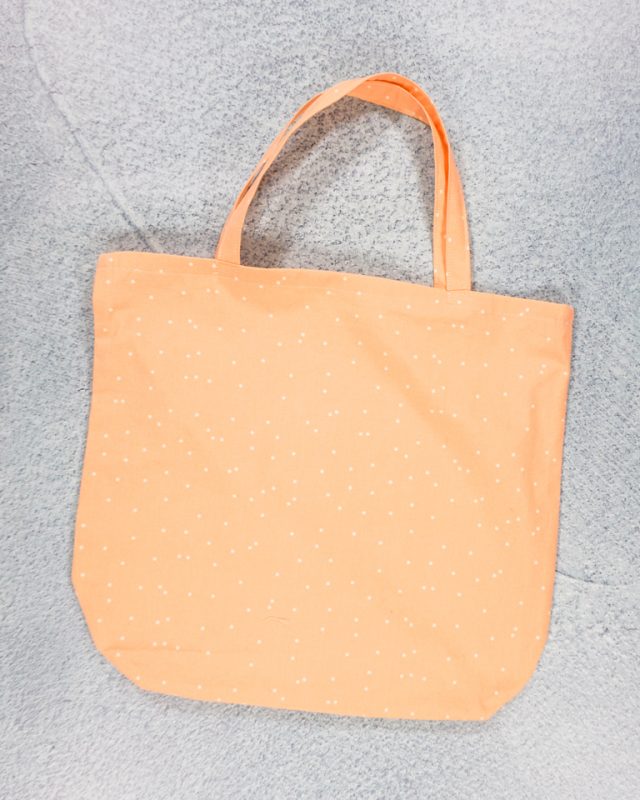
Make lots of DIY trick or treat bags and fill them with candy! Enjoy!
If you make something using this sewing project, I’d love to see! Please share it on social media with the hashtag #heatherhandmade and tag me!

I believe small sewing moments can create great joy. Find your own “right” way to sew. -Heather