
DIY Pumpkin Costume for Kids

This post may contain affiliate links.
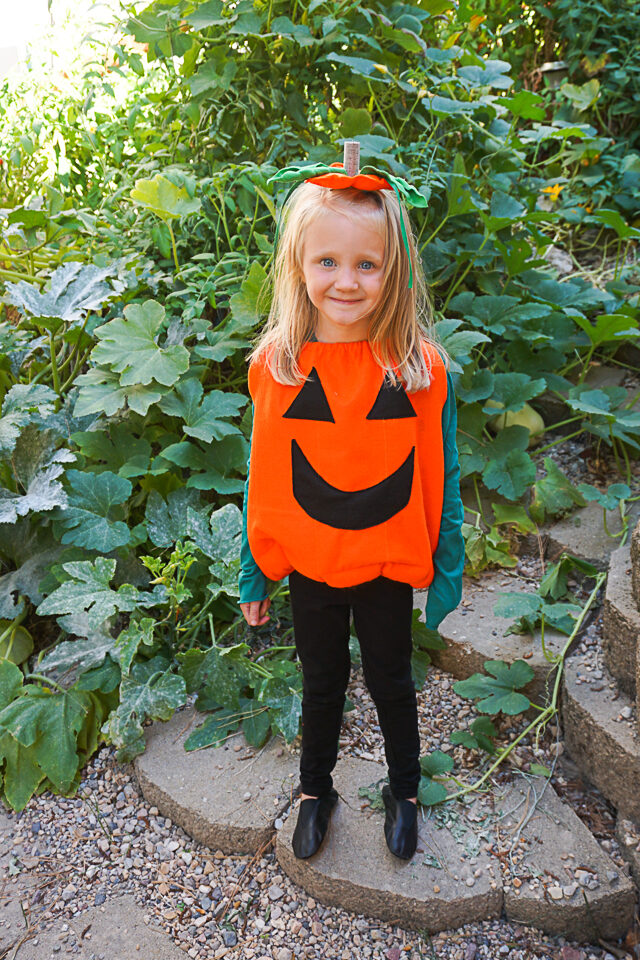
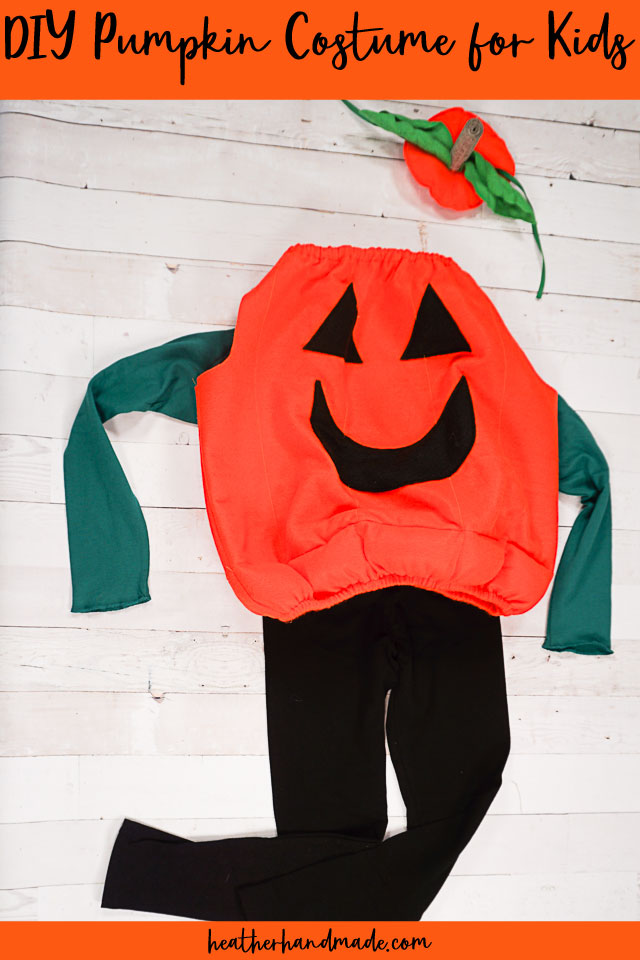
Learn to make a DIY pumpkin costume for kids with felt. It’s a costume that can be worn over clothing, and the top is the perfect accessory!
What’s more classic for Halloween than a pumpkin or a jack-o-lantern? I’ve been wanting to make a DIY pumpkin costume for years, and I realized that I had to make it this year before my baby grows up too much.
I just adore the children’s costumes that are puffy around the bottom. They are so cute and help keep the child warm. I wanted to make a pumpkin costume that was puffy around the bottom, but I wanted to make it simple and out of felt.
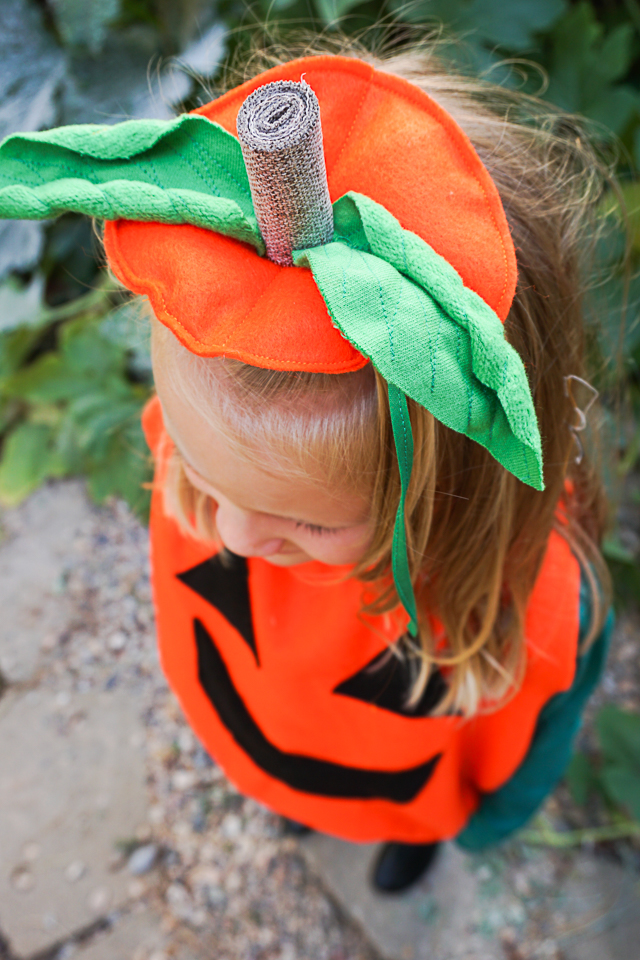
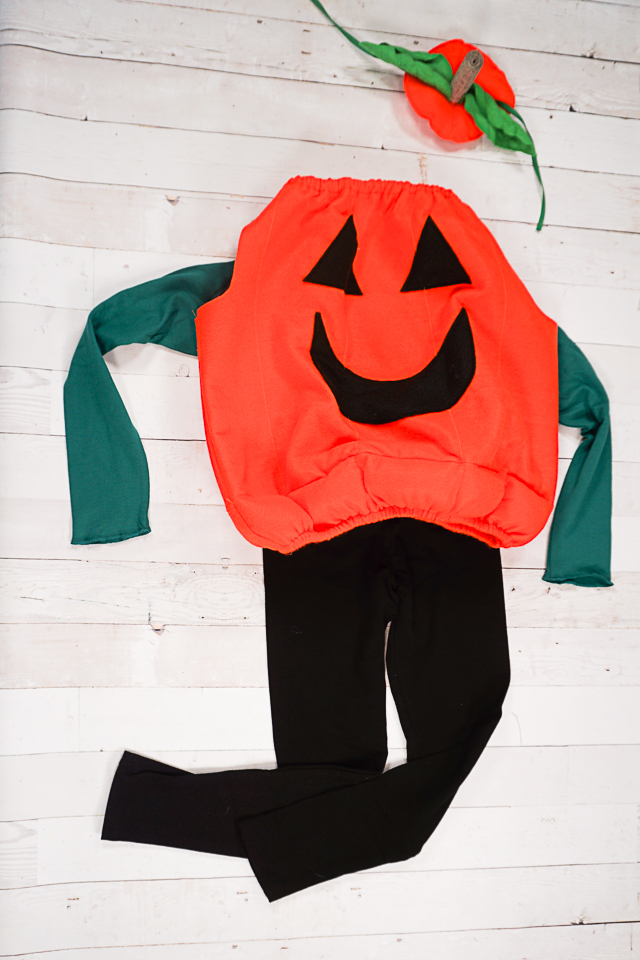
As cute as the puffy shirt part of the pumpkin is, I think the little pumpkin top is my favorite. It really looks like you took the top off of a pumpkin and clipped it onto my daughter’s hair. It has leaves and vines with stitching details, it has a thick stem, and the orange pumpkin part even has a little bit of stuffing.
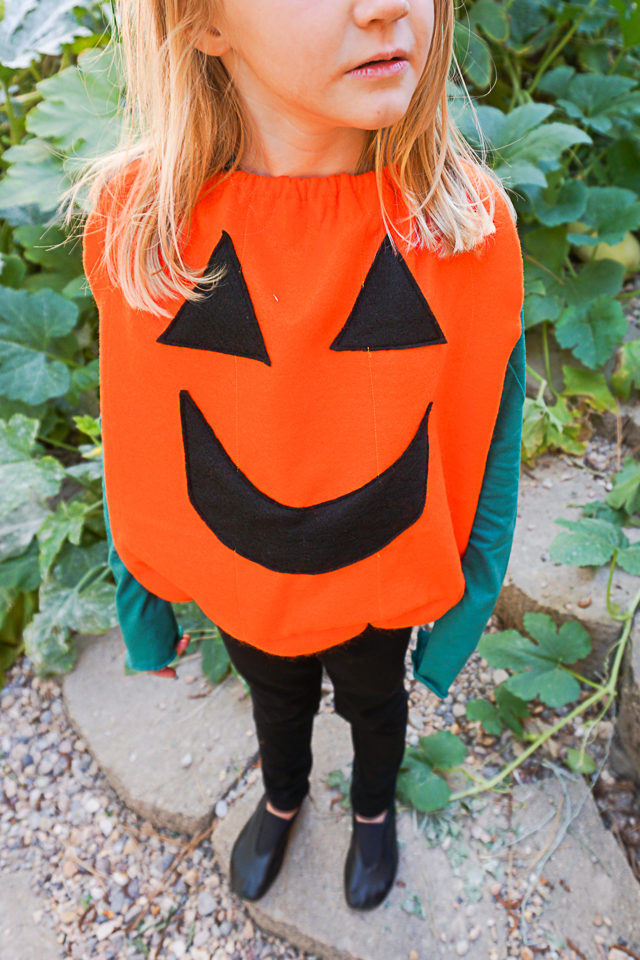
I chose to do a classic happy face for the pumpkin, but you can do a silly or a scary face instead. It’s great when you make it nice and big and noticable.
What fabric works best for a pumpkin costume?
The best fabric to use for a pumpkin costume is felt. I love using felt for costumes because it is easy to sew, and it doesn’t fray. The fabric doesn’t need to be finished!
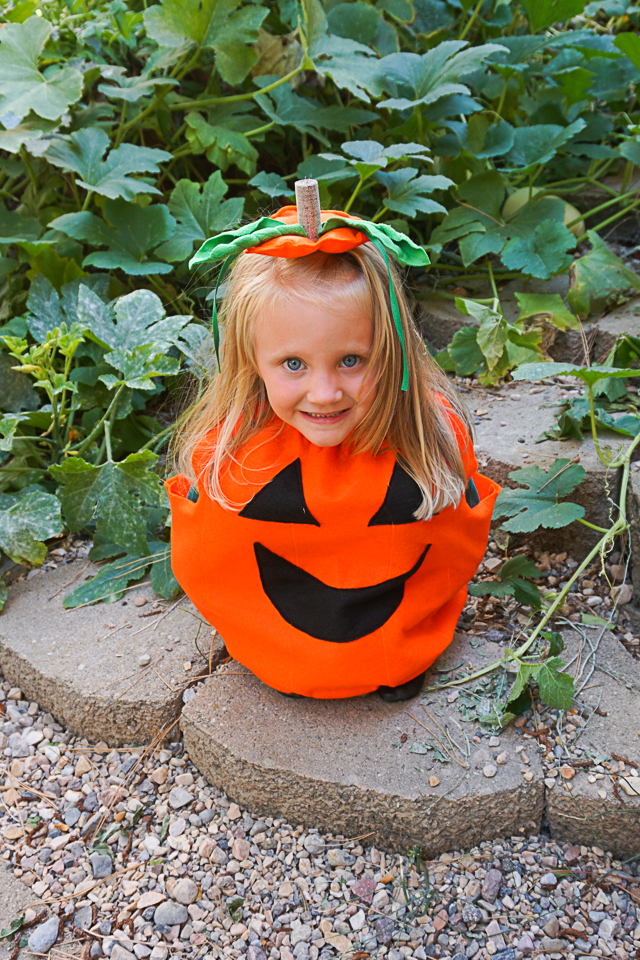
My daughter even realized she can tuck her arms and legs inside to become a pumpkin! She was so excited!
Do you love to sew? Try one of these sewing projects:
- DIY costumes
- Upcycled costumes
- Free costume sewing patterns
- Halloween sewing projects
- Easy DIY Pumpkin Costume for Adults
- How to sew felt
DIY Pumpkin Costume for Kids
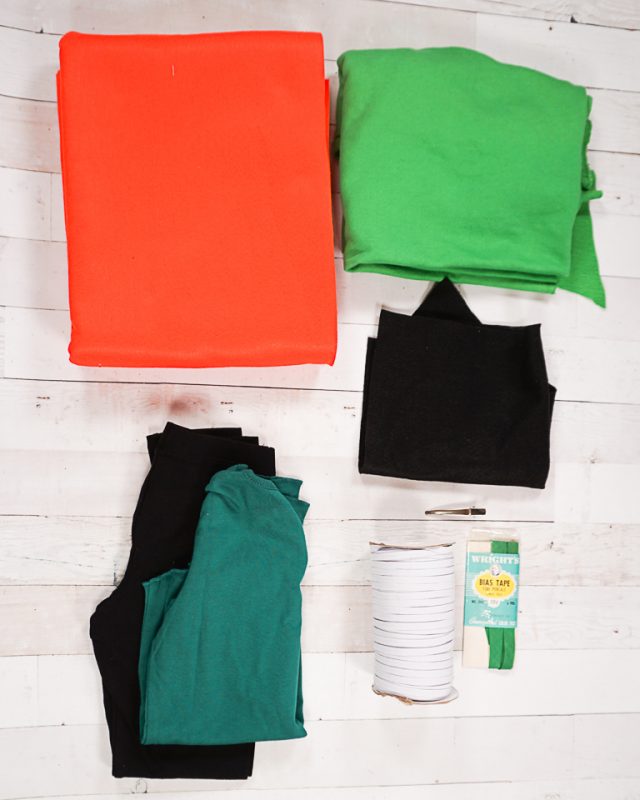
Supplies
- 1 yard of orange felt
- Scraps of black felt
- Scraps of green felt
- 2 yards of 1/4 inch elastic
- 1/2 yard of 1/2 inch green bias binding
- 1 yard of brown 2 inch wide ribbon
- Hot glue gun and glue
- Polyfil
- Alligator hair clip
- Sewing tools
- Sewing machine
Height: Measure your child from neck to hips. Add 4 inches to this amount.
Width: Measure your child’s hips. This measured circumference will be the width of the front and the width of the back. The total final width will be twice and wide and your child’s circumference. These are the measurements for two rectangles/squares that you will cut from the orange felt.

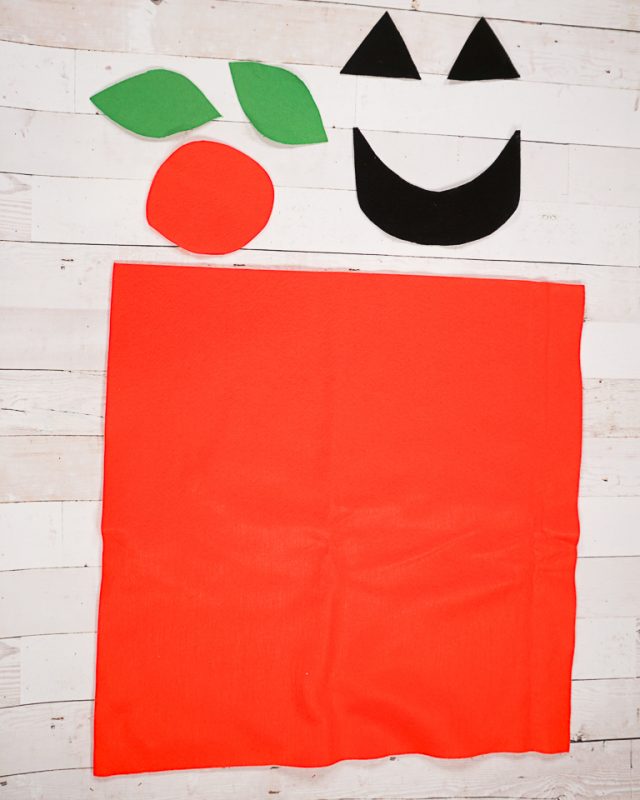
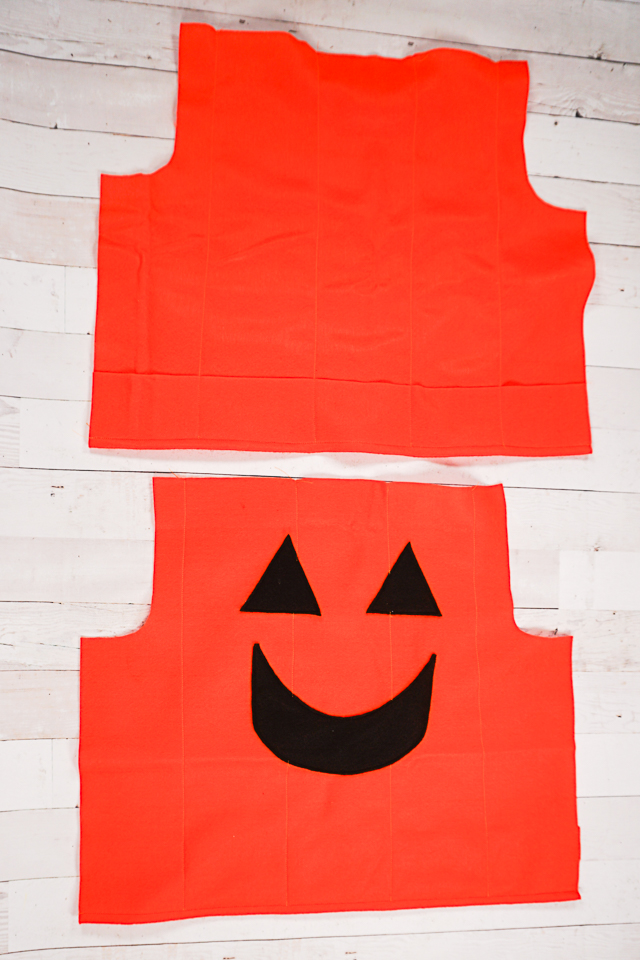
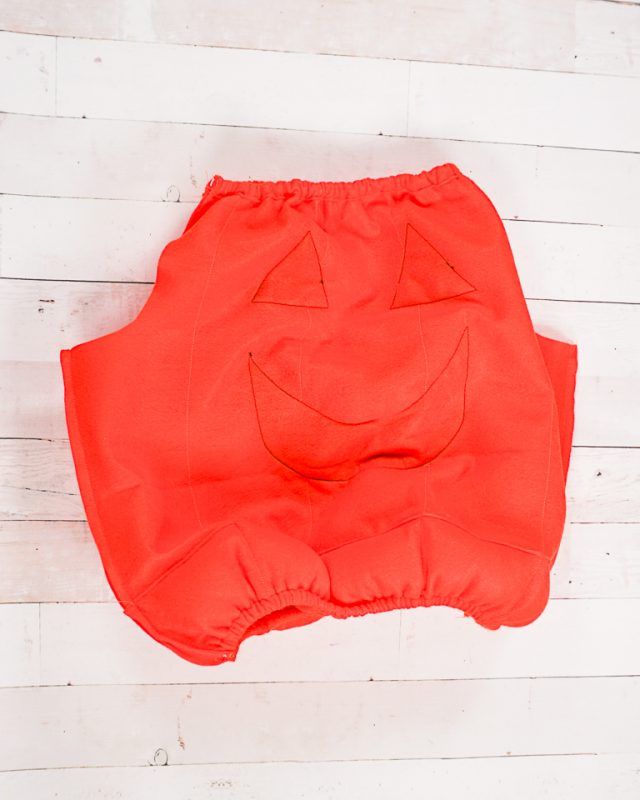
Cut out a jack-o-lantern face from the black felt.
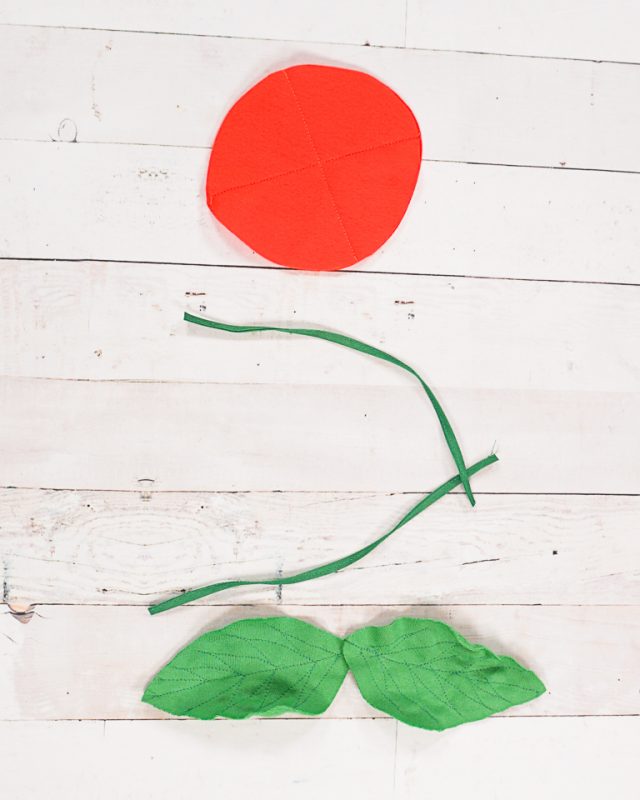
Cut out two circles from orange felt. Cut out two leaves from green felt.
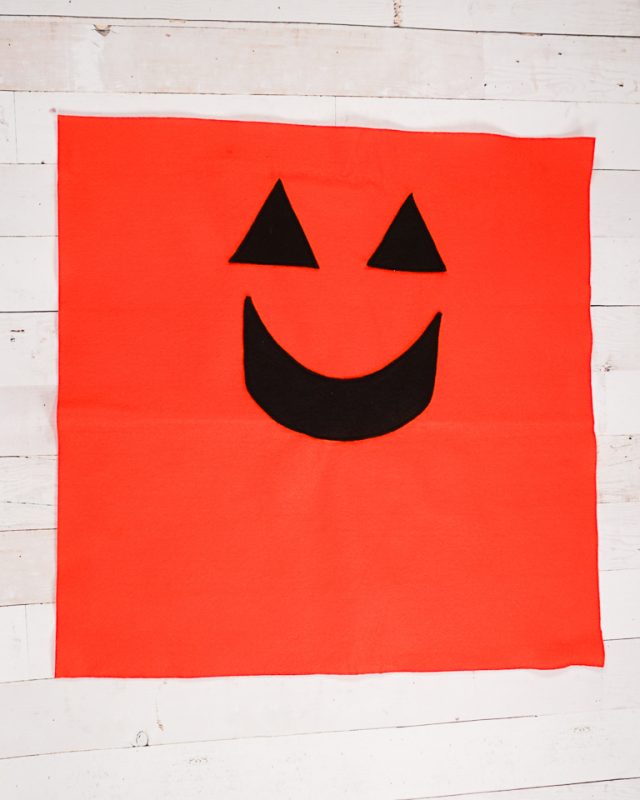
Sew the face pieces onto the front pumpkin piece.
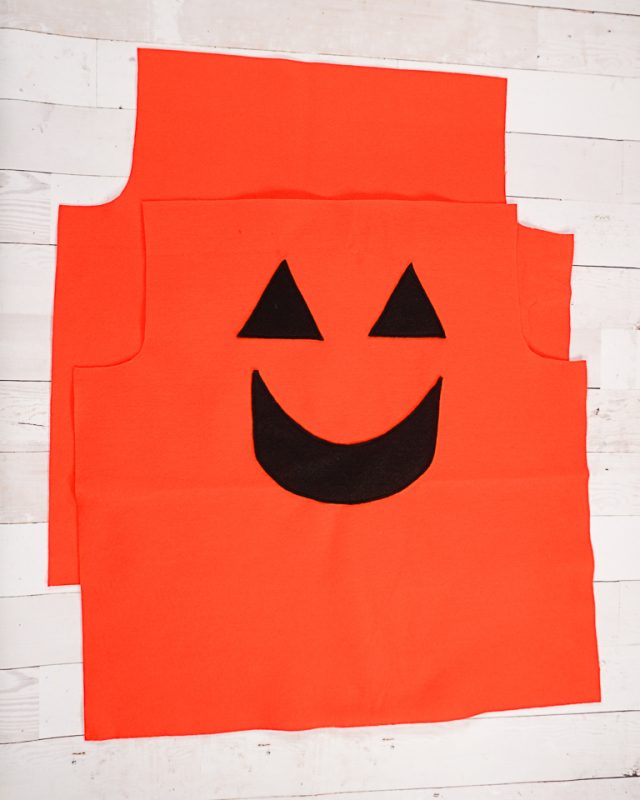
Layer the front and the back together and cut out armhole curves from the top two corners.
Fold up the bottom 3 inches and pin. Sew along the bottom 3/8 inch from the edge. Then sew multiple rows of stitching from the line you stitched up to the top.
Do the same to the back.
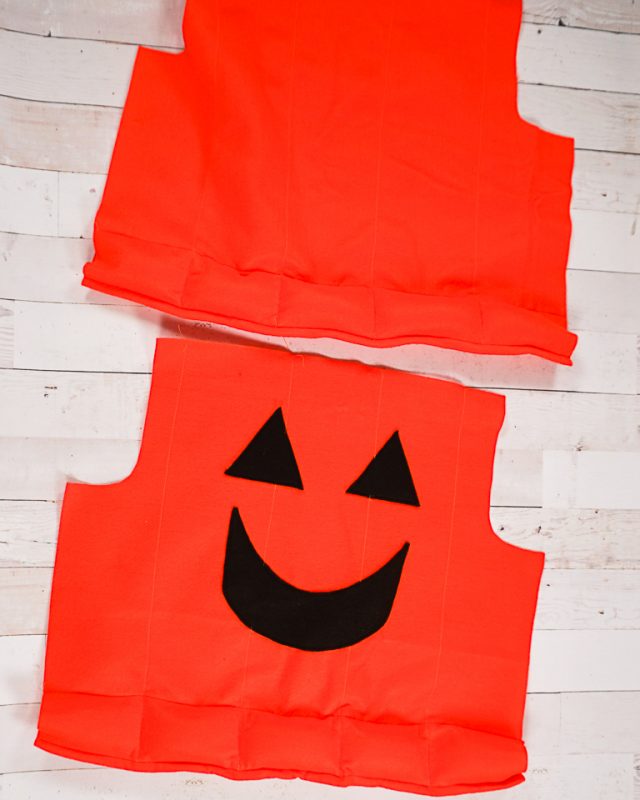
Add some polyfil to each pocket. Do the same to the back.
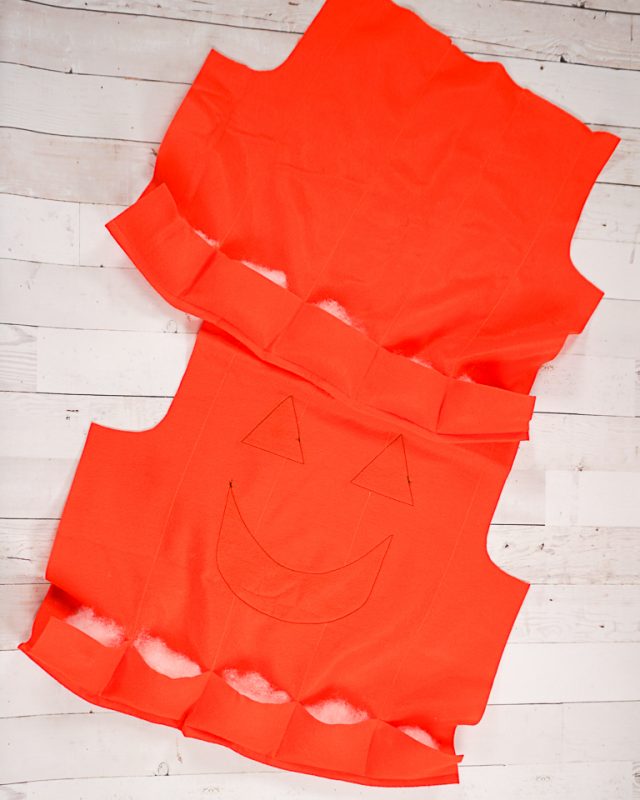
Sew the pockets closed along the top.
Fold the top of the pumpkin down 1/2 inch and sew along the top 3/8 inch from the edge.
Insert elastic into both the top and bottom casings that is half the length of the casing it’s going into. Tack the elastic ends at each side.
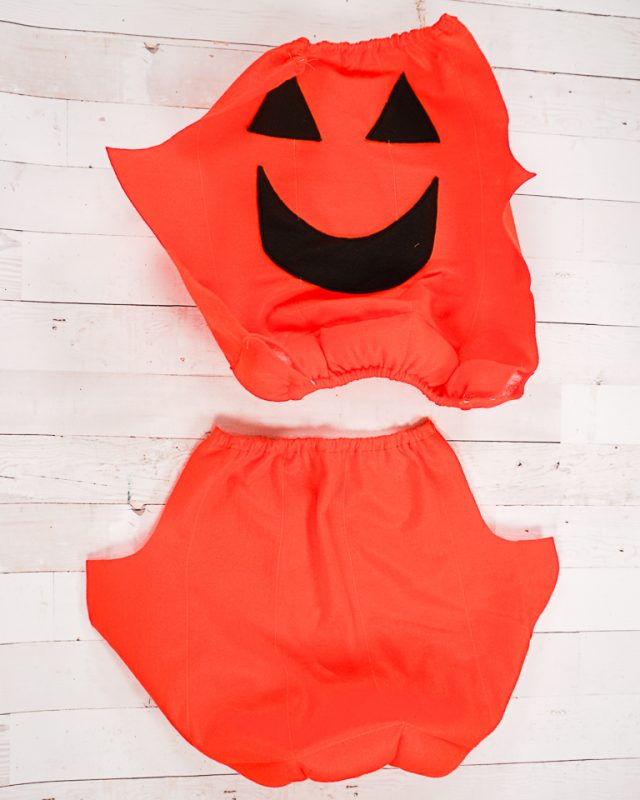
With right sides together sew the sides together with a 1/4 inch seam allowance. Leave the armholes open but sew the casings together to complete the neckline.
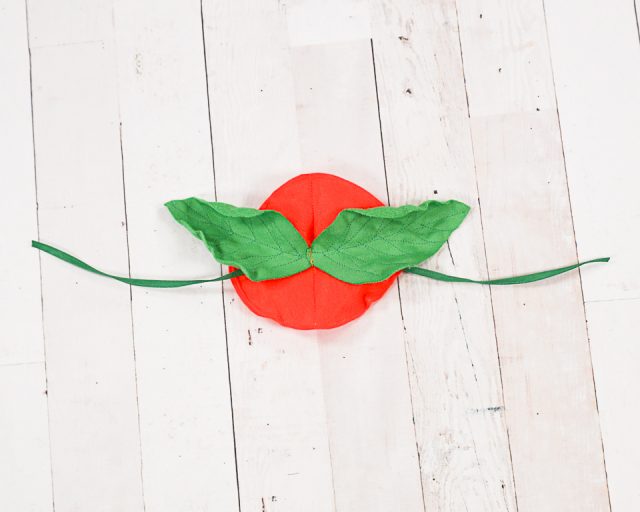
Layer the two orange circles on top of each other. Sew an “X” through the layers. Stuff a little bit of polyfil into each side. Sew around the circles to close the pockets.
Sew the bias binding closed and cut two pieces that are 9 inches long.
Sew some vein details on each green leaf.
Layer the vines and then the leaves on the pumpkin top and tack in place.
Start rolling the ribbon until it creates a tube. Glue it in place.
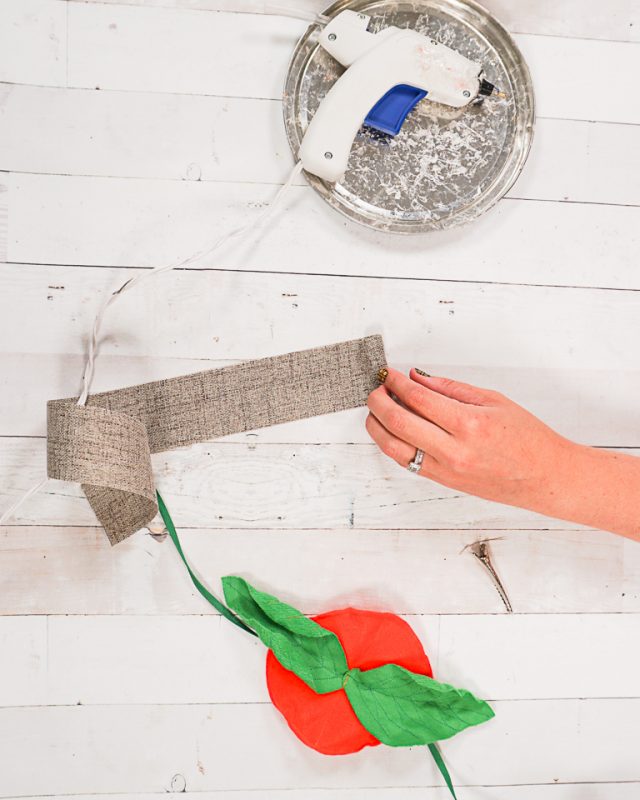
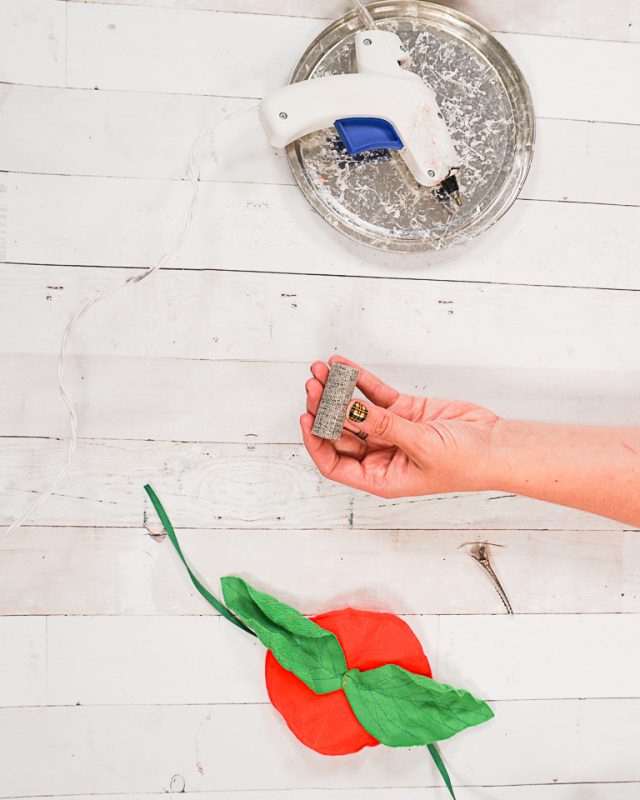
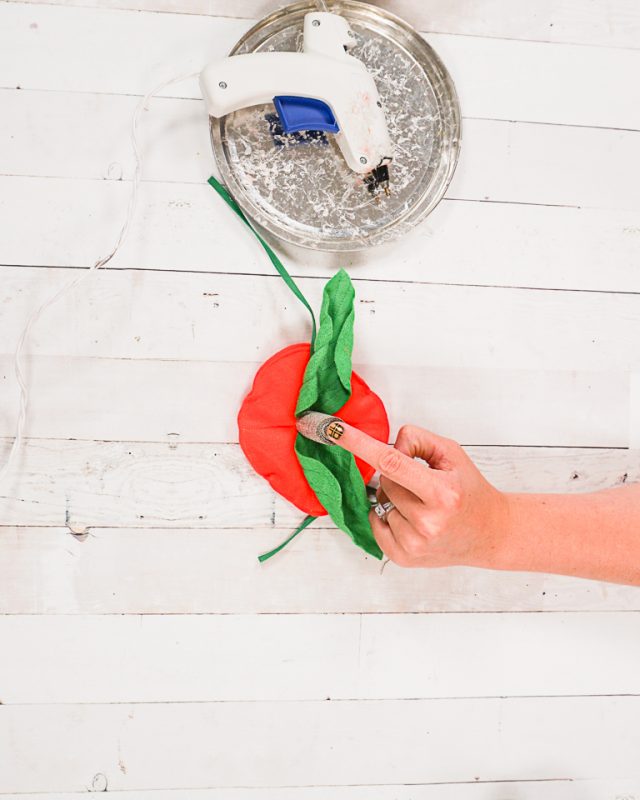
Glue the stem onto the pumpkin top right over the tacked stitches.
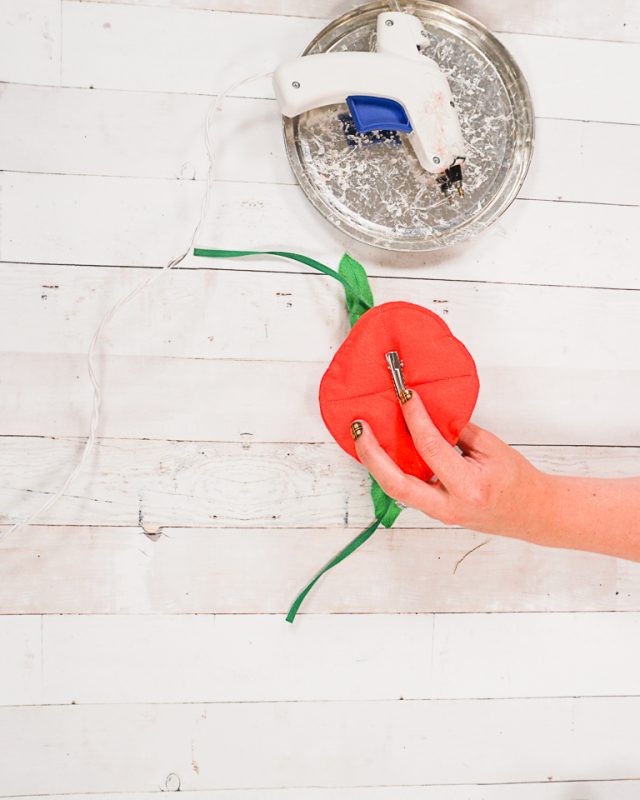
Glue the clip onto the bottom of the pumpkin top.
Put the costume together with clothing underneath. You finished!
If you make something using this sewing project, I’d love to see! Please share it on social media with the hashtag #heatherhandmade and tag me!

I believe small sewing moments can create great joy. Find your own “right” way to sew. -Heather
I’m curious what could be used instead of the bias binding? It’s not a practical purchase for me, so I’m trying to brainstorm other options.
So far though, my pumpkin costumes look great! I made one for my 2 year old and one for my 5 year old. 🙂
Bias binding on the hat? You could try ribbon, yard, or other trim
I tried to make it, most of it went well except that it was way too small for her. I think it would fit a 6 month old, but she’s 3 years old. It was my practice one, so it’s fine, but its drastically too small. Am I doubling the hip measurement when I am cutting the rectangles? Or do you just get double as you sew the two rectangles together? I hope that makes sense. I would love more instruction on the measuring than what is written. Thank you!
The hip measurement is the width of one front rectangle and then the width of the one back rectangle. So the circumference is double your child’s hip measurment. Does that make sense?
Very nice idea..worked out great for our daughter.