
DIY Pincushion Costume: Show How Much You Love to Sew

This post may contain affiliate links.
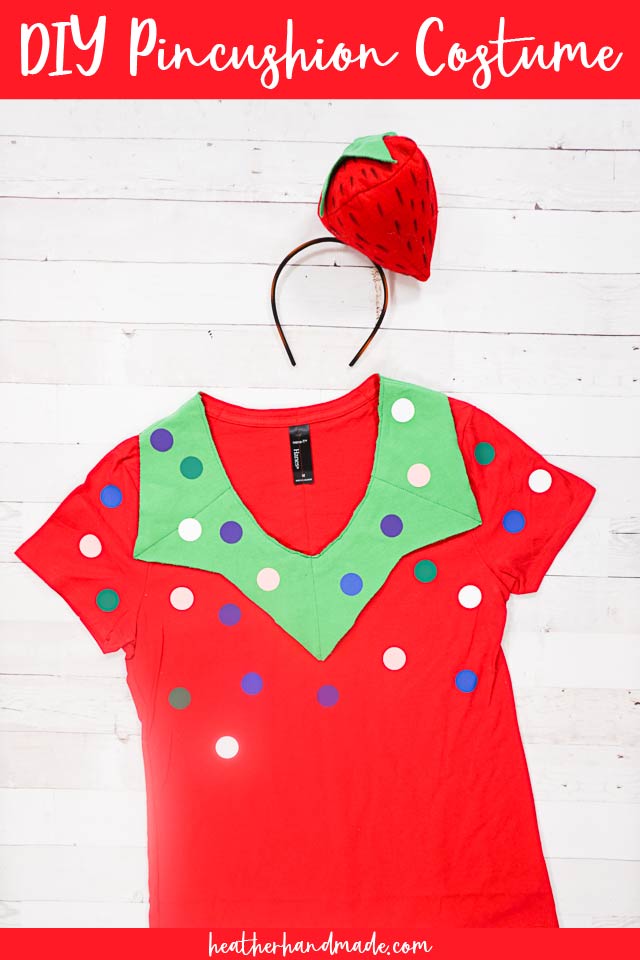
Learn how to make a DIY pincushion costume with a red t-shirt and a strawberry headband. Wear a t-shirt and jeans for this sewing inspired costume.
The red tomato pincushion is something classic in the sewing room. It has been around in sewing rooms and drawing rooms for over a hundred years. (I read the history once, and it’s very fascinating!)
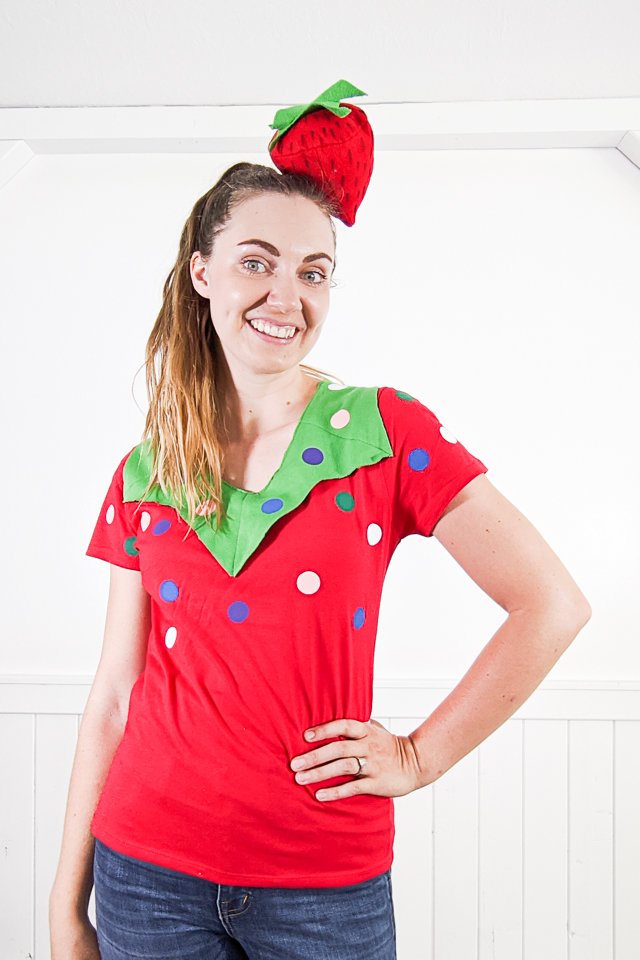
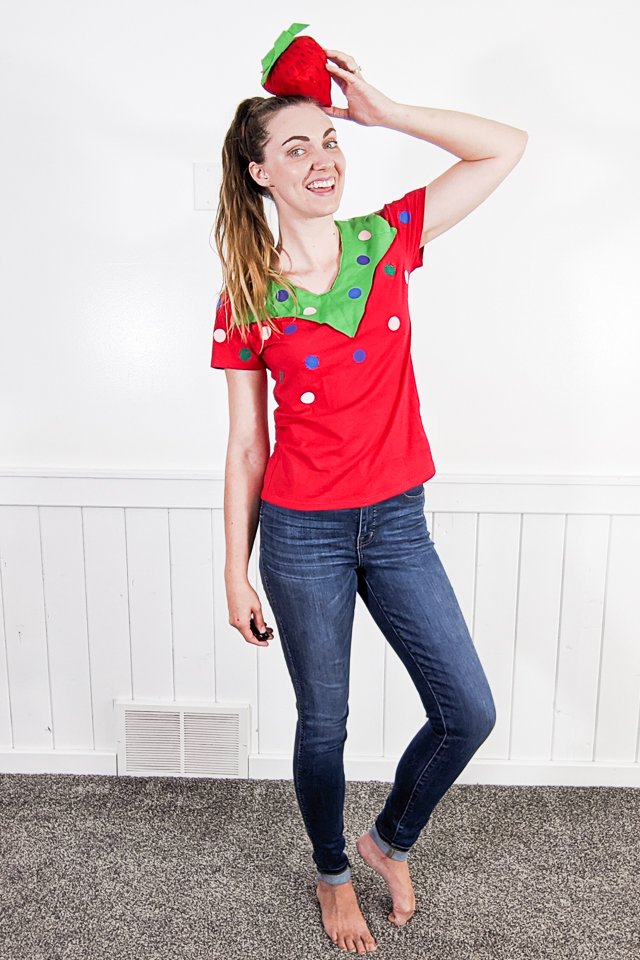
I made a super simple costume inspired by a red tomato pincushion with the strawberry on top. I made a red t-shirt look like the red pincushion with pins and a green leaf collar. This sewing inspired costume is so fun!
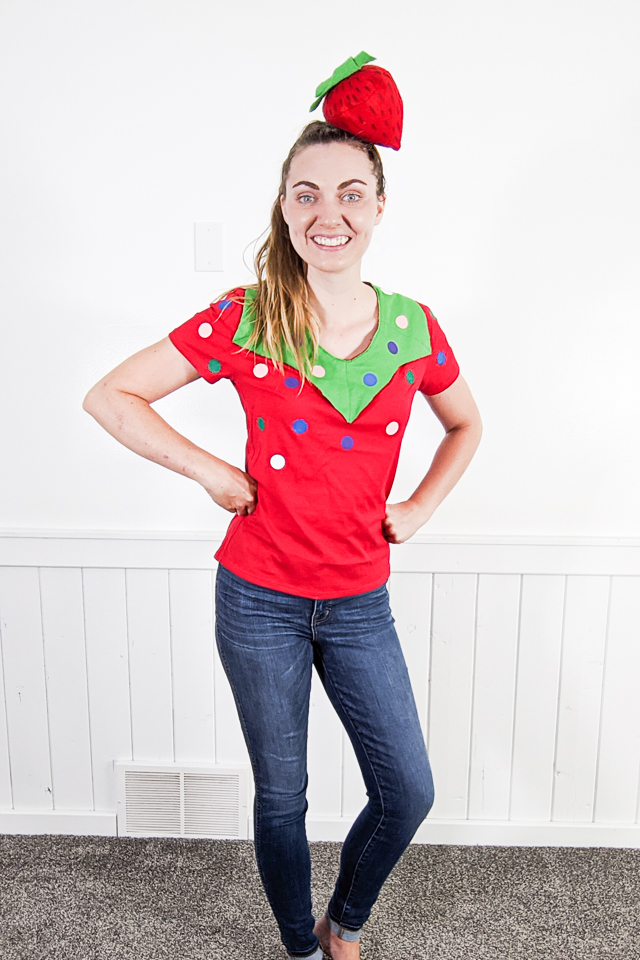
Because the pins don’t stick out like actual pins in a pincushion, I think this costume is a little harder to get right away. I think anyone who sews would see it immediately, but someone who doesn’t sew would need to be told.
Do you like to make costumes and sew for Halloween? Try some of these projects:
- DIY Halloween costumes
- Fall sewing projects
- DIY spool of thread costume
- DIY scissors costume
- Free Halloween costume sewing patterns
- Upcycled costumes for Halloween
DIY Pincushion Costume
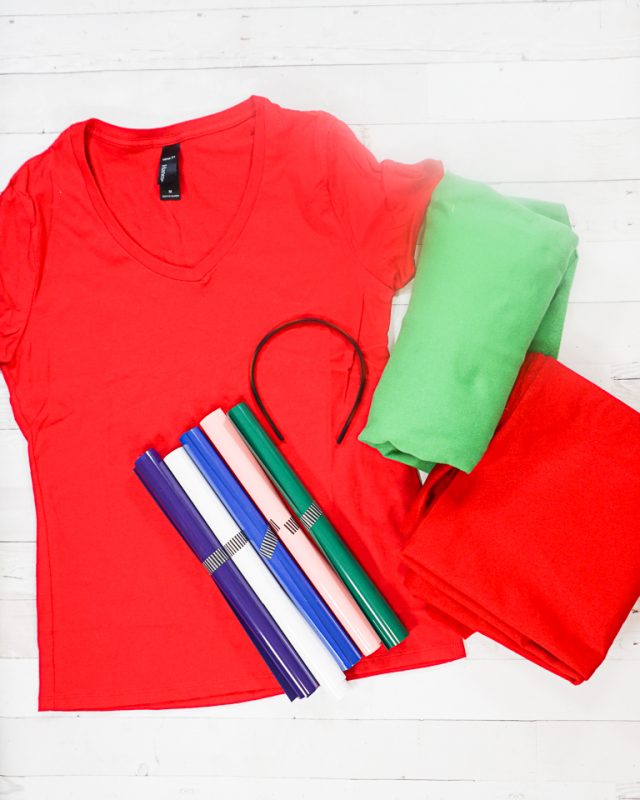
Supplies
- Red t-shirt
- Green felt or green knit fabric (like polar fleece, sweatshirt fleece, cotton spandex jersey, or double brushed poly)
- Iron on vinyl in assorted colors OR felt in assorted colors
- Headband or clip
- Red felt
- Sewing tools
- Sewing machine
Lay out your green fabric over the red t-shirt. Carefully cut out a large collar shape that fits the neckhole of the t-shirt. Only do the front of the shirt. Make sure there’s seam allowance at the shoulders.
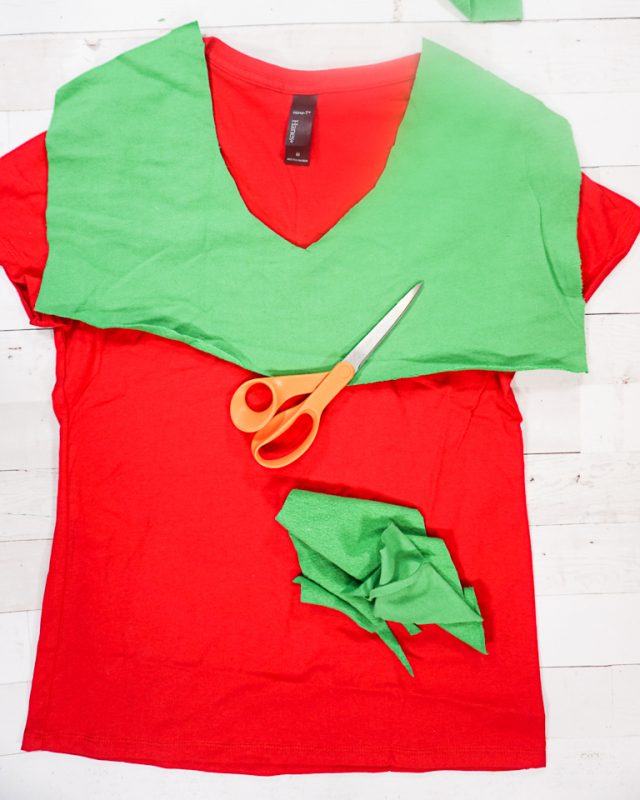
Fold the collar in half along the center front so that you’ll get mirrored sides. Cut some leaf shapes like the top of a pincushion.
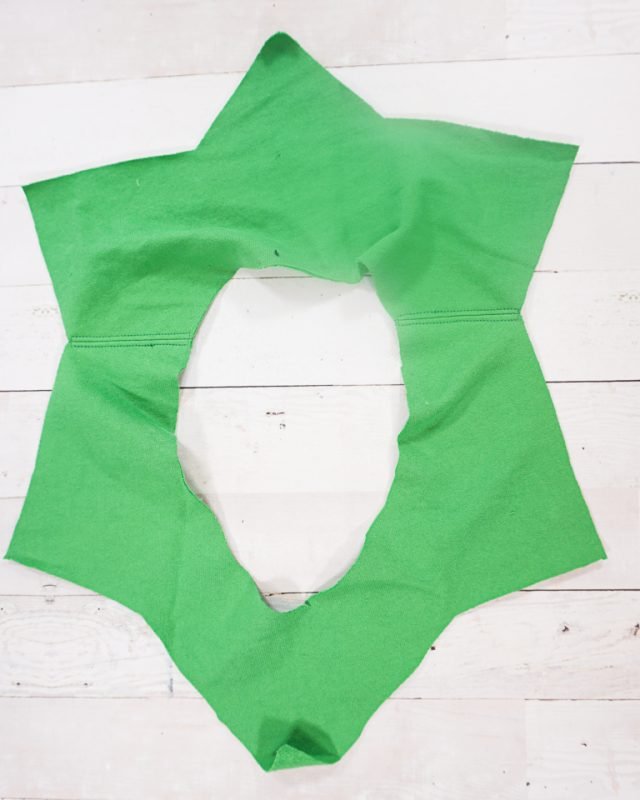
Cut a back collar piece with a neckline, shoulder seam allowances, and leaf shapes.

Sew the front and back collar together at the shoulder seams. Press the seams open and then topstitch the seam allowance open.
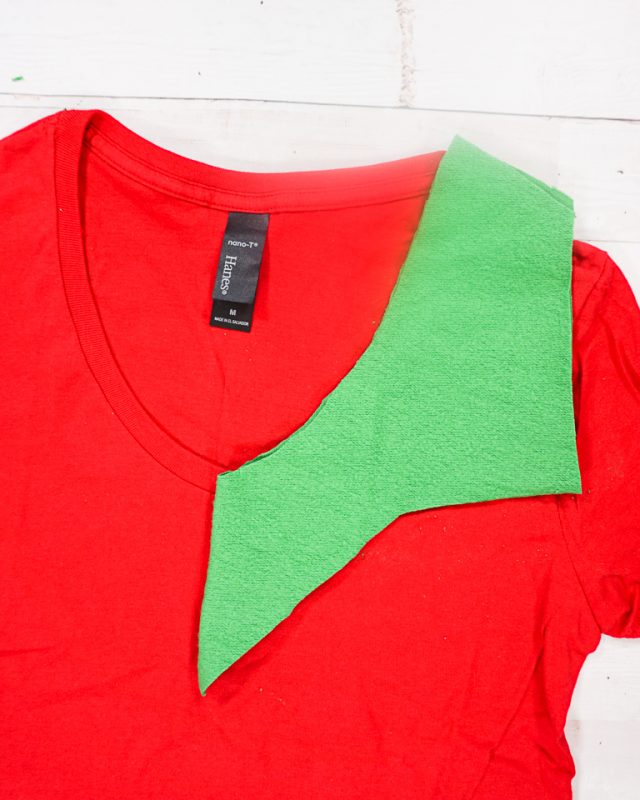
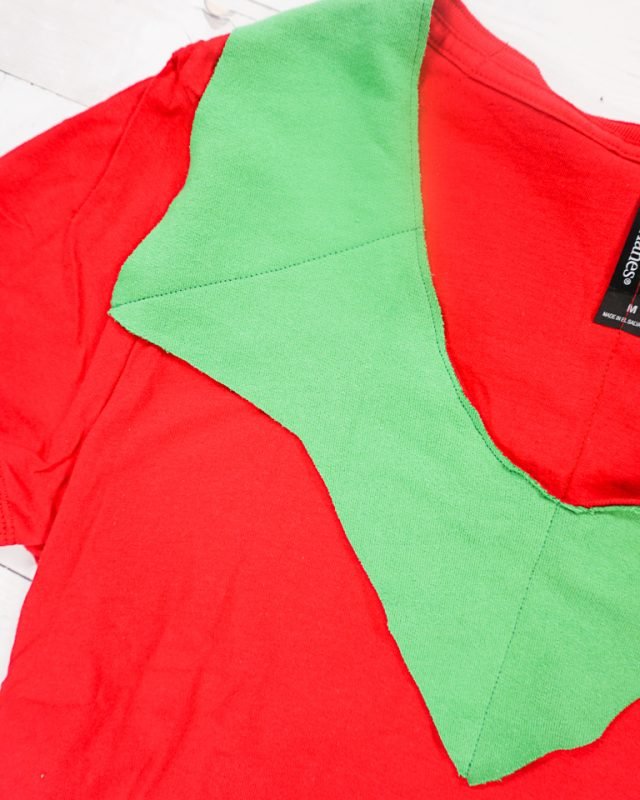
Pin the collar to the t-shirt neckline. Sew around the top of the collar at the neckline 1/8 inch from the edge.
Then sew a straight line from the collar to the point of the leaves.
Cut out a bunch of circles from the iron on vinyl (or felt). I cut 10 circles from 5 different colors.
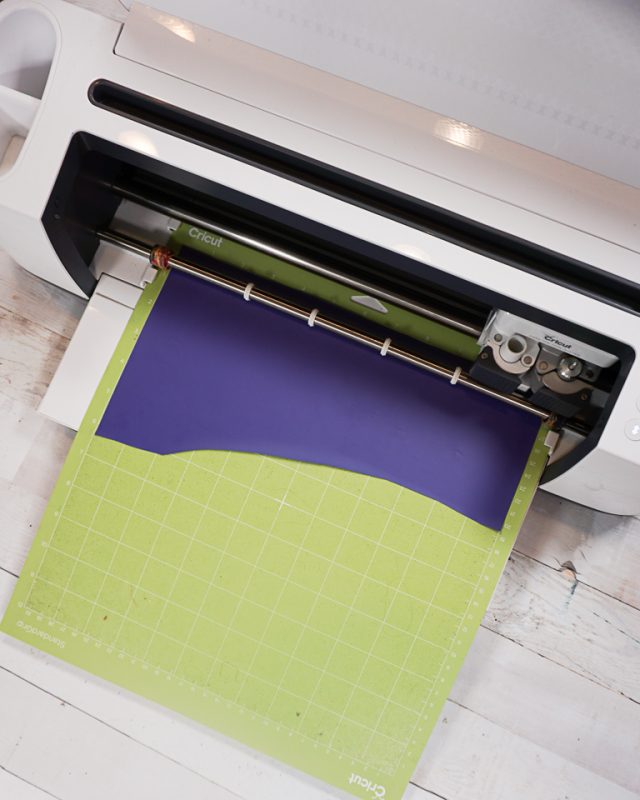
Weed the circles and then cut them all separately.
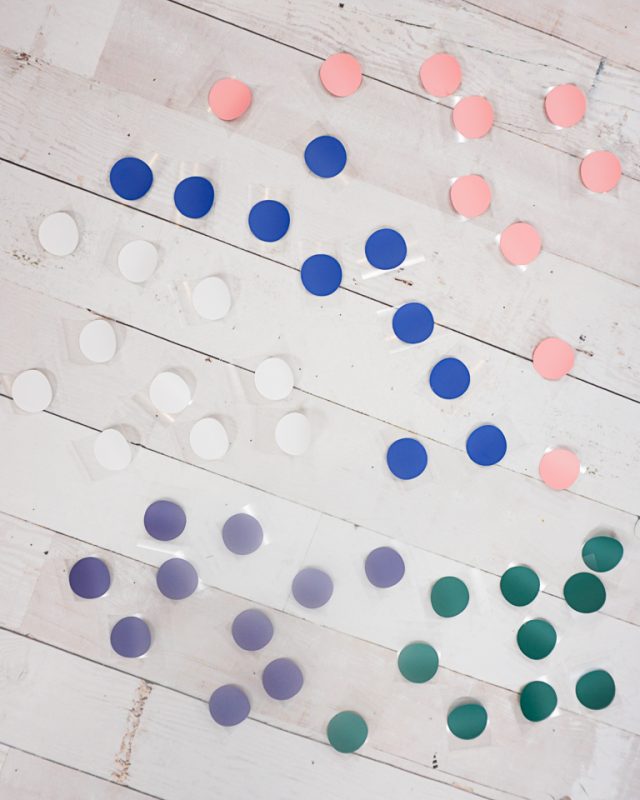
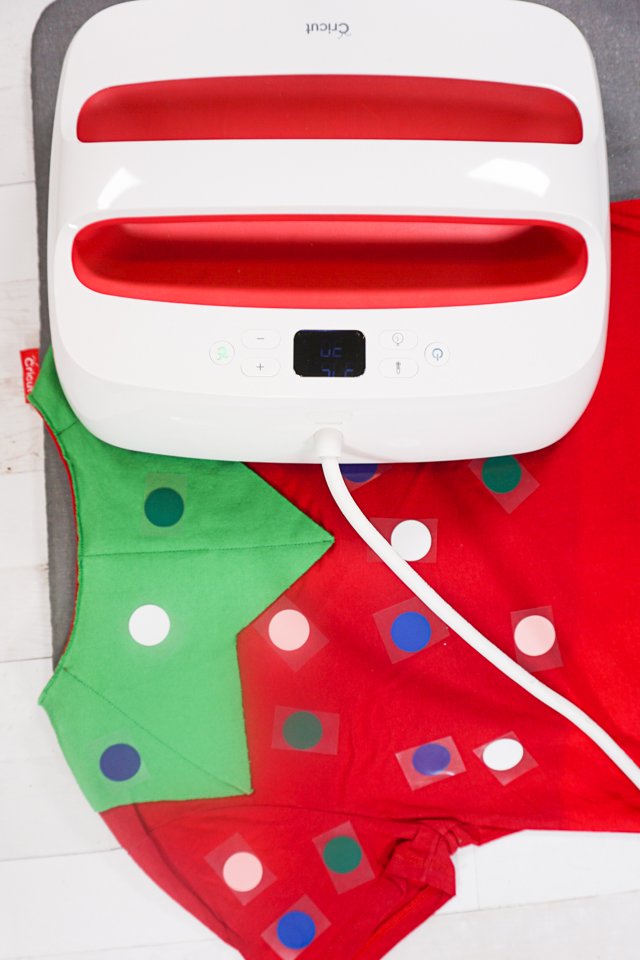
Choose the placement of the “pins” on the front and the back of the t-shirt. I focused the pins on the collar and the top of the t-shirt. Apply the iron on vinyl.
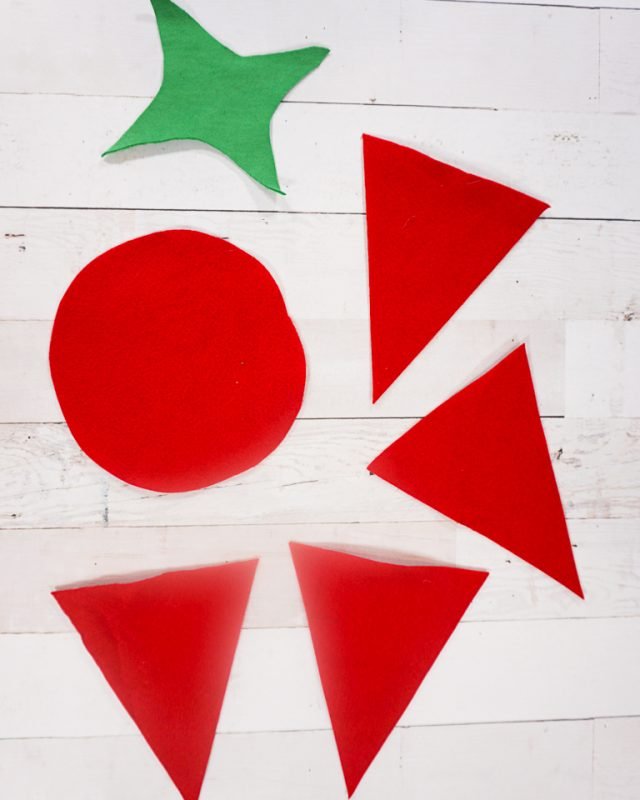
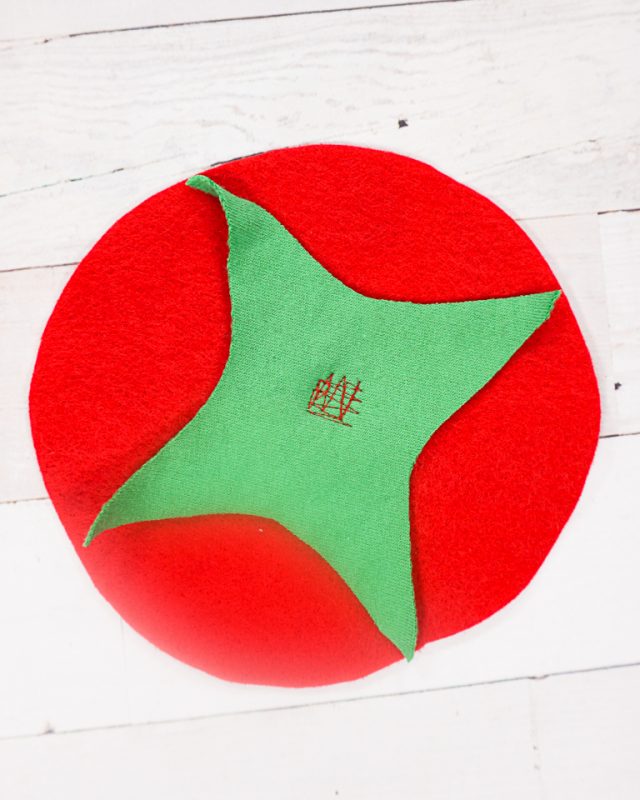
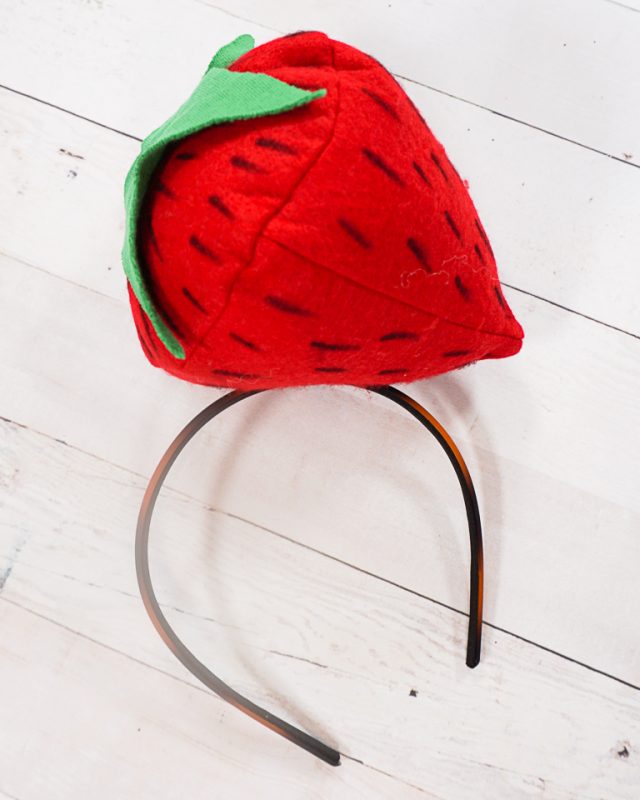
For the strawberry cut red felt into four triangles, a large circle, and a red leaf for the top.
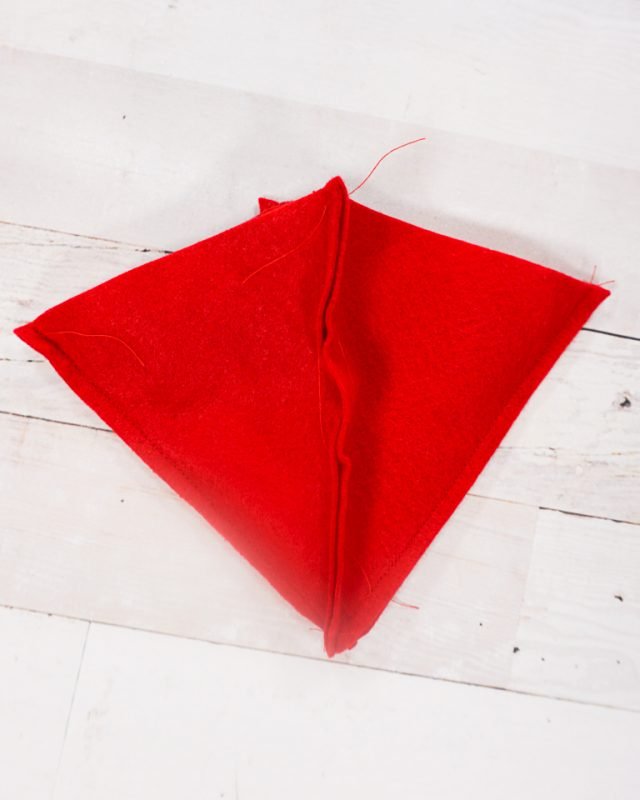
To figure out the math I first cut out the four triangles. Then I added up the straight lines of them all and minused the seam allowance. That measurement is the circumference of the circle.
Sew the leaf to the top of the red circle.
Sew the triangles together with a 1/4 inch seam allowance. Stop 1/4 inch from the point to make room for the next side.
On one of the sides leave a 3 inch hole.
Sew the circle onto the top of the strawberry.
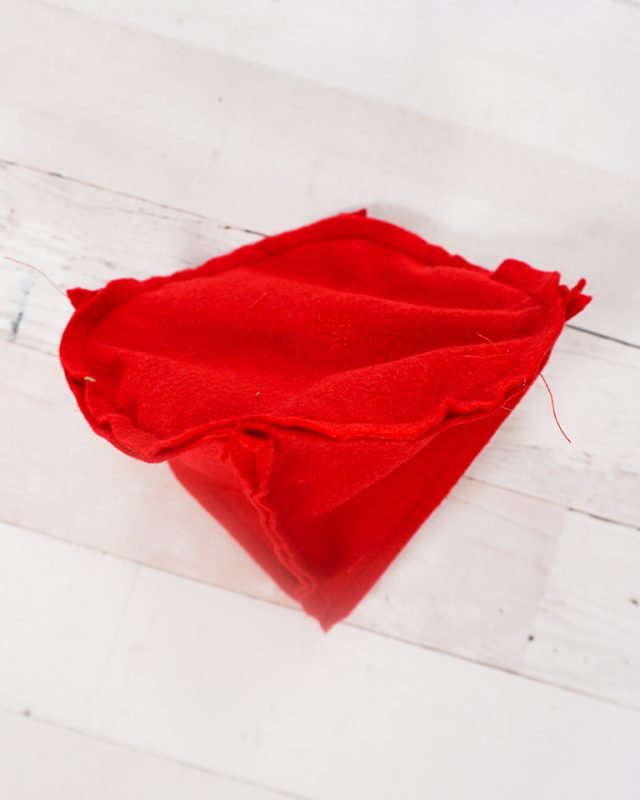
Turn the strawberry right side out and stuff with stuffing.
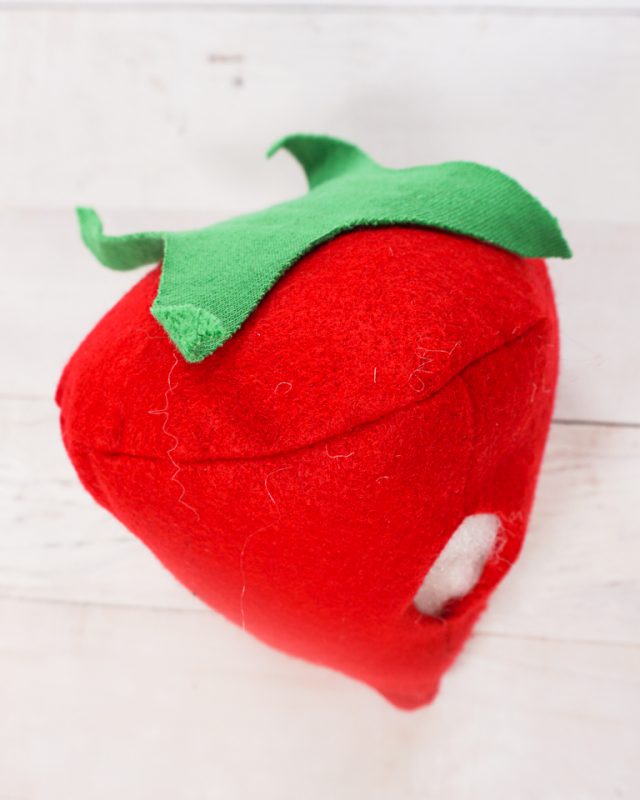
Hand sew the hole closed with a hand needle and red thread.
Add “strawberry” seed lines with a black marker if you want. This is not what a pincushion strawberry looks like, but it does show that it is a strawberry.

Sew or glue the strawberry onto a headband or an alligator clip.
If you make something using this sewing project, I’d love to see! Please share it on social media with the hashtag #heatherhandmade and tag me!

I believe small sewing moments can create great joy. Find your own “right” way to sew. -Heather