DIY Marshmello Fortnite Costume

This post may contain affiliate links.
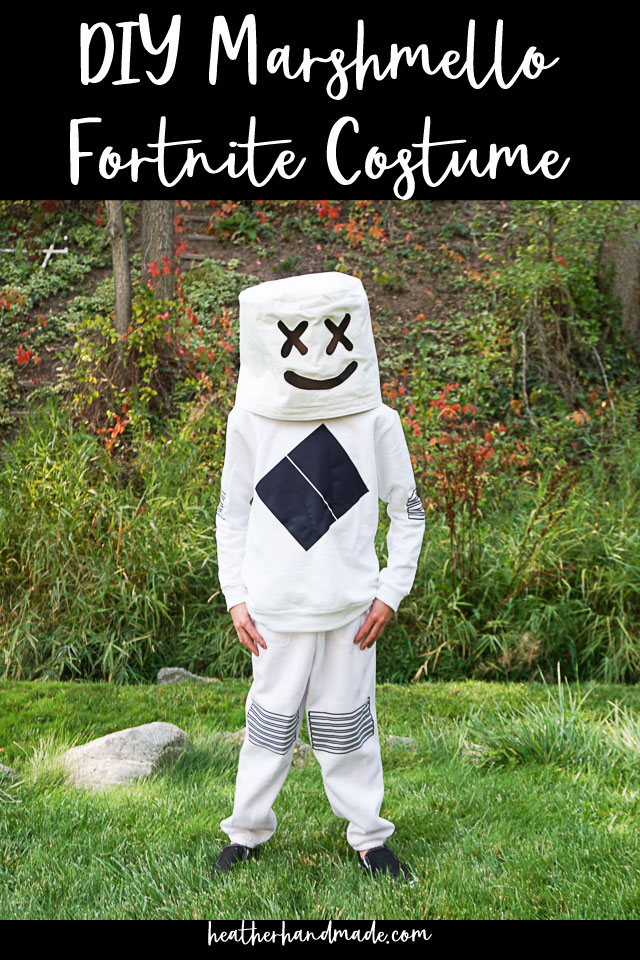
Learn how to make a DIY Marshmello costume for kids from the Fortnite character. Use a Cricut Maker and sewing machine for an easy costume!
A couple of years ago I made my daughter a DIY marshmallow costume that looked like a marshmallow roasting on a stick. I love that costume so much, and I’m so proud of it!
Well, I realized that people who were looking for a DJ Marshmello costume were clicking over to the marshmallow costume. I fixed it this year with a DIY Marshmello Fortnite costume which was also a lot of fun to create.
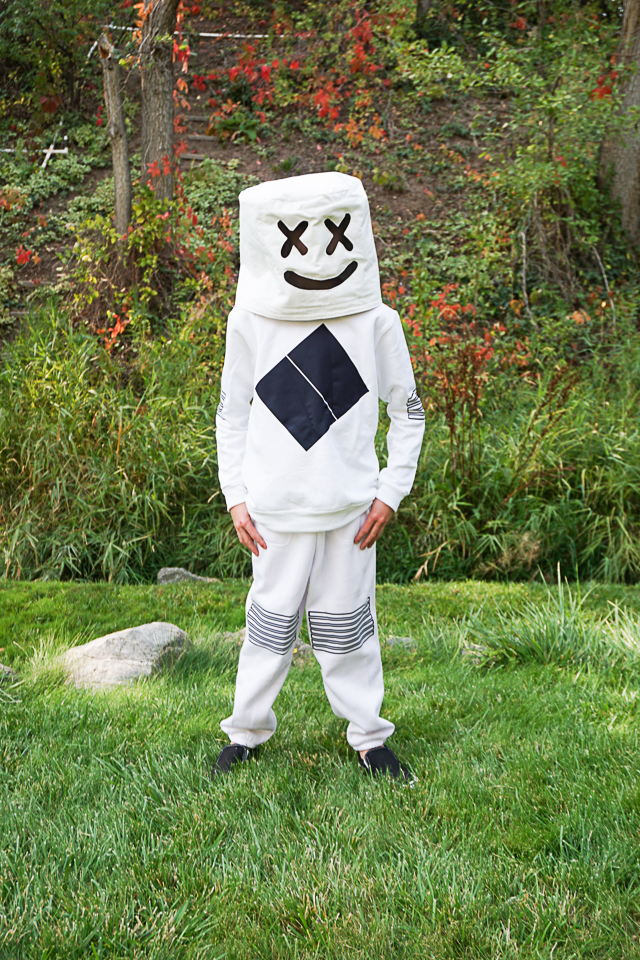
I essentially made this costume for fun, and I didn’t think my son would care about it. Well, he’s worn it as lounge clothing and pajamas every chance he gets. This costume is going to get a lot of use which always makes my sewing heart happy.
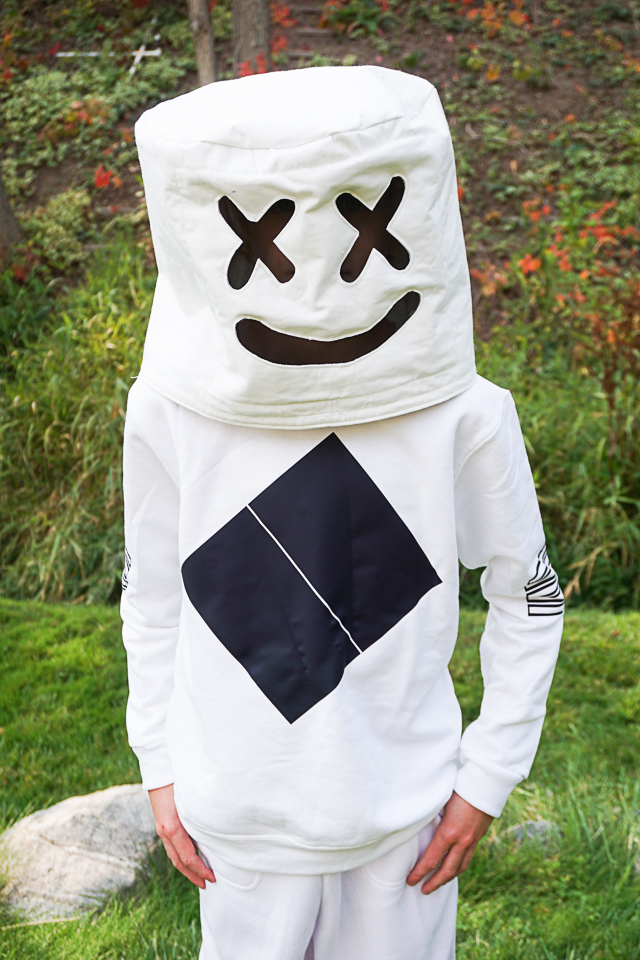
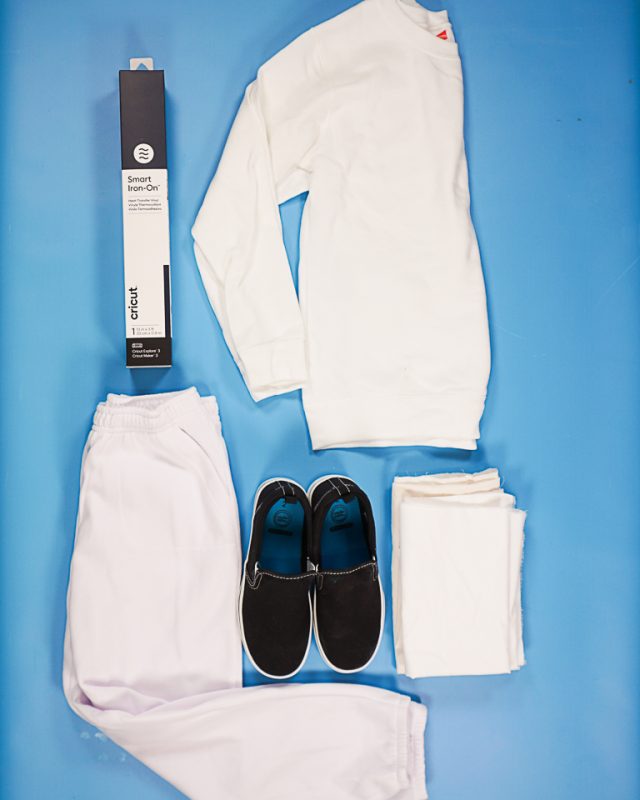
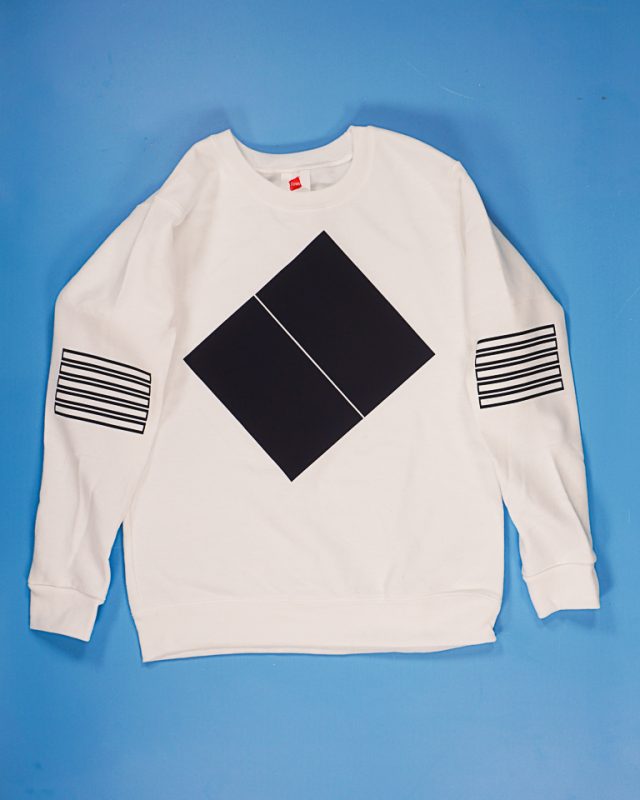
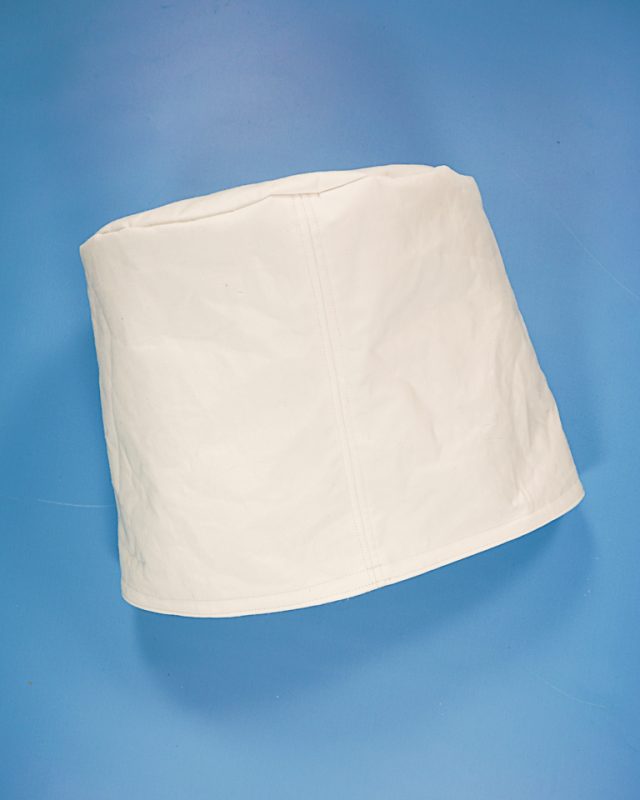
I purchased the white clothing and the black shoes. I simplified all the black details to make it easier to cut out with a cutting machine like the Cricut Maker. Then I used one of my free sewing patterns to make the iconic fabric helmet.
Do you love to sew? Try one of these fun sewing projects:
DIY Marshmellow Fortnite Costume
Supplies
- White sweatshirt
- White sweatpants
- Black shoes
- Black iron-on vinyl*
- Cricut Maker* and tools
- Easypress 2*
- 1 yard white cotton fabric
- 1/2 yard fusible fleece
- 1/2 yard medium weight interfacing
- Free fabric bucket sewing pattern for the helmet
- Scrap of black mesh fabric
- Sewing tools
- Sewing machine
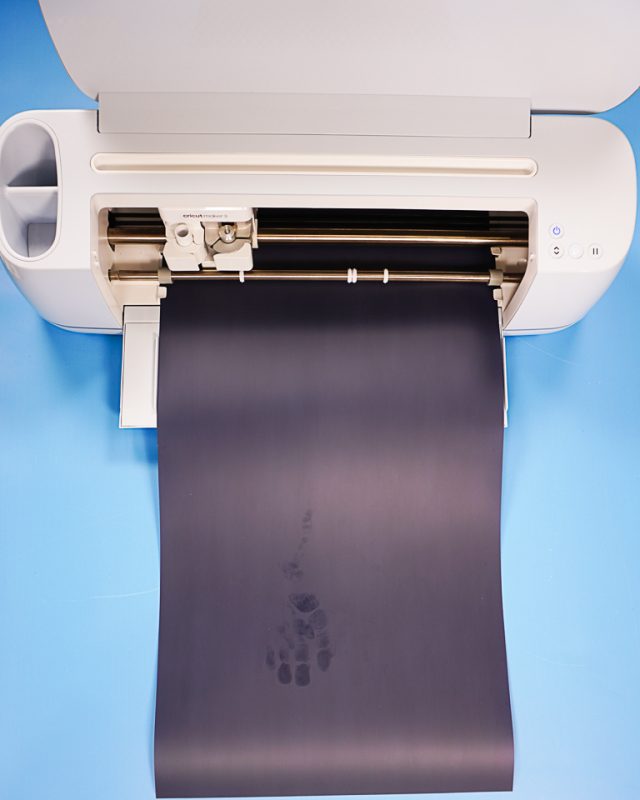
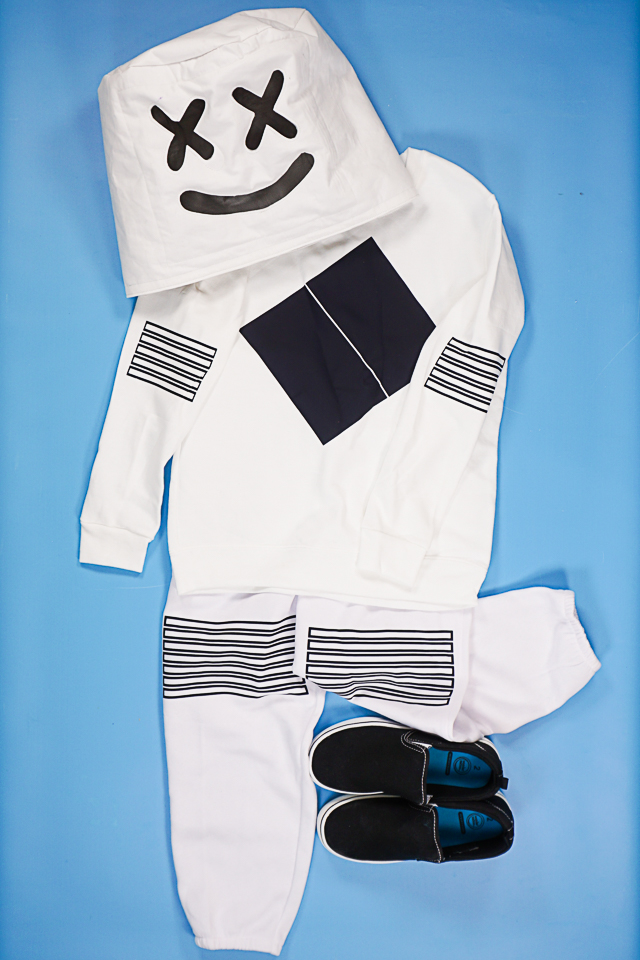
Use your Cricut Maker to cut out two rectangles for the chest area. A good size to start with is 4 inches wide by 6 inches tall, but check the size on your sweatshirt since you might have a different size or style.
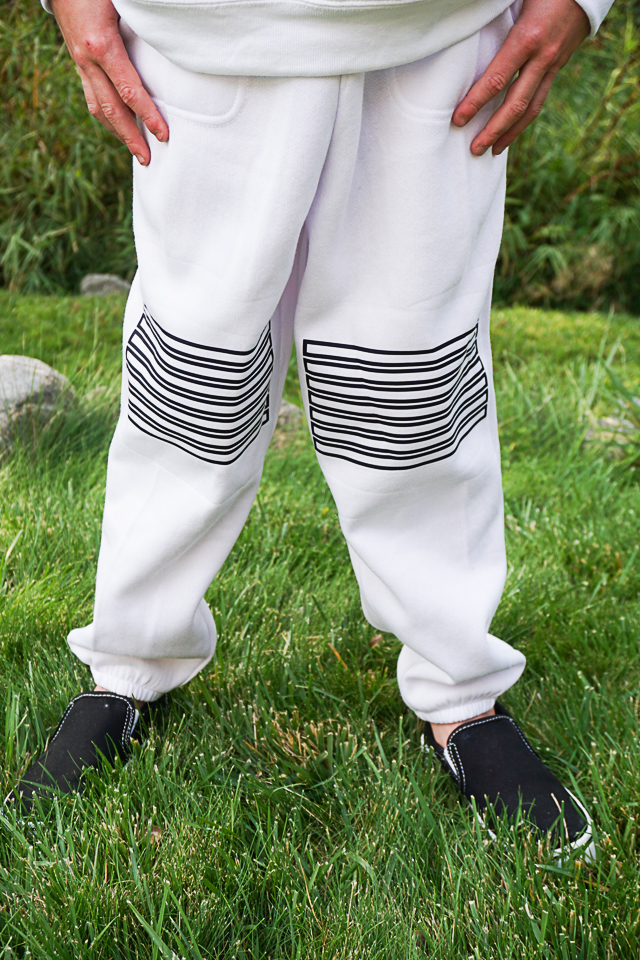
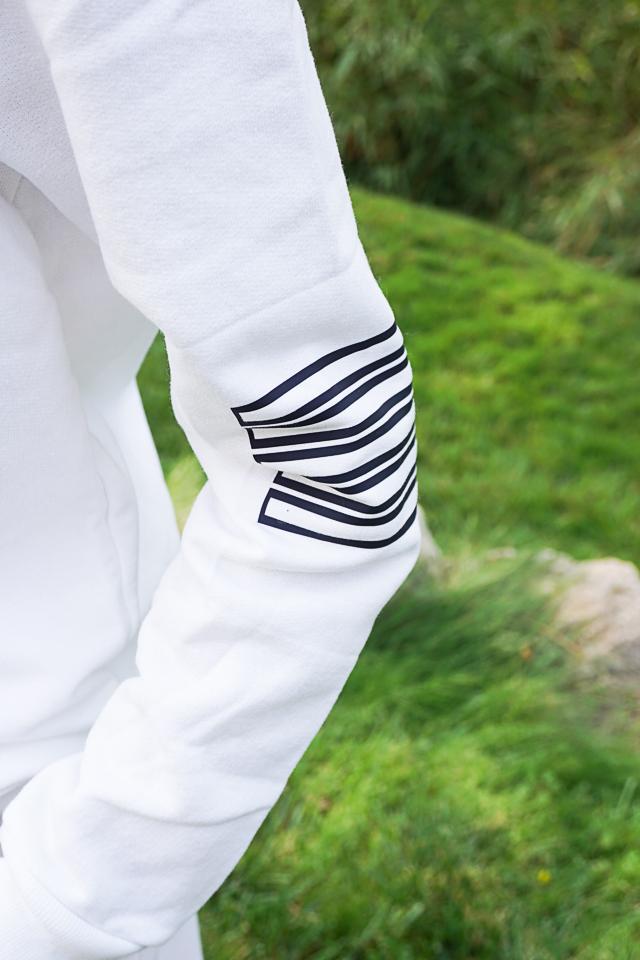
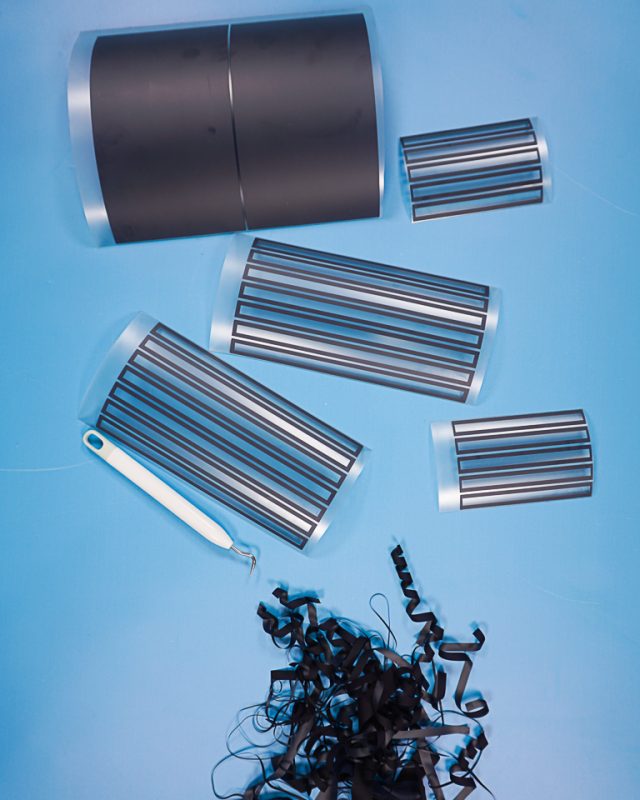
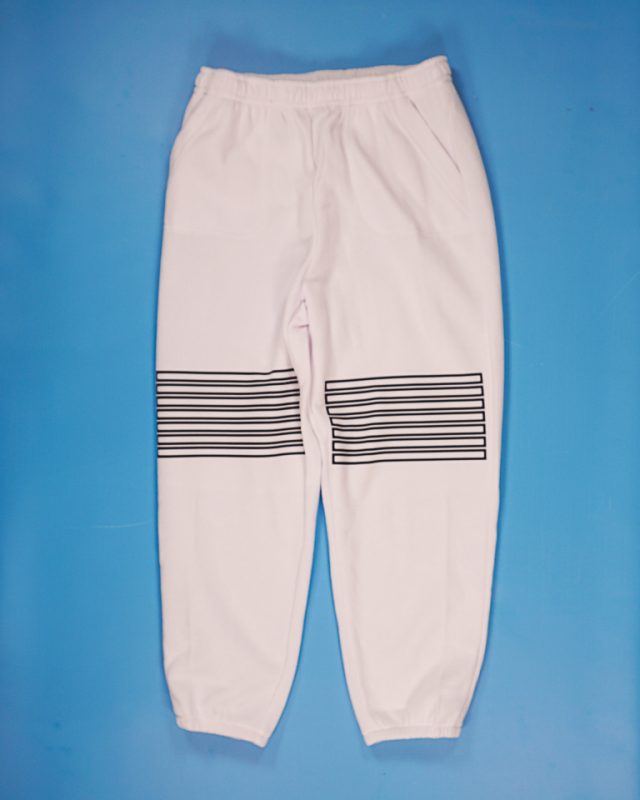
Cut out rectangle outlines for the arms and legs. I did five for each arm and seven for each leg. I did my leg rectangles 7 inches wide and my leg rectangles 5 inches wide. Check the width of the arms and legs before cutting!
Weed all the designs and cut them apart.
Apply the iron-on vinyl to the sweatshirt and sweatpants with an Easypress 2.
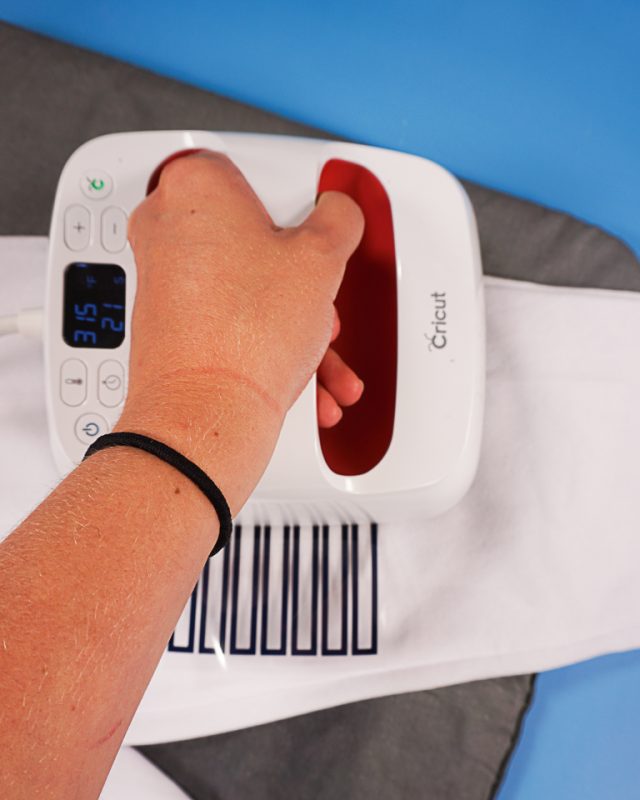
Apply the two rectangles to the chest of the sweatshirt. Apply the arm rectangles near the elbows.
Apply the leg rectangles near the knees.
Use the free fabric bucket sewing pattern to make a white fabric bucket, but ELIMINATE the strap so it looks like a helmet.
Cut the black mesh fabric into a 10 inch by 10 inch square.
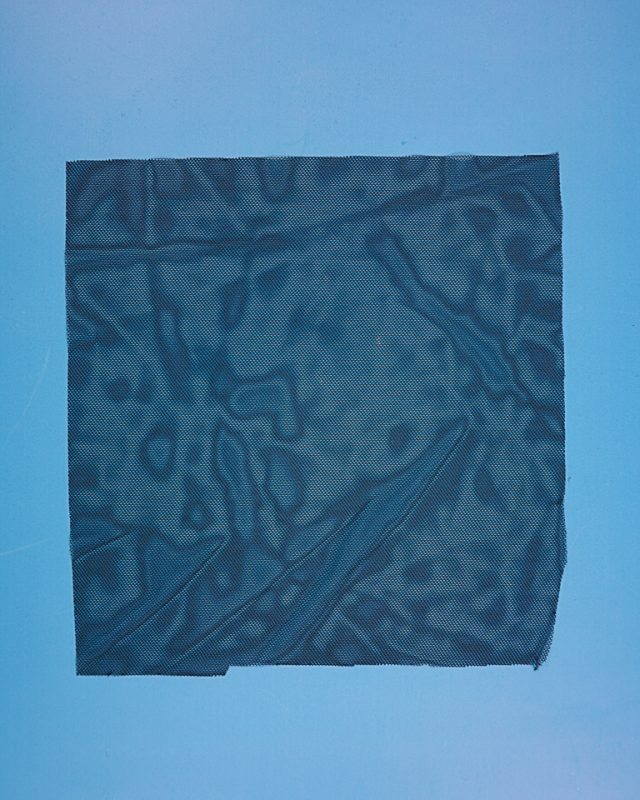
Pin the mesh fabric inside the fabric bucket on the front side.
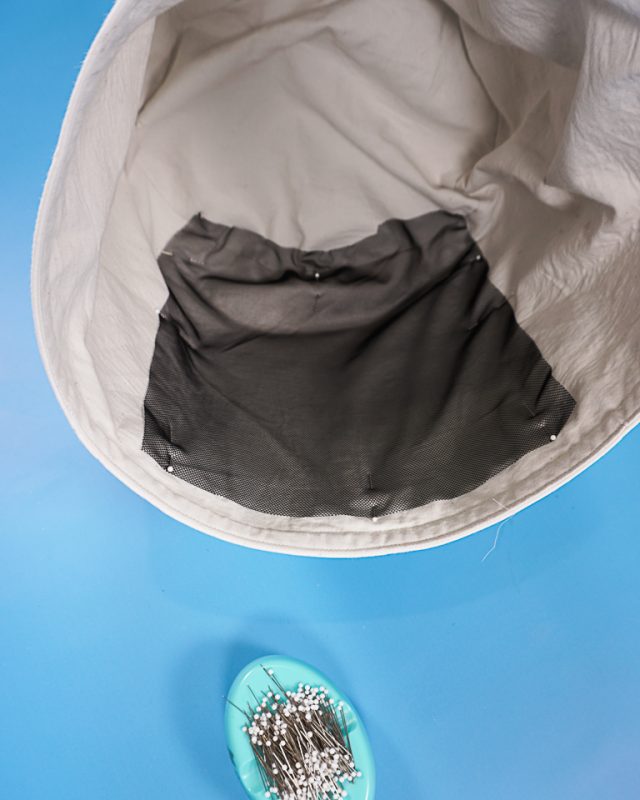
Draw a smiley face with “X” eyes. Sew around the face details with at least 3/4 inch across the spaces.
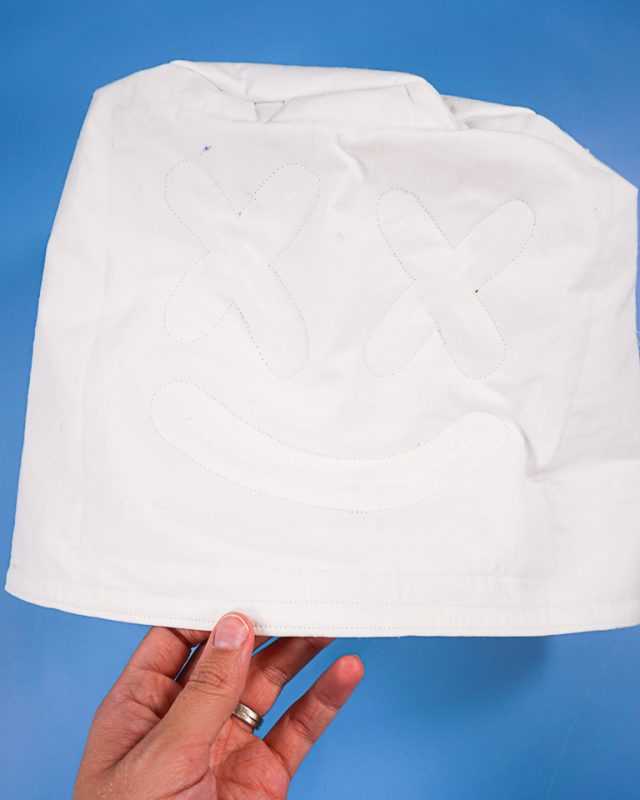
Use scissors to carefully cut all the white fabric layers out of the face details. Cut 1/8 inch away from the stitching line. DO NOT cut through the mesh or you’ll ruin the face.
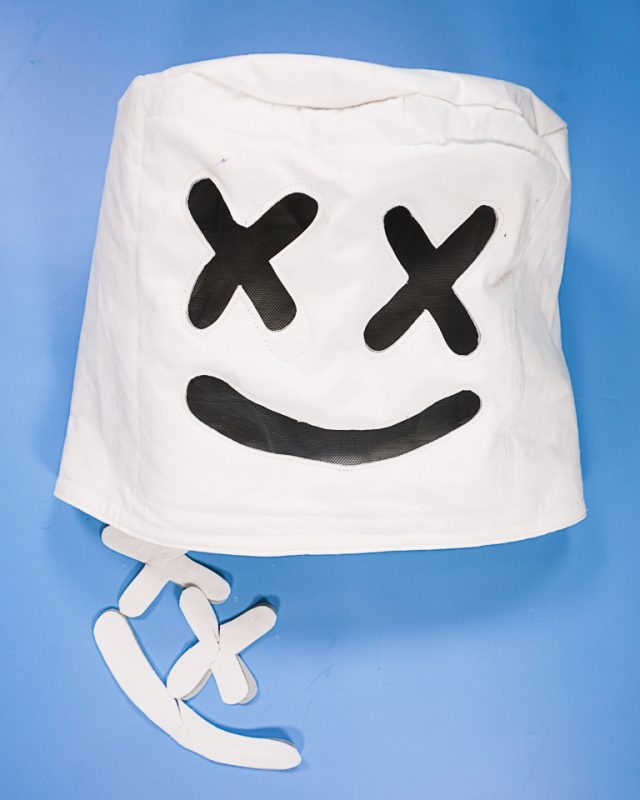
Assemble the costume with all the pieces. You finished!
If you make something using this sewing project, I’d love to see! Please share it on social media with the hashtag #heatherhandmade and tag me!

I believe small sewing moments can create great joy. Find your own “right” way to sew. -Heather

complete novice here…is the fleece on the inside of this?
The fusible fleece is in between the layers of the fabric.
Thank you so much. I am dragging out my grandmother’s sewing machine for a first-time sewing attempt; wish me luck!