
DIY Halloween Fabric Bucket + Free Pattern

This post may contain affiliate links.
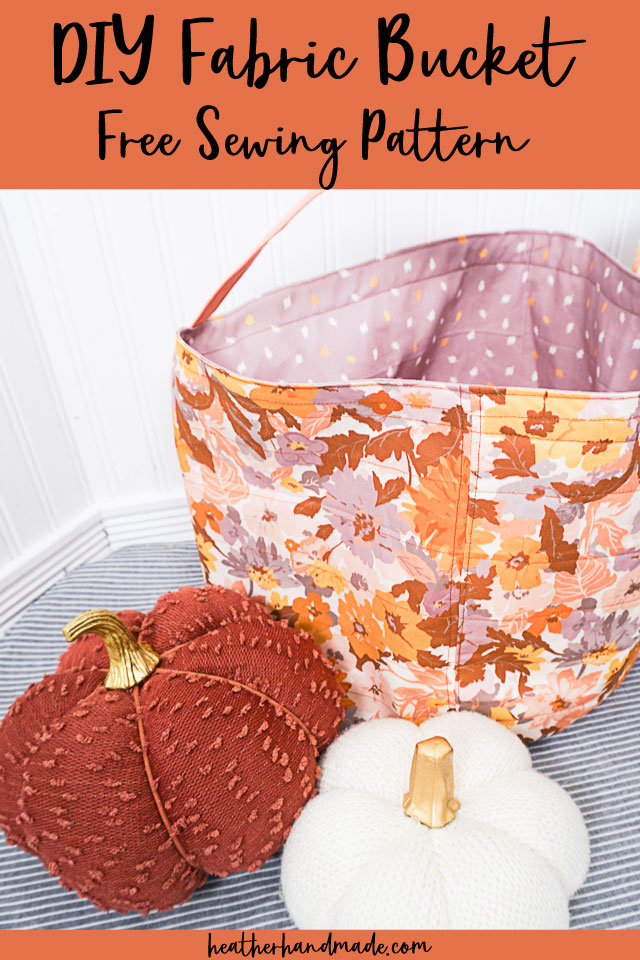
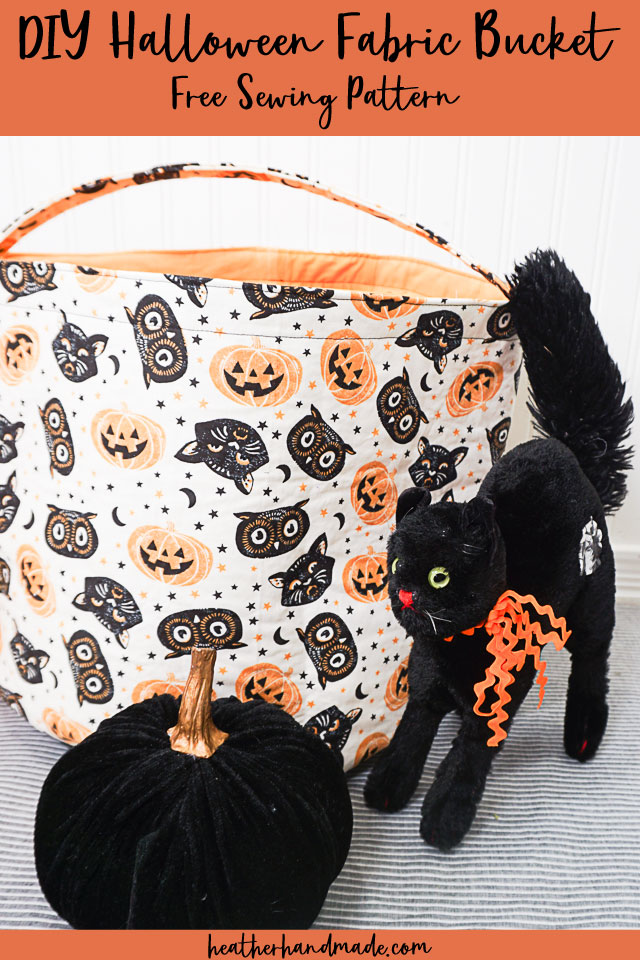
Learn how to make a DIY Halloween fabric bucket with a free sewing pattern. This Halloween sewing project is for decorating and trick-or-treating.
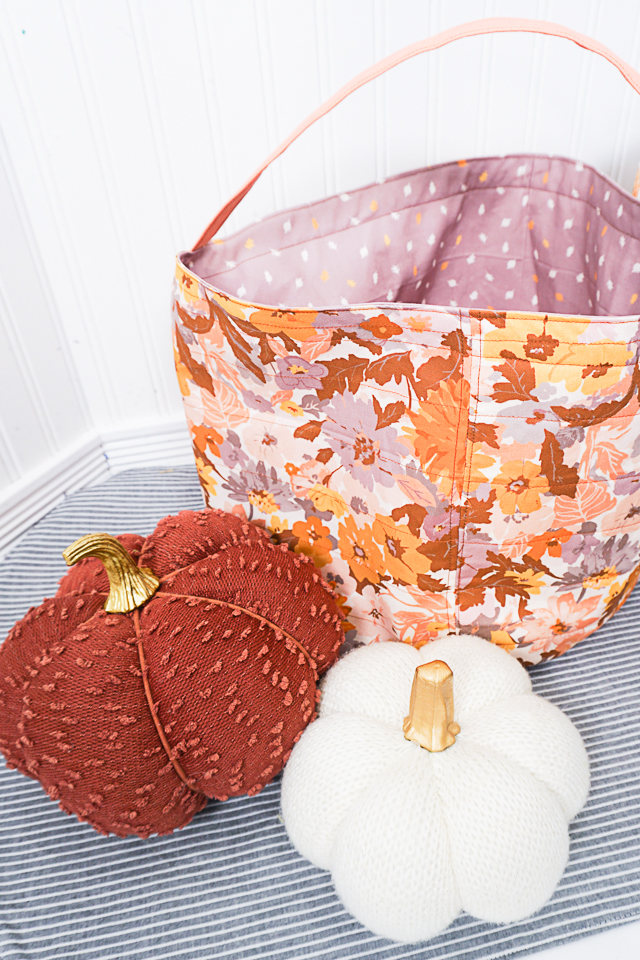
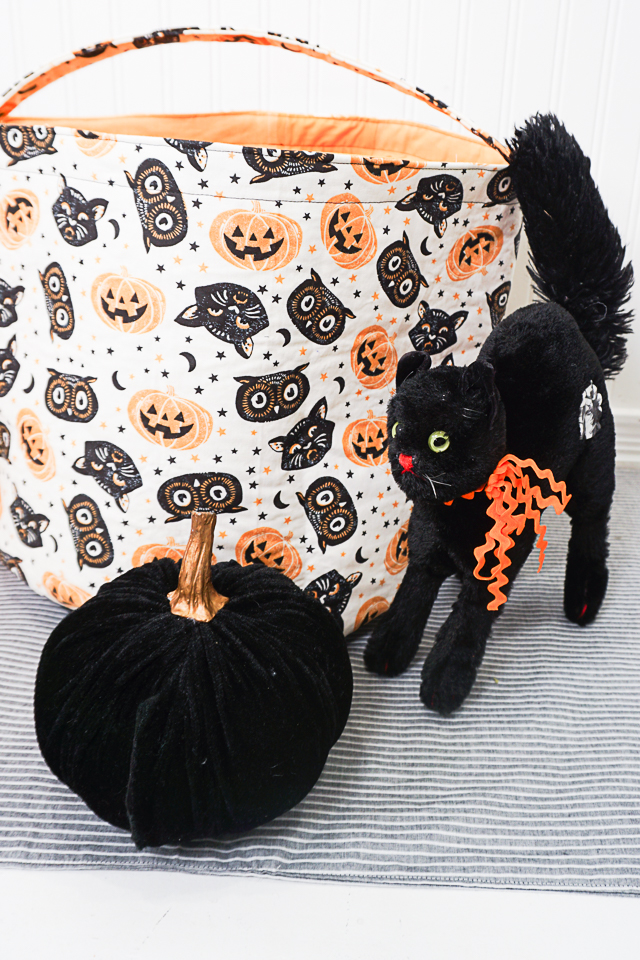
This year when I was looking at fabric I found so many Fall and Halloween quilting cotton fabrics that I loved. I wanted to decorated my whole house with them! Instead I decided to make a DIY Halloween fabric bucket to showcase the fabric I loved.
These buckets can be used for decorating around the house. Wouldn’t one be cute filled up with fabric pumpkins? They can also be used for trick-or-treating on Halloween night! Get the free fabric bucket sewing pattern to make your own!
What is a PDF sewing pattern?
A PDF pattern is a sewing pattern designed on the computer and organized so that it can be printed on several letter or A4 size pieces of paper.
I love using PDF sewing patterns because if the pattern gets ruined or if my children or I changed sizes, I can always print it again. It’ll never be destroyed since I have a digital version!
How do you use a PDF sewing pattern?
Open the PDF on a computer and click print. When printing make sure that the scaling is set to 100% or no scaling so that the pattern prints at the correct size. Learn how to use PDF sewing patterns.
What fabric should I use for a fabric bucket?
The best fabric to use is either quilting cotton or canvas. These fabrics are easy to clean, easy to sew, and they are easy to find. It’ll be easier to find quilting cotton in Halloween and Fall prints though. Canvas is sturdier and more durable, but either fabric will work well.
How do I make my fabric bucket sturdy and strong?
It’s very important to add medium weight or heavy weight interfacing to the lining fabric, and to add fusible fleece to the outer fabric. Combining both of these with give the bucket strong sides that stand up, and it’ll hold up to heavy use. The bucket is still made of fabric and can be flattened or squished, but it’ll bounce back to it’s shape.
You can also fold the top edge down 1 inch (folding the strap so it still points up) to help give structure to the top edge of the bucket.
Do you love to sew? Try one of these fun sewing projects:
- Halloween sewing projects
- Fall sewing projects
- Free tote bag patterns
- Handmade gifts to sew
- Free sewing patterns
- Free Halloween sewing patterns
DIY Halloween Fabric Bucket + Free Pattern
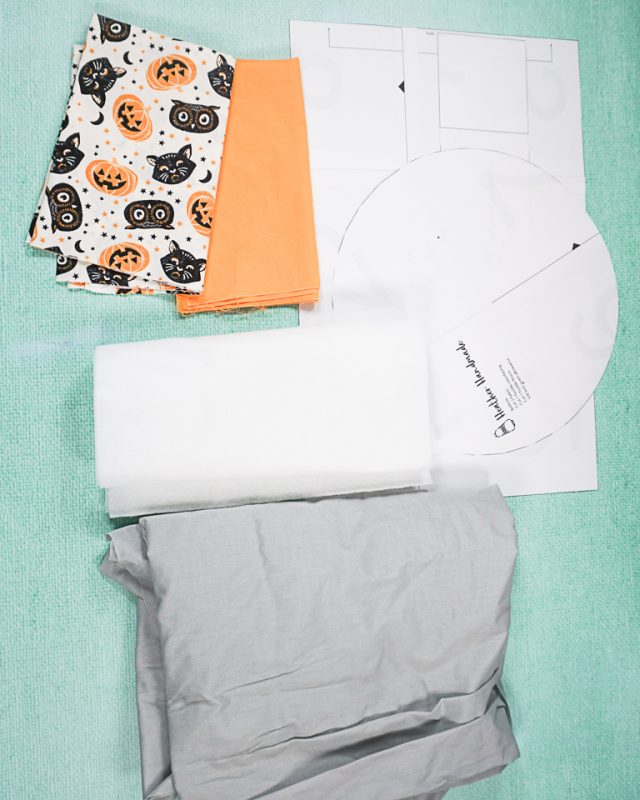
Supplies
- Free DIY fabric bucket sewing pattern – get it at the end of the post
- 1/2 yard of outer fabric
- 1/2 yard of coordinating lining fabric
- 1 yard of medium weight to heavy weight fusible interfacing
- 1 yard of fusible fleece
- Sewing tools
- Sewing machine
Do you just want the pattern and tutorial as a PDF? Get the pattern and photo tutorial for just $5. You won’t need to access the internet every time you want to make it. Or get the Pattern Bundle with ALL the PDF tutorials!
Instructions
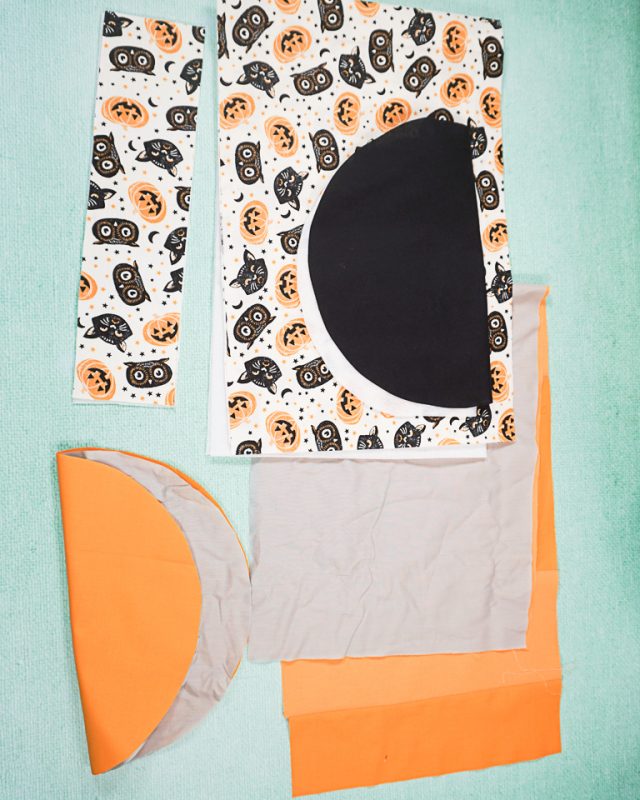
Cut out all the pattern pieces.
From fabric you will need: 2 side pieces (outer fabric and inner fabric), 2 bottom pieces (outer fabric and inner fabric), and 1 strap piece.
From interfacing you will need: 1 side piece and 1 bottom piece.
From the fusible fleece you will need: 1 side piece, 1 strap piece, and 1 bottom piece.
Fuse the interfacing to the wrong side of the lining side and bottom fabric pieces. Fuse the fusible fleece to the wrong side of the outer side, bottom, and strap fabric pieces.
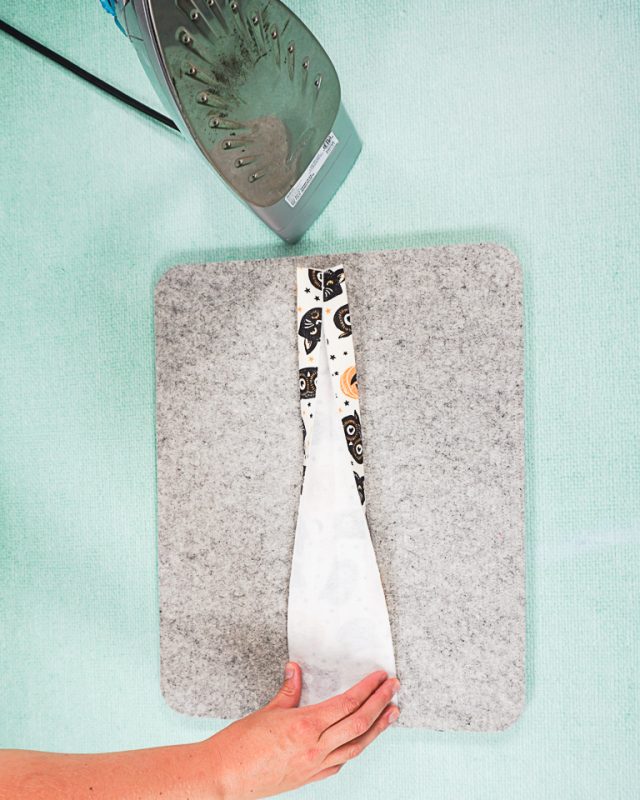
Fold the strap in half lengthwise matching up the long edges. Press. Fold the long edges in to meet the fold in the middle. Press.
Fold all three folds so that the long raw edges are enclosed and press.
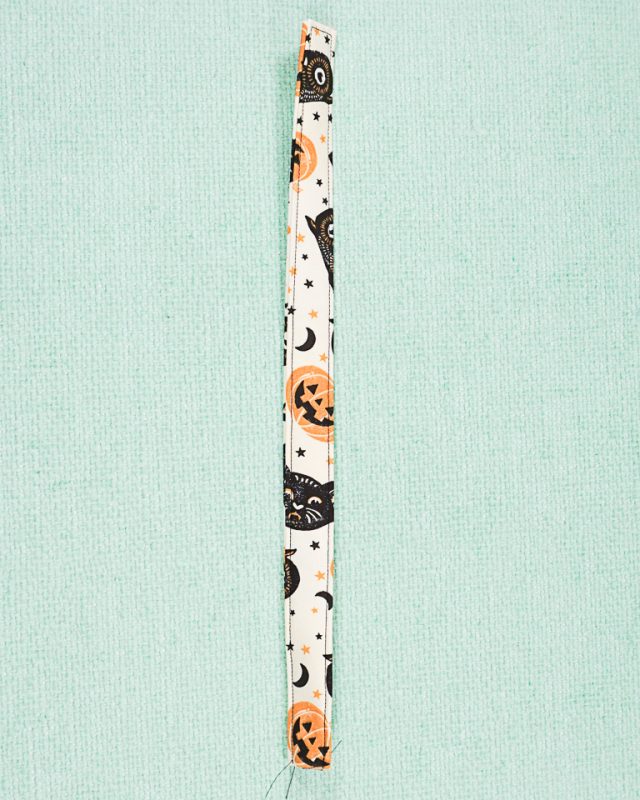
Keep the strap folded in place and stitch along each long edge 1/8 inch from the edge. Give the strap a final press.
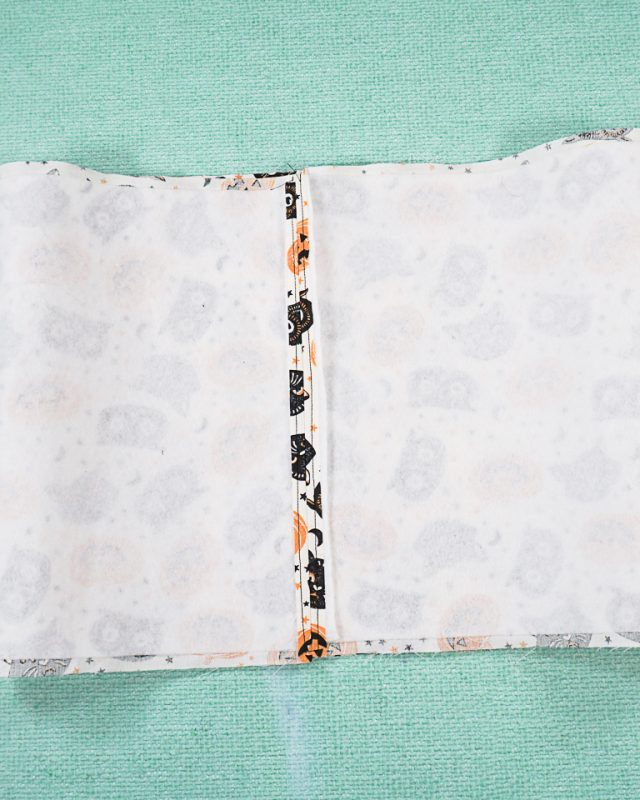
Fold the side pieces in half matching up the short ends with right sides together. Sew the seam with a straight stitch and backstitch when you start and when you stop.
Do the same to the inner side piece. Press the seam allowances open.
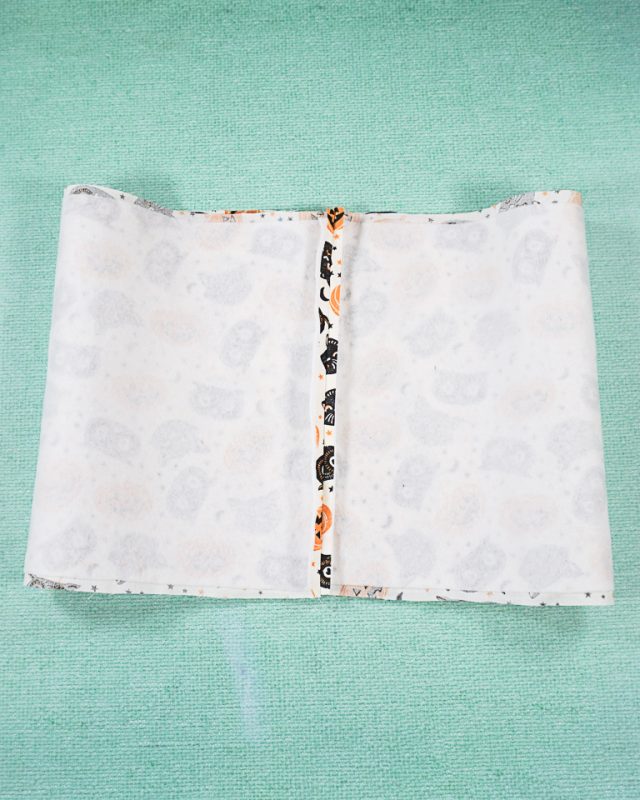
Stitch the seam allowances open on both the inner side piece and the outer side piece.
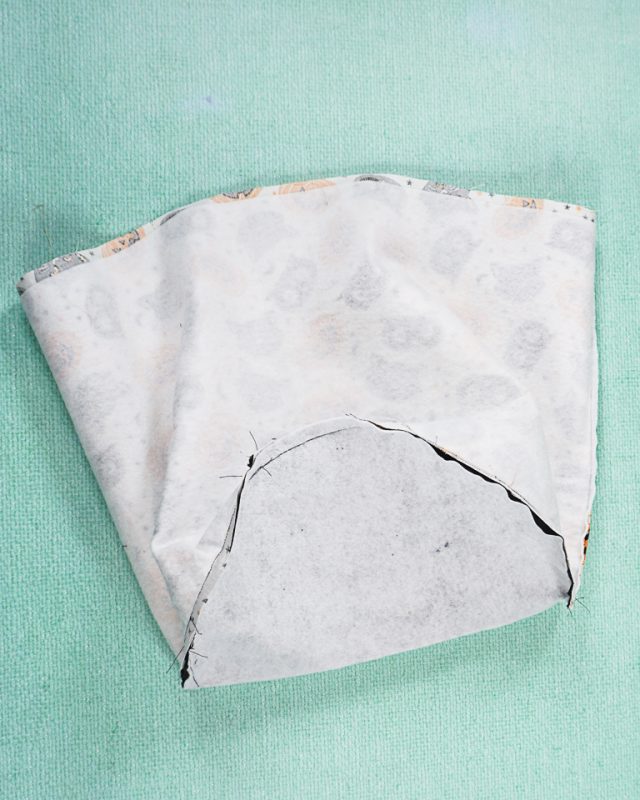
Divide the outer edge of the bottom piece into 4 sections. Divide the bottom edge of the side piece into 4 sections. Match up the side sections with the bottom sections and pin right sides together. Pin in between the sections to line everything up.
Do the same to the lining.

Sew around the seam. Since you are sewing a straight edge to a curved edge, you’ll need to sew slowly and carefully. Adjust a lot to prevent any tucks.
Do the same to the lining.
Pin the ends of the strap to the top edge of the outer fabric bucket. The short raw ends should line up with the top raw edge. Baste in place 1/4 inch from the edge.
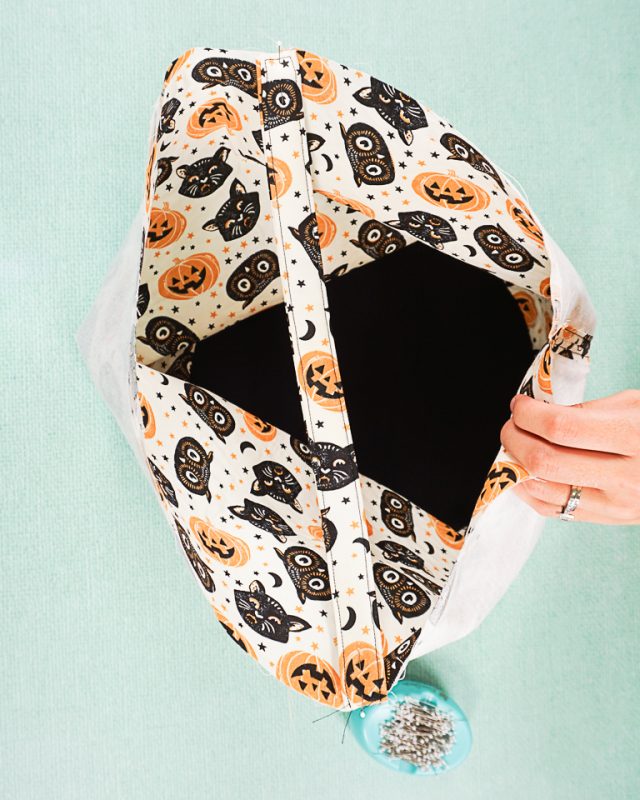
Place the bucket lining inside the outer bucket and match up the top edges with right sides together. The strap will kind of get in the way so you’ll need to tuck the lining around the strap.

Sew around the top edge and leave a 6 inch hole for turning. Backstitch when you start and when you stop.

Turn the bucket right side out through the hole. Push the lining down inside the fabric bucket. Press the top edge of the bucket so that only the outer fabric shows at the top, and you get a nice crisp edge.
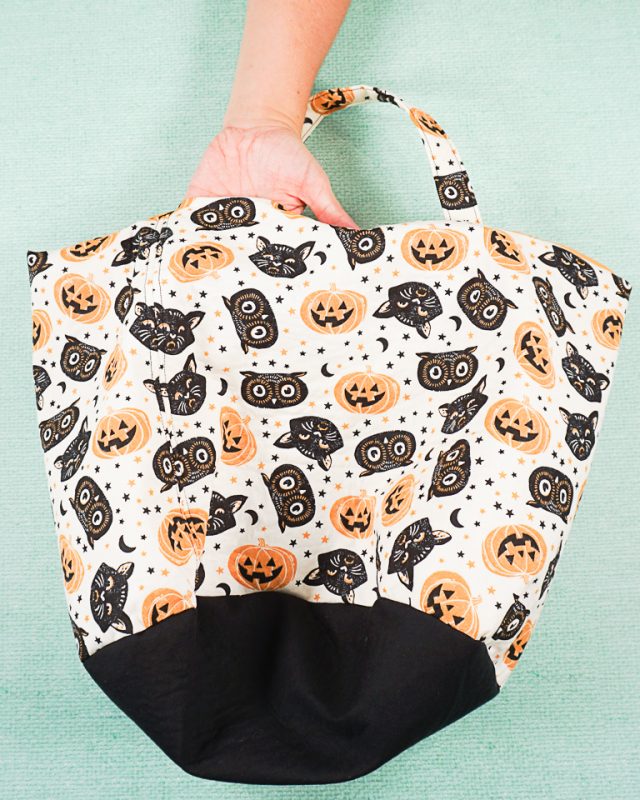
Edgestitch around the top of the bucket 1/8 inch from the top edge. This will close the hole and keep the lining down inside.
Optional: Add another row of stitching 1 inch from the top edge.

Get the Free Sewing Pattern here!
If you make something using this sewing project, I’d love to see! Please share it on social media with the hashtag #heatherhandmade and tag me!

I believe small sewing moments can create great joy. Find your own “right” way to sew. -Heather
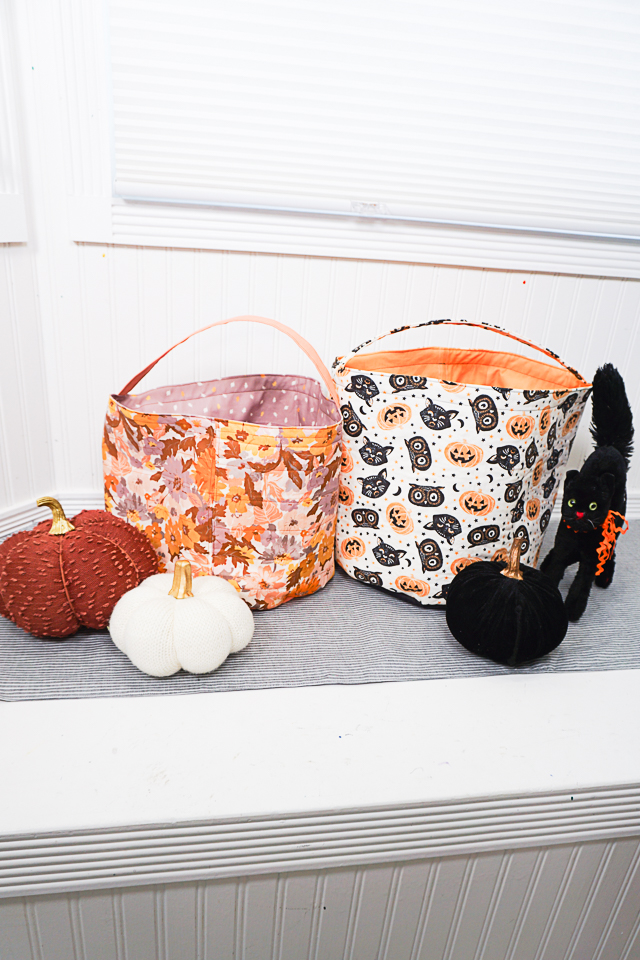
These look lovely! I probably just missed it, but what are the finished dimensions of the bucket? I am particularly looking for diameter and height. Thank you!
It’s about 12 inches across and 12 inches tall
how much for seam allowance?
The seam allowance is always written on the pattern pieces but it’s usually 3/8 inch
Fusible interfacing & fleece are included in the materials but not mentioned anywhere in the directions?
Thanks for catching my mistake! I fixed it!