
DIY Kid Infinity Scarf Tutorial

This post may contain affiliate links.
Learn how to make a DIY kid infinity scarf with this simple sewing tutorial. It’s a great beginner sewing project that keeps children warm!
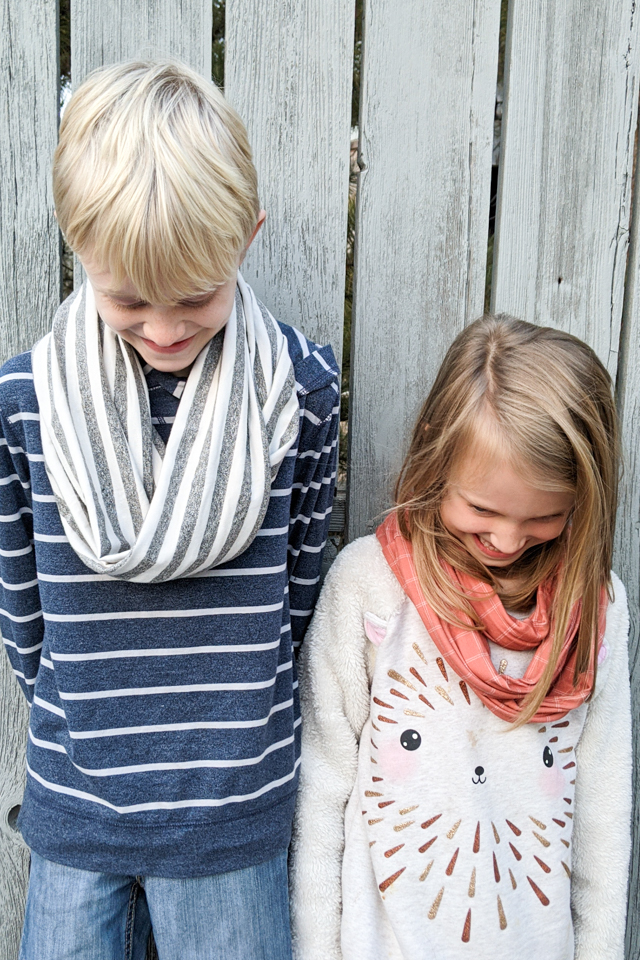
We’ve been spending lots of time outside playing in the snow, and my kids can get cold pretty easily. My kids love wearing scarves for warmth, but rectangle scarves fet unwound and fall off easily.
We’ve fallen in love with infinity scarves because they are easy to put on, they don’t get in the way of playing, and they don’t fall off. They are also really easy to sew!
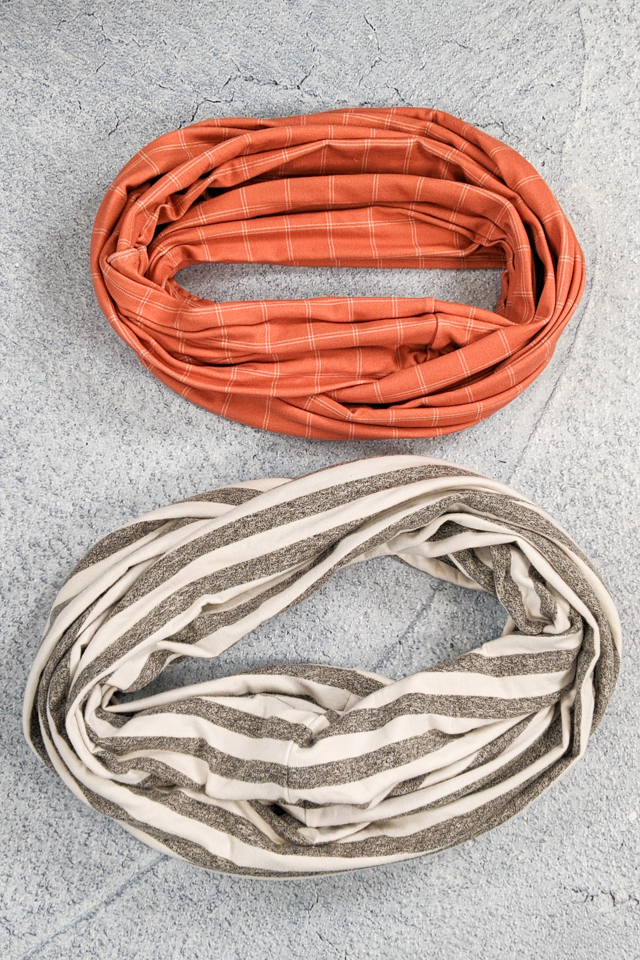
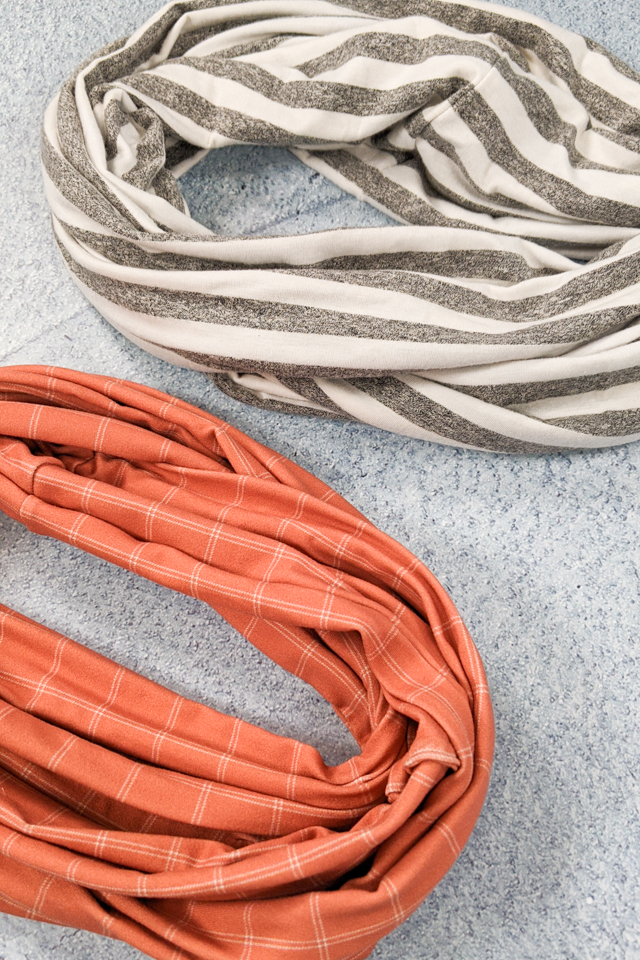
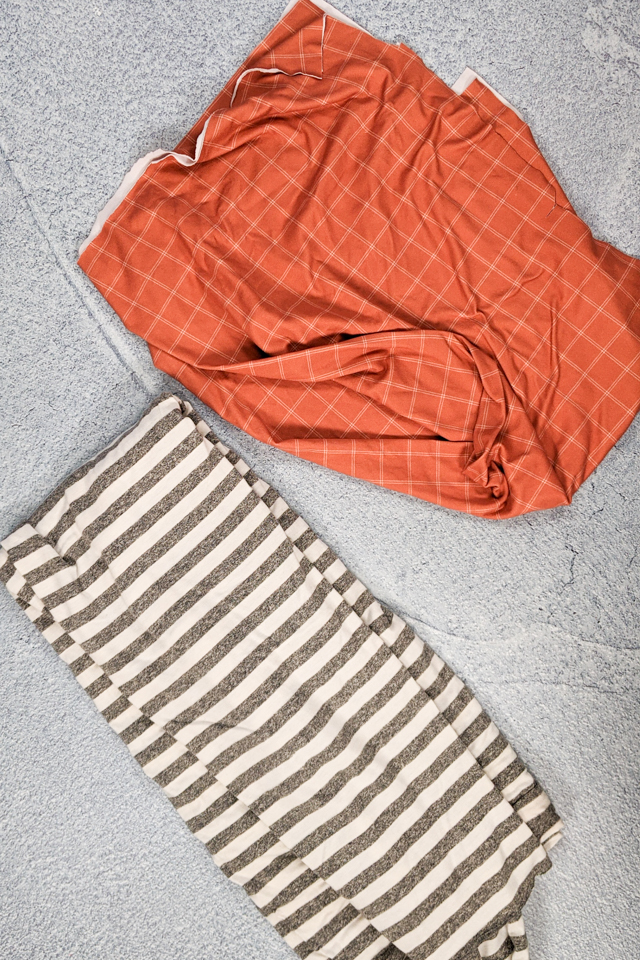
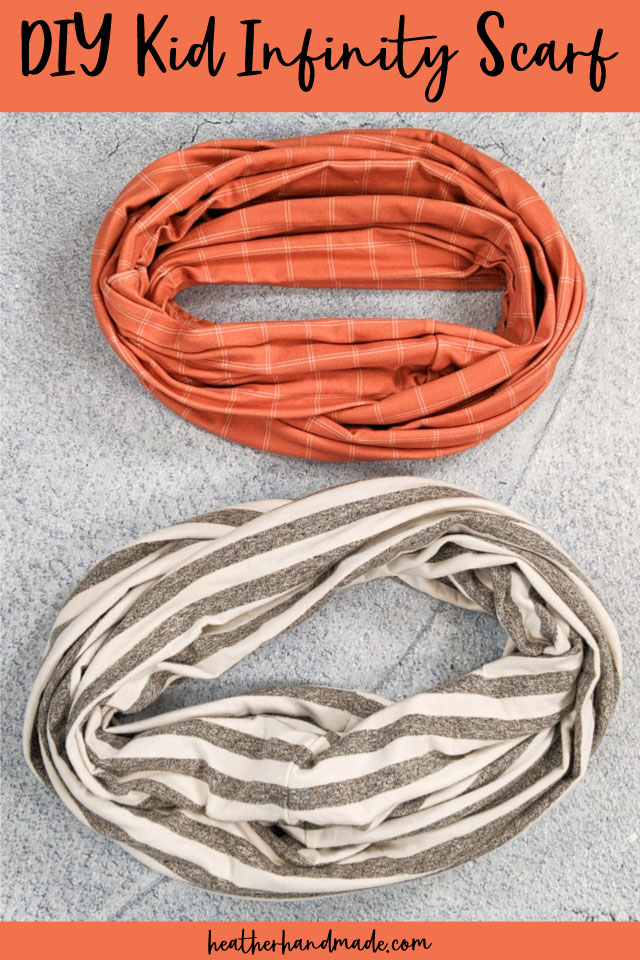
I tried two different fabrics, and they both worked great. You’ll want a light to medium weight knit with a bit of stretch.
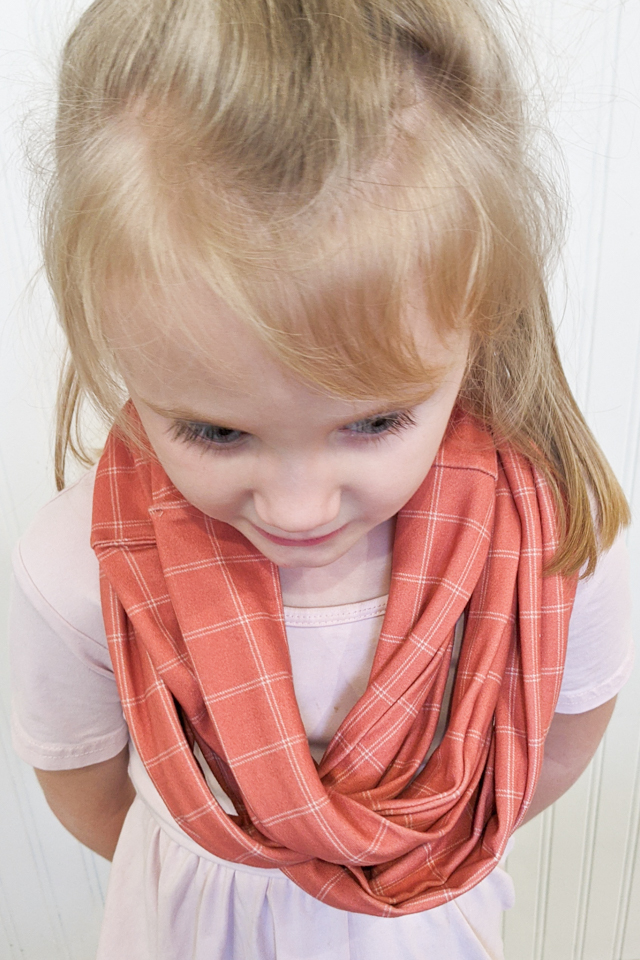
Fun colors and prints are a bonus especially if you find a print your child loves! I went with generic stripes and plaid so that all my kids can take turns wearing them.
Do you love to sew? Try one of these sewing projects:
DIY Kid Infinity Scarf Tutorial
supplies
- 1/2 yard knit fabric – light to medium weight with at least 10% stretch – Here’s some tips for sewing knit fabric
- Sewing tools
- Sewing machine
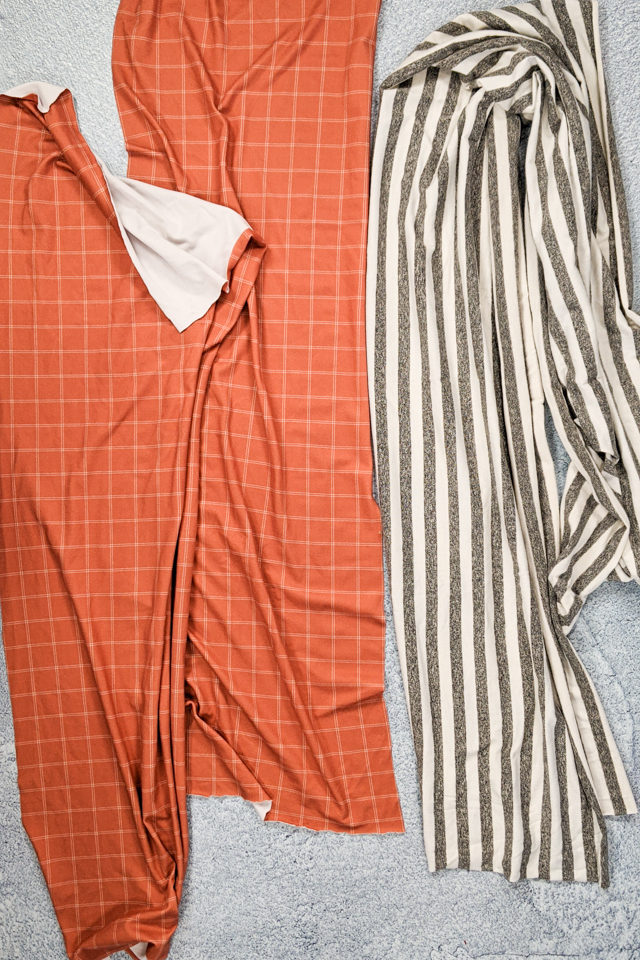
Cut out a long rectangle 16 inches tall and 50 inches wide. These measurements are pretty loose since a thicker fabric will create a “tighter” scarf.
I used some knit pieces of fabric. The plaid fabric was the right width, but it was a little shorter. The striped fabric was less wide, but it was taller.
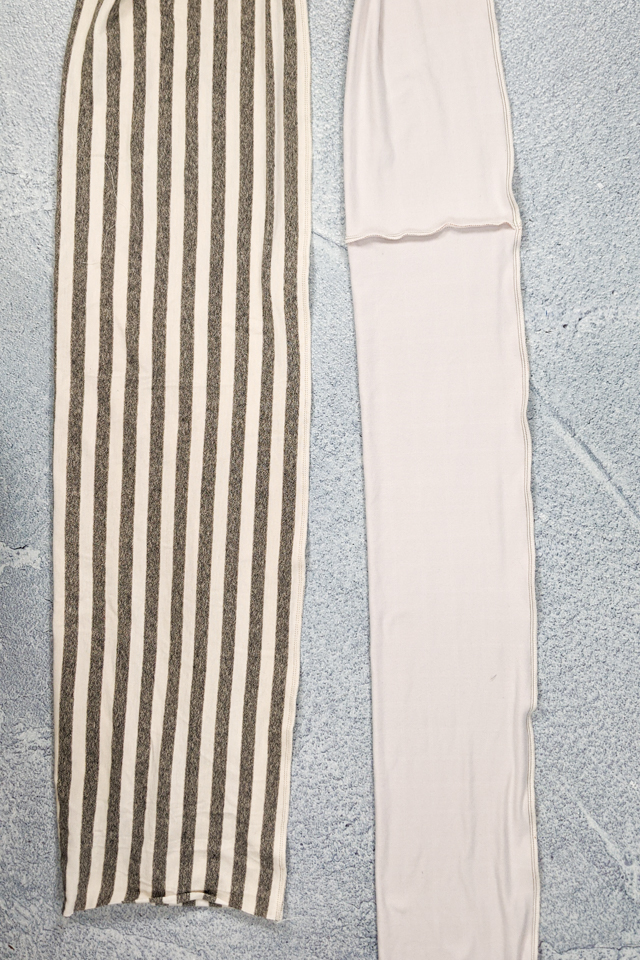
With right sides together match up the two long sides. Pin the edge together.
Sew the long edge together with either a zigzag stitch or a serger with a 3/8 inch seam allowance.
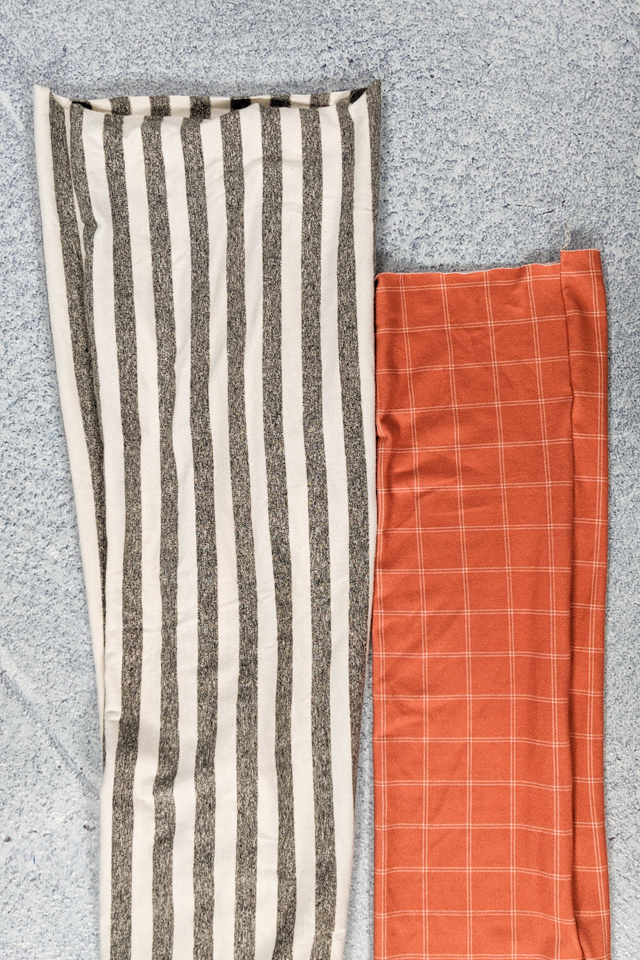
Turn the tube right side out.
Match up the short edges with right sides together. Sew the short edges together as much as possible with a zigzag or serger and a 3/8 inch seam allowance. You won’t be able to sew the entire seam since you are working with an inside seam.
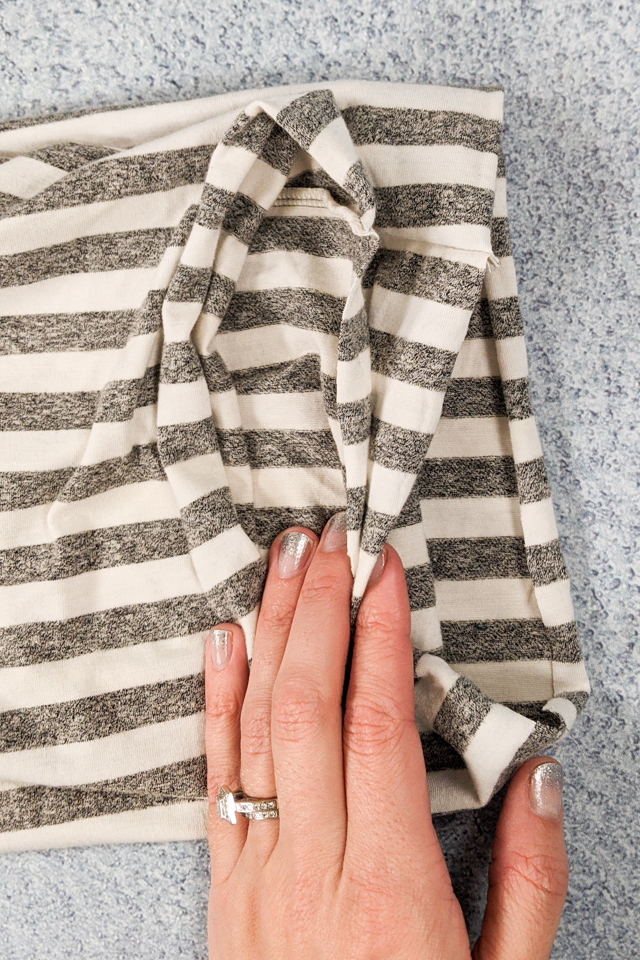
Pull the seam inside the scarf. You’ll have about a 3 inch hole. Pinch it closed.
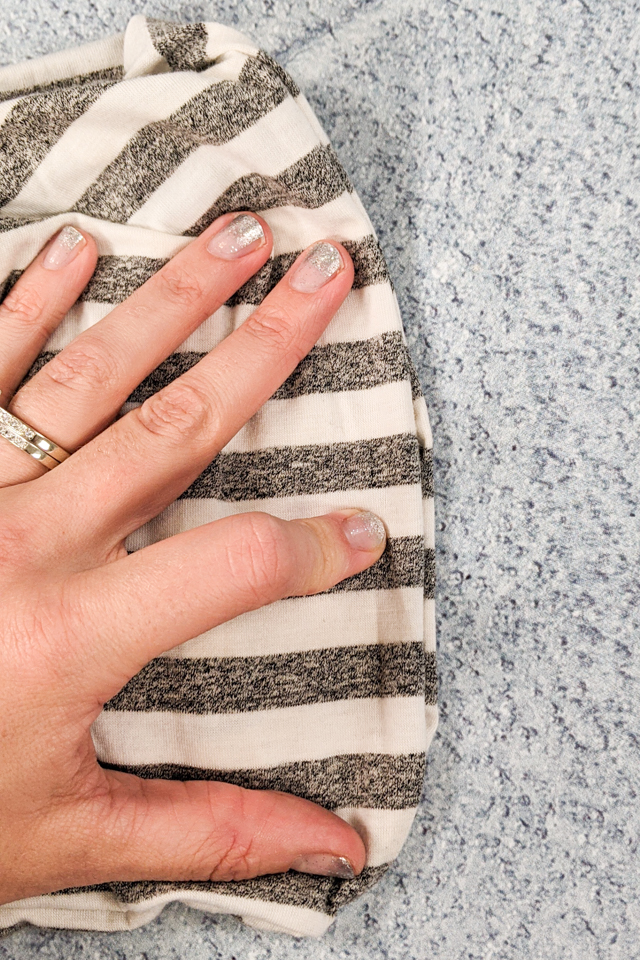
You can hand sew the opening closed, or just pinch it closed by topstitching. I like to topstitch because it’s so fast and easy. It’s hard to see once the scarf is being worn.
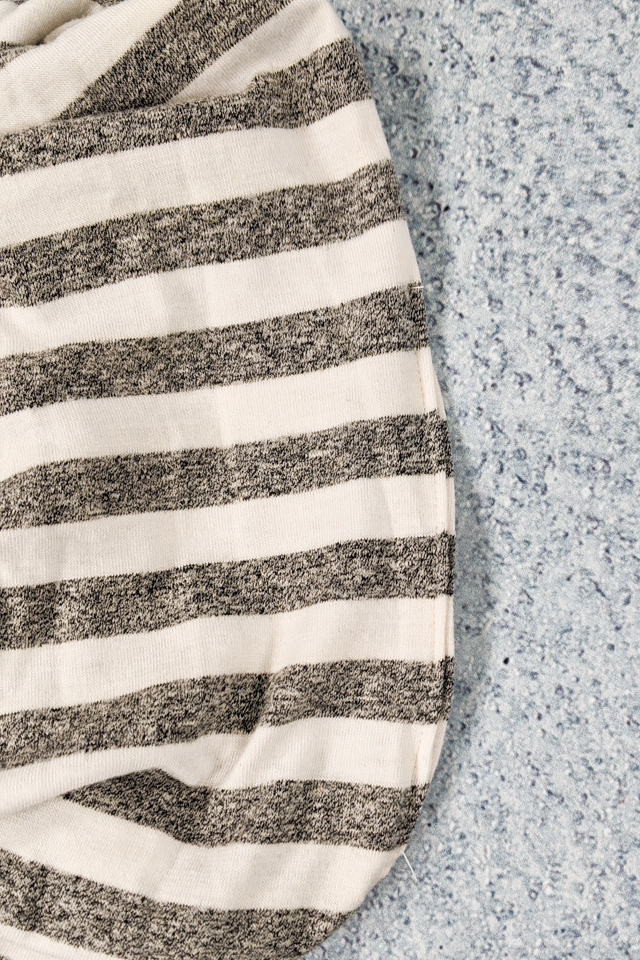
You finished! You now have one very large circle.
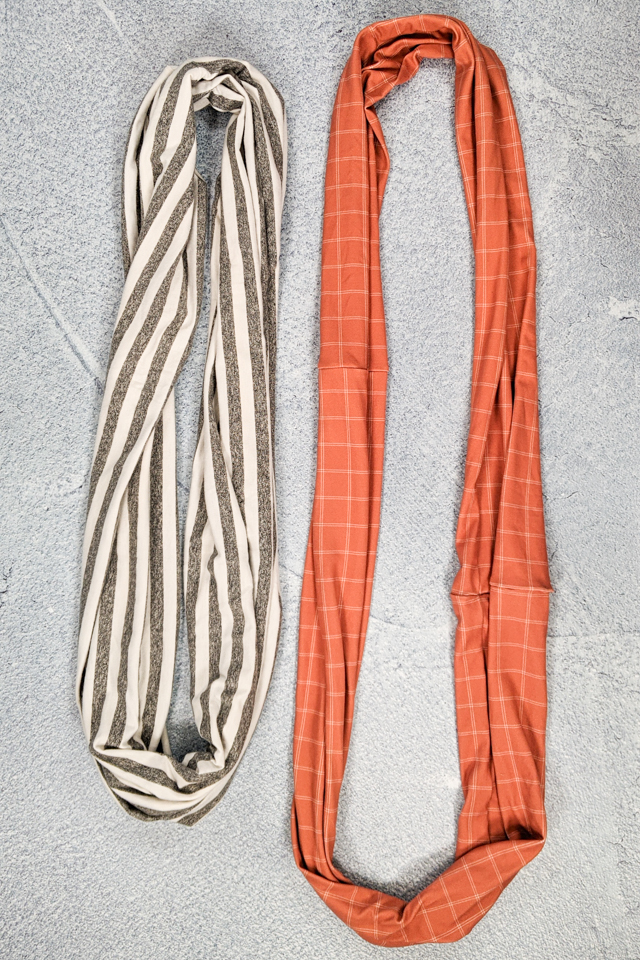
To wear the scarf twist it on itself until it’s layered two or three times depending on the size of the scarf and the size of the kid.
If you make something using this sewing project, I’d love to see! Please share it on social media with the hashtag #heatherhandmade and tag me!

I believe small sewing moments can create great joy. Find your own “right” way to sew. -Heather
At first, it looked hard. It really is so easy!
Yes! Sewing loops like this looks so confusing at first!
This is the cutest think I've seen!
Sara
Cute!
I love a good little boy sewing project! Thanks for sharing it with us. I am hosting a scarf-making challenge in November. It's a busy time of year, so I figured a scarf would be a quick and easy project to finish within a month. It's just for fun, the winners receive bragging rights and badges only. You and anyone you think might be interested are more than welcome to join us. You can visit our homepage here:
http://ricochetandaway.blogspot.com/2012/10/ring-your-neck-scarf-challenge-nov-2012.html
Your newest follower,
Rikka J.
Ricochet and Away!