
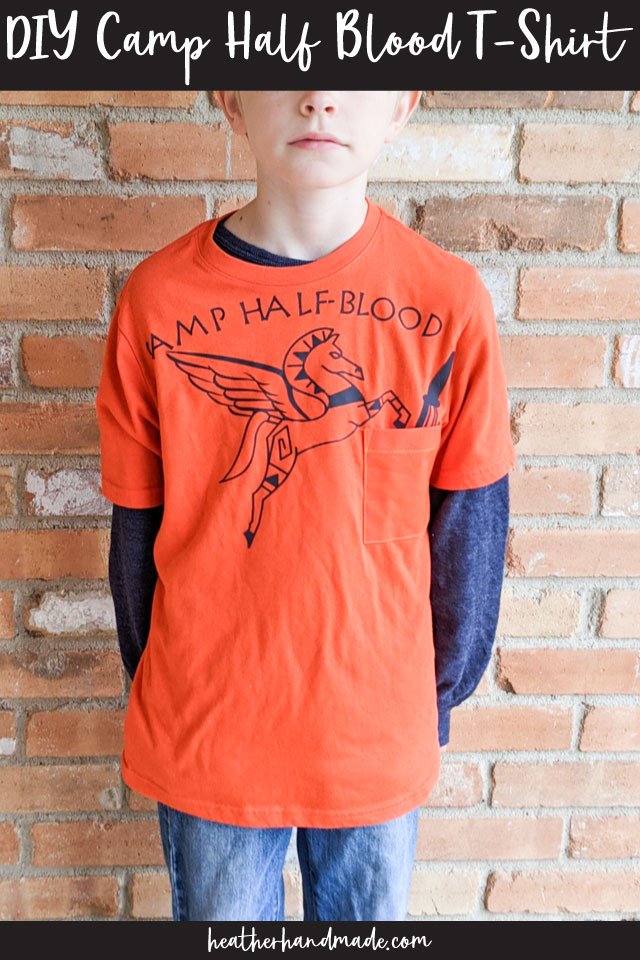
DIY Camp Half Blood T-Shirt

This post may contain affiliate links.
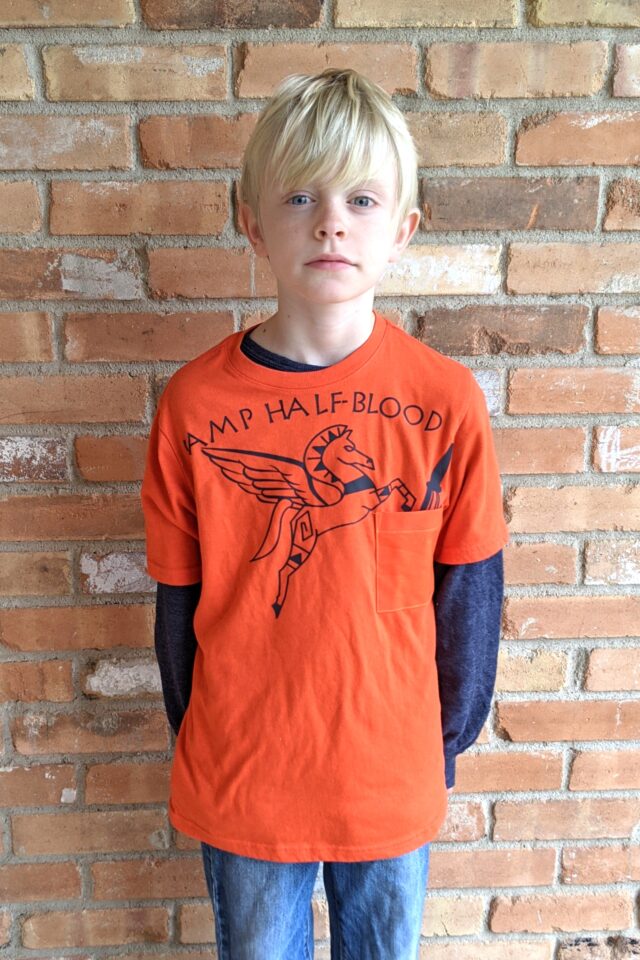
Learn how to make a DIY camp half-blood t-shirt with a shirt, fabric, and HTV. Sew on a fabric pocket and add the words for a quick costume!
Last week my kids got to dress up as one of their favorite story book characters. My son recently finished reading all of the Percy Jackson books and wanted to be a character from that series.
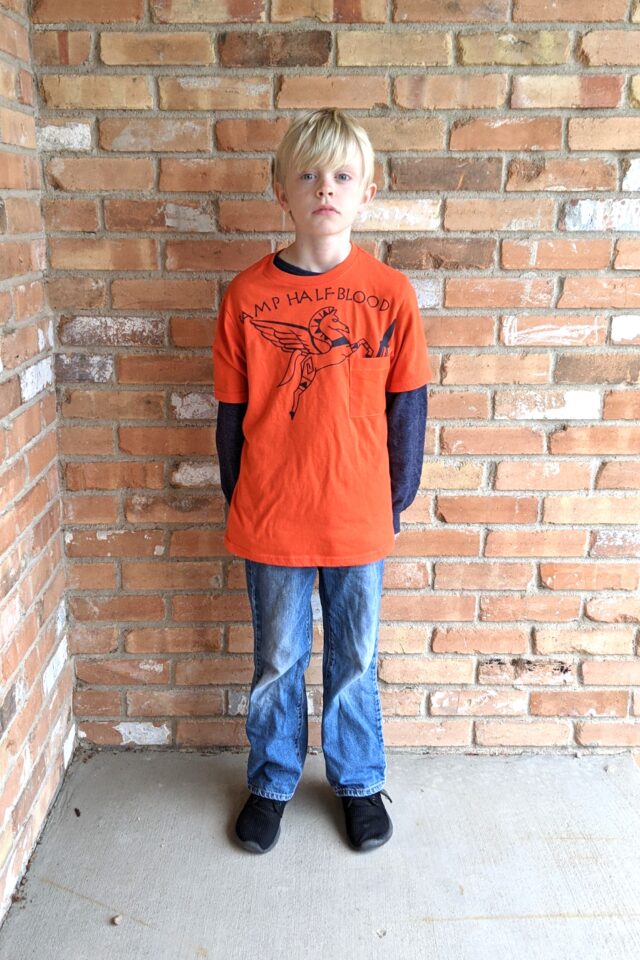
I loved the idea of a really easy t-shirt costume since it’s easy for me to make and easy for my son to wear with a pair of jeans. We set about designing the pegasus, words, and pen to make a camp half-blood t-shirt!
Percy Jackson is a demi god in modern day. His dad is Poseidon, and he goes to Camp Half-Blood with all the other demi god children. He ends up having all sorts of adventures and meeting lots of monsters and bad guys.
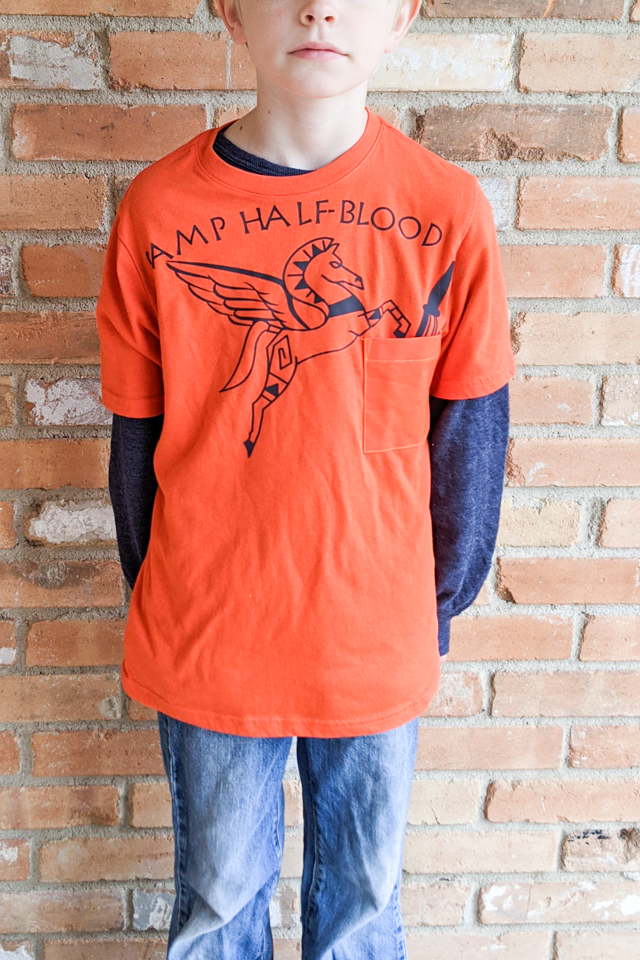
Camp Half-Blood has orange t-shirts that all the campers wear so that’s what we based our design on. Percy also has a magic pen that turns into a sword, and he keeps it in his pocket so that was an element we wanted to add.
I just love making t-shirt costumes because they are so quick to make and so simple to wear. My kids do great with costumes when it feels like wearing regular clothes.
Do you love to make costumes? Check out these fun ideas:
- DIY Costumes for Halloween
- Upcycled costumes for Halloween
- Free costume sewing patterns for kids
- DIY Hercules costume t-shirt
- DIY gryffindor inspired t-shirt
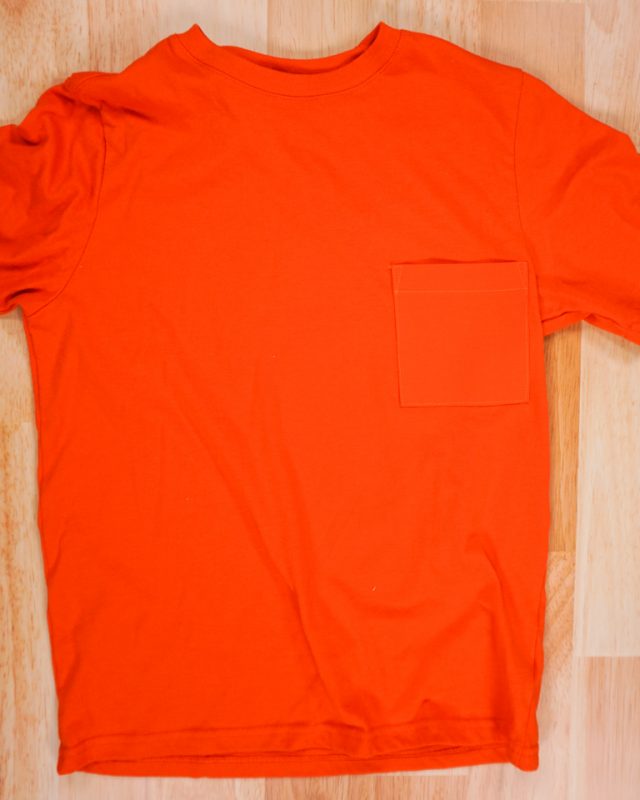
DIY camp half blood t-shirt
supplies
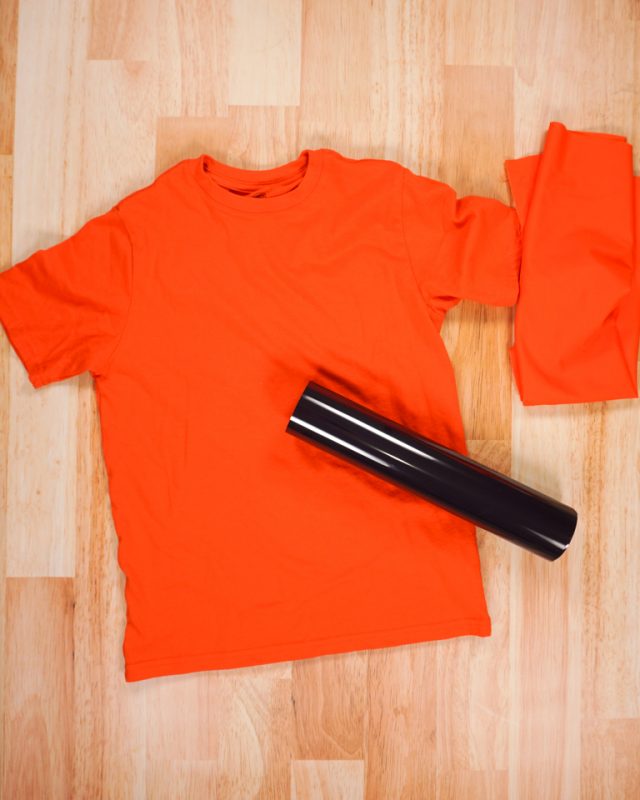
- Orange shirt
- Orange piece of fabric (woven or knit)
- Sewing tools
- Sewing machine
- Black HTV
- Cutting machine like the Cricut Maker
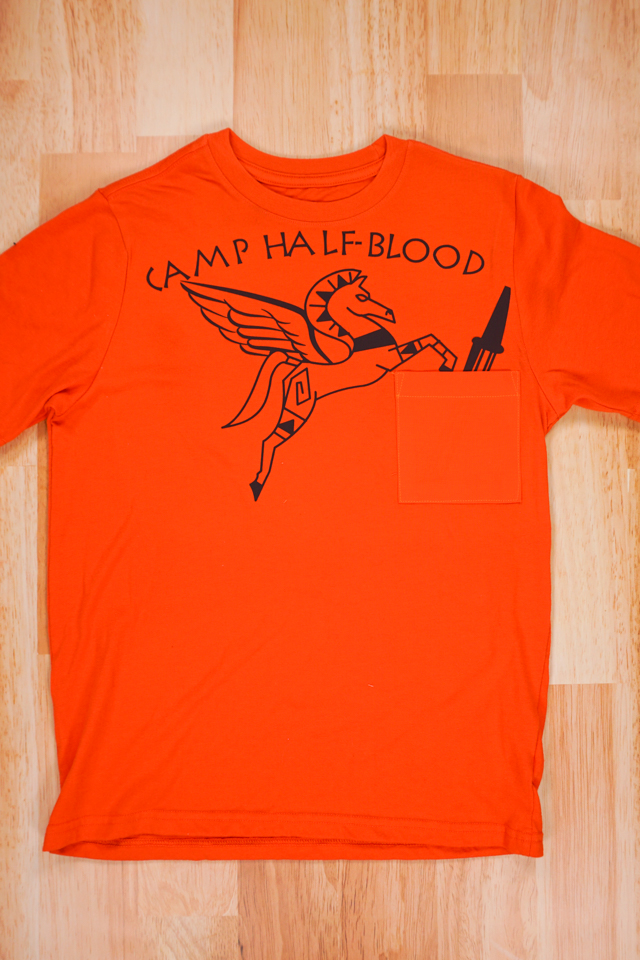
- Pegasus cut design with “half-blood camp” words and pen
- Easypress 2
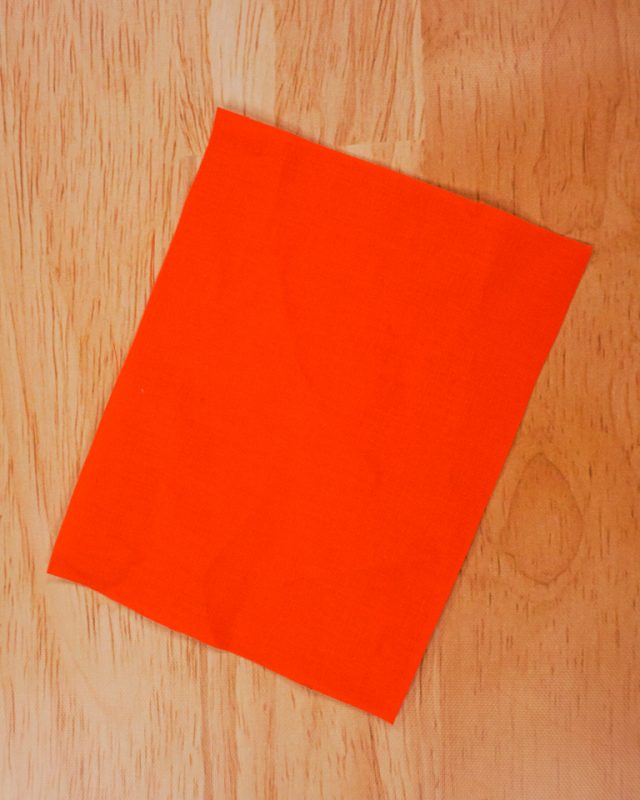
Cut a piece of orange fabric 6 inches wide and 4.5 inches tall. (This size is for a child so if you are making an adult shirt increase the pocket slightly.)
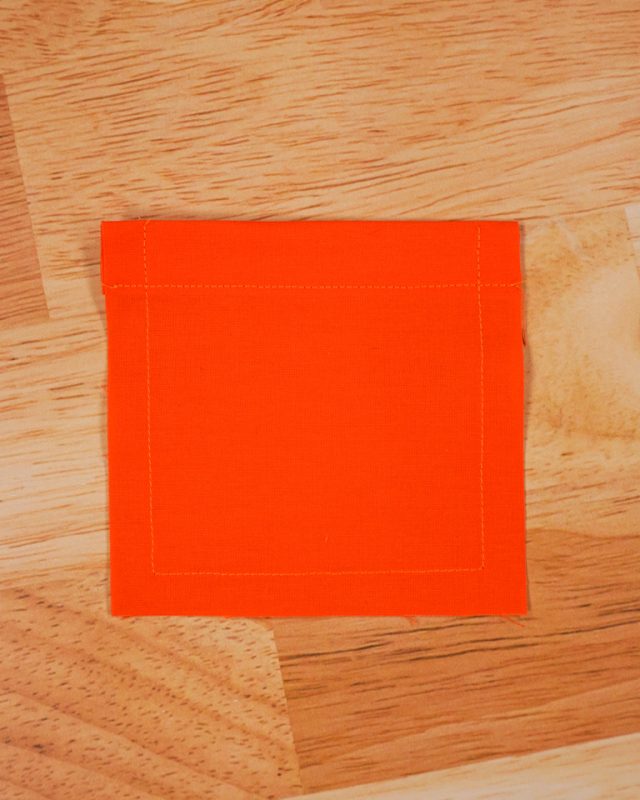
Fold the top edge down 1 inch twice and sew in place. Sew 1/2 inch around the other three edges with a straight stitch.
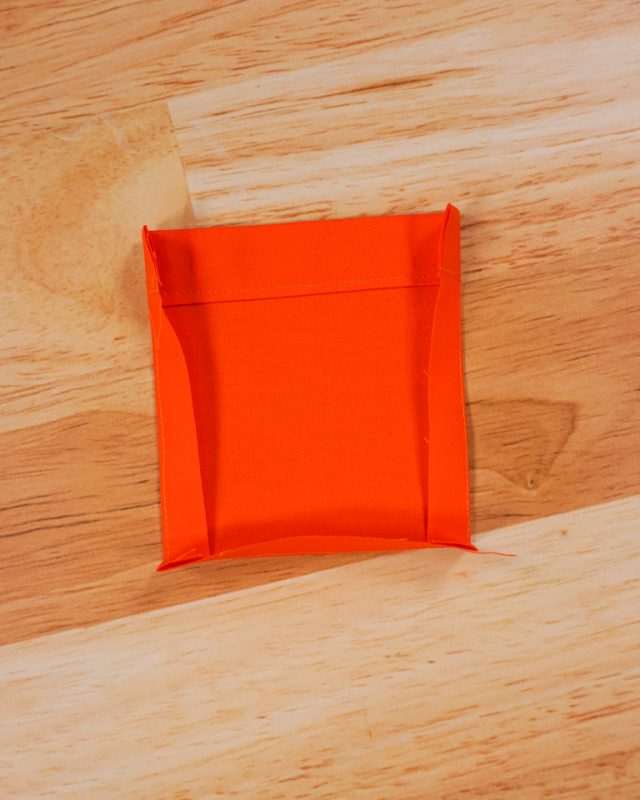
Press the hem in place. Fold the three sides in on the stitching line and press.
Pin the pocket onto the top left side of the shirt.
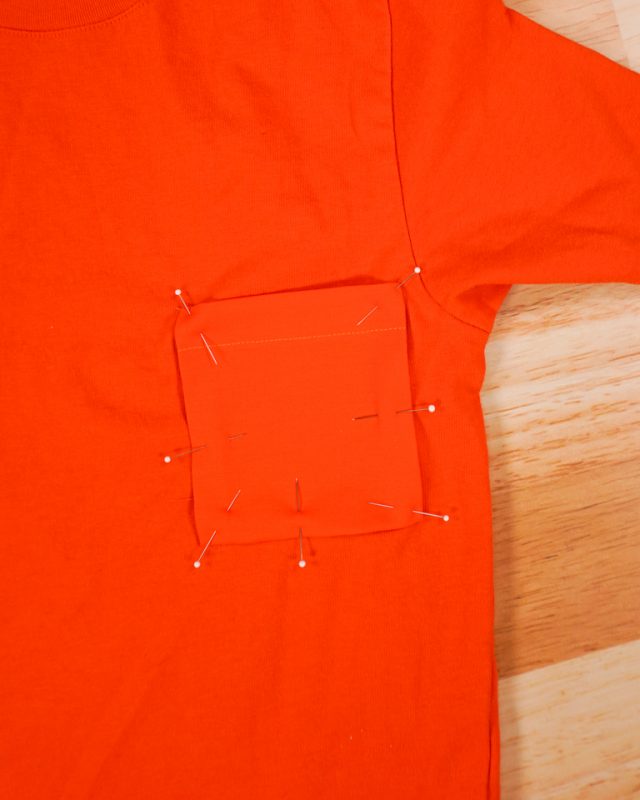
Sew around the pocket 1/8 inch from the edge.
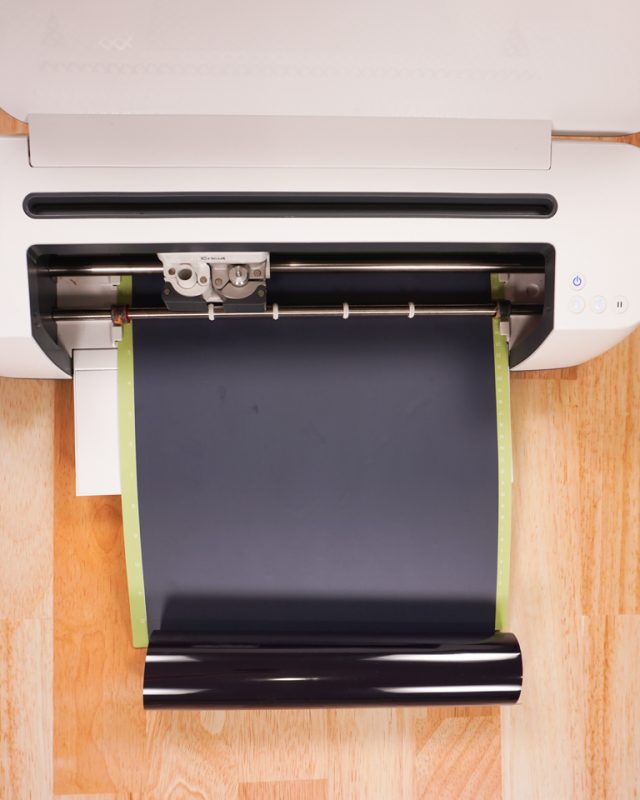
Use a cutting machine to cut out the designs from the black iron-on vinyl.
Weed the designs.
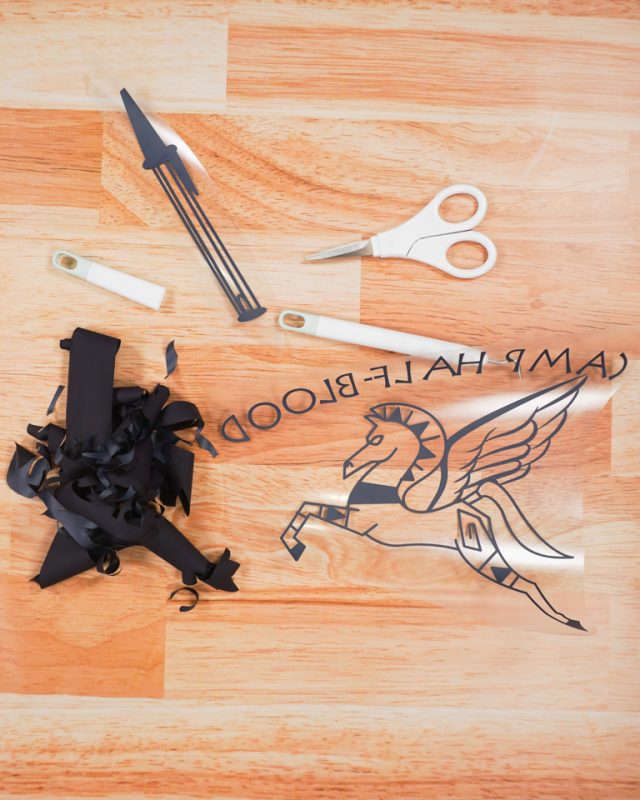
Place the pen inside the pocket and place the graphic on the center top of the shirt. You might have to shift the graphic to the side so that it doesn’t cover the pocket.
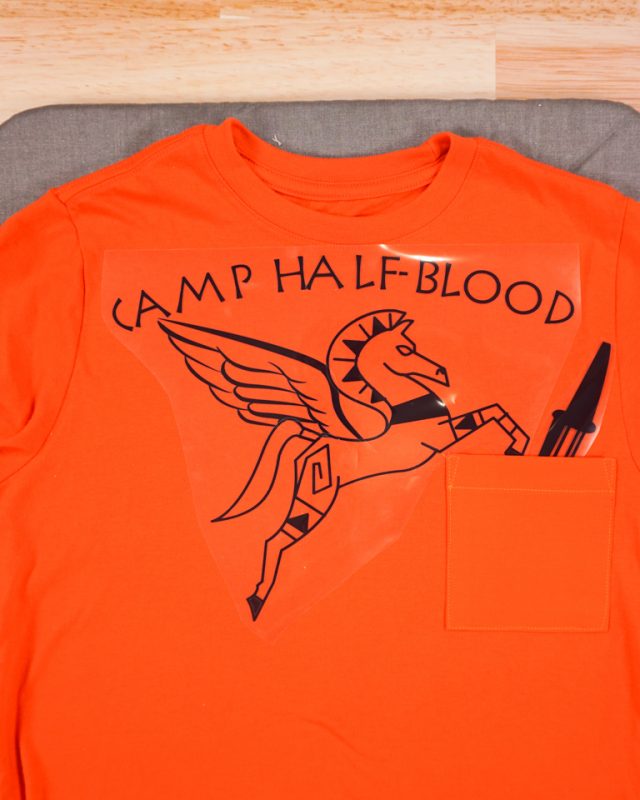
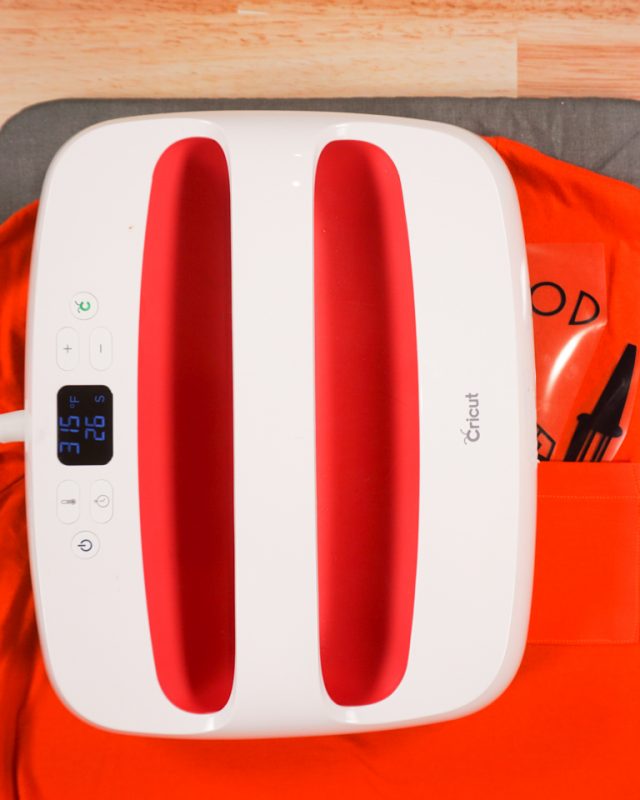
Use an Easypress 2 to apply the iron-on vinyl.
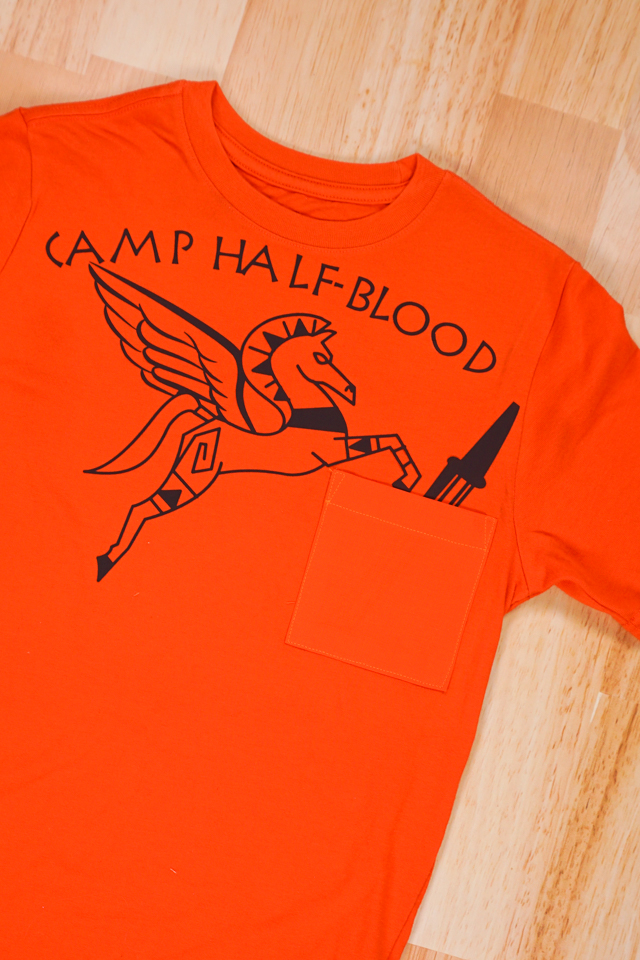
Let the design cool and then carefully peel the plastic backing off. You finished!
If you make something using this sewing project, I’d love to see! Please share it on social media with the hashtag #heatherhandmade and tag me!

I believe small sewing moments can create great joy. Find your own “right” way to sew. -Heather