
Make a Baby Romper Pattern From a T-Shirt

This post may contain affiliate links.
Learn how to make a baby romper from a t-shirt with a free sewing pattern. This upcycle is a fun way to reuse t-shirts!
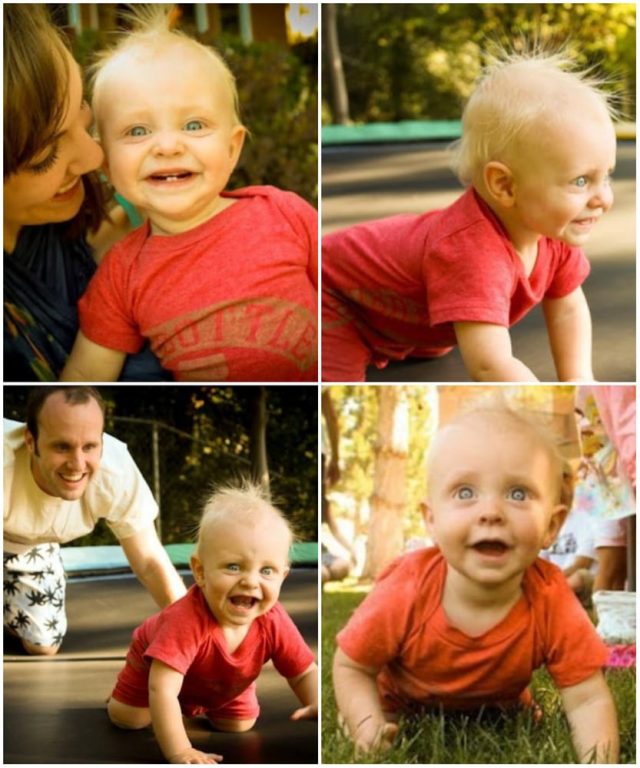
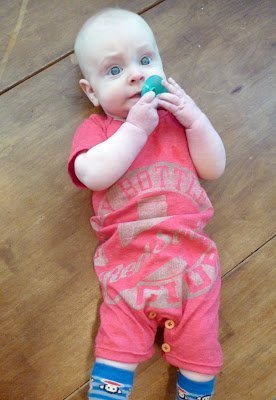
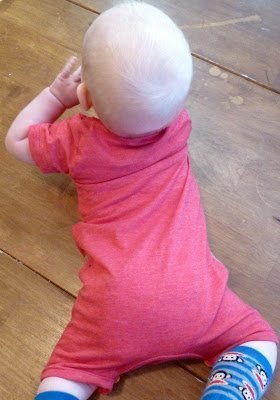
I’m so excited to share the free baby romper pattern and tutorial today! I have loved making these little rompers for my son and daughters and hope you do to! I love to see them in my old tees, and it brings back ALL the memories!
These come together fairly quickly, and it’s so fun to see your t-shirt on your little one. Enjoy this free baby romper pattern! I have reworked and updated the pattern and tutorial! Here’s the new tshirt romper tutorial and free pattern!
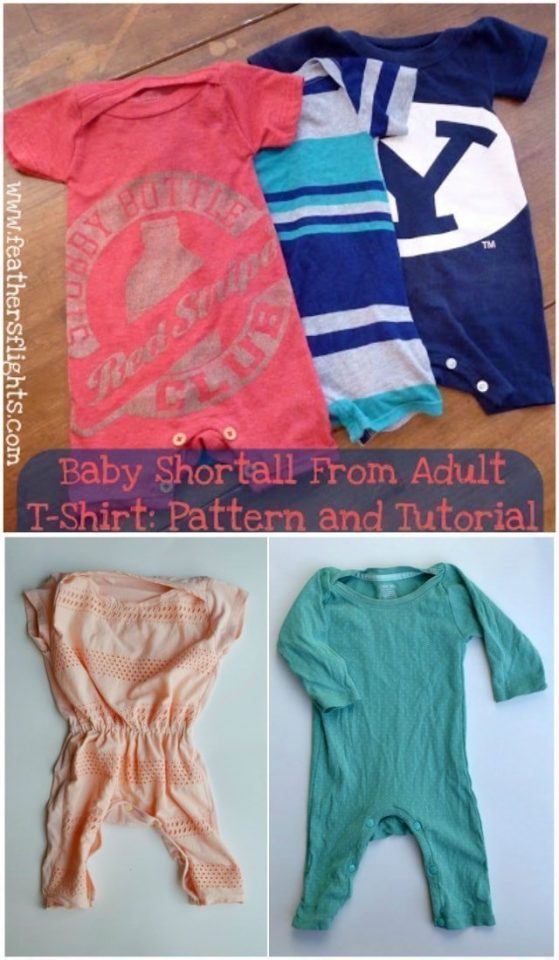
The pattern is for about a 6-12 month size. My baby is long and skinny with a smaller than average head, so you might have to adjust the pattern for your baby. If you have a chunky baby, add width to the sides of the body pattern. I’ll give you tips in the tutorial for adjustments.
Make a Baby Romper Pattern From a T-Shirt
Supplies
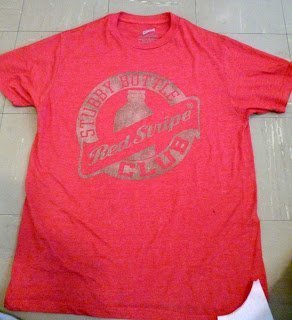
- One adult t-shirt in any size, I used a male medium
- sewing tools and sewing machine
- FREE Baby Romper PATTERN in size 6-12 mos – get it at the end of the post
- Tips for sewing knit fabric
Cutting Instructions
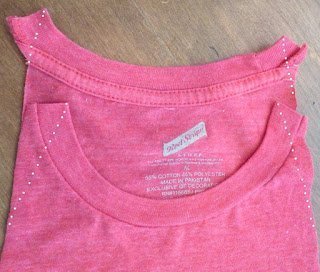
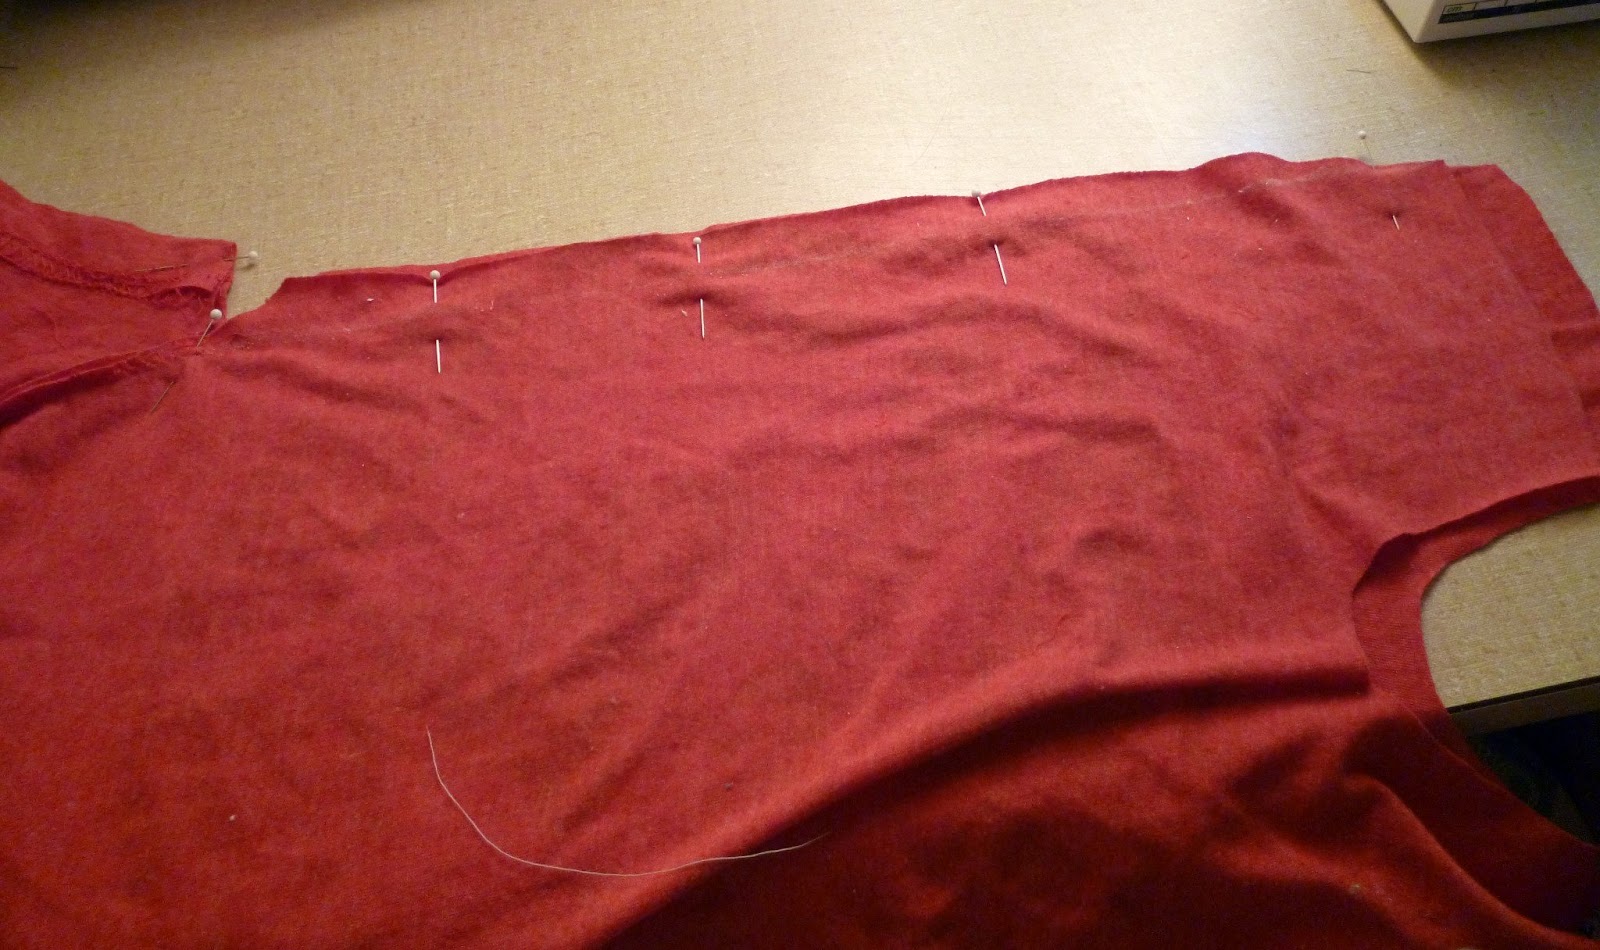
1. Lay out your t-shirt and place the neckline of the pattern on the neckline of the shirt.
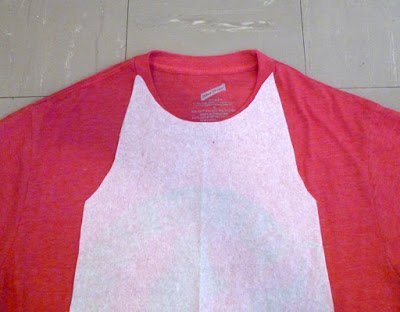
2. Pin through both layers.

3. Cut out. At the neckline cut straight up then cut across into the neck hole at the top of the pattern. (If your neckline is really big, you might not need the whole neckline.
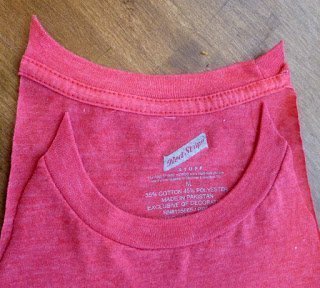
4. Cut out the other pieces. When cutting out the sleeves, place the bottom on a hem so you don’t have to hem the sleeves. You should have one front and one back, four leg opening pieces, two sleeves, and one crotch piece.

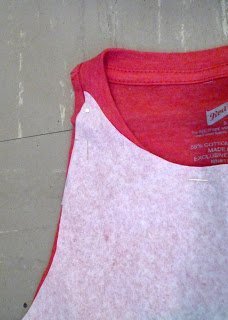
5. Perfect the shoulders by angling in the edge so that the neckline ends in a point.
Sewing Instructions
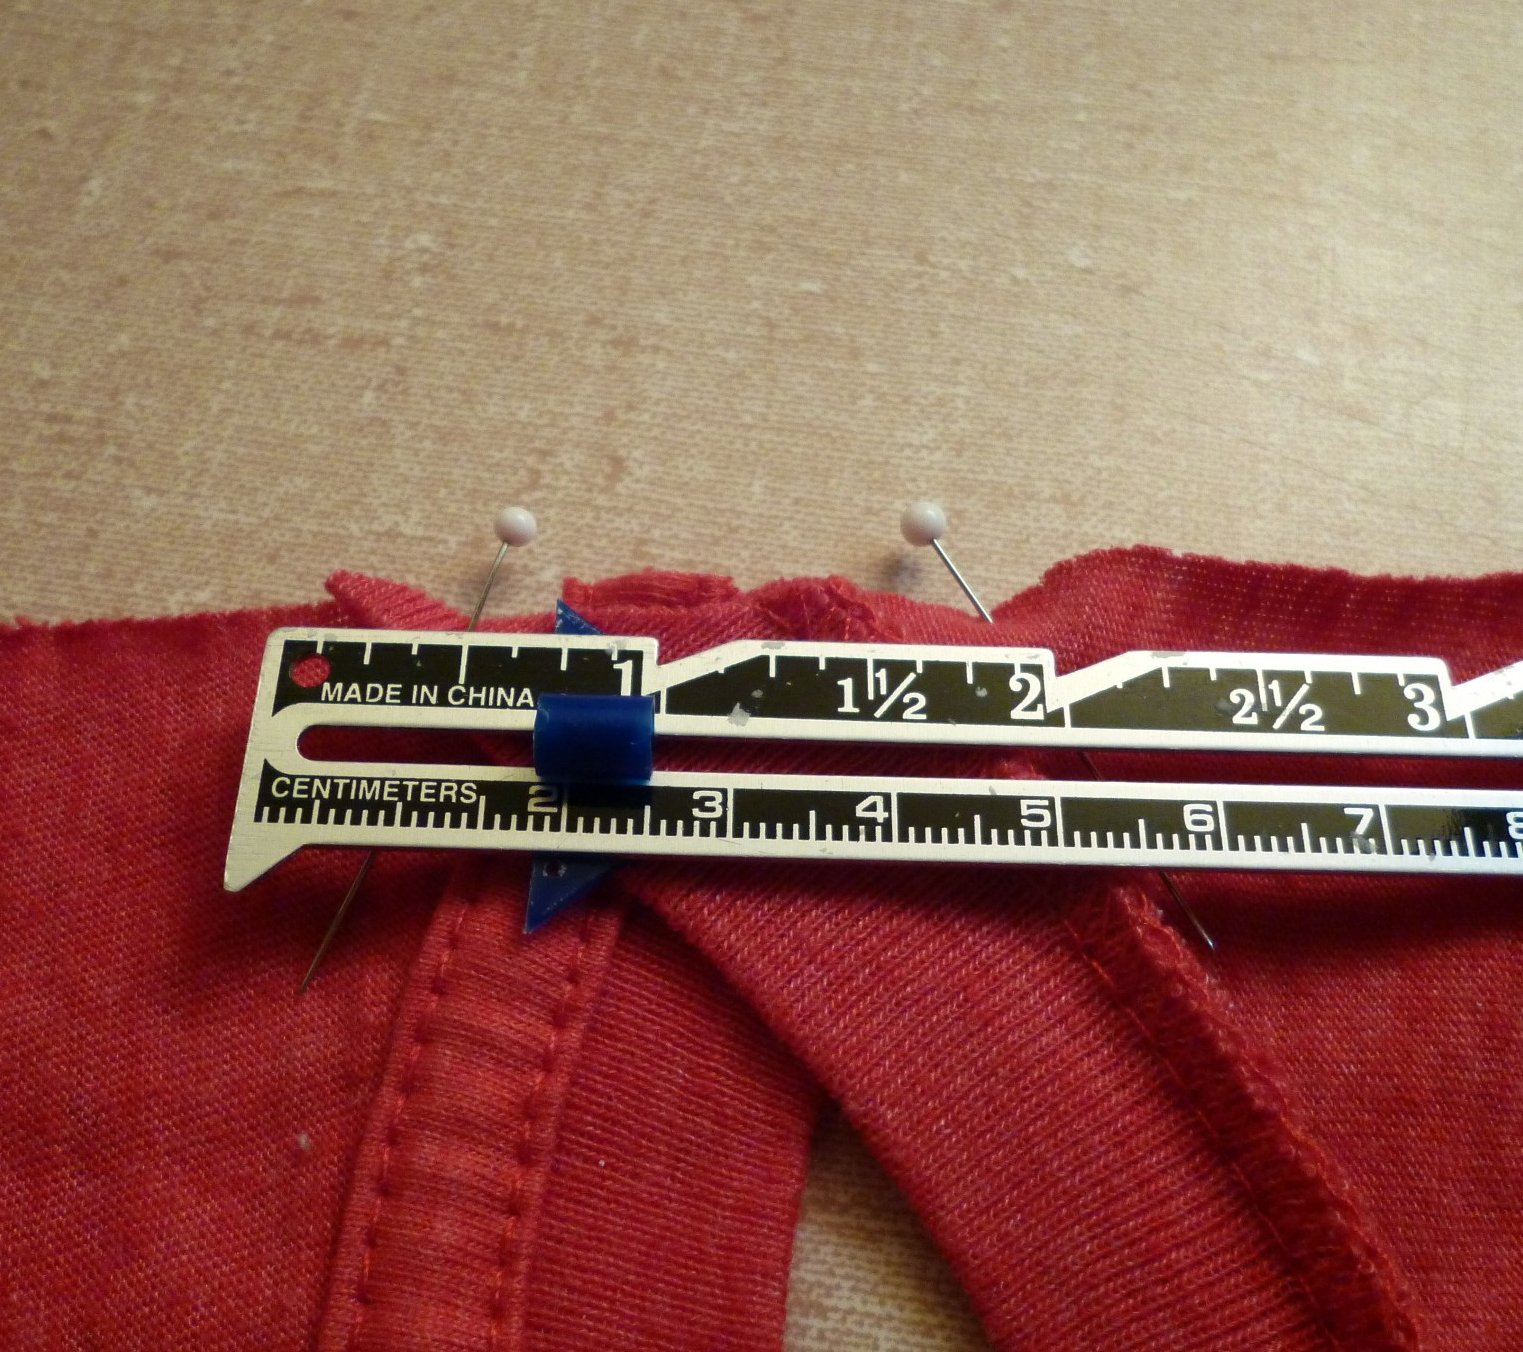
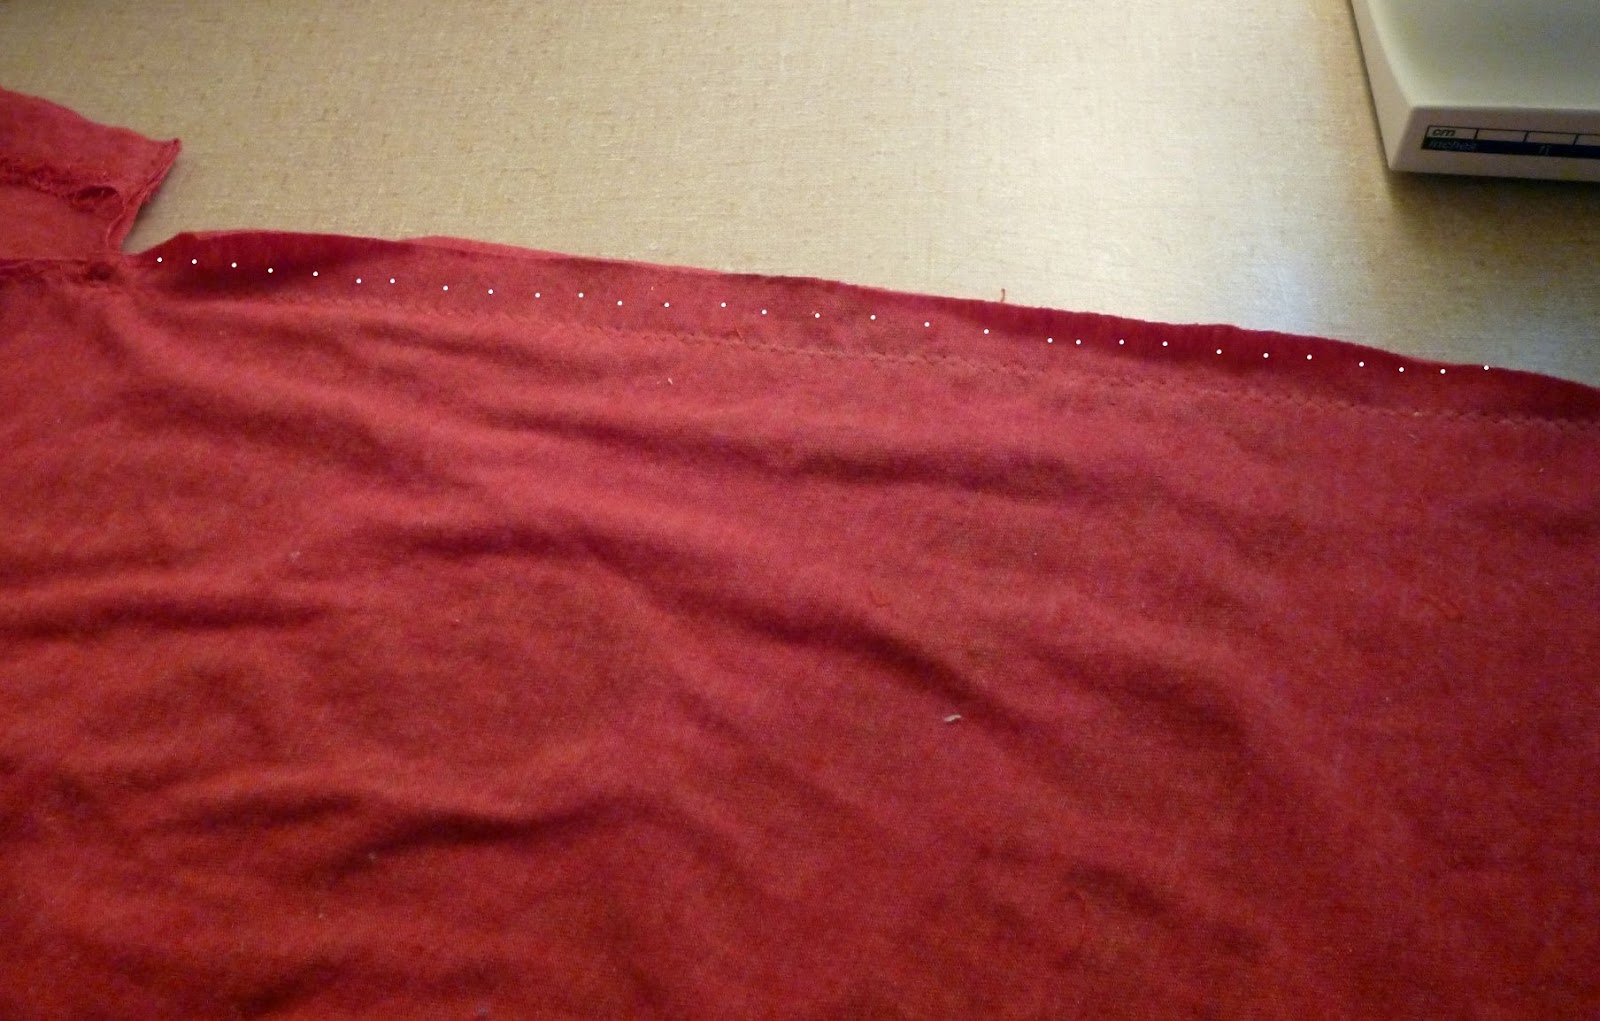
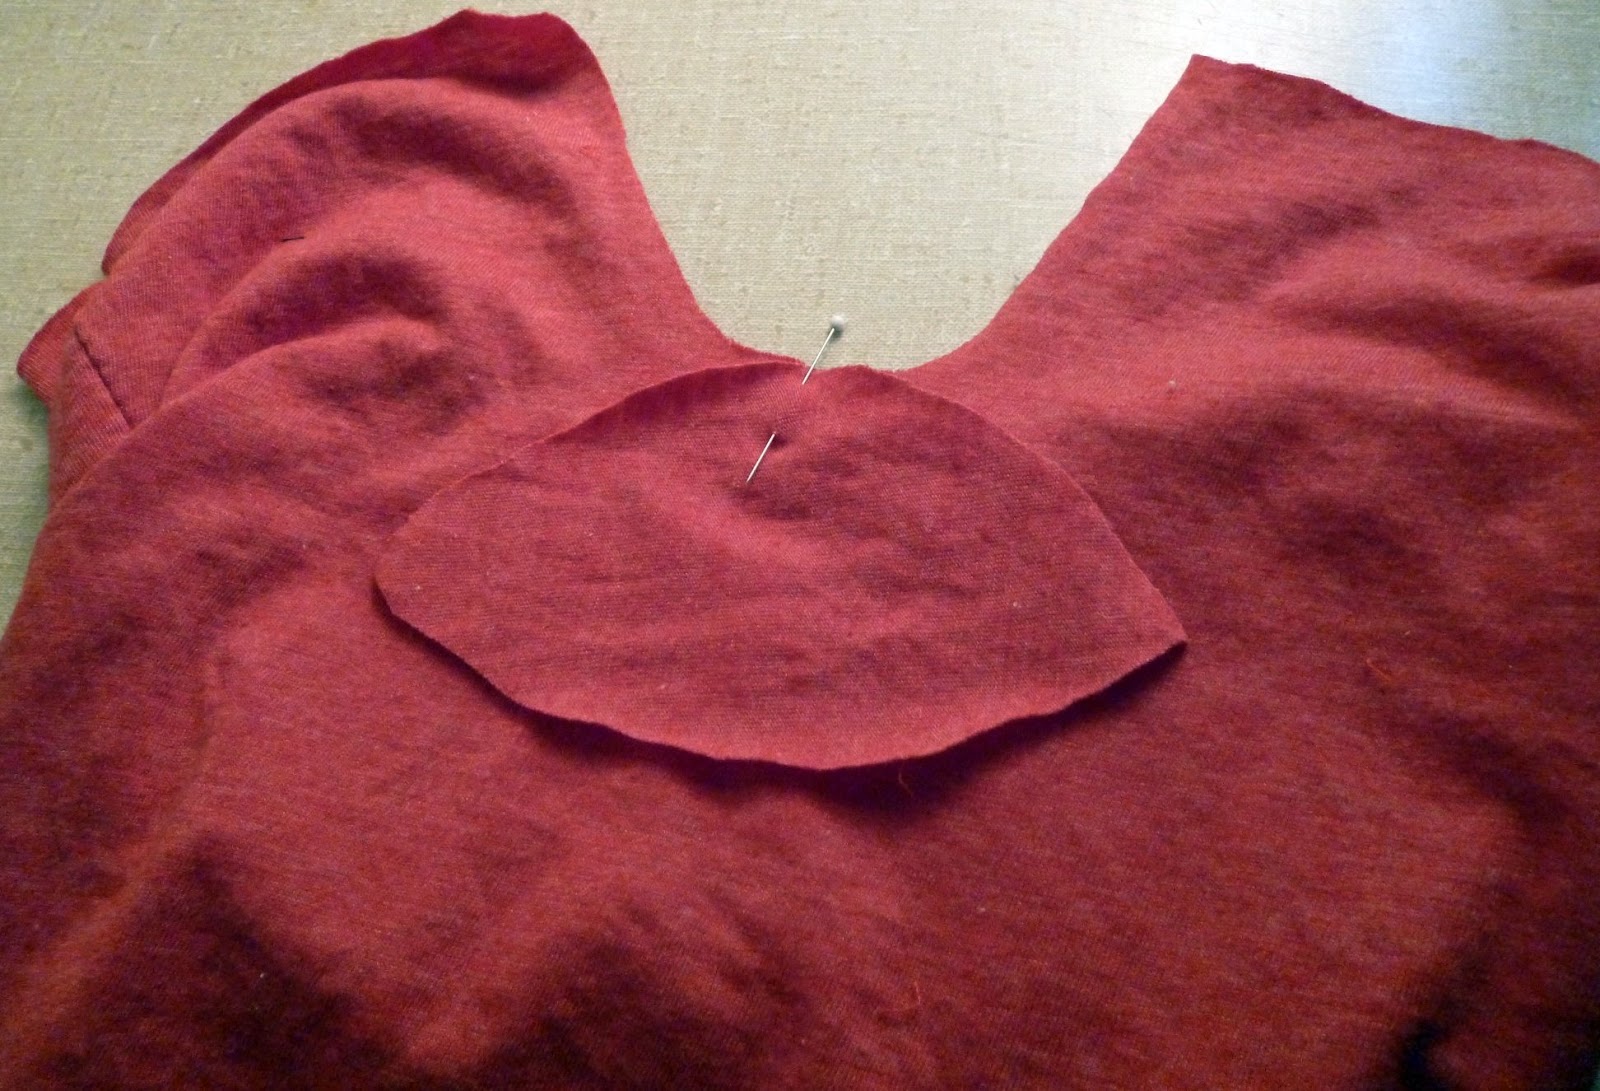
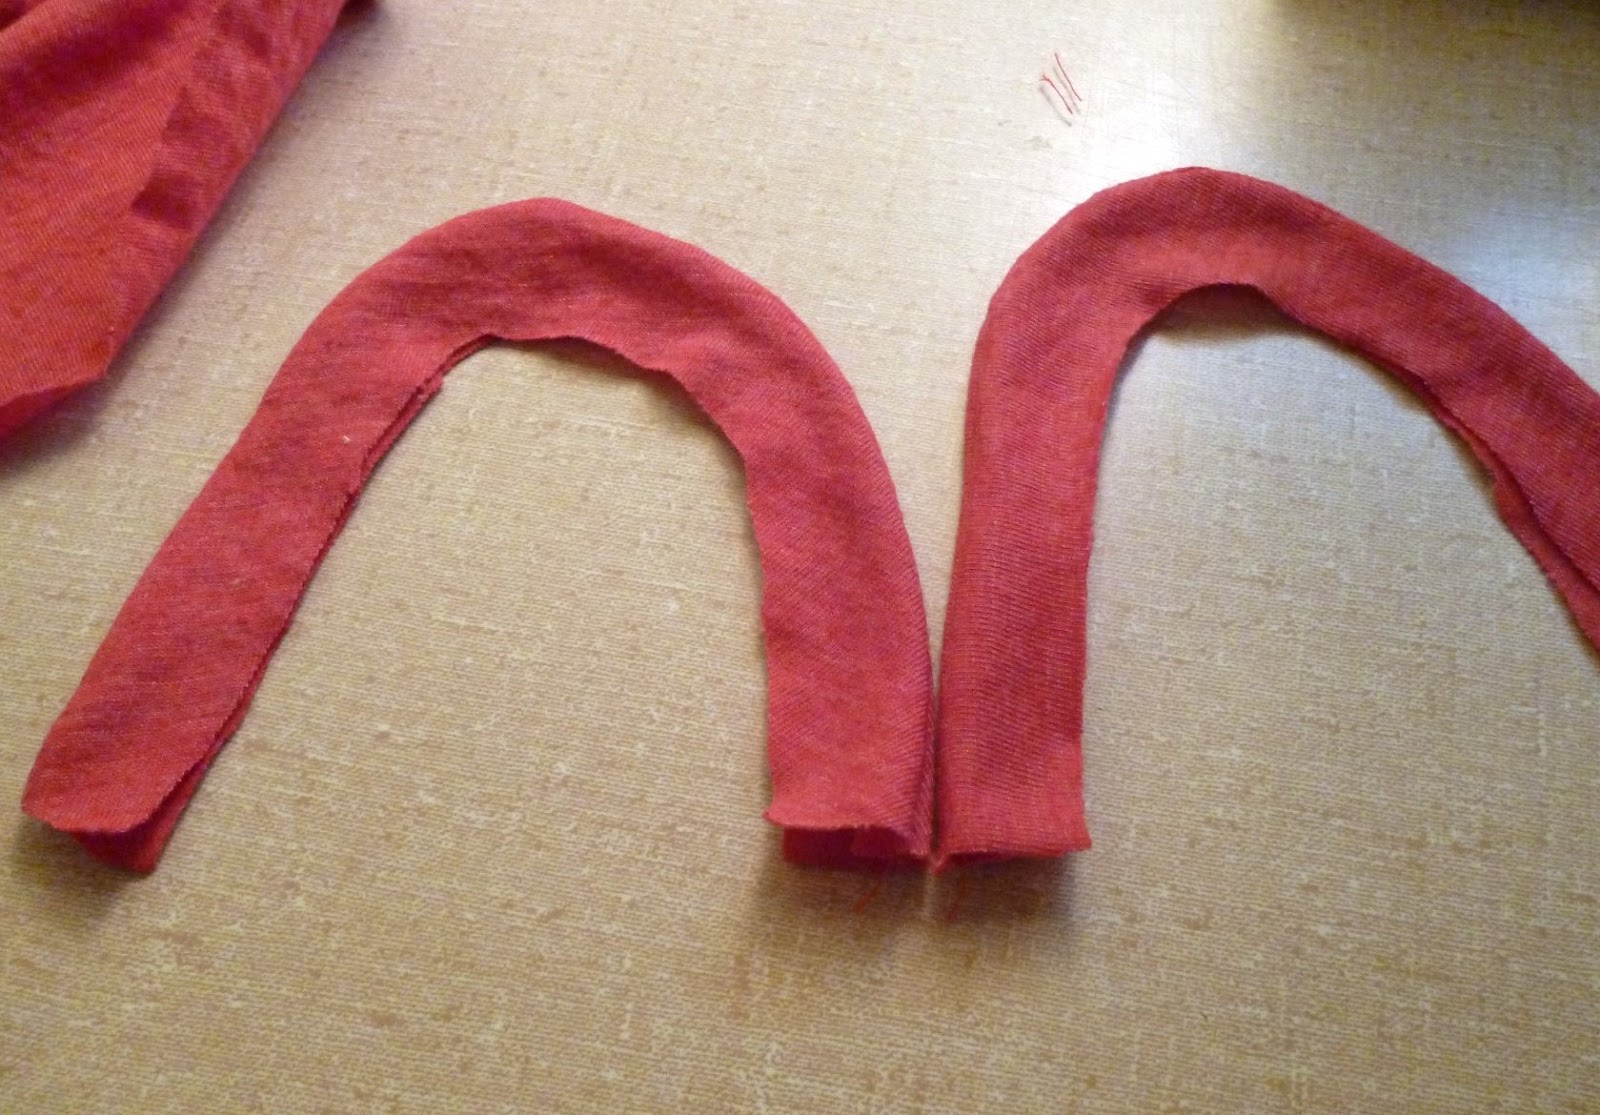
6. With the back on the bottom right side facing down and the front lying on top facing down, overlap the points by 2″.
*This is where you can alter the pattern for head size and shoulder width. If your baby has a big head and wide shoulders, overlap less. If your baby has a small head and small shoulders, overlap more.
7. Find the center of the sleeve by folding in half.

8. Line up the center of the sleeve with the center of the 2″ right sides together.

9. Sew a zigzag at 1/4″.

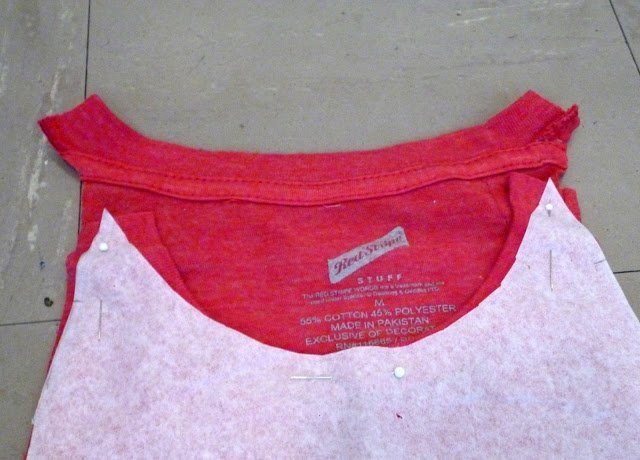
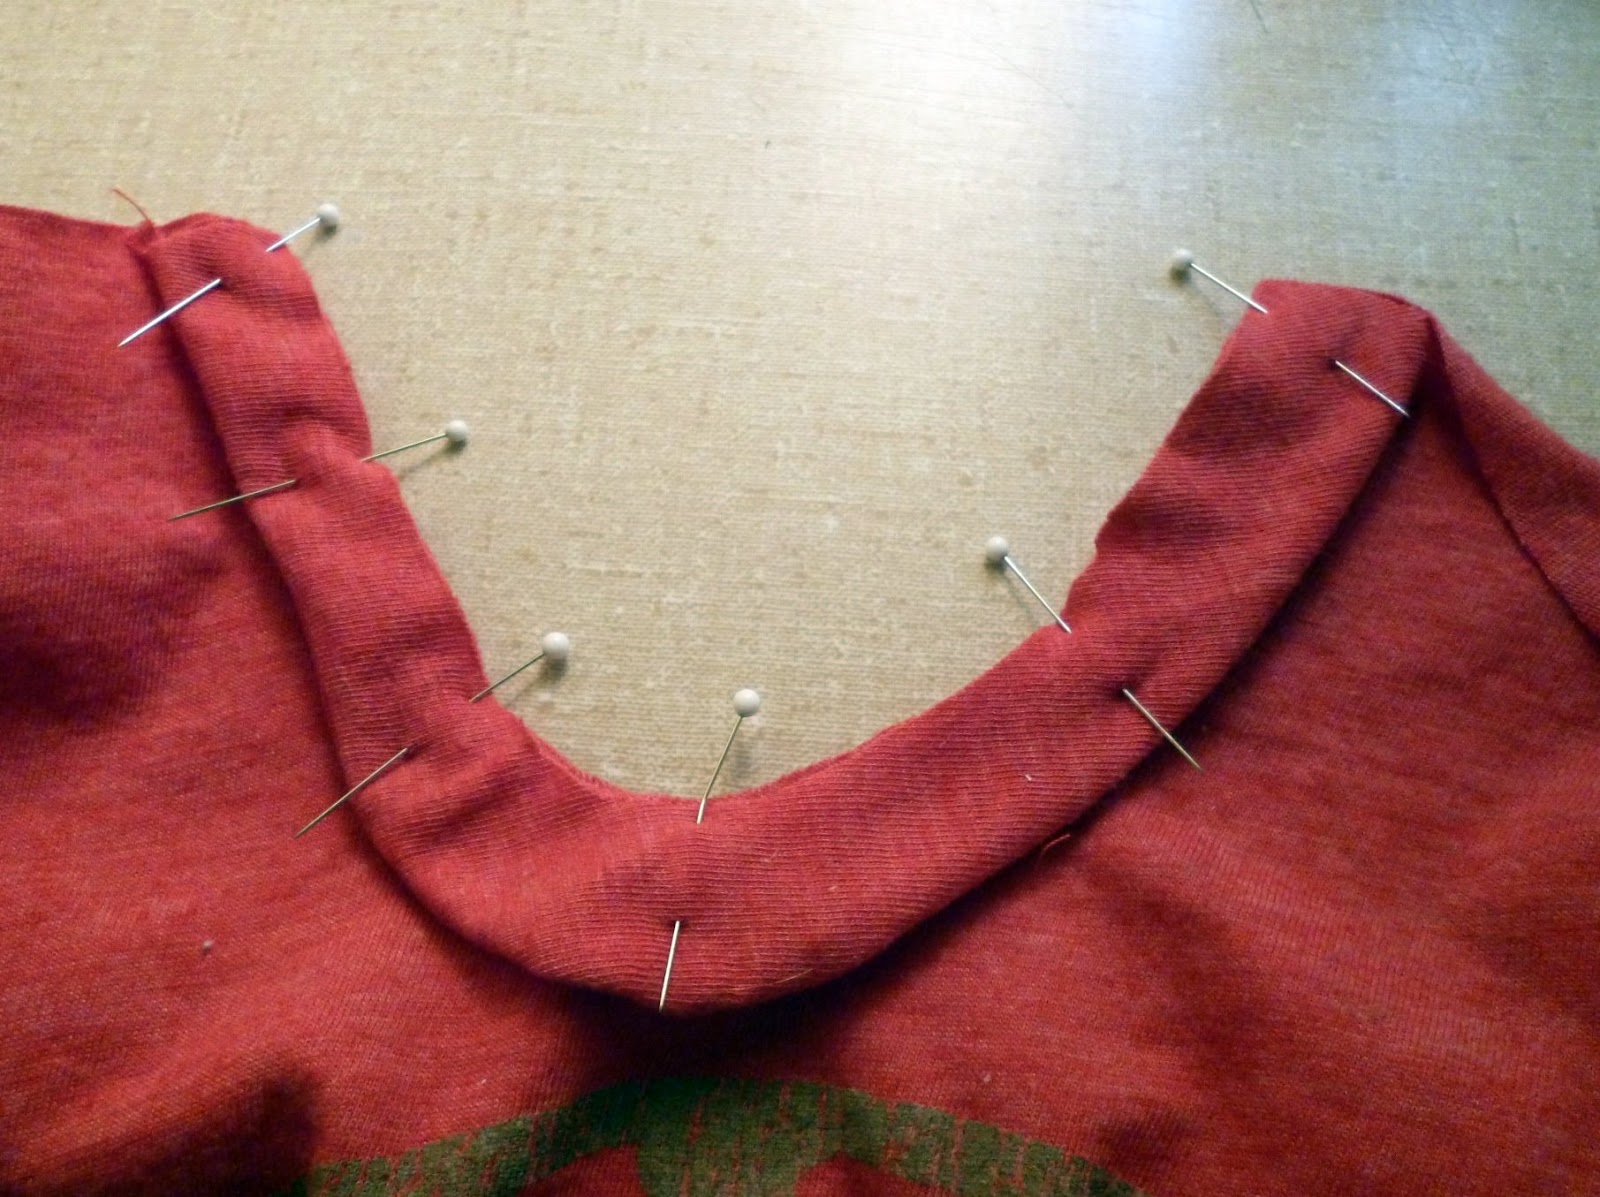
This is what your neckline and shoulders should look like.

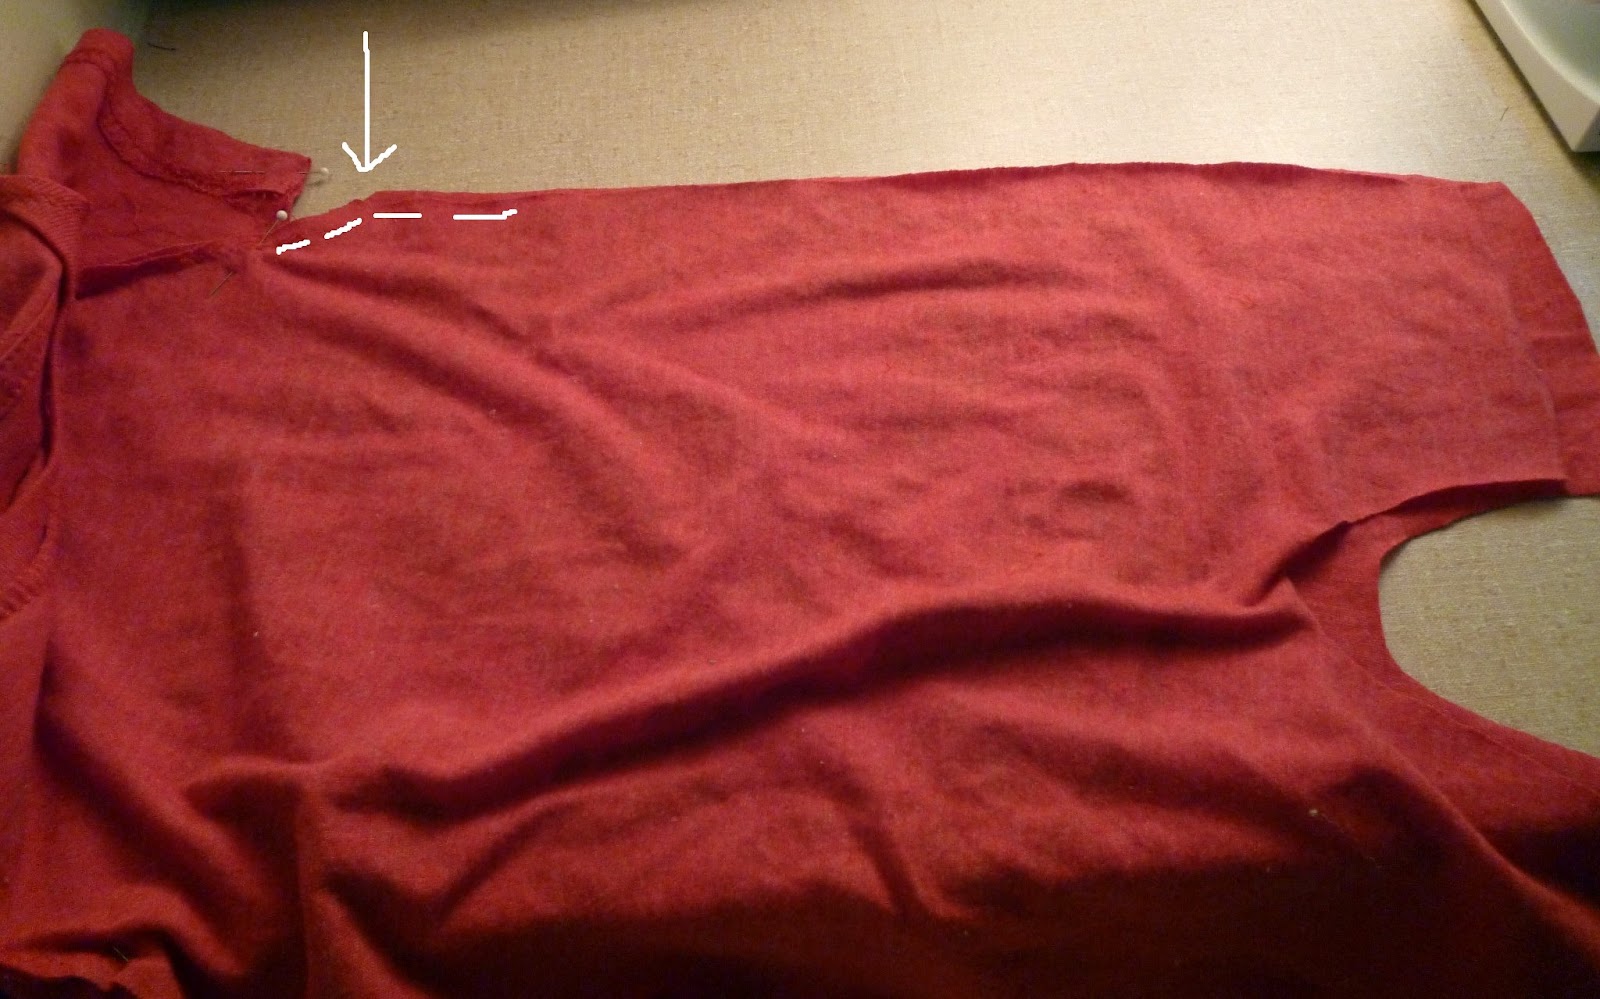
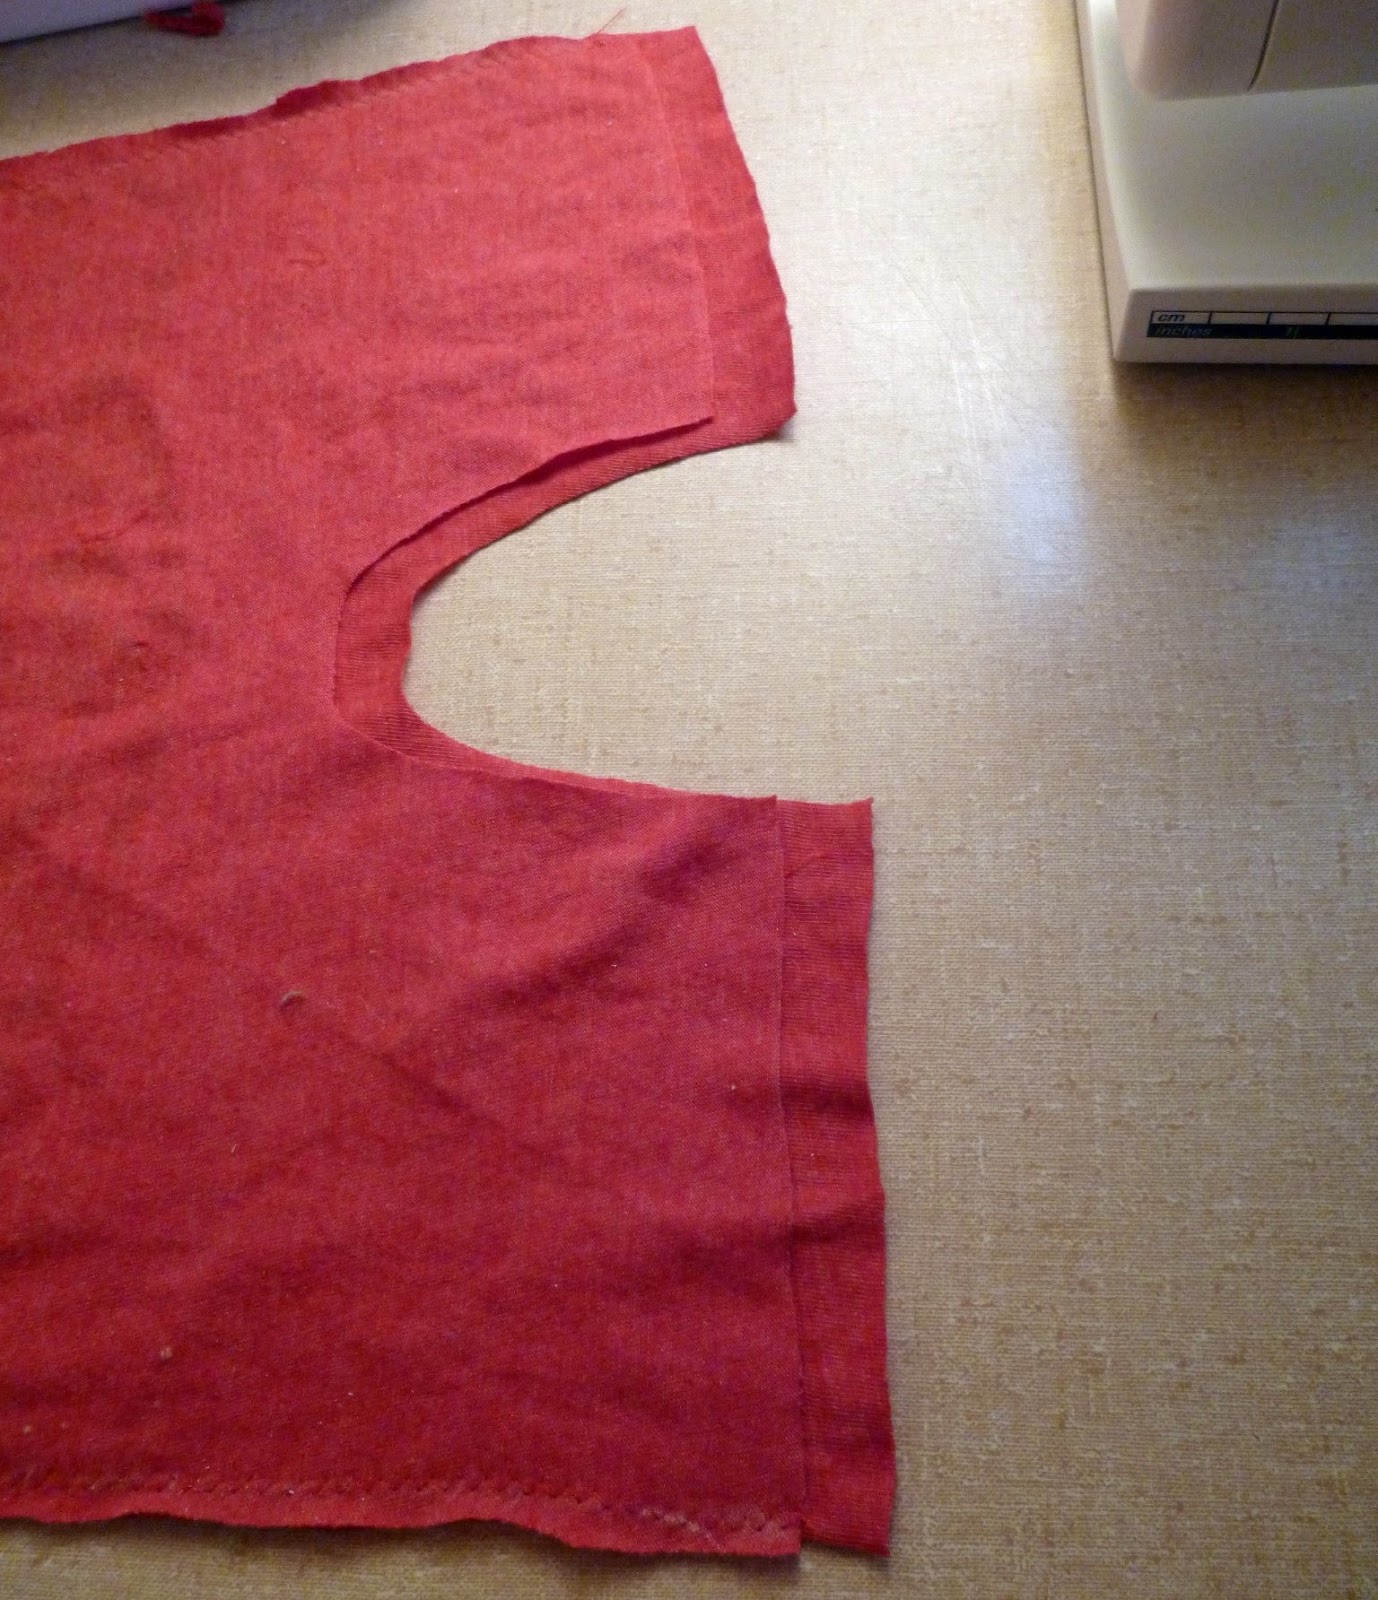
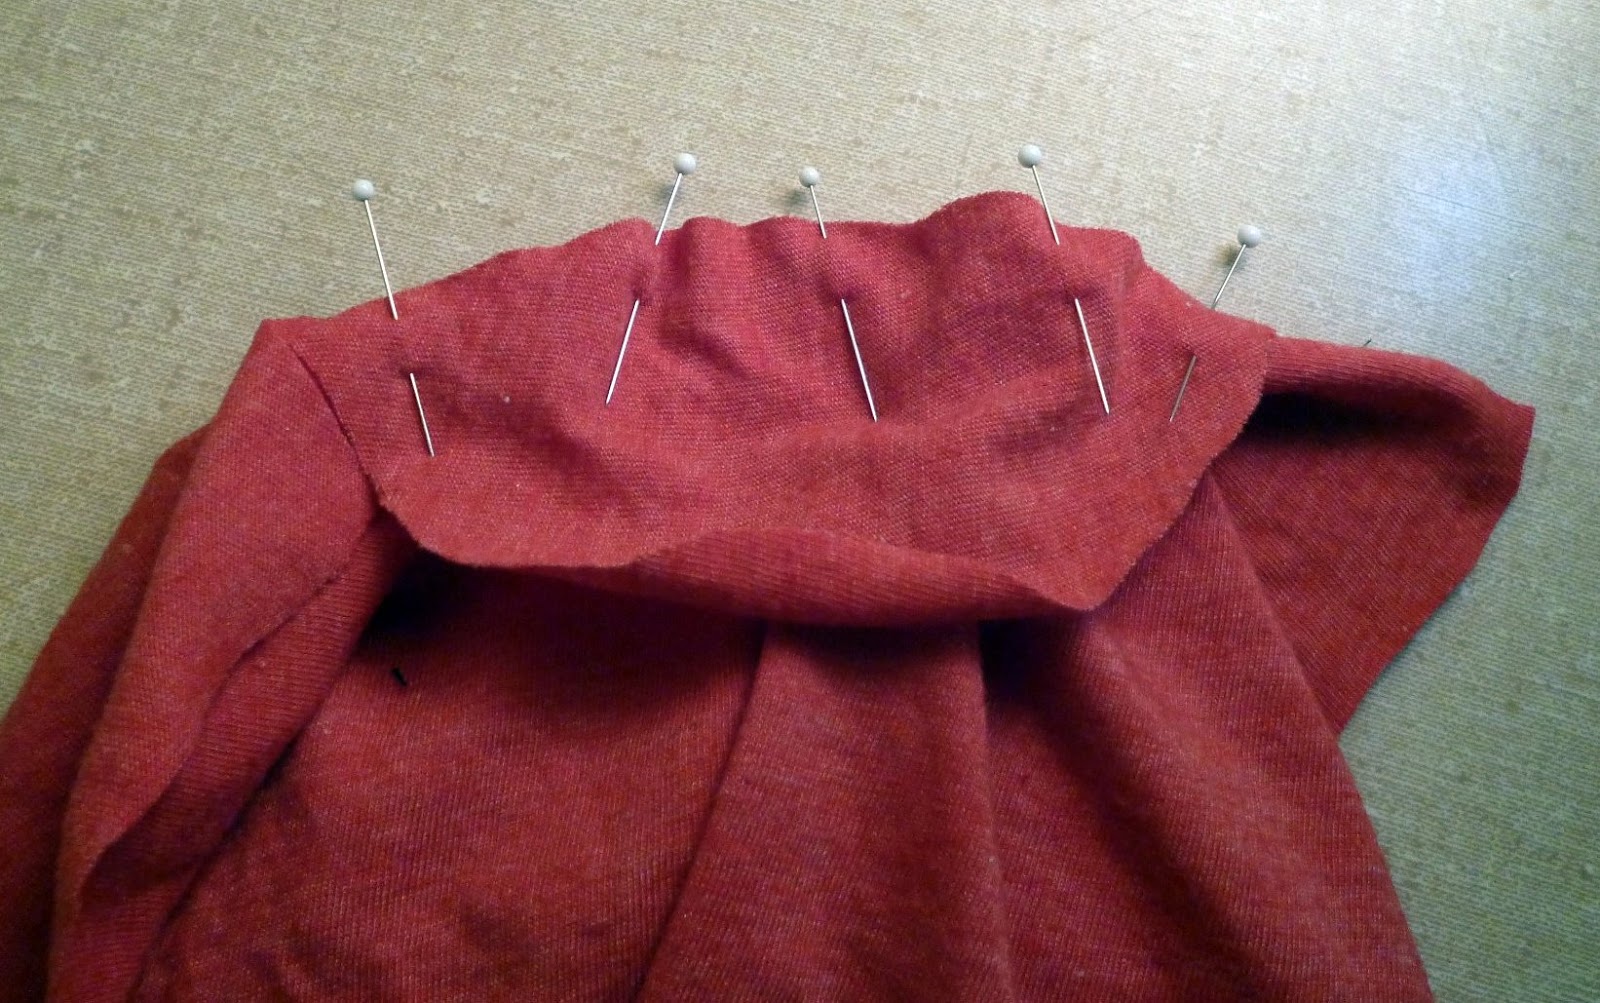
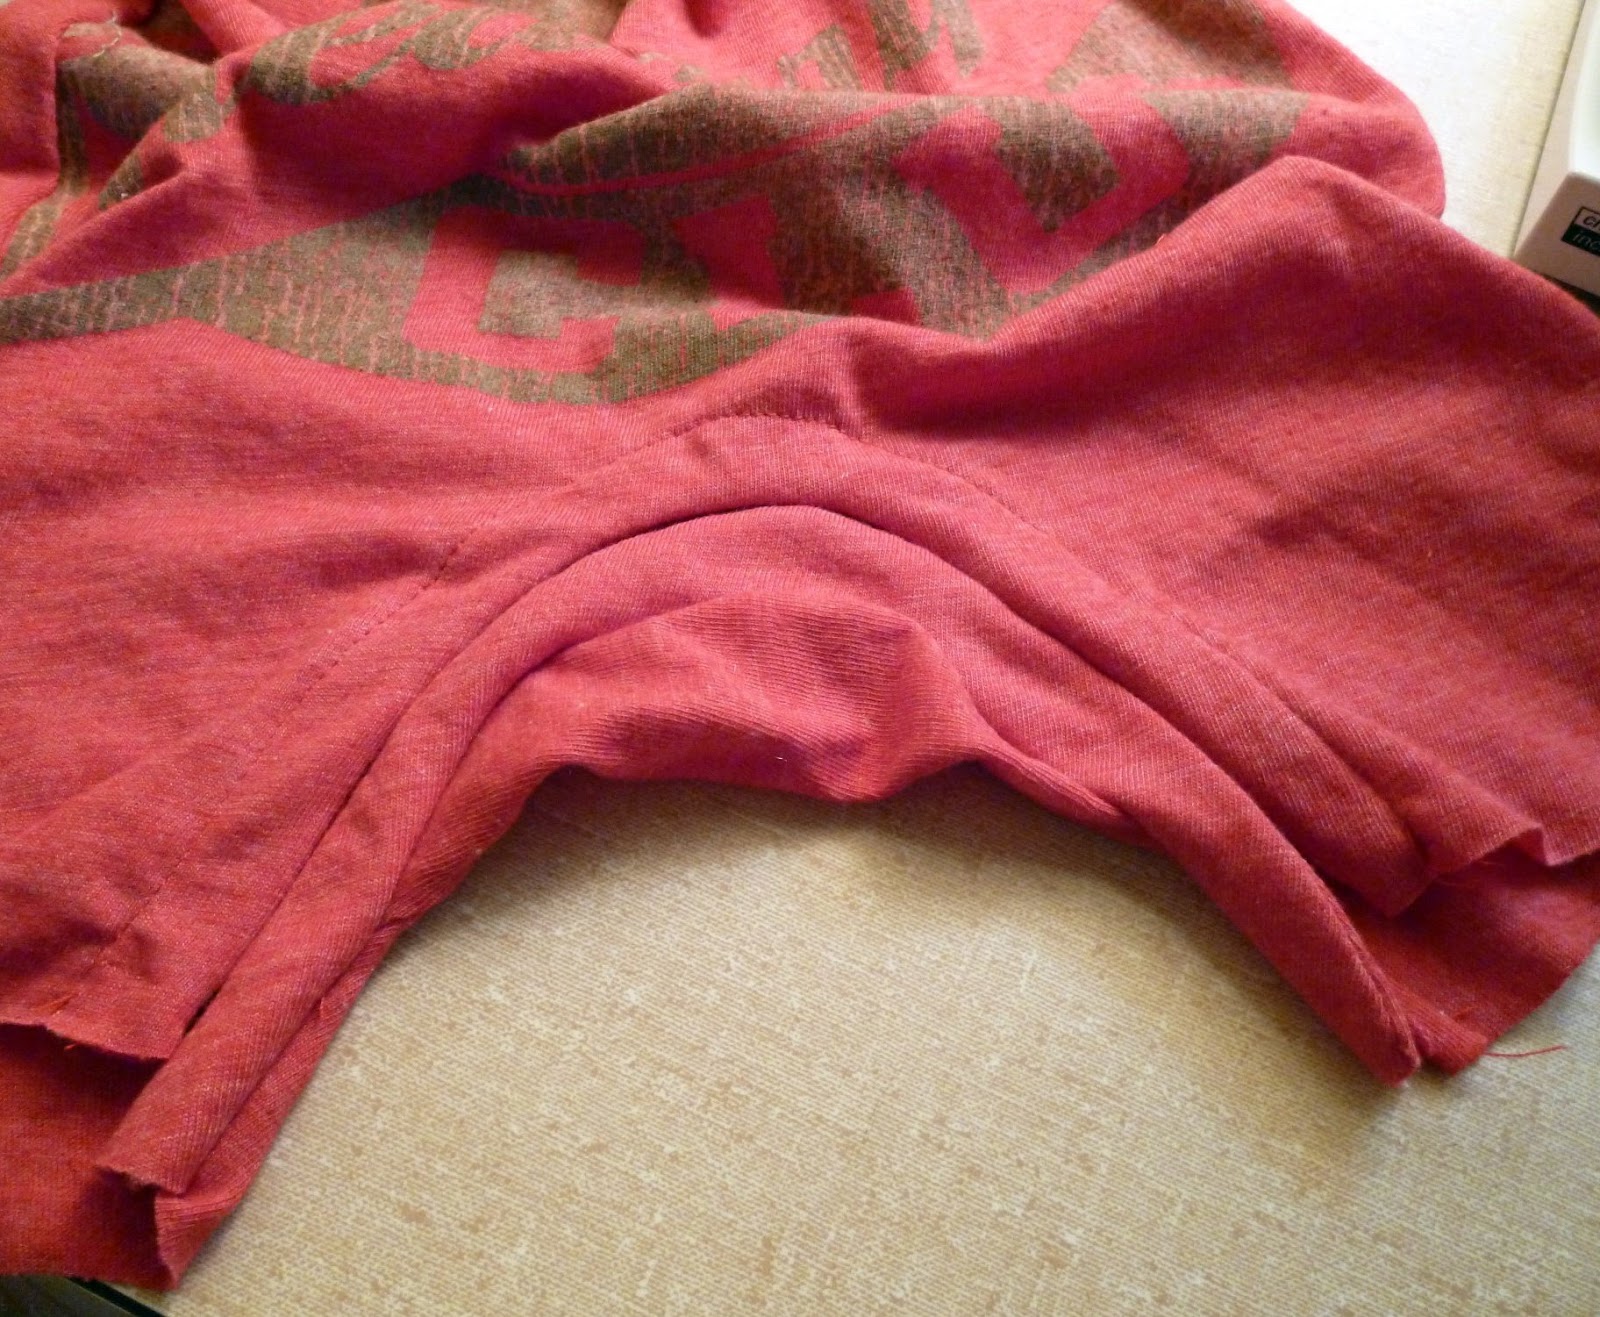
10. With right sides together line up the sleeve seams at the armpit. There will be a difference in length because of the size of the neckline.
Also, the white arrow is point to the corner where the side should meet the sleeve. It doesn’t meet because I overlapped my neckline 2″. If you overlap yours less, I left room on the pattern so that you will have more room in the sides.
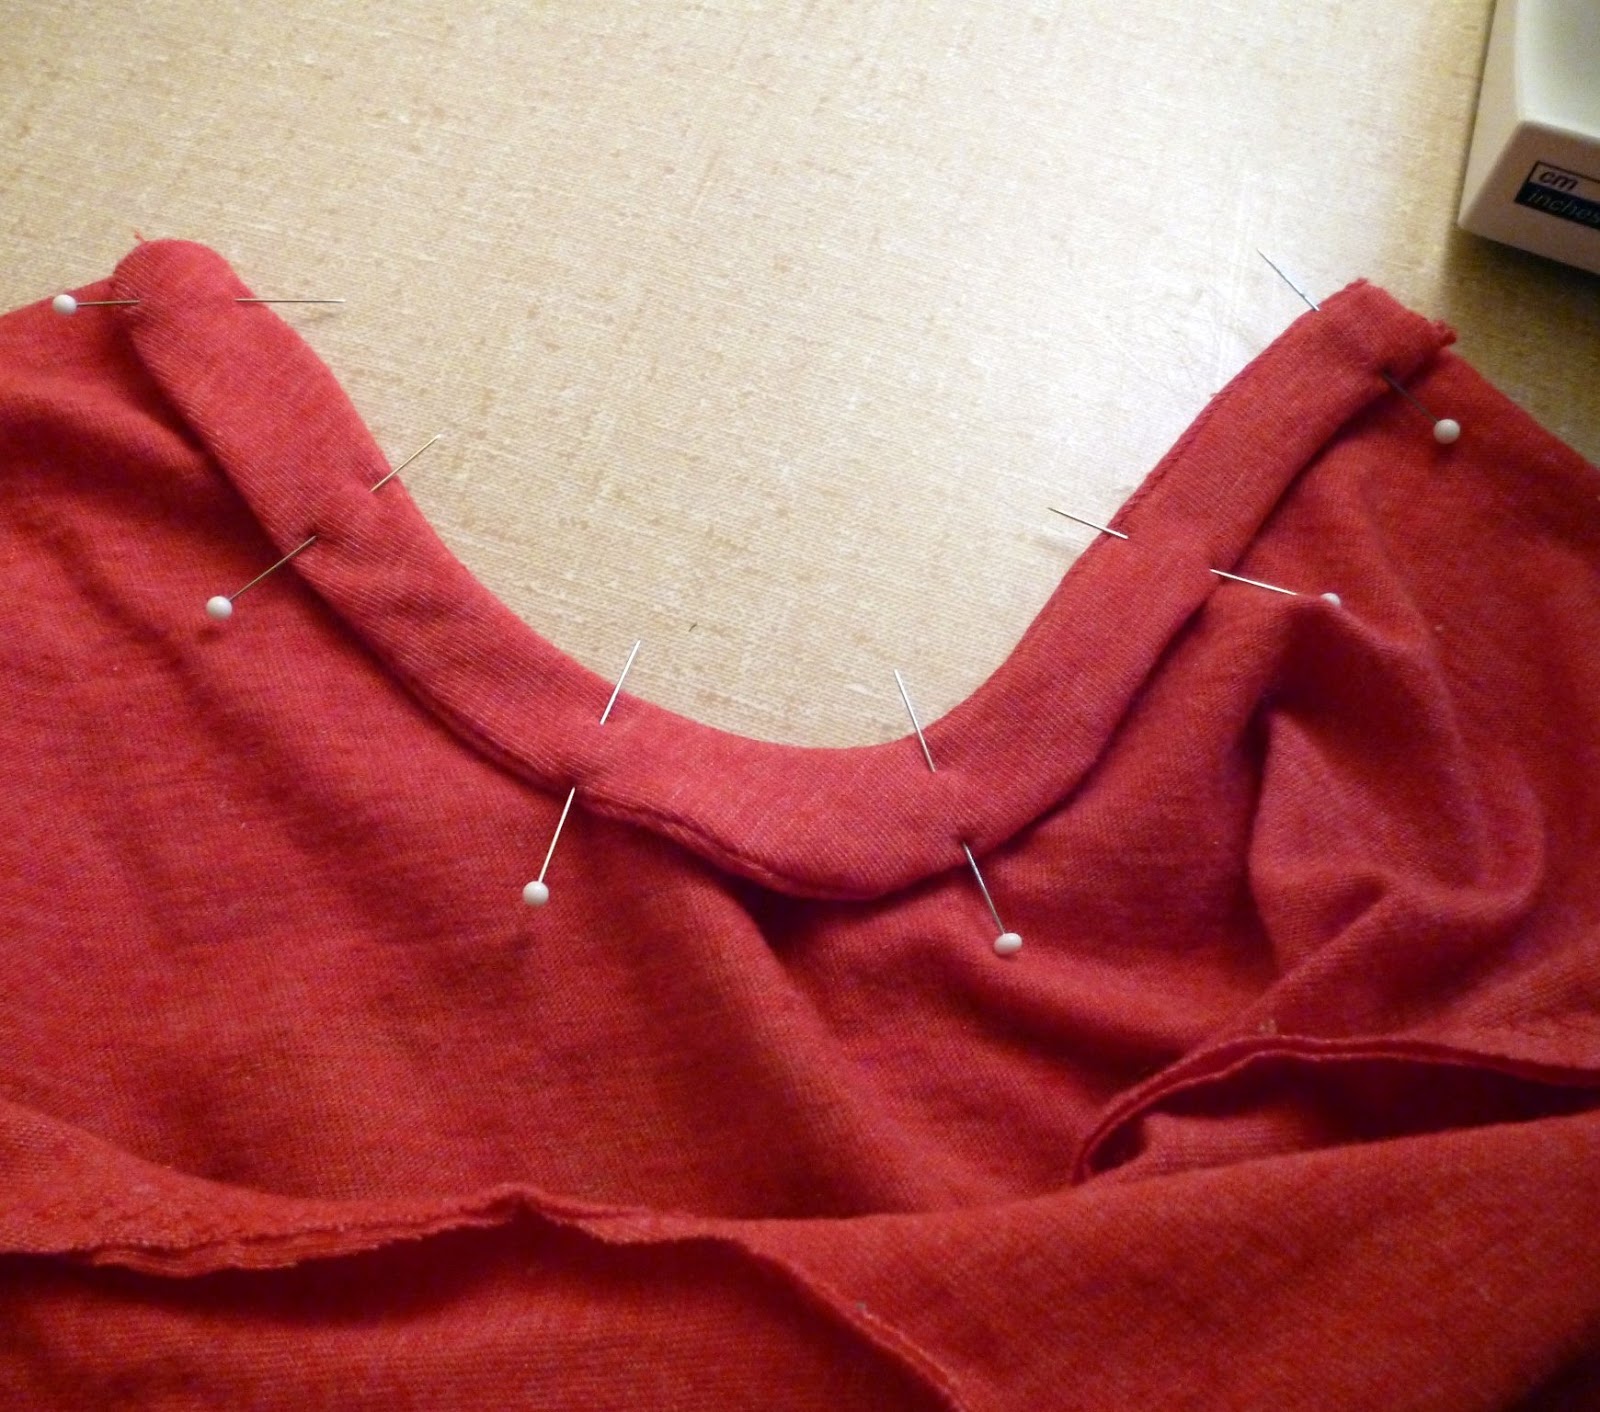
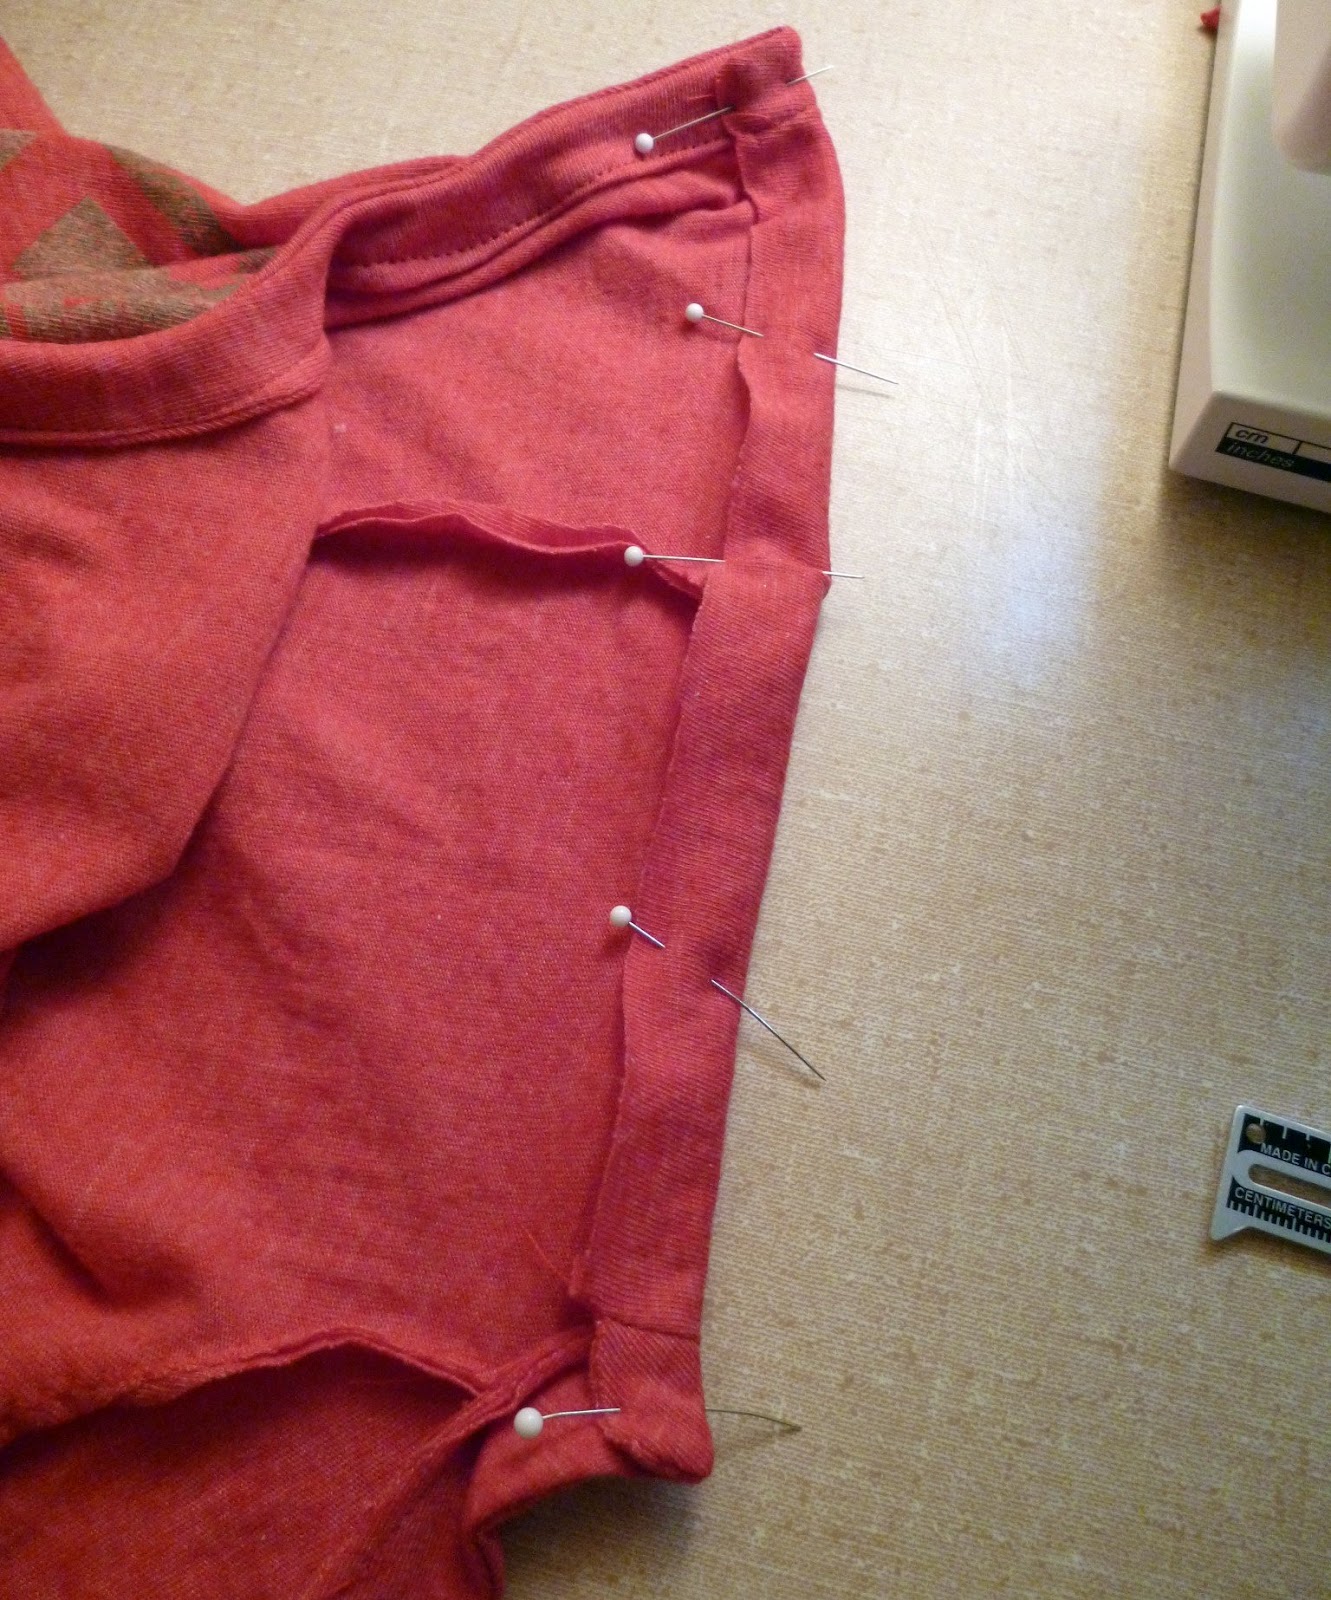
11. I drew a line from my sleeve seem to my hem and pinned. (It’s hard to see in the picture.) Sew with a zigzag at 1/4″ from sleeve hem, pivot under the sleeve and then sew down to the bottom.
12. Trim off excess.
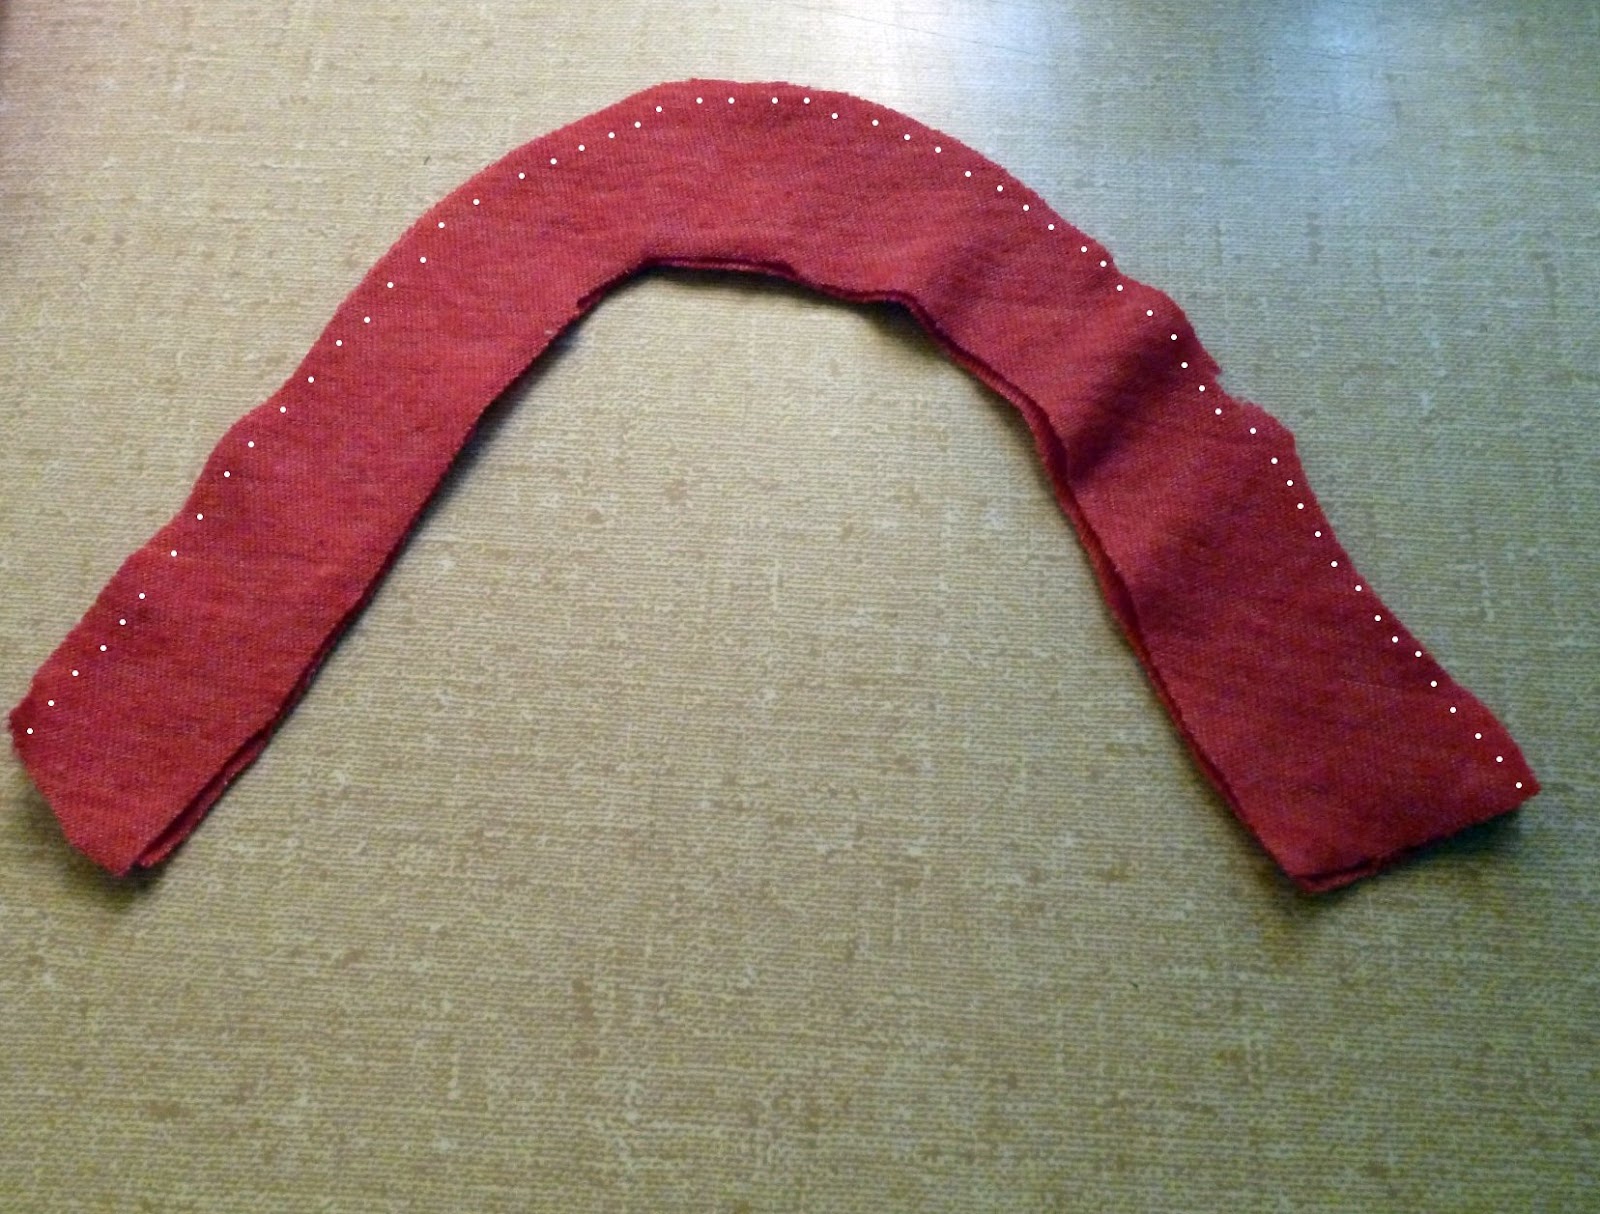
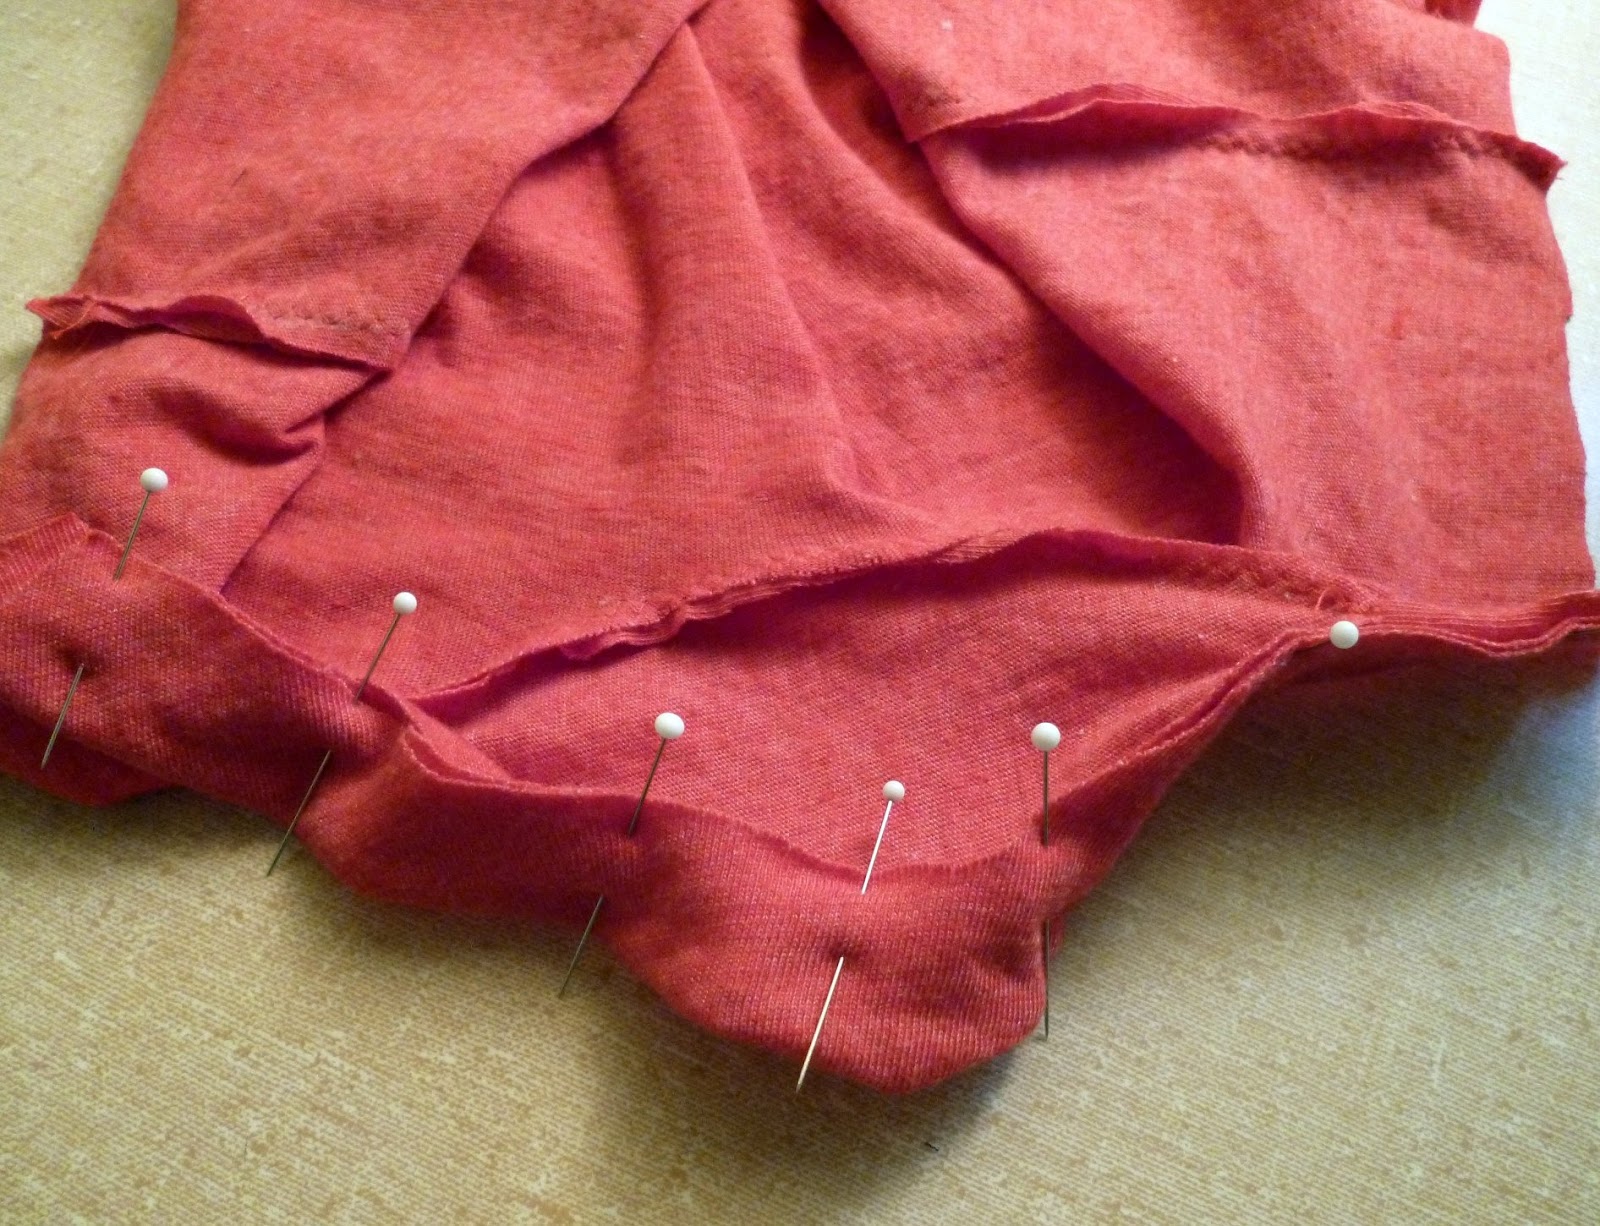
13. Now lay down your shortall and cut off the excess so that the back to matches the front.
14. Fold the back and the football to find the center of each.
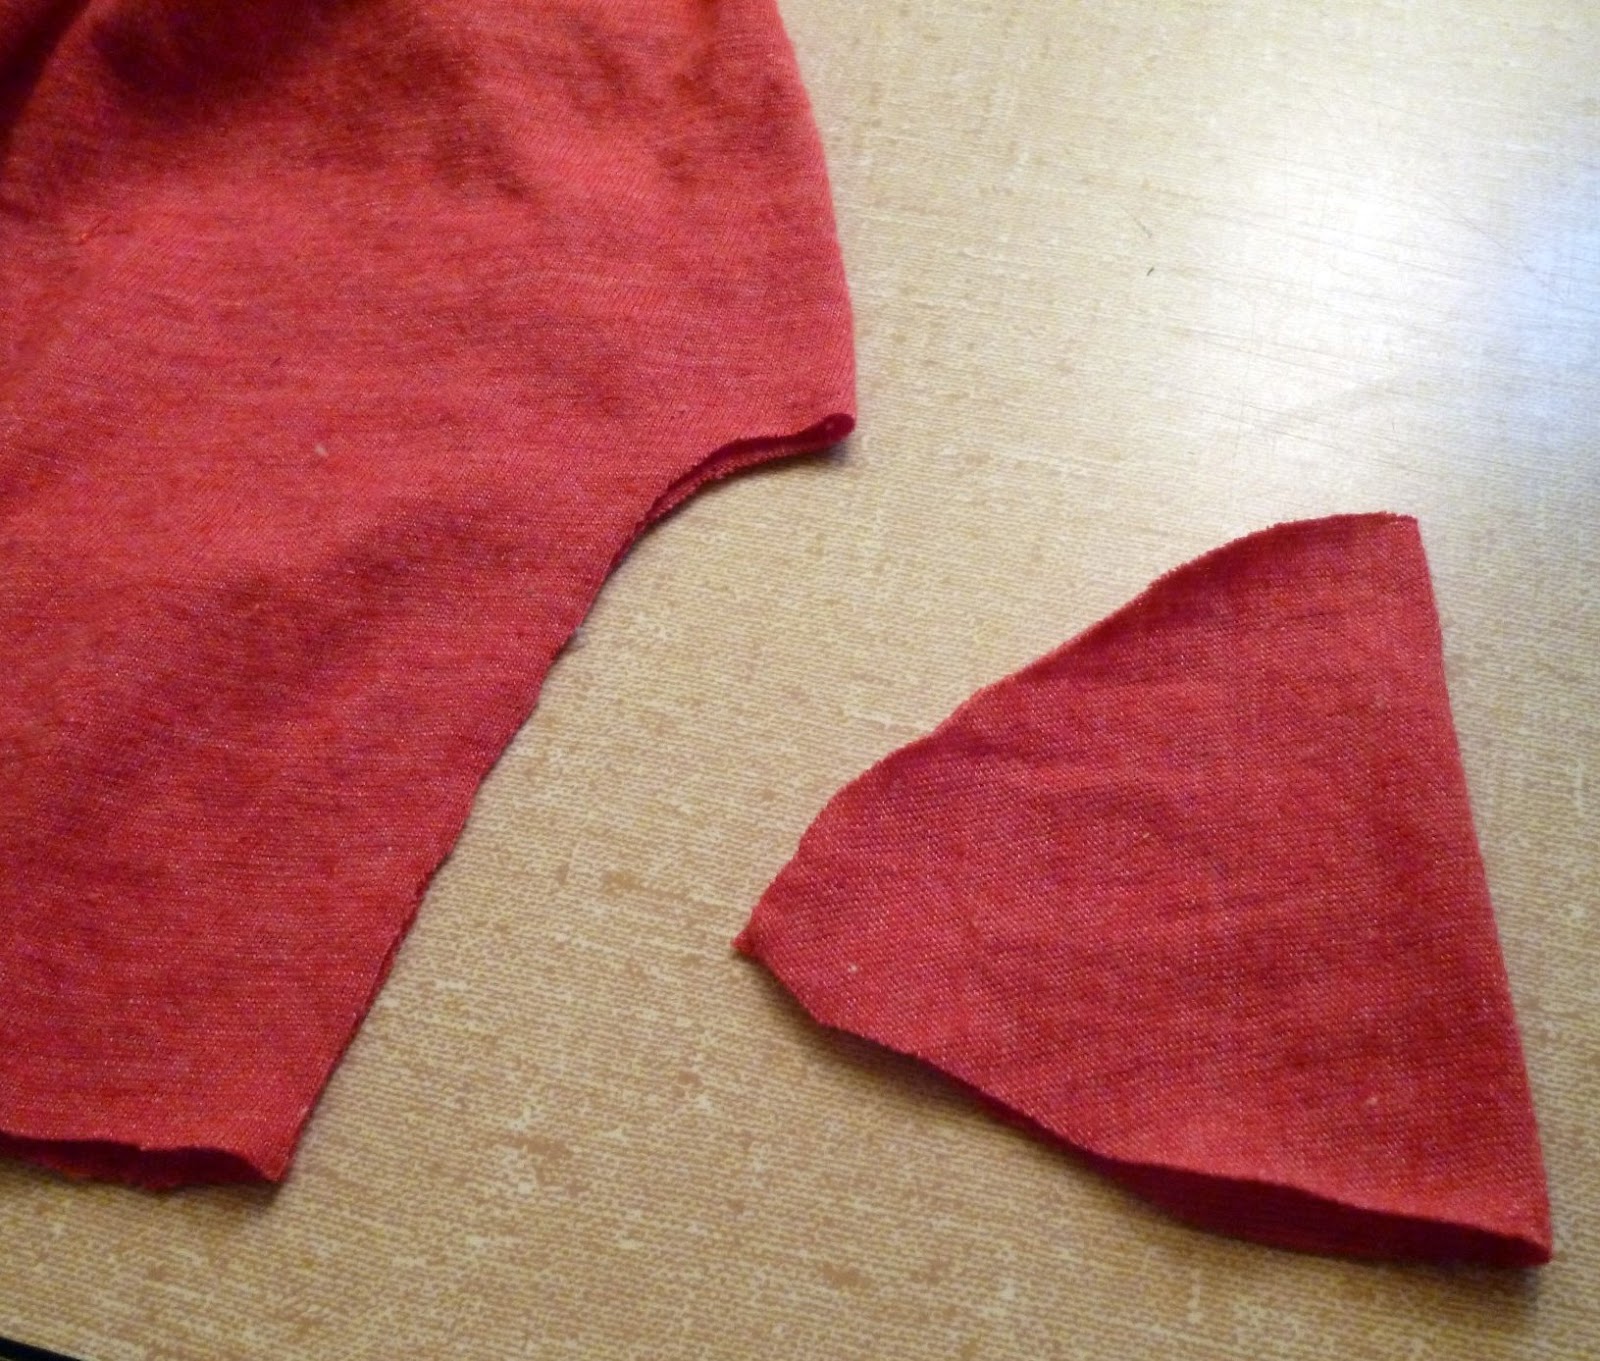
15. With right sides together, match the centers together.
16. Pin together. This is a little tricky because the two pieces are opposing curves. Sew at 1/4″.
This is what it should look like.
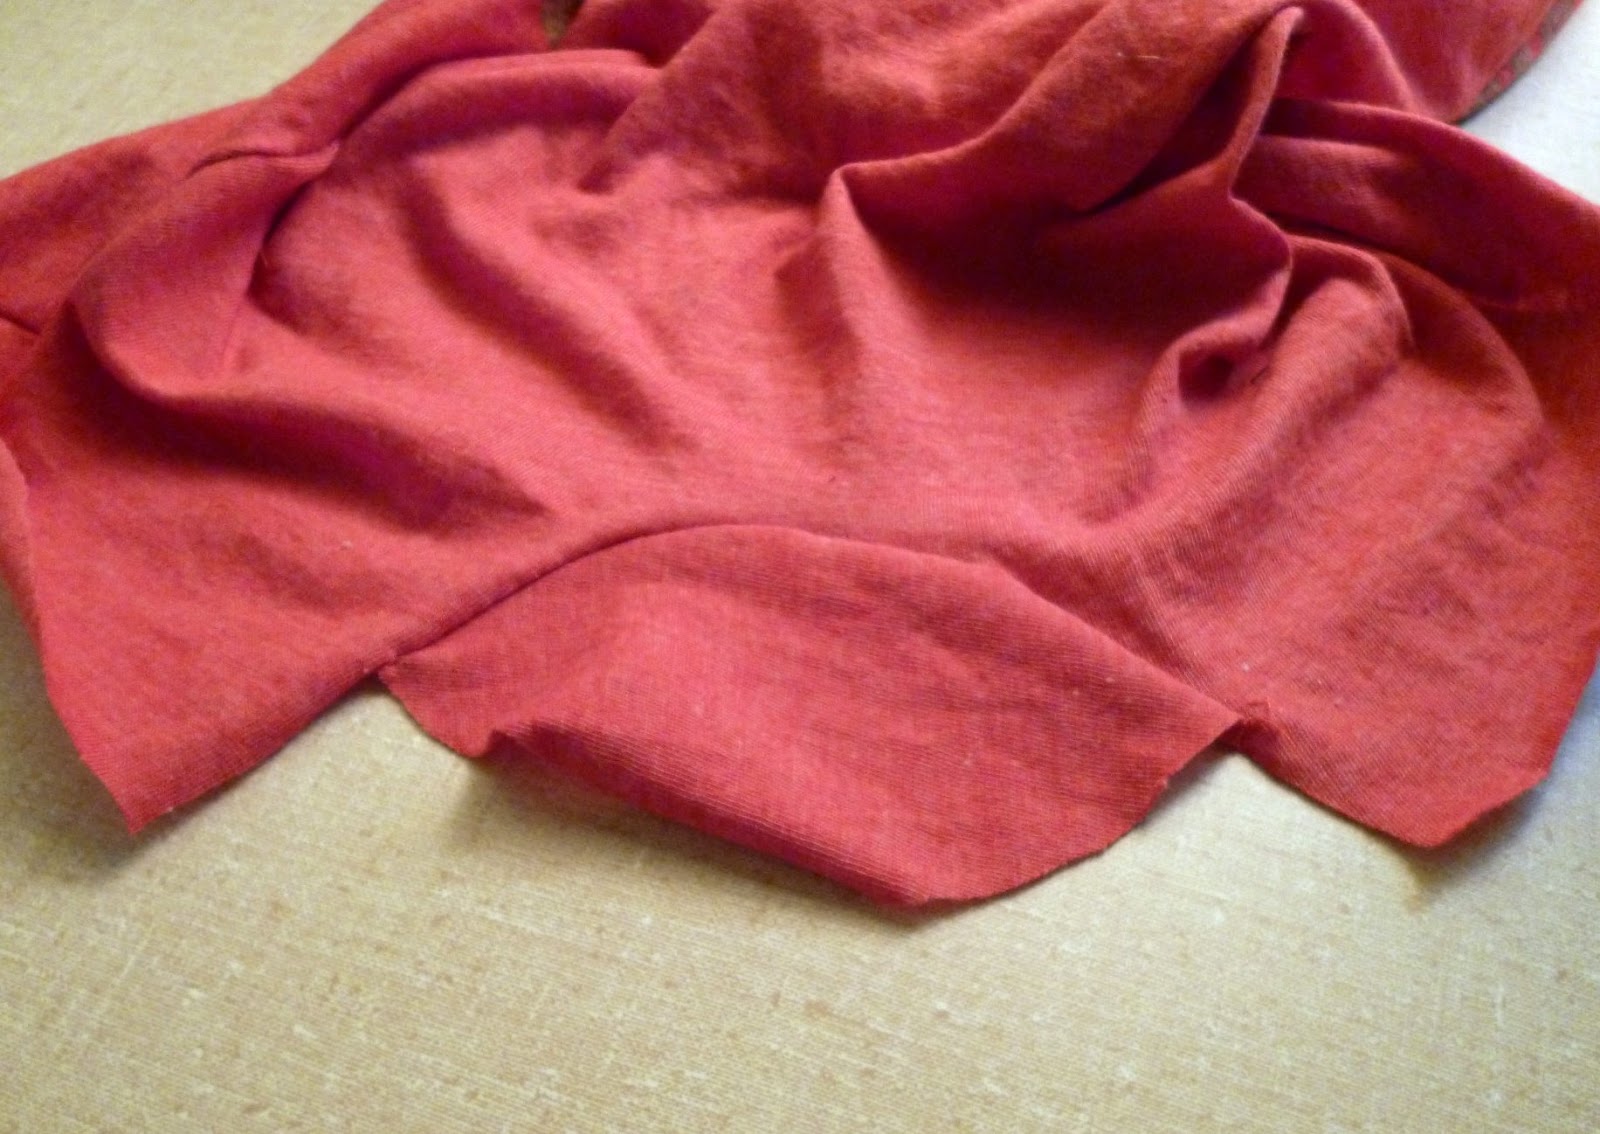
17. With right sides together sew with a straight stitch at 1/8″ on the outside curve. Do the same to the other two.
18. Turn right sides out.
19. With rights sides together pin the inside curve to the front inseam. Sew with a straight stitch at 1/8″.
20. Flip over to the inside and sew with a straight stitch at 1/2″ from the inseam.
This is what it should look like.

21. With right sides together pin the inside curve to the back inseam.
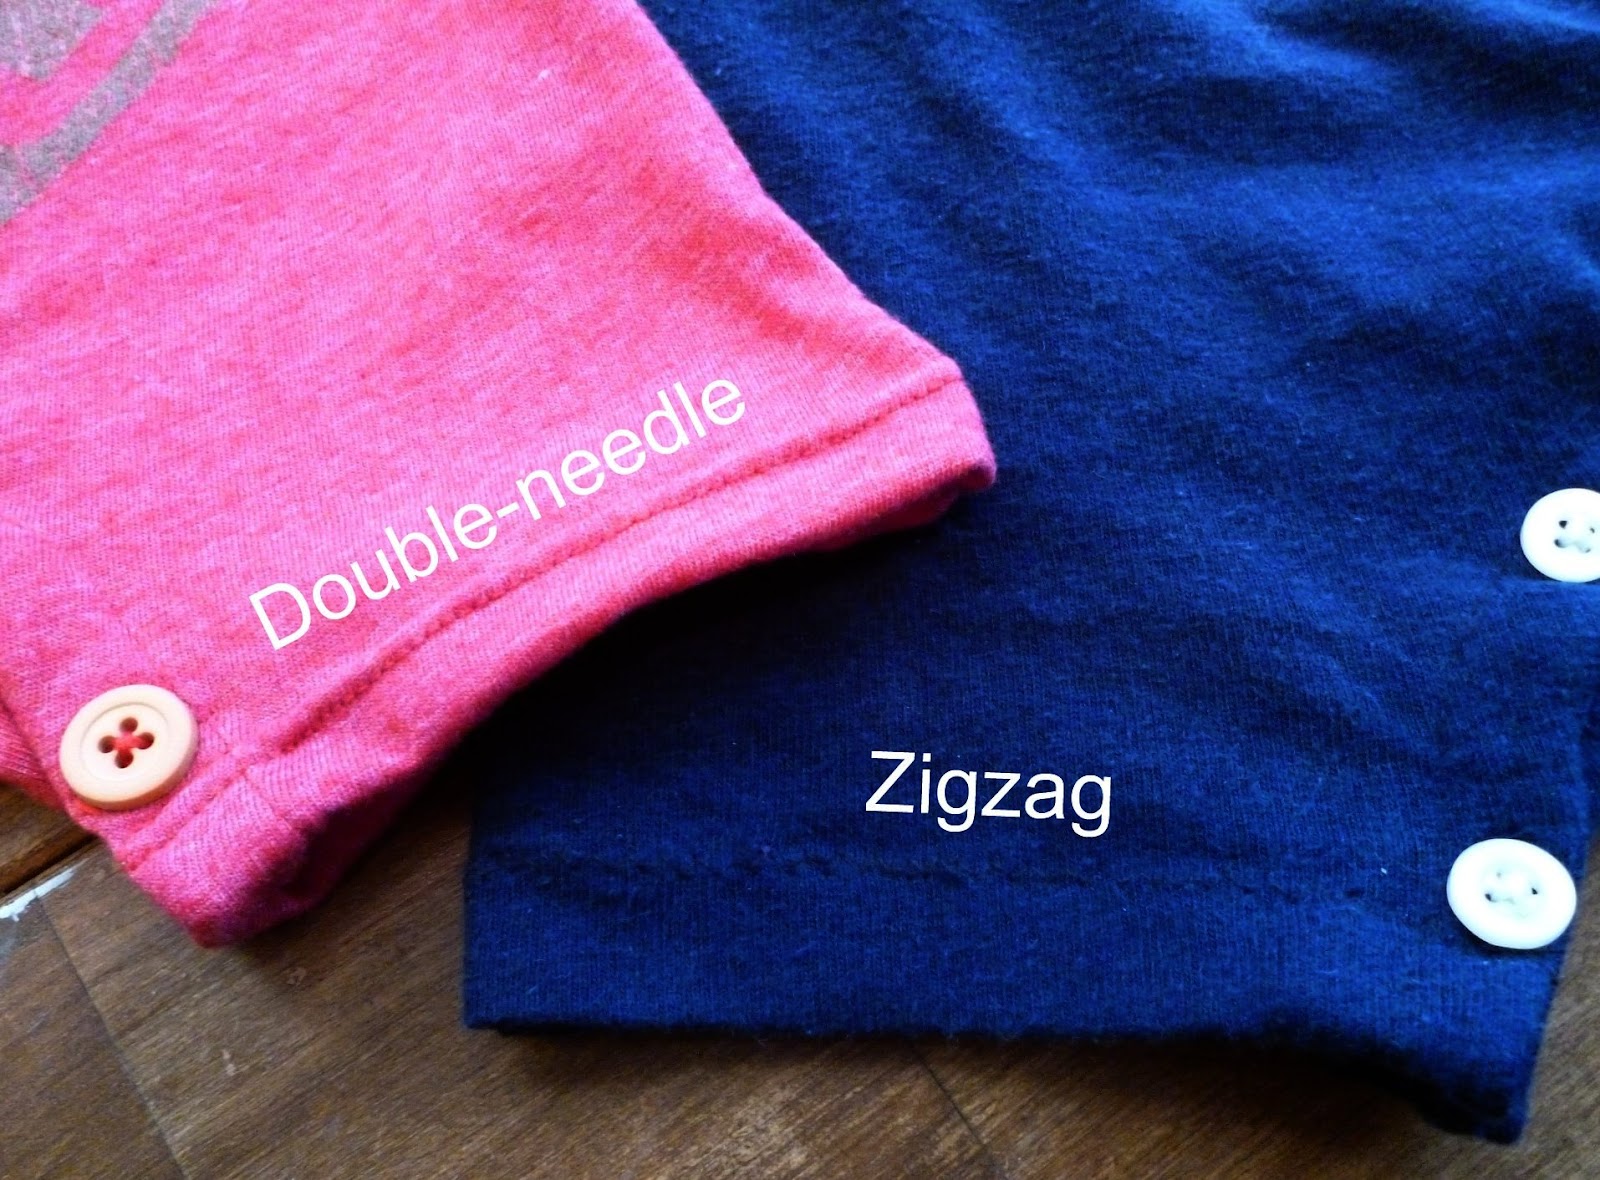
22. Pin up the bottom 5/8″ and sew with either a zigzag or a double needle. Here’s how to use a twin needle.
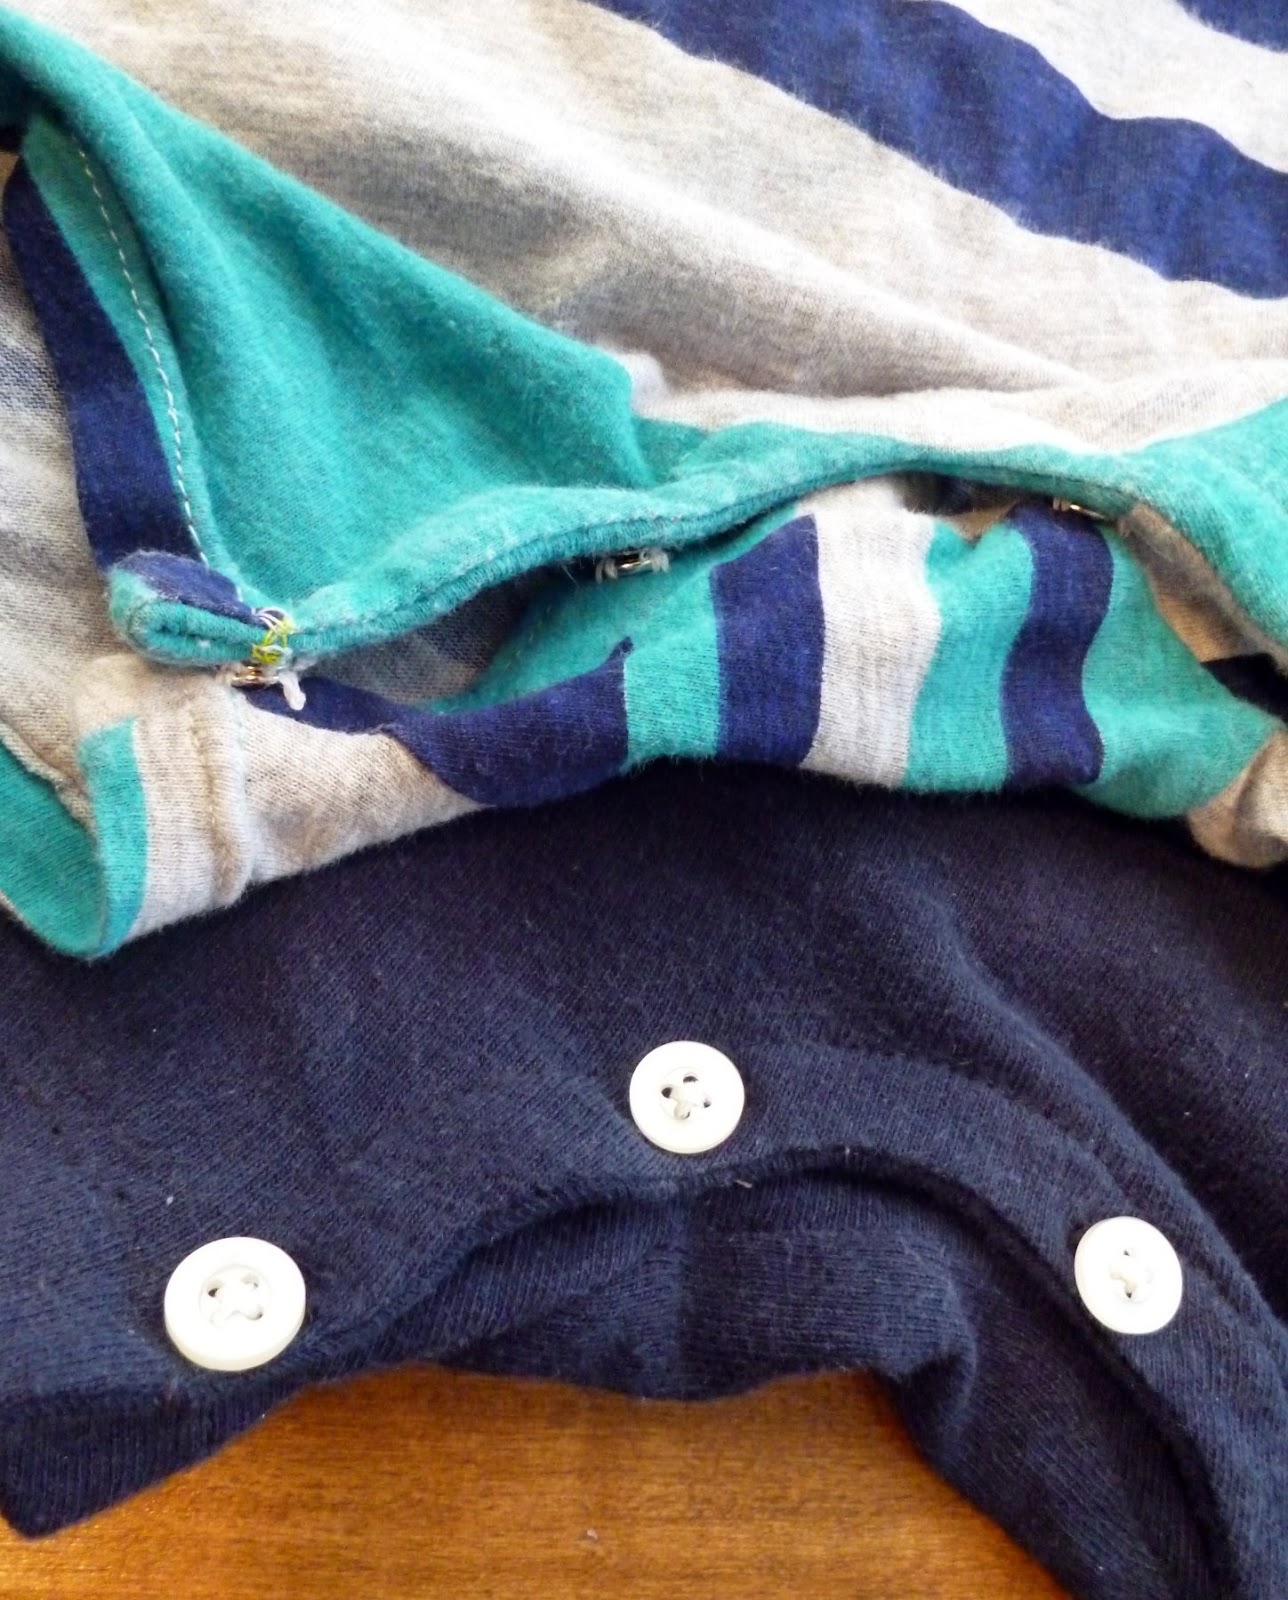
23. Apply the closure of your choice. I did both snaps and buttons. I actually prefer buttons and buttonholes.
Put it on your cutie and enjoy upcoming summer!
Get the FREE Baby Romper Pattern or buy the multi-size pattern
Don’t forget to see the new tshirt romper tutorial for better instructions!
If you make something using this sewing project, I’d love to see! Please share it on social media with the hashtag #heatherhandmade and tag me!

I believe small sewing moments can create great joy. Find your own “right” way to sew. -Heather
how and where do I get the free pattern from please help me.. thank you email me the link please to [email protected]
The link is in bold under the supplies list!
Can anyone tell me how in the heck to print this pattern??
If you have a look in the "What you will need" list, "Baby Shortall Pattern" is actually a link to it.
I was having trouble finding it too.
I think the perseverance will be worth it though, this one looks like a real keeper.
Thank you for this pattern, it is a very good idea and the explanations are very well, so it is not so complicated to do it! I have just made one for my nepheu, with a t-shirt of our favourite rugby team. So nice 🙂
Julie
Love it! Hope you doesn't bother, I'll write a post recommending your tuto. Thanks!
Well you would be able to do the crossover shoulder. I supposed it is time to start reconstructing adult t-shirts again…
In the past I used 1/2" snap button. Thanks for the tutorial!
http://infoeminent.com/T-shirt.html
Hi Heather,
I love this tutorial, it's such a great idea! I just wanted to let you know that although you say at the beginning of the post that you don't want people to sell clothes made from this pattern, it is totally legal for them to do so. Under copyright it is illegal to sell the pattern itself, but you cannot legally stop people from selling the product made from this tutorial.
Anyway I thought I'd let you know.
Ariel.
Hiya:) you're probably sick of beginner sewers asking for help, but I've come this far and I'm absolutely baffled by step 16 (where to position and sew the football shape.) how should I be laying out the main shortall as I pin and where do I pin/sew? Please help or I'll have to skip that step and wing it. Thanks!
Lay the shortalls with back face up looking at the inseam/crotch arch. Pin the football right sides together to the center of the inseam/crotch arch. It will not reach to the hems, but will float in the arch. The picture right before step 17 shows what it looks like when it's sewn in, so you can see how it floats.
I hope this helps!
Do you have a more printer friendly pattern for this? Every time I try to print it out, it cuts part of the pattern off. It keeps wanting to print the body on 2 pages instead of one. I have no idea how to fix it.
Have you tried removing all the borders and margins? That could be effecting it. I should've put it on two pages, so it's really borderline too big for one page.
Love this tutorial. Will be making some for grand daughter. Will have to expand as she is 18 months. Getting a Henley T to start. Wish someone had thought of this in the 1970s when my kids were babies. Many thanks.
wwow…
K, this was nowhere near as easy as I thought it would be from reading your post, but I am finally done my shortall. It took a lot of help from my sewing-master mother (even she was a bit baffled by some bits of the tutorial). We especially struggled with the sleeves and with sewing on the U-shaped bits at the bottom, but we've got it sorted now. I'm willing to try it again with another shirt, since I love my son in rompers for the hot summers here!
I would like to know if I could make this with a polo or a golf Tommy Hilfiger collared shirt?
Well you would be able to do the crossover shoulder. You might be able to just leave it how it is, but then the collar would be oversized for a little kid. It might work though!
Thank you so much xxx
When I print the pattern what scale should the print out settings be I so cant wait to make this for my little one
100%
This is such a great tutorial! I'm totally pinning it for maybe someday next baby 😉 I recycled some old husband tees into envelope shirts for my 3t/4t toddler. Love the look. I wish I thought I could get a shirt big enough to do this in a 2T for the little one but from experience I don't think an xl would do it! Thanks for sharing this.
I love your idea to make jumpers out of tshirts. I am due in the beginning of June, and had no idea what I could make that would be weather appropriate for my little bub 🙂 I found this cool stuff at Joannes tho, that just has snaps pre-attached, and I use a zipper foot to attach them (I cheated lol) definitely saved time from making 6 or so buttonholes and handstitching buttons on 🙂 Thanks for the tutorial!
I thought I was crazy and odd when I cut up some t-shirts to make rompers/short overalls for my grand kiddies about 10 years ago. Now I know I am not alone. it is a brilliant idea.
Now I have a new baby grand niece, I supposed it is time to start reconstructing adult t-shirts again…
In the past I used 1/2" snap button. Sturdier and easier to manage.
LOVE the tutorial..and TY so very much for sharing…sharing is a thing many don't do 🙁 Back in the day this style outfit was my "go to" when my son was young, he too having a long torso. Fast forward today, and his 5 month old daughter is built the same way! And here you are showing Nana how to make these for next spring!! Gives me time to collect t-shirts for her…hehehe!
Loved the tutorial! Months after pinning, I finally got around to actually doing and posted it on my blog. : ) http://southernscgirl.blogspot.com/2012/09/t-shirt-turned-shortall.html
how incredibly cool! too bad my kids are too old for these now, but there are always gifts to be made! 🙂 lisa