
Make a Baby Romper Pattern From a T-Shirt

This post may contain affiliate links.
Learn how to make a baby romper from a t-shirt with a free sewing pattern. This upcycle is a fun way to reuse t-shirts!
I’m so excited to share the free baby romper pattern and tutorial today! I have loved making these little rompers for my son and daughters and hope you do to! I love to see them in my old tees, and it brings back ALL the memories!
These come together fairly quickly, and it’s so fun to see your t-shirt on your little one. Enjoy this free baby romper pattern! I have reworked and updated the pattern and tutorial! Here’s the new tshirt romper tutorial and free pattern!
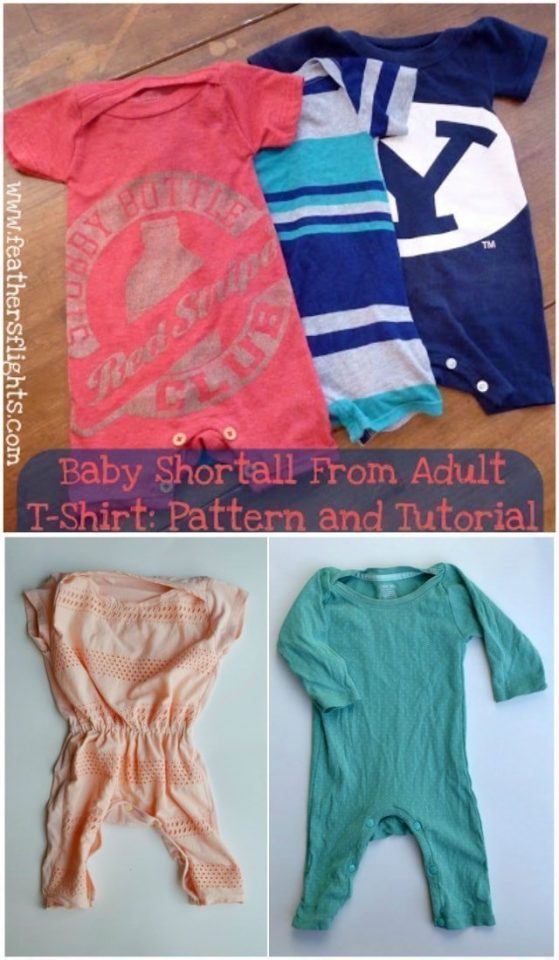
The pattern is for about a 6-12 month size. My baby is long and skinny with a smaller than average head, so you might have to adjust the pattern for your baby. If you have a chunky baby, add width to the sides of the body pattern. I’ll give you tips in the tutorial for adjustments.
Make a Baby Romper Pattern From a T-Shirt
Supplies
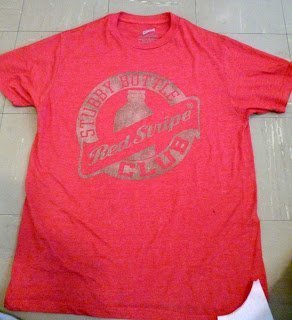
- One adult t-shirt in any size, I used a male medium
- sewing tools and sewing machine
- FREE Baby Romper PATTERN in size 6-12 mos – get it at the end of the post
- Tips for sewing knit fabric
Cutting Instructions
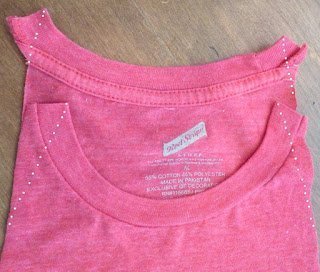
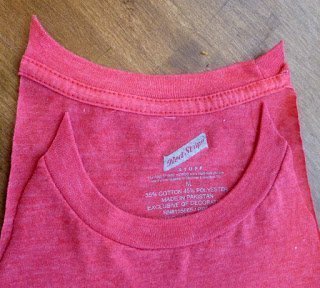
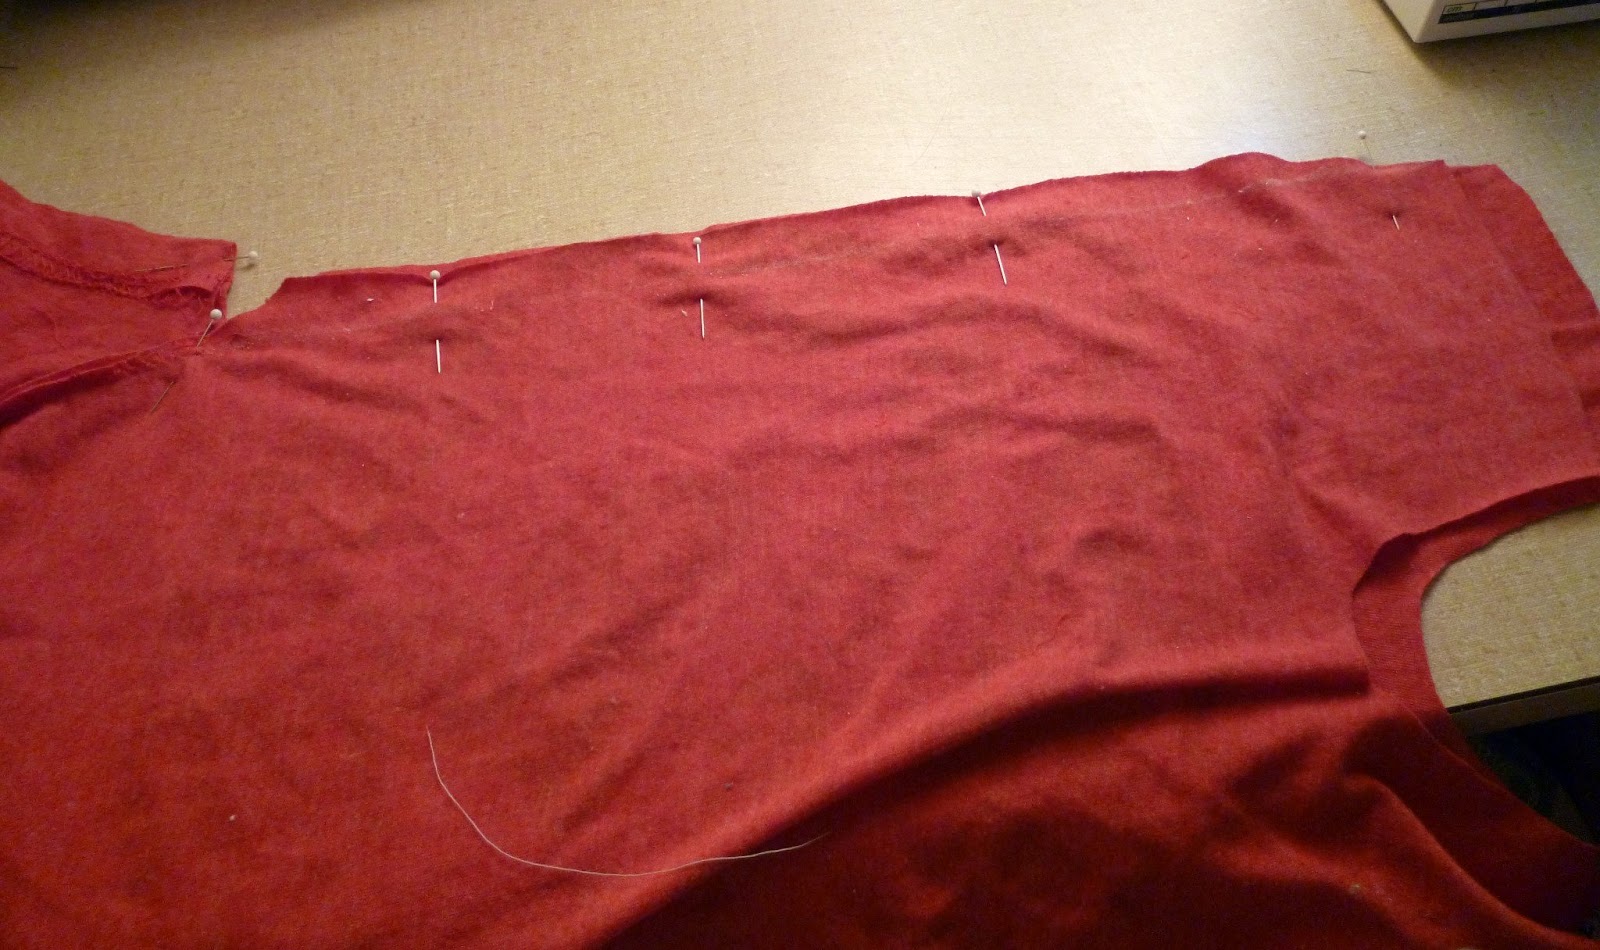
1. Lay out your t-shirt and place the neckline of the pattern on the neckline of the shirt.
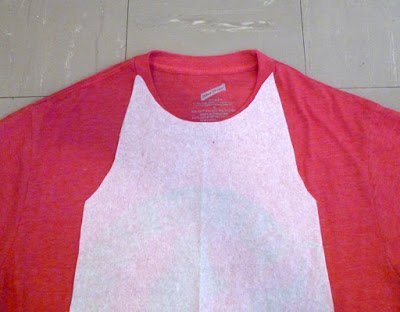
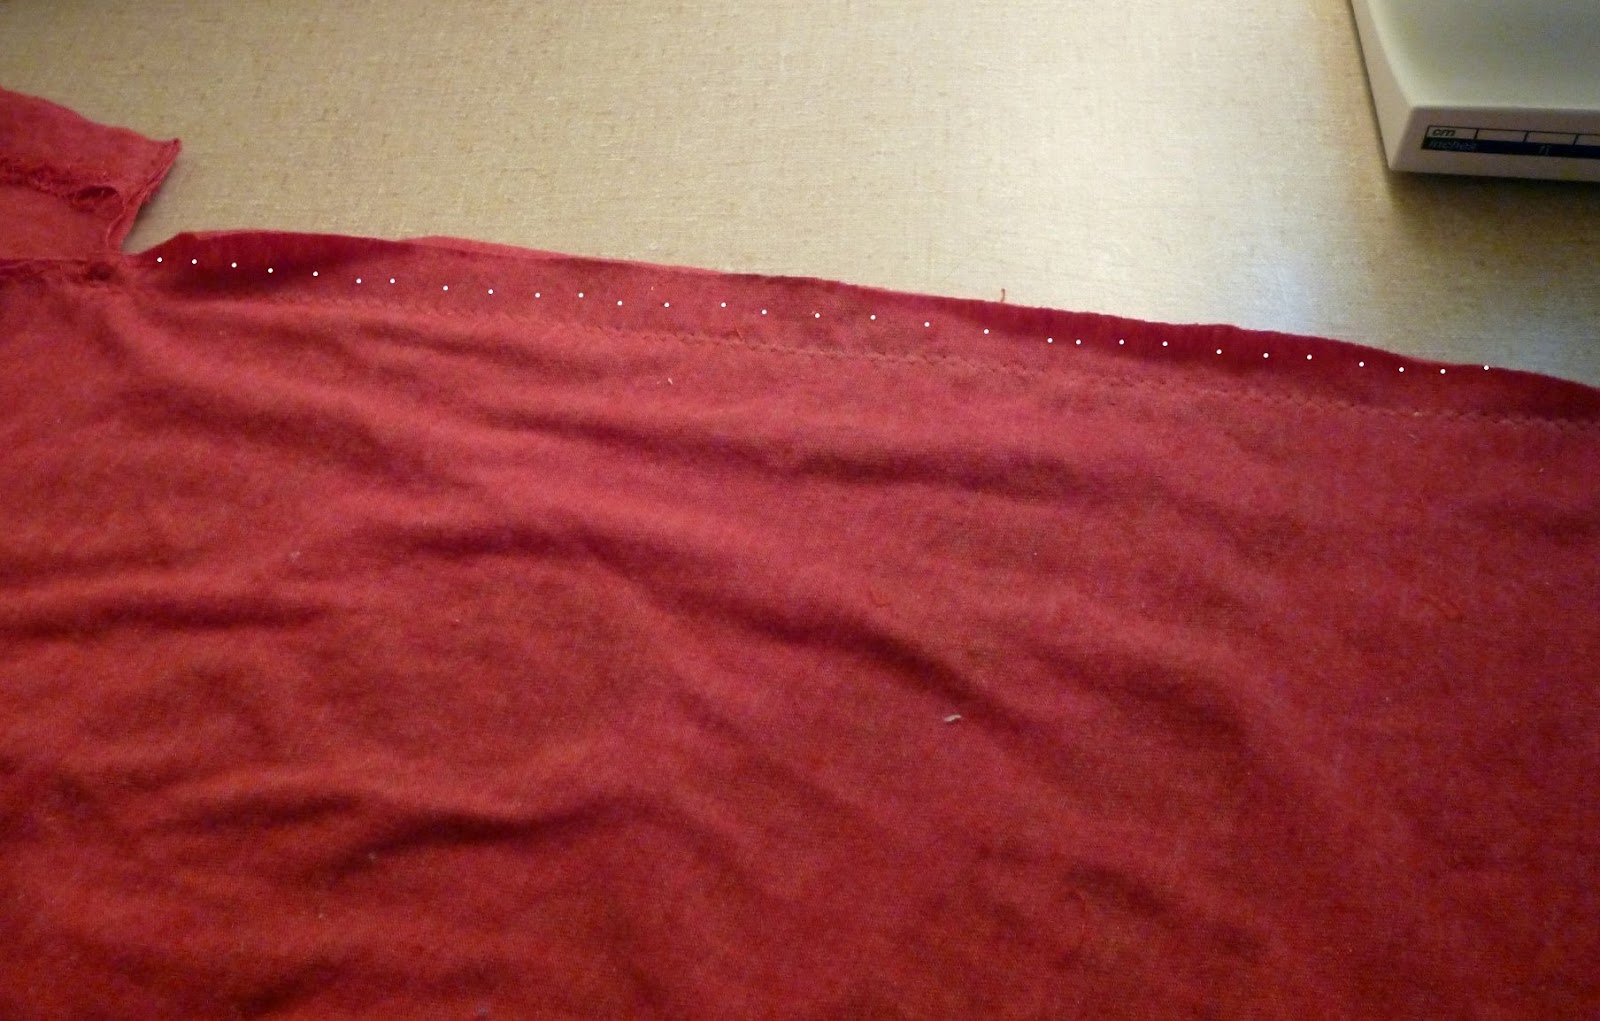
2. Pin through both layers.

3. Cut out. At the neckline cut straight up then cut across into the neck hole at the top of the pattern. (If your neckline is really big, you might not need the whole neckline.
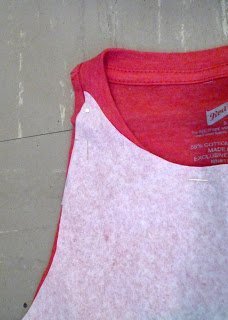
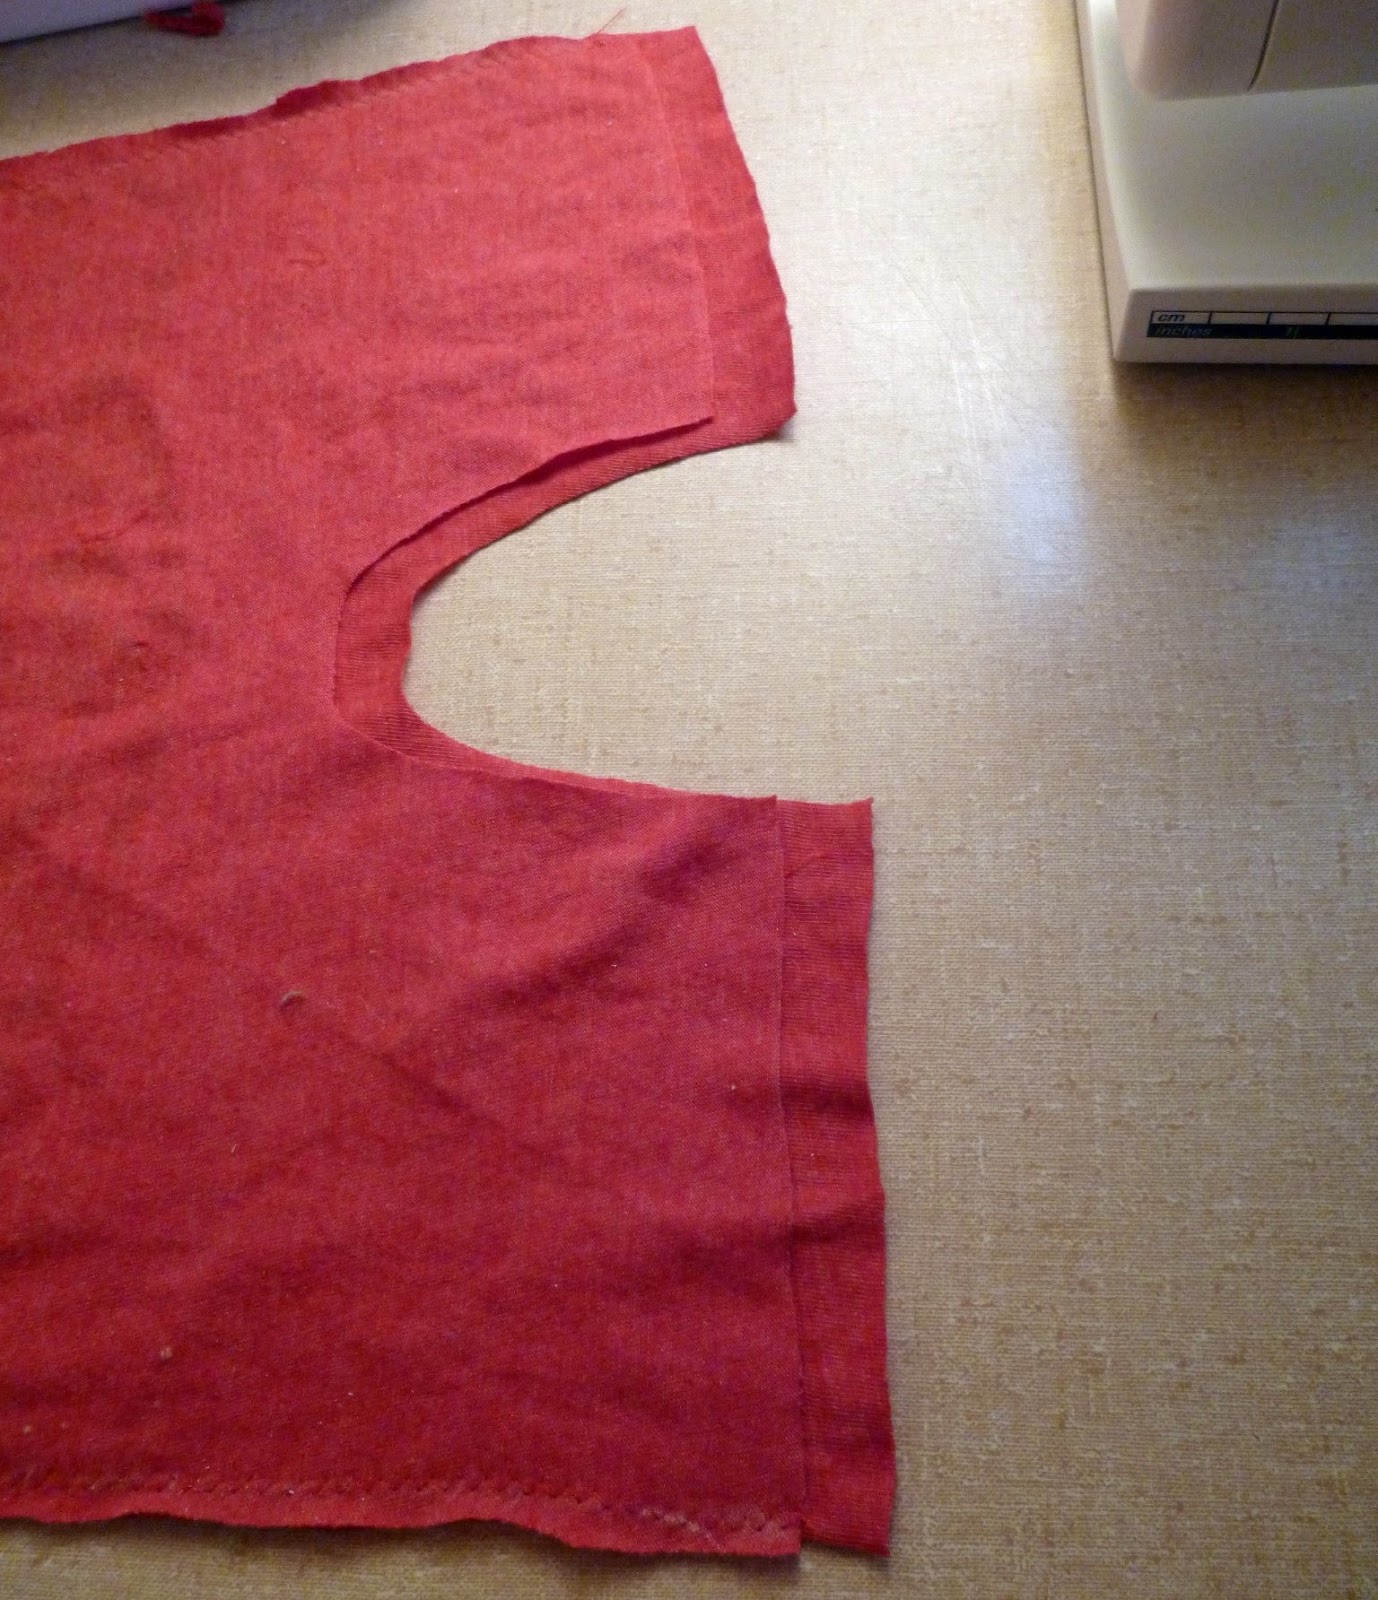
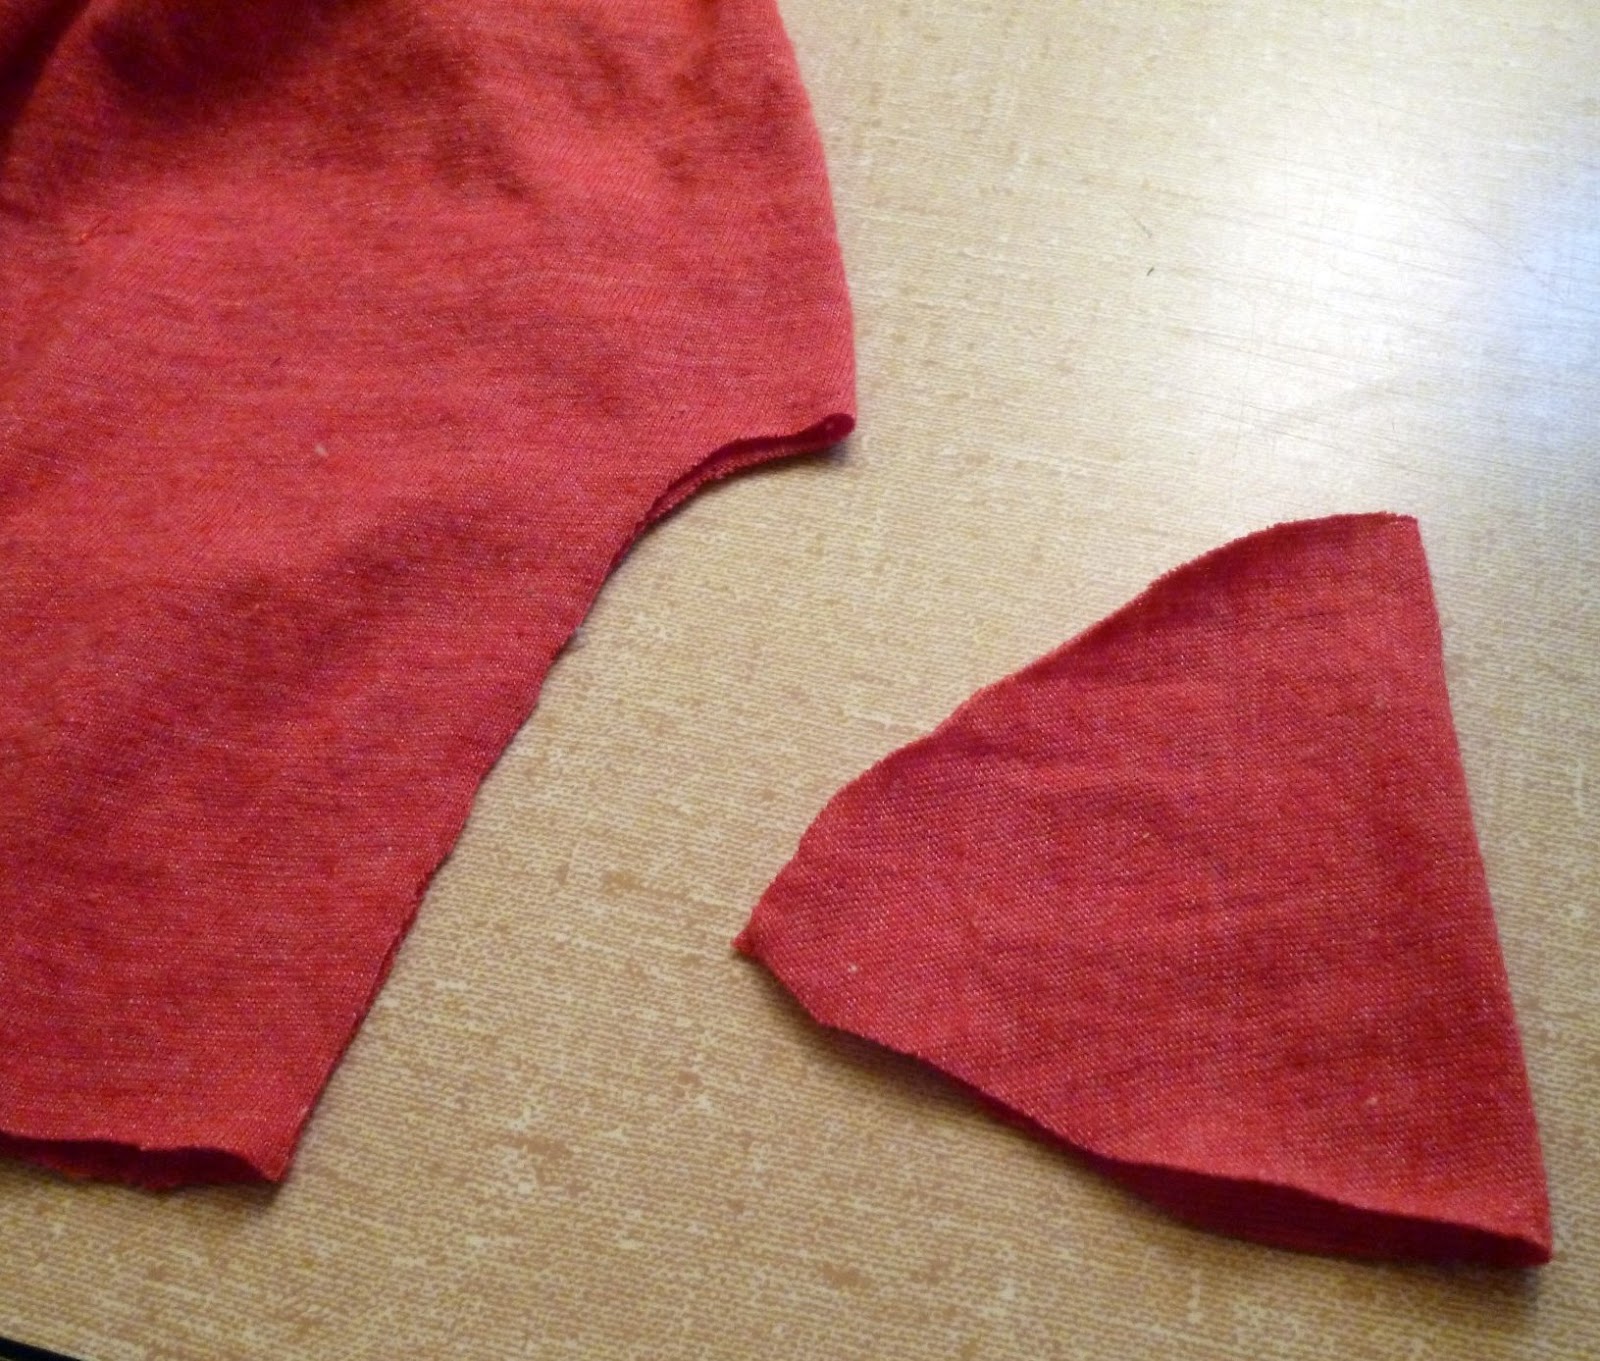
4. Cut out the other pieces. When cutting out the sleeves, place the bottom on a hem so you don’t have to hem the sleeves. You should have one front and one back, four leg opening pieces, two sleeves, and one crotch piece.

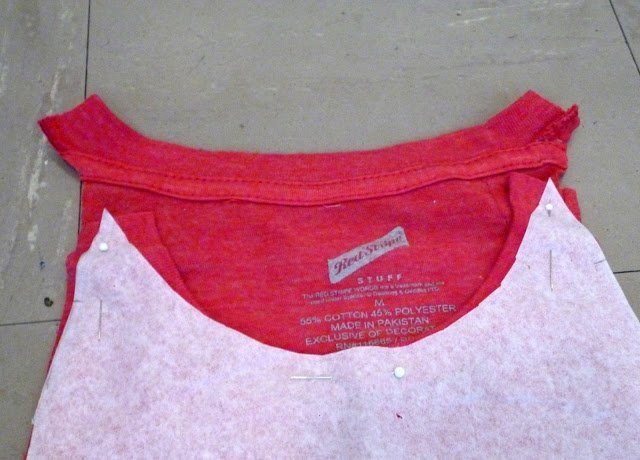
5. Perfect the shoulders by angling in the edge so that the neckline ends in a point.
Sewing Instructions
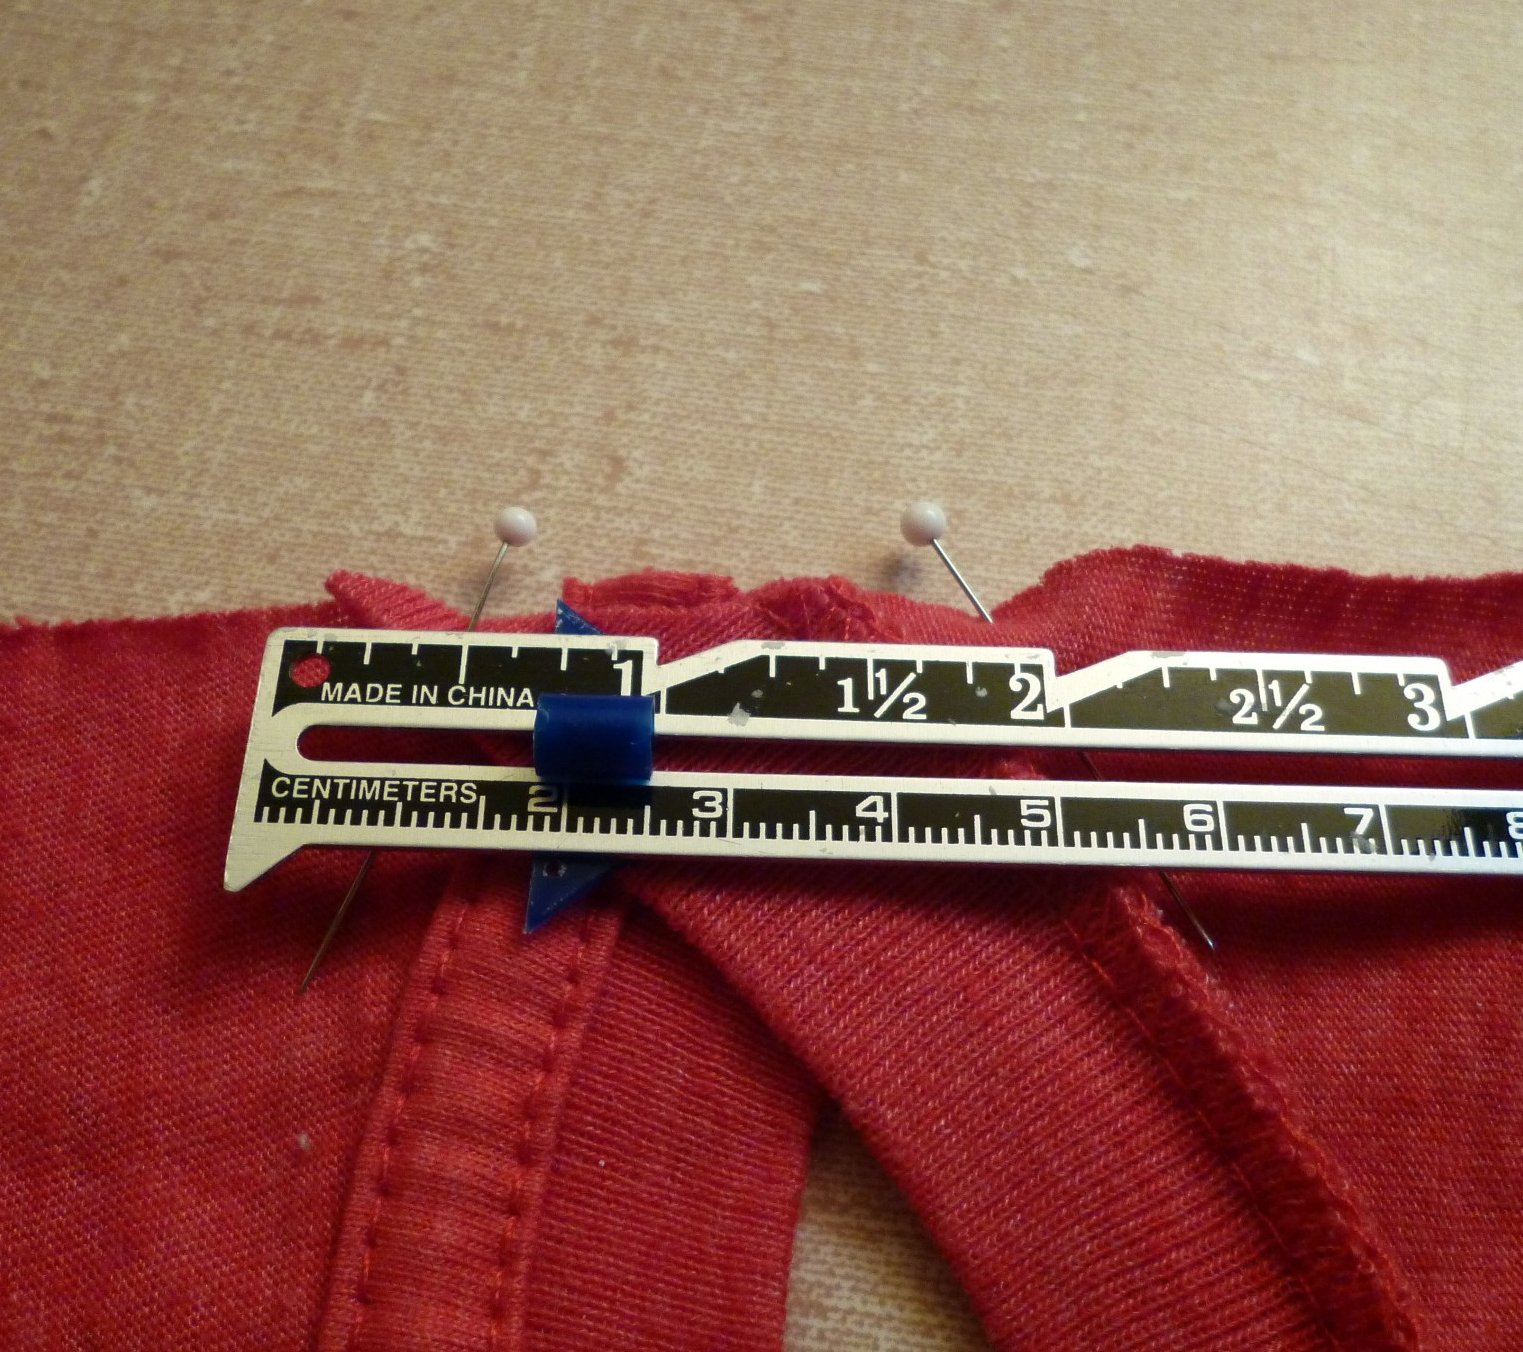
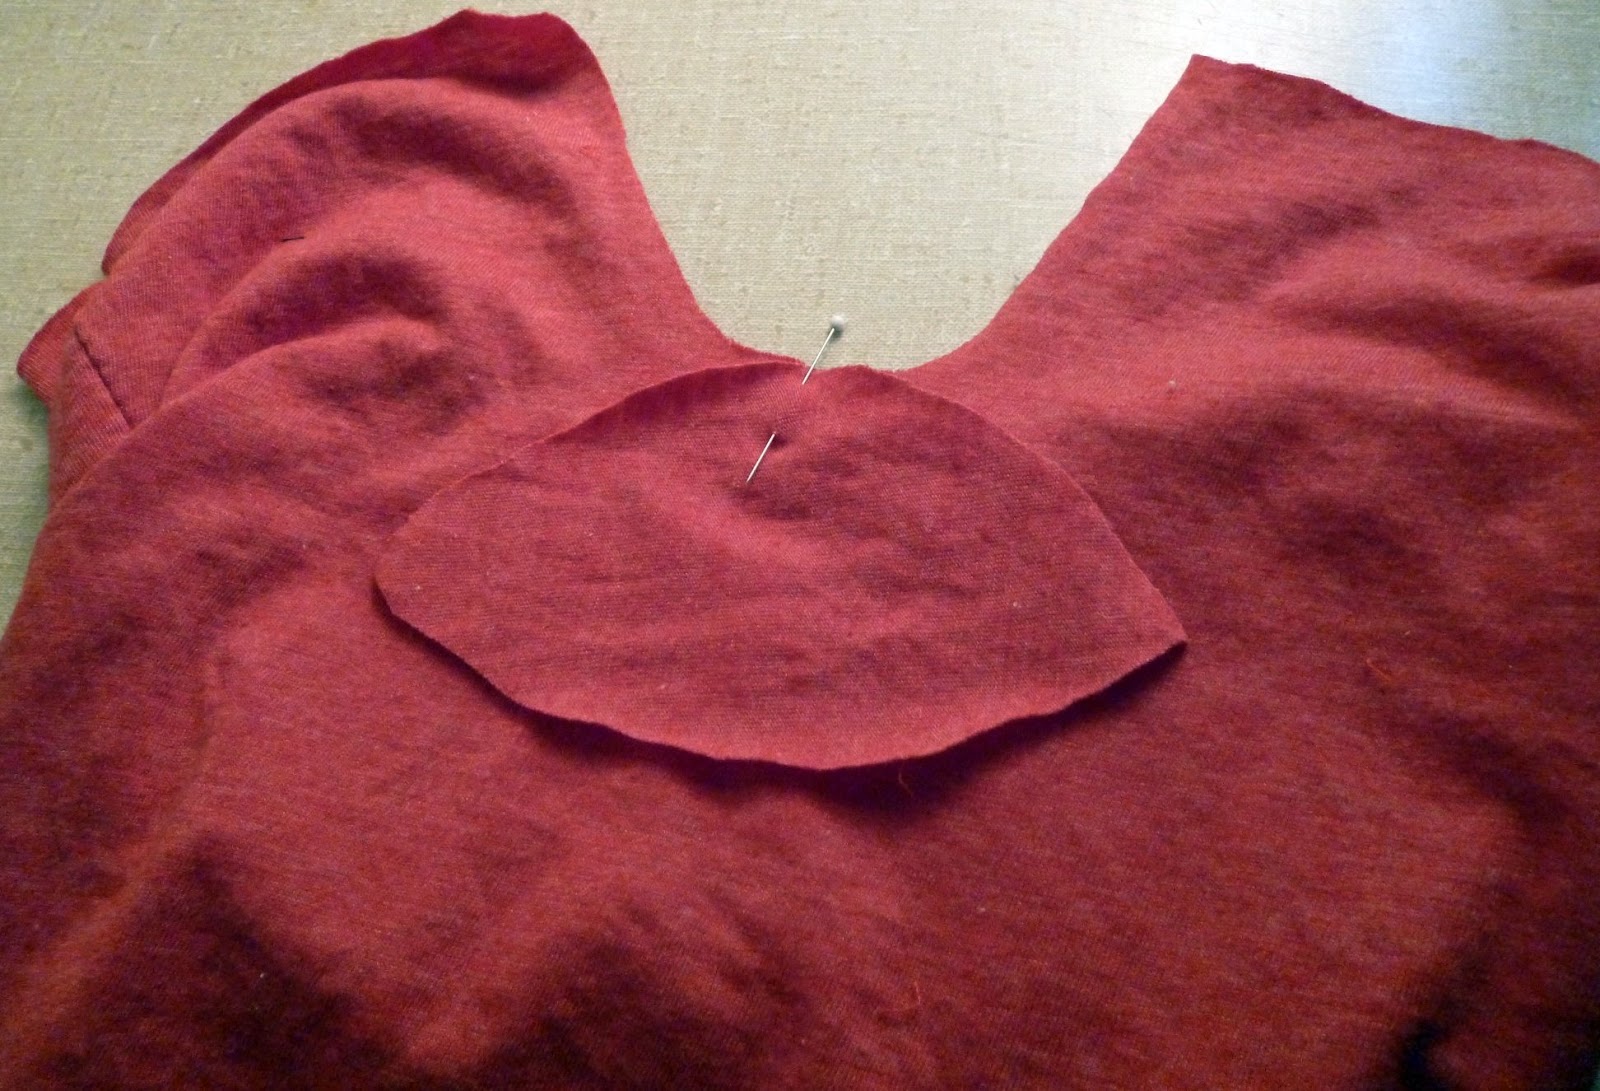
6. With the back on the bottom right side facing down and the front lying on top facing down, overlap the points by 2″.
*This is where you can alter the pattern for head size and shoulder width. If your baby has a big head and wide shoulders, overlap less. If your baby has a small head and small shoulders, overlap more.
7. Find the center of the sleeve by folding in half.

8. Line up the center of the sleeve with the center of the 2″ right sides together.

9. Sew a zigzag at 1/4″.

This is what your neckline and shoulders should look like.

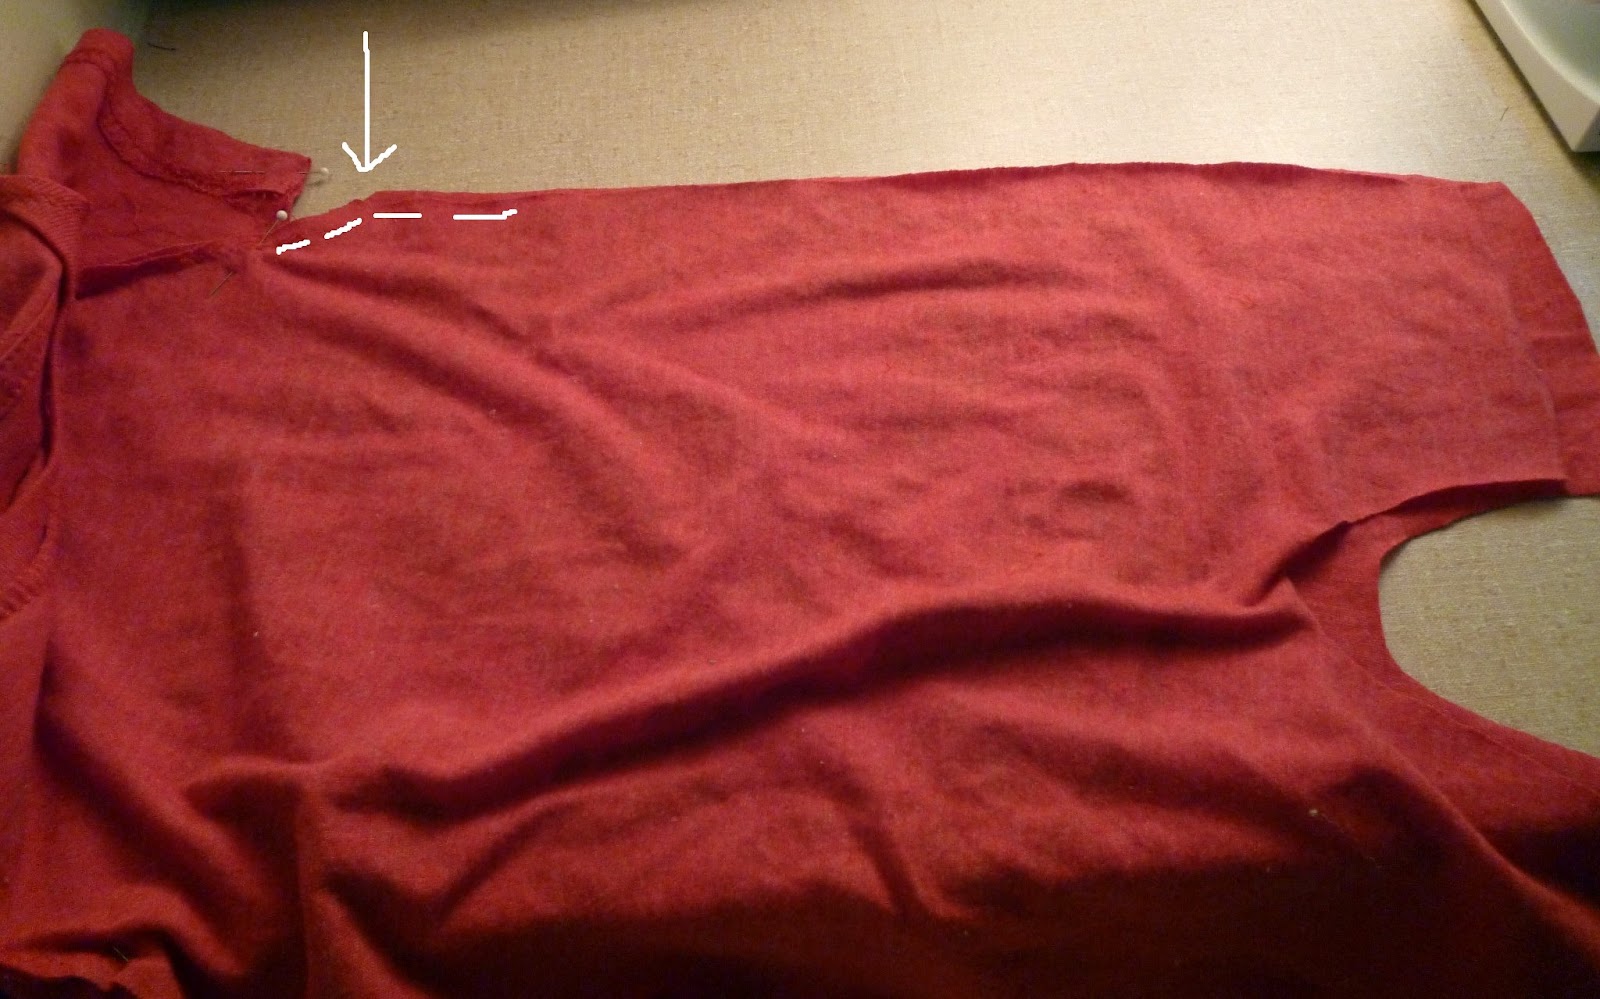
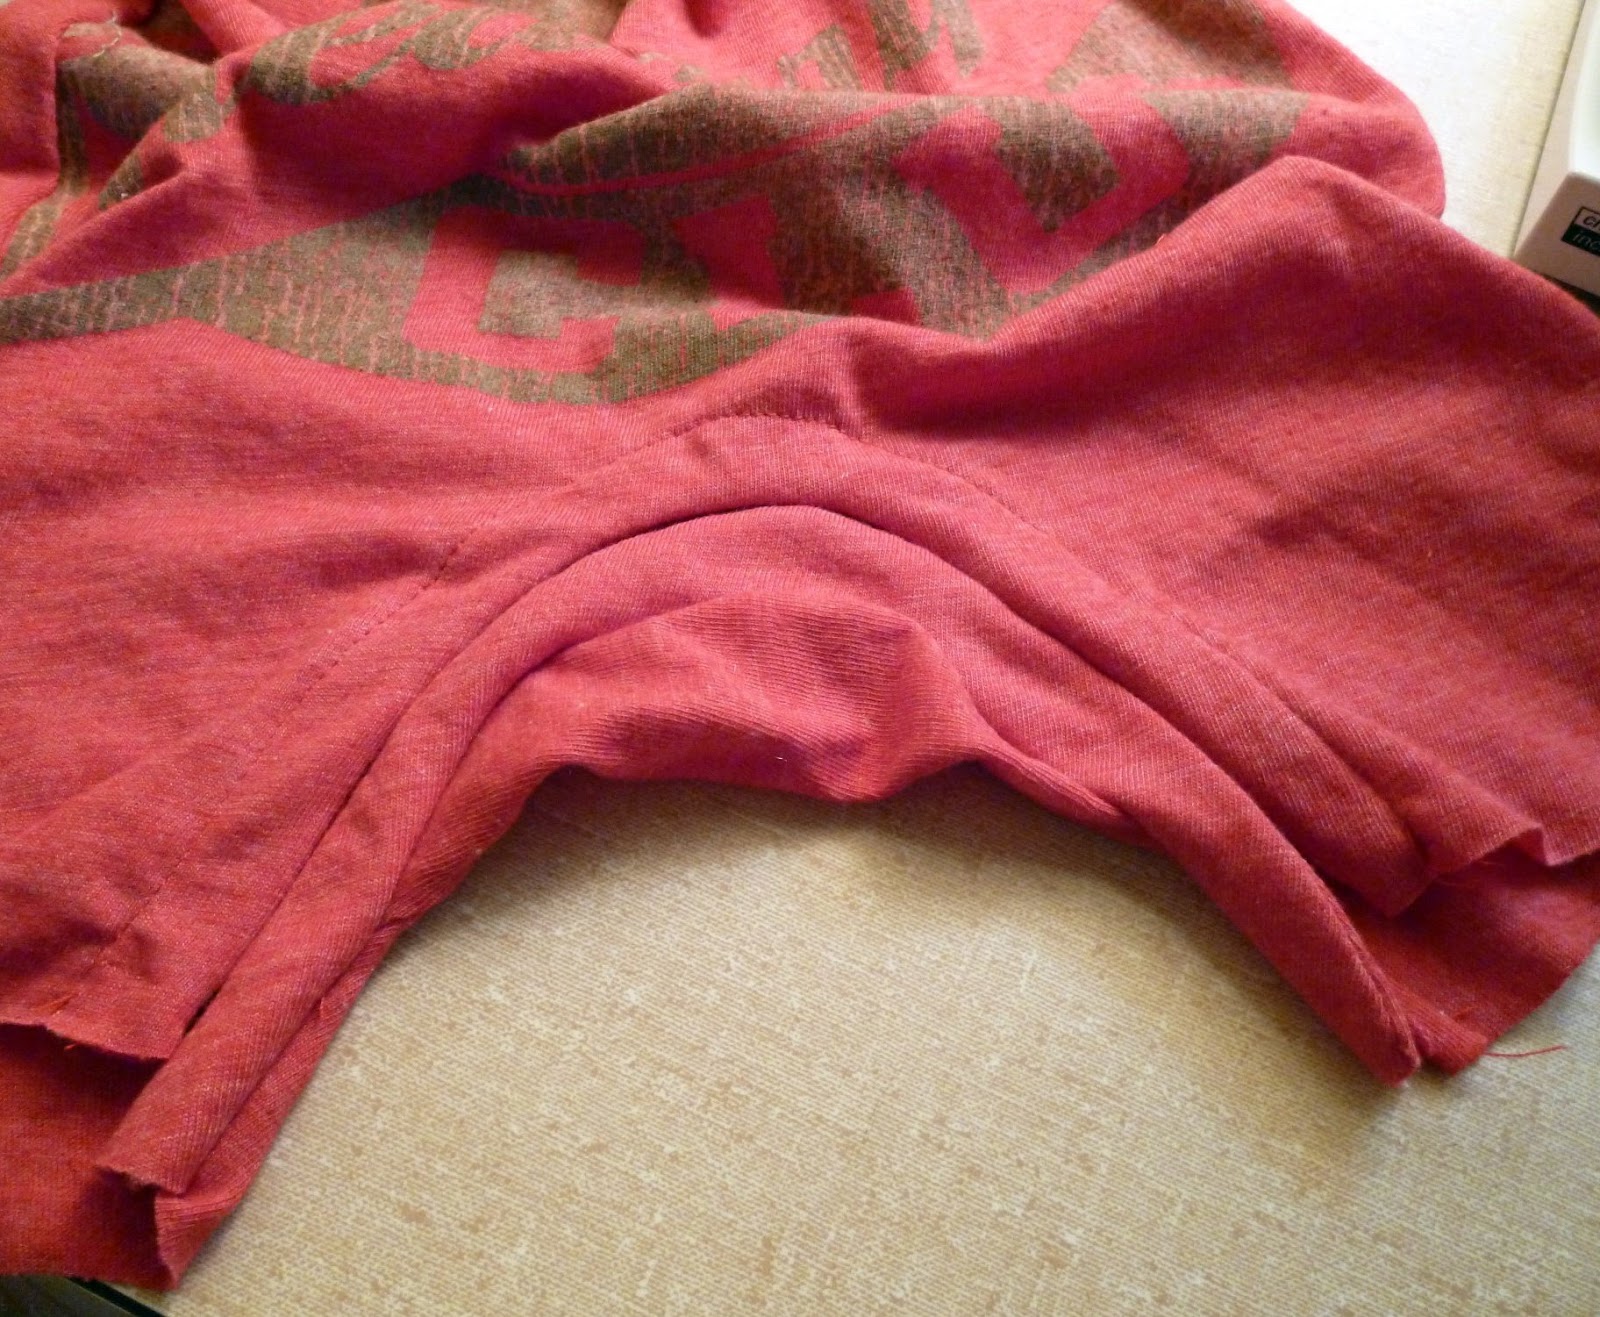
10. With right sides together line up the sleeve seams at the armpit. There will be a difference in length because of the size of the neckline.
Also, the white arrow is point to the corner where the side should meet the sleeve. It doesn’t meet because I overlapped my neckline 2″. If you overlap yours less, I left room on the pattern so that you will have more room in the sides.
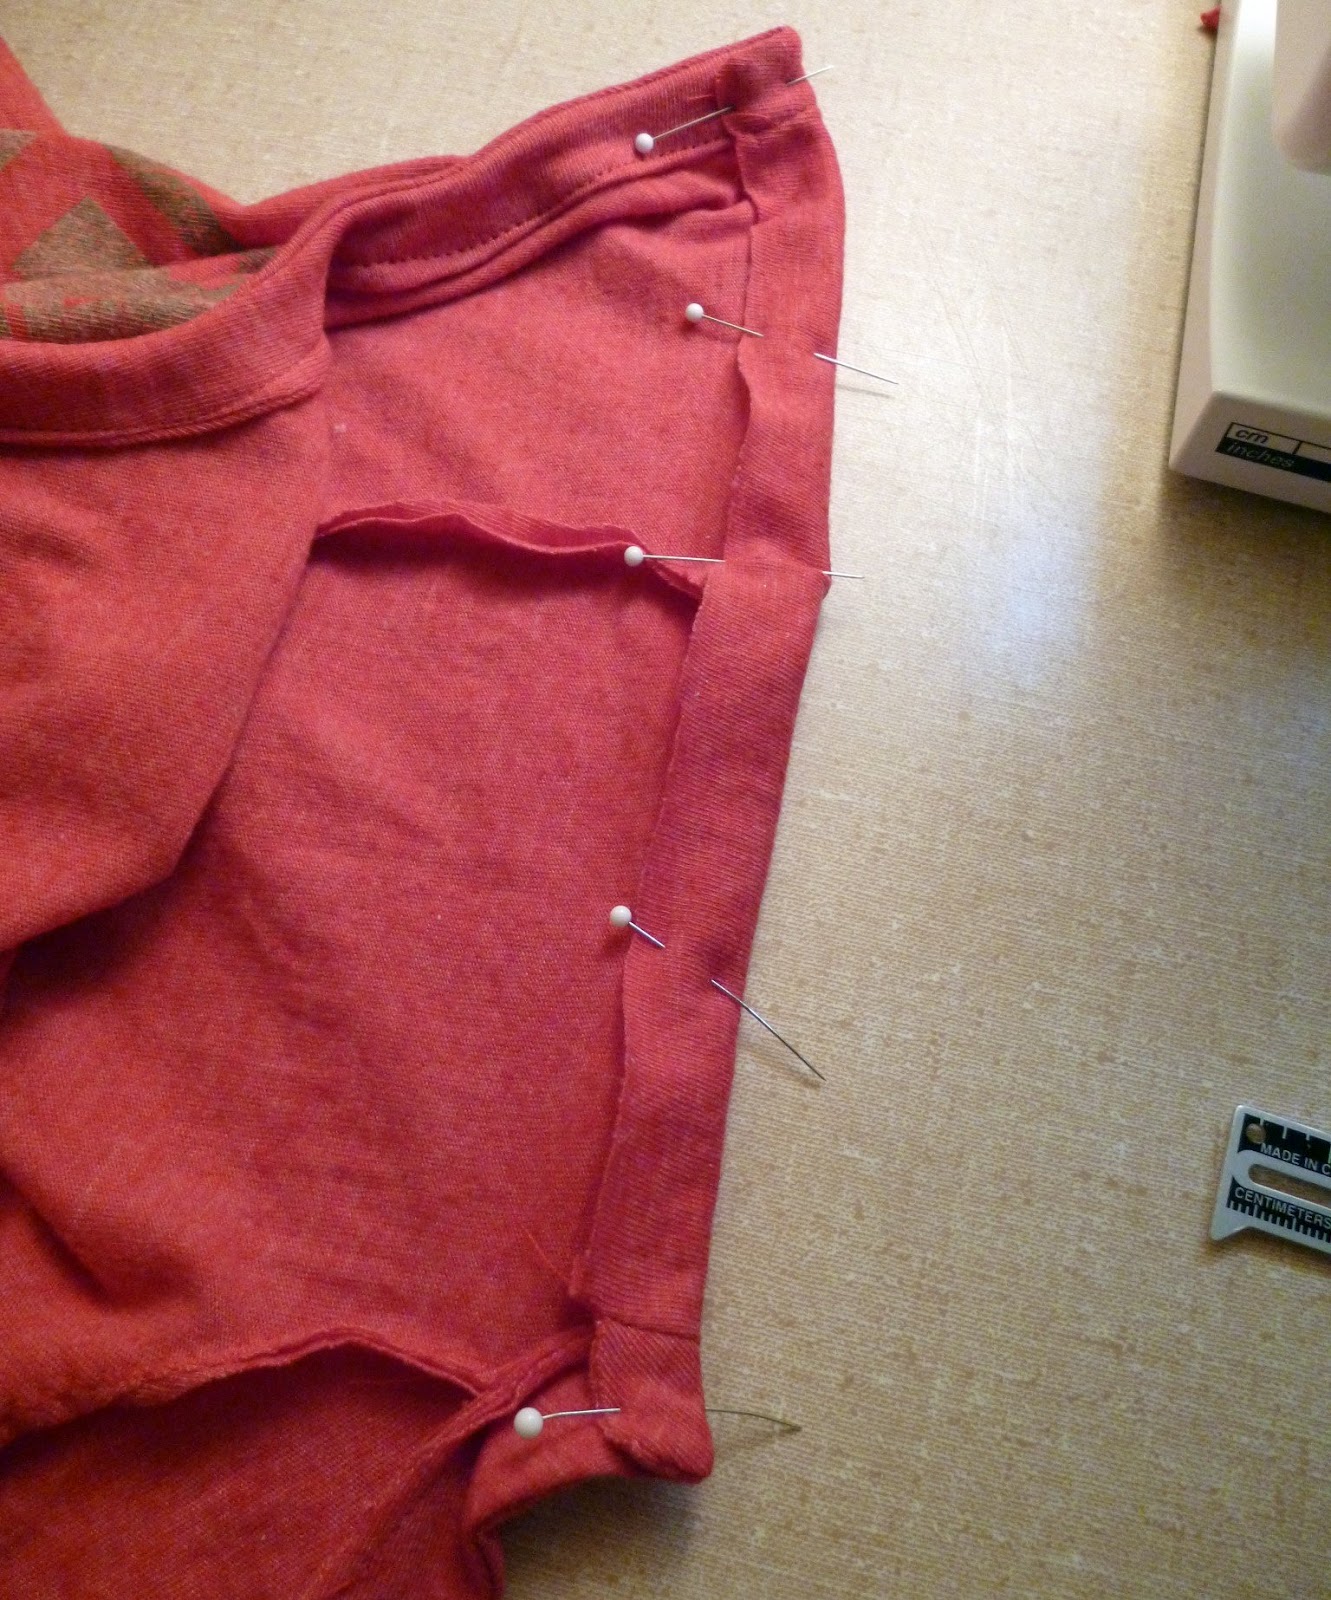
11. I drew a line from my sleeve seem to my hem and pinned. (It’s hard to see in the picture.) Sew with a zigzag at 1/4″ from sleeve hem, pivot under the sleeve and then sew down to the bottom.
12. Trim off excess.
13. Now lay down your shortall and cut off the excess so that the back to matches the front.
14. Fold the back and the football to find the center of each.
15. With right sides together, match the centers together.
16. Pin together. This is a little tricky because the two pieces are opposing curves. Sew at 1/4″.
This is what it should look like.
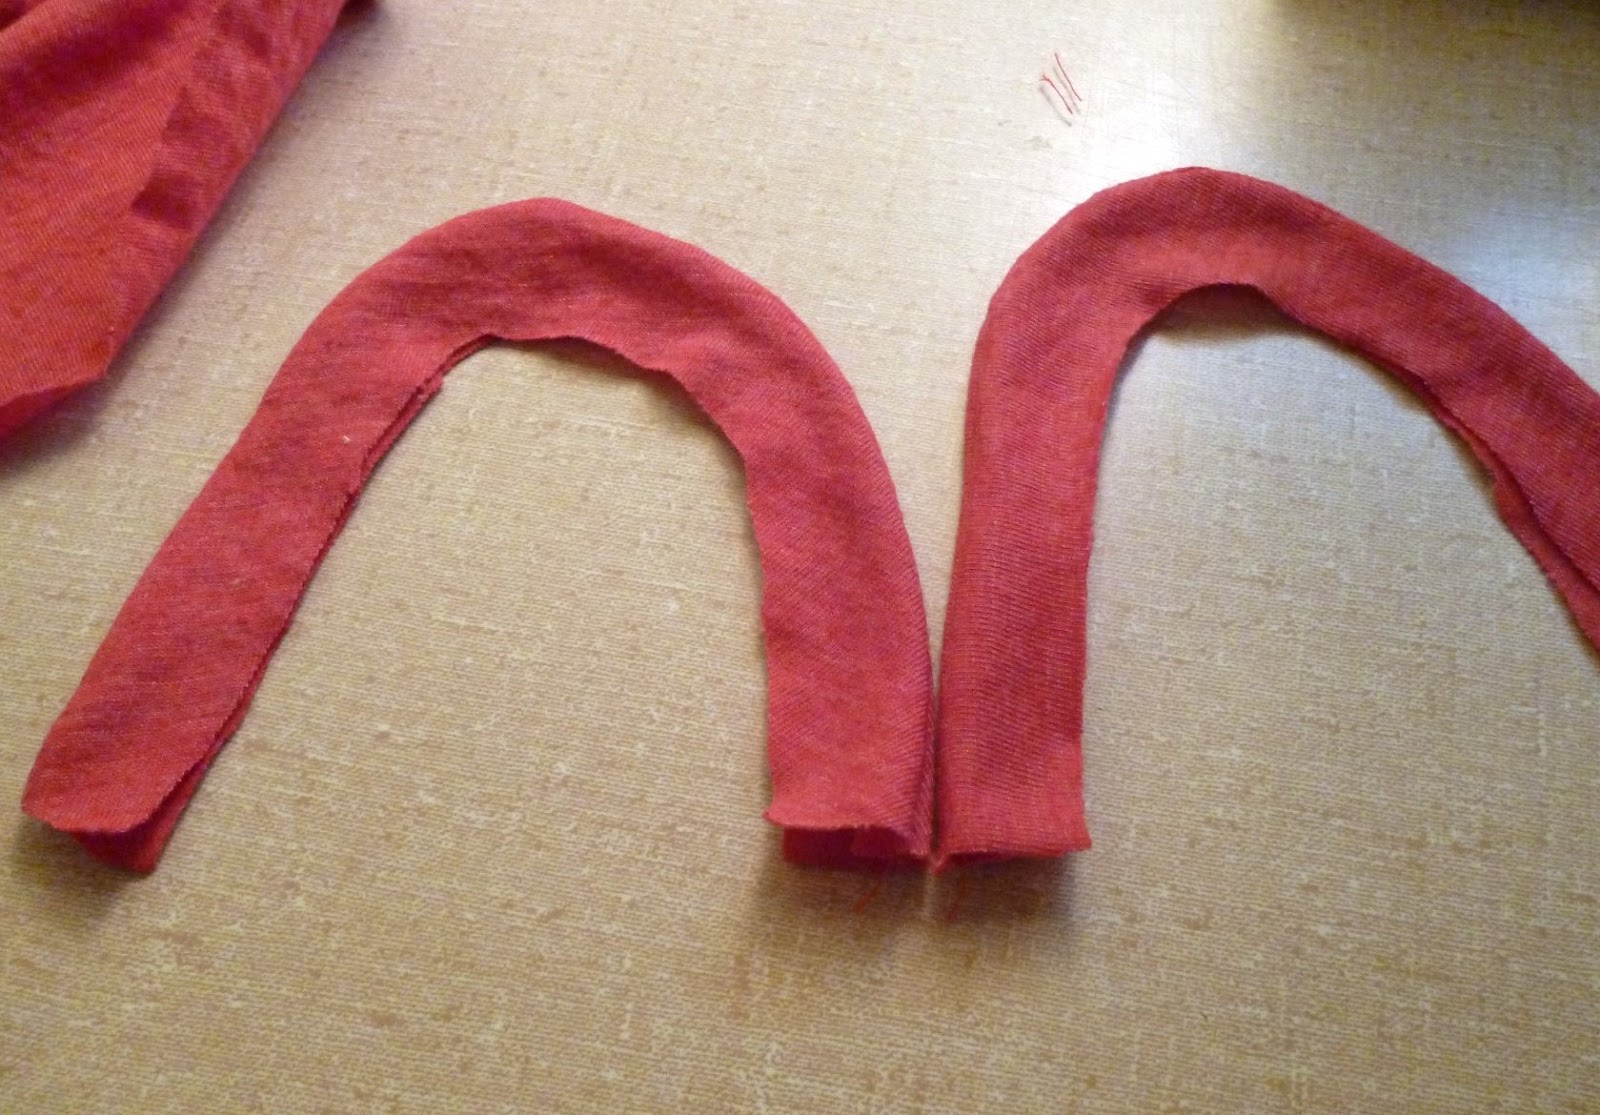
17. With right sides together sew with a straight stitch at 1/8″ on the outside curve. Do the same to the other two.
18. Turn right sides out.
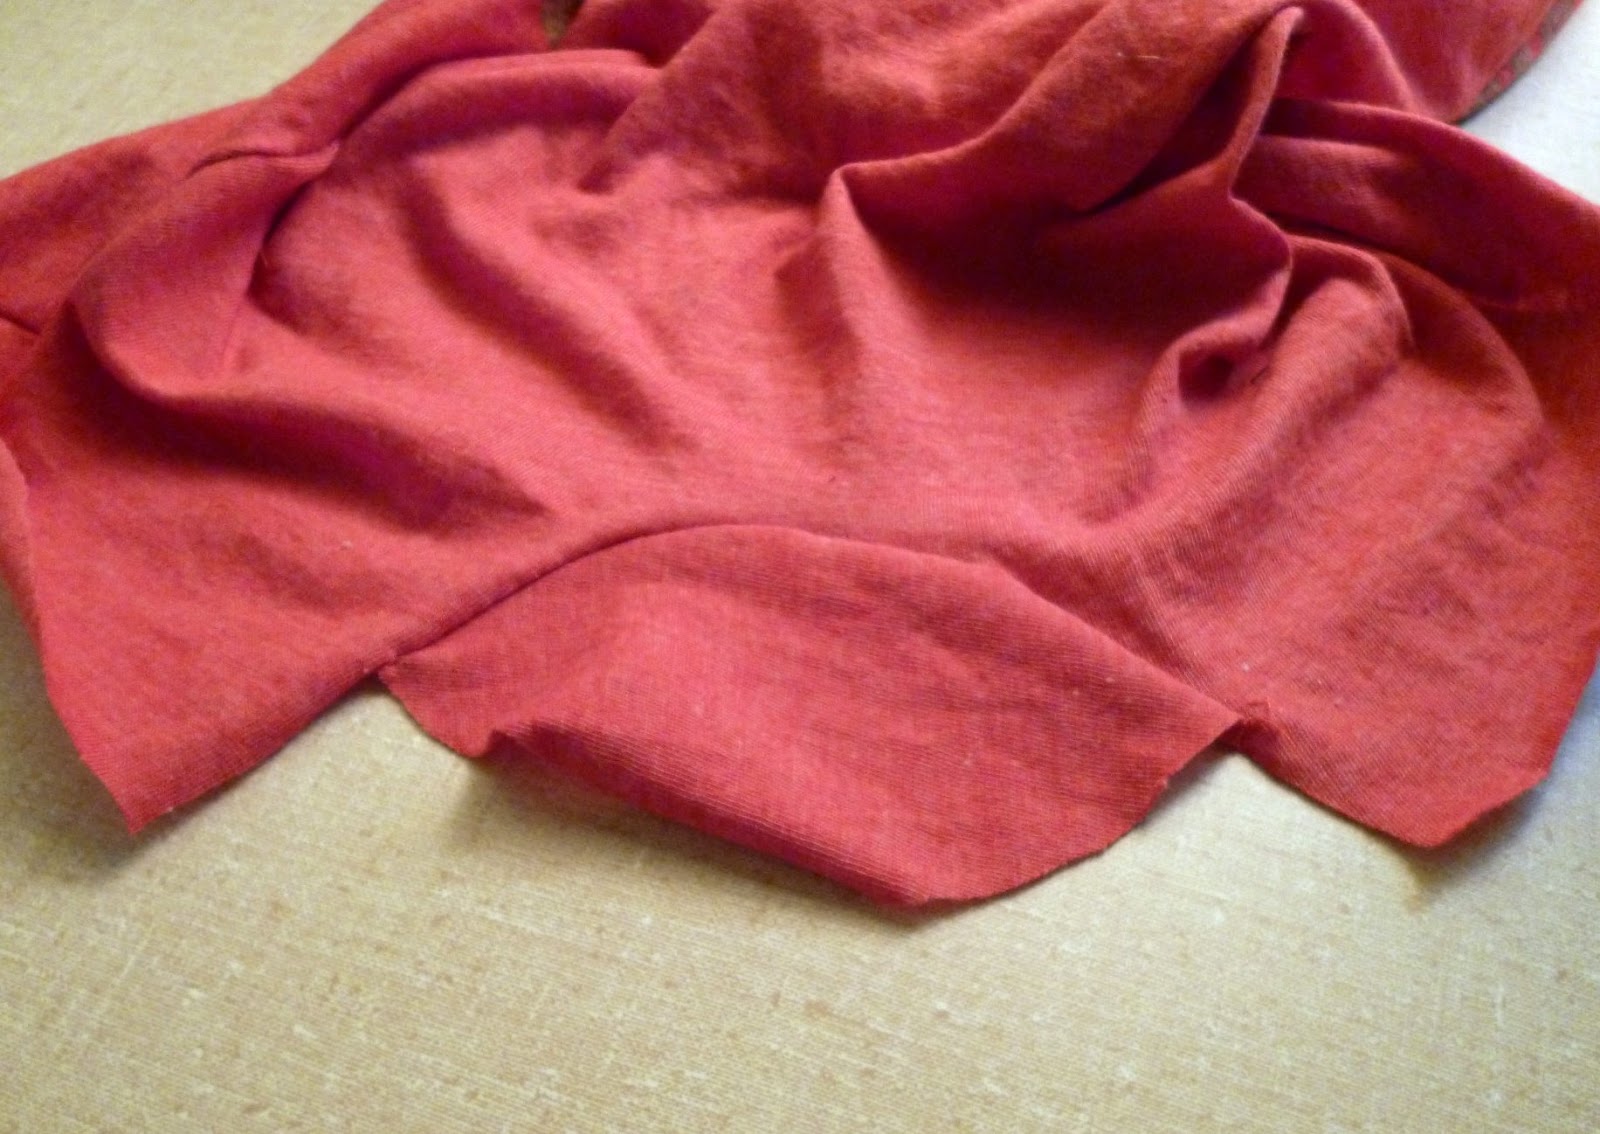
19. With rights sides together pin the inside curve to the front inseam. Sew with a straight stitch at 1/8″.
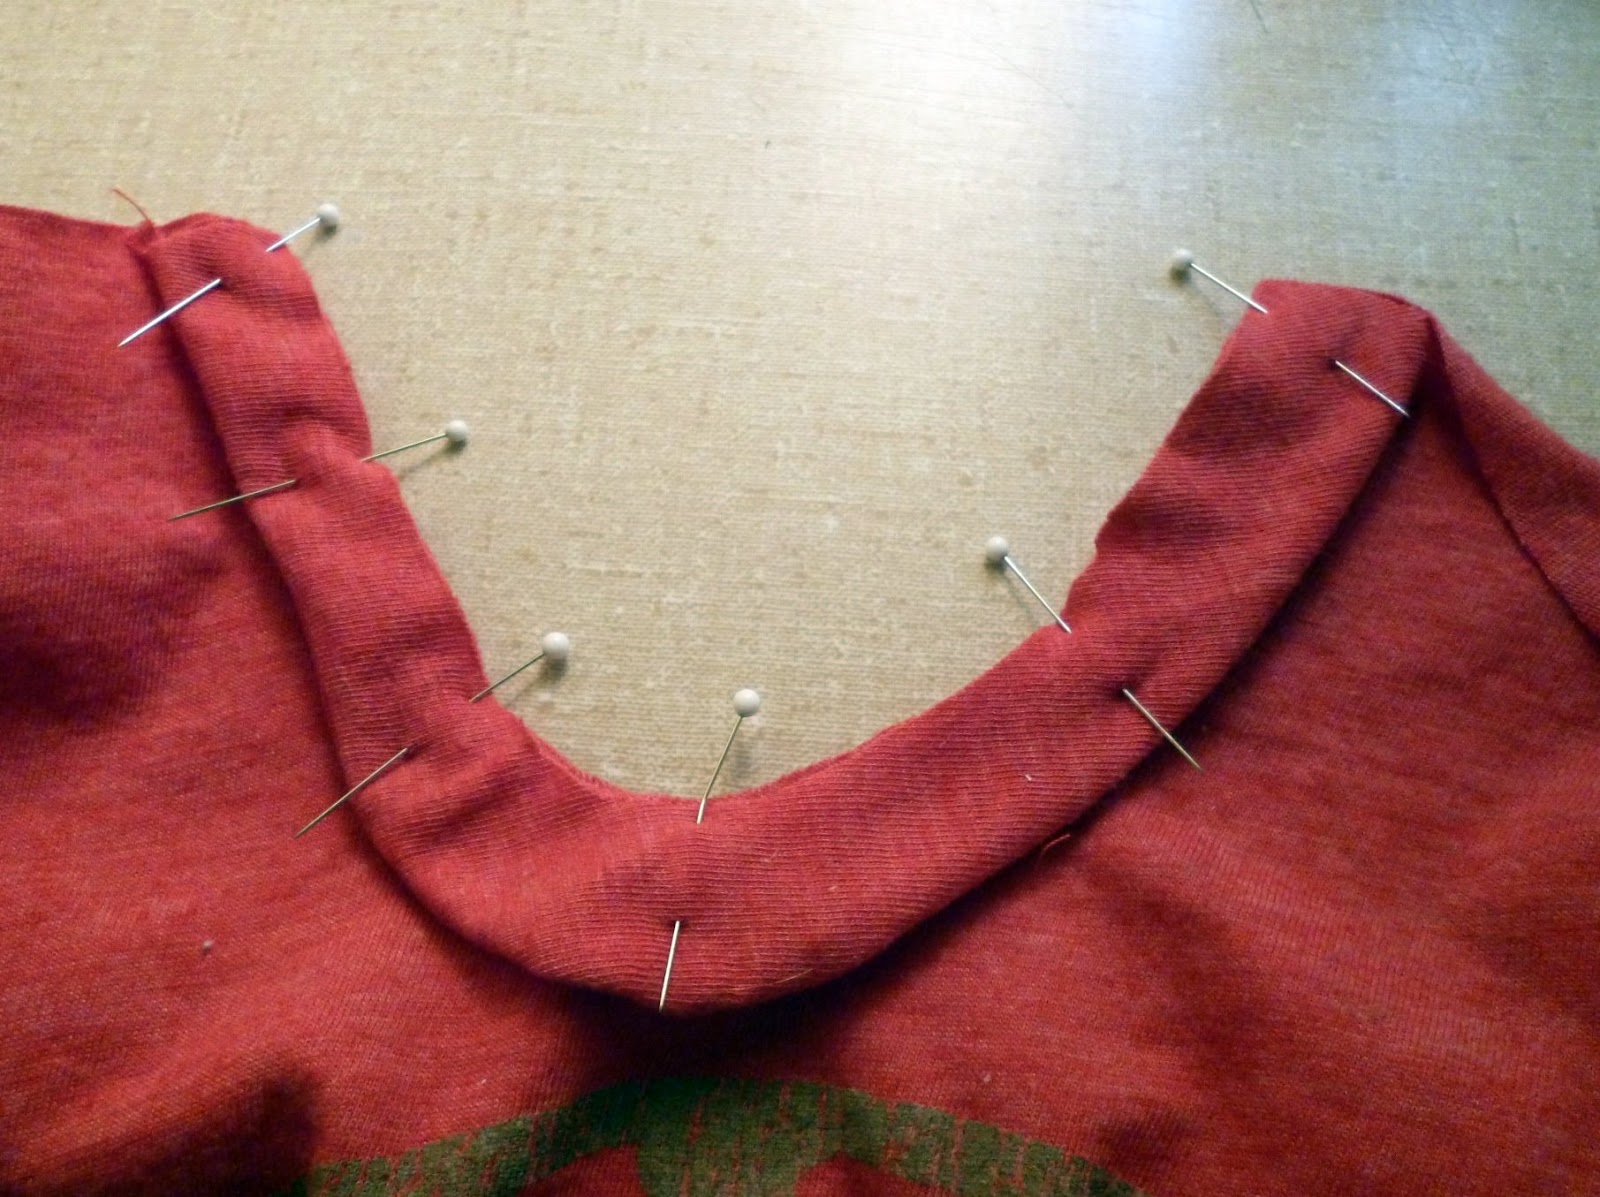
20. Flip over to the inside and sew with a straight stitch at 1/2″ from the inseam.
This is what it should look like.

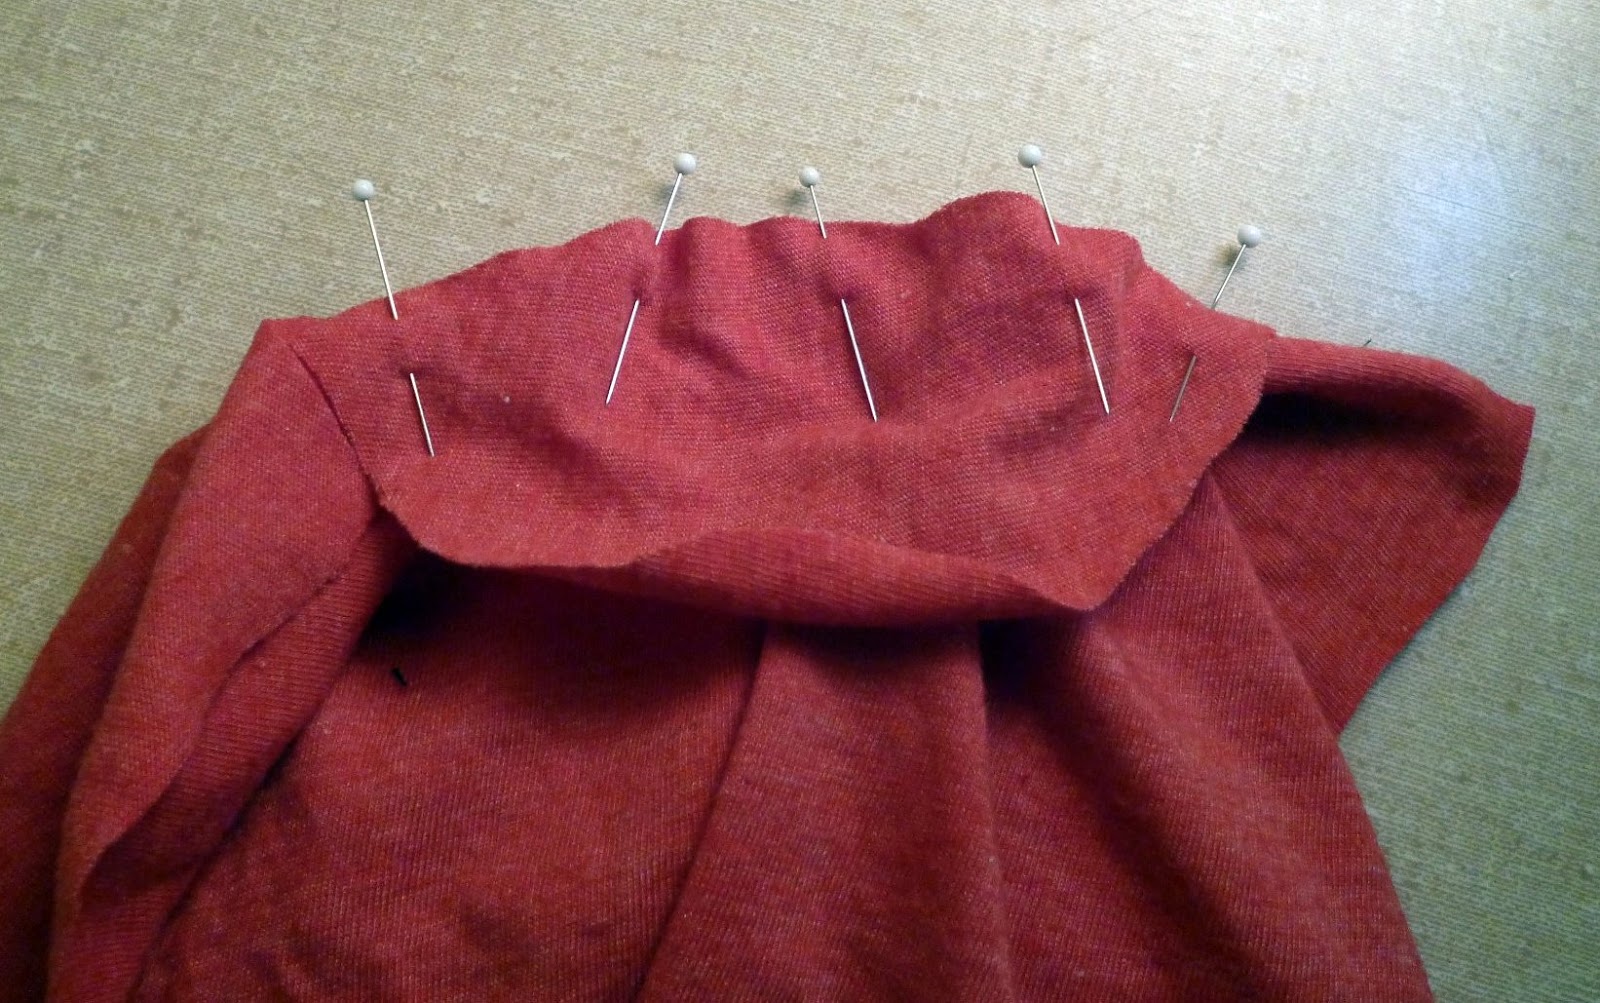
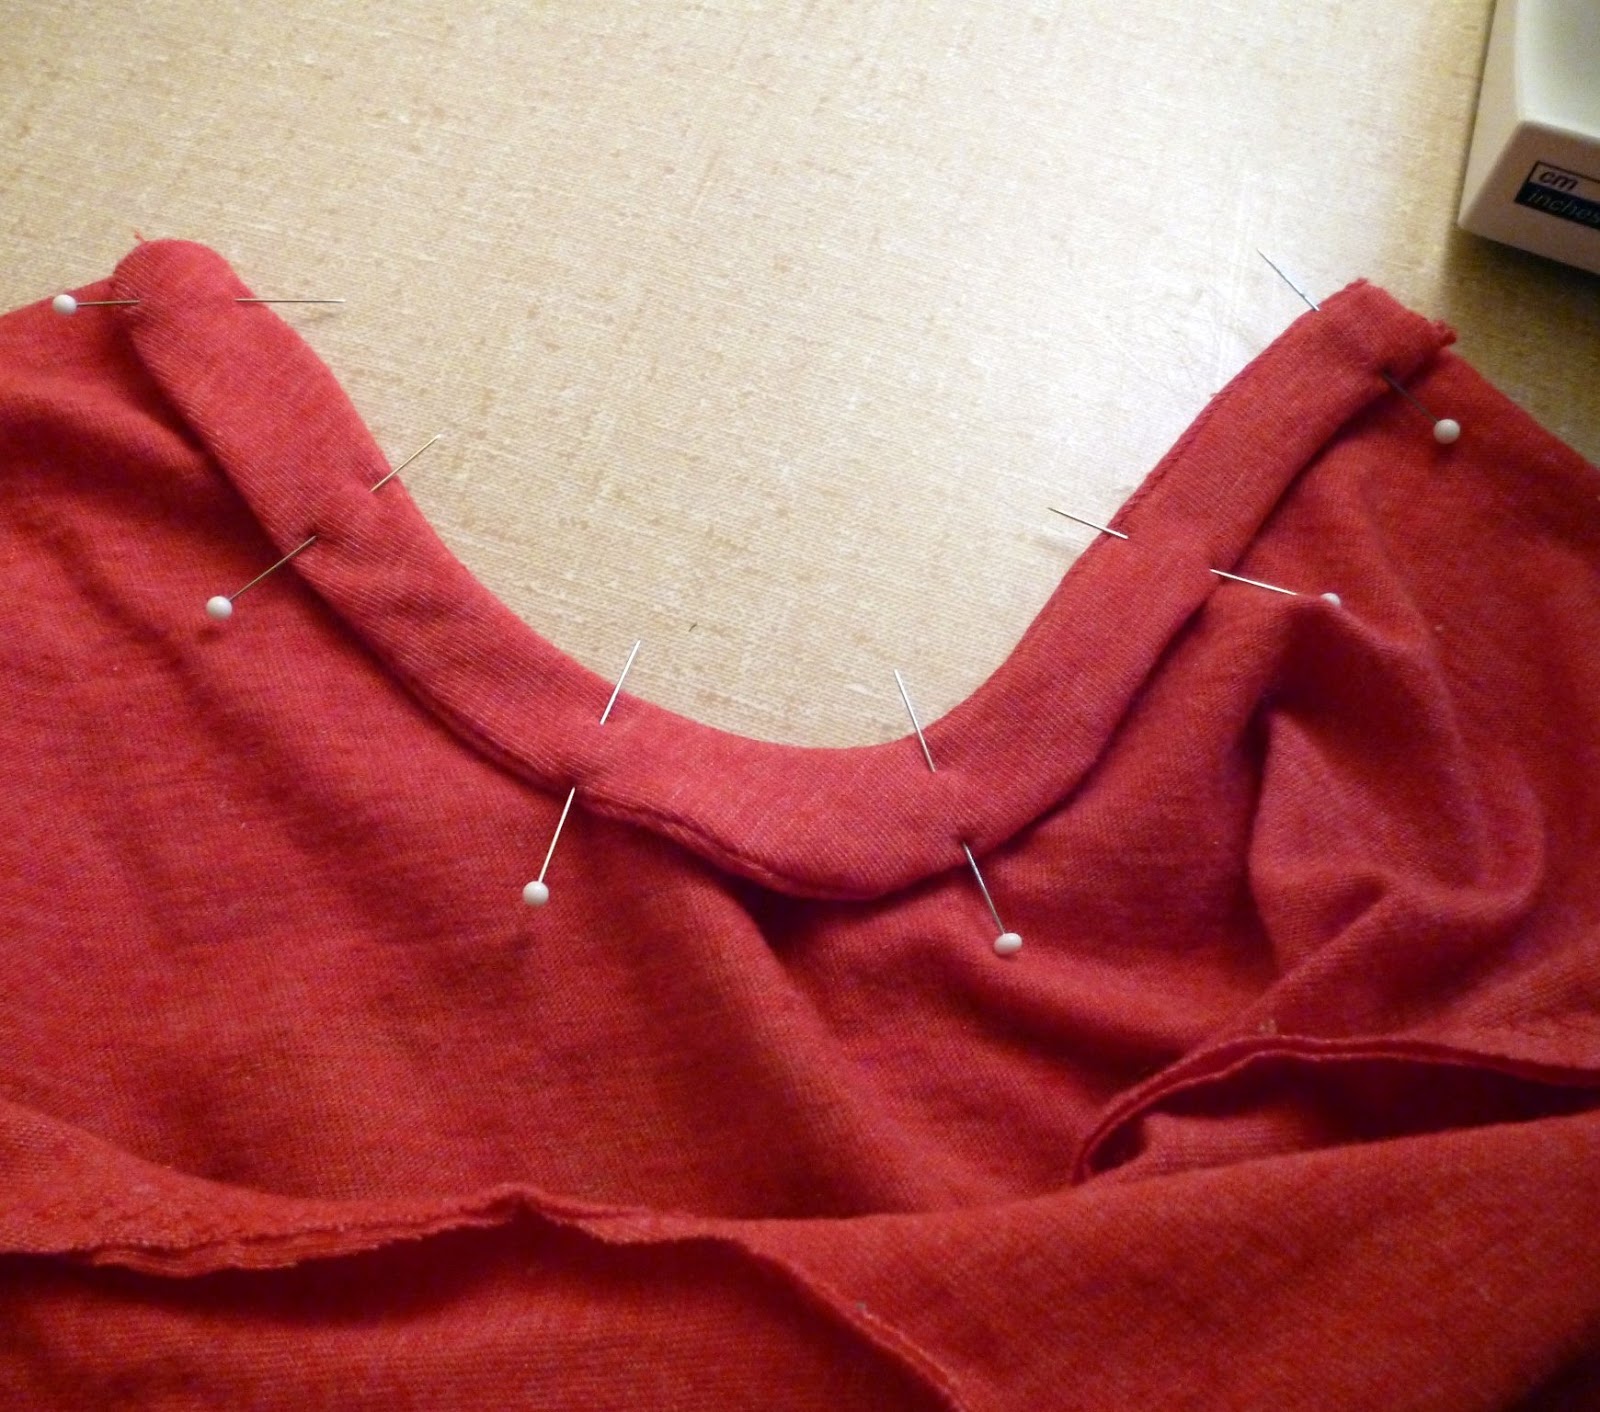
21. With right sides together pin the inside curve to the back inseam.
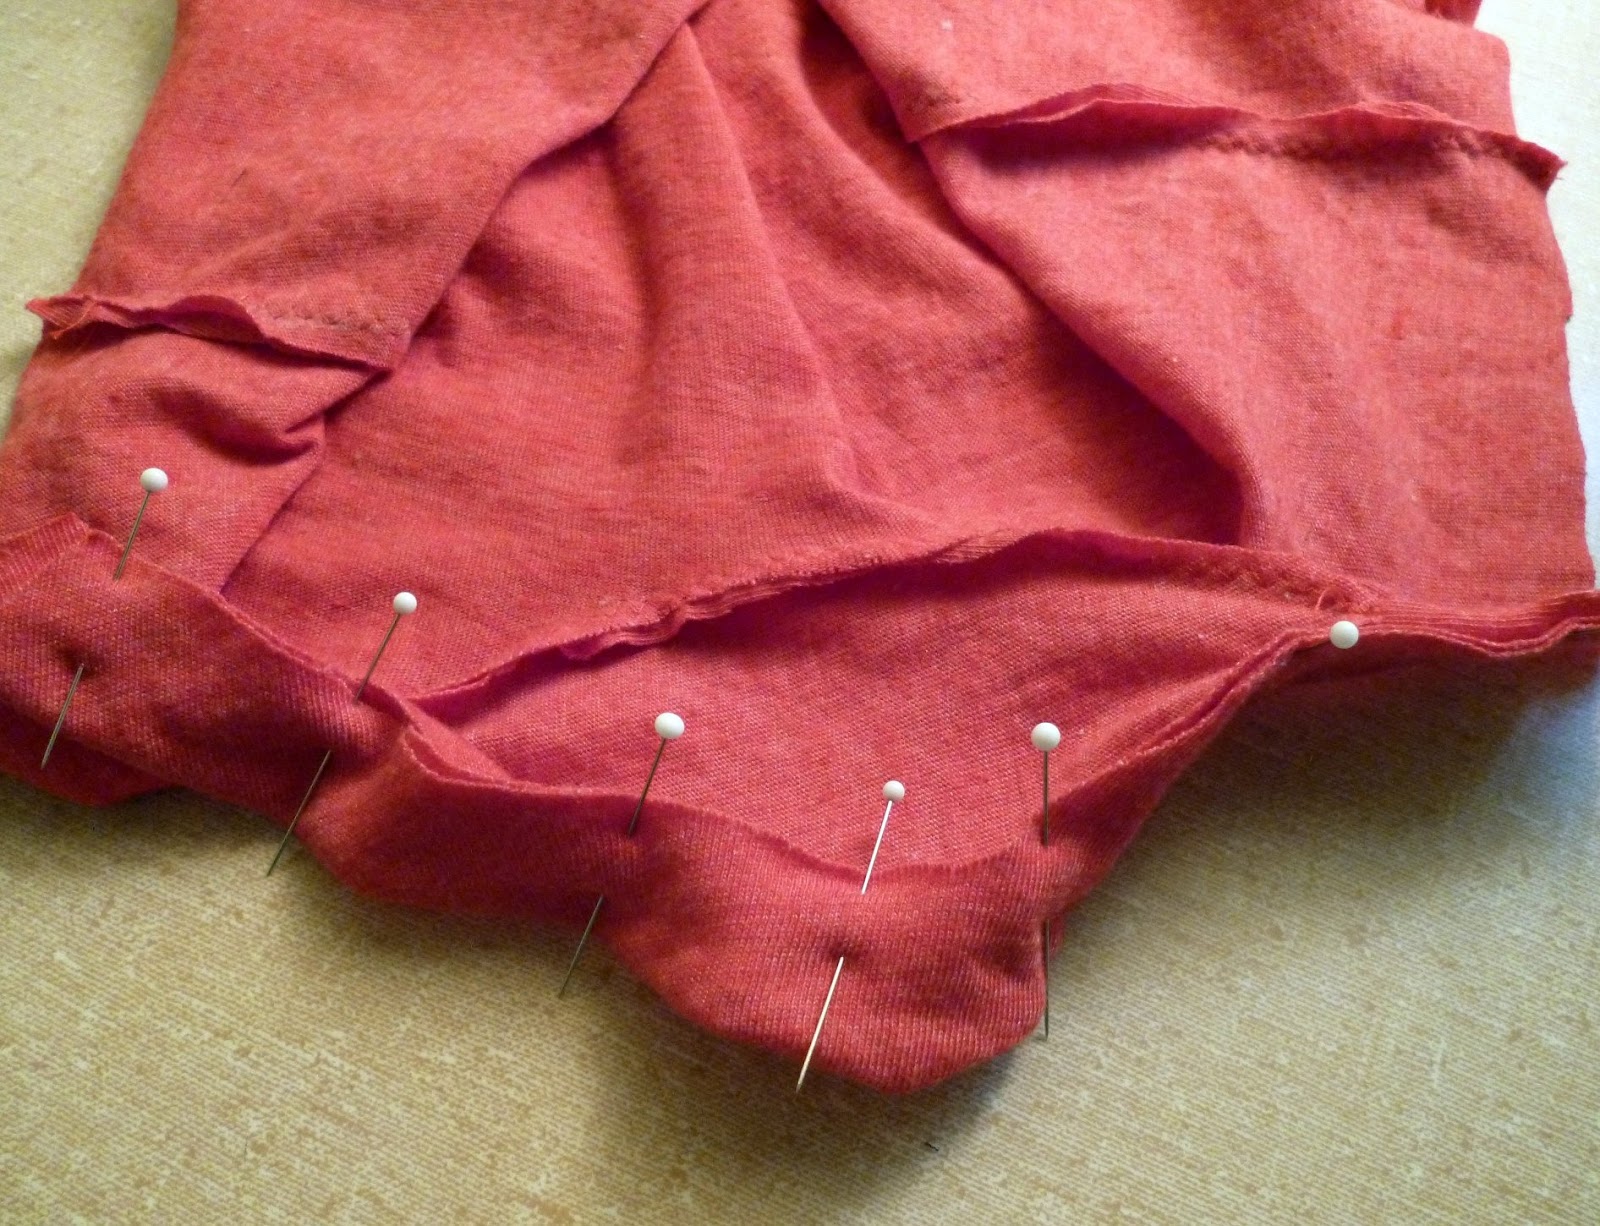
22. Pin up the bottom 5/8″ and sew with either a zigzag or a double needle. Here’s how to use a twin needle.
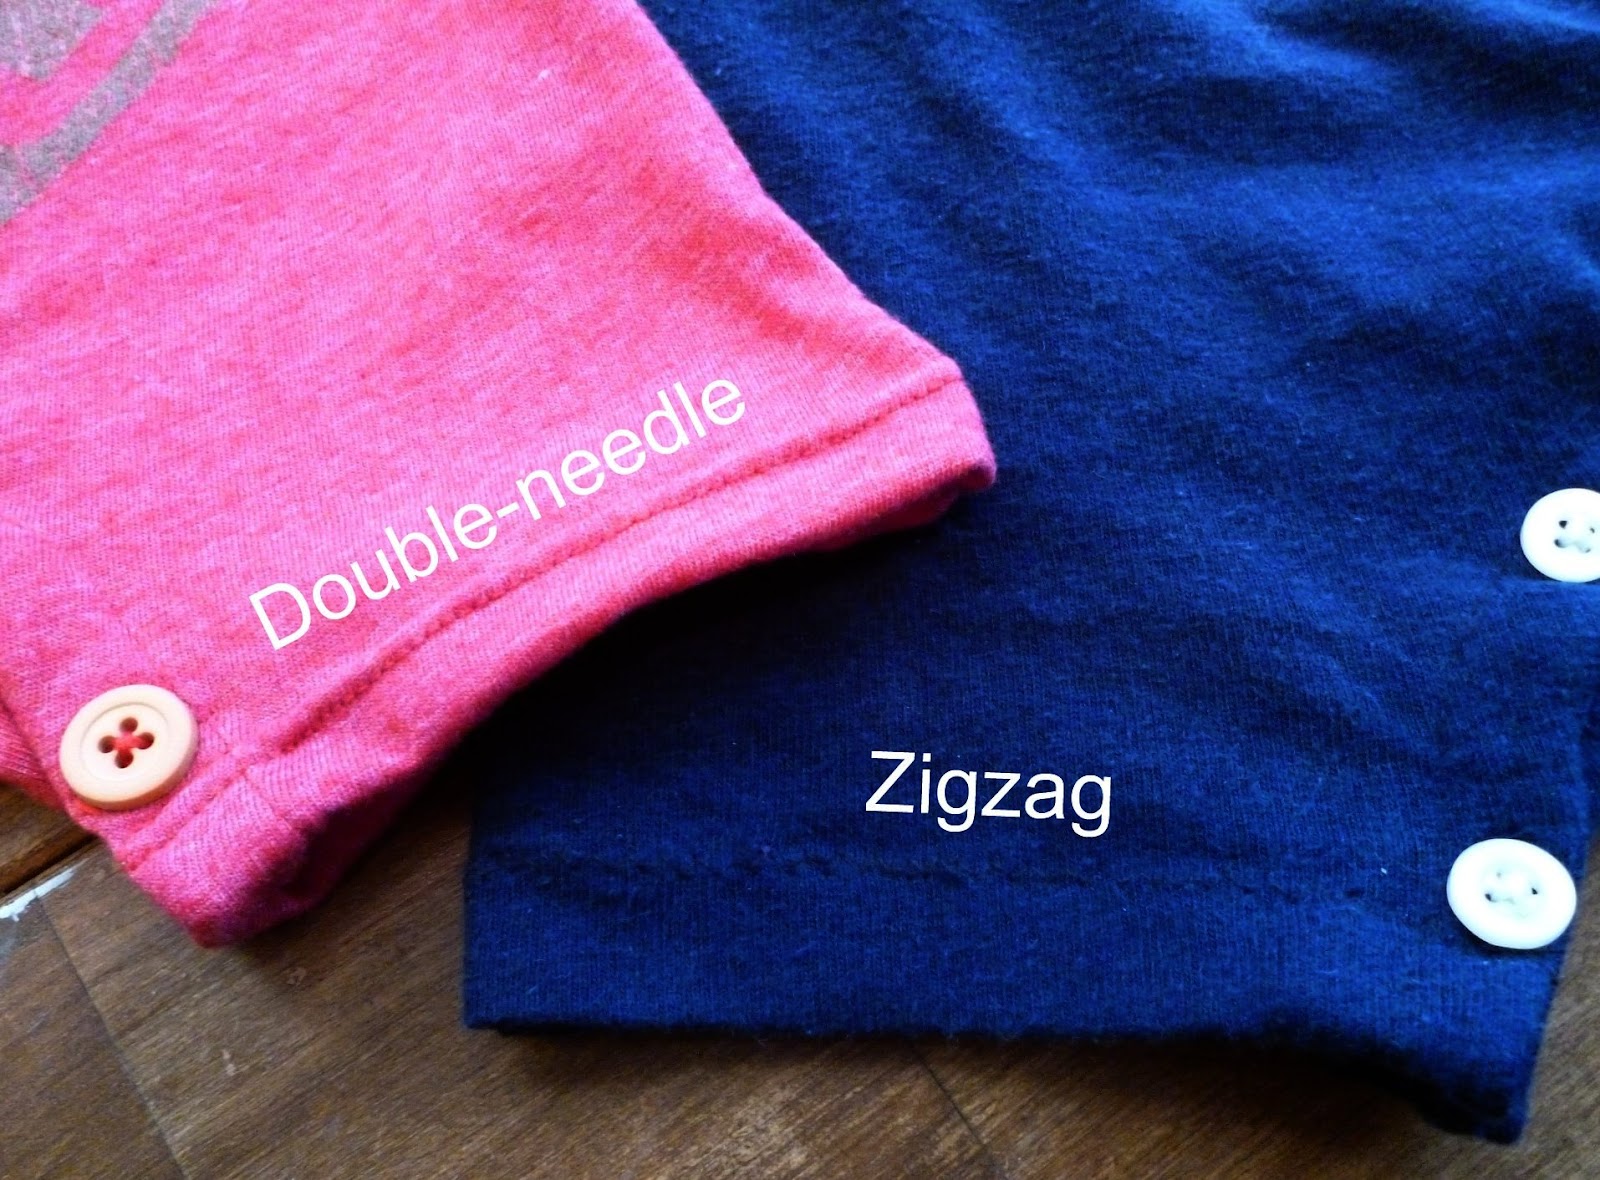
23. Apply the closure of your choice. I did both snaps and buttons. I actually prefer buttons and buttonholes.
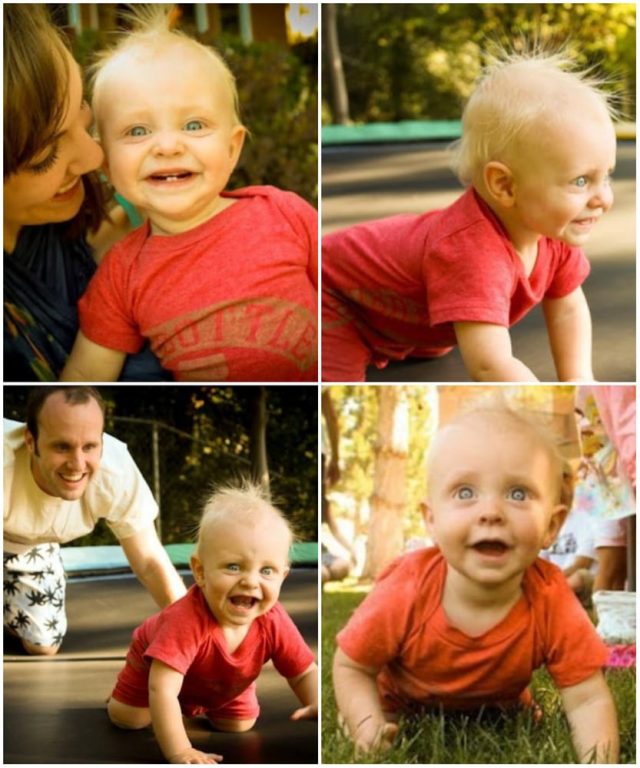
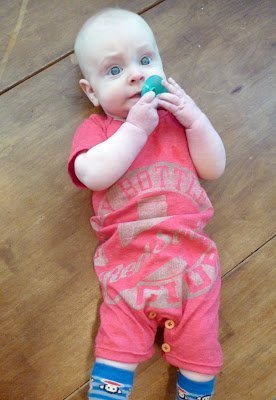
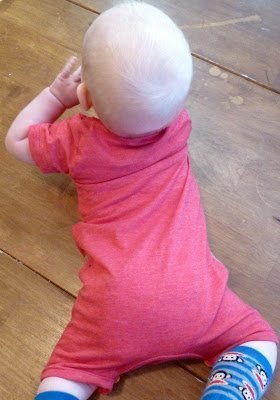
Put it on your cutie and enjoy upcoming summer!
Get the FREE Baby Romper Pattern or buy the multi-size pattern
Don’t forget to see the new tshirt romper tutorial for better instructions!
If you make something using this sewing project, I’d love to see! Please share it on social media with the hashtag #heatherhandmade and tag me!

I believe small sewing moments can create great joy. Find your own “right” way to sew. -Heather
Very cute idea! I guess for cold weather make sleeves & legs longer?!? Sew very fun!
I love this tip! I hate it when the hubs won't wear a shirt because of one spot on the hem! I pinned it on my baby clothes sewing pattern board so more people would find your pics.
If you would rather I didn't, just contact me via the addy posted on the footer of my website and I'll take it right down.
Jan
Baby Nursery Ideas
You are so talented! Wonderful. I'm going to try this one.
What a cute Idea. I have some cute tee shirts that I never wear but don't want to toss. I may just have to do this one. I am pinning you too.
The combo of the Red Stripe Beer shirt and BYU shirt crack me up, either you are one cool Mormon or a blonde like me, either way I like it.
Ha ha thanks! I knew what it meant, but who rocks a bottle better than a baby?
It looks beautiful! thank you so much 🙂
Just made one in about 2 hours from start to finish!! I LOVE it!!!! Can't wait to try it on my little man!!! THANK YOU so much for taking the time to make a tutorial for all of us!!!!
Yay! I'm so glad you made one!
this is so cute!!! do u think i could make it for an 18 month old? i love one piece outfits!!
I'm curious too – I REALLY want to make some for my son but he's in size 18 month clothes. I have a ton of Tshirts that would work great and I adore the romper look. Any tips for altering the pattern to an 18 month old size?
I'm not sure because my son is in six month clothing so I haven't tried it in a bigger size.
It would need length and width for sure, but the overall shape would work. You might be able to just increase the size before you print it and piece it together. The original neckline would probably be too small to do any overlap on the shoulders. You might be able to just use the existing neckline how it is though. Sossy I can't be of more help!
So your front piece should overlap you back piece at the pointed ends near the neck. You can the the overlap in the picture right after step 8. That will form one big curve. This curve is where the the sleeve will attach. The curve of the shoulder area is opposite of the curve of the sleeve. You'll have to open the shoulder curve so it will fit the sleeve.
If you look at the picture right after step 8, you can see the overlapping of the front and back piece. The sleeve is sitting right under it making the shoulder area curve to fit it. Does this help?
Help!!! I am so confused about steps 8-9. I have no idea how to pin the sleeve on to the neck/armpit hole or where to sew it together?!?! Im a beginner! Please help!
Help!!! I am trying to do this right now and am so confused about step 8-9 i dont understand how to pin the sleeve to the neck/arm hole?!!! I have little to no sewing experience! lol
Ok, I almost have one made…I love the pattern…thank you! I am a little confused about the two curved pieces at the bottom though. Where exactly do they go and how do they fit on? I think I got one piece around the crotch "football" piece but the other one seems like its upside down or something. I seaweed the pieces a you showed but it seems like I went wrong somewhere. Thanks
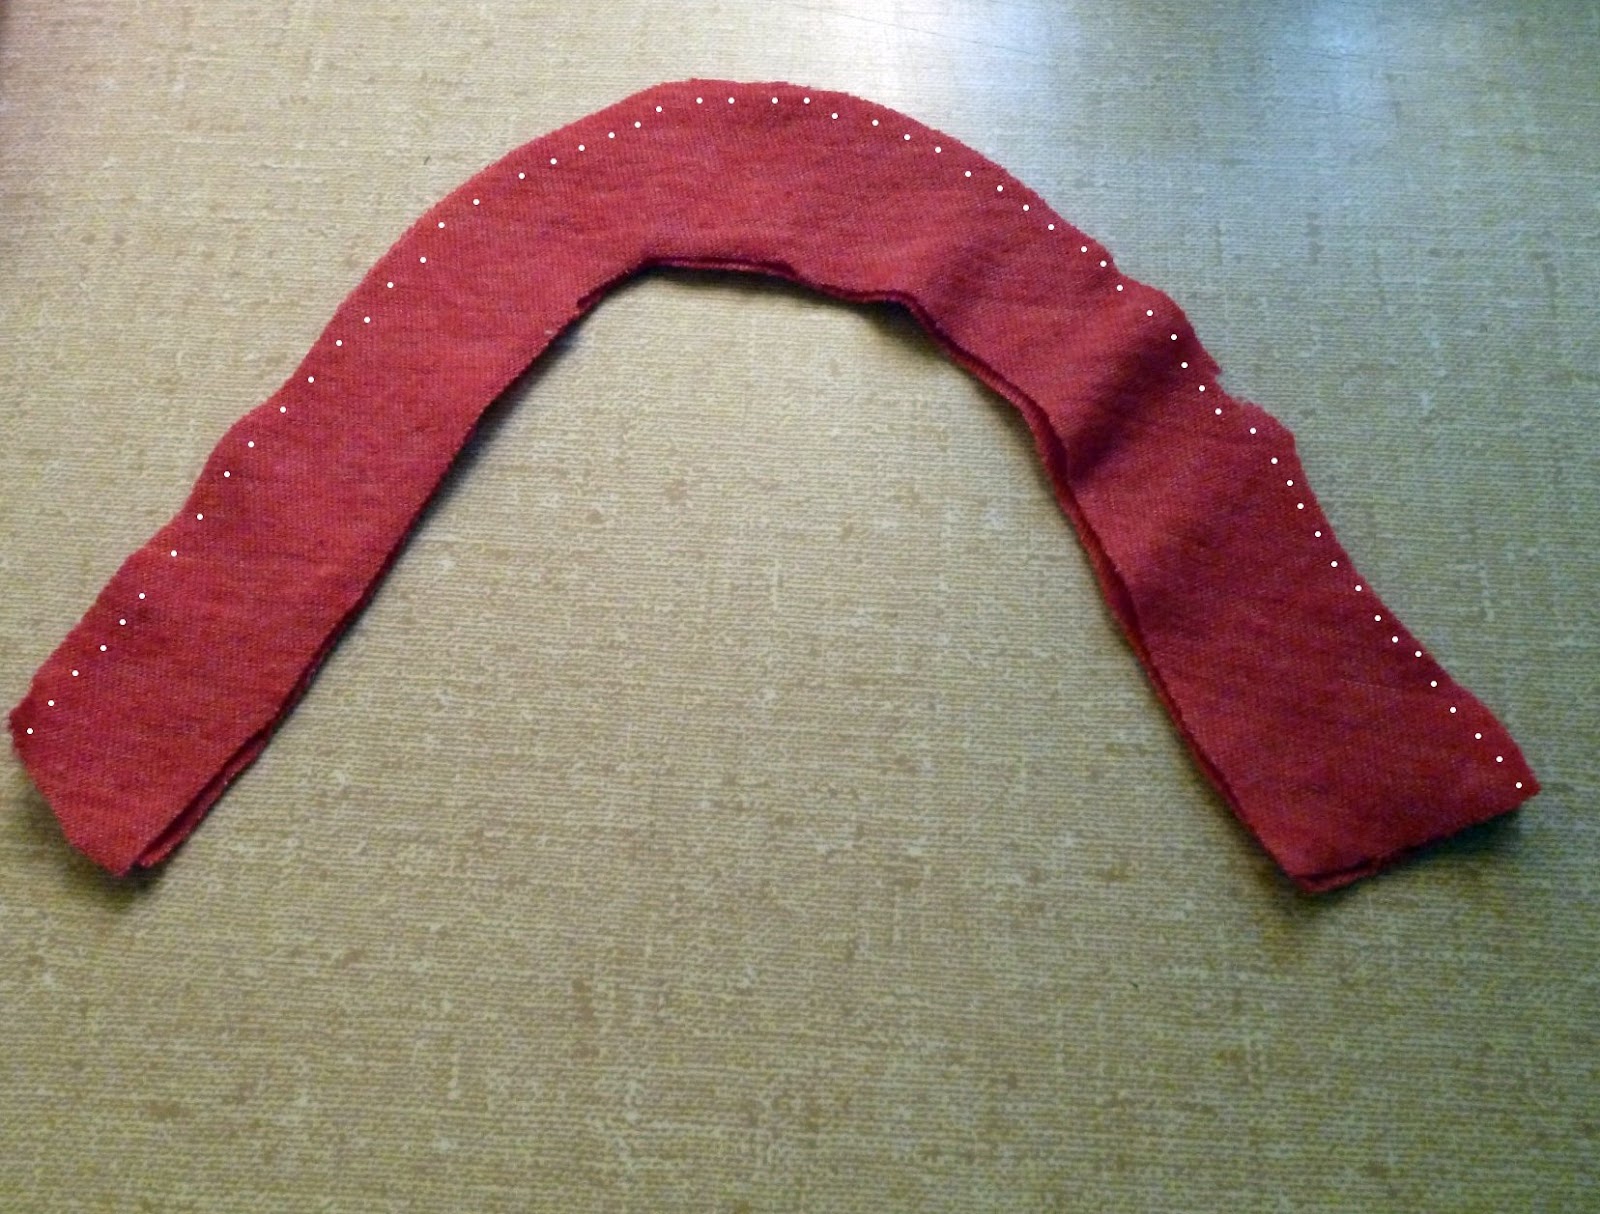
The curved pieces are the facings and added stability for the closures.
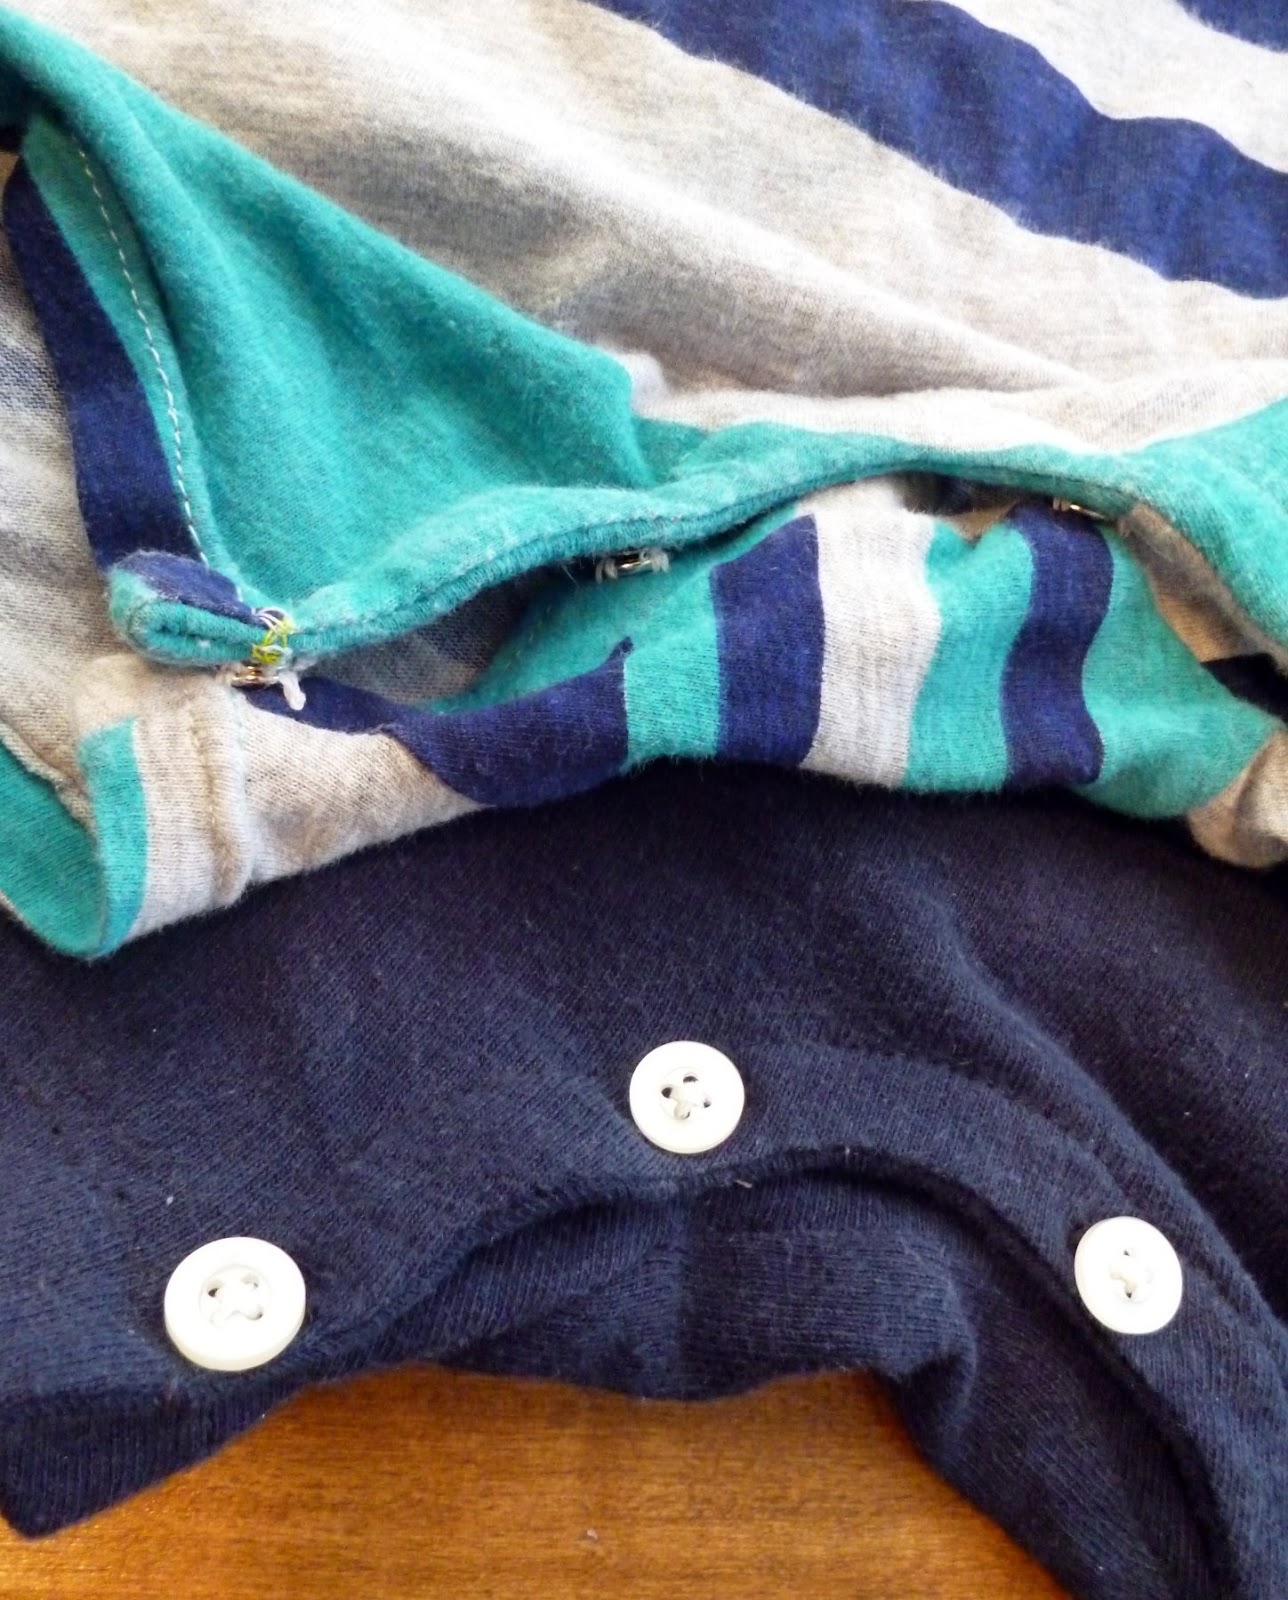
The inside of each curved piece will be sewn onto the inseam of the front and the inseam of the back. One will be attached on both sides and look like it's apart of the shortall and the other will be attached on one side so the other side will flop around. (I always think the floppy one is out of place. It just looks weird.) That is so it will fit with the other side.
There is a picture between step #21 and #22 that shows what it should look like. The curved piece is attached on both sides on the front, and the curved piece is attached on one side on the back and it is floppy.
Does this make sense? I want to help you finish!
I think so…I understand a little more than before and I think I got it. Thank you so much for the reply. I have never sewed anything before so I am a complete novice all the way around 🙂
Oh good. I'm so glad you're trying this out! I hope it works out for you! Let me know if you have anymore questions!
Cool. Cute baby too!! My son told me no new baby clothes 'cuz they just got a boatload from friends… 🙁
thank you
My daughter is almost two and we haven't started potty training yet, but I'm bummed the pattern is for 6-9m! Out would be nice to figure one out for a toddler 🙂 very awesome idea, I love it
My daughter is almost two and we haven't started potty training yet, but I'm bummed the pattern is for 6-9m! Out would be nice to figure one out for a toddler 🙂 very awesome idea, I love it
I don't think a regular adult t-shirt neck would be big enough for an overlapping neckline. It might just work to use the regular neck and not cut it up? Maybe when my son becomes a toddler I'll have a model to try it out on!
Wonderful. I'm going to try this one.
Thank you so much for sharing this! I LOVE using old t-shirts to refashion outfits for my little ones. I just got through making several play dresses for our 3 yr old from thrifted t-shirts. Now the baby needs some outfits! 🙂
I didn't see this anywhere, but maybe I didn't read well enough: approximately what size is the outfit and pattern if printed at 100%?
6-9m
Super cute outfit! Defiantly going to use it for my little ones. One thing I am curious about is do you realize that red stripe is a beer? Thought it a little funny you have one for BYU and one for a beer… Didn't think the two got along.
Ya, I assumed so. But the T-shirt was a free hand-me-down, and who rocks a bottle better than a baby with their "stubby" hands and feet?
The Y shirt is for Yahoo not BYU.
No, it's for BYU.
You are so talent!It looks really good!