Upcycled DIY Bike Bag

This post may contain affiliate links.
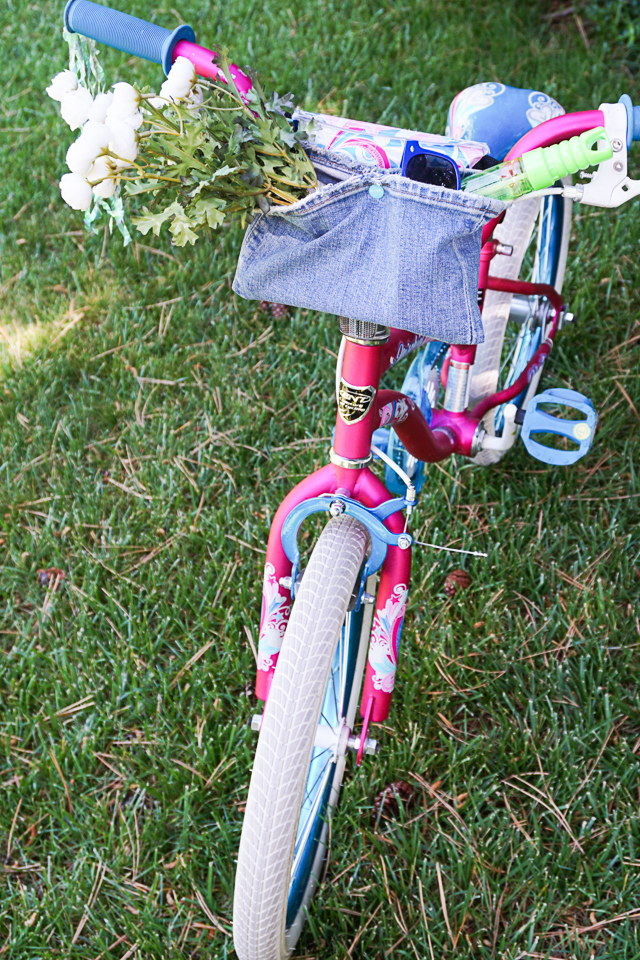
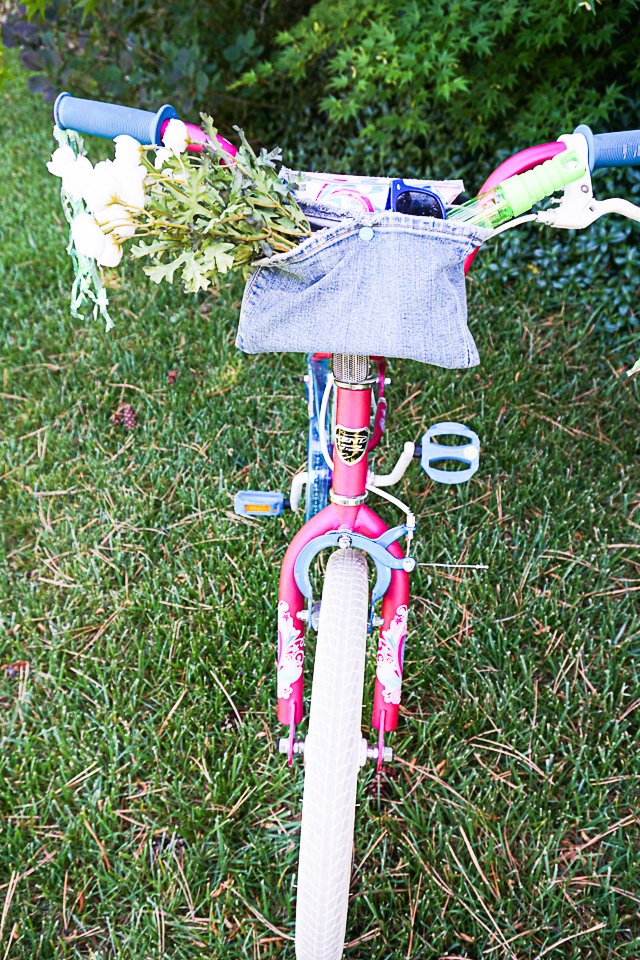
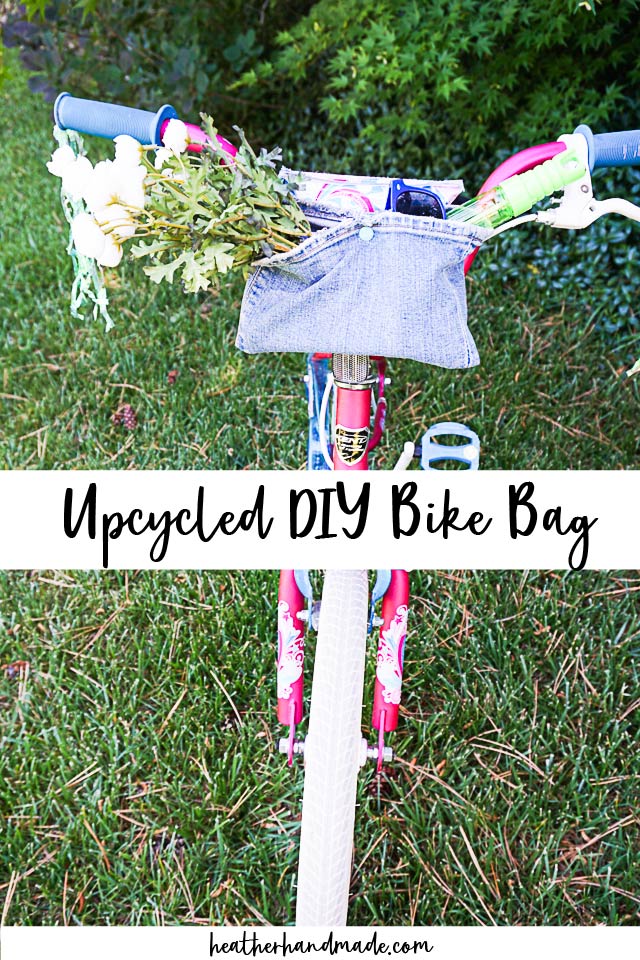
Learn how to make a DIY bike bag by upcycling the leg of a pair of pants. This sewing project is quick and easy, and it holds all the essentials on your bike!
My kids love riding their bikes, and I love seeing them out enjoying themselves. I have a child that is always collecting something, but I was tired of holding all the treasures.
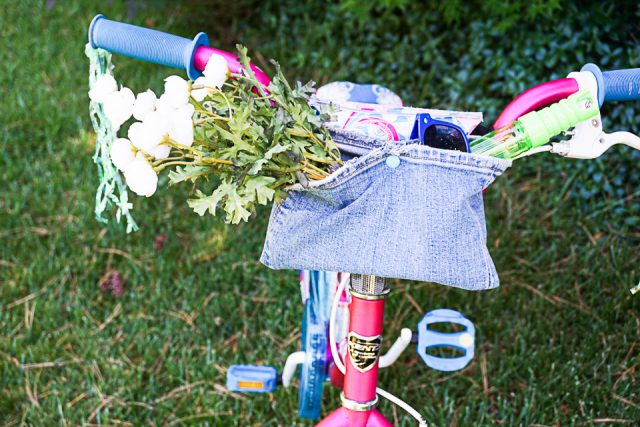
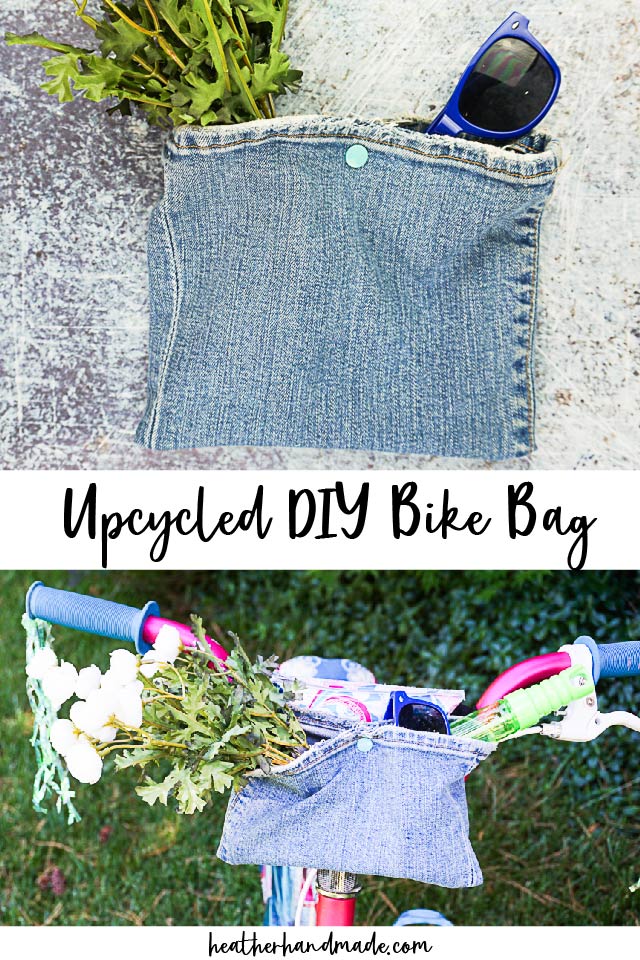
With a little bit of sewing, I upcycled the leg of a pair of jeans into an easy DIY bike bag that snaps onto the handlebar of a bike. Reuse the hem for a finished edge, and the denim or twill is strong enough to hold all the rocks, sticks, flowers, sunglasses, and water guns a kid could want.
what is upcycling?
Upcycling is to reuse material to create something better than the original. I usually use this to describe when I’m sewing adult clothing into clothing for children or I’m sewing clothing into an accessory or house item.
Upcycling saves time, saves money, saves the environment, and saves memories.
Save time by reusing details from the original shirt. Save money by using something you already have.
Save the environment by keeping t-shirts out of the landfill. Save memories by reusing a favorite adult t-shirt for your toddler or child.
Do you love upcycling? Check out these fun denim upcycle projects!
Upcycled DIY Bike Bag
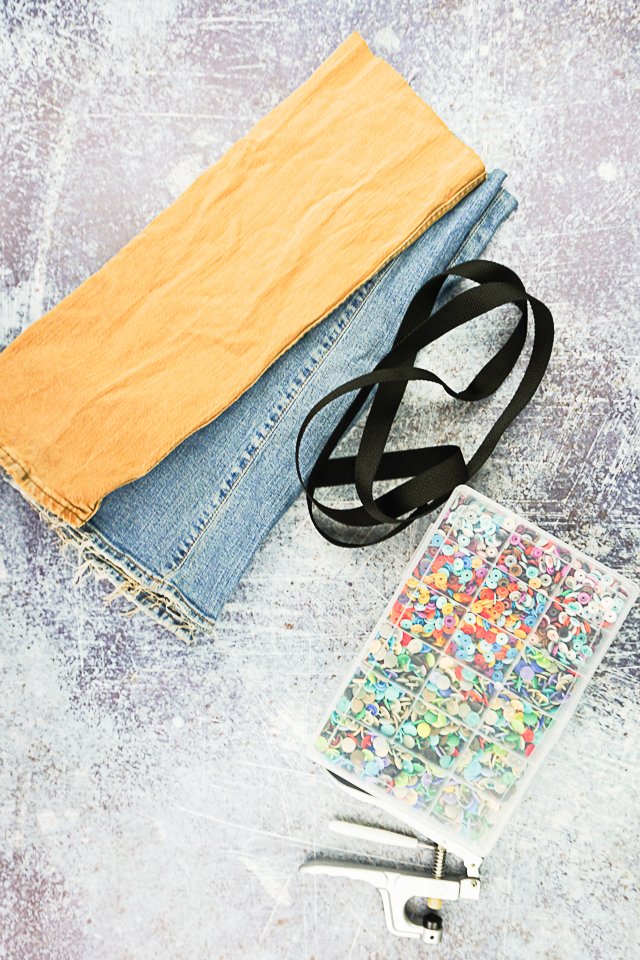
supplies
- Pants leg
- twill ribbon
- plastic snaps and snap setter
- sewing tools
- sewing machine
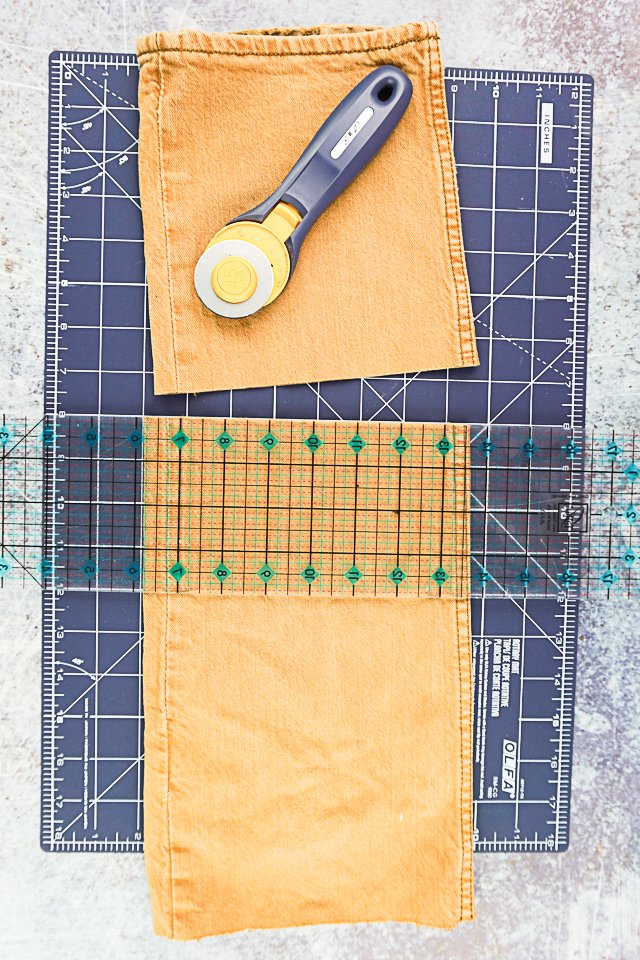
The hem of the pants will become the top part of the bag that opens. Cut throught the pant leg how tall you want the bag to be. For a medium sized bike 8 inches tall is good. For a small bike 6 inches tall is good.
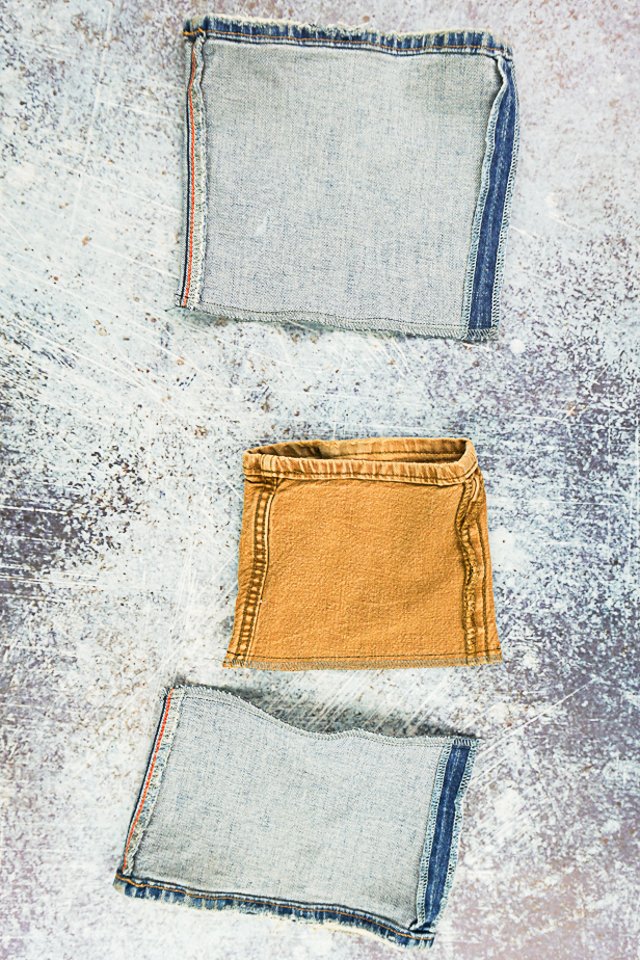
Turn the pant leg right side in. Match up the bottom cut edge and pin. Make sure that the side seams lie flat when you pin instead of being on the fold.
Sew across the bottom with a 1/4 inch seam allowance. Finish the edge.
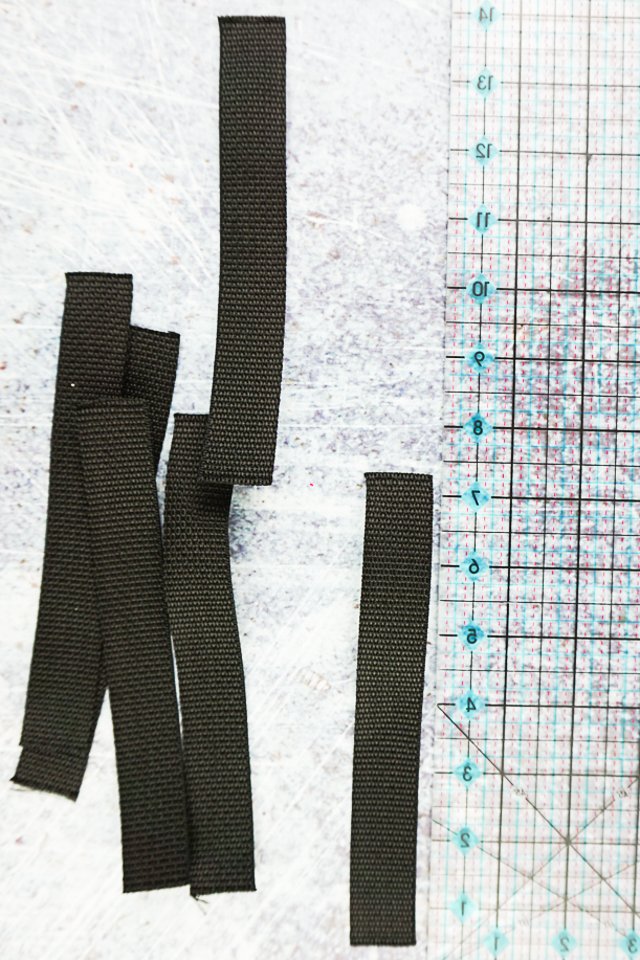
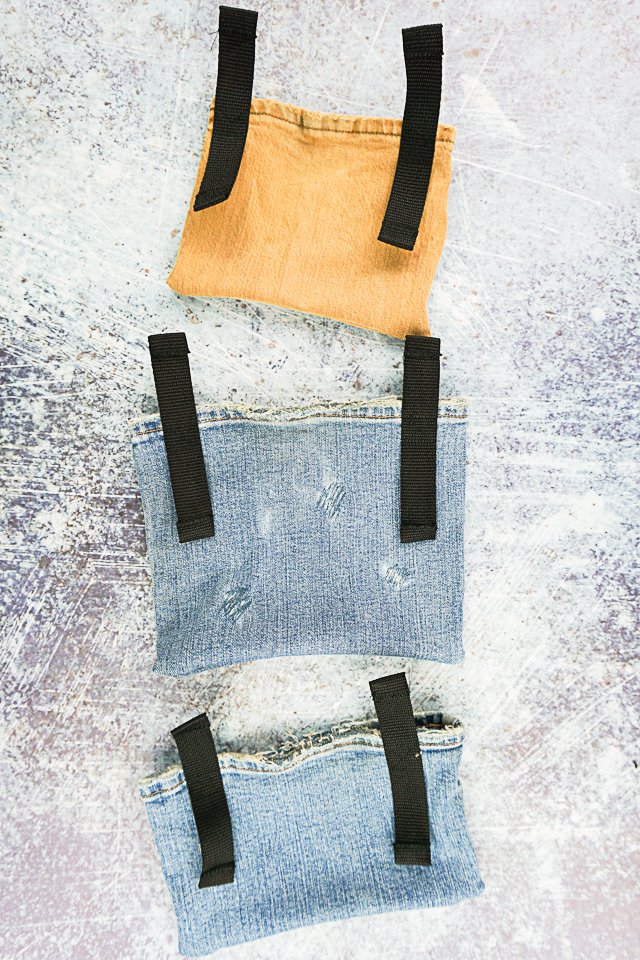
Cut a piece of ribbon 7 inches long. Cut two per bike bag.
Pin the strap on each side of the bike bag. I measure the handbar of the bikes before pinning. The medium sized bike could have straps 8 inches apart and the small bike could have straps 6 inches apart.
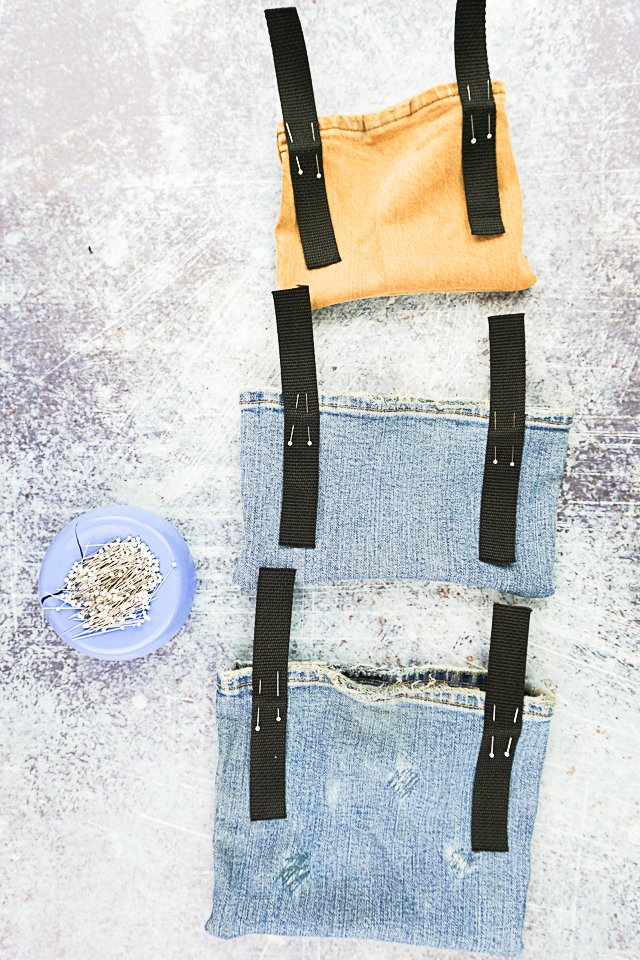
Sew the straps onto the bike bag on each side.
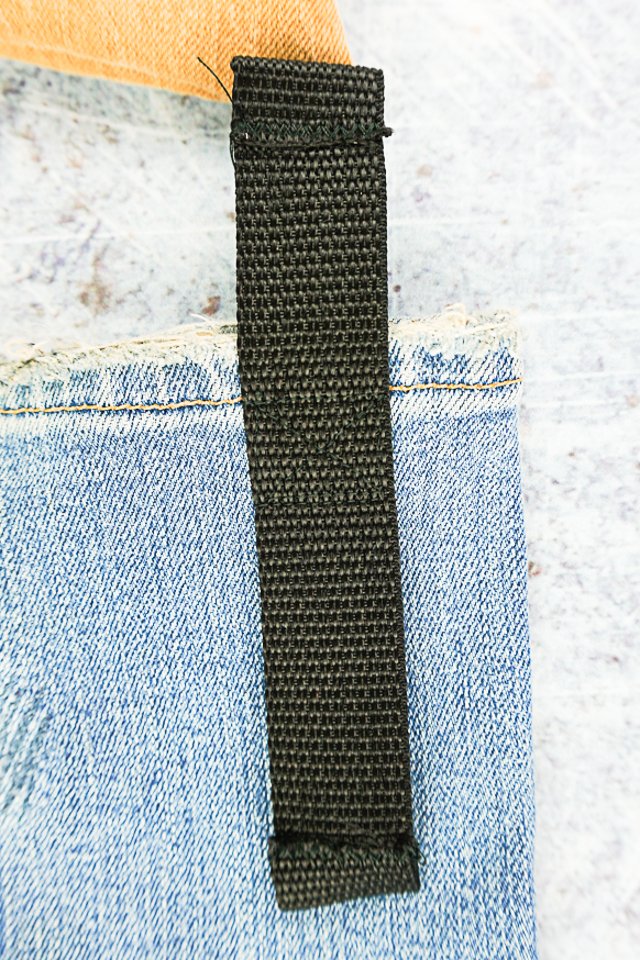
Fold the short end of the strap over 1/2 inch and zigzag the raw end in place.
I sew the strap with a square and then an “X” through the middle.
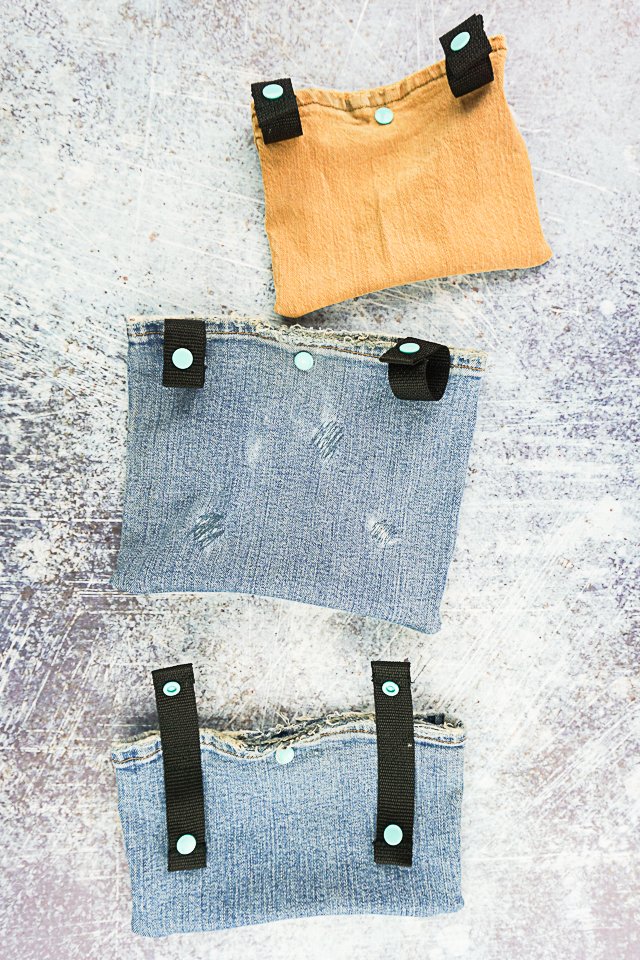
Add plastic snaps (learn how to use plastic snaps) to the middle of the bag to keep it closed at the top.
Add plastic snaps to the end of each strap. Make the straps overlap each other when you apply the snaps.
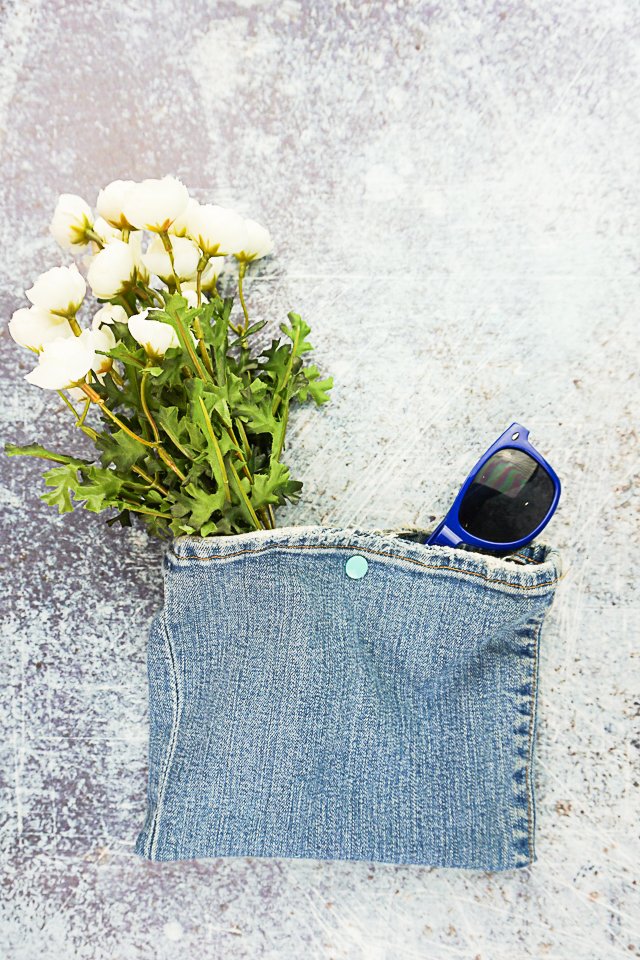
Fill the DIY bike bag with all the fun treasures and trinkets and snap the straps onto the handlebar of your bike!
If you make something using this sewing project, I’d love to see! Please share it on social media with the hashtag #heatherhandmade and tag me!

I believe small sewing moments can create great joy. Find your own “right” way to sew. -Heather

I love this. For kids… And for me!