
How to Upcycle Jeans by Adding Denim to Widen the Legs

This post may contain affiliate links.
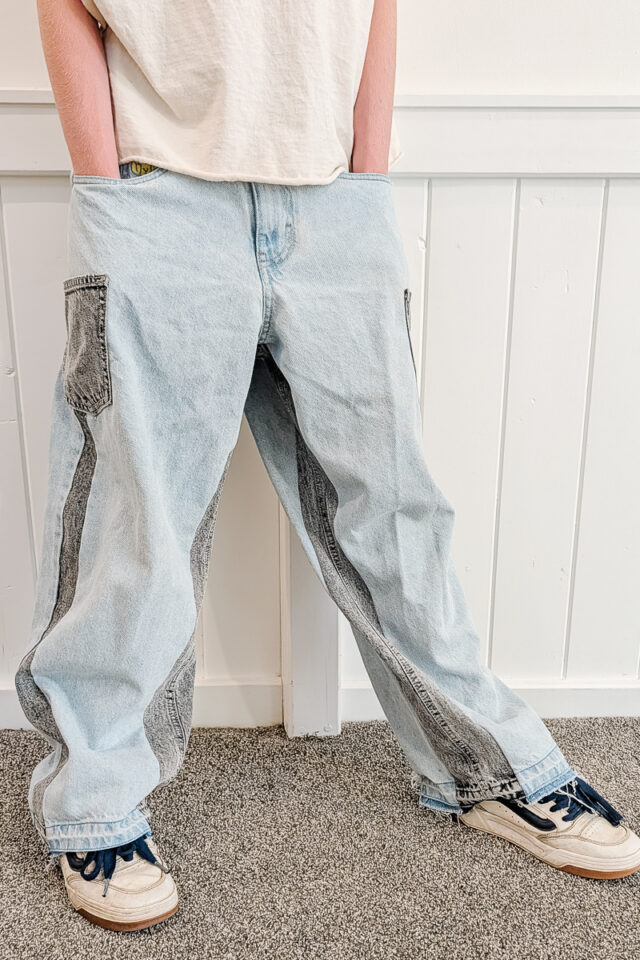
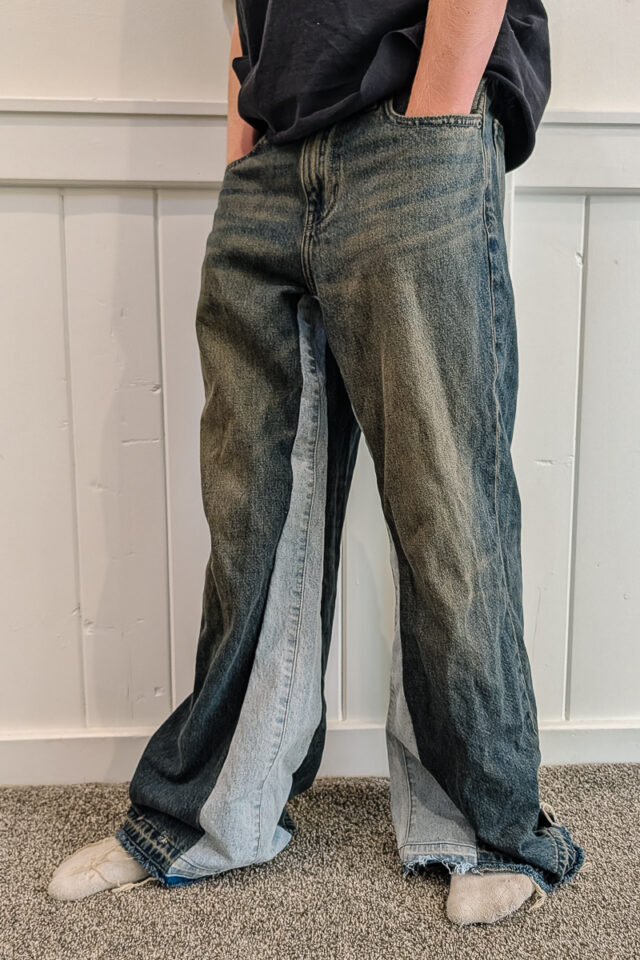
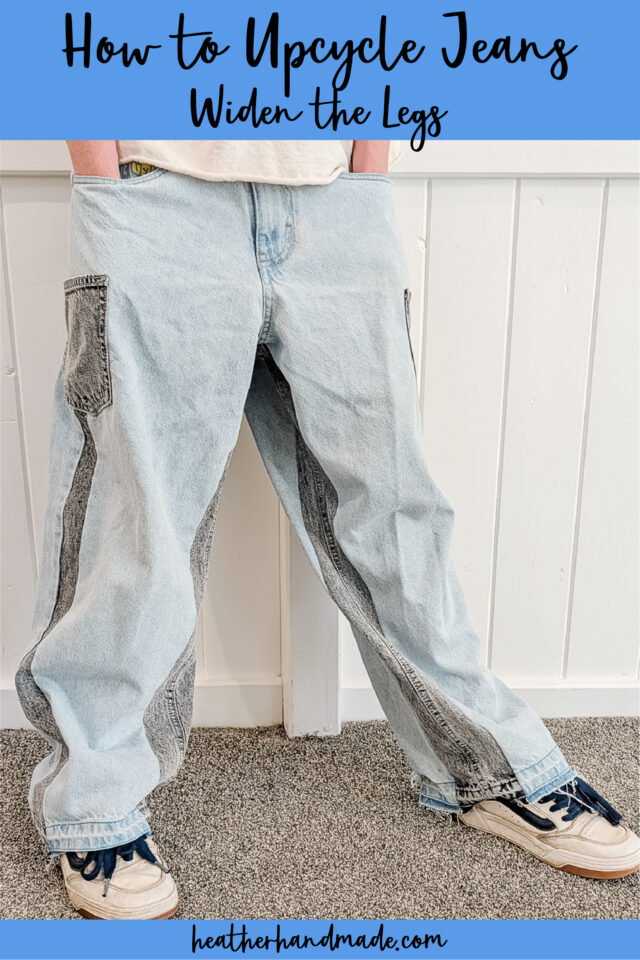
Learn how to upcycle jeans by adding denim to widen the legs. This beginner sewing project makes jean legs wider and adds a unique look.
My son came to me with two pairs of straight, wide leg jeans that he asked if he could combine them. One of them had a paint stain and then other one just wasn’t as wide in the leg as he wanted. He’d seen some jeans that looked like they were combined, and he wanted to try it.
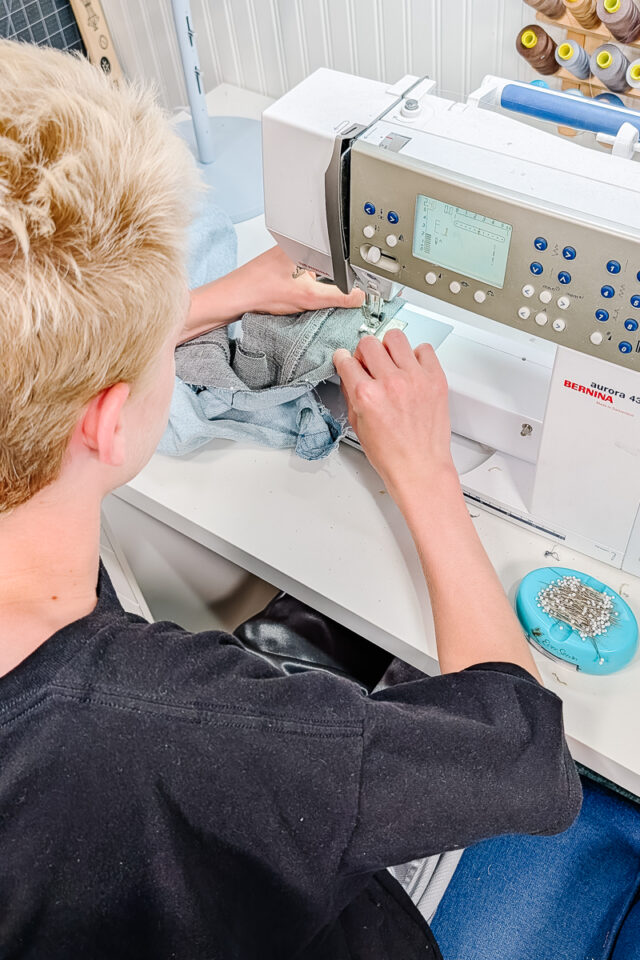
My son has only taken a basic, beginner home ec sewing class at school. We talked about the design and took a bunch of measurements. He did all the seam ripping and sewing himself. I helped him with the math (remembering seam allowances!), I did the serging, and I topstitched the pockets. After making the first pair, he made another pair a week later!
What jeans can upcycle to widen the legs?
It’s important to start with jeans that fit the way you want around the waist and hips. This upcycle only changes the legs. It’s also important to start with straight leg or wide leg jeans. This doesn’t work the same for skinny, bootcut, or flare jeans.
*It makes the sewing easiest if both jeans that are picked have the same inseam length!*
What jeans can I cut up to widen the legs?
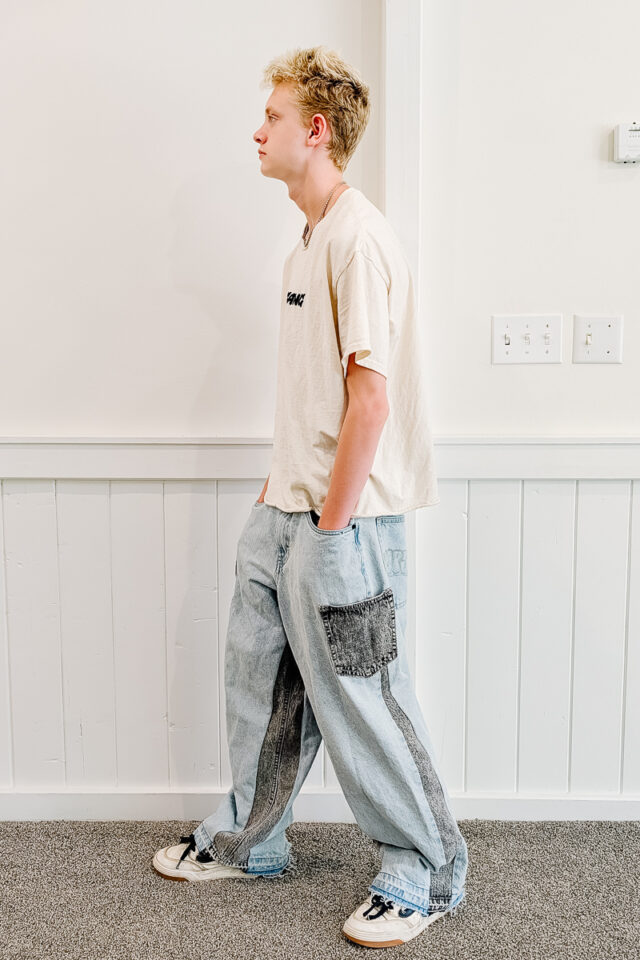
My son has cut up straight leg jeans and skinny jeans for this tutorial and both worked great. The straight leg jeans had more fabric so that he was able to do the inseam and the outseam. The skinny jeans only had enough fabric for the inseam.
What is upcycling?
Upcycling is to reuse material to create something better than the original. I usually use this to describe when I’m sewing adult clothing into clothing for children or I’m sewing clothing into an accessory or house item.
Upcycling saves time, saves money, saves the environment, and saves memories.
Save time by reusing details from the original shirt. Save money by using something you already have.
Save the environment by keeping t-shirts out of the landfill. Save memories by reusing a favorite adult t-shirt for your toddler or child.
Love to upcycle and refashion? Try one of these sewing projects:
- Ideas to Upcycle Jeans
- Ideas to Upcycle Pants
- How to Upcycle Clothing for Kids
- Sewing and alterations you can do yourself
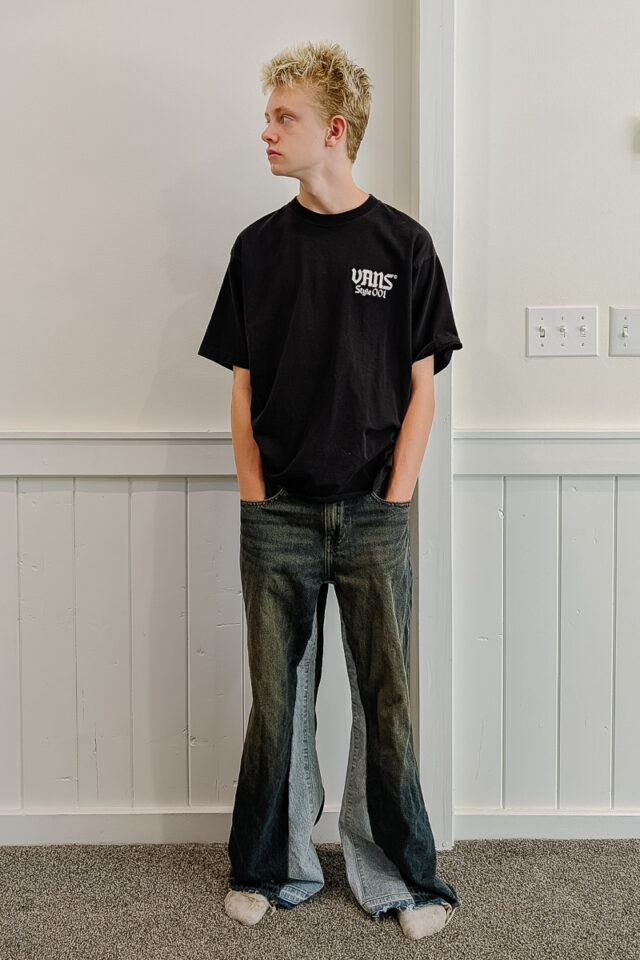
How to Upcycle Jeans by Adding Denim to Widen the Legs
Supplies
- Straight leg or wide leg jeans that fit in the waist and will have fabric added
- Jeans that will be cut up
- Sewing machine
- Sewing tools
Adding Denim to the Inseam
First, seam rip all the hems. Press the hems flat and open. Measure how much you want to add to the jean leg circumference.
My son decided to add four inches at the hem and two inches at the crotch. I don’t recommend adding more than two inches at the crotch because you’ll be two close to the zipper and front fly.
To account for seam allowances, he marked five inches at the bottom of the jeans to cut and 2.5 inches at the crotch. He then drew a line between the marks so he would know where to cut the whole panel.
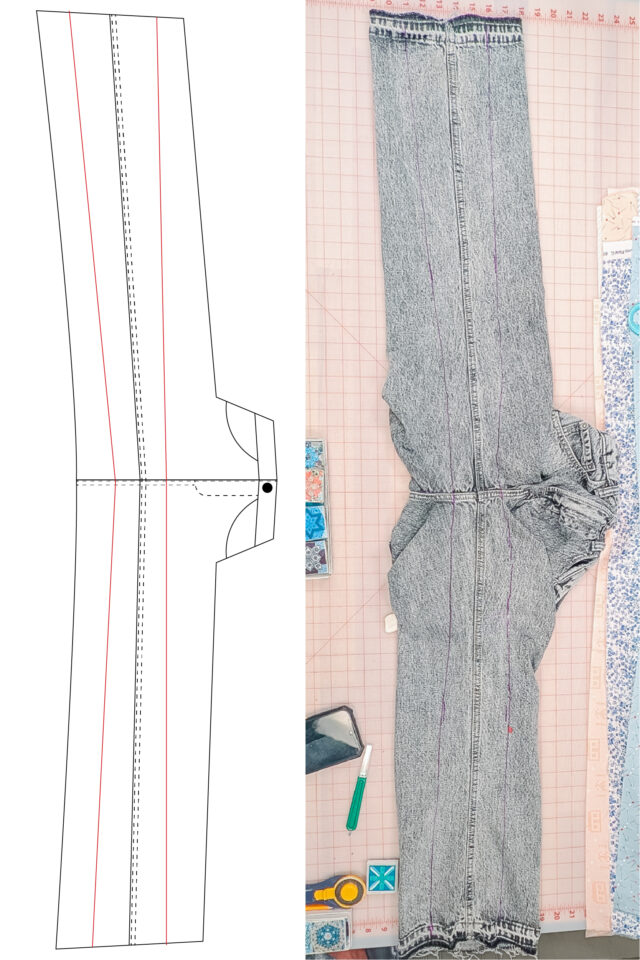
Make sure to mark the front of the panel.
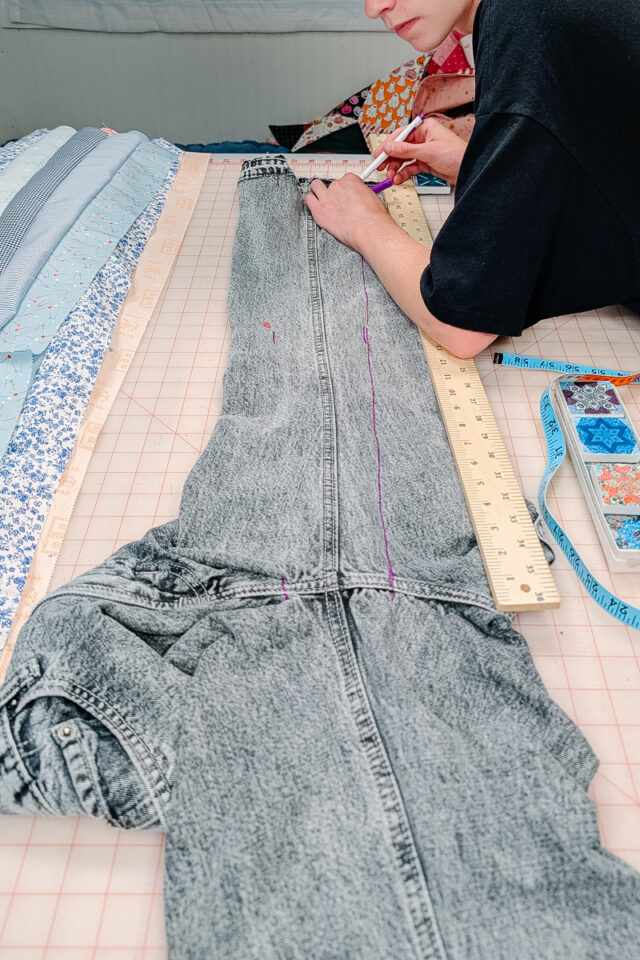
Cut out the panel.
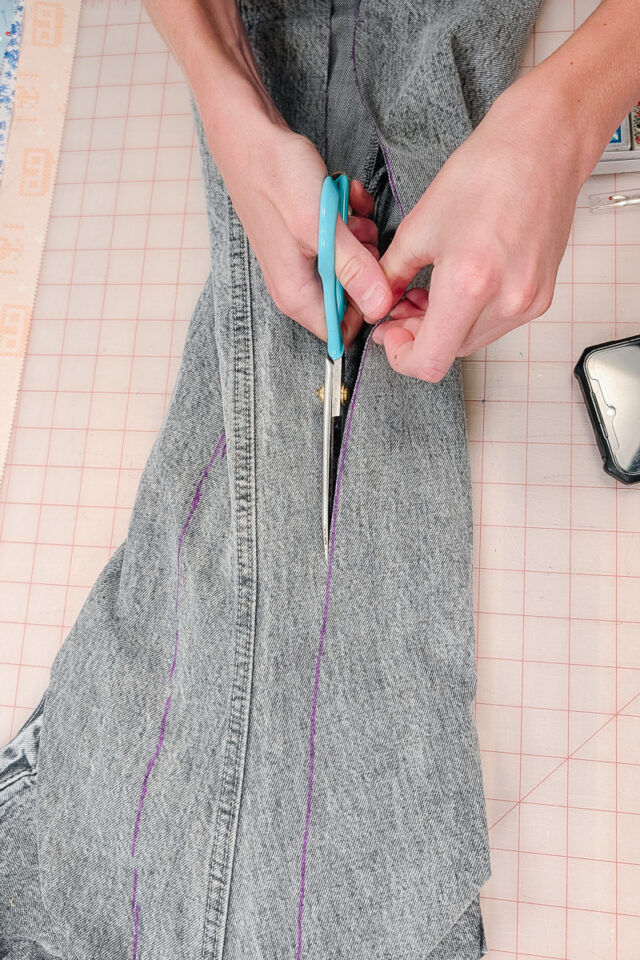
One the jeans that are having fabric added, cut out the inseam. Seam rip the hem and press it open.
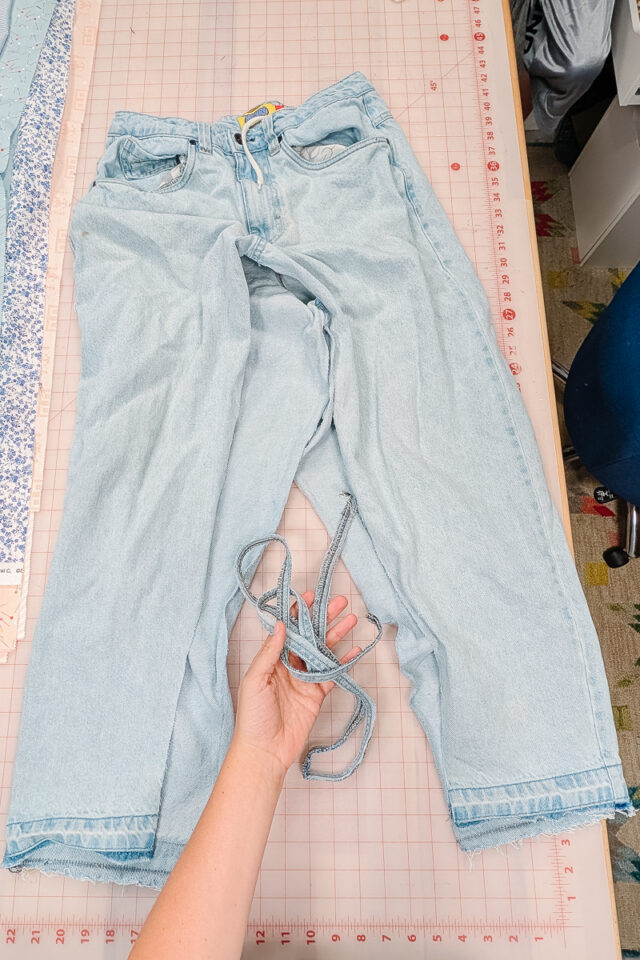
Pin the front of the panel into the front of the inseam with right sides together. Match up the hems and the crotch seams. If the crotch seam is really thick, hammer the seams to help flatten them before sewing. Sew the seam and finish the edges with a serger or zigzag stitch.
Pin the back of the panel into the back of the inseam with right sides together. Match up the hems and the crotch seams. Sew the seam and finish the edges with a serger or zigzag stitch.
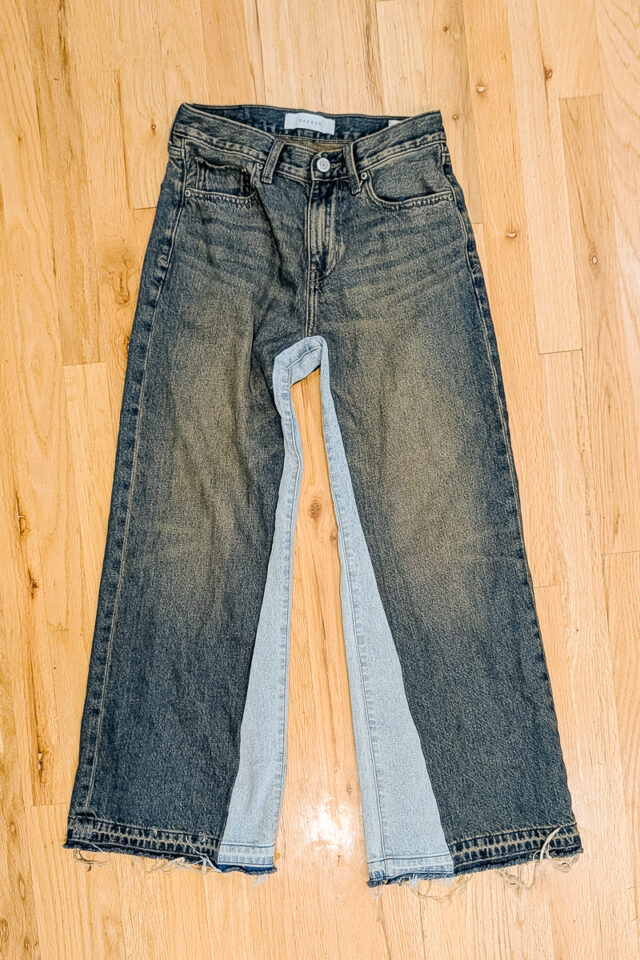
Press the seams away from the panel. Turn the pants right side out. You finished!
Adding Denim to the Outseam
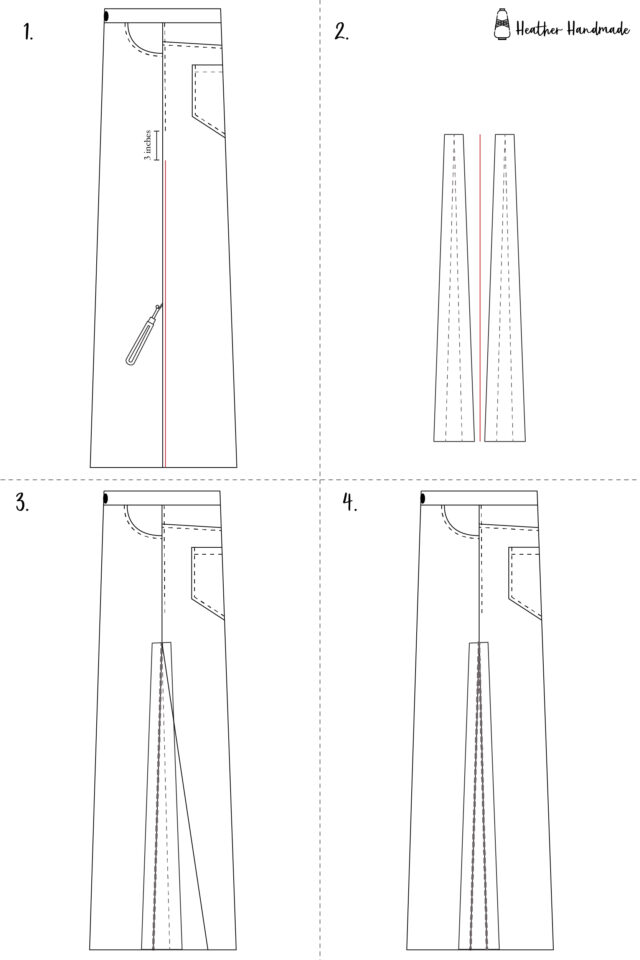
I didn’t get process pictures for this part, but I created some illustrations to show you.
Seam rip the hems of both legs and press open. Seam rip the leg up to three inches below the side pocket stitching.
Measure the length of the open seam and minus 1/2 inch. Measure how much you want to add to the legs at the hem and add seam allowance.
Use the measurements to cut mark two triangular shapes. He wanted two inches added so we did three inches across at the bottom of the triangle up to 0 inches at the top: just seam allowance. Cut out the two triangular panels with the bottom of the panel going across the hem.
Pin the panel into the open seam with right sides together. Sew the seam. Pin the other side of the panel into the other side of the seam. Sew the seam. Finish all the seams with a zigzag stitch or serger.
You will have a little bit of an open seam above the panel so sew the original leg seam down to the top of the panel. You finished!
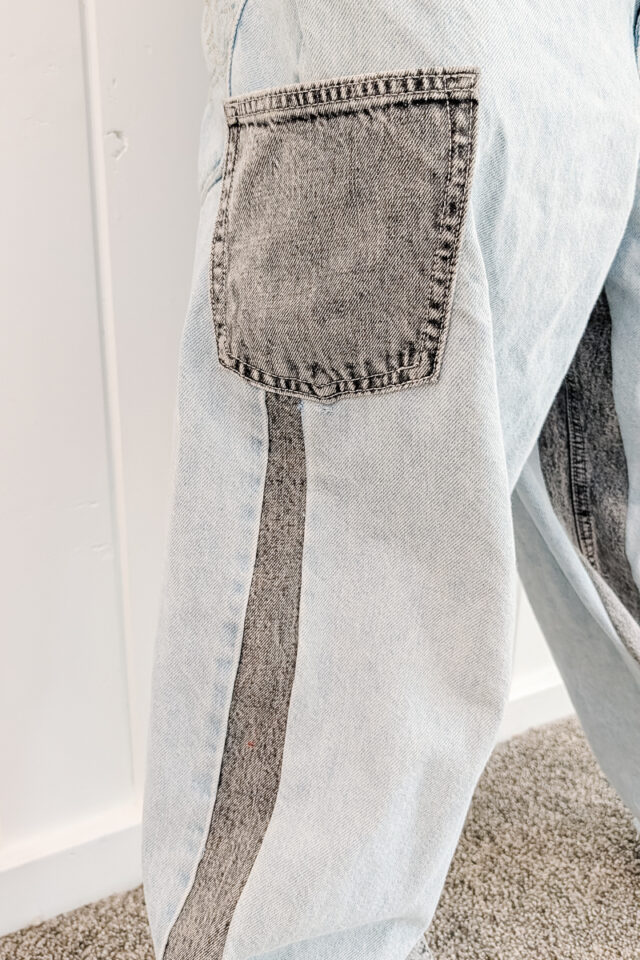
If you didn’t like how the look of the top of the panel or you want to make the pants even more unique, seam rip the original back pockets. Pin them under the side pocket, over the top of the panel, and next to the back pocket. Topstitch the pocket in place.
If you make something using this sewing project, I’d love to see! Please share it on social media with the hashtag #heatherhandmade and tag me!

I believe small sewing moments can create great joy. Find your own “right” way to sew. -Heather