
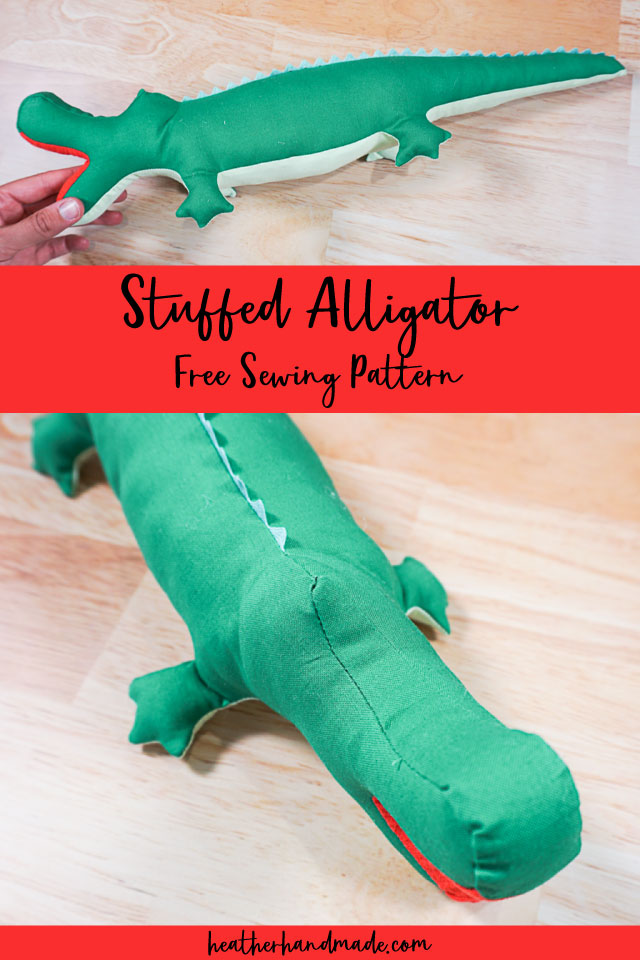
Free Stuffed Alligator Sewing Pattern

This post may contain affiliate links.
Learn how to make an adorable stuffed alligator with a free sewing pattern. It’s a cute little toy stuffie for kids, and it makes a great handmade gift!
I made a stuffed alligator for my son before he was born, and he’s loved it ever since. There was a free sewing pattern that went with it, but it was before the time of good photography and digitized patterns.
Our puppy chewed up the stuffed alligator (and a bunch of other stuffed animals), and my son was pretty sad. I told him I’d make him a new one which gave me the motivation to fix the pattern!
I went back and digitized the pattern, perfected it, and simplified it. I’m so excited to share this (better) free stuffed alligator sewing pattern and better pictures.
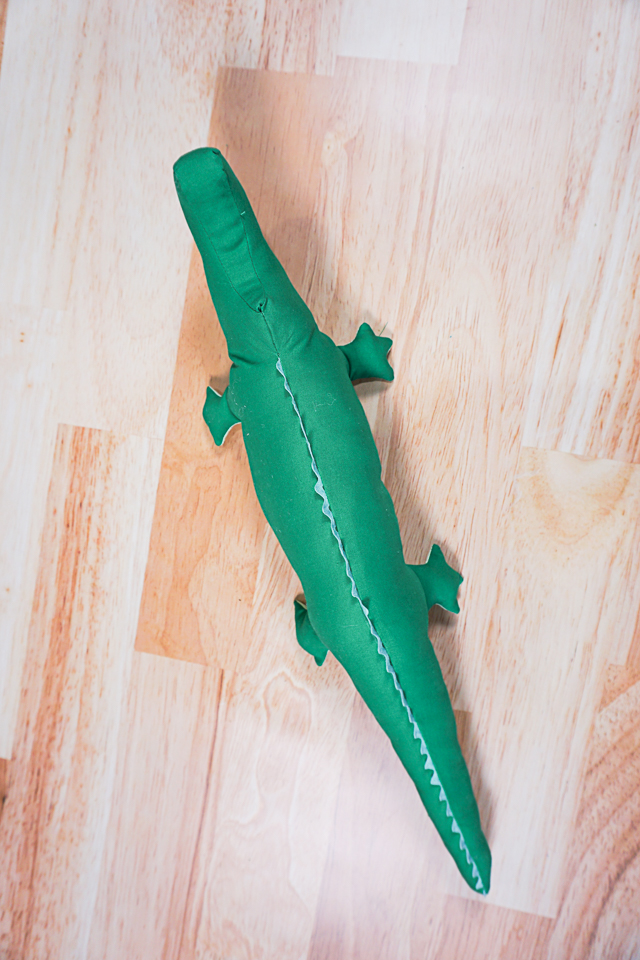
I kept this version pretty simple because that’s how I like things, but you can add all sorts of fun details. I decided to leave off the eyes to see how I liked it.
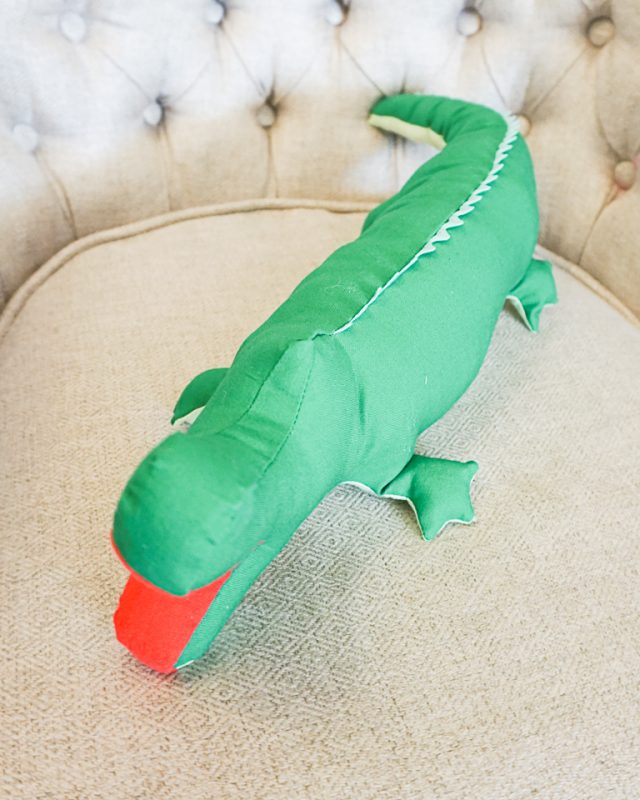
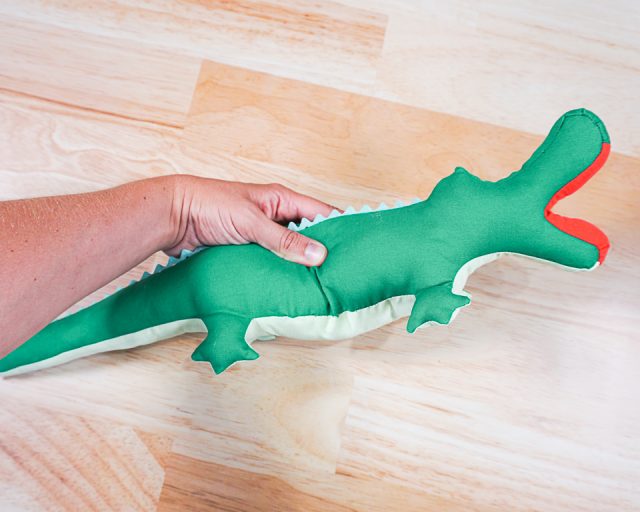
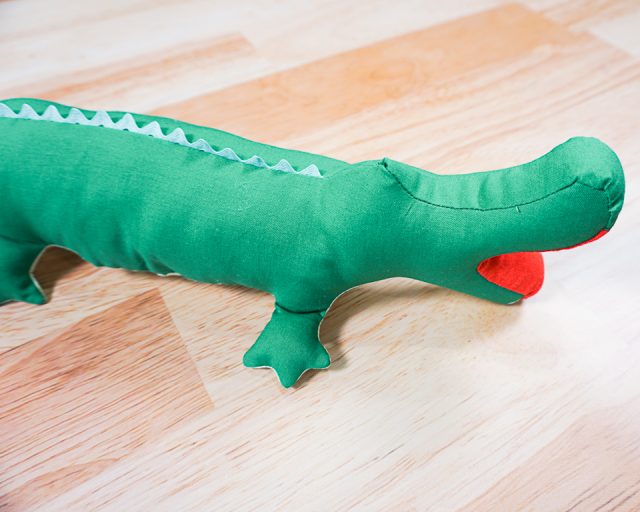
I really do love the open red mouth and the rick rack spines along the back. Those are the kind of details that I love!
what is a pdf sewing pattern?
A PDF pattern is a sewing pattern designed on the computer and organized so that it can be printed on several letter or A4 size pieces of paper.
I love using PDF sewing patterns because if the pattern gets ruined or if my children or I changed sizes, I can always print it again. It’ll never be destroyed since I have a digital version!
how do you use a PDF sewing pattern?
Open the PDF on a computer and click print. When printing make sure that the scaling is set to 100% or no scaling so that the pattern prints at the correct size.
Once the pattern is printed it can be taped together to get the full size. Then the pattern can be cut for each pattern piece size or individual sizes can be traced so that the pattern can be used again and again. Learn how to use PDF sewing patterns.
This is the original stuffed alligator I made so long ago. He loved this toy so much!

Besides adding more details you can use different prints and colors to make it more interesting. The best fabric to use is quilting cotton for a soft but sturdy fabric. It doesn’t stretch out too much, and it looks the best.
Do you love to sew? Try one of these sewing projects:
- Gift ideas to sew
- Mini felt mermaid stuffies
- Quilting cotton sewing projects
- Fat quarter sewing projects
- How to make a felt alligator
- Free sewing patterns for kids
- Sewing projects for dogs
Free Stuffed Alligator Sewing Pattern
Supplies
- 1 fat quarter of dark green cotton fabric
- 1 fat quarter of light free cotton fabric
- scrap of red cotton fabric
- scrap of green rick rack
- Poly-fil
- Stuffed aligator sewing pattern – get it at the end of the post
- Sewing tools
- Sewing machine
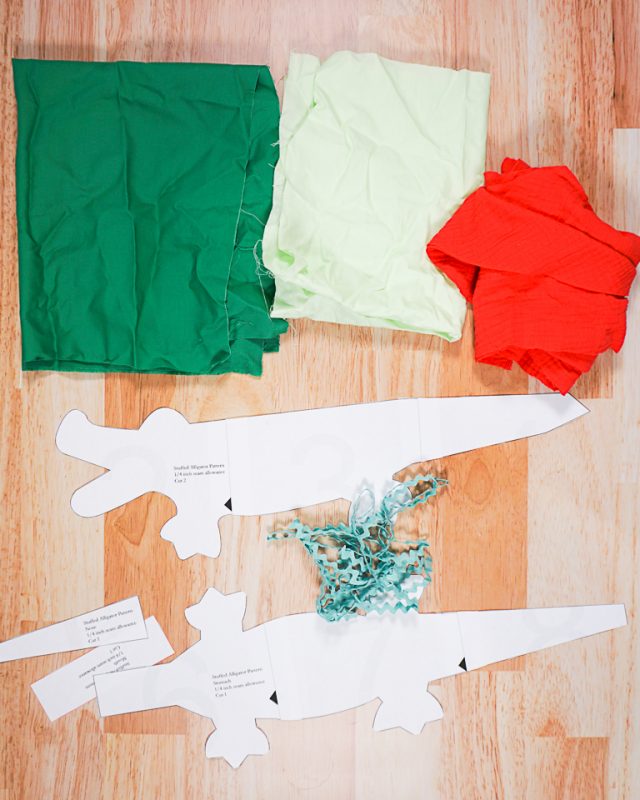
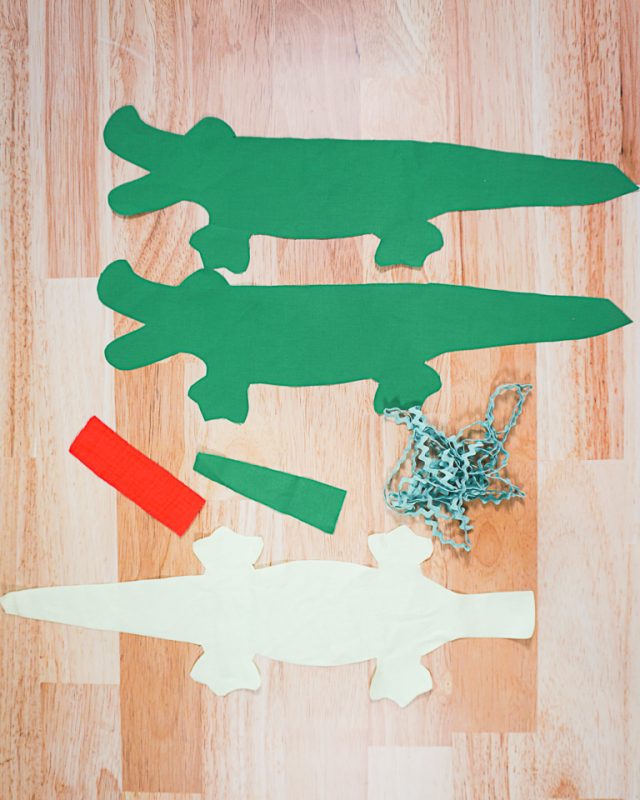
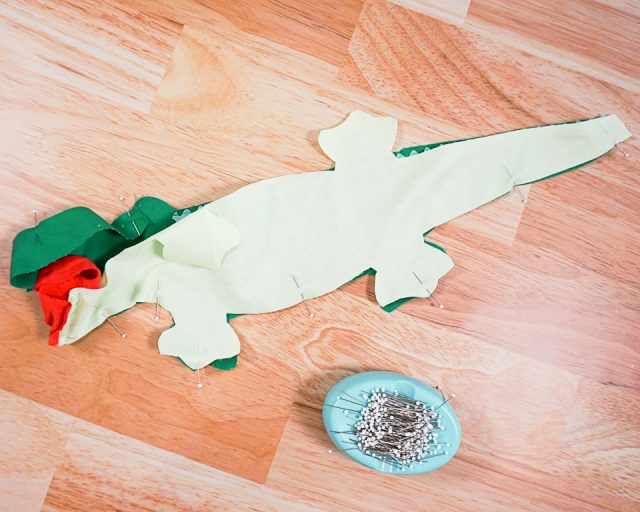
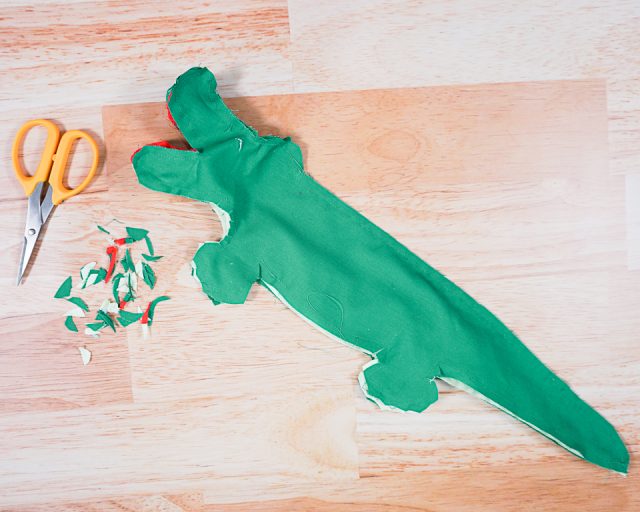
First, cut out all your pieces. Cut two side pieces and the nose piece from dark green fabric. Cut one belly piece from light green fabric. Cut the mouth from red fabric.
Remember to mark the dots on the side pieces and the pleats on the belly piece.
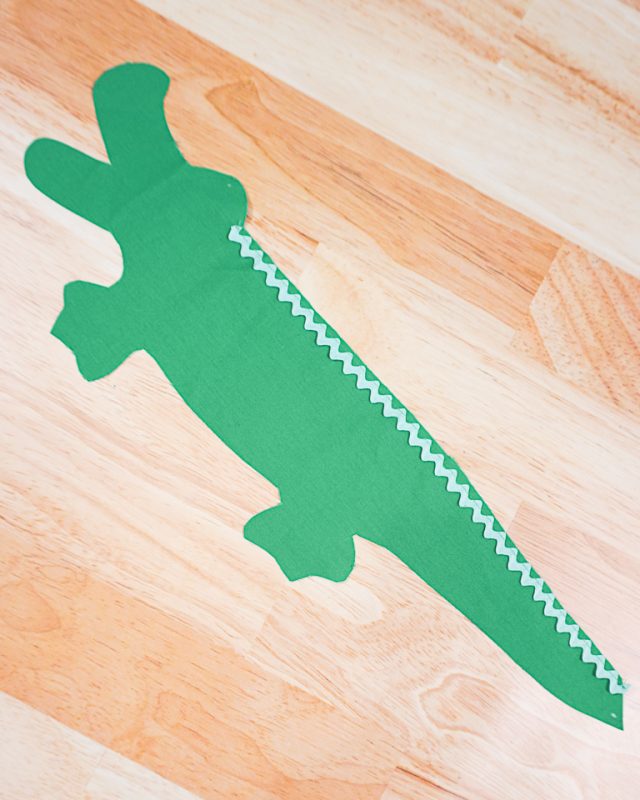
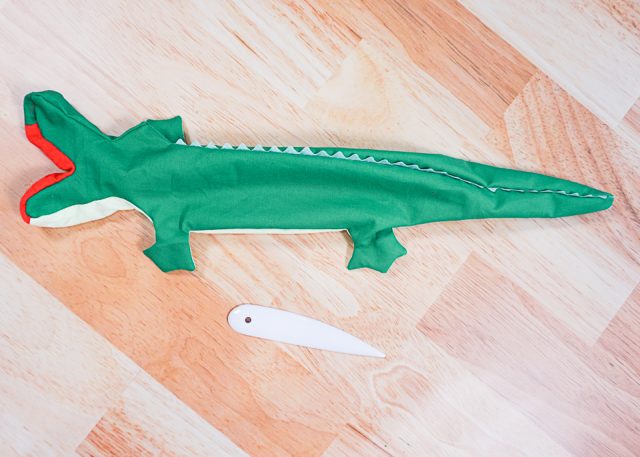
Pin the rick rack between the base of the head and the end of the tale. Make sure the cut edge of the rick rack ends inside the seam allowance.
Baste the rick rack to the back 1/8 inch from the edge.
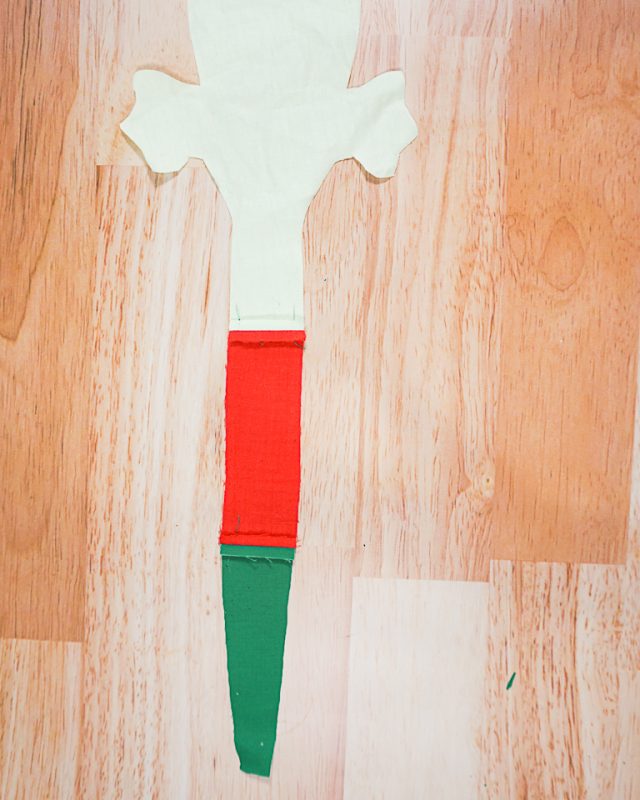
With right sides together sew the mouth to the face and belly piece. Press the seams open.
With right sides together pin one side piece to the belly between the dots (from tail up to the top of the head). Matching up the feet, tail, and belly is pretty easy, but the mouth and head is pretty tricky since you are putting a curved edge and flat edge together.
Sew from dot to dot with a 1/4 inch seam allowance. While sewing the mouth and nose, you’ll need to stop with the needle in the fabric and adjust to keep everything flat.
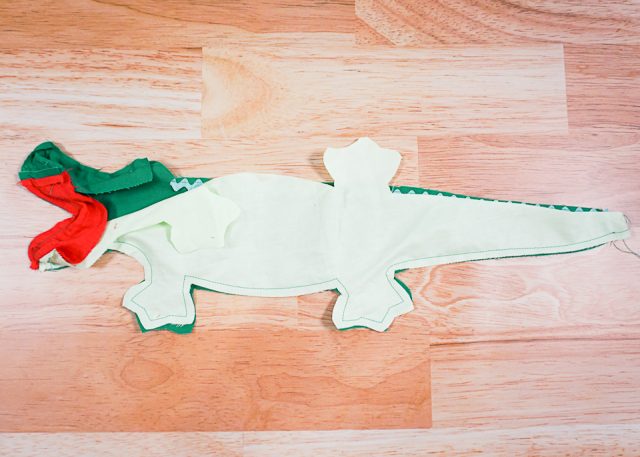
Pin the other side to the belly between the dots. Sew the side to the belly the same way as the first, but leave a hole in the belly for turning and stuffing.

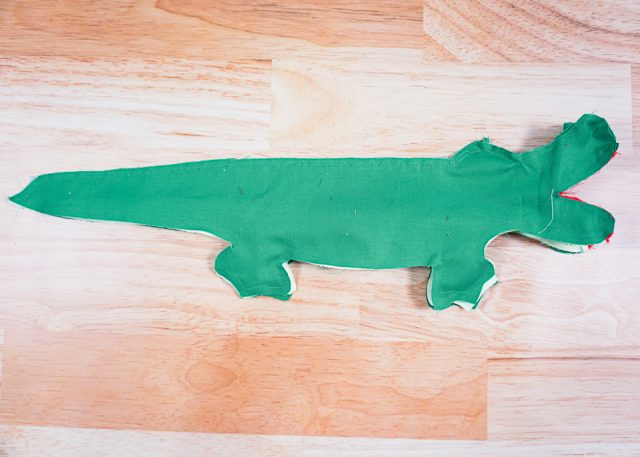
Pin the back pieces of the alligator with right sides together between the head and the tail. Sew the seam.
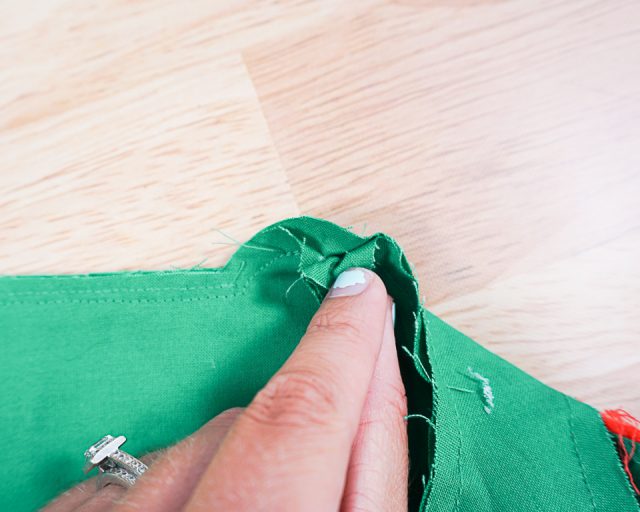
The dots will look kind of like this with three pieces of fabric coming together, but the stitches don’t go to the edge of the fabric. They all meet and end at the same place.
Clip the inside curves like inside of the mouth and where the legs join the body. Notch outside the curves like the nose, chin, and the feet.
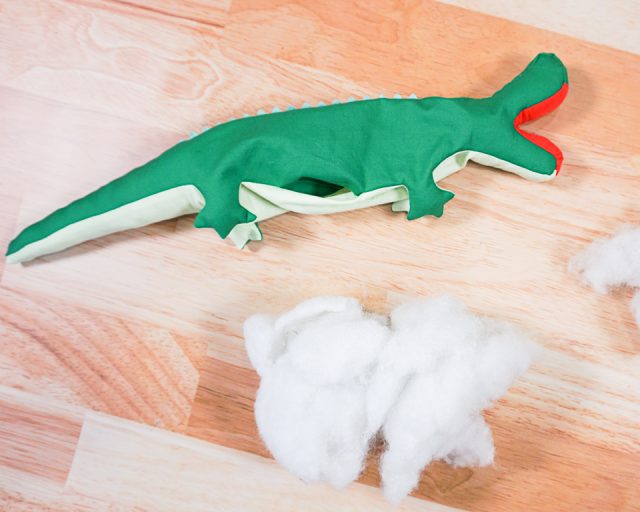
Turn the alligator inside out and poke out the points.
Take tiny pieces of stuffing and fill the head, feet, and tail first.
Stuff the rest of the body until it’s full and firm.
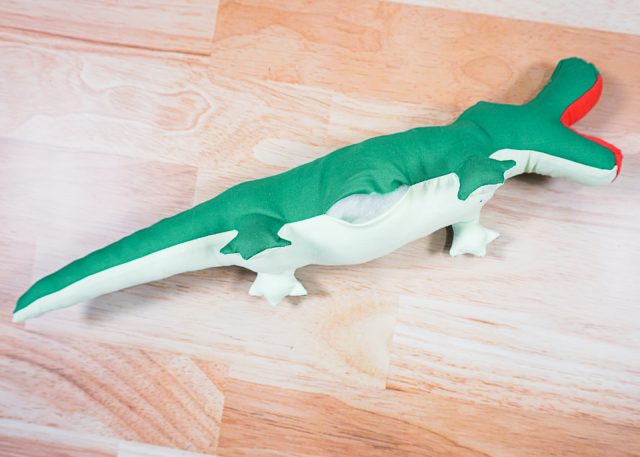
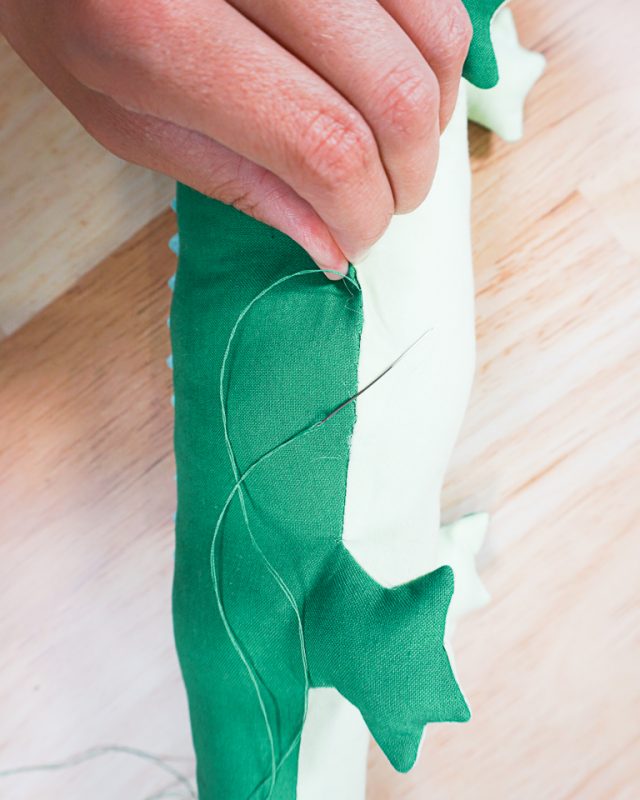
Hand stitch the hole closed with a ladder stitch.
Feel free to add eyes. You finished!

Get the Free Stuffed Alligator Sewing Pattern
If you make something using this sewing project, I’d love to see! Please share it on social media with the hashtag #heatherhandmade and tag me!

I believe small sewing moments can create great joy. Find your own “right” way to sew. -Heather
Thank you for the pattern very much. I am sewing it right now.” Remember to mark the dots on the side pieces and the pleats on the belly piece.” What are the pleats? Thank you for your help.
I actually removed that from the pattern from the original design. Don’t worry about that!
Lovely alligator.
I got all pattern pieces cut out and do not understand at all how to even begin putting it together. Can someone please help me.
This is so stinking cute!!! It must be the same size, if not longer, than that adorable little baby! HA!
I featured this as one of today's top patterns over at SewSet. Thanks for sharing!
– Jess, SewSet.com
Oh my. I wish I was this creative. Darn you
– Meg
mysideispinker.blogspot.com
That is awesome! I want one!
This is adorable, and I LOVE the belly pleats!!
This is so cute! Thank you for sharing the pattern.