How to Make a Felt Alligator

This post may contain affiliate links.
Learn how to make a simple felt alligator with a free sewing pattern. This is a great hand sewing project for kids, and they get to choose all the colors.
Are you looking for a fun activity for kids this summer? If you’ve used up a lot of your ideas, here’s a really fun simple kids sewing project with a free sewing pattern. My kids called theirs alligators, salamanders, and pokemon so it created a fun imagination game.
Let them choose their color of felt and embroidery floss to make it a fun hand sewing project. Learn a couple of different tips and tricks to make this project so much easier for kids!
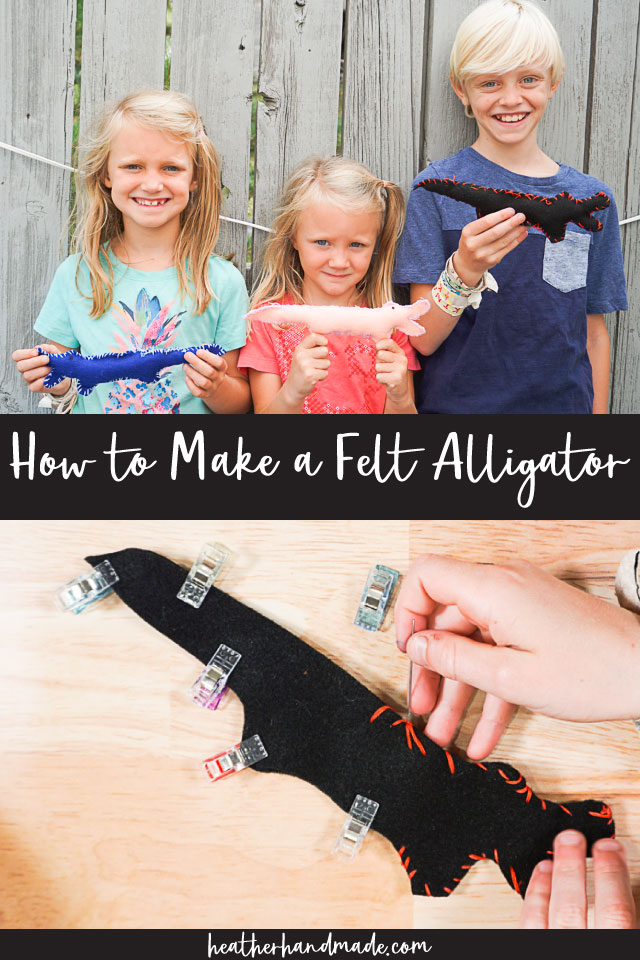
If you want to know how my kids did, they only needed help threading their needles and tying knots. My 9 year old and 7 year old were able to complete their alligators. They both missed a couple of spots combining the felt or putting stitches too far apart, but it was easy for them to go back and fix those sections. My 5 year old put her stitches really close together and got bored of the project, so she needed my help to finish.
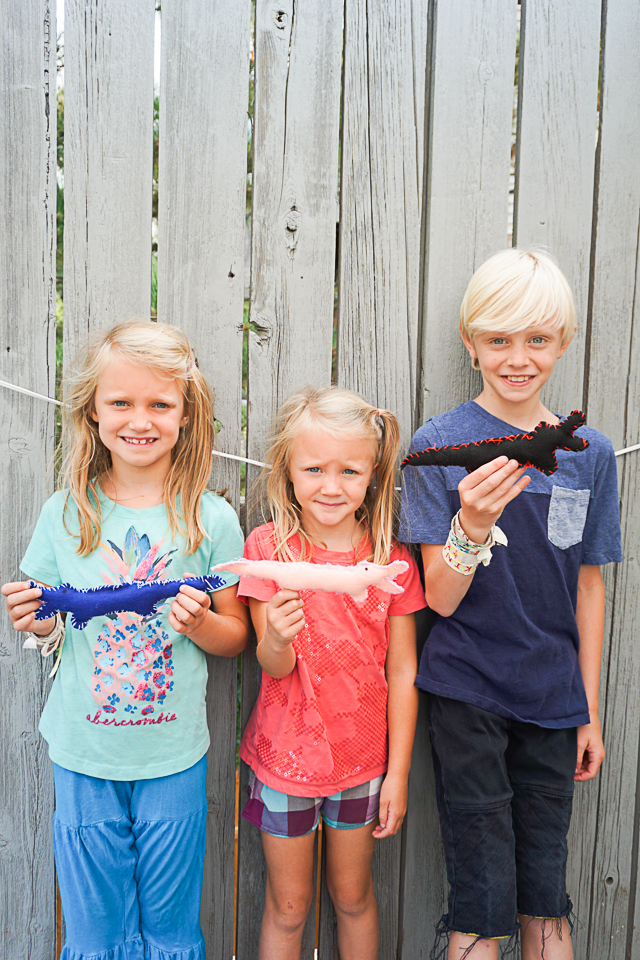
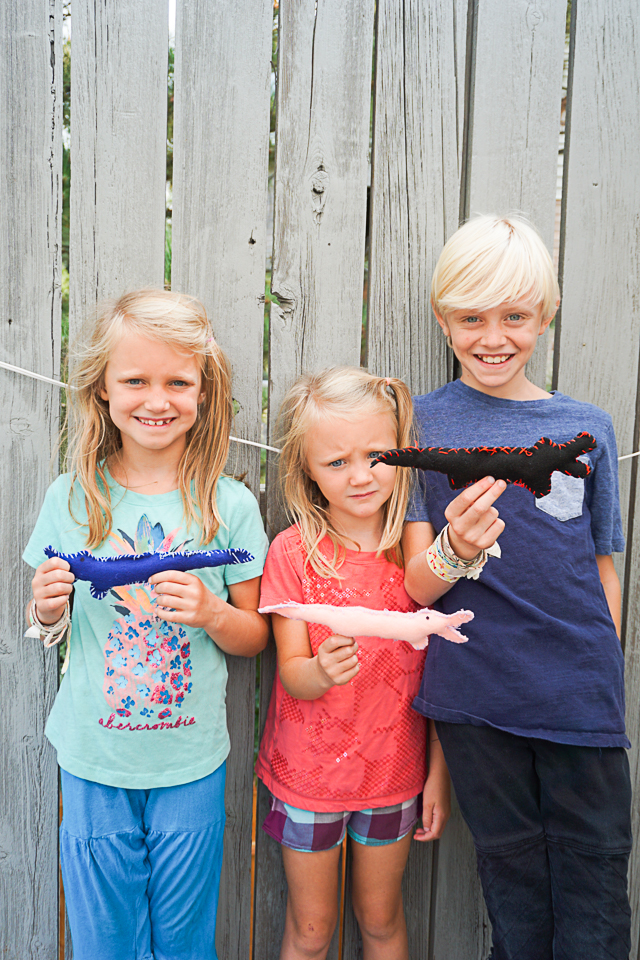
My son chose black and red to be a pokemon, my daughter chose navy and blue to be a “fire” salamander from Frozen 2, and my daughter chose pink and purple flower salamander. It was so fun to watch them choose colors and imagine what their alligator could be.
I was surprised at how excited they were to make the project. They all got stitching right away and diligently worked on them until they were finished. I didn’t make them space their stitches perfectly or hide the knots, so that they could just enjoy the sewing. They’ll learn the rules as they get better at hand sewing.
It was a really fun inside project to work on when it was too hot to play outside. I cut out the felt for them to make it easier, but I give tips so that kids can cut their felt pieces all by themselves.
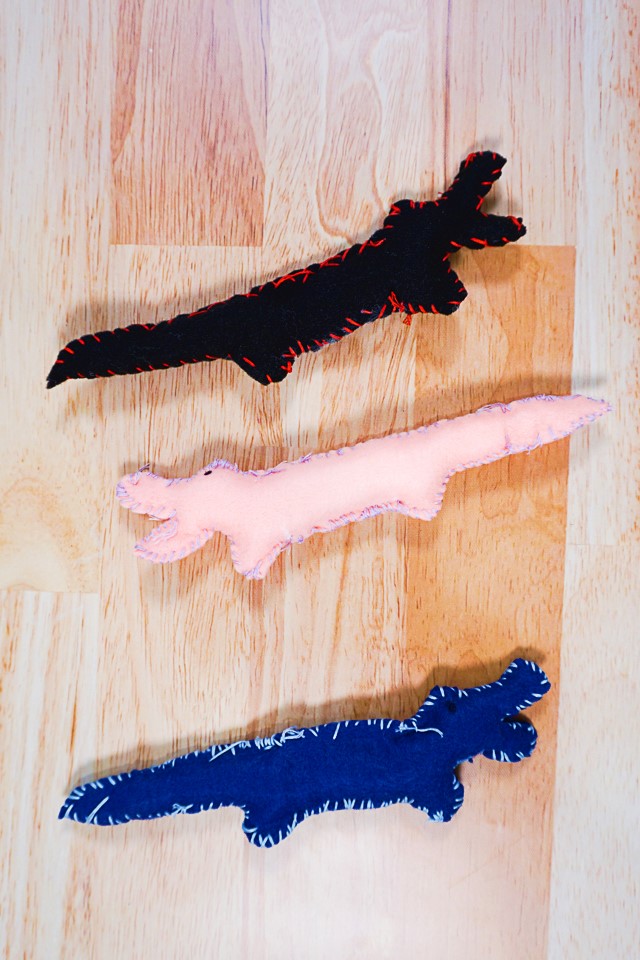
This post is part of the Sew a Softie tutorial hop and there are so many fun projects this year!
Do you love to sew? Try one of these sewing projects:
- How to sew felt
- Felt sewing projects
- Gift ideas to sew
- Mini felt mermaid stuffies
- Quilting cotton sewing projects
- Fat quarter sewing projects
- Free stuffed alligator sewing pattern
- Free sewing patterns for kids
How to Make a Felt Alligator
Supplies
- Felt
- Scissor
- Hand sewing needle that can fit embroidery floss
- Embroidery floss
- Beeswax – to prevent tangled thread
- Optional: freezer paper – to make cutting felt easier
- Poly-fil
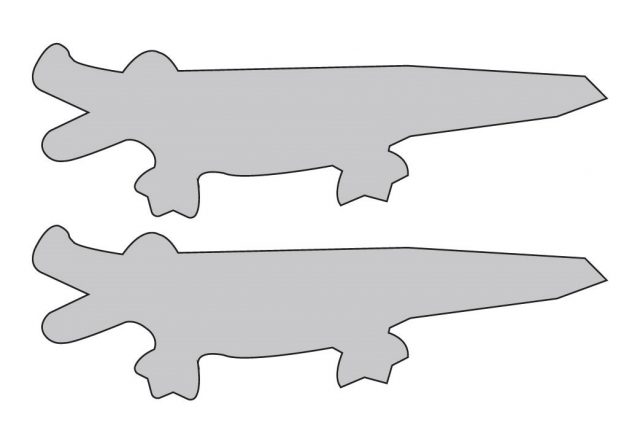
- Free felt alligator pattern – get it at the end of the post
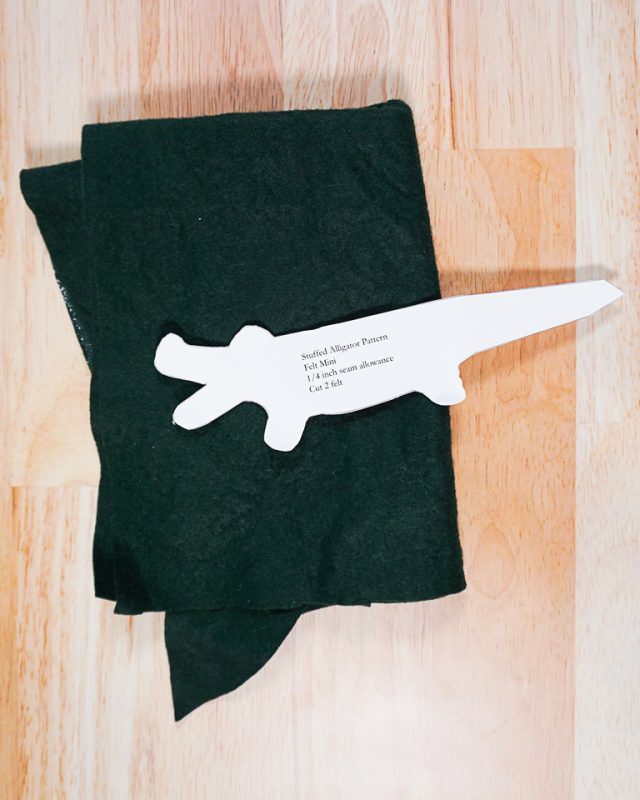
Cut out two alligator pieces from the felt.
To make cutting easier iron freezer paper to one side of the felt. Trace the alligator shape onto the freezer paper twice. Cut out the two alligator shapes. Peel the freezer paper off.
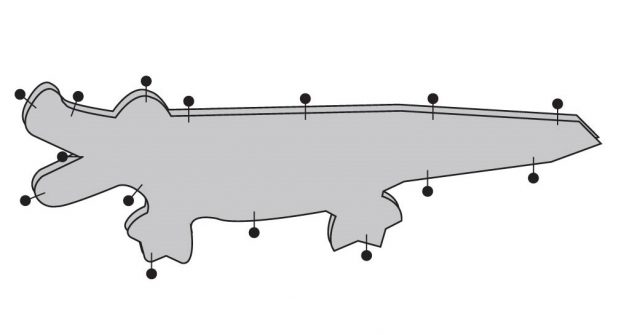
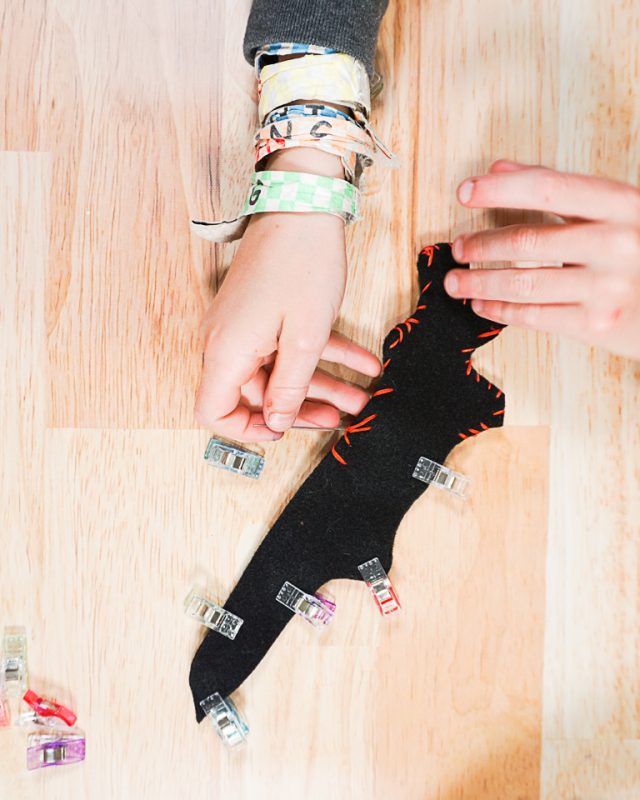
Place the two pieces of felt together and pin or clip all the edges together.
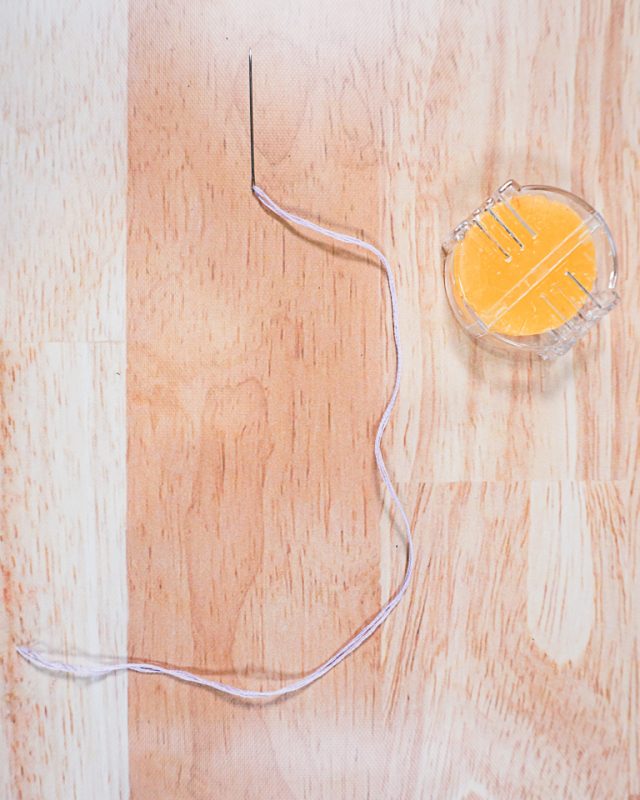
Thread the needle with three strands of embroidery floss and tie both ends into a knot. I found that having an end without a knot that has to keep changing length is a little tricky for kids to understand.
To keep the floss from getting tangled run it through some beeswax. The beeswax will slightly coat the thread and keep it slippery so that it doesn’t get tangled.
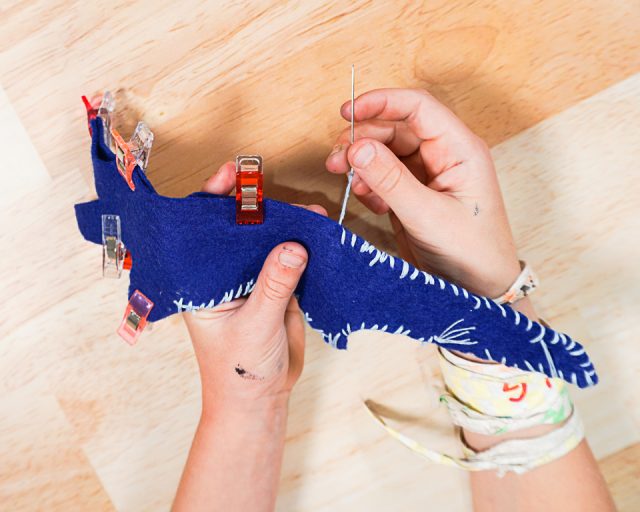
Sew a whipstitch or running stitch around the alligator. Make sure to leave a two inch hole for stuffing.
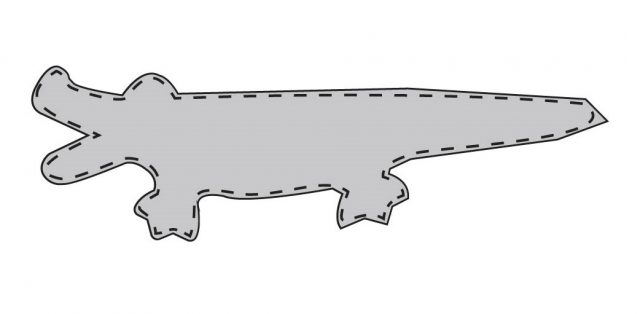
I taught my kids to do a whipstitch and some of them did really tight stitches and some of them did really loose stitches. They each learned what happens when the stitches aren’t spaced well.
Stuff the alligator with poly-fil. Sew the hole closed.
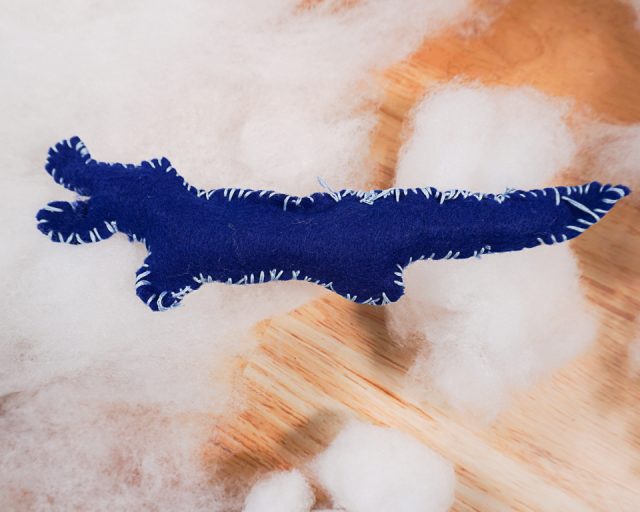
You finished! I found it was easier for my kids if we didn’t worry about where the knots were or trying to hide them inside. I’ll teach them that skill the next time we make something.

Get the free felt alligator sewing pattern
If you make something using this sewing project, I’d love to see! Please share it on social media with the hashtag #heatherhandmade and tag me!

I believe small sewing moments can create great joy. Find your own “right” way to sew. -Heather
