
DIY Removable Rumi Hair Tutorial from Kpop Demon Hunters

This post may contain affiliate links.
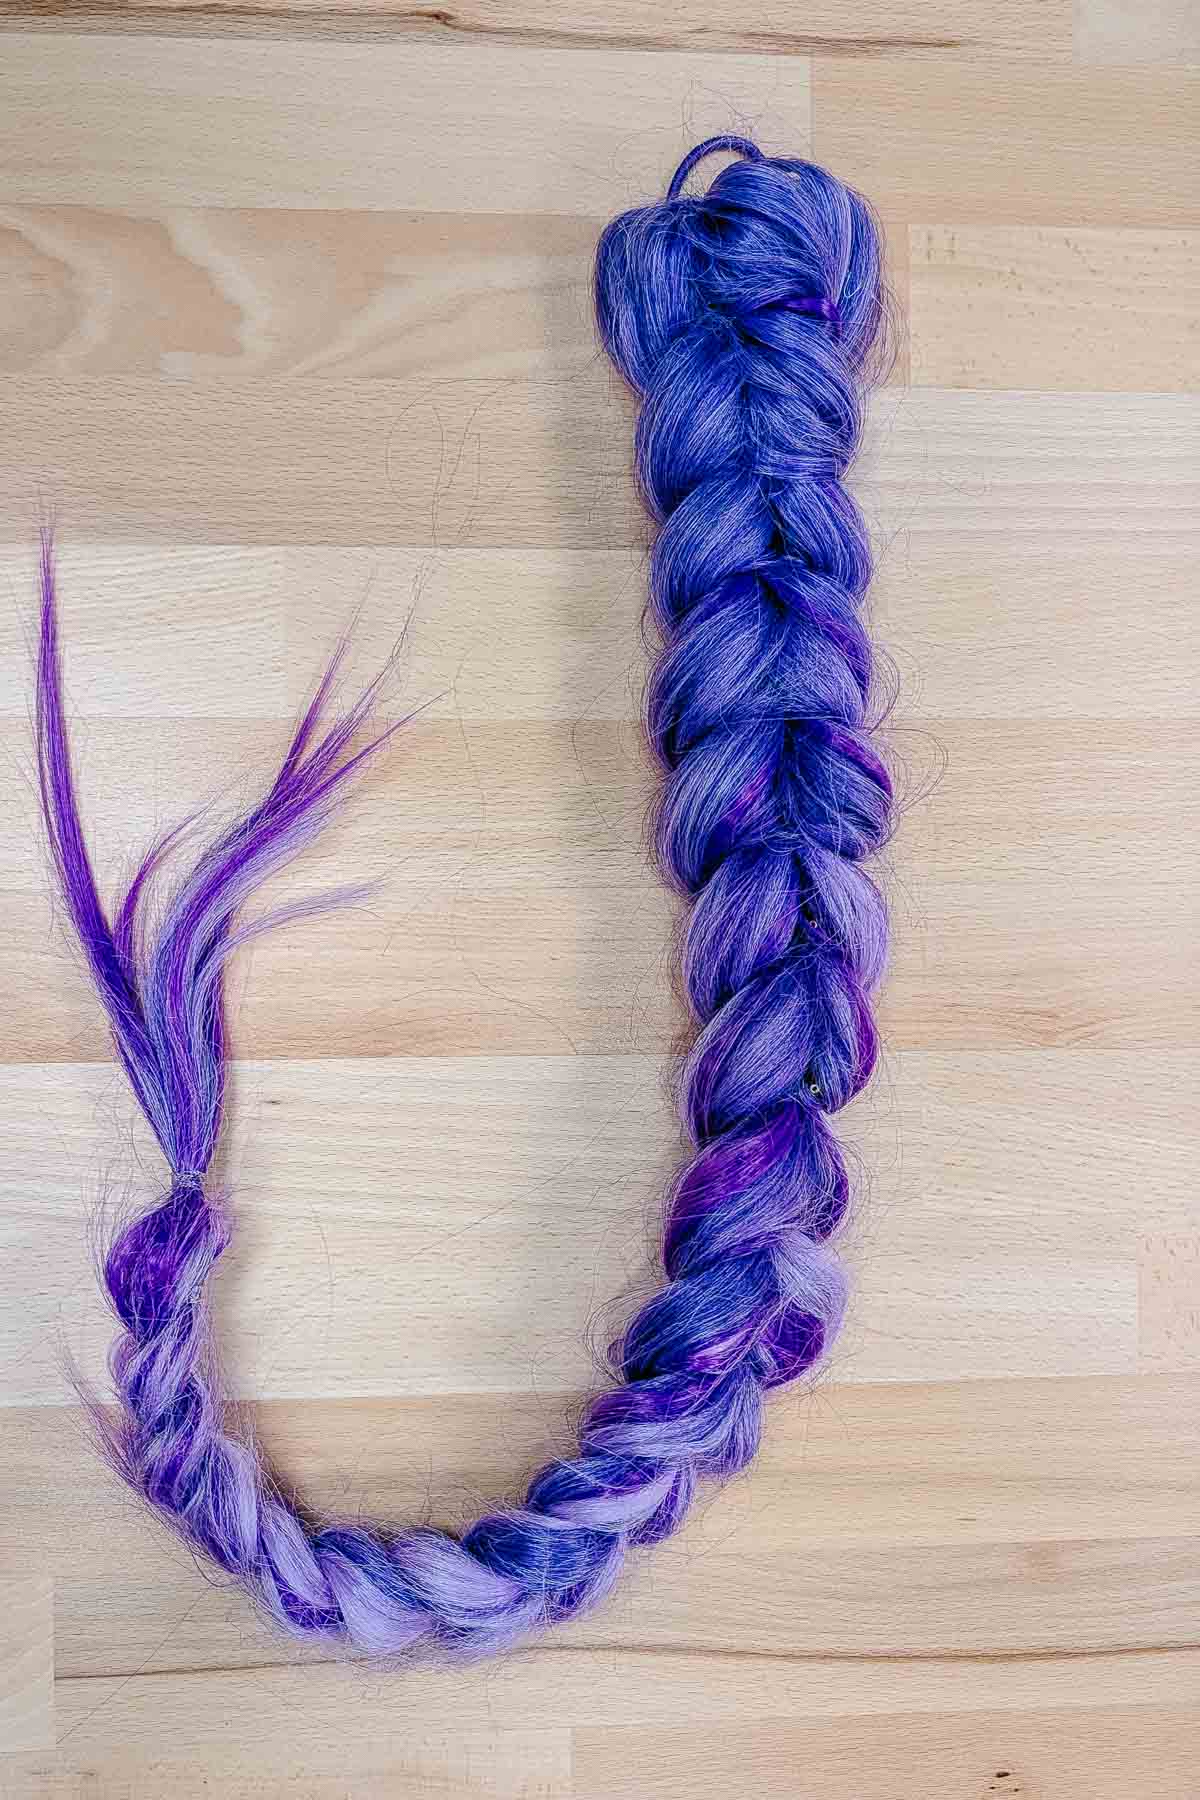
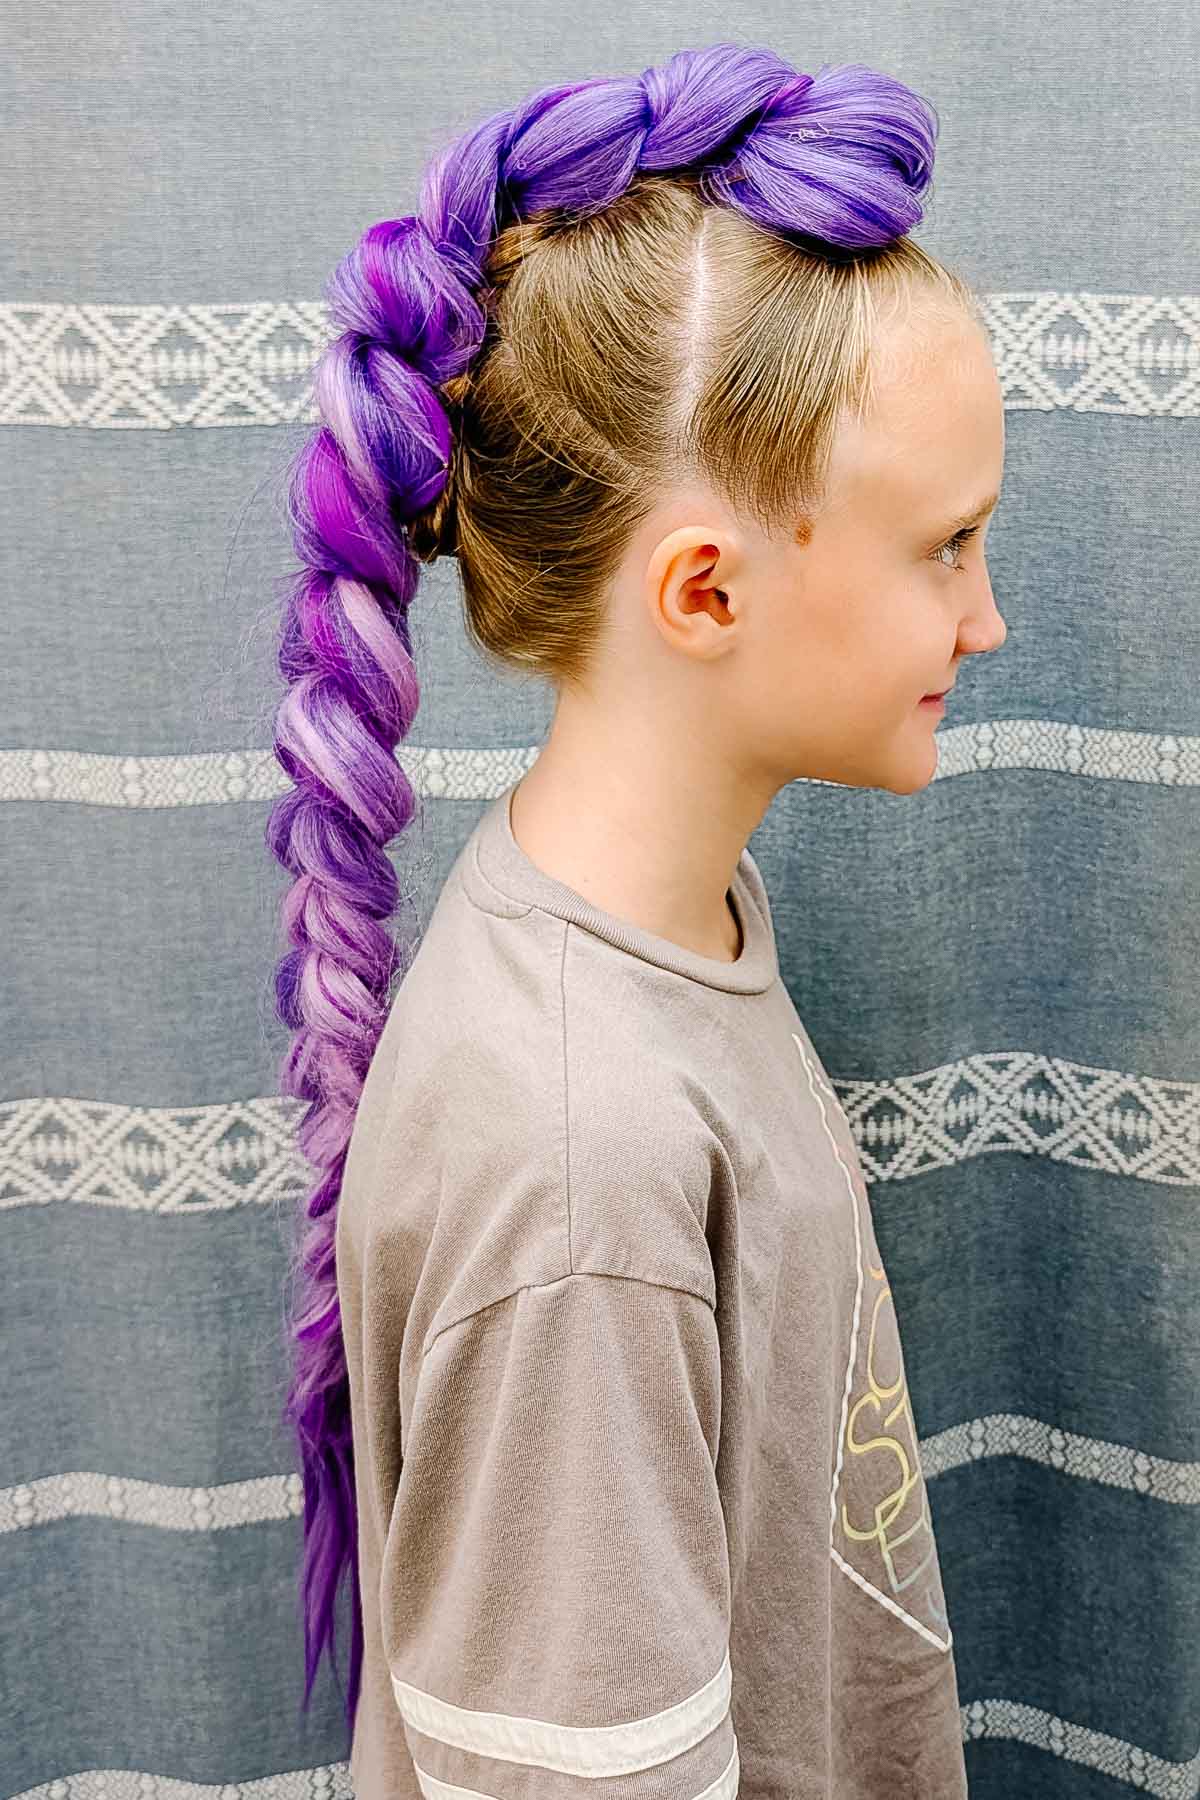
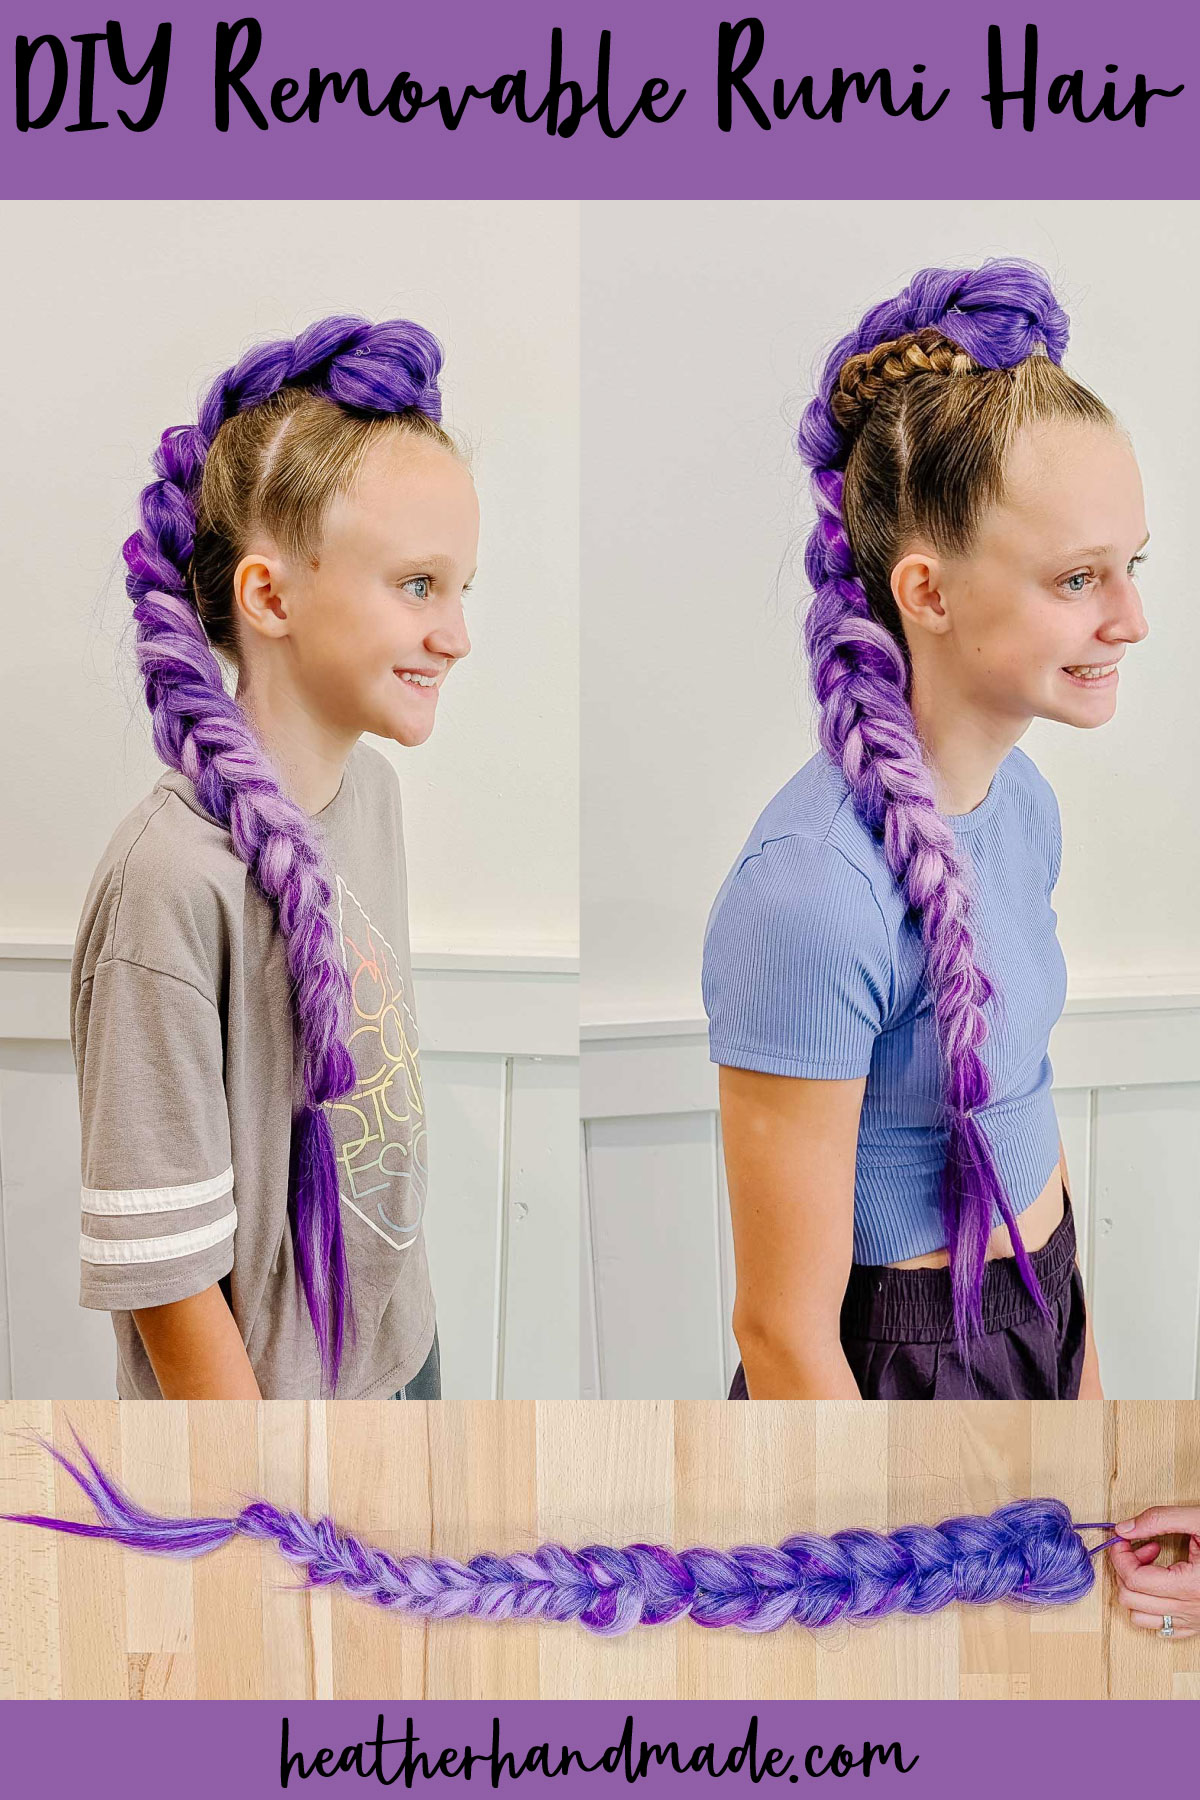
Learn how to make a removable braid with this Rumi hair tutorial. It’s an easy way to quickly have Kpop Demon Hunter hair without a wig.
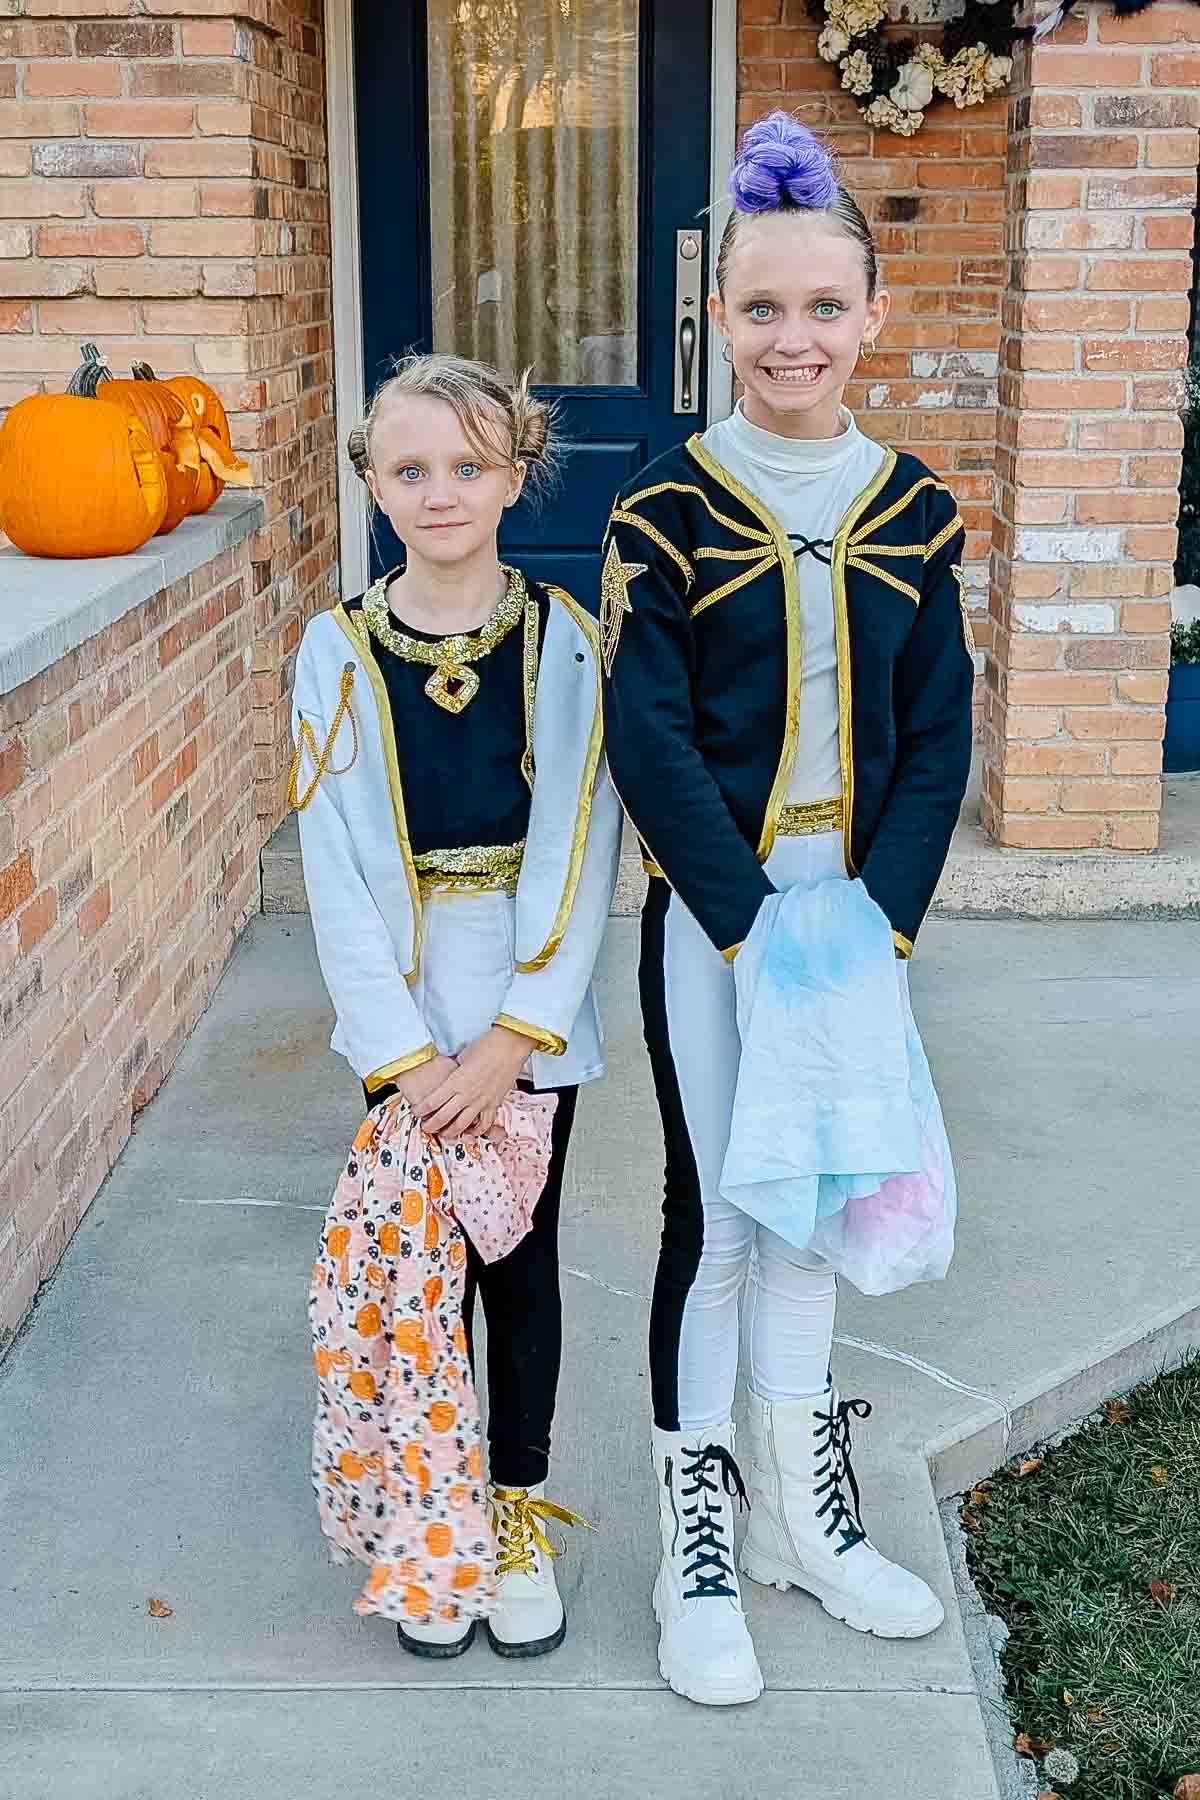
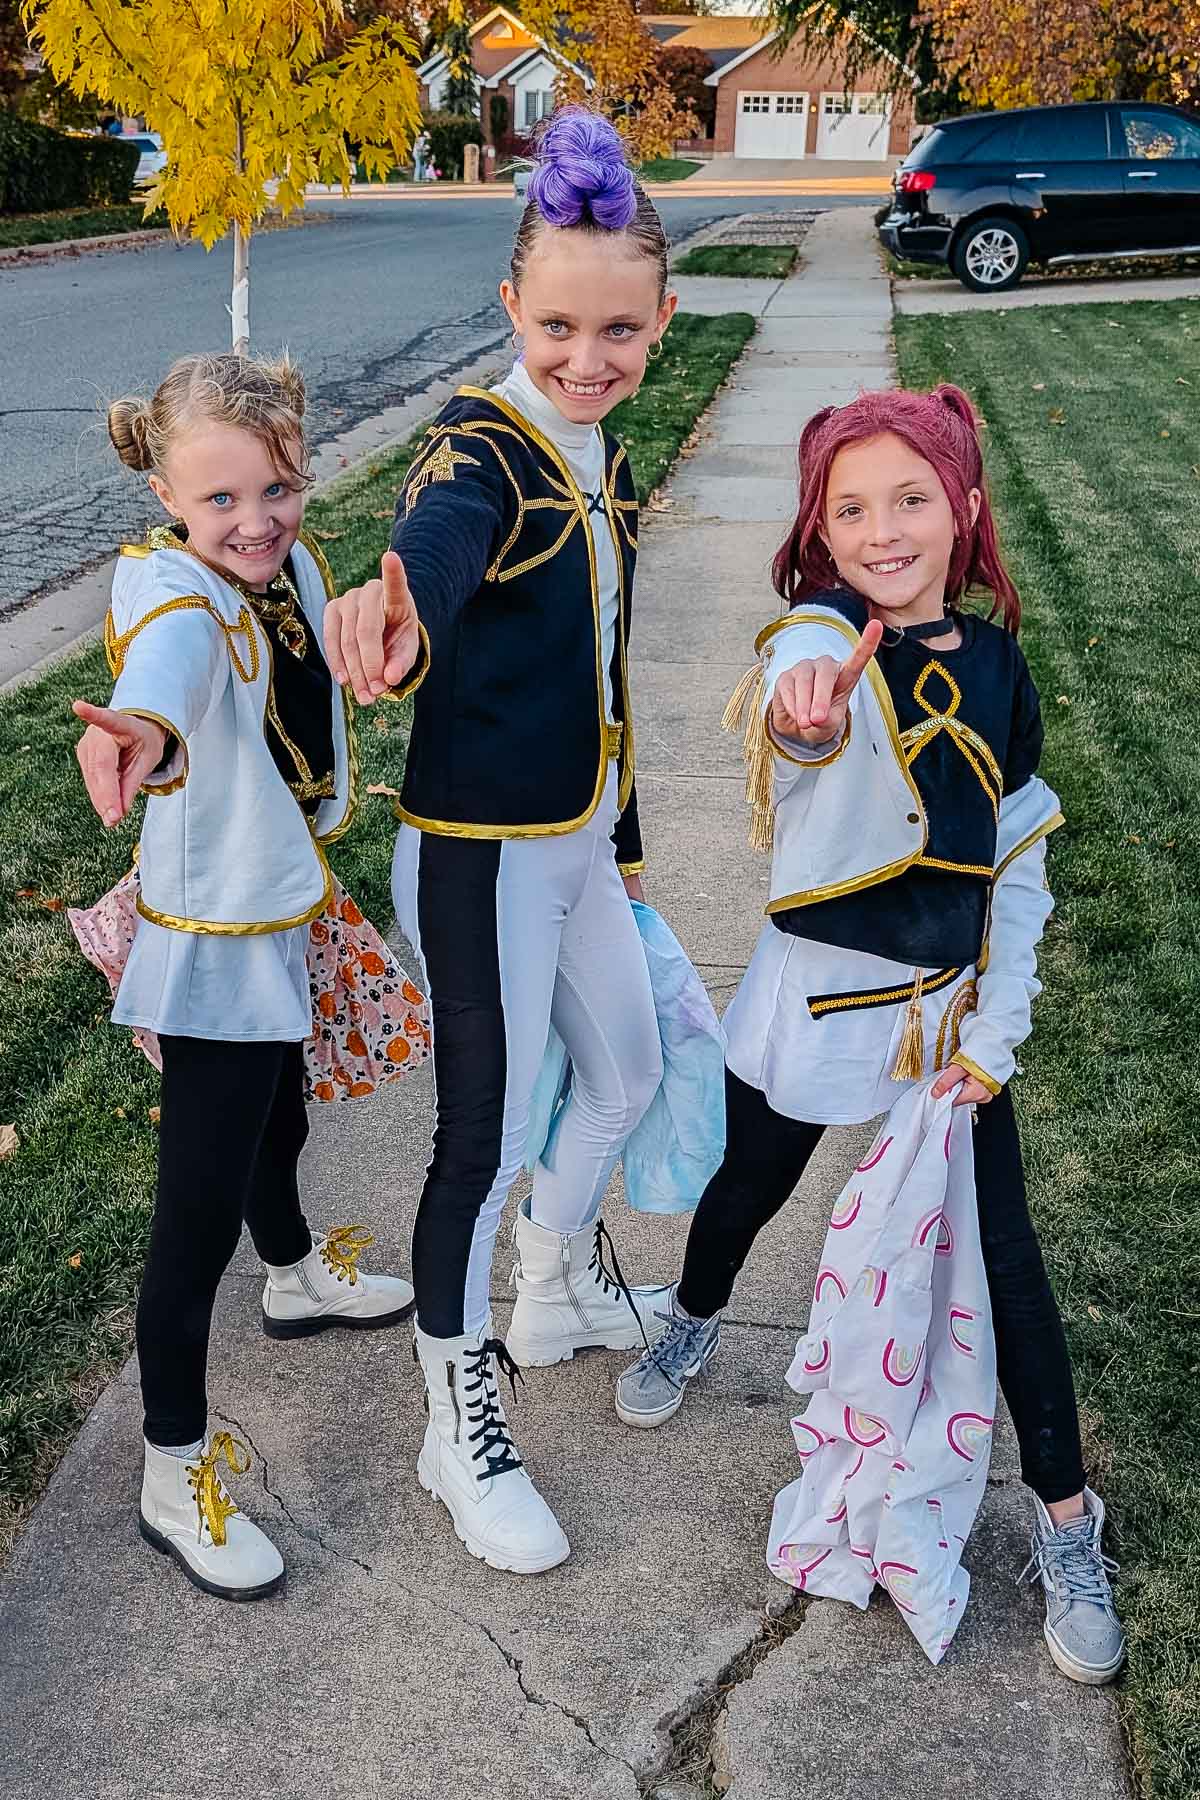
When my daughters dressed up as Huntrix from Kpop Demon Hunters we had to figure out Rumi’s purple braid. First, I looked for a purple wig. There weren’t very many options when the movie first came out, and my daughter doesn’t like wearing wigs.
Then we tried buying purple hair extensions and putting it in her dragon braid every time. We quickly realized that it took 30+ minutes to do my daughters long hair with added extensions. We didn’t have time to redo her Rumi hair every time she wore her costume, or every time she and her friends dressed up for fun.
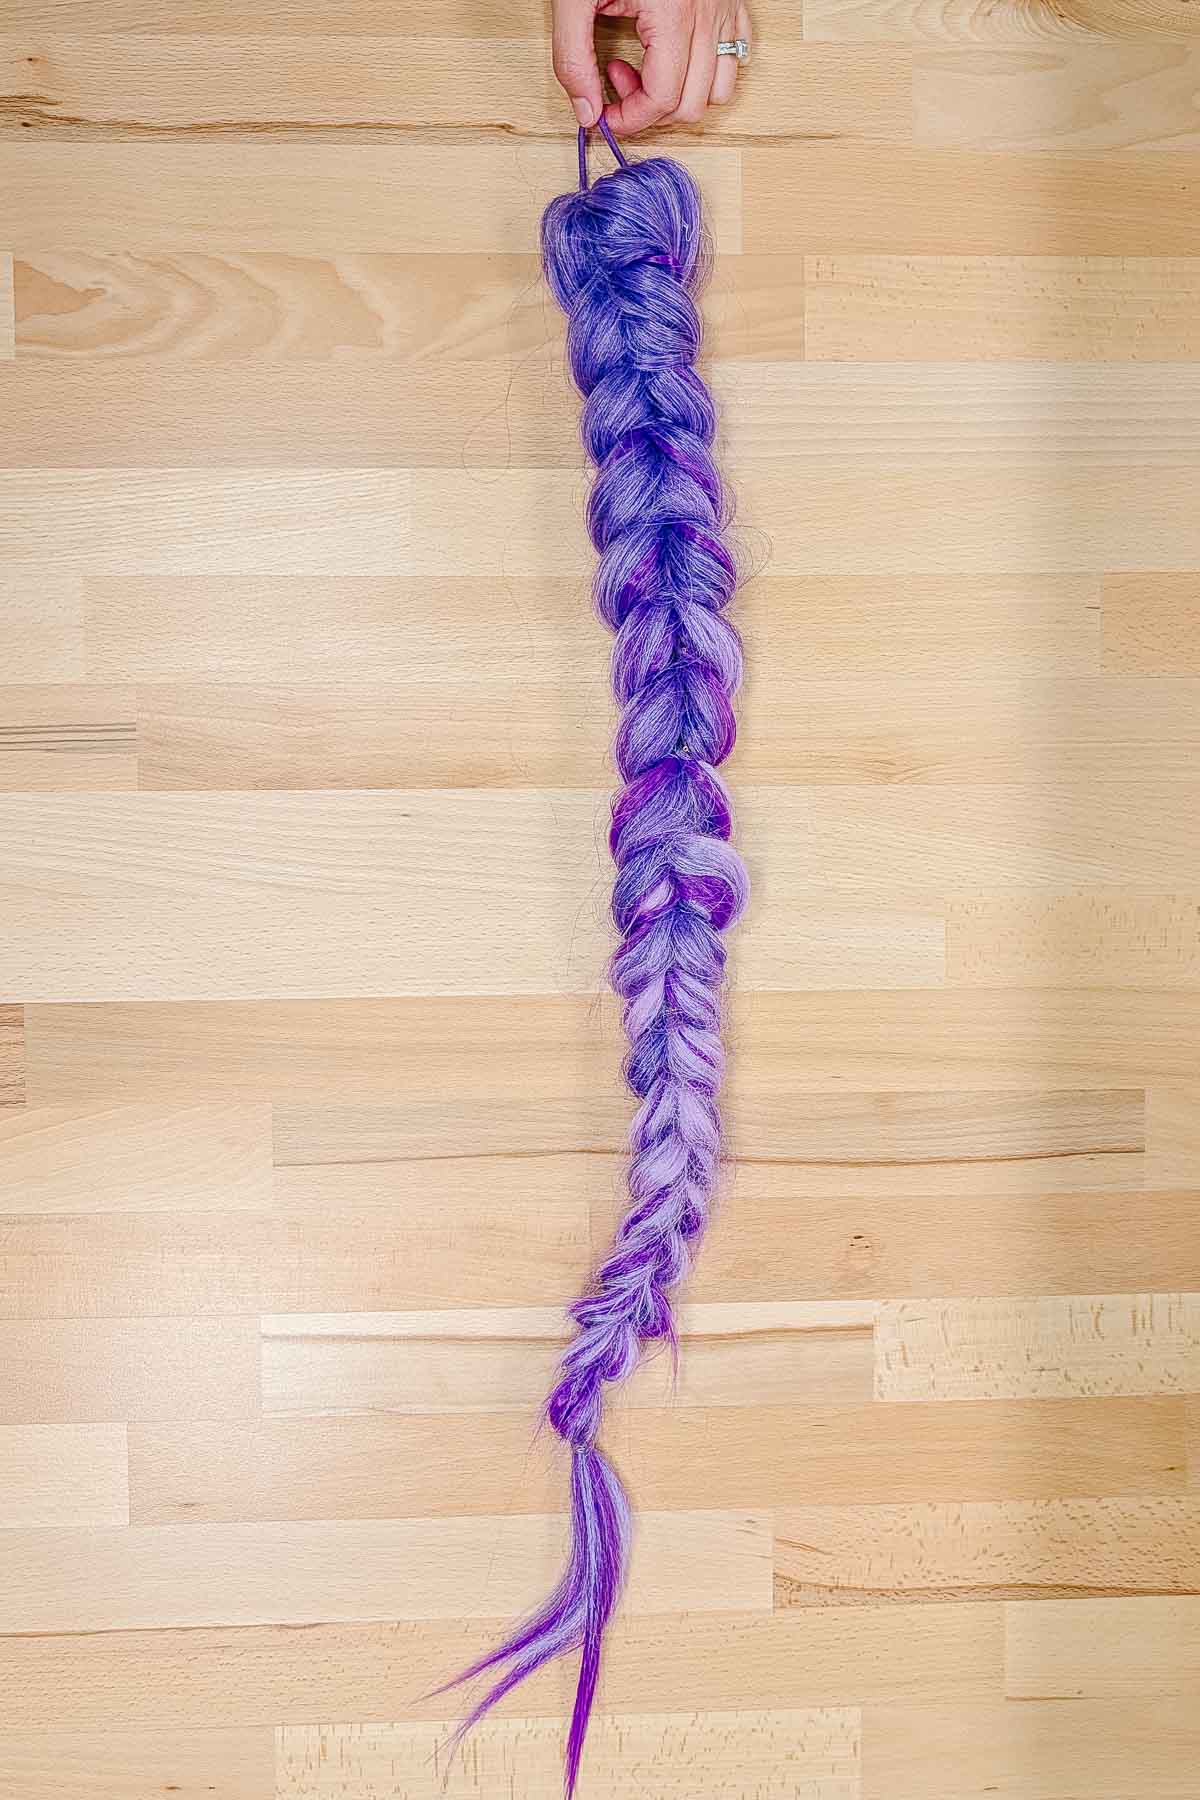
I came up with the idea of making a removable Rumi hair braid that we could put attach and unattach to quickly do hair. It was the best thing we ever did for that costume!
What hair should I use?
We used these purple hair extensions* and we added purple hair clip extensions* to make the braid as long as possible. This much hair in one place is heavy, and eventually my daughter would complain about the weight on her head every time she wore it. I did my best to distribute the weight on her head, but it is heavy.
How do I make the hair softer?
I am not a hair expert or a hair extensions expert so take this with a grain of salt. I didn’t like the texture of the hair extensions when I first opened the package. It is braiding hair, and it tangled really easily.
To soften it I carefully brushed through the hair and added a bunch of hair oil. Then I used a hair straightener on low heat and I clamped the hair every couple of inches for a couple of seconds. This is the youtube video I used. I don’t see this method being used, so do your research if you want to change the texture of the hair.
What elastics and clips do I use?
I used a large purple hair elastic* for the top, and then I used clear hair elastics* for the dragon braid. I added these gold hair clips* throughout the braid to get the look.
Love DIY costumes? Try some of these ideas:
- DIY costumes for any age
- DIY t-shirt costumes
- DIY hoodie costumes
- upcycled costume ideas
- Free costume sewing patterns for kids
How to Make a Removable Rumi Hair Braid
Supplies
- purple hair extensions*
- purple hair clip extensions*
- one large purple hair elastic*
- clear hair elastics*
- gold hair clips*
- Hair tools
Tutorial
Start with a large purple hair elastic. Take your long purple hair extensions. Find the center. Pull the purple hair through the purple elastic so that the center is wrapped around the elastic. (It really helps to have someone hold the elastic or hang it on a hook or doorknob.)
Put a clear elastic around one half of the purple hair near the purple elastic. Split the other half of the purple hair into two sections and bring it down around the first section. Secure it with and elastic. Pull on both sections to make the hair bigger.
Continue the dragon braid as you go down the purple hair. (I won’t give an in depth tutorial on how to do a dragon braid. There are way better tutorials online!)
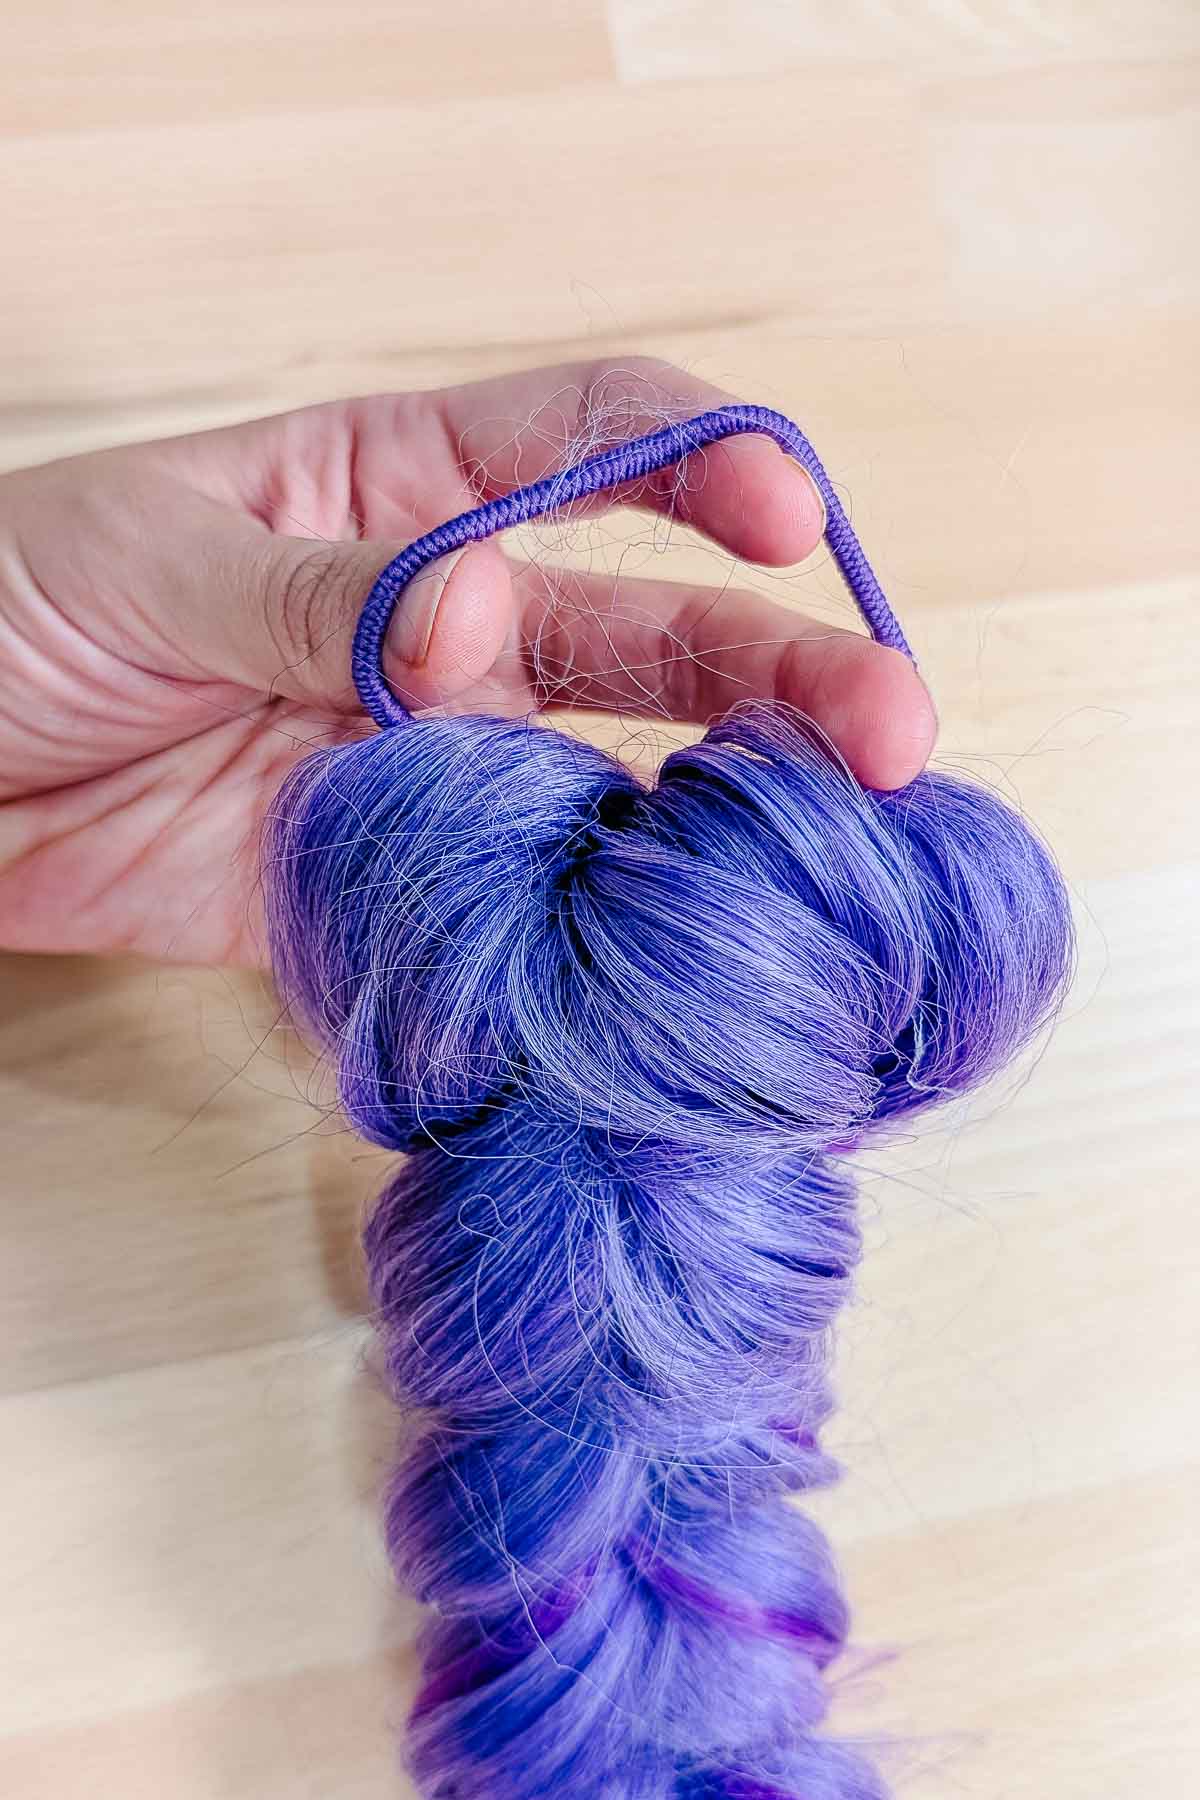
Optional: add a clip in hair extension in each top section of the dragon braid to make the braid more full. I added seven clip in hair extensions to the top seven sections of the dragon braid. I would clip it in and move the hair in a way to hide it within the dragon braid.
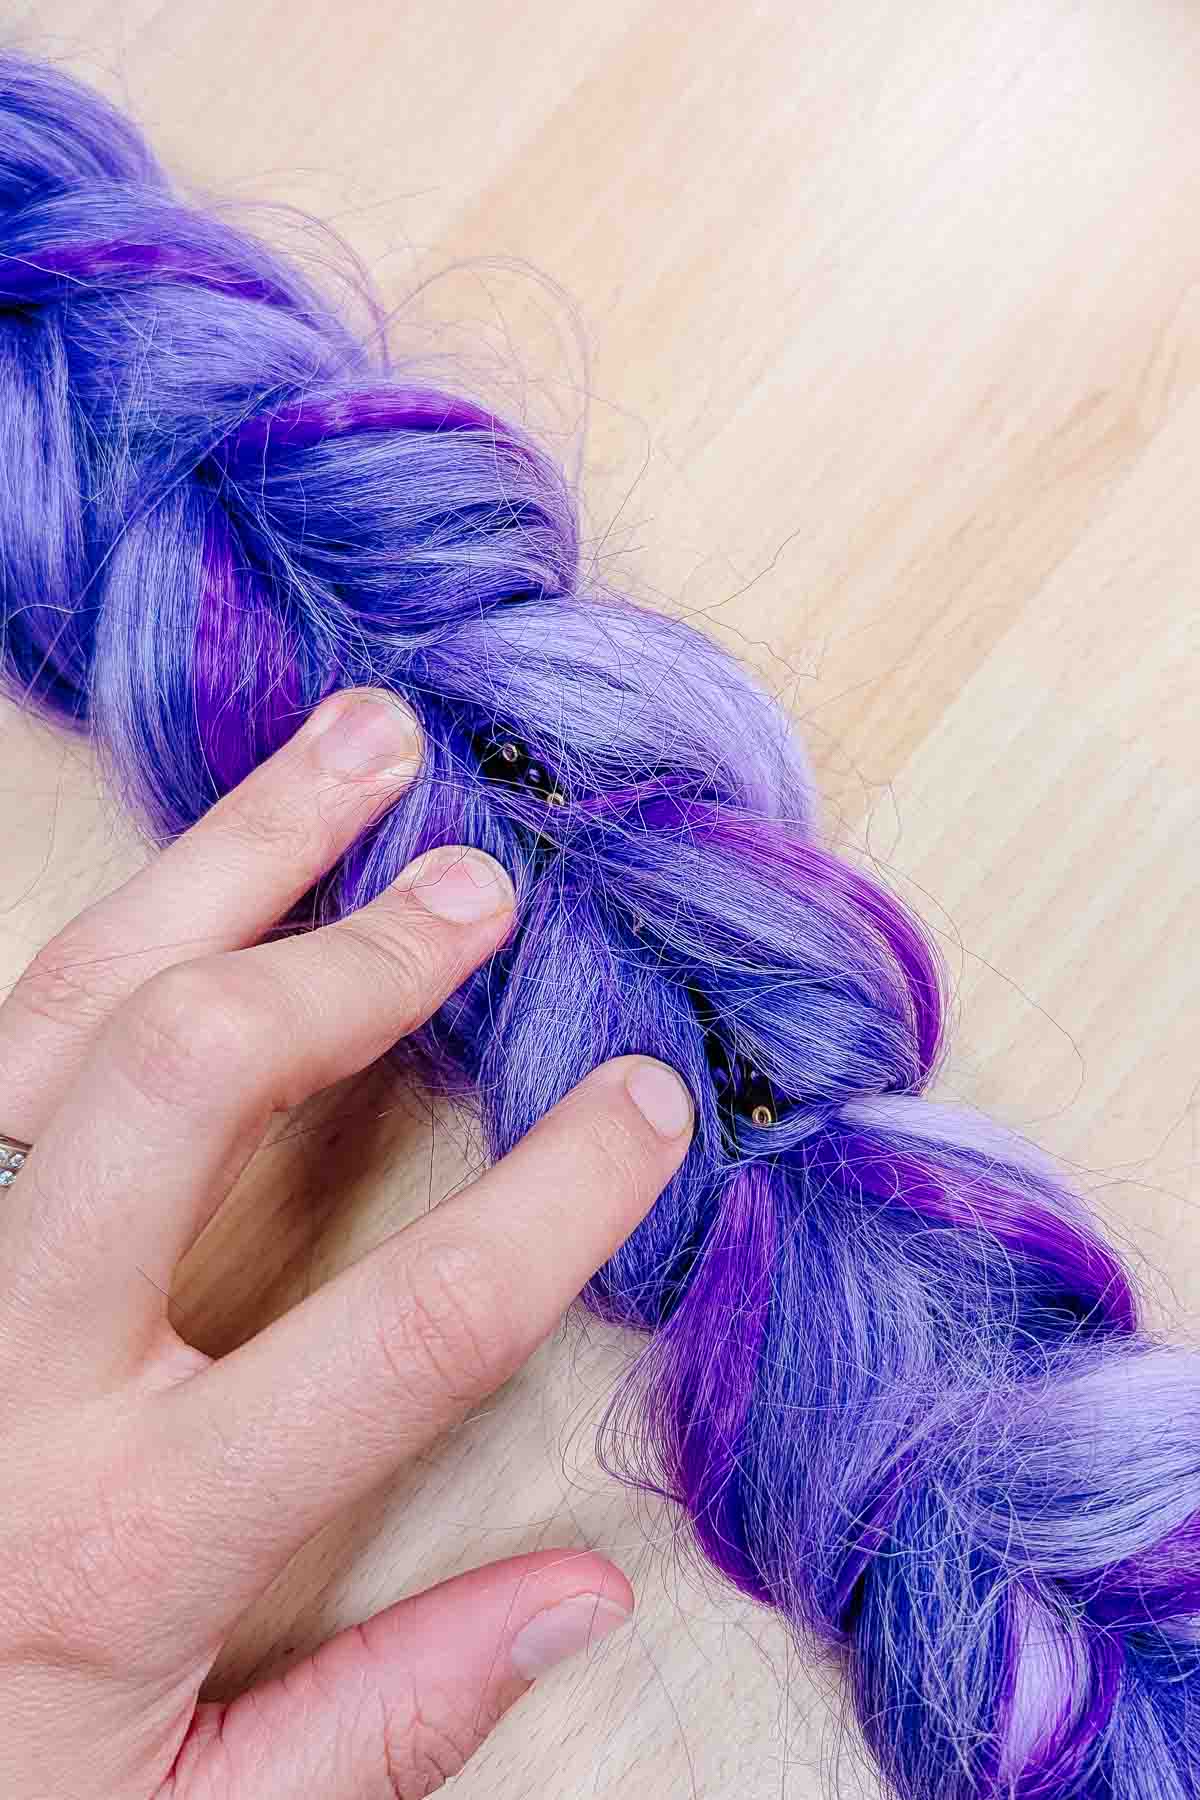
The clear elastics are obvious if you look close, but they blend in really well from far away. Especially if you pancake the braid well.
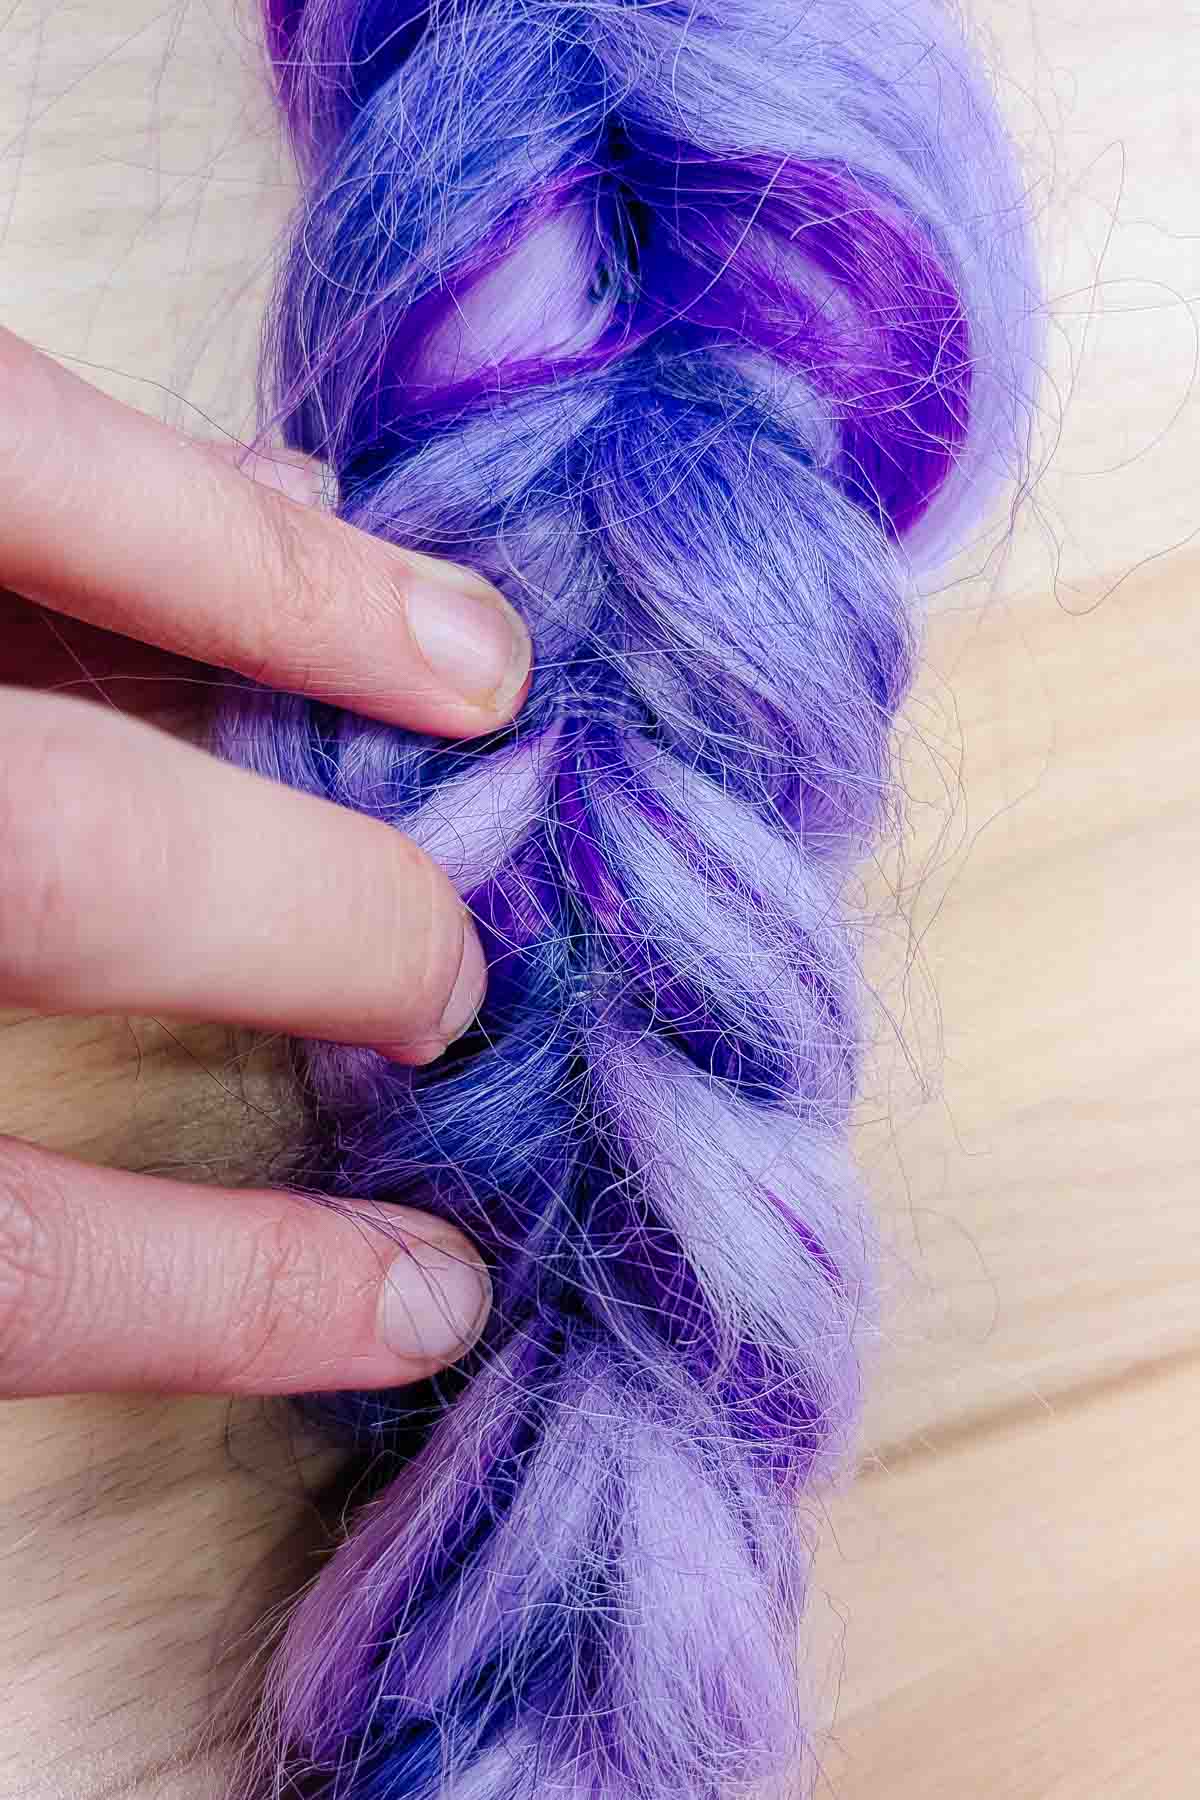
You can sometimes see the clips from the clip in extensions but I like the variation of color it creates and that it makes the braid longer.
How to Put the Removable Rumi Braid into Short Hair
This tutorial is for hair that is too short to fit into a high ponytail. I did three separate ponytails along my daughter’s head to contain her short hair. Her hair goes to the top of her shoulder and she has bangs and front layers.
Use clear elastics!
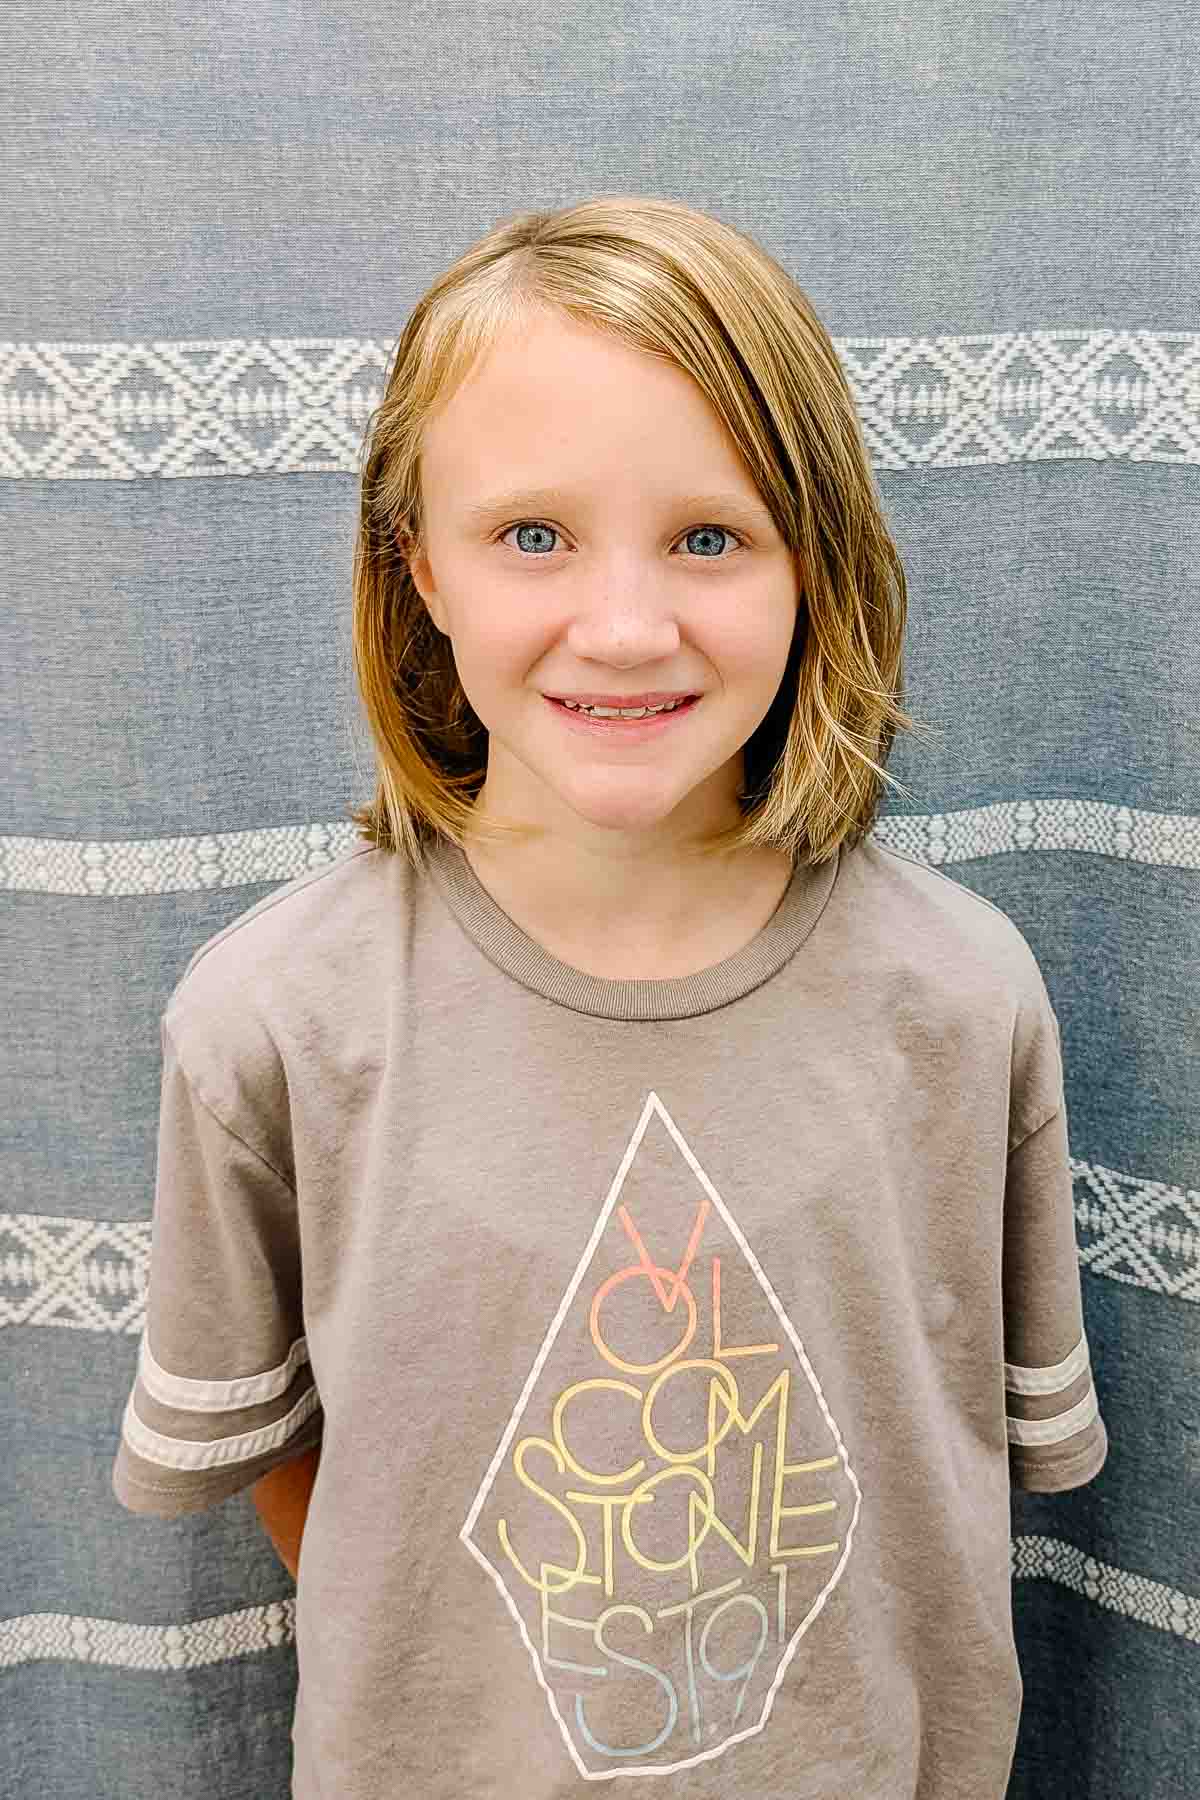
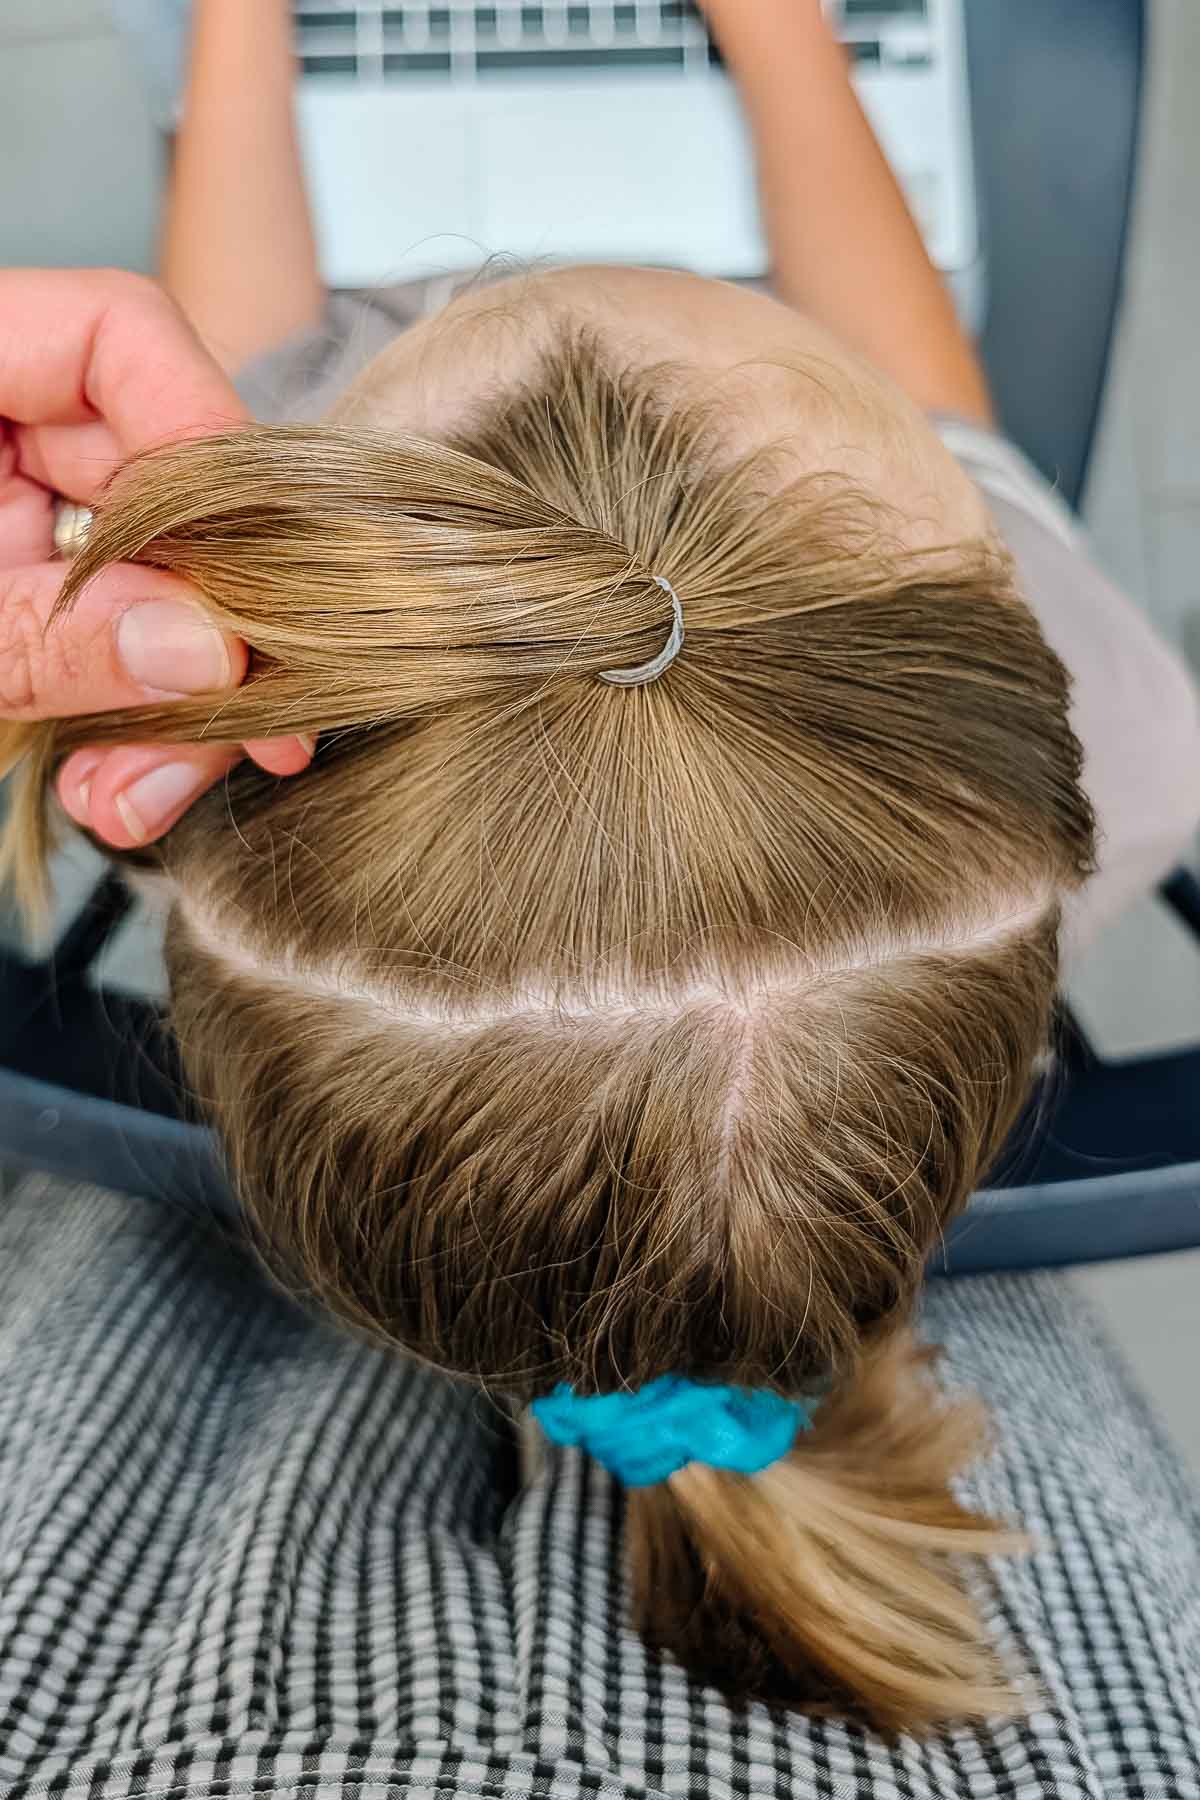
Divide the hair into three sections: one on top, one in the middle, and one on the bottom.
Pull the top third of the hair into a ponytail as high on the head as possible. I put it about 1 inch from her hairline. Feel free to use gel, hair wax, hairspray, etc to get the hair smoothly into the ponytail. I didn’t use anything except water for this tutorial.
Add the purple braid to the top elastic. Hang the braid down in front of the face upside down and attach the purple elastic. This way when it’s flipped back the right direction, it hides the elastic and hair ponytail.
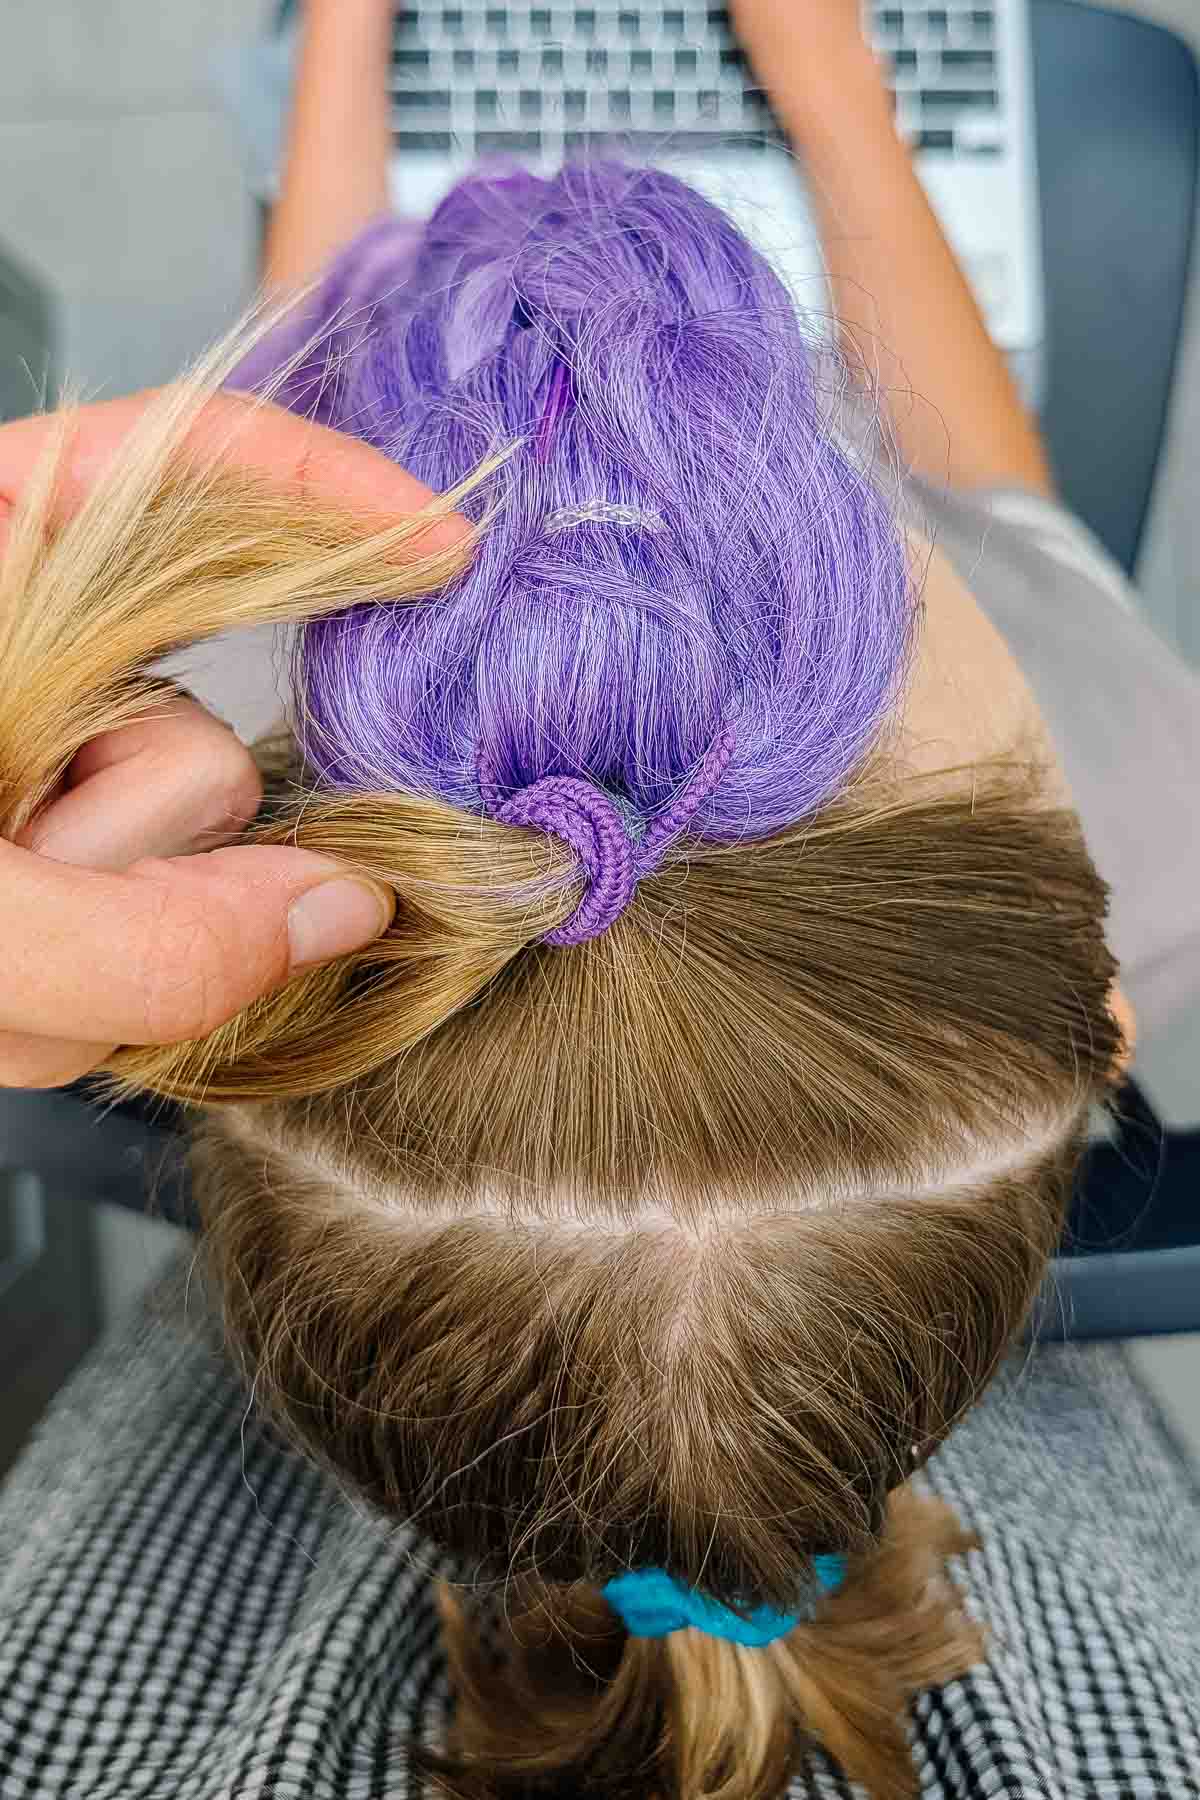
Braid the ponytail hair to contain it.
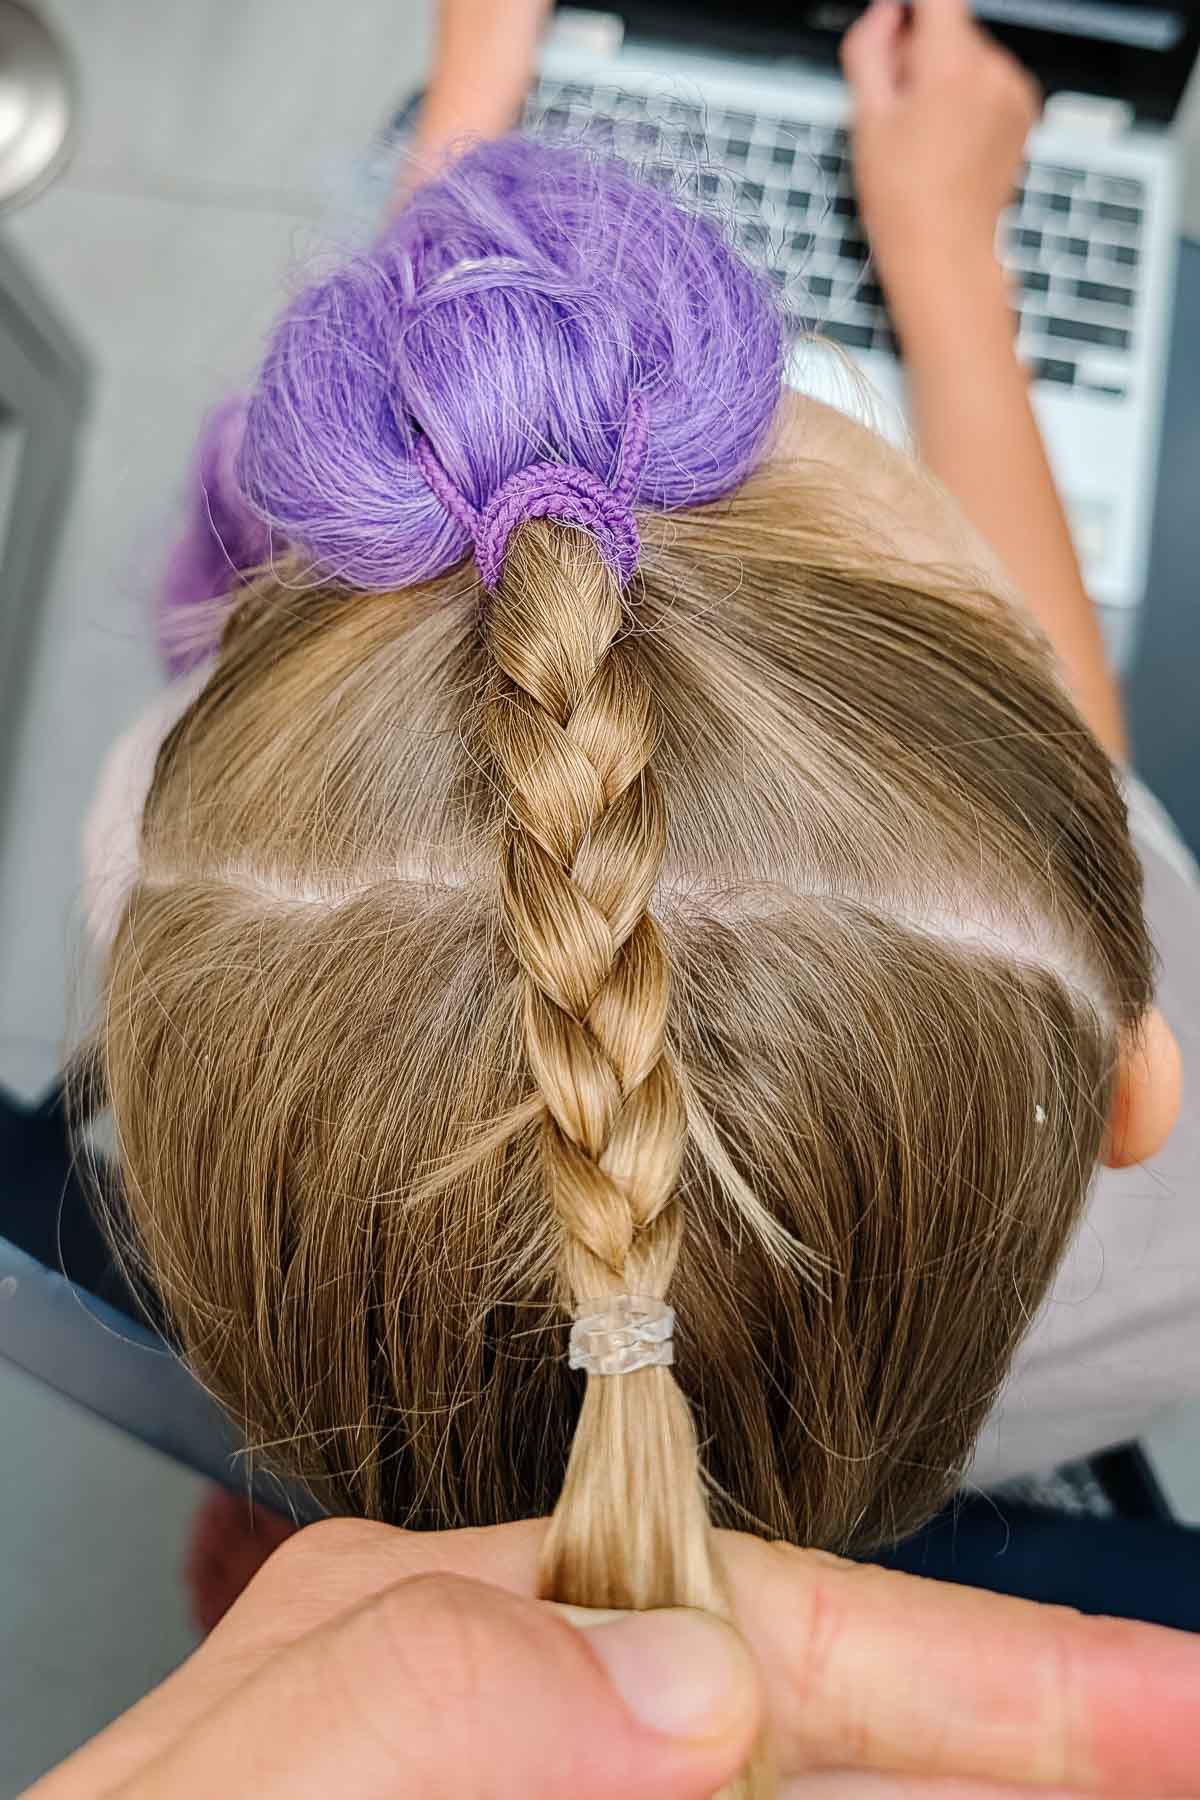
Take the middle section and add the top braid. Pull it into a ponytail.
Braid the new ponytail hair to contain it.
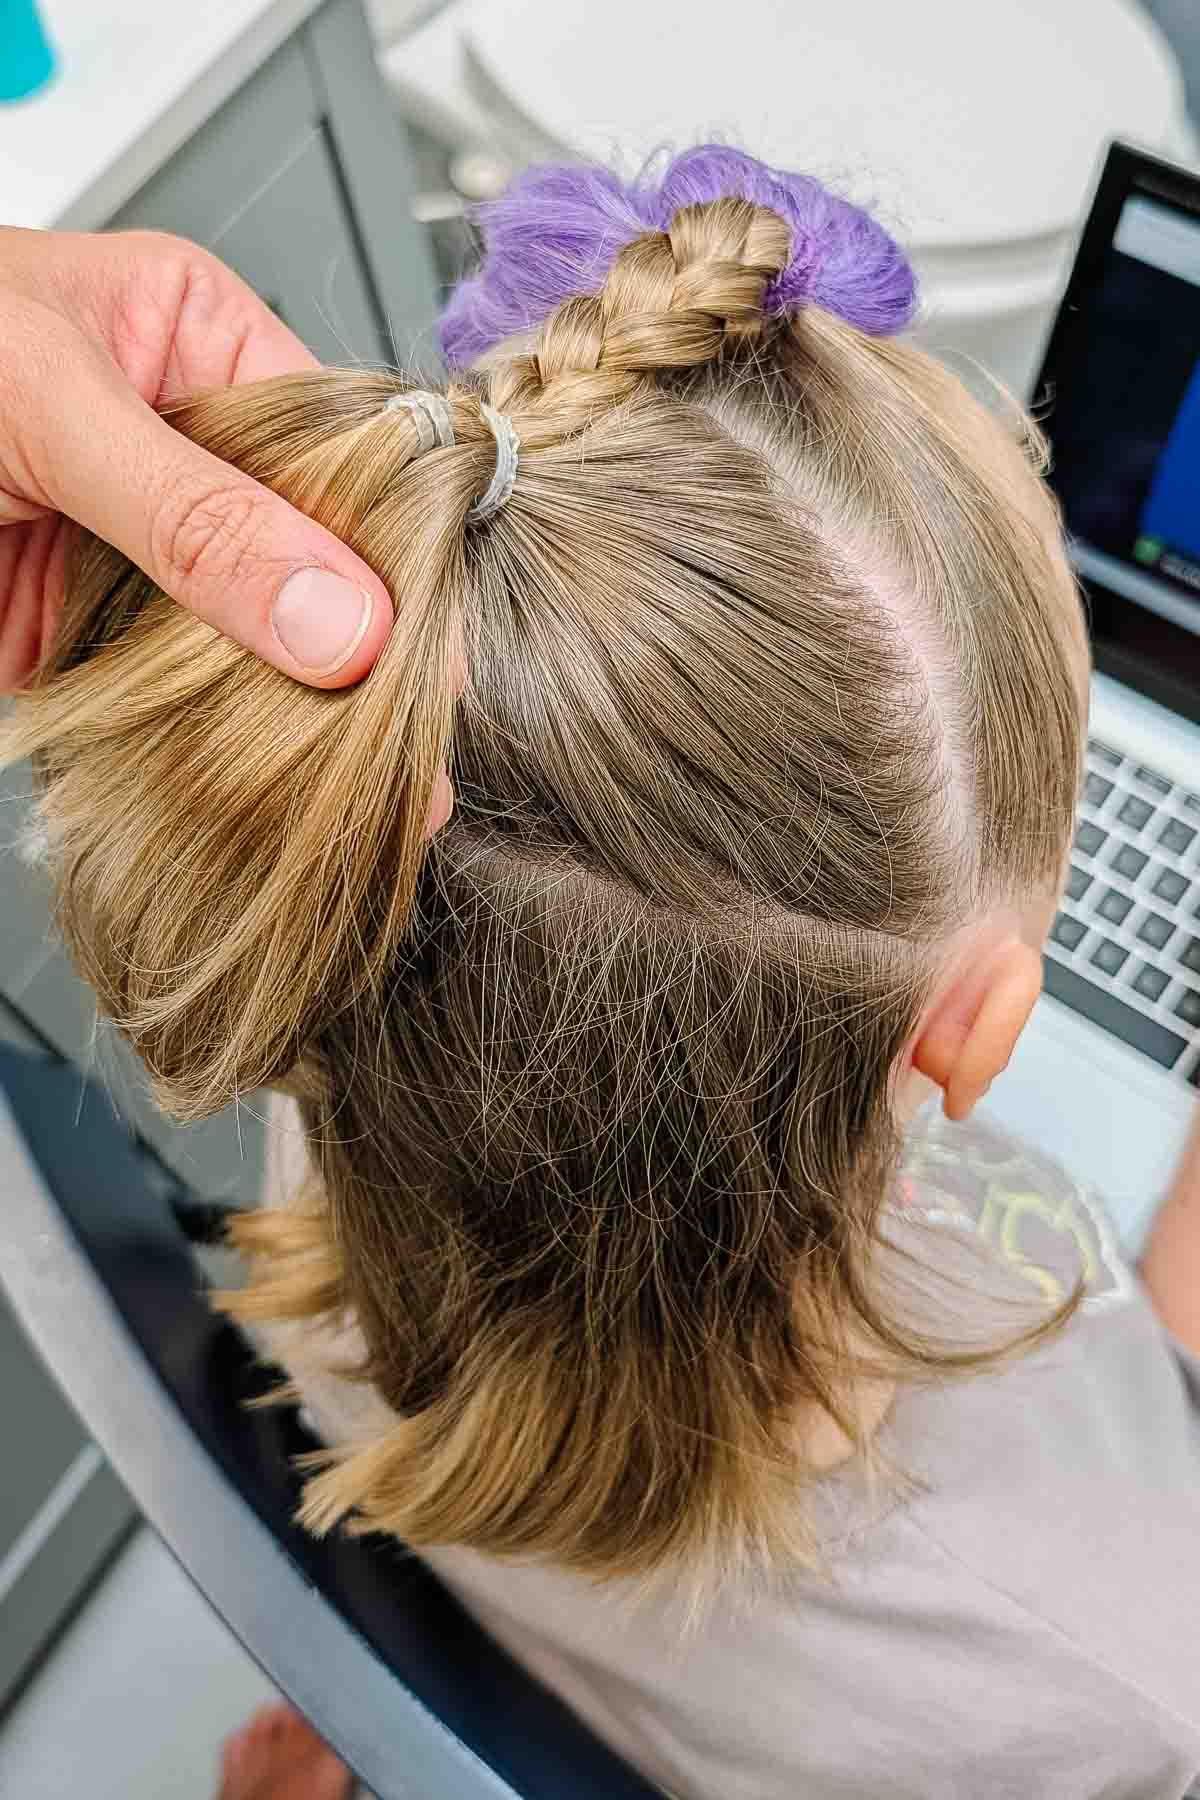
Take the bottom section and add the middle braid. Pull it into a ponytail. Contain the hair into a bun or pull through bun. It’ll be short so it’s hard to contain it fully.

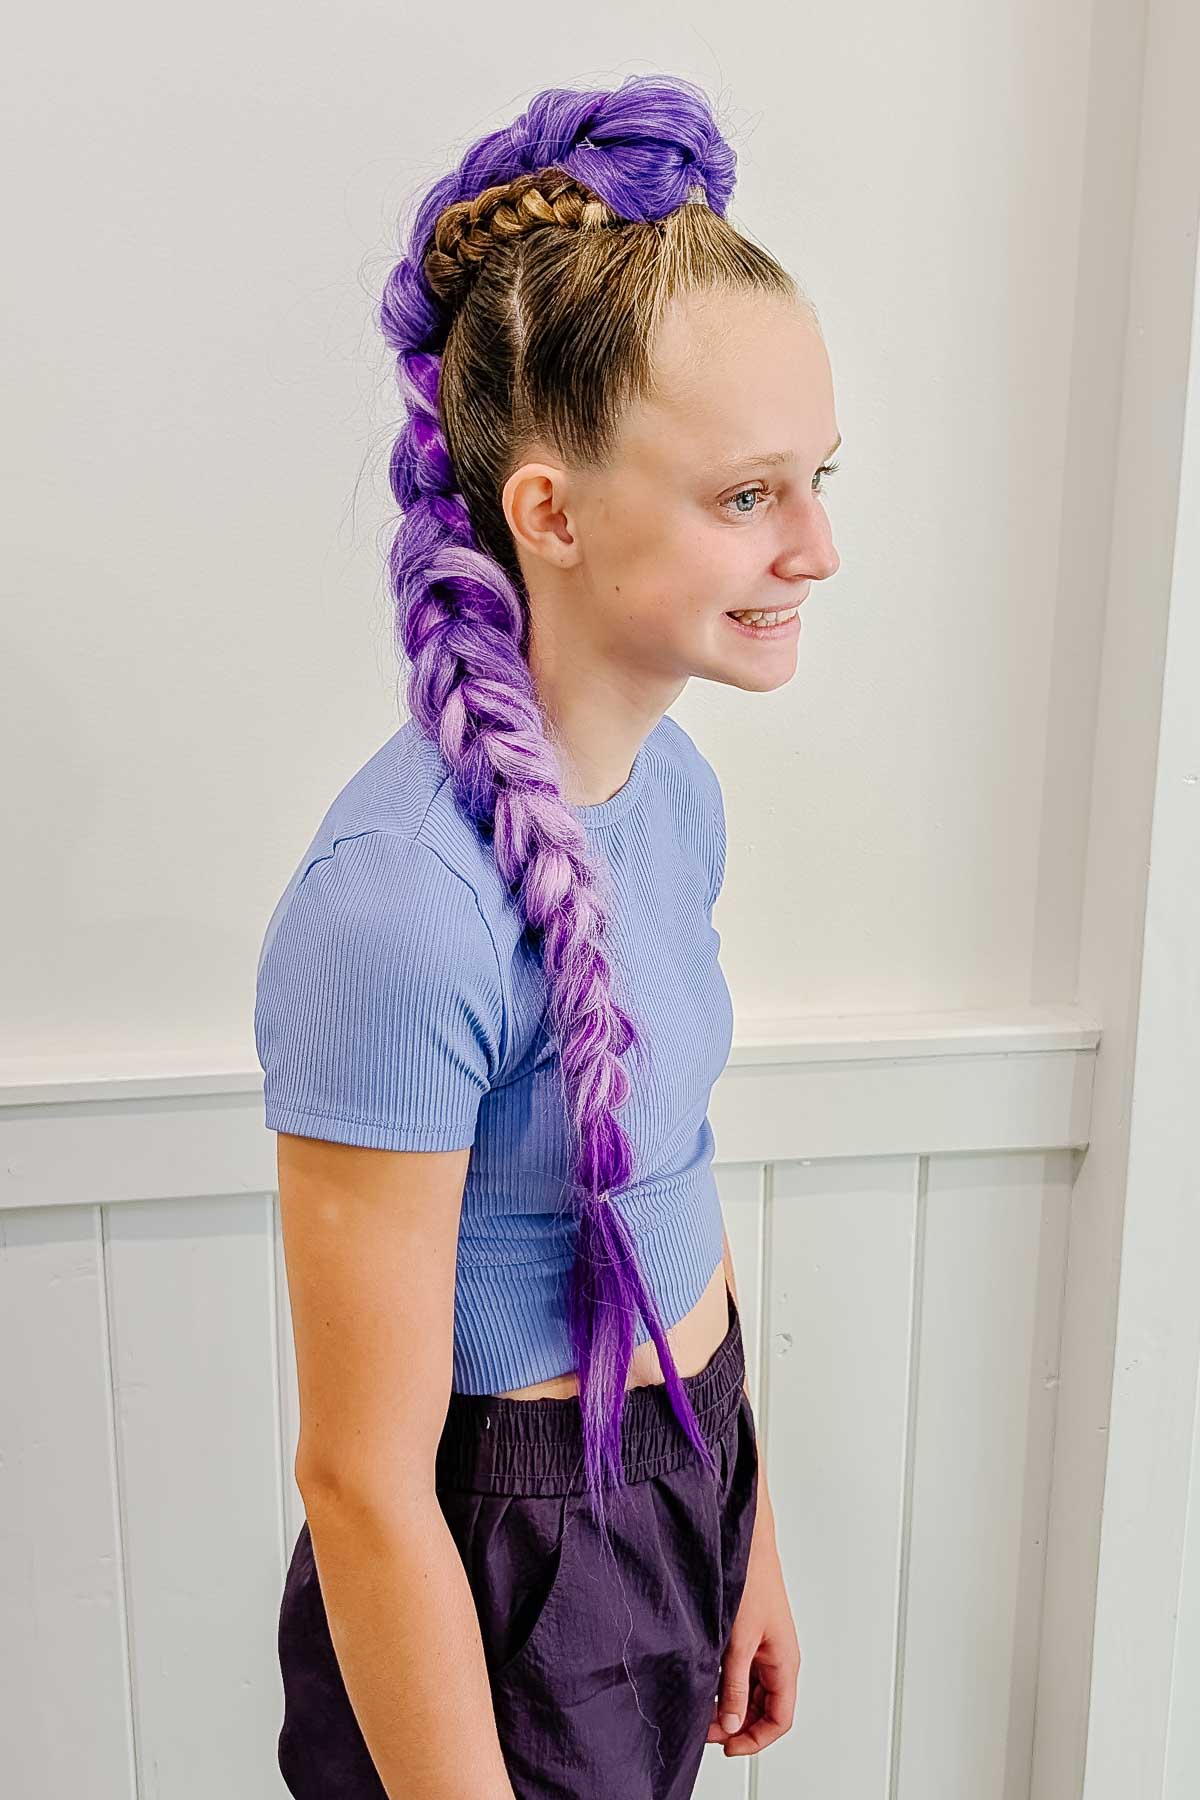
Flip the purple braid down over the ponytails and braids. Use bobby pins to pin the purple braid around the ponytails and braids to cover the hair. I used three bobby pins on each side, but you can use as many as you need. This also helps distribute the weight over the whole head instead of in one spot.
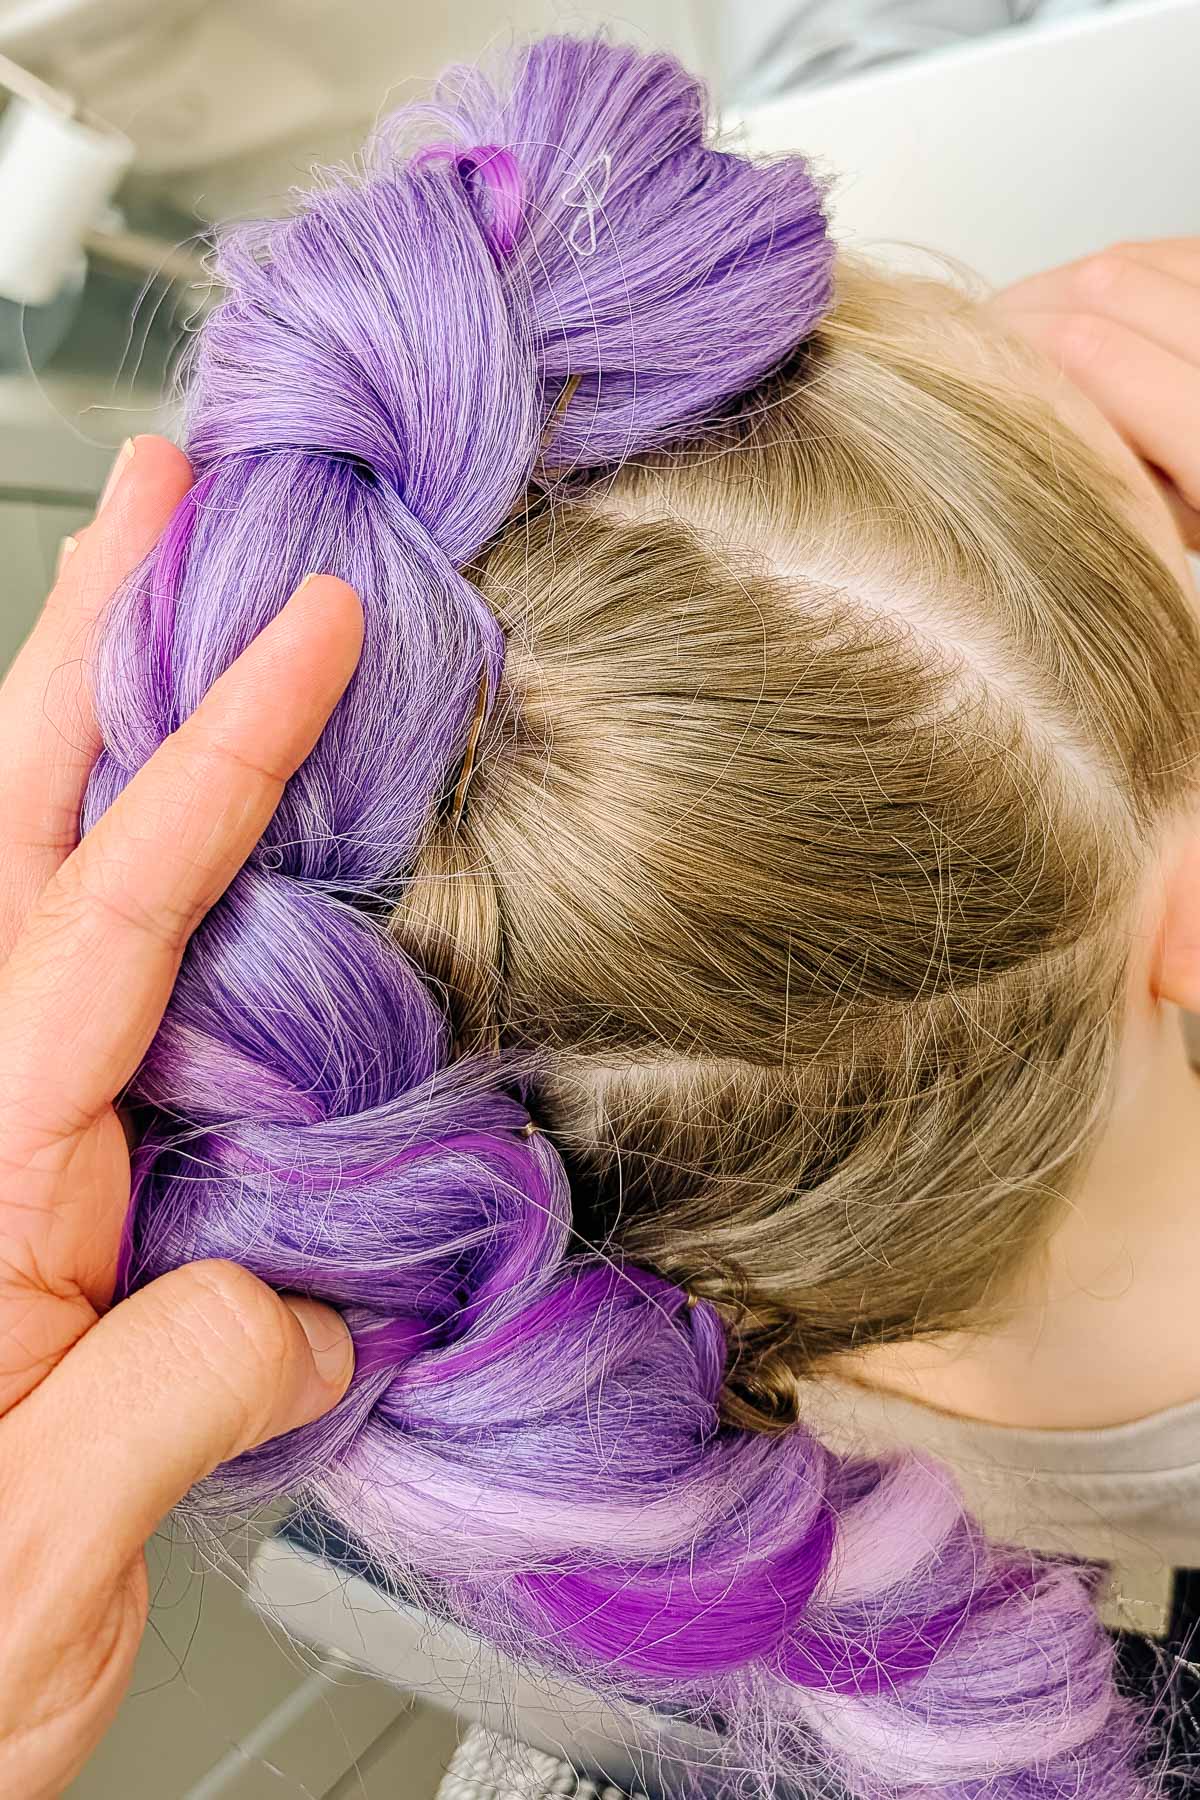
When you pin it well it covers the hair so it looks like she has purple hair.
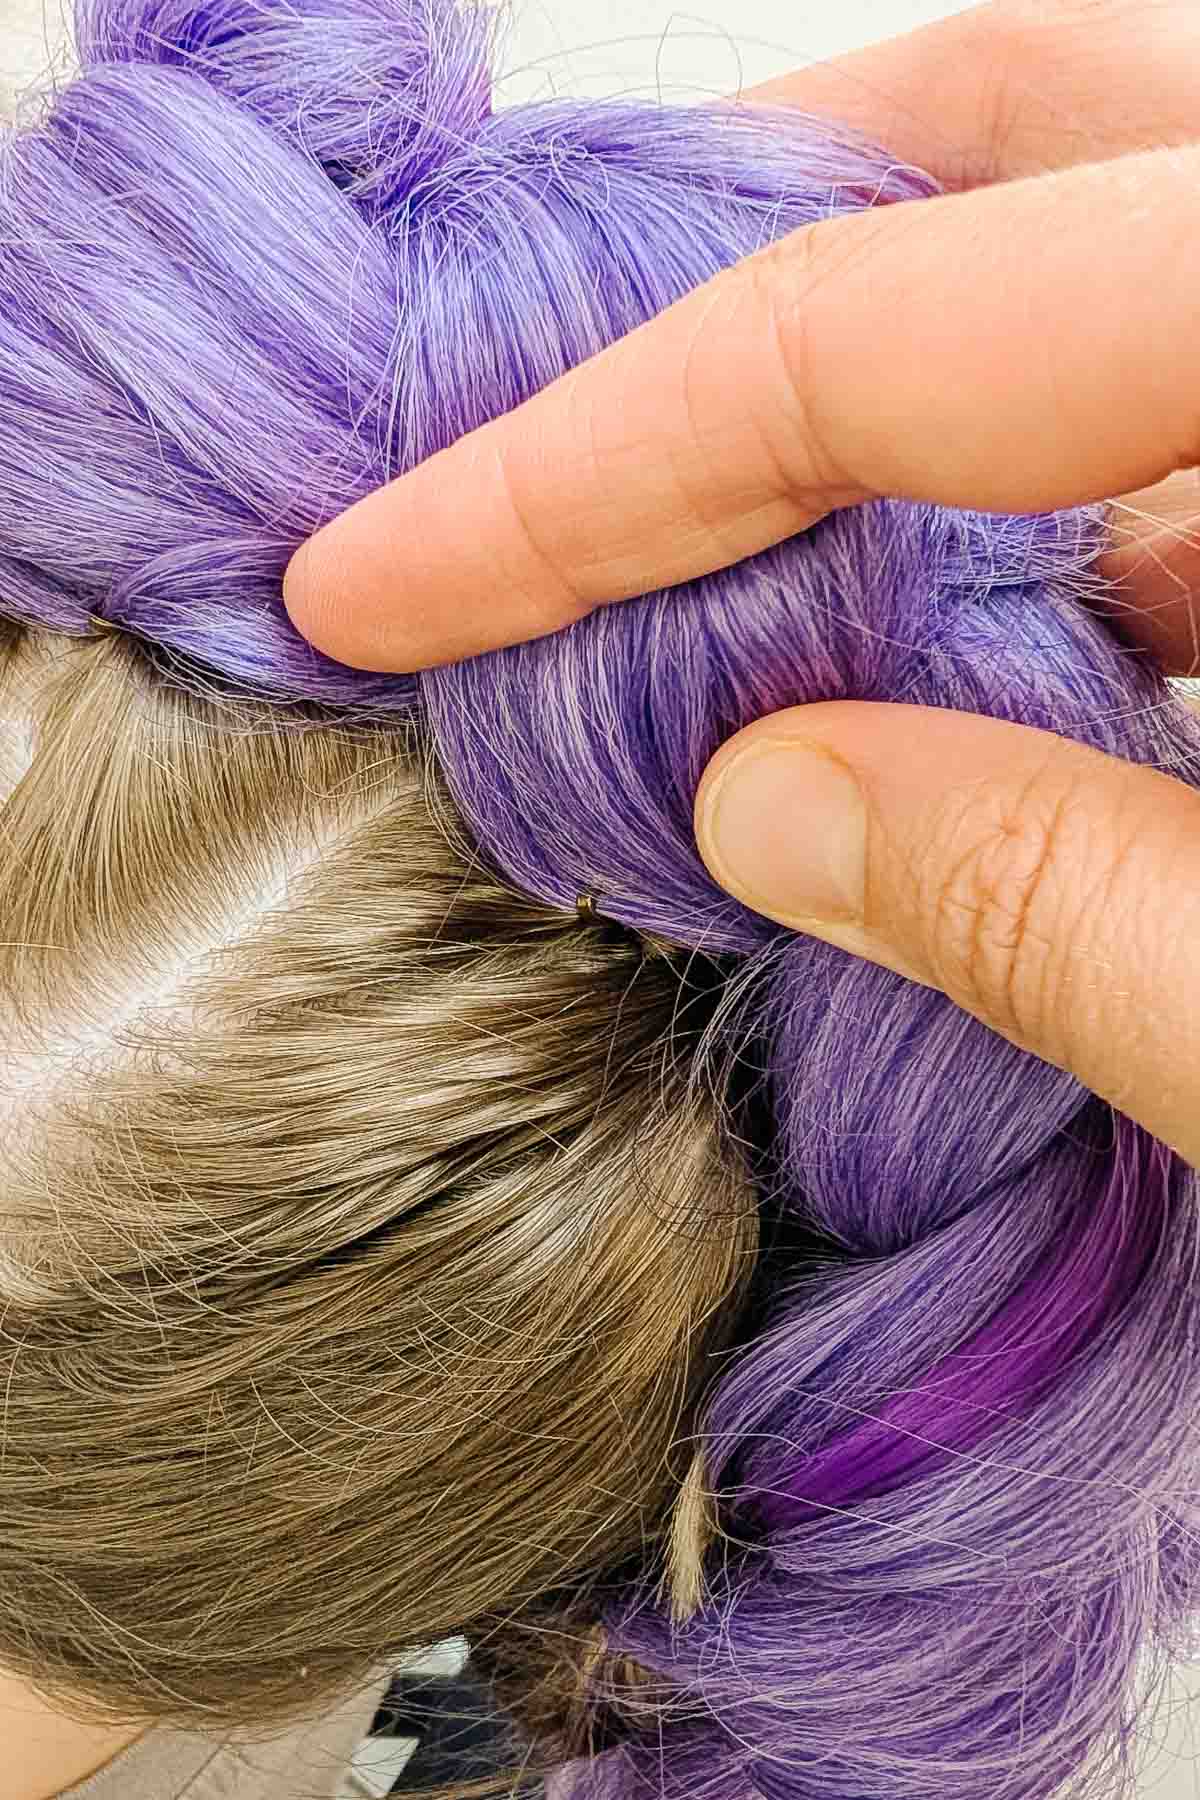
You finished!
How to Put the Removable Rumi Braid into Long Hair
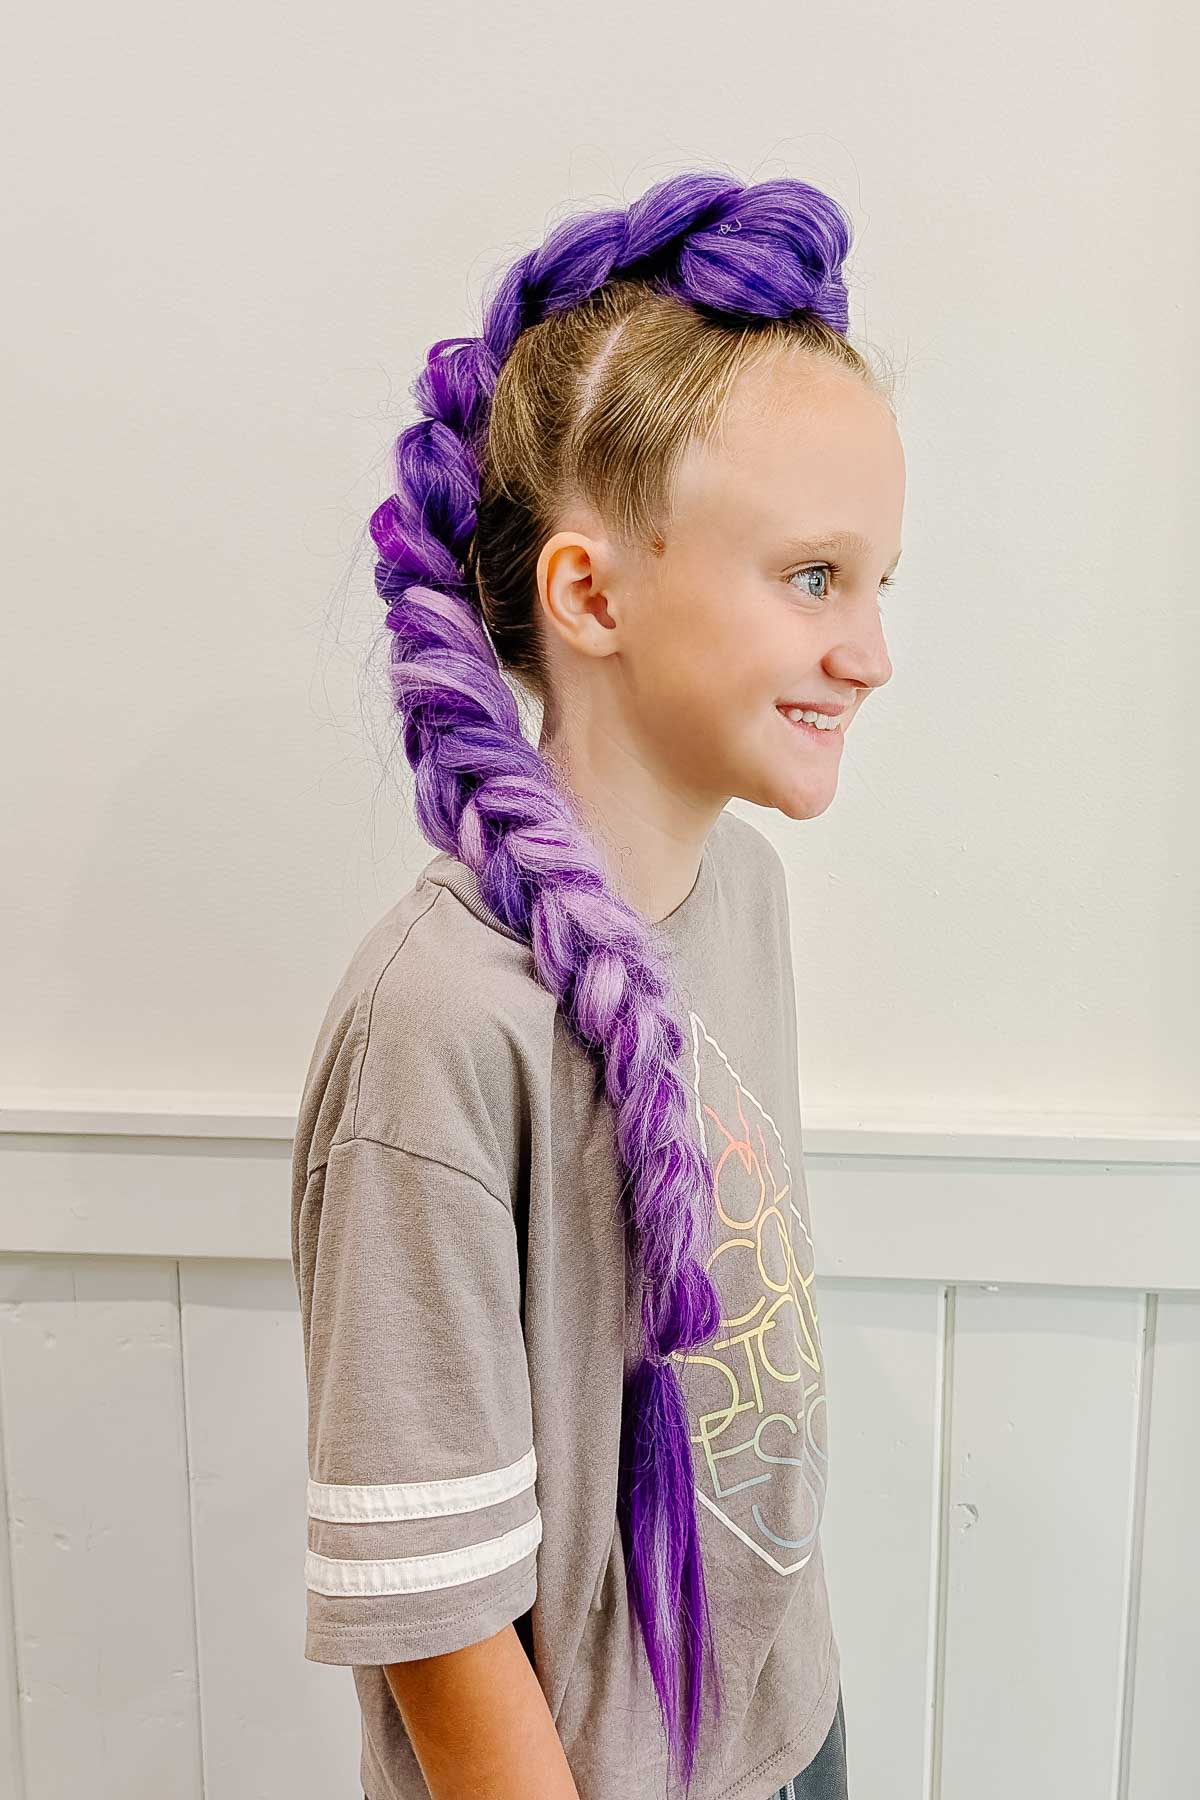
This tutorial is for hair that is long enough to fit into a high ponytail. I did two ponytails on my daughter’s head to contain her hair. She has almost waist length curly, thick hair. She has a ton of hair and it’s almost impossible to hide it completely, but I did something close enough.
Use clear elastics and a good grippy hair elastic for the big ponytail.

Divide the hair into two: one third on top and two thirds of the bottom and middle.
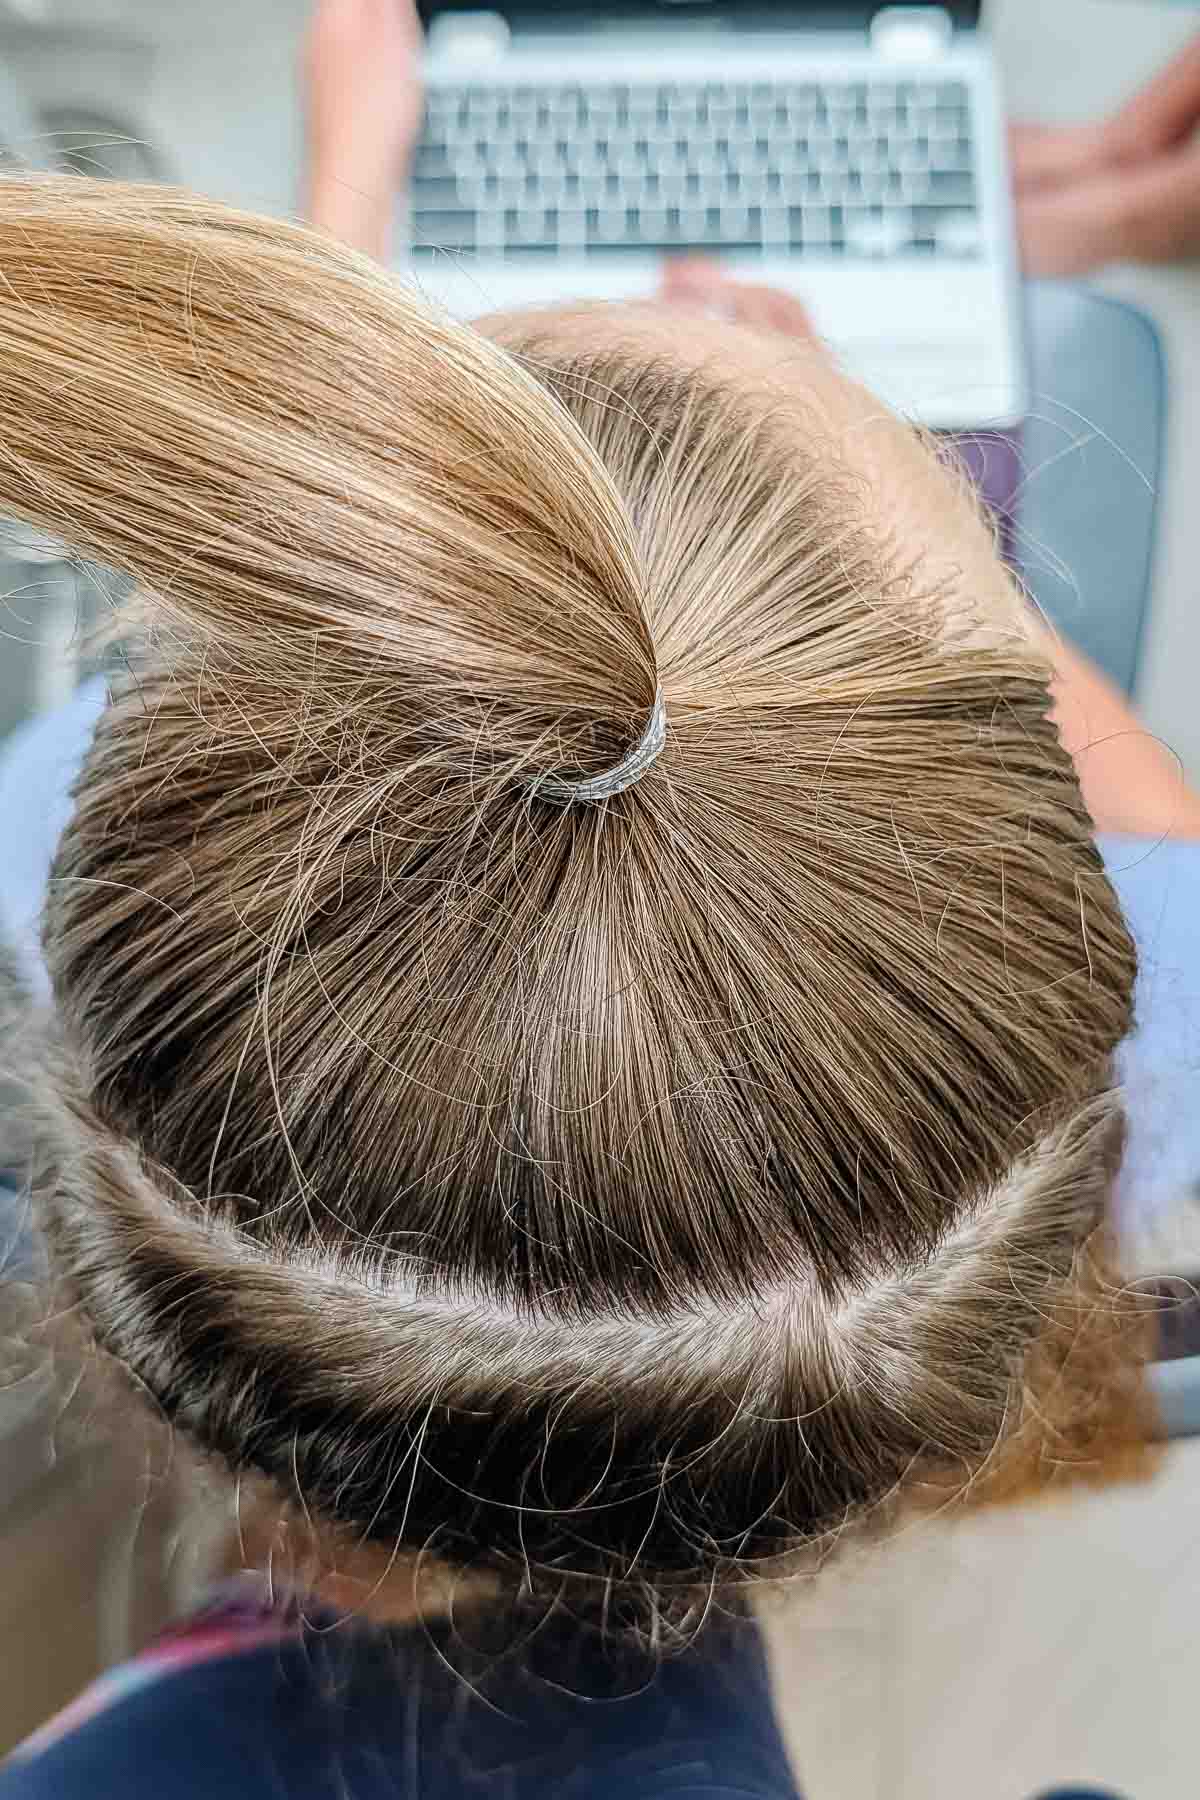
Pull the top third of the hair into a ponytail as high on the head as possible. I put it about 1 inch from her hairline. Feel free to use gel, hair wax, hairspray, etc to get the hair smoothly into the ponytail. I didn’t use anything except water for this tutorial.
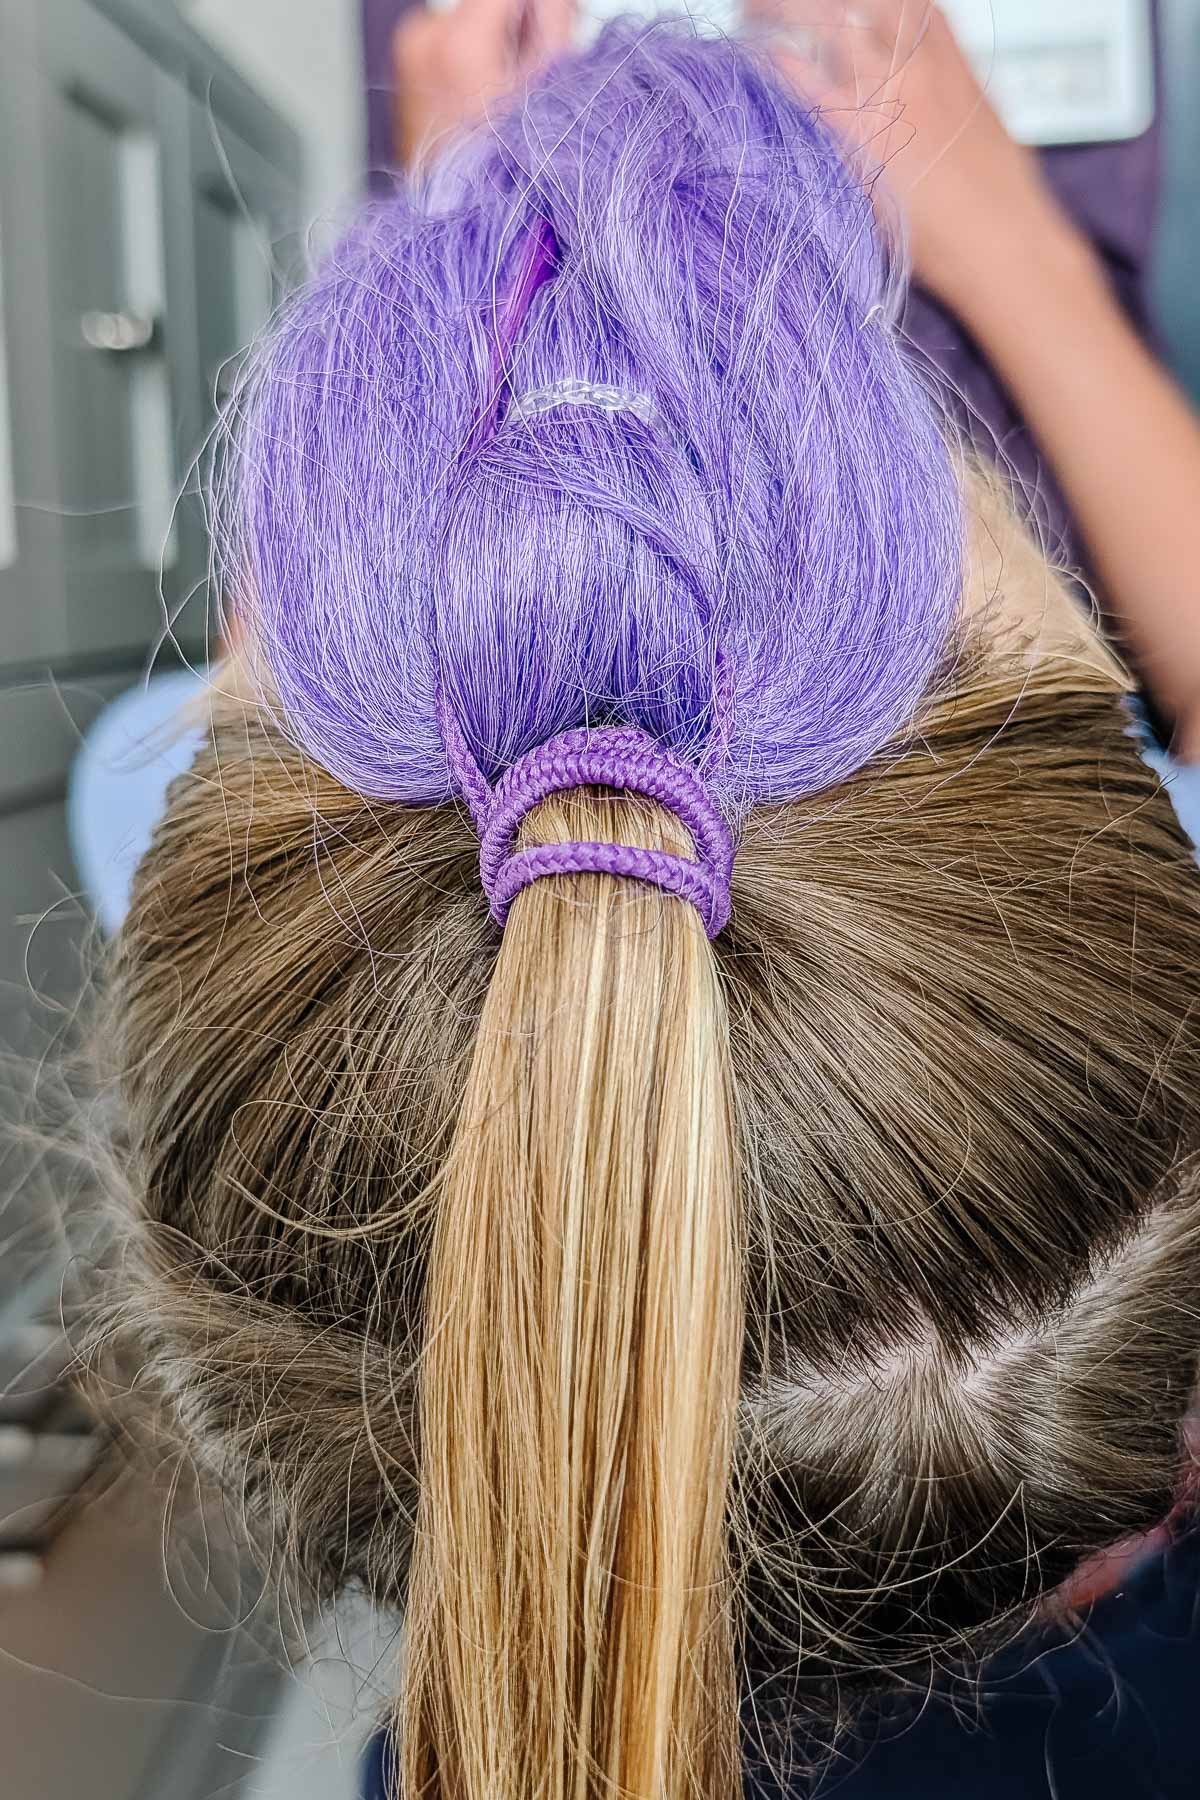
Add the purple braid to the top elastic. Hang the braid down in front of the face upside down and attach the purple elastic. This way when it’s flipped back the right direction, it hides the elastic and hair ponytail.
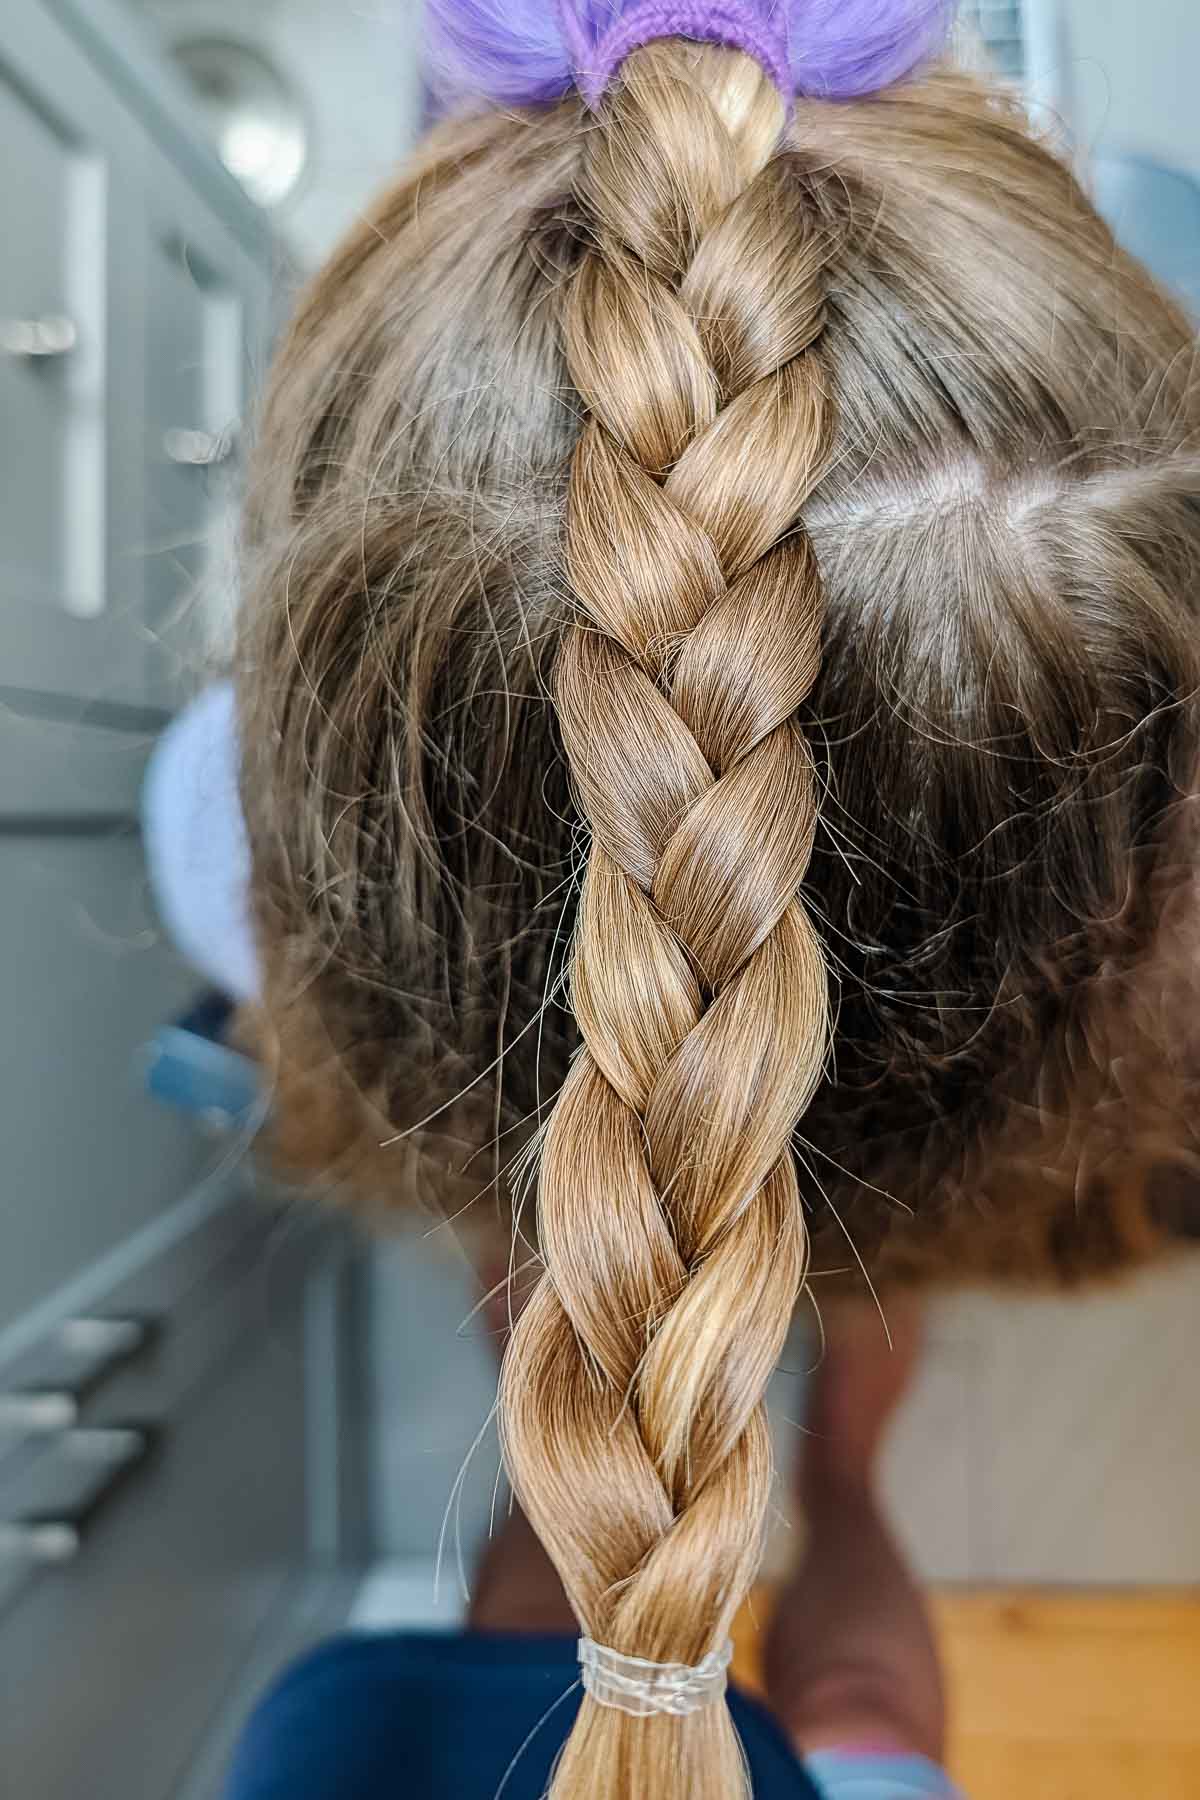
Braid the ponytail hair to contain it.
Take the rest of the hair and add the top braid. Pull it into a high ponytail on the crown of the head.
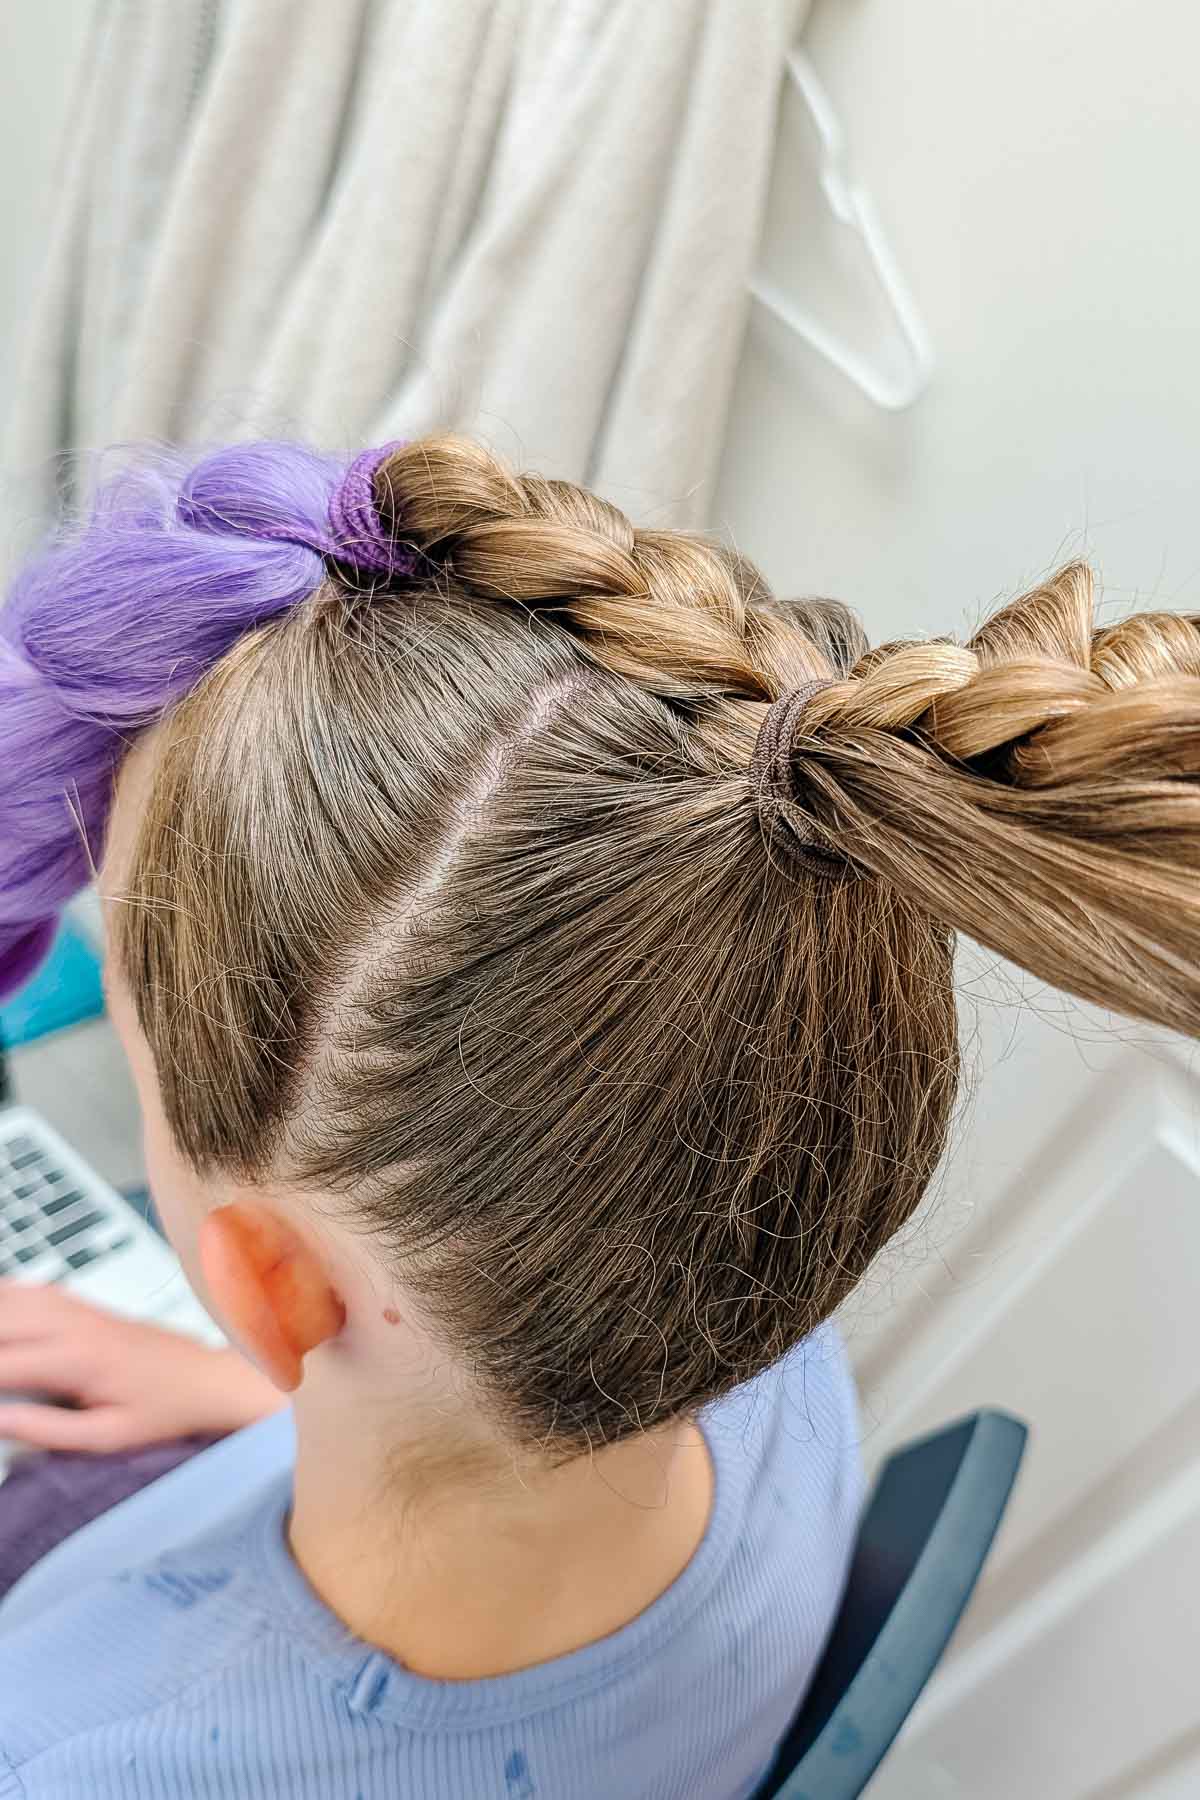
Divide the ponytail into two sections. Braid each section.
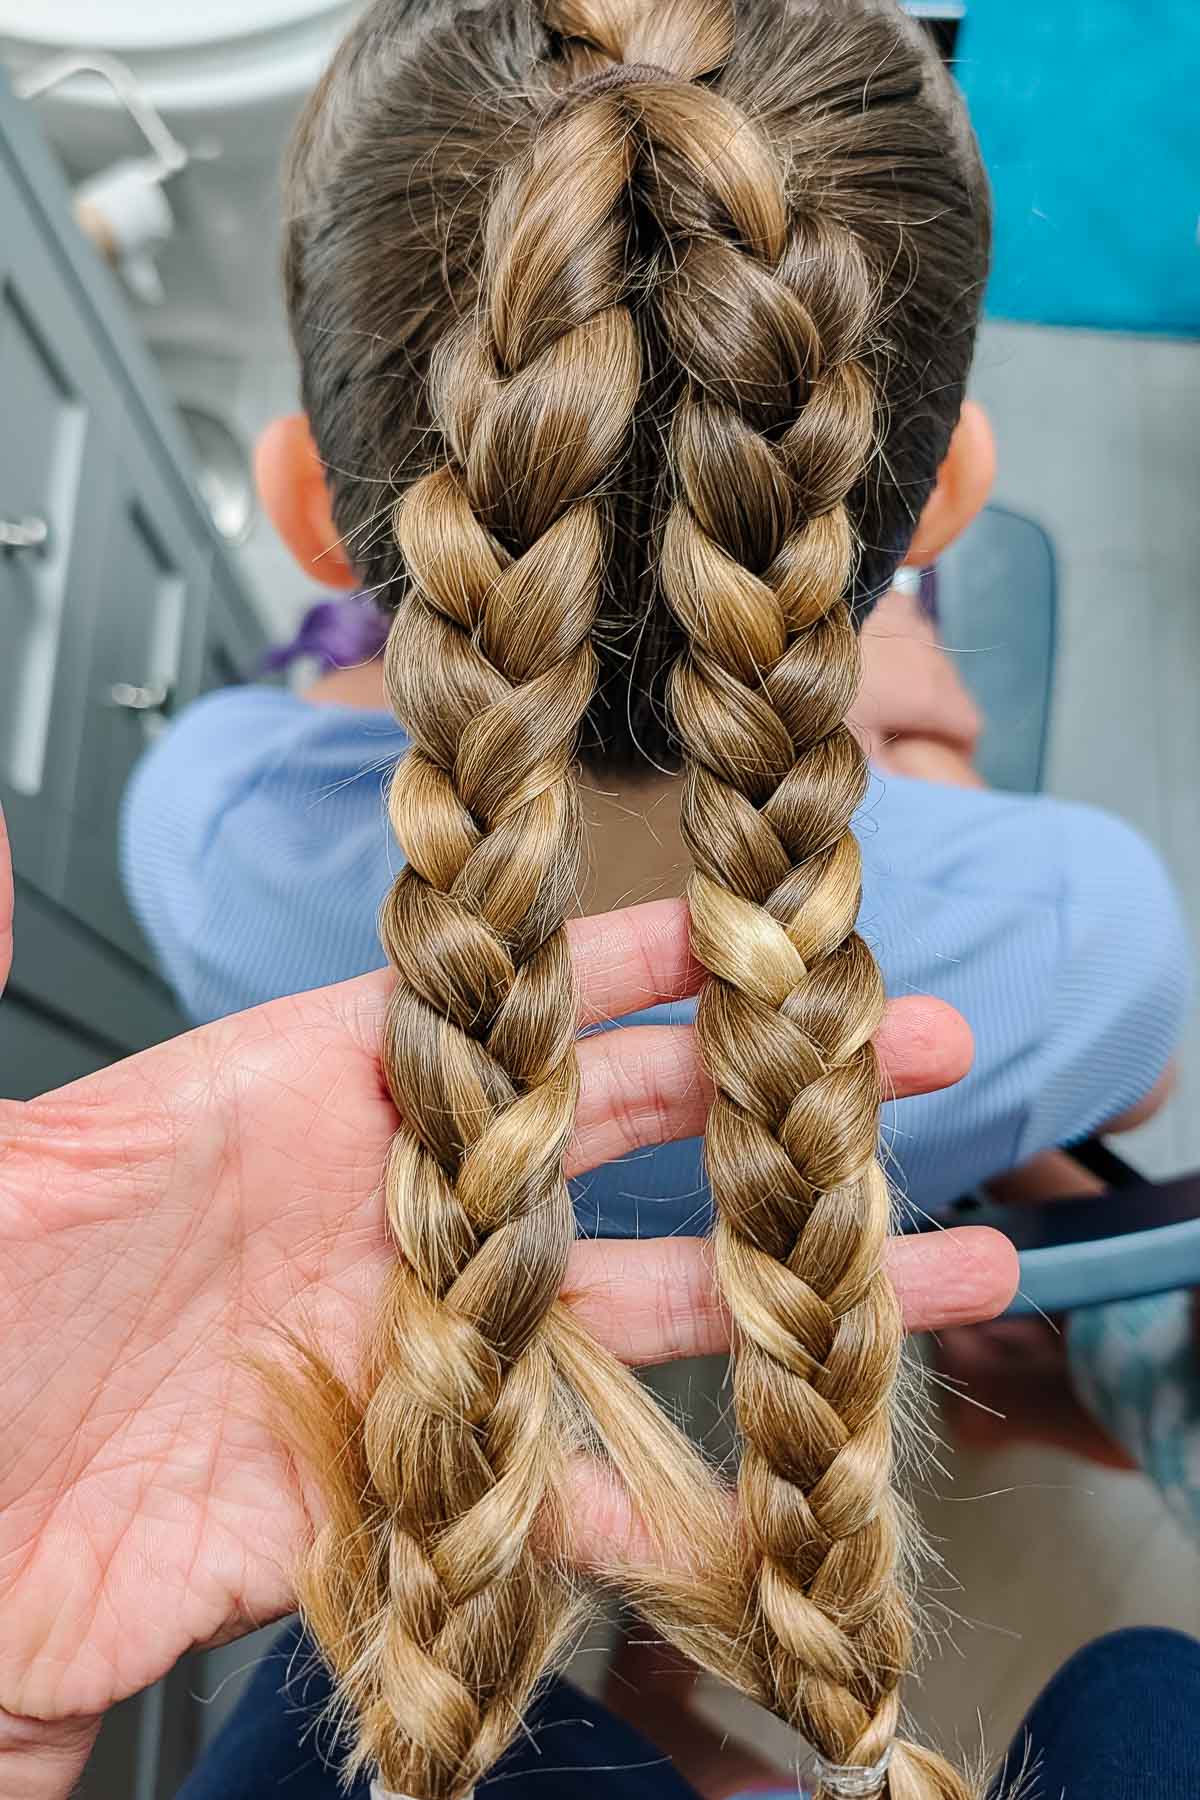
Take the braids and wrap them up under and around the top braid. You are essentially taking each braid and bringing them up in a “U” shape under the upper braid and securing the braids with bobby pins. You can also use spin pins to really secure the braids since the purple braid will be secured to this braided base.
You want to make this braided base as small as possible while also containing all of the hair. If there’s too much hair, it’s okay and it will show underneath the purple braid.
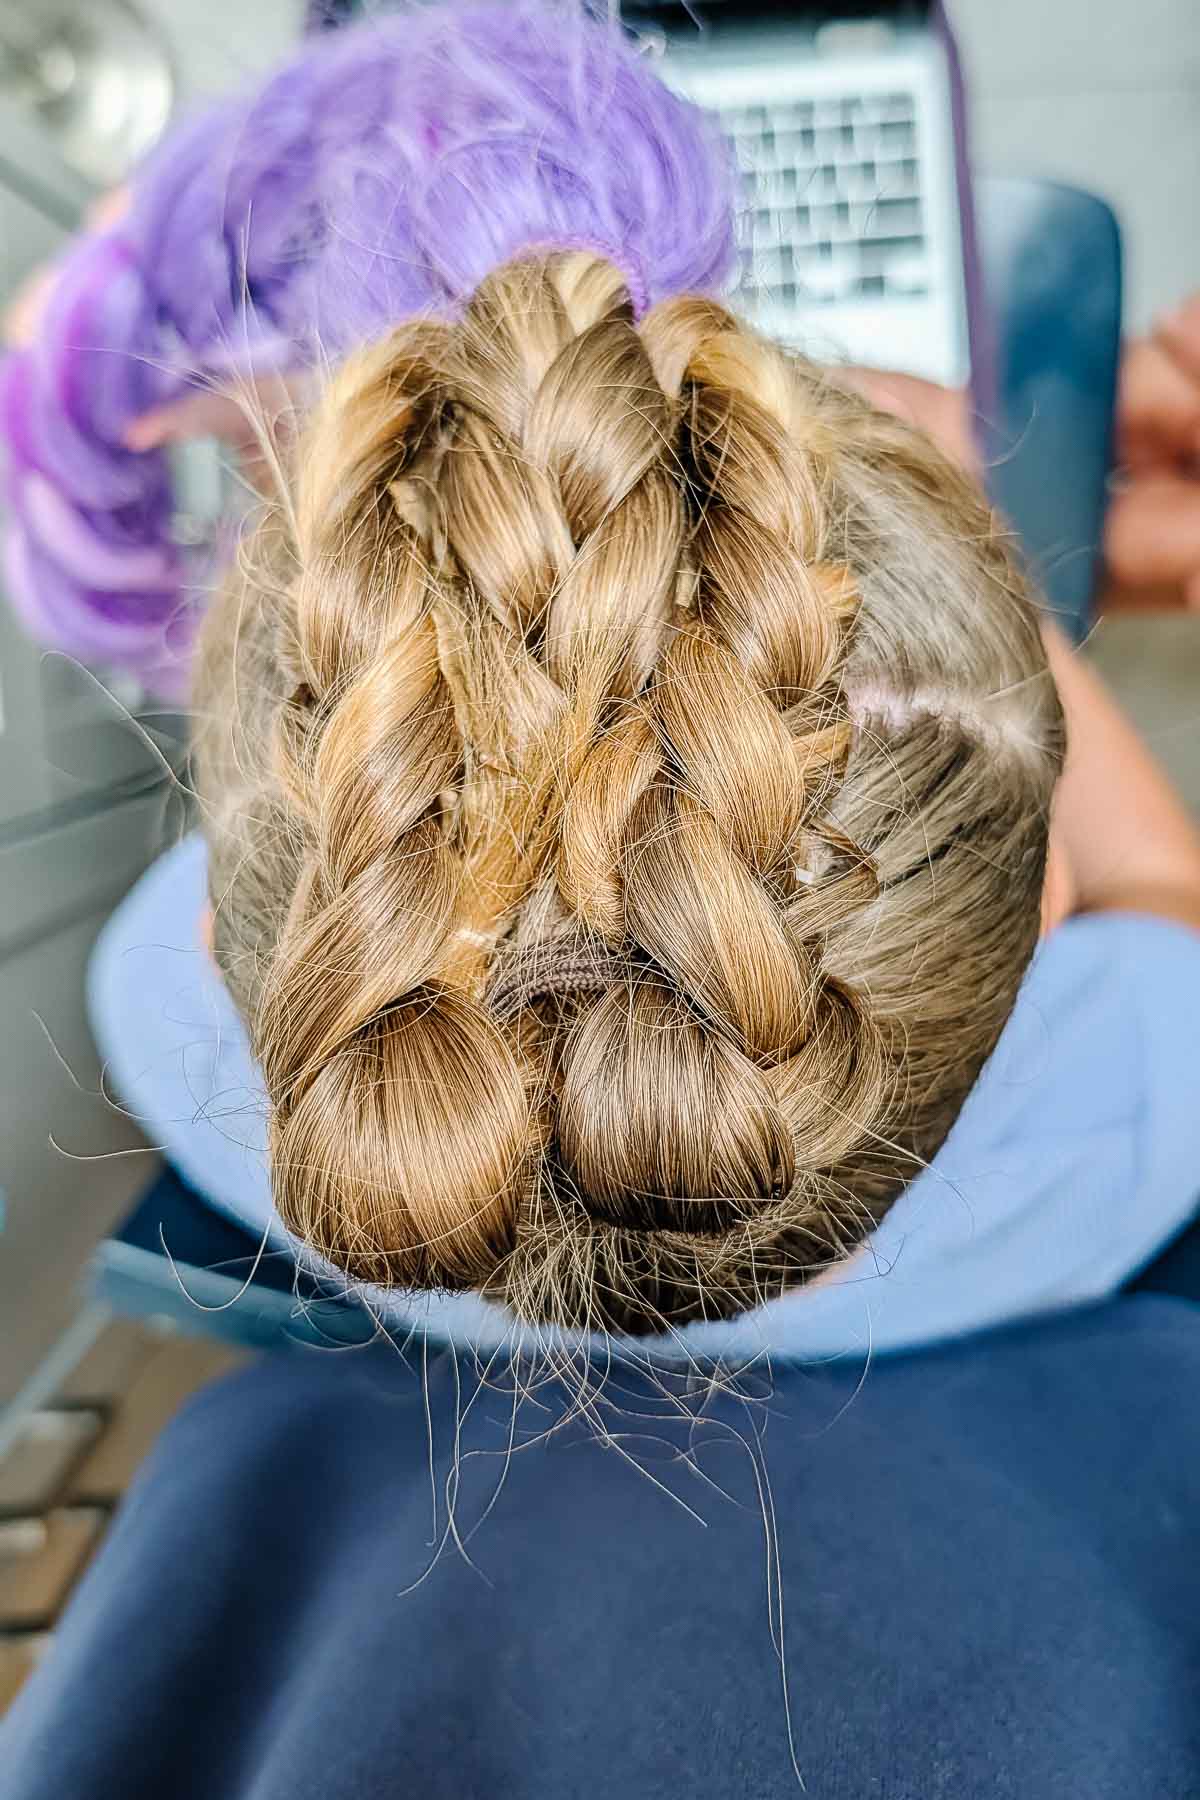
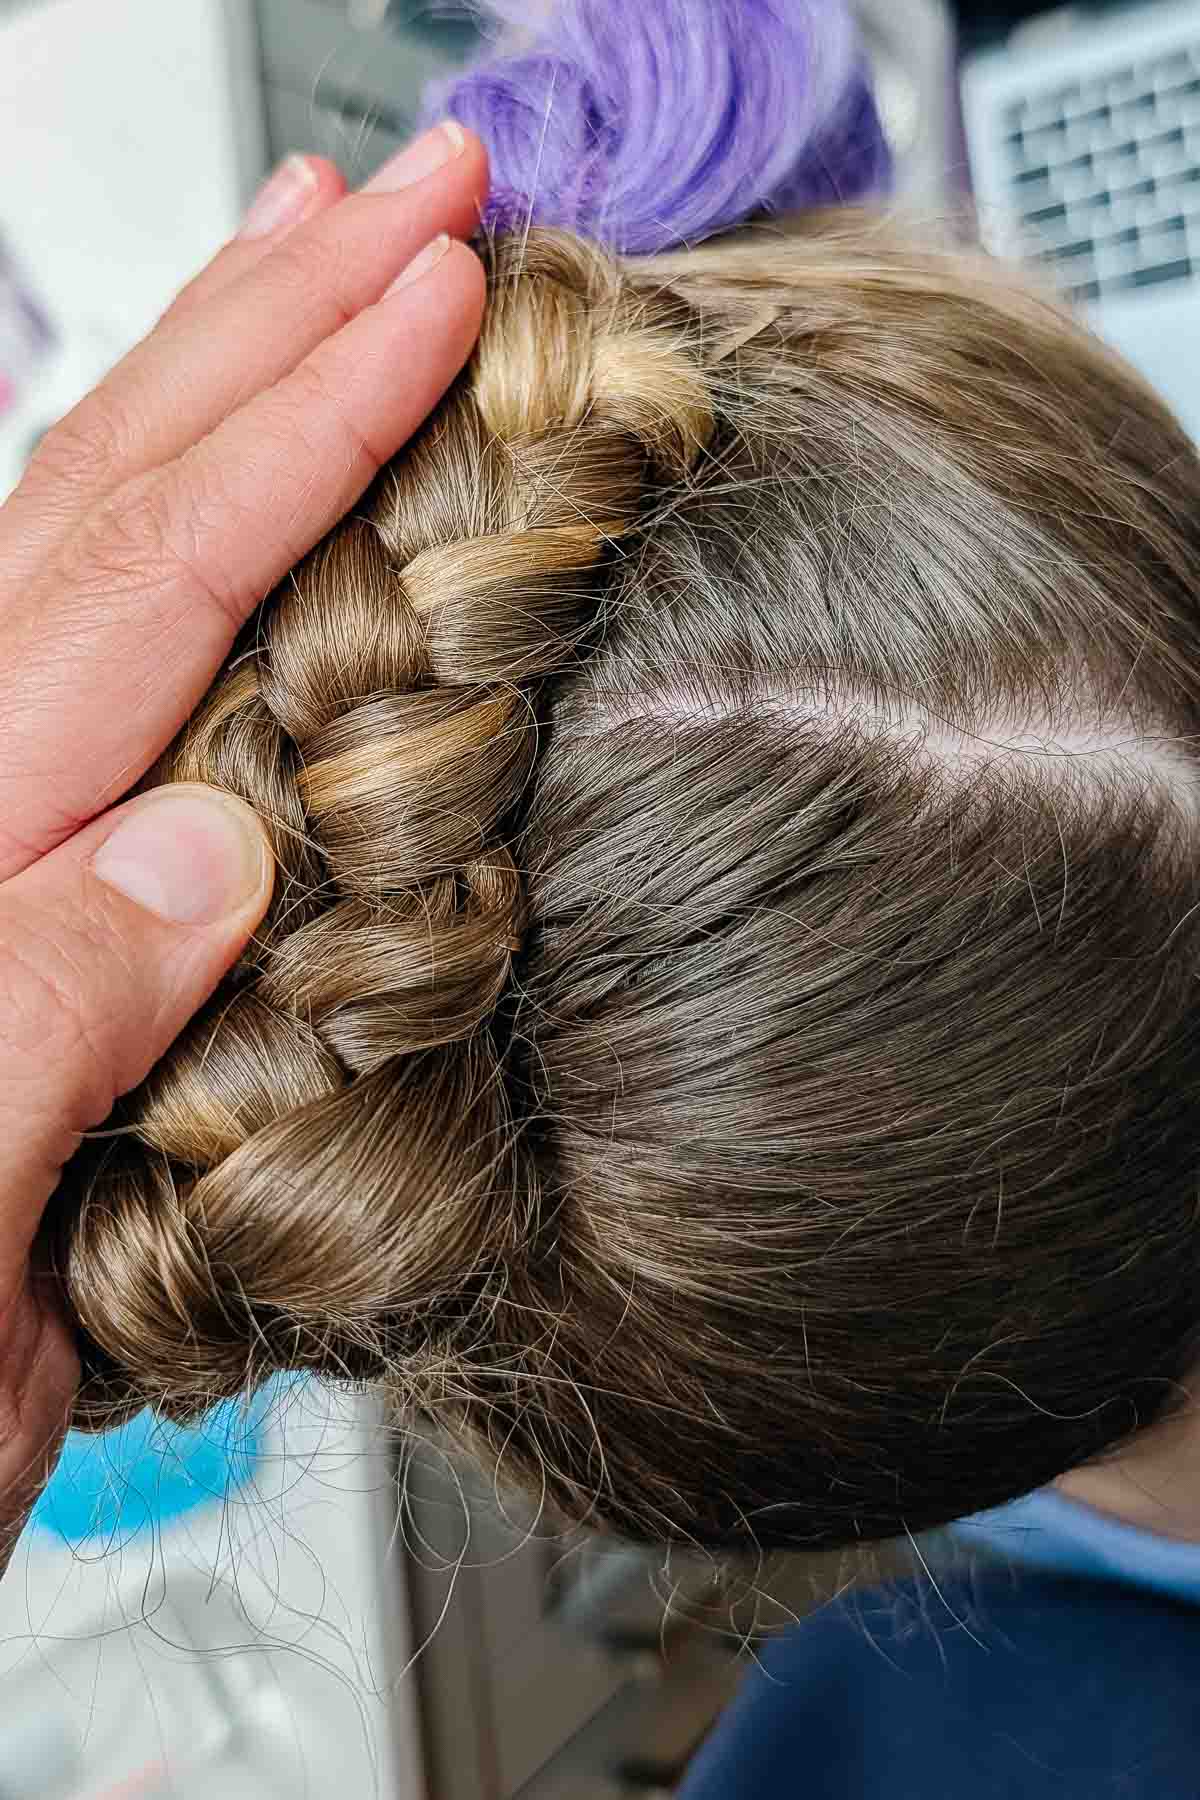
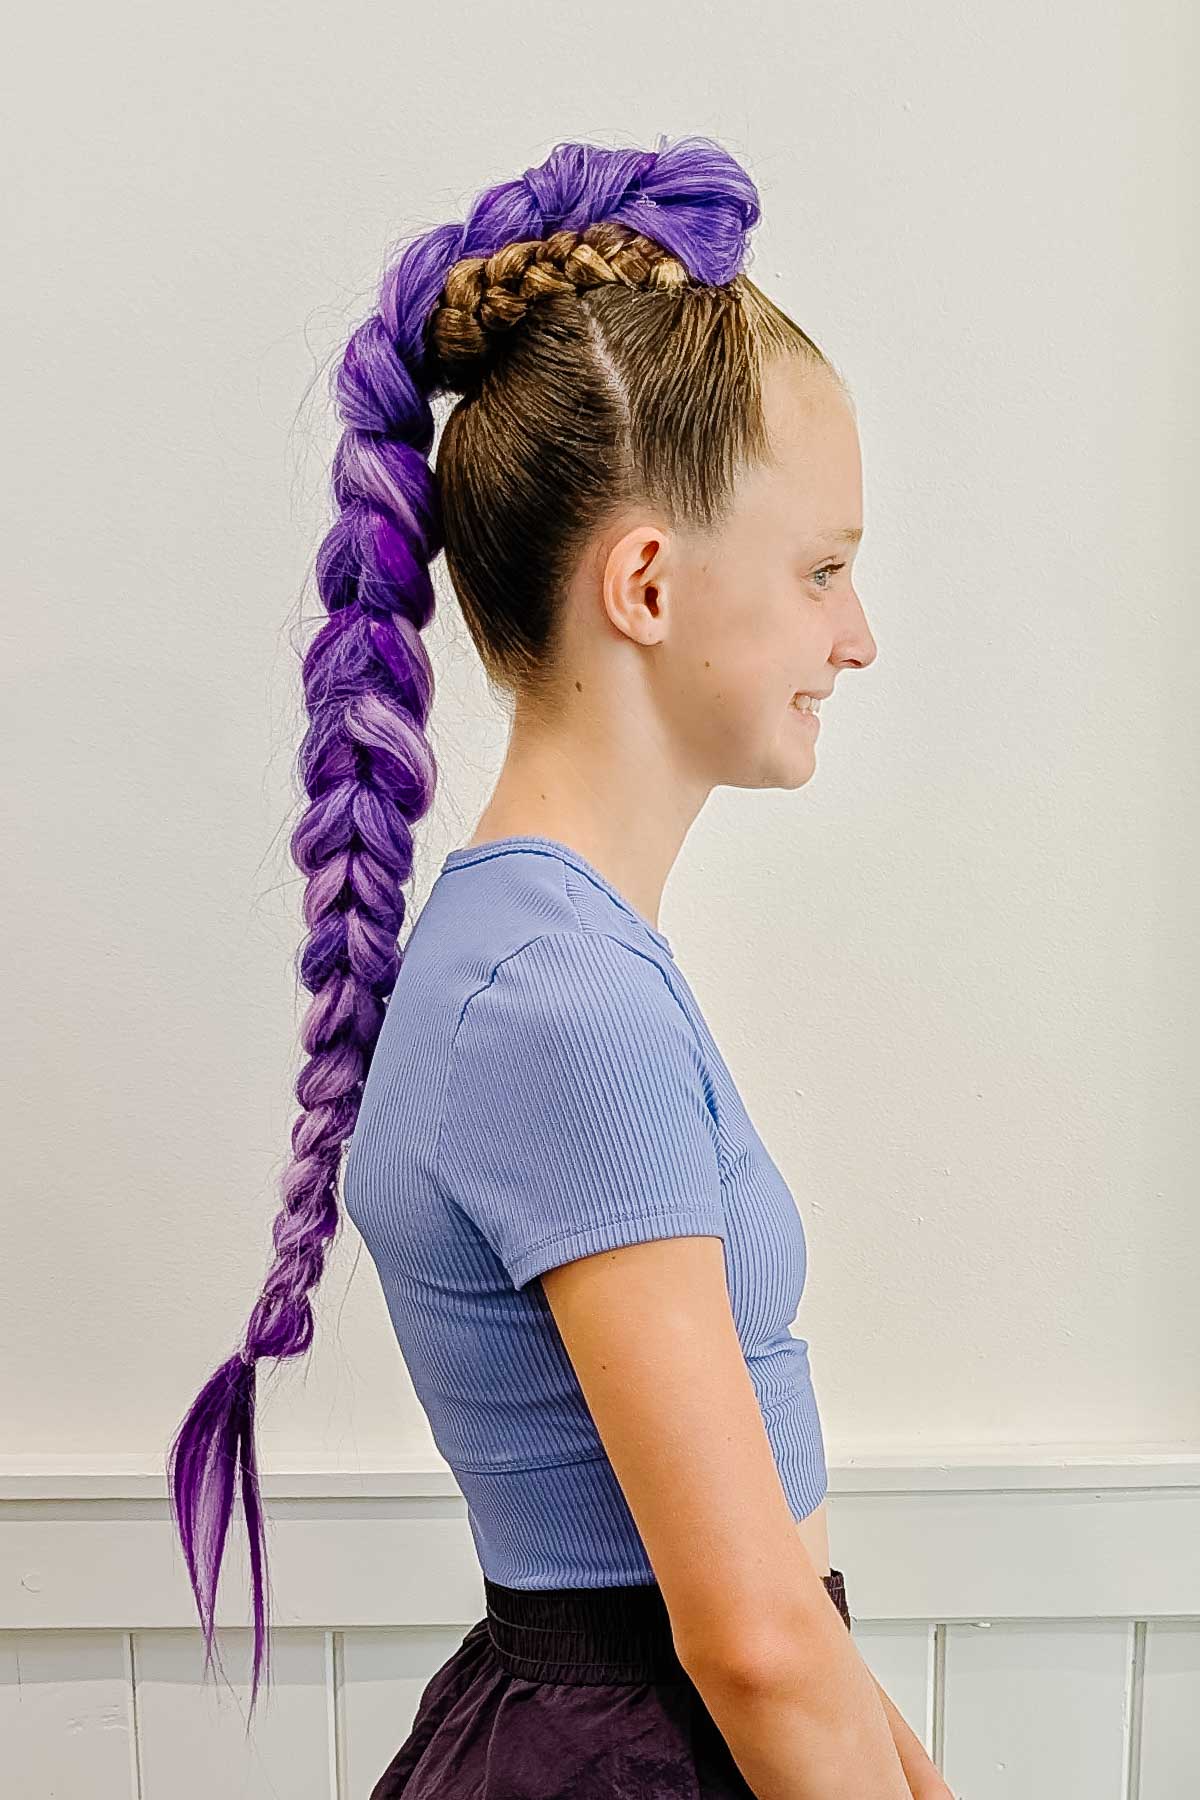
Flip the purple braid down over the ponytails and braids. Use bobby pins to pin the purple braid around the braids to cover the hair. I used three bobby pins on each side, but you can use as many as you need. This also helps distribute the weight over the whole head instead of in one spot.
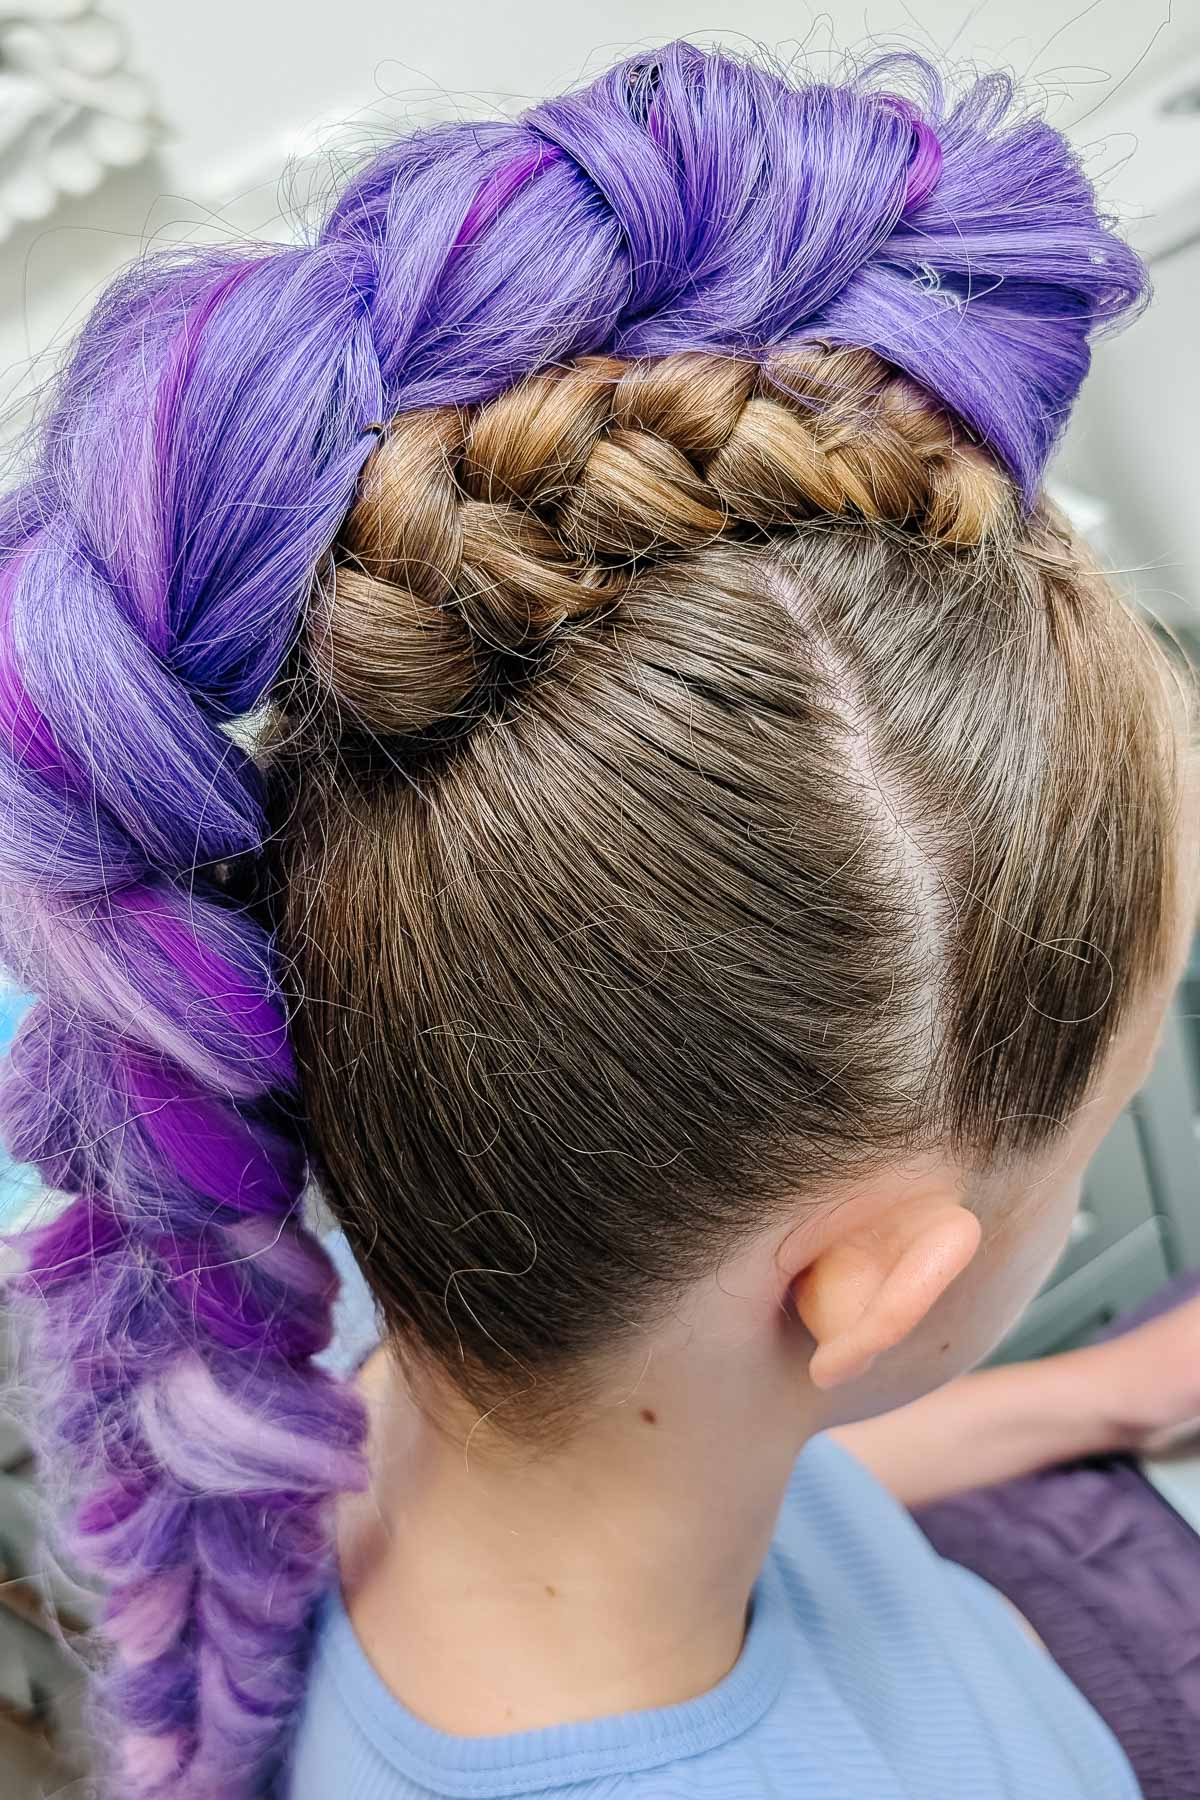
You finished!
If you make something using this sewing project, I’d love to see! Please share it on social media with the hashtag #heatherhandmade and tag me!

I believe small sewing moments can create great joy. Find your own “right” way to sew. -Heather