
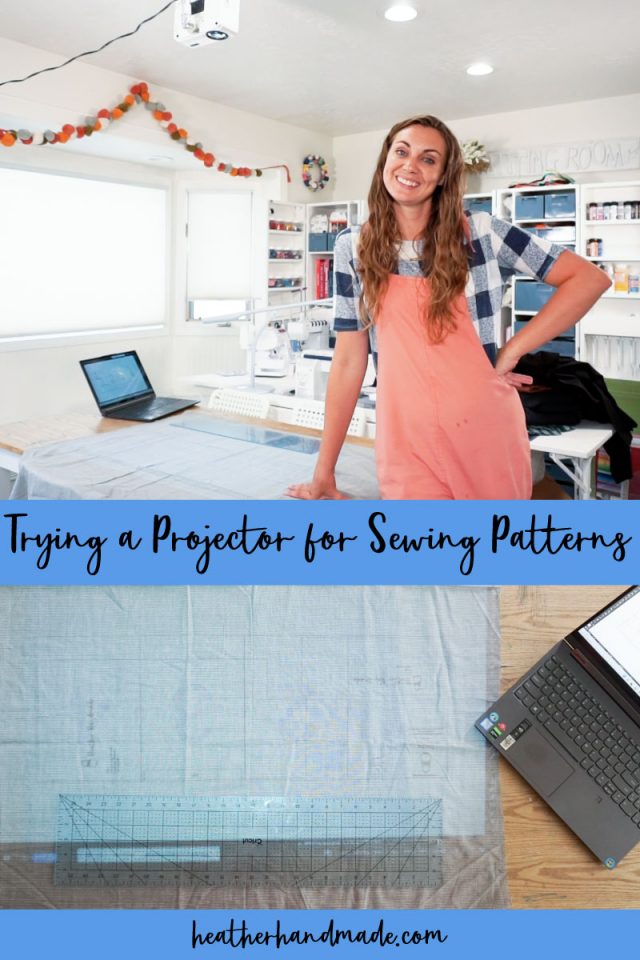
Trying a Projector for Sewing Patterns

This post may contain affiliate links.
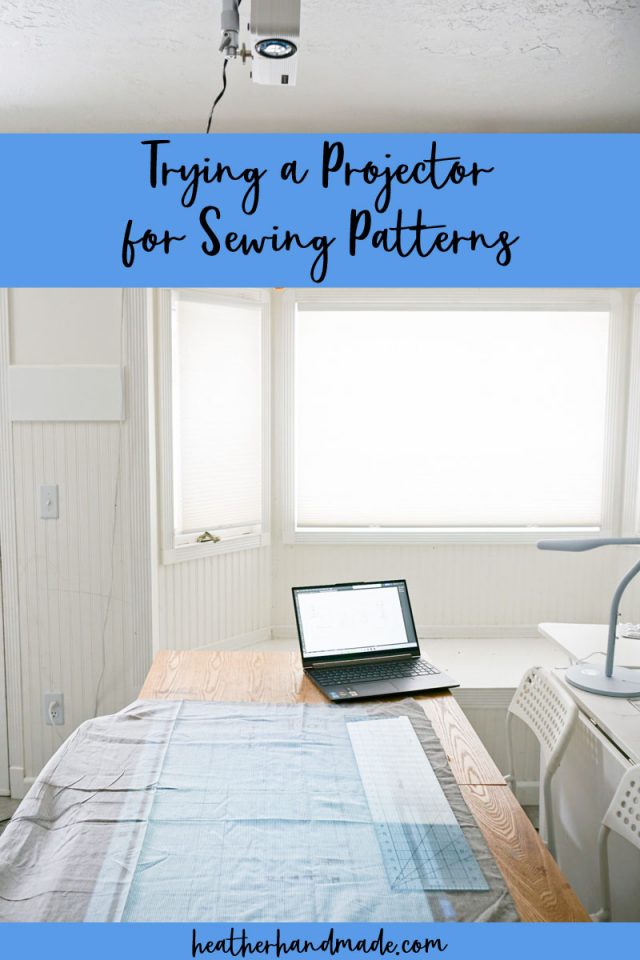
I tried a projector for sewing patterns on the ceiling in my sewing room. Read how I set up and used the Vankyo Leisure 470 projector.
I have heard about using a projector for sewing patterns for years. It seemed too hard to figure out and I only recently had a dedicated sewing space, so I just never did the research. Lately, I’ve seen more and more people using it, so I thought I’d give it a try and share the entire process with you.
This is a sponsored post by Vankyo. Vankyo sent and paid me to review the Leisure 470 projector for sewing. This is an honest review and all opinions are my own.
Do you love to sew? Learn more about sewing rooms and sewing patterns:
- Free PDF sewing patterns
- All about PDF sewing patterns
- IKEA sewing room ideas
- Sewing room hacks
- Dreambox sewing room
- Sew Station sewing room
Trying a Projector for Sewing Patterns
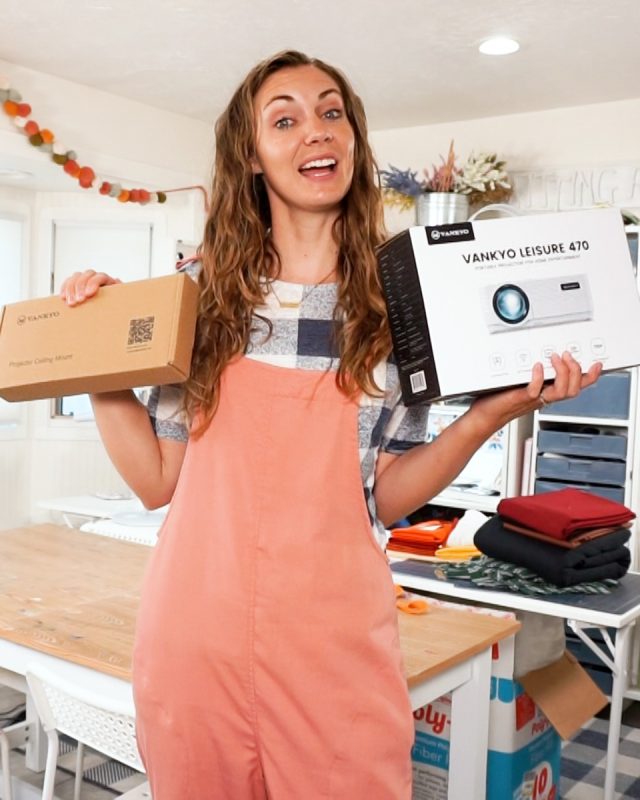
In this example I use the Vankyo Leisure 470. You need taller than 8 foot ceilings for this to work with a table. Another great option for ceilings 8 feet or shorter is the Vankyo Leisure 470 Pro. I also used the Vankyo Universal Projector Mount to put the projector on the ceiling.

The first thing you need to do when choosing a projector is to figure out the distance between the ceiling and your table. Shorter ceilings need projectors with a shorter throw, and taller ceilings can work with projectors with a longer throw.
I have only researched this a little bit, but I found that the Vankyo Leisure 470 needs at least 61.5 inches from ceiling to table or 51.5 inches from lens to surface. In other words the Vankyo Leisure 470 needs taller than 8 foot ceilings. If you have 8 foot ceilings you can use the Vankyo Leisure 470 Pro which is a little more expensive, but it has a shorter throw.
You also need a projector that can be connected to a computer, phone, or tablet. This can be done with a cord, bluetooth, or screen sharing. The projector will need a power cord to work, but it’s very handy if you can connect your device without a cord.
The Vankyo Leisure 470 connects to a device by screen sharing, and I love this feature.
Also, to use a projector with sewing patterns you need to buy PDF sewing patterns that have projector files or A0/copyshop files. You need to have the entire pattern pieces (not separated letter size papers) on the computer screen at a time.
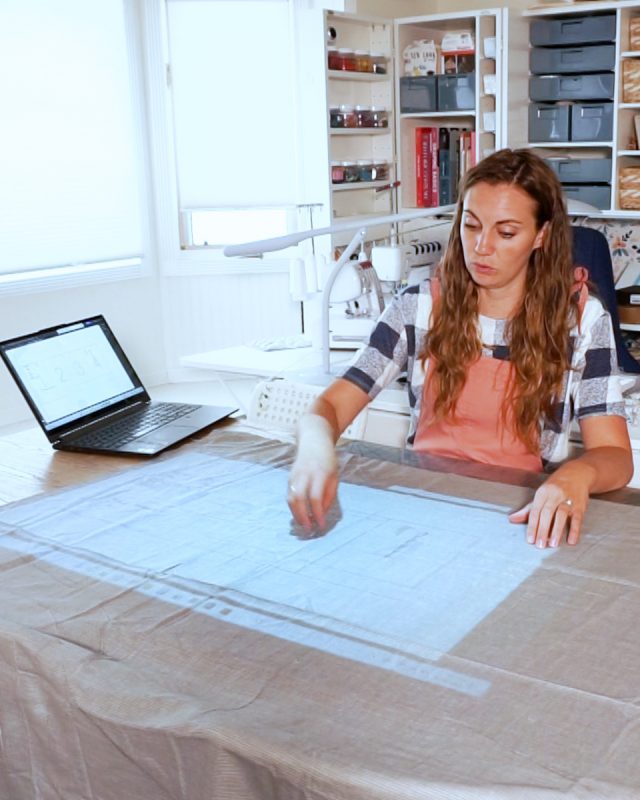
The computer, phone, or tablet will share the screen with the projector, and the projector will share the exact screen being used at the moment. The whole PDF pattern file will need to be seen on the screen to project the pattern down onto the fabric.
How to Set up a Projector and Ceiling Mount
Once you purchase a projector and a ceiling mount, you will now determine where you are going to set it up. There are other non-permanent options for using a projector, but I won’t go into detail in this post.
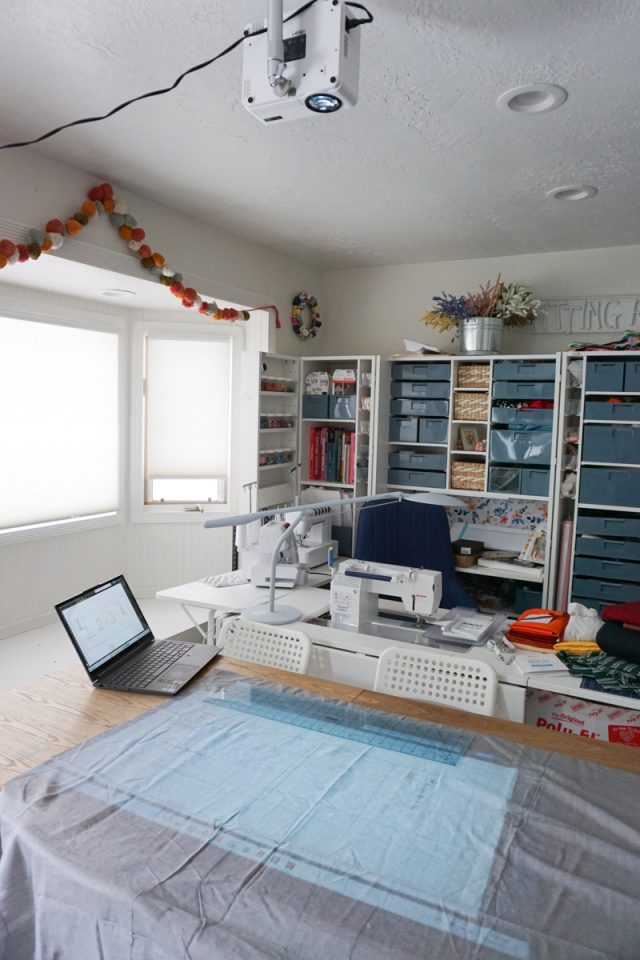
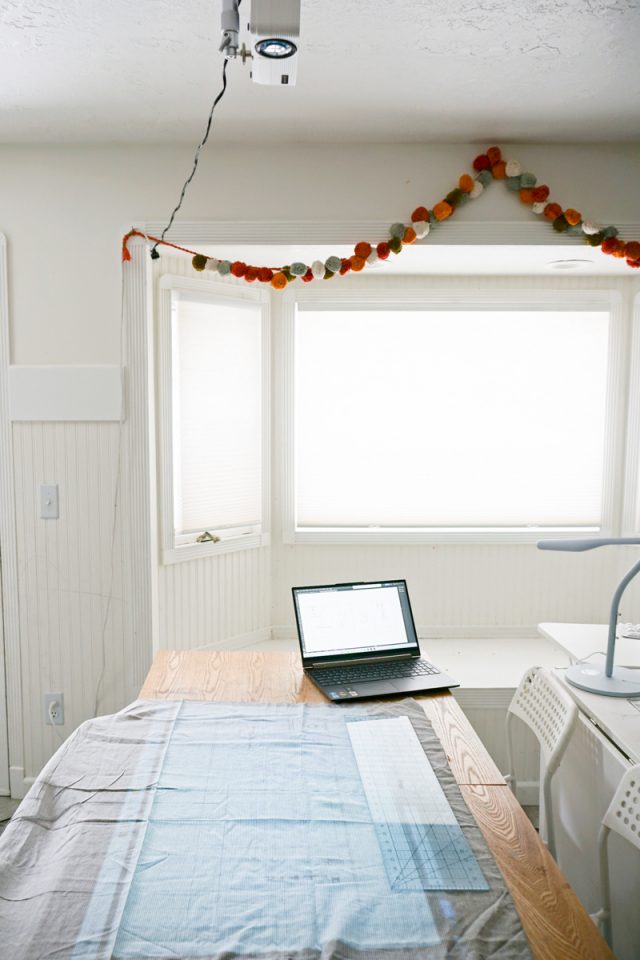
I installed the ceiling mount in my sewing room right above my work table. I chose a place where my table is and where my table can be moved to if needed. I didn’t center it with the room, and instead I put it near a light. I didn’t want to get in the way of the light because I wanted to still use the light for other things.
I also chose a place that had a nearby wall plug that would power the projector. I just plugged it in and hooked the cord around something on the wall so that it would be out of the way when I was cutting.
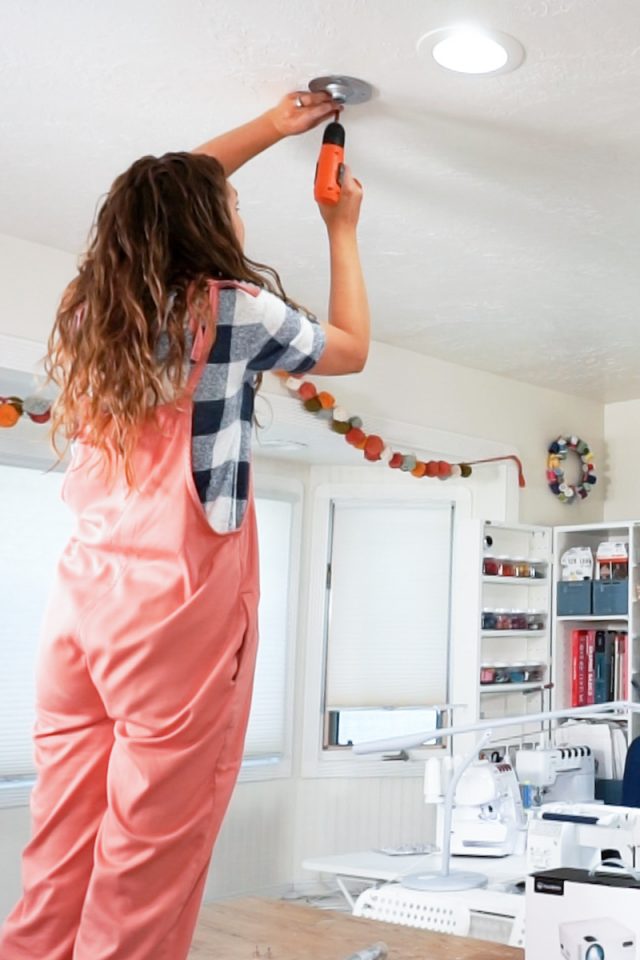
Once I had the ceiling mount installed, I attached the projector to the mount. The mount had different sizes for attaching projectors, so I used the one that was the right size and got it attached.
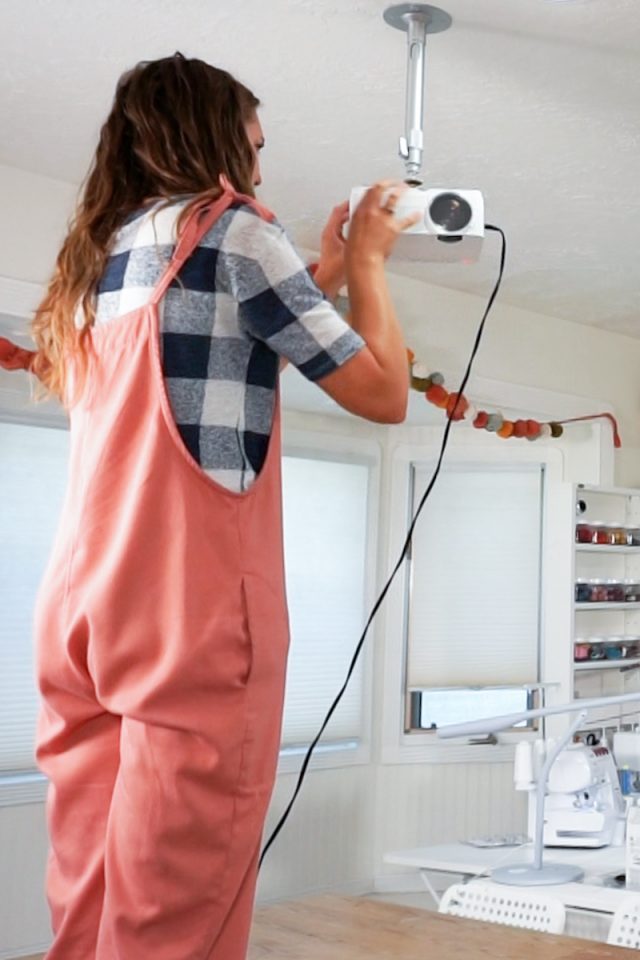
Then I swiveled the projector so it was pointing down, and I tried to get it as level as possible with the table.
Once the projector is set up, turn it on and connect it to a device. This took me awhile to figure out because some devices can screen share and some can’t. My newish phone wouldn’t work, but my laptop worked after fiddling with it for a little bit. I prefer doing things with my laptop, especially when it comes to working with patterns, so I was happy it worked out this way.
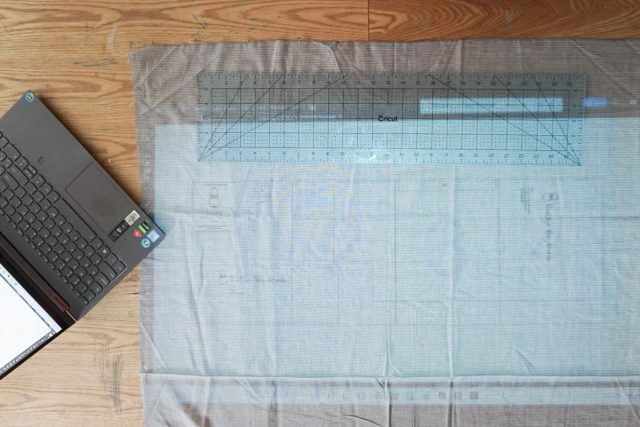
Once you are projecting a pattern, you need to calibrate the projector. All the corners need to be a 90 degree angle and the sizing needs to be accurate.
I adjusted the way the projector was pointing and adjusted the projection angle and focus until my angles were 90 degrees. Then I worked with the sizing by increasing and decreasing my pattern size, until the projector was projecting an accurate 12 inches. I started by measuring a 1 inch square, but I found it tricky to get a small size so accurate. Once I went up to measureing 10 or 12 inches, it was much easier to get an accurate size.
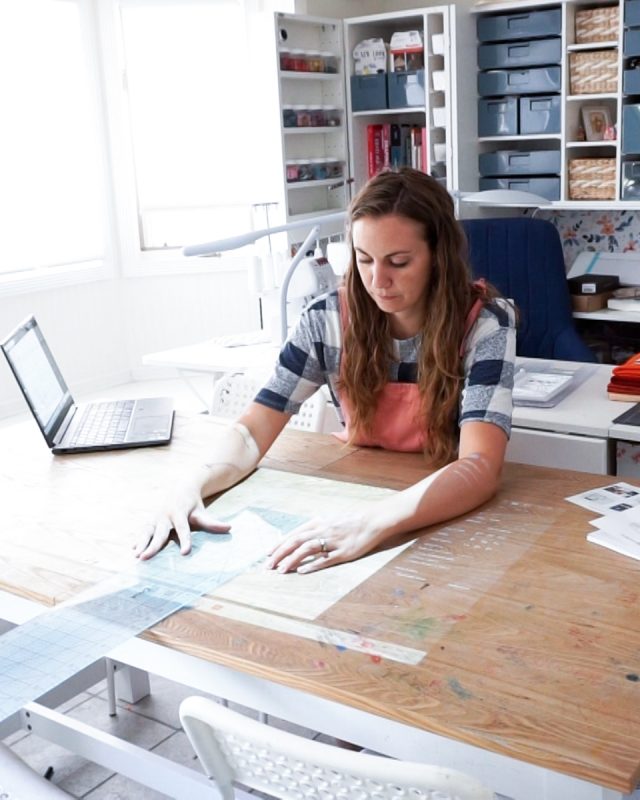
This is when I figured out that my ceilings weren’t tall enough for this projector, and that I couldn’t project more than a 30 inch length at one time. This will work great for small patterns and children’s patterns, but it won’t work for most adult pattern pieces.
I had planned on using the projector for children’s patterns so that I don’t have to print a pattern three times or trace a pattern three times to use three different sizes. I love the idea of not printing, taping, and cutting out a pattern every time I want to start a sewing project.
I don’t know how I feel about using a projector when I’m sewing for me yet. I need a lot of alterations to make a pattern fit me and not all of those alterations can be done in Illustrator on the computer and get an accurate fit. I won’t have a record of what alterations I did, or if I alter as I cut I’ll forget what I did. When a paper pattern is altered you can see all those alterations every time you get it out and it’s saved.
Using a Projector for Sewing Patterns
Pros:
- Saves money in the long run. No more buying ink, paper, and tape
- Saves time with no printing, taping, and cutting
- Easier to do pattern matching since you can see what is “behind” the pattern and can line everthing up
- Start cutting almost immediately every time you start a project
- Easy to cut out multiple sizes with “one” pattern
- Stays up by the ceiling and is unobtrusive in a sewing room
Cons:
- Requires research to pick the right projector for you space
- Up front cost to purchase everything
- Time consuming to research, set up, and calibrate
- Difficult to alter pattern before using and remember what alterations were done
- Need the right PDF sewing pattern file (projector file or A0/copyshop file)
- Need a room and a ceiling where the projector can be set up permanently
- Must figure out pattern layout before cutting since you can’t move the pattern pieces around. You move the fabric around to fit with the projected pattern pieces.
In this example I use the Vankyo Leisure 470. You need taller than 8 foot ceilings for this to work with a table. Another great option for ceilings 8 feet or shorter is the Vankyo Leisure 470 Pro. I also used the Vankyo Universal Projector Mount to put the projector on the ceiling.
If you use a projector for sewing, I’d love to see! Please share it on social media with the hashtag #heatherhandmade and tag me!

I believe small sewing moments can create great joy. Find your own “right” way to sew. -Heather
This is great information. I reslly want to set up my room for this process. Do you recommend a site for tge PDF patterns?
This isn’t up to date but it’s a great place to start: https://projectorsewing.com/projector-patterns/