
All About PDF Patterns

This post may contain affiliate links.
Learn about different ways to assemble PDF patterns so you can get to sewing faster. Each way has two steps but some are faster than others.
Over the past couple of months I’ve watched and asked how other sewists assemble PDF patterns. For years I’ve been trimming and taping and had no idea there was multiple ways to assemble PDF patterns until I started asking.
It turns out everyone has their own way of assembling patterns, and each way has two steps no matter what you choose. You can try a different way to see which is easiest and fastest for you! Which way do you assemble PDF patterns?
What is a PDF sewing pattern? How do PDF Patterns Work?
A PDF pattern is a sewing pattern designed on the computer and organized so that it can be printed on several letter or A4 size pieces of paper.
I love using PDF sewing patterns because if the pattern gets ruined or if my children or I changed sizes, I can always print it again. It’ll never be destroyed since I have a digital version!
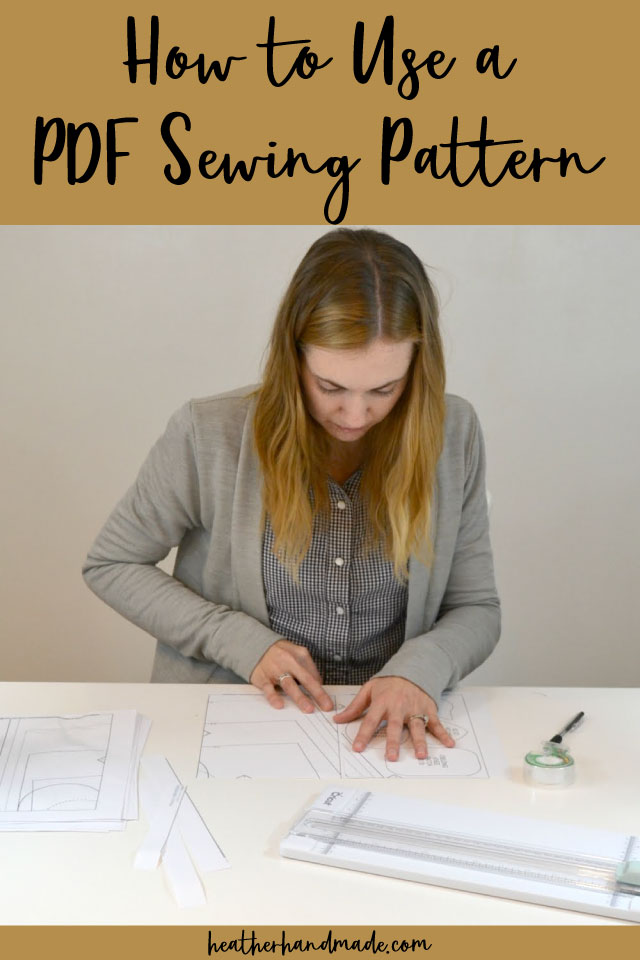
How to use a PDF sewing pattern?
Open the PDF on a computer and click print. When printing make sure that the scaling is set to 100% or no scaling so that the pattern prints at the correct size.
Print the first page of the pattern with the test square on it. Once it’s printed measure the test square to see if it printed correctly. If it did, then you can print the rest of the pattern. Learn how to use PDF sewing patterns.
Try out one of these free PDF sewing patterns!
Different Ways to Assemble PDF Patterns
The tools I used in this post are:
Trim and Tape PDF Patterns
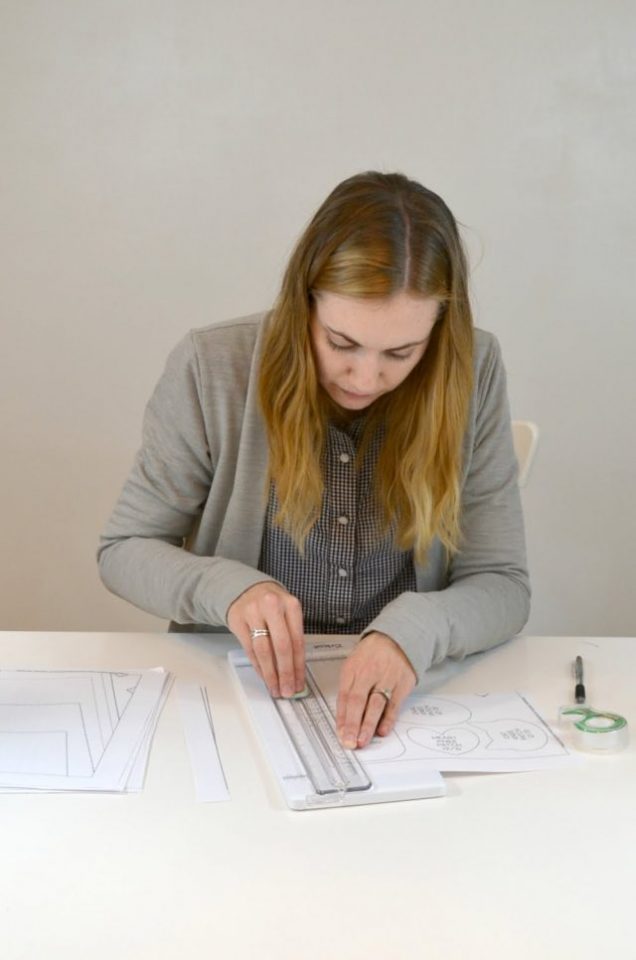
The way I thought there was to assemble patterns and the way I’ve been assembling patterns since I started using PDF patterns was to trim off the edges first and them tape them together. After awhile I just skipped trimming and would tape them with the overlap still on.
It would make it hard to cut, but I hating trimming! I think it’s the slowest for me and the way I work. This is very accurate though and looks the nicest.
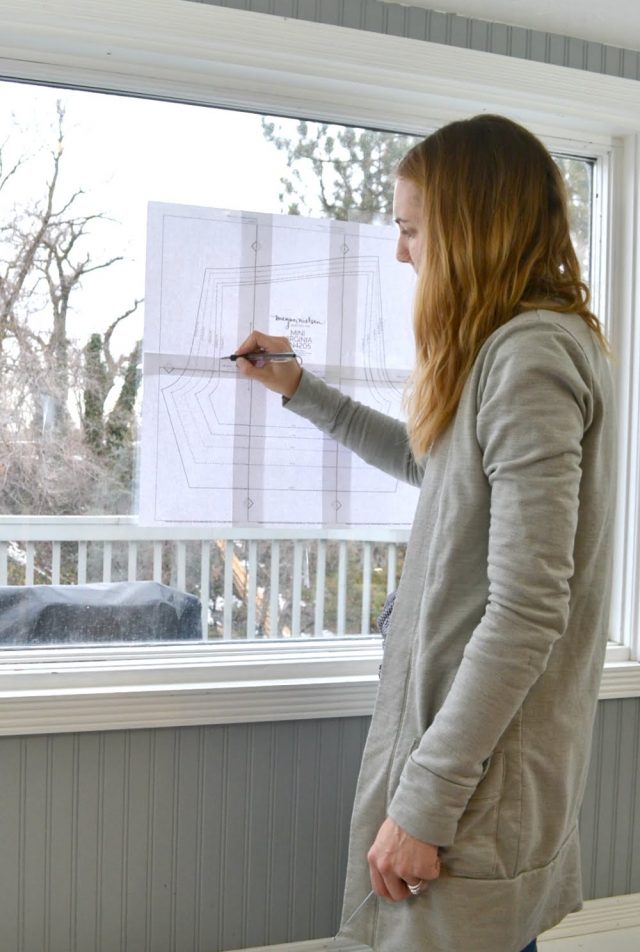
Tape PDF Patterns and Trace Using a Window
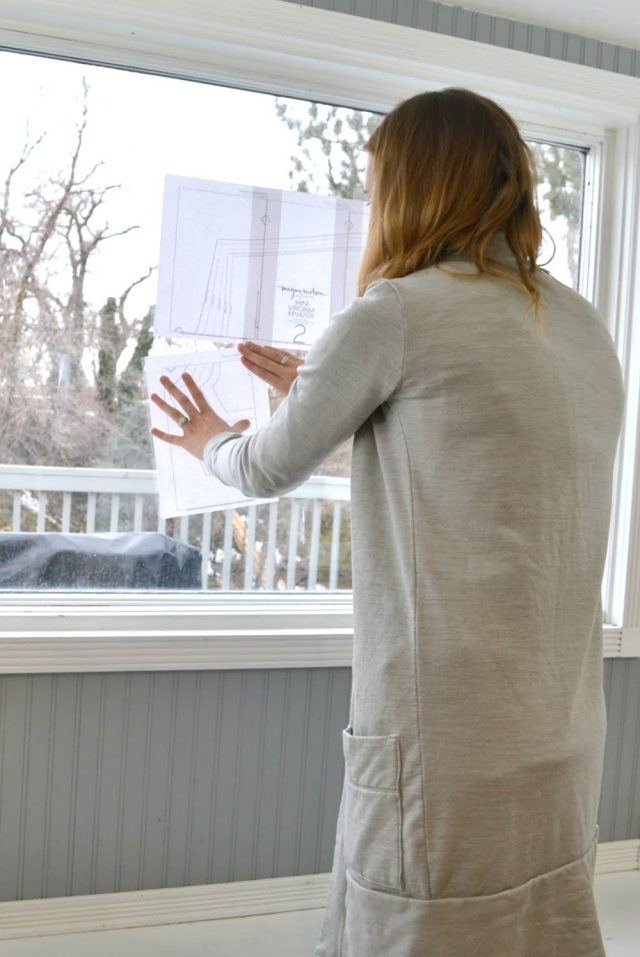
I saw this way to assemble on Instagram from Hey June Handmade and was blown away. You tape the pattern onto a window which lets you see through the overlapped edges. Then you draw all the lines obscured by the overlaps so that you can see them.
It’s a smart and efficient way to assemble your patterns, but it only works during the day when it’s light outside. You also need to have a large window to work with. This is my largest window without a separator, so it’s not a very good option for me. It’s very fast though!
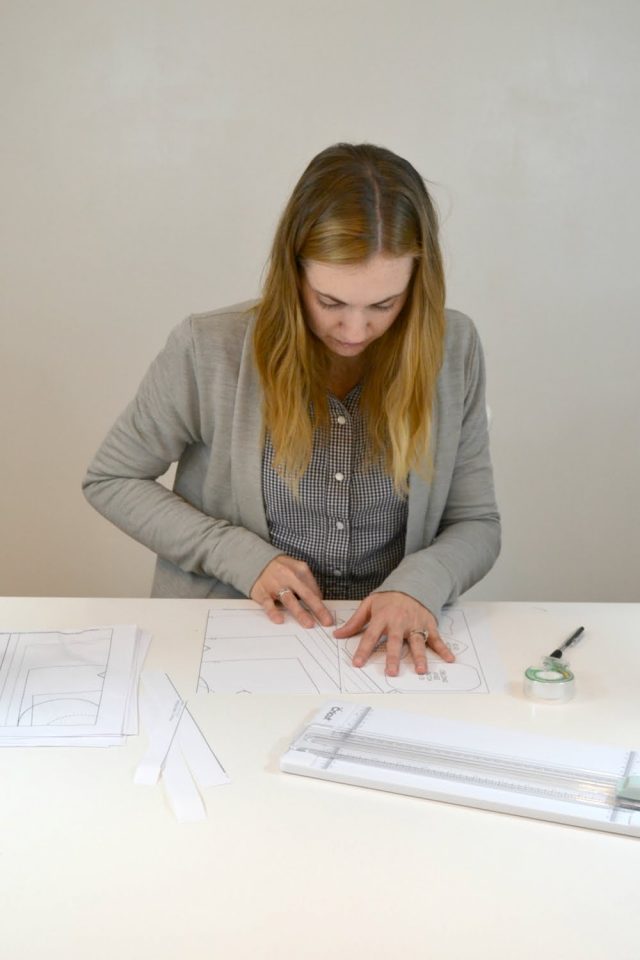
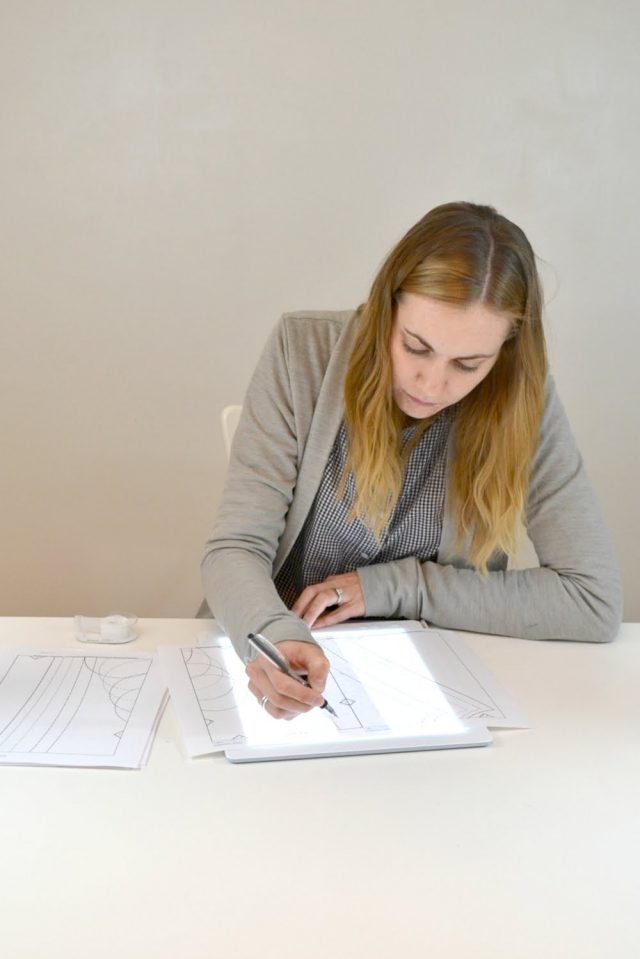
Tape PDF Patterns and Trace Using a Bright Pad
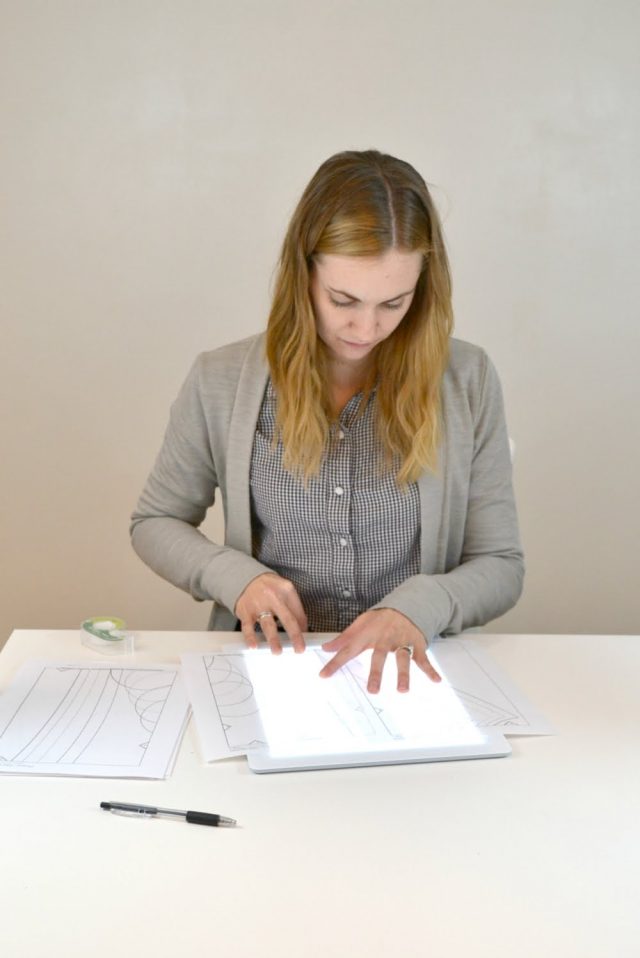
I almost always assemble my PDF patterns at night when my kids are sleeping so I needed a non-trimming + tracing option I could use at night. Enter the Bright Pad*.
You do the same as a window by not cutting off the edges and taping the pattern together. The light helps you line up the lines correctly and trace the obscured lines onto the overlap. It’s not as big as a window so you do have to do some moving and shuffling, but it’s great to use at night.
Also, the pad makes papers stick to it. It’s easier to tape because however the Bright Pad is designed, the papers don’t move when you place tape on the paper. (We’ve all been taping and had the papers move just slightly when you place the tape making you have to rip it off and do it again!)
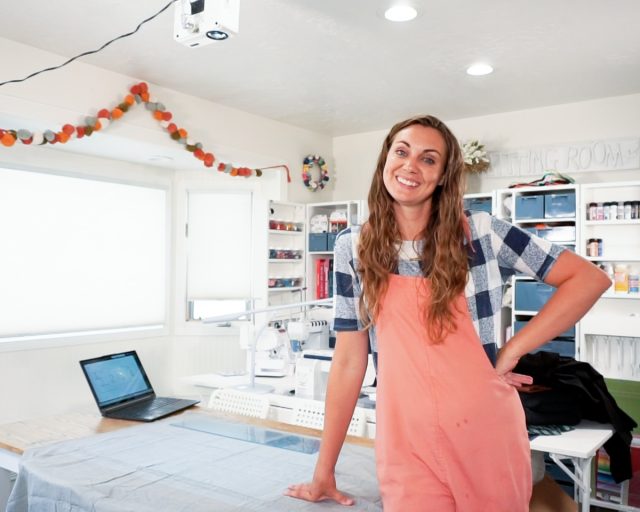
Use a projector to cut out sewing patterns
Set up a projector on your ceiling to project sewing patterns down onto your fabric. Cut out a sewing pattern without printing, taping, and cutting!
This is a great hack when you need to use multiple sizes of a pattern, but you don’t want to trace or print multiple patterns. It saves so much time and money!
There is definitely a learning curve when it comes to using a projector. You need to learn how to set it up and calibrate it, but then you need to figure out how to place the pieces without actually placing the pieces. You need to move the fabric around to cut out the pieces.
Print PDF Patterns using PDF Plotting
The last way to assemble a PDF pattern is my recent favorite. I’ve tried printing a A0 size pattern at a copyshop only to have it cost more than the digital copy of the pattern, and the copyshop got the scale all wrong! You can still use the A0 pdf file to print a pattern without it costing too much.
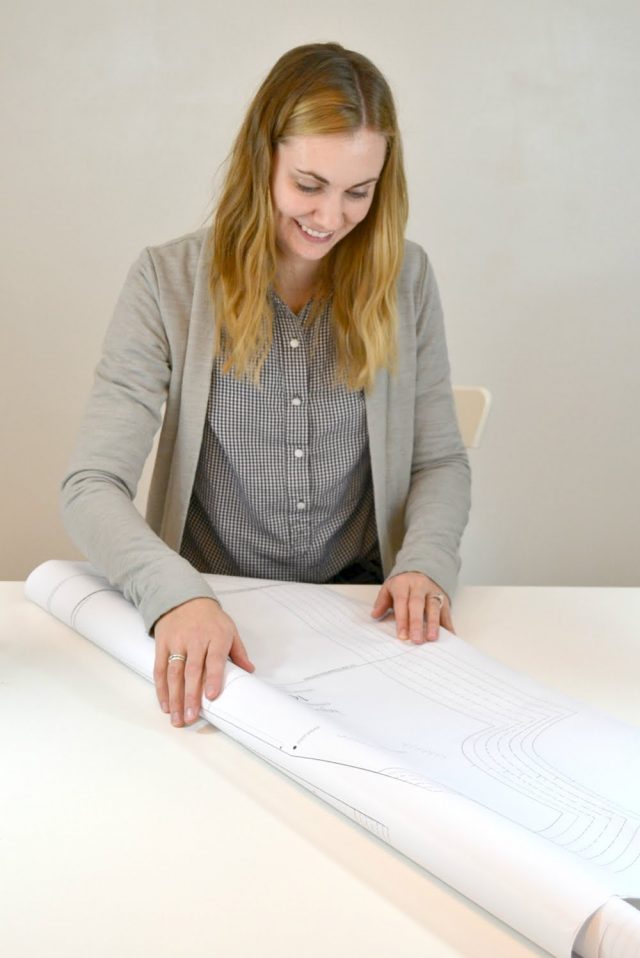
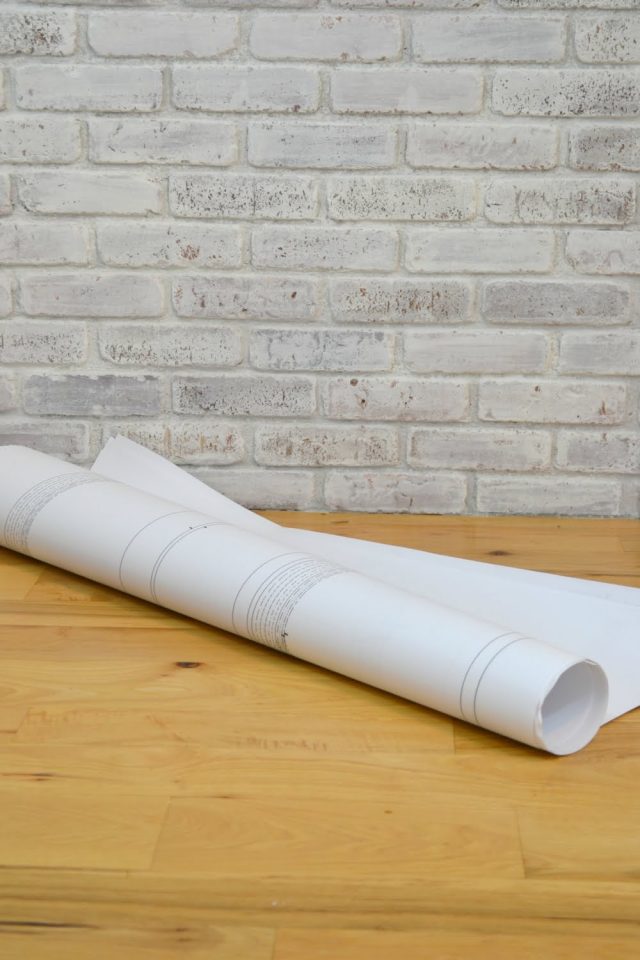
Use PDF Plotting to print your patterns. You send all your A0 files in and mark what size they are and how many sheets you have, they print it for you, and ship it to your house. It arrives as a giant roll of all your patterns!
It does cost money, but it’s really cheap compared to a copyshop. I love the time it saves me. Print multiple patterns at a time so that you can save on shipping, or even share the cost with a sewing friend and both get your patterns printed.
Once your patterns arrive you can trace or cut depending on who it’s for and how you want to save the patterns.
If you make something using this tutorial, I’d love to see! Please share it on social media with the hashtag #heatherhandmade and tag me!

I believe small sewing moments can create great joy. Find your own “right” way to sew. -Heather
On your pattern for baby t shirt romper, the patttern says 1/2” hem allowance. What does that mean as I cut it out or during the rest of the project. I tried to “search” for an answer on your site but didn’t find it. (Or I didn’t look long enough). Do i need to cut bigger than your lines?…
Thx
Christine (I am new to this)
You don’t need to add anything since there is a 1/2″ hem allowance provided in the pattern. The shorts are pretty short so you can make them longer if you want.